
Articles
How To Open A Skylight
Modified: January 24, 2024
Learn how to open a skylight with our informative articles. Discover the step-by-step process and tips for a successful skylight operation.
(Many of the links in this article redirect to a specific reviewed product. Your purchase of these products through affiliate links helps to generate commission for Storables.com, at no extra cost. Learn more)
Introduction
Welcome to our comprehensive guide on how to open a skylight. Skylights are a fantastic addition to any home, providing natural light and ventilation while adding a touch of elegance to your living space. Whether you’re looking to replace an old skylight or install a brand new one, we’re here to guide you through the process step by step.
Opening a skylight may seem like a daunting task, but with the right tools, materials, and instructions, it can be a straightforward and rewarding project. By following our guide, you’ll be able to enjoy the benefits of a beautiful, functional skylight in no time.
In this article, we’ll cover all the essential steps you need to take to successfully open a skylight. From measuring and preparing the opening to securing and finishing the skylight, we’ll provide you with the knowledge and guidance you need to complete the project with confidence.
So, let’s dive in and get started with step one: measuring and preparing for your skylight installation.
Key Takeaways:
- Proper preparation is crucial for a successful skylight installation. From measuring and choosing the right type to gathering materials and tools, attention to detail ensures a beautiful and functional addition to your home.
- The skylight installation process involves careful steps, from preparing the opening to securing and finishing the skylight. By following these steps, you can enjoy the benefits of natural light and enhanced ventilation in your living space.
Read more: How To Open Skylight With Pole
Step 1: Measure and Prepare
Before you begin the installation process, it’s crucial to measure the area where you plan to install the skylight. This ensures a proper fit and minimizes any potential issues down the line. Follow these steps to measure and prepare for your skylight installation:
- Identify the location: Determine the ideal location for your skylight. Consider factors such as the direction of sunlight, the slope of the roof, and any potential obstructions.
- Measure the opening: Use a tape measure to determine the dimensions of the opening where the skylight will be installed. Measure both the width and length, ensuring accuracy to avoid any fitting problems later on.
- Check for roof framing: Carefully inspect the area around the opening to ensure there is enough space for the skylight and that the roof framing can support its weight. This step is crucial for ensuring the structural integrity of your roof.
- Consider additional support: If you’re installing a larger skylight or if there’s limited support around the opening, you may need to reinforce the area with additional framing or supports.
- Prepare the roof surface: Clear away any debris or obstructions from the roof surface around the opening. Ensure that the area is clean and free from any loose shingles or other materials that may interfere with the installation process.
- Apply waterproofing: Depending on the type of skylight and the specific installation requirements, you may need to apply a waterproofing membrane around the opening. This helps to prevent water leaks and protect your home from potential damage.
Once you’ve completed these steps, you’ll have a well-prepared area ready for the installation of your skylight. Taking the time to measure and prepare properly ensures a smoother installation process and enhances the longevity and functionality of your skylight.
Step 2: Choose the Skylight Type
Choosing the right skylight type is an important decision that affects both the aesthetics and functionality of your space. Consider the following factors when selecting the skylight type:
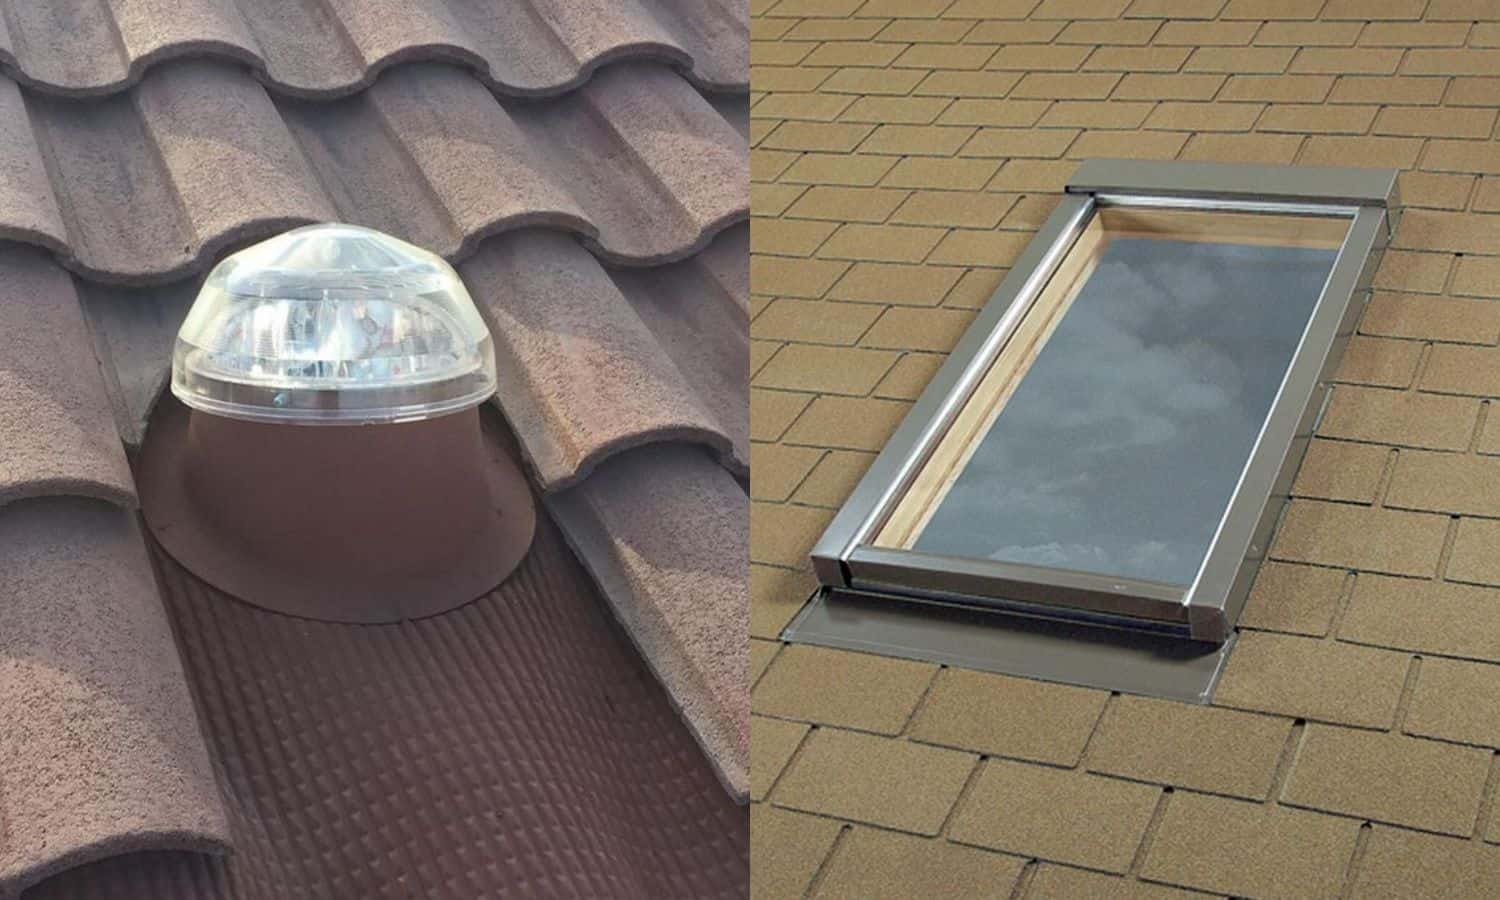
- Fixed skylights: Fixed skylights are non-operable and provide a source of natural light without any ventilation. They are ideal for spaces where additional ventilation is not required.
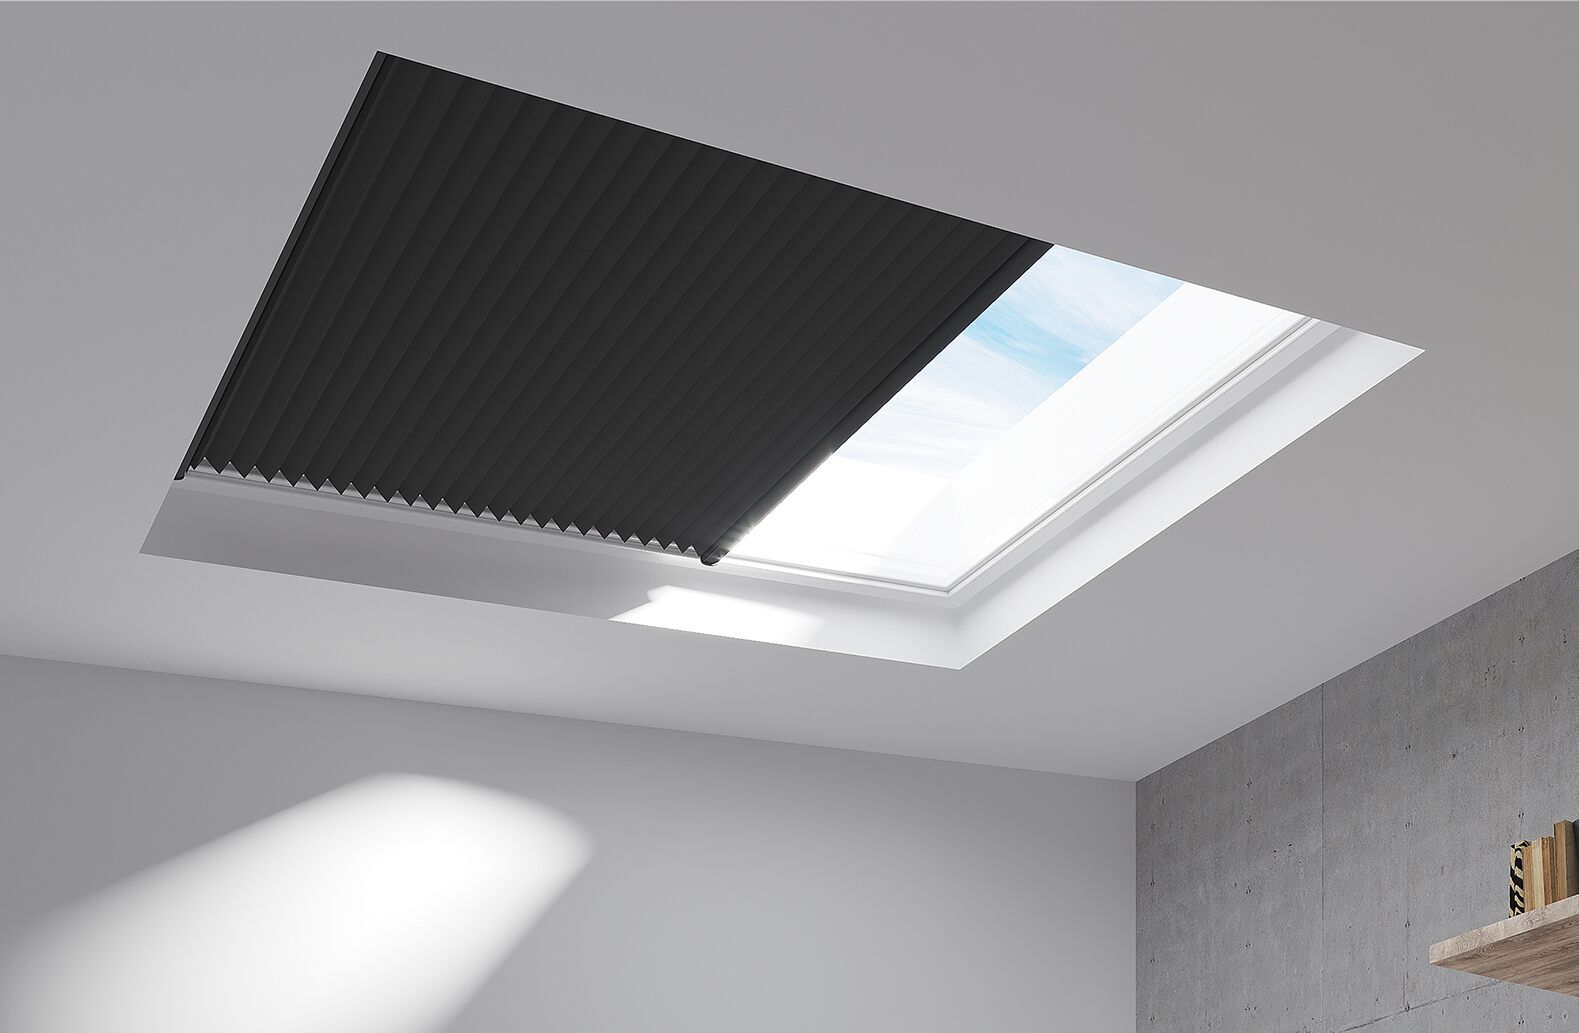
- Ventilating skylights: Ventilating skylights, also known as operable skylights, can be opened to allow fresh air into your space. They are perfect for rooms that require ventilation, such as kitchens, bathrooms, or attic spaces.
- Tubular skylights: Tubular skylights are smaller in size and are designed to bring natural light into narrow or confined spaces, such as hallways or closets. They are energy-efficient and can be a great option if you have limited roof space.
- Solar-powered skylights: Solar-powered skylights are equipped with solar panels that capture sunlight to power the skylight and any required accessories, such as blinds or shades. They are eco-friendly and can help lower your energy costs.
- Skylight glazing options: Consider the glazing options available for your skylight. Choices typically include clear glass, tinted glass, or double or triple pane glazing for added insulation.
- Additional features: Some skylights come with additional features, such as built-in blinds, remote control operation, or rain sensors. Evaluate these features based on your specific needs and preferences.
When choosing the skylight type, take into account both aesthetic appeal and functionality. Consider the purpose of the space, the climate conditions, and your personal preferences to make an informed decision that suits your needs.
Once you have selected the skylight type, you’ll be ready to move on to the next step: gathering the necessary materials and tools for the installation process.
Step 3: Gather Materials and Tools
Before you begin the installation process, it’s essential to gather all the necessary materials and tools. Having everything at hand will make the installation process smoother and more efficient. Here’s a list of materials and tools you’ll need:
Materials:
- Skylight: Choose a skylight that matches your selected type, size, and design preferences.
- Flashing Kit: This includes the metal components that help waterproof and seal the skylight against the roof.
- Roofing Cement: Used for sealing any gaps or areas where water may penetrate.
- Roofing Nails/Screws: These are necessary for securing the flashing and skylight to the roof structure.
- Waterproof Membrane: Helps protect against water leaks around the skylight opening.
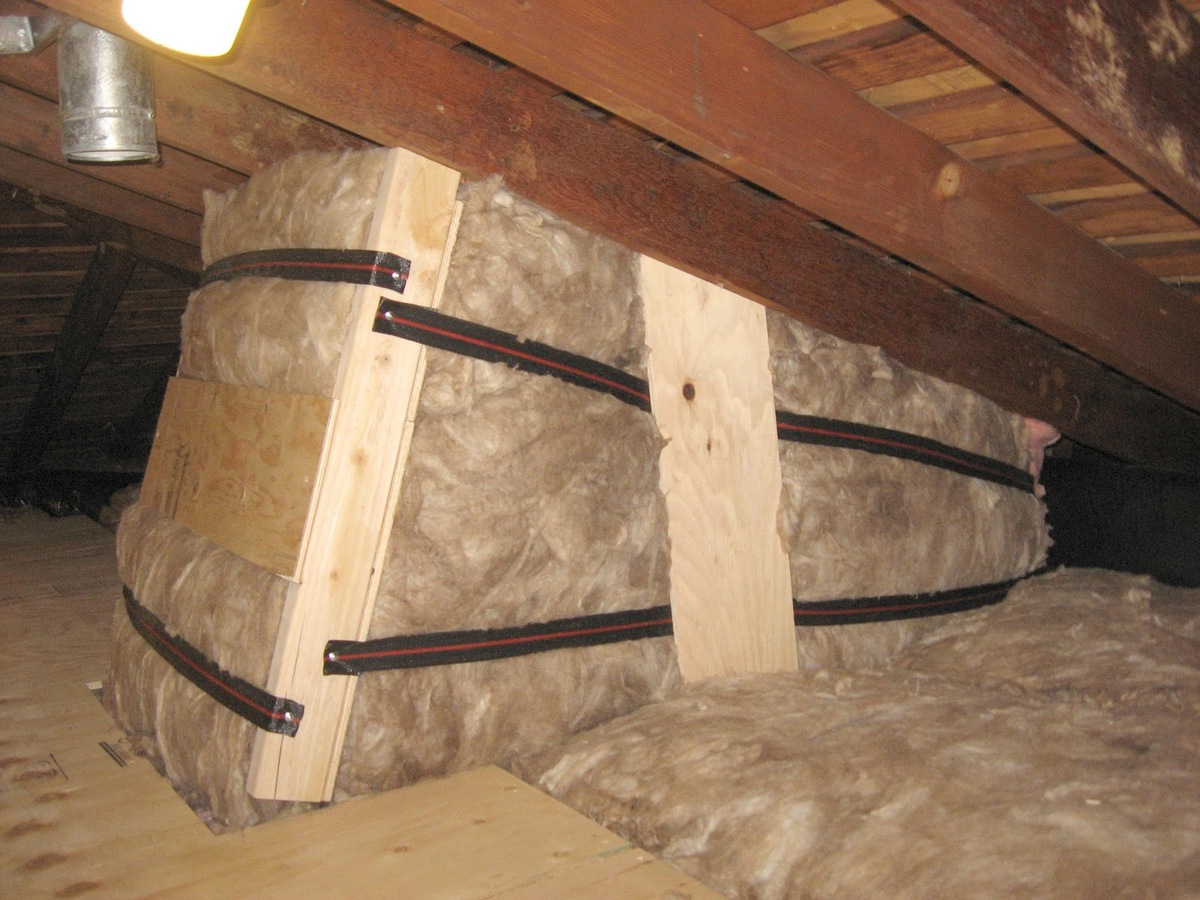
- Insulation: Provides additional thermal insulation to prevent heat loss or gain through the skylight.
Read more: How To Frame A Skylight Opening
Tools:
- Tape Measure: Essential for measuring the skylight opening and ensuring accurate dimensions.
- Level: Used to ensure the skylight is installed straight and level.
- Caulking Gun: For applying roofing cement or adhesive to seal gaps and prevent water infiltration.
- Hammer/Drill: Depending on your roof type and skylight, you may need a hammer or a drill for securing the skylight into place.
- Screwdriver: Used for fastening screws or removing existing hardware.
- Utility Knife: Needed for cutting and trimming materials during the installation process.
Take the time to gather all the necessary materials and tools before starting the installation process. Having everything prepared in advance saves time and avoids unnecessary interruptions during the project.
With the materials and tools gathered, you’re ready to move on to the next step: preparing the opening for your skylight installation.
Step 4: Prepare the Opening
Preparing the opening is a crucial step in ensuring a proper and secure installation of your skylight. Follow these steps to prepare the opening for your skylight:
- Clear the area: Remove any furniture or obstacles from the space below where the skylight will be installed. This helps create a clean and safe work area.
- Cut the opening: Use a reciprocating saw or a circular saw to carefully cut along the marked dimensions of the skylight opening. Take care to follow the guidelines carefully and wear appropriate safety gear.
- Remove the roofing material: If there are shingles or other roofing material covering the opening, carefully remove them to expose the sheathing or roof deck beneath. Use a pry bar or roofing knife for this task.
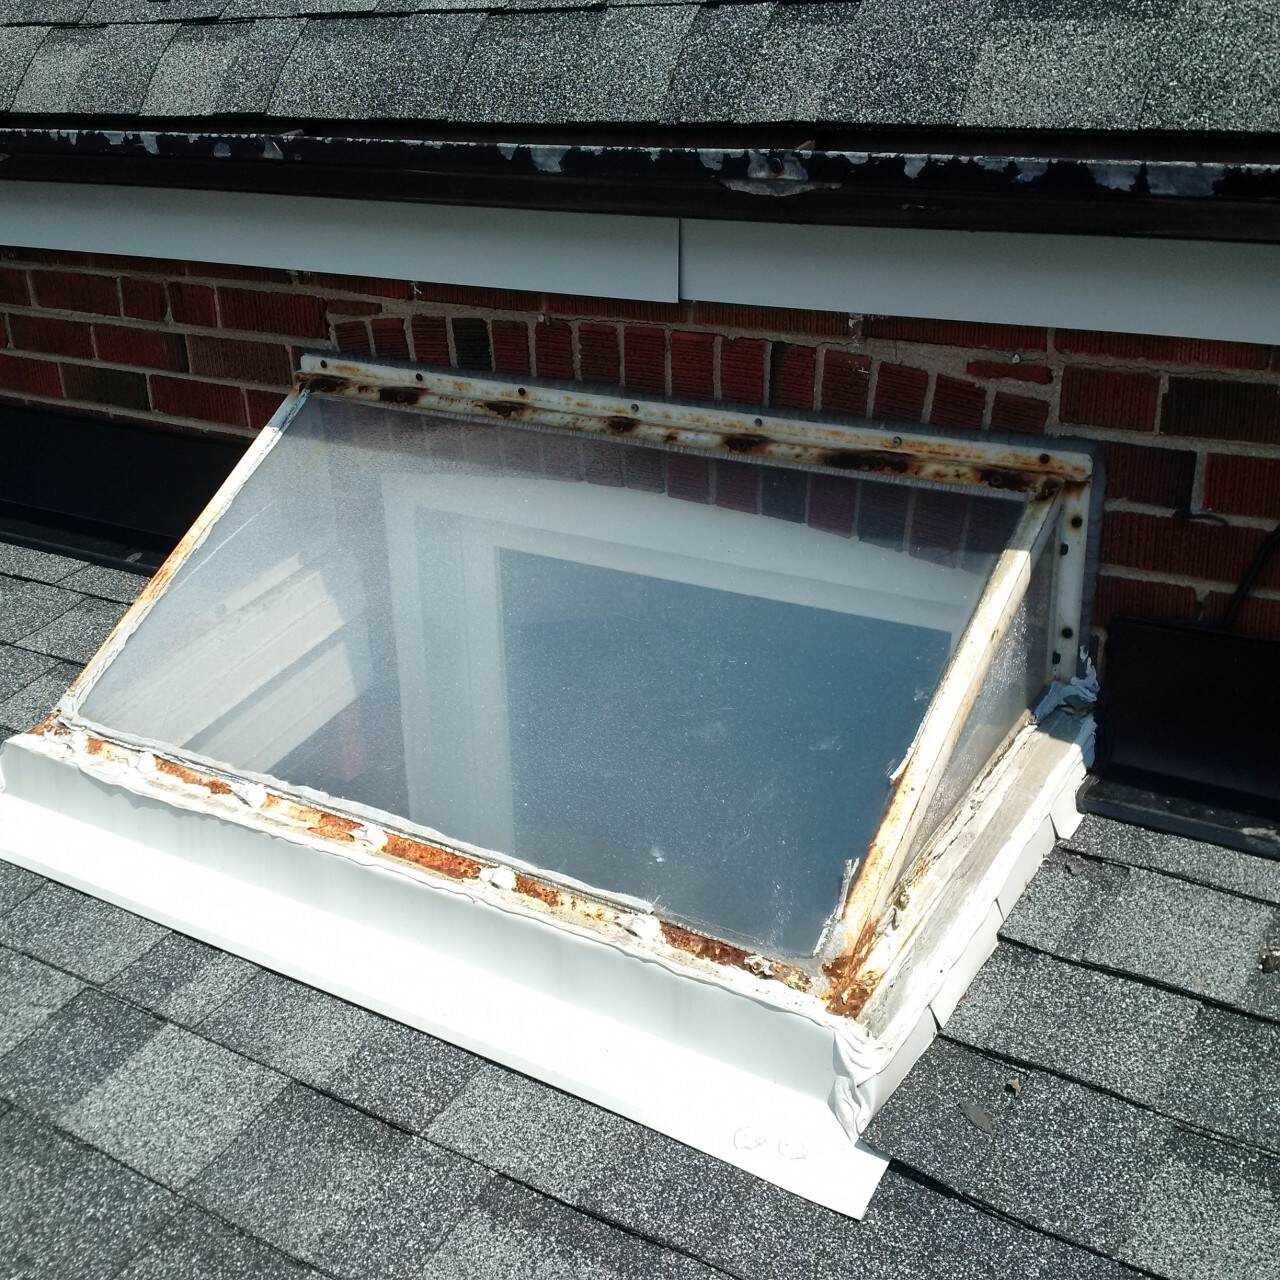
- Inspect the sheathing: Once the roofing material is removed, inspect the sheathing for any signs of damage or rot. Replace any damaged sections to ensure a strong and stable base for the skylight.
- Apply the flashing: Apply the flashing kit provided with the skylight. The flashing helps to waterproof and seal the skylight against the roof to prevent water leaks. Follow the manufacturer’s instructions for proper installation.
- Apply the waterproof membrane: Install a waterproof membrane around the opening. This further protects the skylight and helps prevent water infiltration into your home. Secure the membrane securely following the manufacturer’s guidelines.
Properly preparing the opening ensures a solid foundation for the skylight installation. It also helps to prevent potential leaks and ensure the longevity of your skylight.
With the opening prepared, you’re now ready to move on to the exciting step of installing the skylight itself. Stay tuned for Step 5: Install the Skylight.
When opening a skylight, make sure to check the weather forecast beforehand. Avoid opening it during strong winds or heavy rain to prevent water from entering your home.
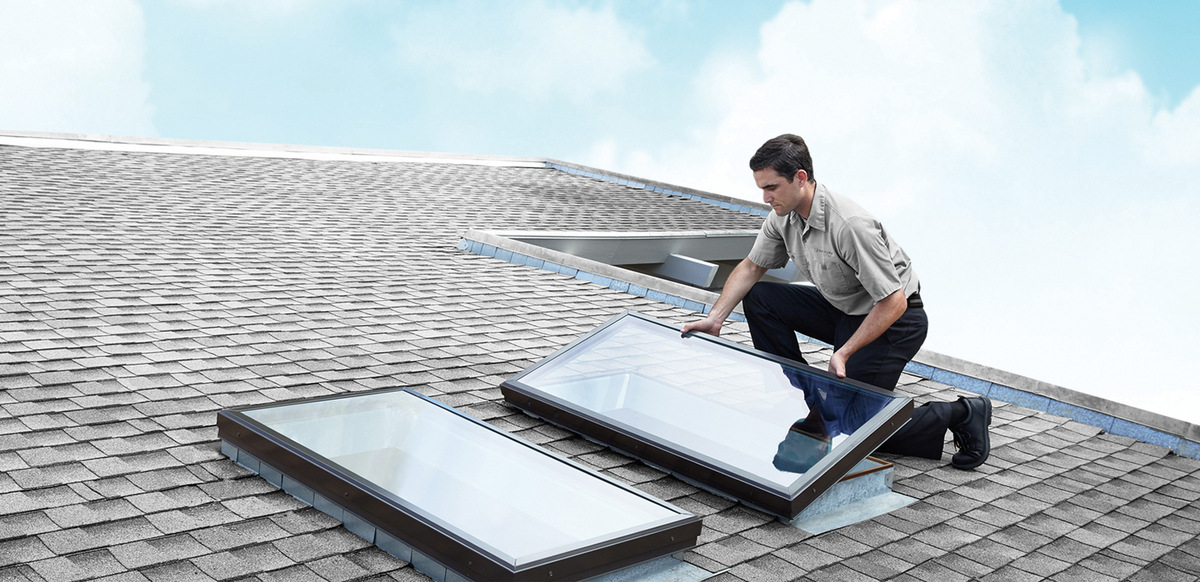
Step 5: Install the Skylight
Now that you’ve prepared the opening, it’s time to install the skylight. Follow these steps for a successful installation:
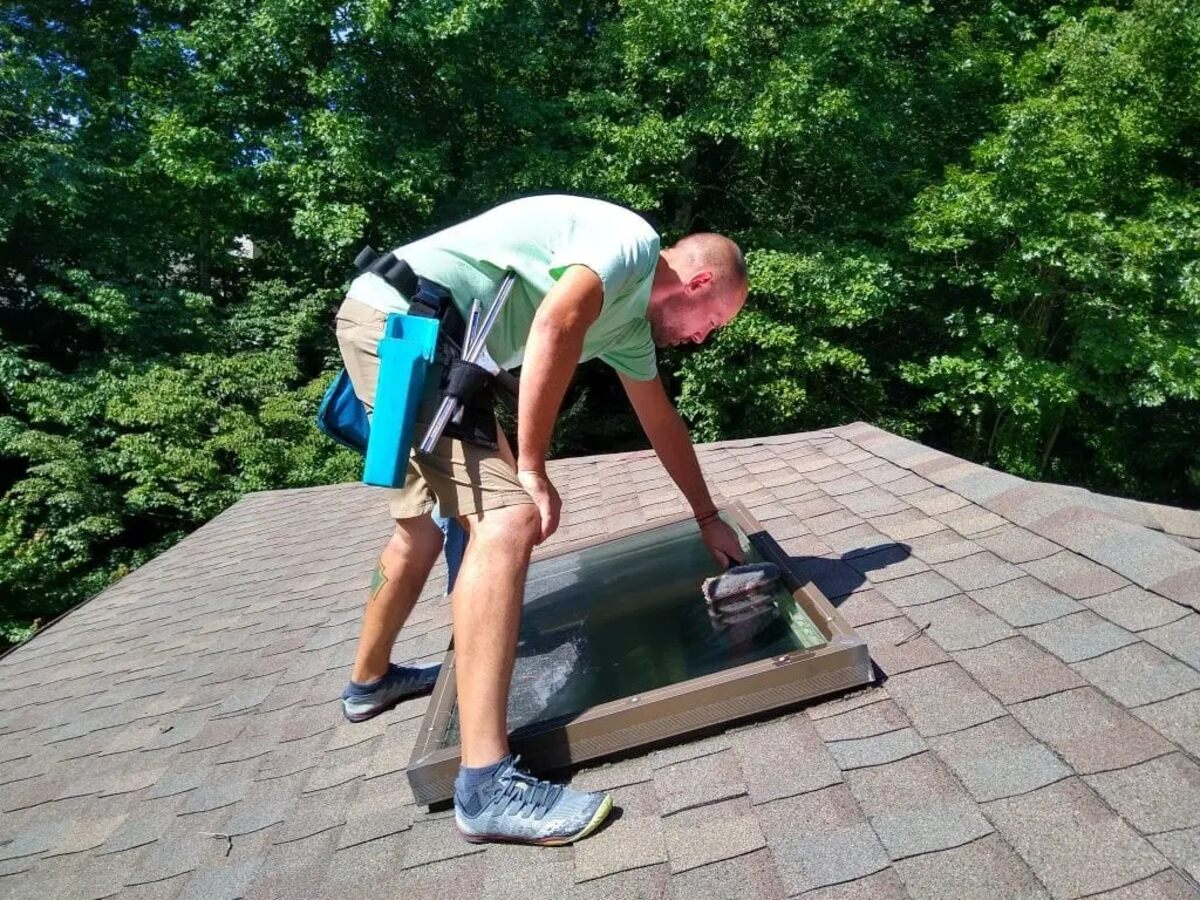
- Position the skylight: Carefully lift the skylight and position it over the prepared opening. Ensure that it is centered and aligned properly.
- Secure the skylight frame: Depending on the type of skylight, you may need to secure the frame using screws or nails. Refer to the manufacturer’s instructions for the specific installation requirements.
- Check for proper fit: Double-check that the skylight fits snugly into the opening and that it is level. Use a level to verify and make any necessary adjustments.
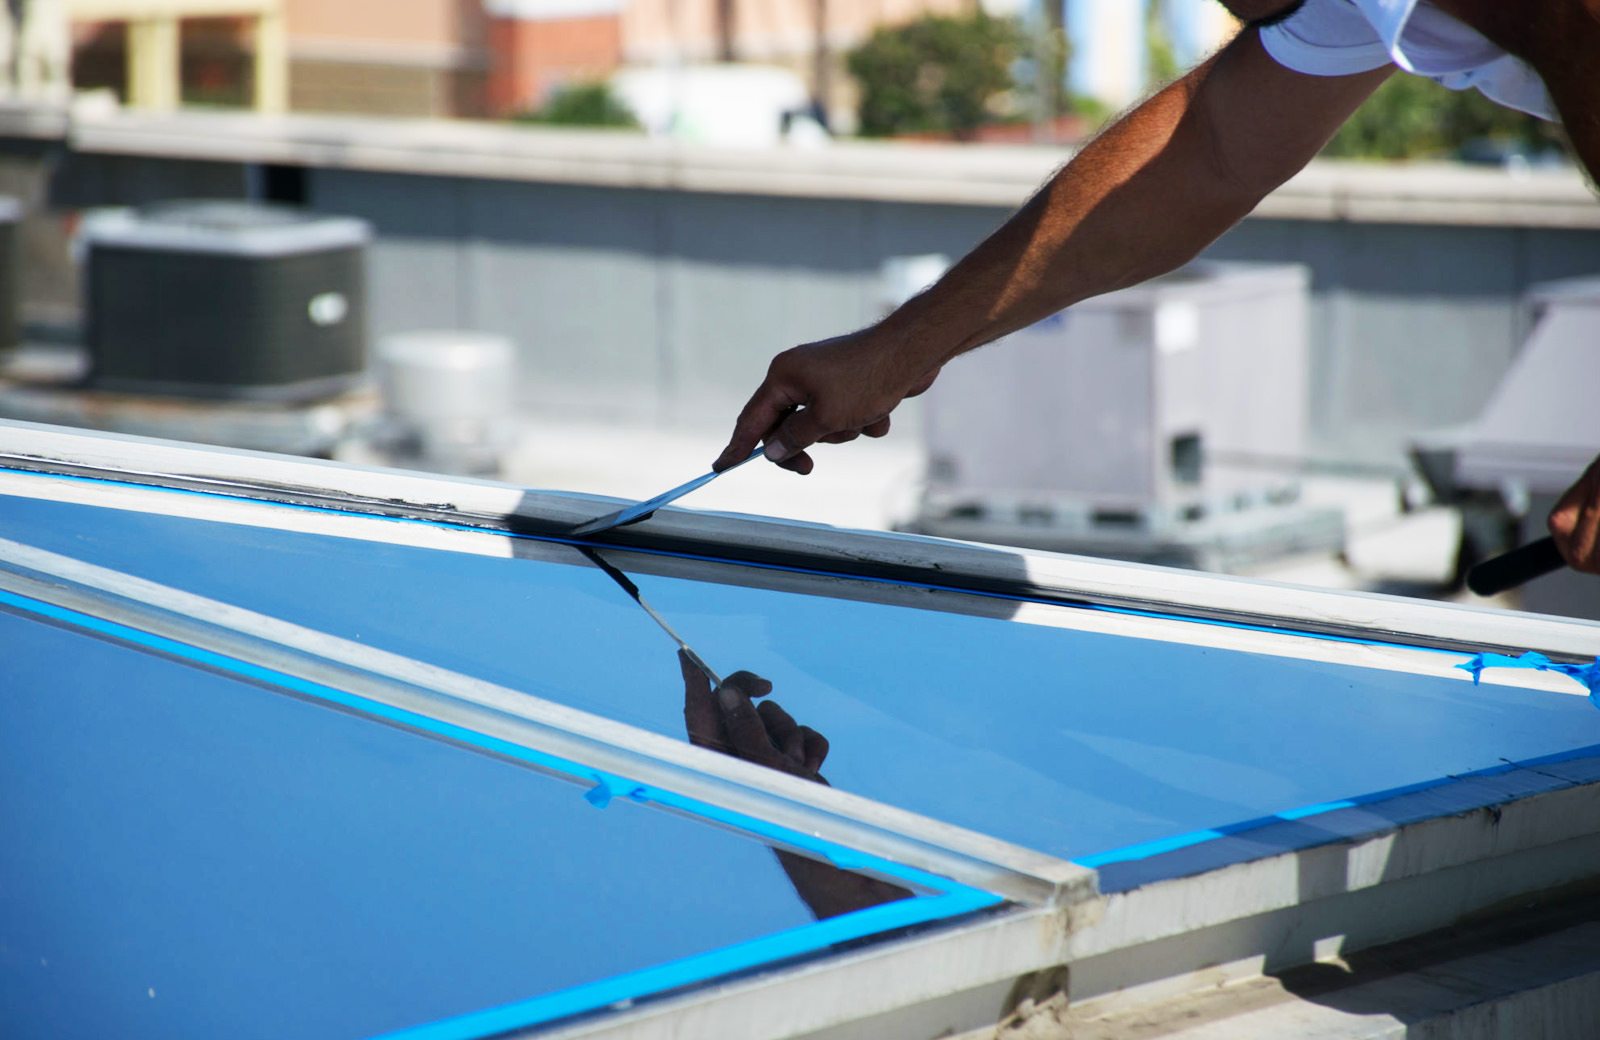
- Seal the skylight: Apply roofing cement or sealant around the edges of the skylight to create a watertight seal. This helps prevent any potential leaks.
- Install the flashing: Follow the manufacturer’s instructions to install the flashing kit provided with the skylight. The flashing helps to further secure the skylight to the roof and provides additional waterproofing.
- Insulate around the skylight: Fill any gaps or spaces around the skylight with insulation material. This helps to improve thermal efficiency and prevent drafts.
Take your time during the skylight installation process to ensure everything is properly aligned, sealed, and secured. Following these steps will help ensure a successful and long-lasting skylight installation.
With the skylight installed, it’s time to move on to Step 6: Secure and Finish the Skylight, where we will cover the final steps to complete your skylight installation.
Step 6: Secure and Finish the Skylight
Now that the skylight is installed, it’s important to secure and finish the installation for a polished and secure final result. Follow these steps to complete the process:
- Secure the skylight: Ensure that the skylight is securely fastened to the roof structure. Tighten any screws or nails as necessary to prevent any movement or potential leaks.
- Apply additional sealant: Inspect the skylight and flashing for any gaps or areas that may need additional sealant. Apply roofing cement or sealant as needed to ensure a watertight seal.
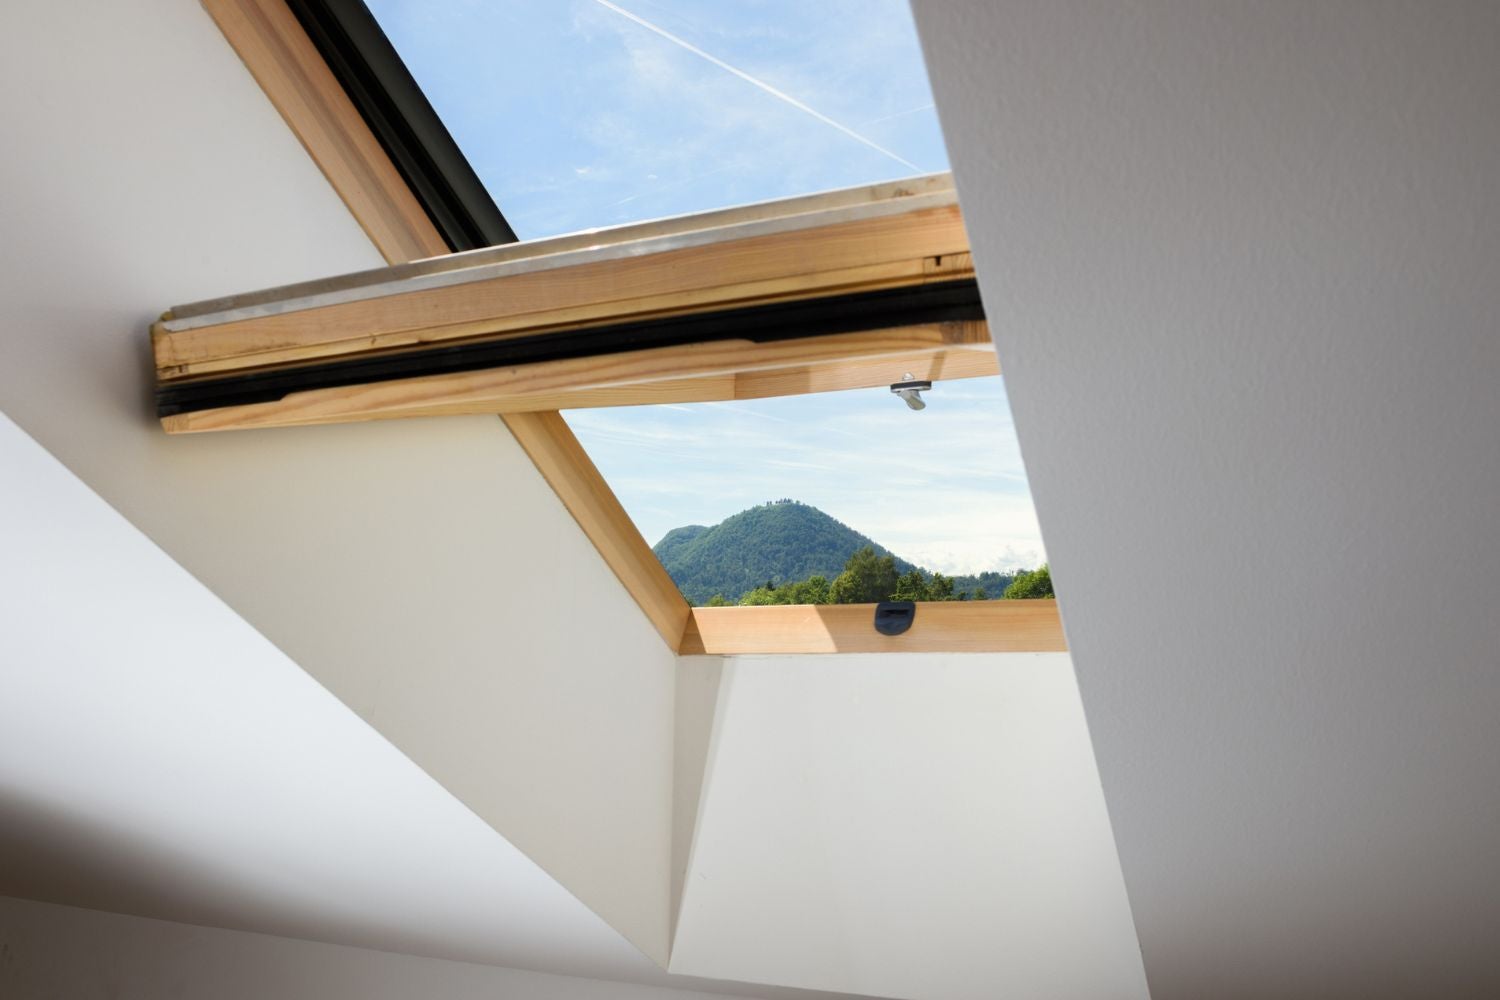
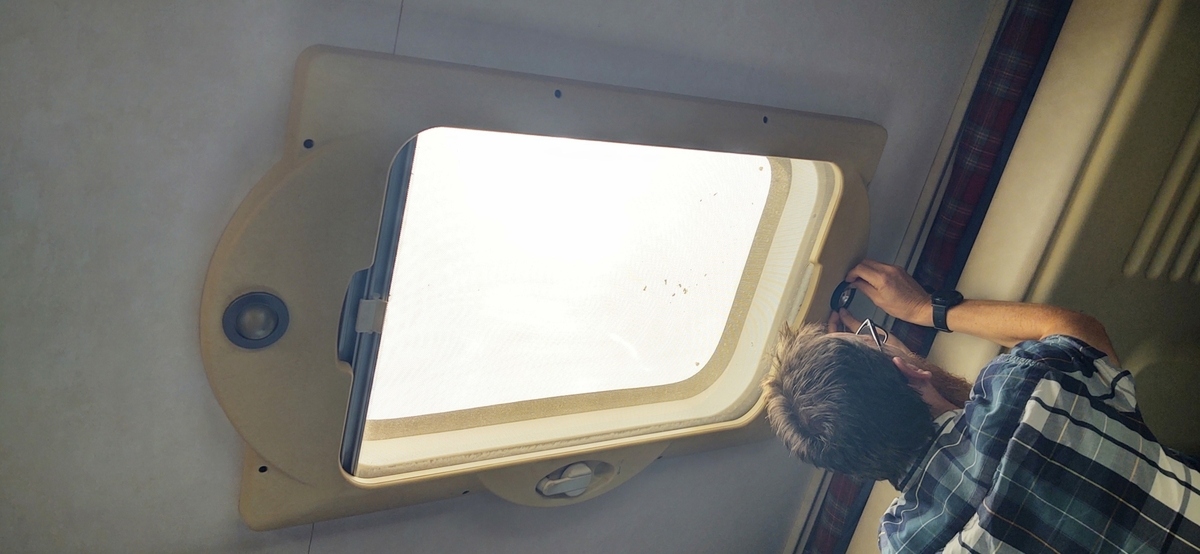
- Check for proper operation: If your skylight is operable, test the opening and closing mechanism to ensure it functions correctly. Make any adjustments as necessary.
- Install blinds or shades (optional): If your skylight has built-in blinds or shades, follow the manufacturer’s instructions to install them for privacy and light control.
- Finish the interior: Depending on your preference, you may choose to add trims, molding, or other decorative elements around the skylight opening to enhance its appearance and blend it with your interior design.
- Paint or stain (optional): If desired, paint or stain any visible portions of the skylight or the surrounding area to match your interior decor.
Take your time during the final steps to ensure everything is secure and aesthetically pleasing. Properly finishing the skylight installation adds the final touches to your project, giving you a beautiful and functional addition to your home.
Once you have completed these steps, you can sit back and enjoy your newly installed skylight. Bask in the natural light it brings into your space and appreciate the enhanced beauty and ventilation it provides.
Congratulations on successfully opening and installing your skylight!
Read also: 10 Superior Skylight Opener For 2025
Conclusion
Opening a skylight and installing it in your home can greatly enhance the natural light, ventilation, and overall ambiance of your living space. By following the steps outlined in this guide, you can successfully complete the skylight installation process.
Remember, thorough preparation is key. Start by measuring and preparing the opening, ensuring that you have the right skylight type for your needs. Gather all the necessary materials and tools before proceeding, and then carefully prepare the opening by removing roofing material and applying flashing and a waterproof membrane.
Once the opening is prepared, you can proceed with the skylight installation itself. Position the skylight, secure it to the frame, check for proper fit, and seal it with roofing cement or sealant. Install the flashing, insulate around the skylight, and ensure everything is securely fastened.
Finally, take the time to secure and finish the skylight installation. Apply additional sealant as needed, test the opening and closing mechanism if applicable, and consider adding blinds or shades for privacy and light control. Finish the interior with trims or molding, and paint or stain if desired.
Once you have completed these steps, you can enjoy the benefits of your beautiful skylight. Bask in the natural light, relish the improved ventilation, and take pride in your home’s enhanced aesthetic.
Remember to regularly inspect and maintain your skylight to ensure its longevity and performance. By following these guidelines, you can open a skylight and transform your living space into a bright and inviting haven.
Happy skylight installation!
Frequently Asked Questions about How To Open A Skylight
Was this page helpful?
At Storables.com, we guarantee accurate and reliable information. Our content, validated by Expert Board Contributors, is crafted following stringent Editorial Policies. We're committed to providing you with well-researched, expert-backed insights for all your informational needs.


0 thoughts on “How To Open A Skylight”