Articles
How To Cut Vertical Blinds
Modified: December 7, 2023
Learn how to cut vertical blinds with our informative articles. Find step-by-step guides and tips for achieving the perfect fit and finish.
(Many of the links in this article redirect to a specific reviewed product. Your purchase of these products through affiliate links helps to generate commission for Storables.com, at no extra cost. Learn more)
Introduction
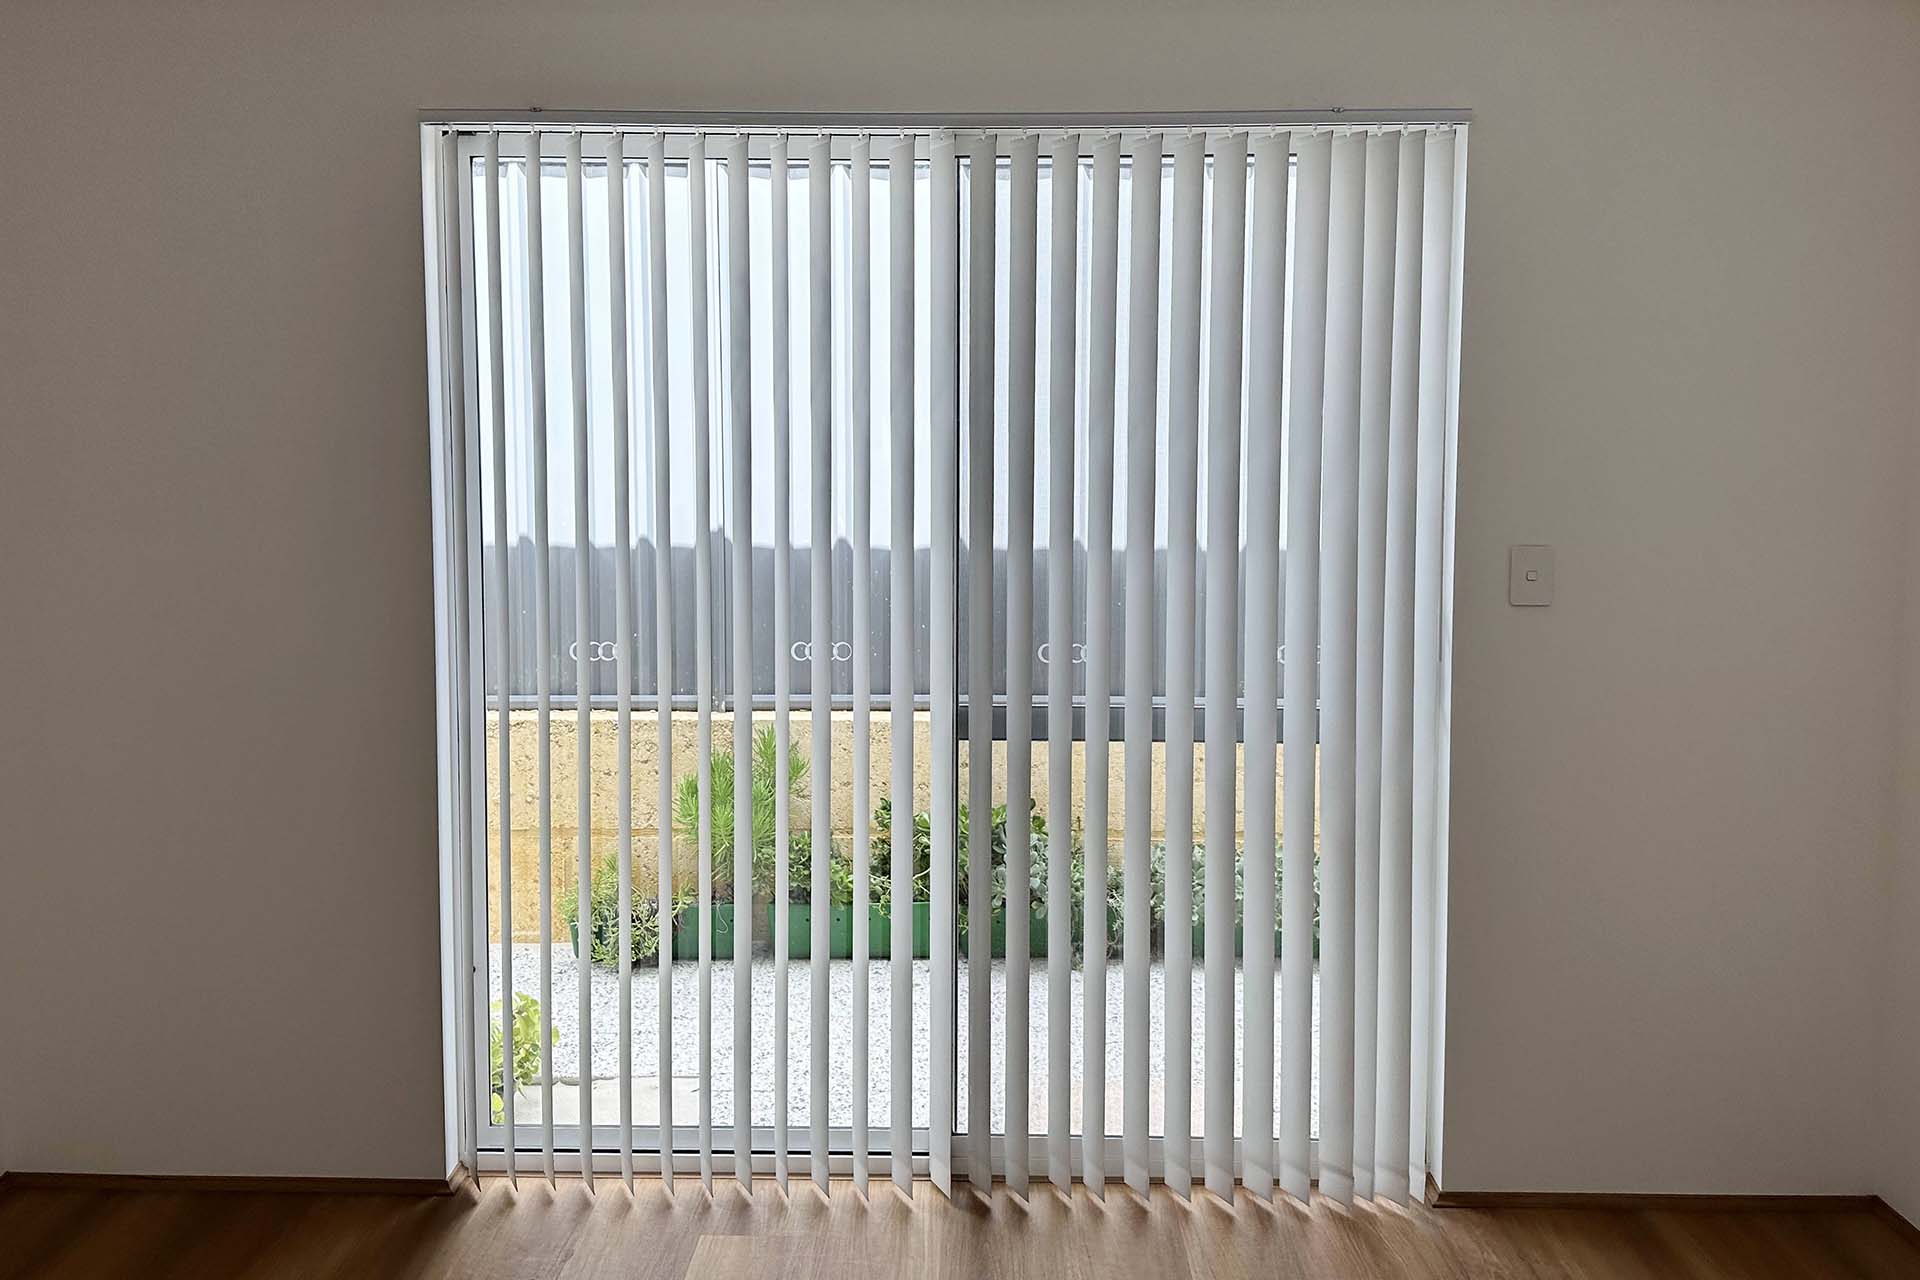
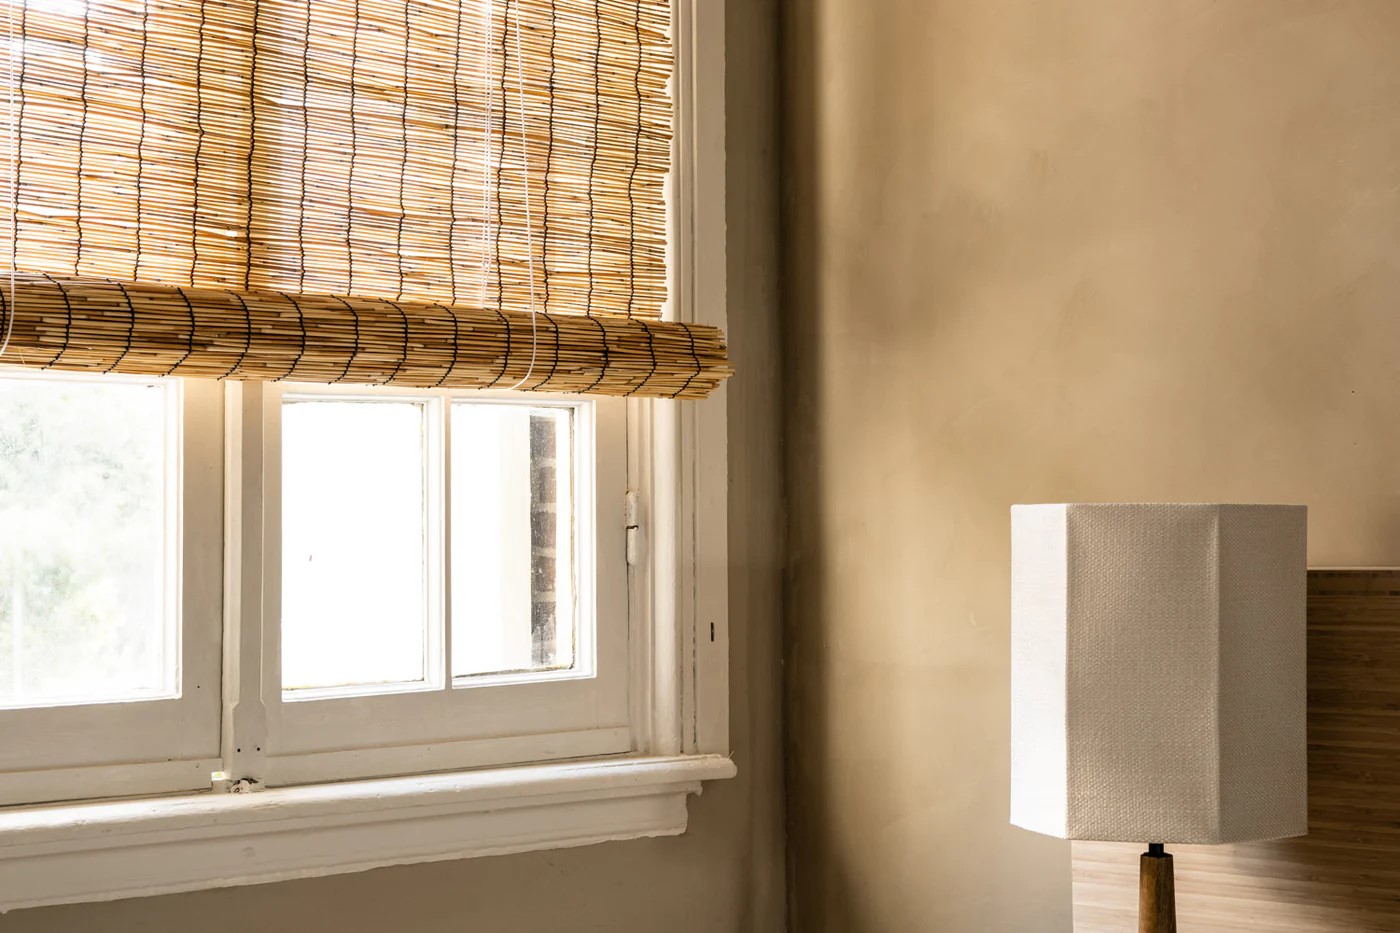
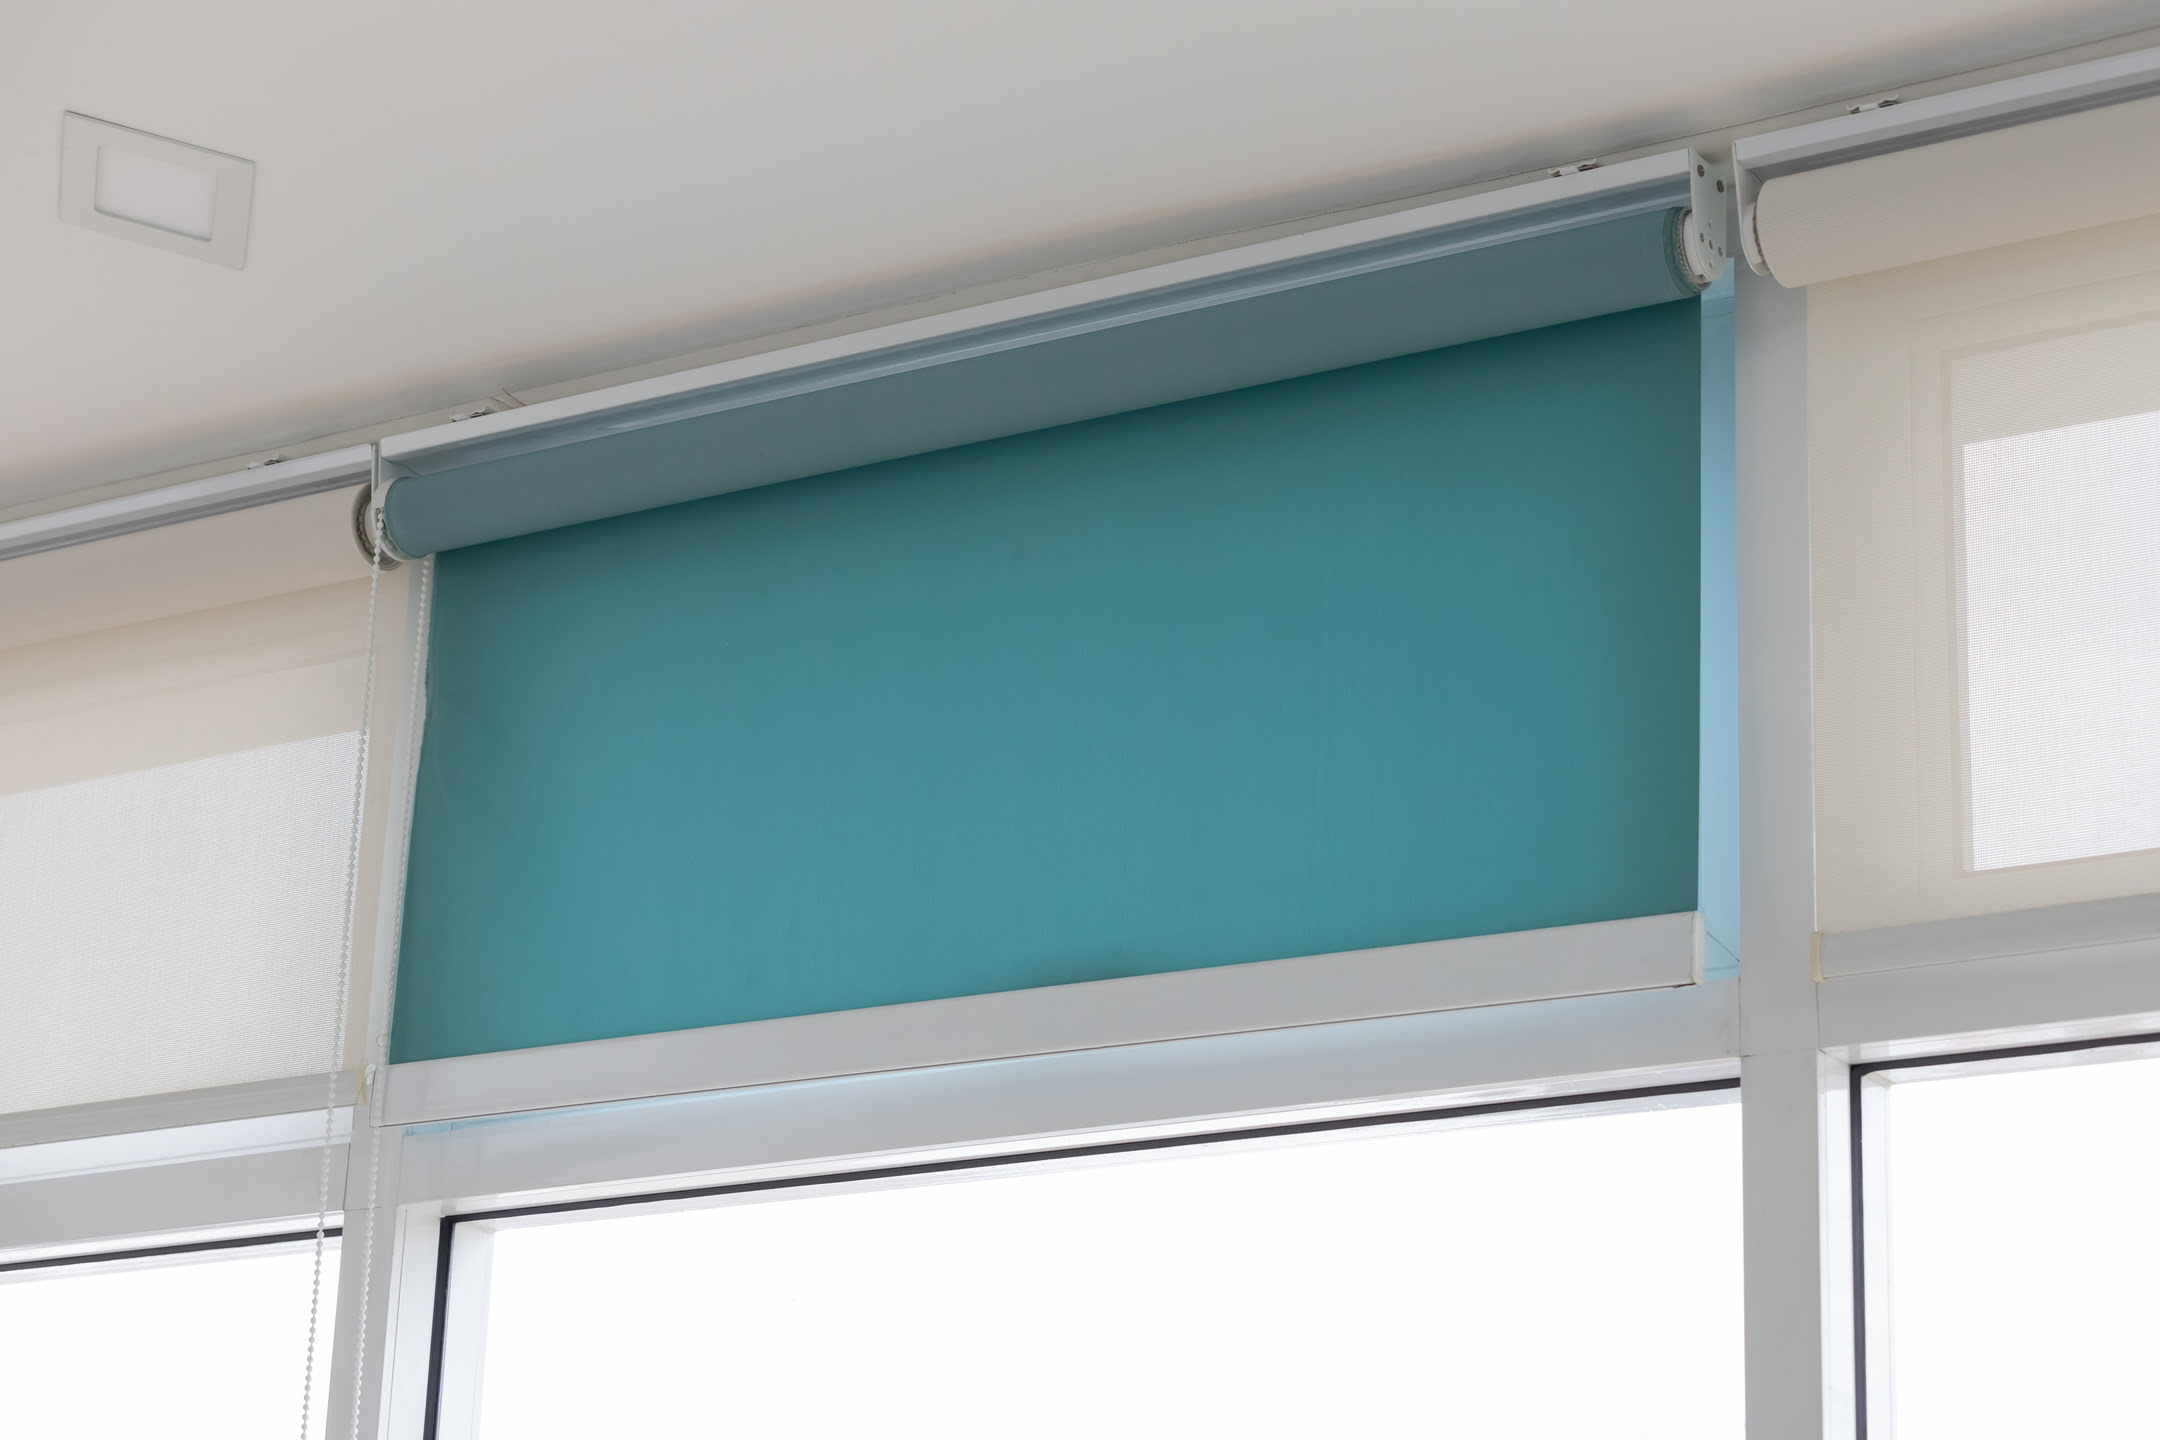
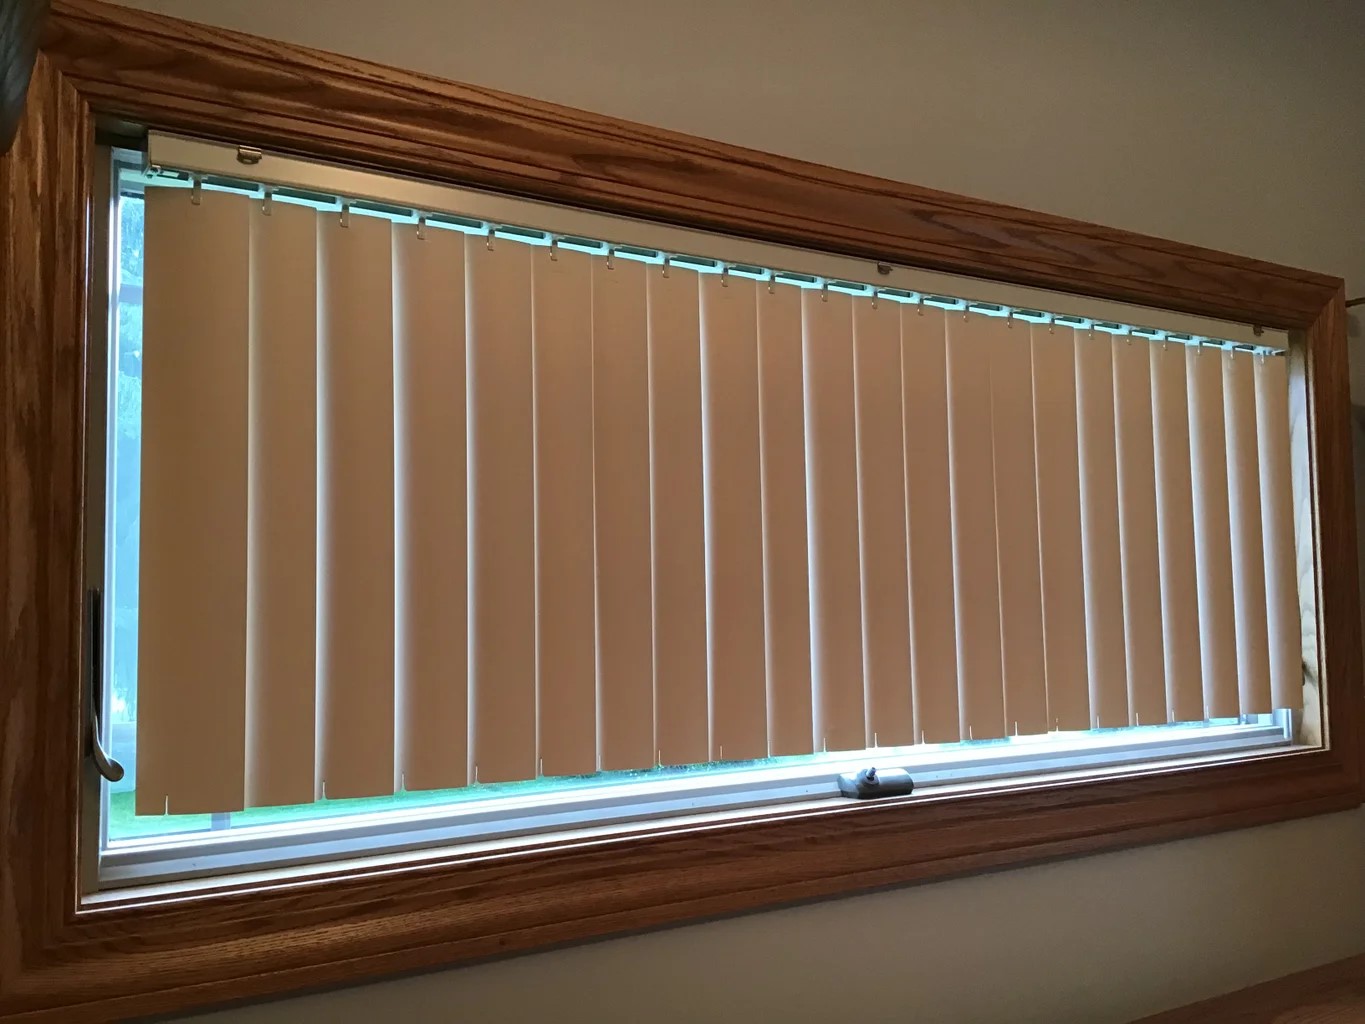
Vertical blinds are a popular window treatment option for their versatility and functionality. They provide privacy, filter out sunlight, and add a sleek and modern aesthetic to any space. However, if you’ve recently purchased vertical blinds and find that they are too long for your window, you may need to cut them down to the proper length.
While it may seem daunting at first, cutting vertical blinds is a relatively simple process that can be done with a few basic tools and some careful measurements. In this article, we will guide you through the step-by-step process of cutting vertical blinds to fit your window perfectly.
Before we begin, it’s important to note that not all vertical blinds can be cut. Some blinds are made with specific mechanisms that can’t be altered, so be sure to check the manufacturer’s instructions or consult a professional if you’re unsure whether your blinds can be cut.
Now, let’s gather the necessary tools and materials before we proceed with cutting the vertical blinds.
Key Takeaways:
- Cutting vertical blinds to fit your window is a manageable DIY project that requires precise measurements, careful cutting, and attention to detail. With the right tools and patience, you can achieve a customized and professional-looking window treatment.
- Before embarking on the cutting process, ensure that your blinds are suitable for trimming and gather the necessary tools and materials. Taking the time to measure accurately, remove and trim the slats, and reinstall them will result in perfectly fitted blinds that enhance the functionality and aesthetic of your space.
Read more: What Is Vertical Blinds
Tools and Materials Needed
Before you start cutting your vertical blinds, make sure you have the following tools and materials:
- Measuring tape
- Pencil or marker
- Scissors or utility knife
- Straight edge or ruler
- Cutting mat or sturdy surface
Additionally, you may want to have a damp cloth or sponge on hand to wipe away any dirt or dust that may accumulate during the cutting process.
It is important to use sharp scissors or a utility knife to ensure clean and precise cuts. If using a utility knife, make sure to have extra blades available, as dull blades can cause uneven edges.
Once you have gathered all the necessary tools and materials, you are ready to start measuring and cutting your vertical blinds.
Step 1: Measure the Blinds
The first step in cutting vertical blinds is to accurately measure the length that needs to be trimmed. Start by fully extending the blinds and measuring the overall length from the top of the headrail to the bottom of the slats.
Use a measuring tape to take precise measurements. Make sure to measure each individual blind if you have multiple blinds on the same headrail, as they might have slight variations in length.
Once you have the measurements, subtract the desired length of the blinds from the measured length. This will give you the amount that needs to be cut off. Double-check your calculations to ensure accuracy.
Next, mark the cutting line on the blinds using a pencil or marker. It’s important to make the mark on the side of the blinds that will face the wall or window frame once reinstalled, as this will ensure a clean and seamless appearance.
Take your time during this step and double-check your measurements before proceeding to the next step. Accurate measurements are crucial to achieving properly fitting blinds.
Once you have marked the cutting line, you are ready to remove the slats from the blinds.
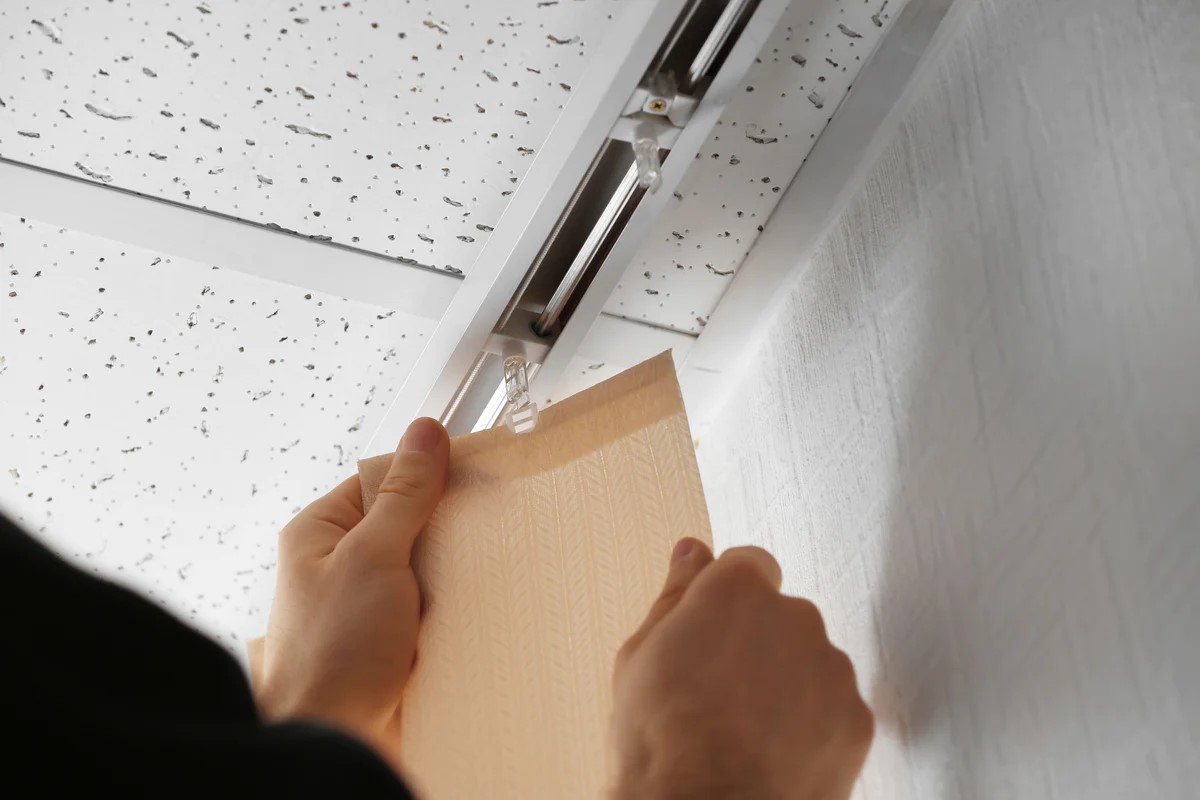
Step 2: Remove the Slats
Before you can begin cutting the vertical blinds, you’ll need to remove the slats from the headrail. This will make it easier to work with the blinds and ensure a clean and precise cut.
Start by locating the end control mechanism on the headrail. This is typically a plastic or metal clip that keeps the slats in place. Depending on the type of blinds you have, there may be multiple control mechanisms along the headrail.
Carefully release the clips or mechanisms by gently prying them open using your fingers or a small tool like a flathead screwdriver. Be cautious not to damage the headrail or the slats as you remove them.
Once the clips or mechanisms are released, you should be able to slide the slats out of the headrail one by one. Start from the bottom and work your way up, stacking the slats in a safe and organized manner.
It is important to keep the slats in the correct order to ensure that they fit back into the headrail properly. You can use numbered stickers or write numbers on masking tape to label the order of the slats.
Continue removing the slats until you have reached the desired height for your blinds. You may need to leave a few extra slats at the bottom to maintain stability and weight at the bottom of the blinds. This will prevent the blinds from swaying or moving excessively when in use.
Once you have removed the necessary amount of slats, you are ready to adjust the length of the blinds.
Step 3: Adjust the Length
With the slats removed, you can now focus on adjusting the length of the vertical blinds to fit your window perfectly. This step involves preparing the blinds for cutting and ensuring that you have a clean and straight edge to work with.
Start by laying the blinds on a flat and sturdy surface, such as a cutting mat or a table. Make sure that the blinds are positioned in a way that allows you to easily access the area that needs to be trimmed.
If your blinds have a fabric or vinyl covering, fold the excess material back to expose the inner structure of the slats. This will make it easier to cut the slats cleanly and avoid any fraying or damage to the outer material.
Next, use a straight edge or ruler to guide your cutting line. Align the straight edge along the marked cutting line and make sure it is securely in place. This will ensure a straight and even cut.
Take your time and use a pencil or marker to trace along the edge of the straight edge. This will provide a clear and visible guide for cutting. Double-check the alignment of the straight edge before proceeding to the next step.
By preparing the blinds in this manner, you are setting yourself up for a precise and professional-looking cut. Having a clean and straight edge will make the trimming process much easier and help you achieve the desired result.
Once you have adjusted the length and prepared the blinds, you are ready to trim the slats.
When cutting vertical blinds, always measure twice and cut once to ensure accuracy. Use a sharp pair of scissors or a fine-toothed saw for a clean cut.
Read more: How To Clean Vertical Blinds
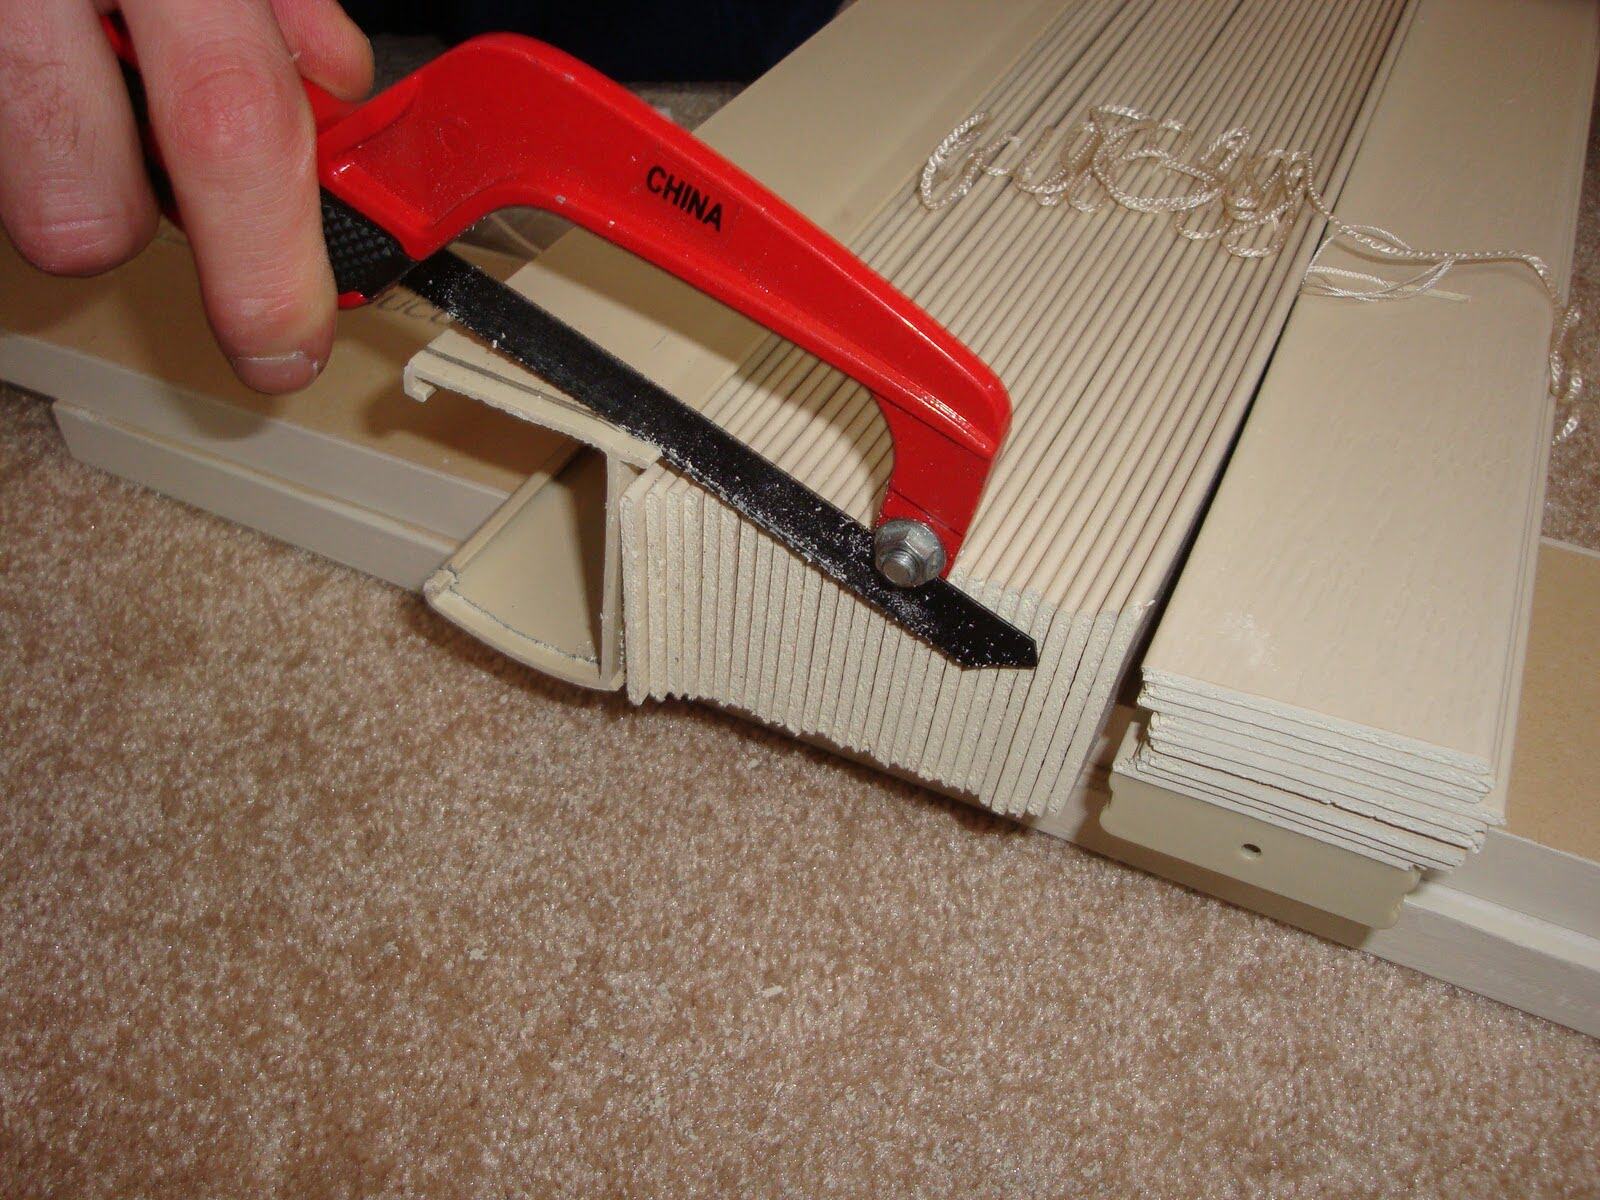
Step 4: Trim the Slats
Now that you have prepared the blinds by adjusting the length and creating a straight cutting line, it’s time to trim the slats to the desired size. This step requires precision and careful cutting to ensure a clean and accurate result.
Using sharp scissors or a utility knife, carefully cut along the marked cutting line. Take your time and apply steady pressure to ensure a smooth and even cut. If using a utility knife, make sure to use a cutting mat or a sturdy surface to protect your work area.
Work your way down the line, trimming each slat individually. Remember to follow the marked cutting line closely to maintain consistency throughout the blinds. Double-check your measurements and cuts as you progress to ensure accuracy.
When cutting the slats, it’s important to cut through both the front and back layers of the slats. This will ensure that the slats remain intact and function properly once reinstalled in the headrail.
Continue cutting each slat until you have reached the desired length for your vertical blinds. Take your time and be patient during this step, as careful cutting is crucial to achieving professional-looking results.
Once you have trimmed all the slats, inspect them to ensure that they are all cut evenly and without any fraying or jagged edges. If necessary, use a pair of scissors to clean up any rough edges or uneven cuts.
With the slats trimmed and ready, you are now ready to reattach them to the headrail.
Step 5: Reinstall the Slats
After successfully trimming the slats to the desired length, it’s time to reinstall them back into the headrail. This step is crucial to ensure that the blinds function properly and appear seamless once hung on the window.
Start by aligning the first slat with the headrail and carefully slide it into place. Depending on the type of blinds you have, there may be small notches or grooves on the headrail that the slats need to fit into. Take your time to ensure a secure and proper fit.
Continue sliding each slat into the headrail, making sure they are evenly spaced and aligned. If you labeled the slats during the removal process, follow the correct order to maintain consistency and appearance.
As you attach each slat, pay attention to the control cords or chains. Ensure that they are threaded through the designated holes or notches in the slats. This will allow you to control the movement and angle of the blinds once they are hung.
Once all the slats are in place, check that they are hanging straight and are not twisted or misaligned. Adjust as necessary to achieve a uniform and visually appealing look.
Finally, reattach any control mechanisms or clips to secure the slats in place. Make sure they are firmly in position but not overly tight, as this could restrict the movement of the slats.
With the slats reinstalled and secured in the headrail, you are now ready to test the functionality and appearance of your newly adjusted vertical blinds.
Step 6: Test the Blinds
Now that you have reinstalled the slats, it’s important to test the functionality and appearance of your newly cut vertical blinds. This step will ensure that the blinds operate smoothly and provide the desired level of privacy and light control.
Start by fully extending the blinds and checking that they move freely along the track. Open and close the blinds several times to ensure that they glide smoothly and without any obstructions or resistance.
Next, adjust the angle of the slats to control the amount of light entering the room. Tilt the slats to different positions and observe how effectively they block or filter the sunlight. This will help you determine if the slats are aligned properly and if any adjustments need to be made.
Test the control cords or chains to ensure that they operate smoothly and allow you to easily adjust the height and angle of the blinds. Check for any tangled or frayed cords and address them promptly to maintain proper functionality.
Take a step back and evaluate the overall appearance of the blinds. Ensure that the slats are evenly spaced and that there are no noticeable gaps or overlaps between them. If any adjustments need to be made, gently reposition the slats until you achieve a visually pleasing and uniform look.
Finally, observe the blinds from inside and outside the window to assess their privacy and aesthetic impact. Make any necessary tweaks or modifications to achieve the desired level of privacy and to ensure that the blinds enhance the overall look and feel of the room.
Congratulations! You have successfully cut and adjusted your vertical blinds to fit your window perfectly. By following these steps and taking the time to make precise measurements and cuts, you can enjoy a customized window treatment that adds functionality and style to your space.
Conclusion
Cutting vertical blinds to fit your window can seem like a challenging task, but with the right tools and careful measurements, it can be a straightforward process. By following the step-by-step guide outlined in this article, you can confidently trim your blinds to the desired length and achieve a customized fit.
Remember to always check the manufacturer’s instructions or consult a professional if you’re unsure whether your blinds can be cut. Additionally, take the time to gather the necessary tools and materials, including a measuring tape, scissors or utility knife, and a straight edge. These tools will ensure that your cuts are accurate and clean.
Throughout the process, double-check your measurements and take your time when cutting the slats. Accuracy is key to achieving professional-looking results. Reinstall the slats carefully, ensuring they align properly and are securely in place. Testing the blinds for functionality and appearance afterwards will help you confirm that they operate smoothly and provide the desired level of light control and privacy.
With your newly cut and adjusted vertical blinds in place, you can enjoy the benefits of an improved window treatment that fits your window perfectly. Whether it’s for a home, office, or any other space, customized blinds not only offer practicality but also enhance the overall aesthetic appeal.
So, don’t be intimidated by the process—take the time to measure carefully, follow the steps diligently, and enjoy the satisfaction of achieving a seamless and personalized window treatment.
Frequently Asked Questions about How To Cut Vertical Blinds
Was this page helpful?
At Storables.com, we guarantee accurate and reliable information. Our content, validated by Expert Board Contributors, is crafted following stringent Editorial Policies. We're committed to providing you with well-researched, expert-backed insights for all your informational needs.