Articles
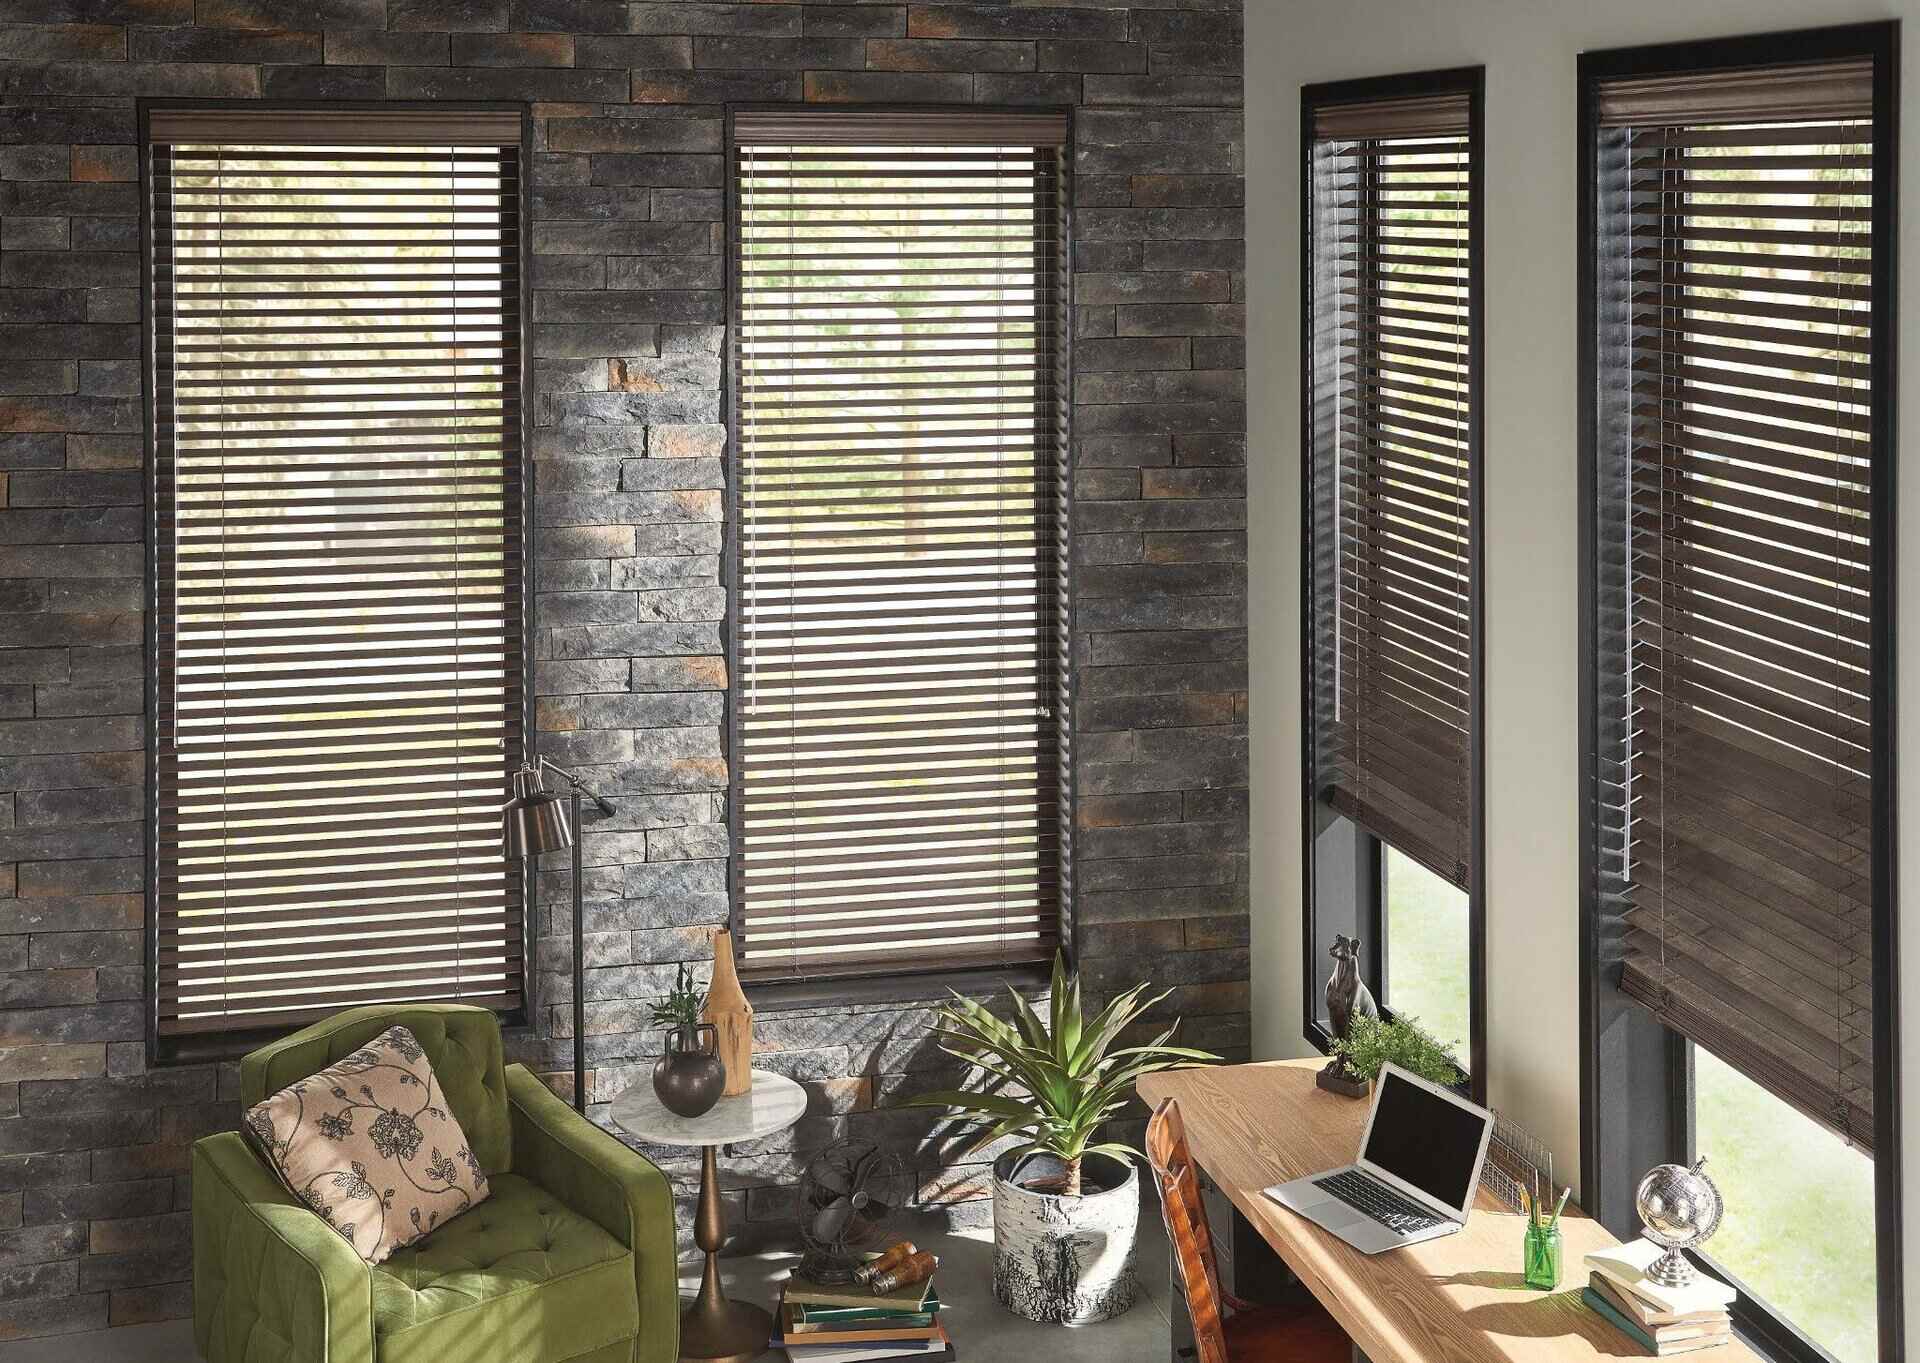
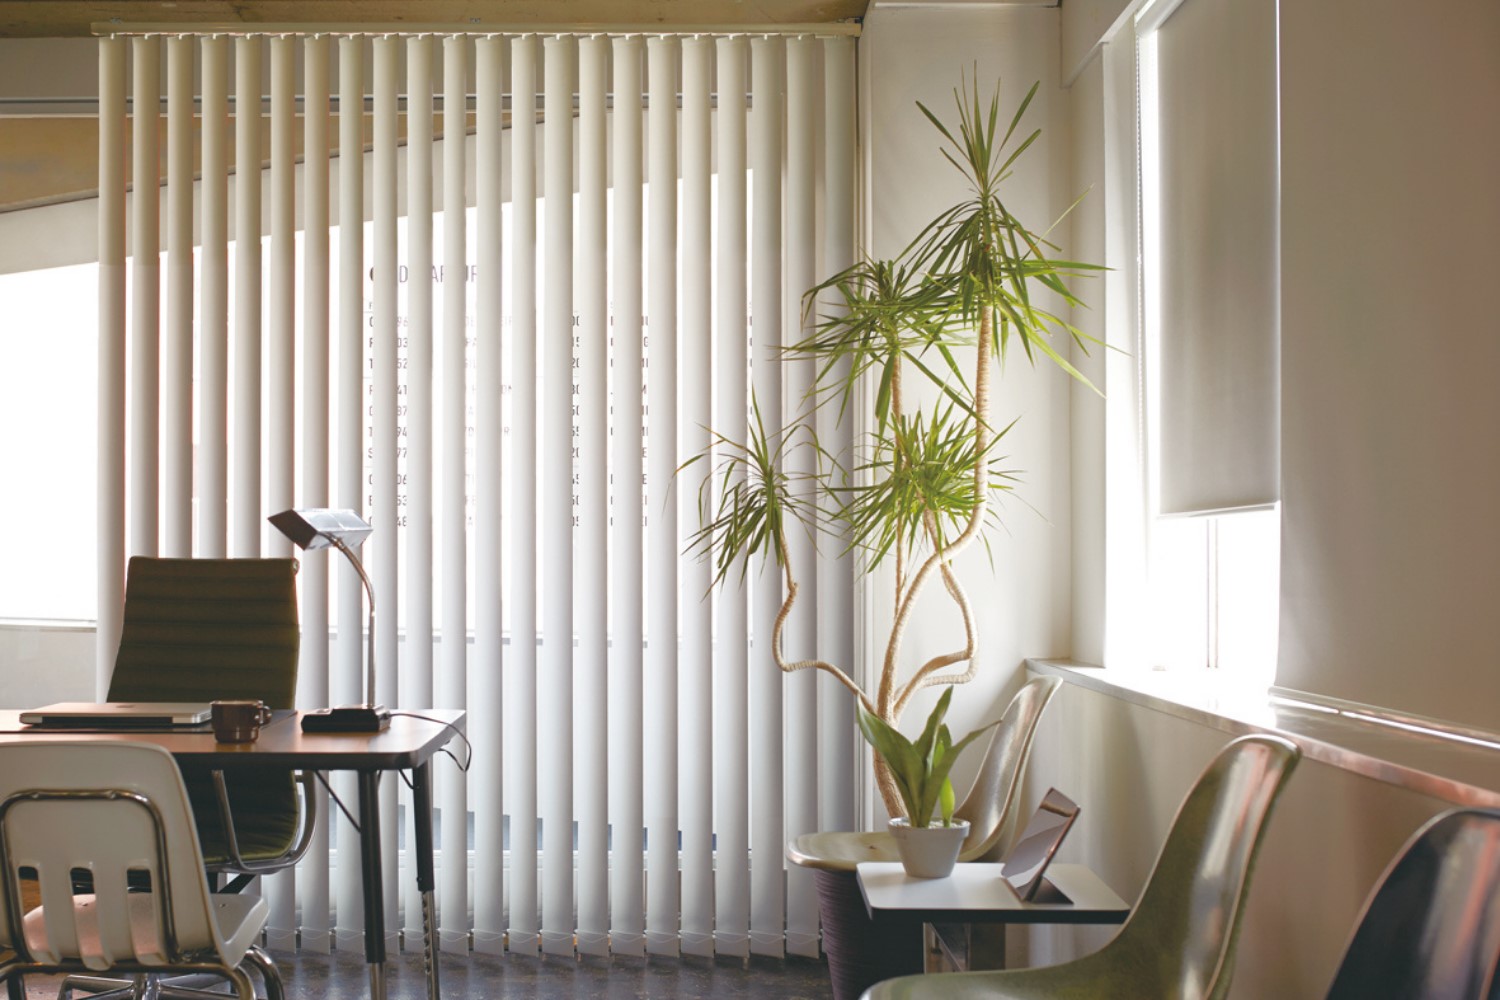
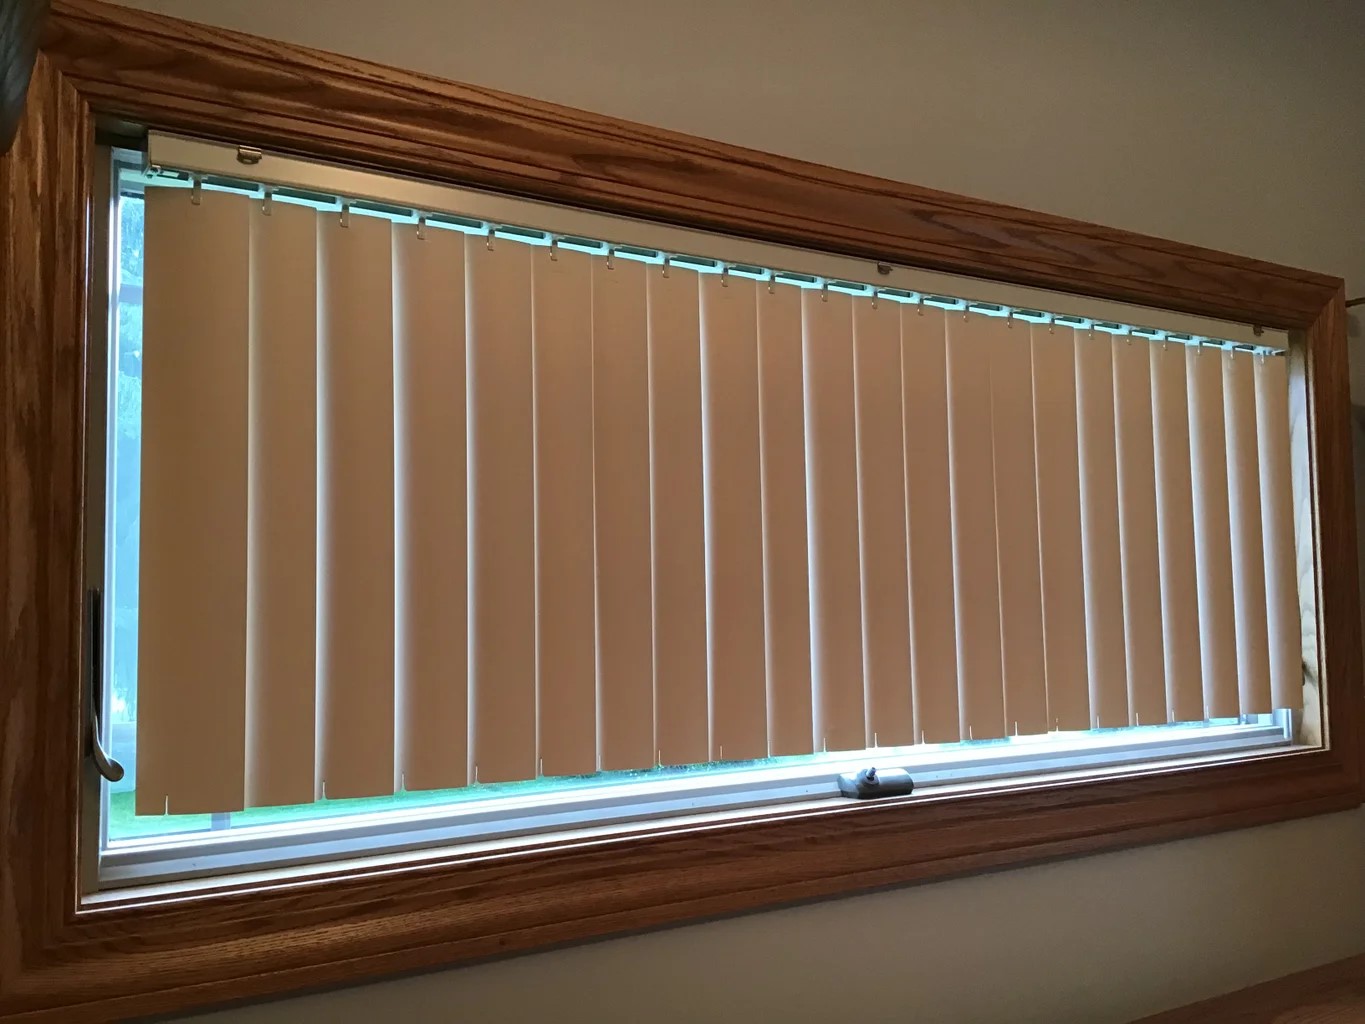
How To Take Down Vertical Blinds
Modified: October 18, 2024
Learn how to take down vertical blinds with our informative articles.
(Many of the links in this article redirect to a specific reviewed product. Your purchase of these products through affiliate links helps to generate commission for Storables.com, at no extra cost. Learn more)
Introduction
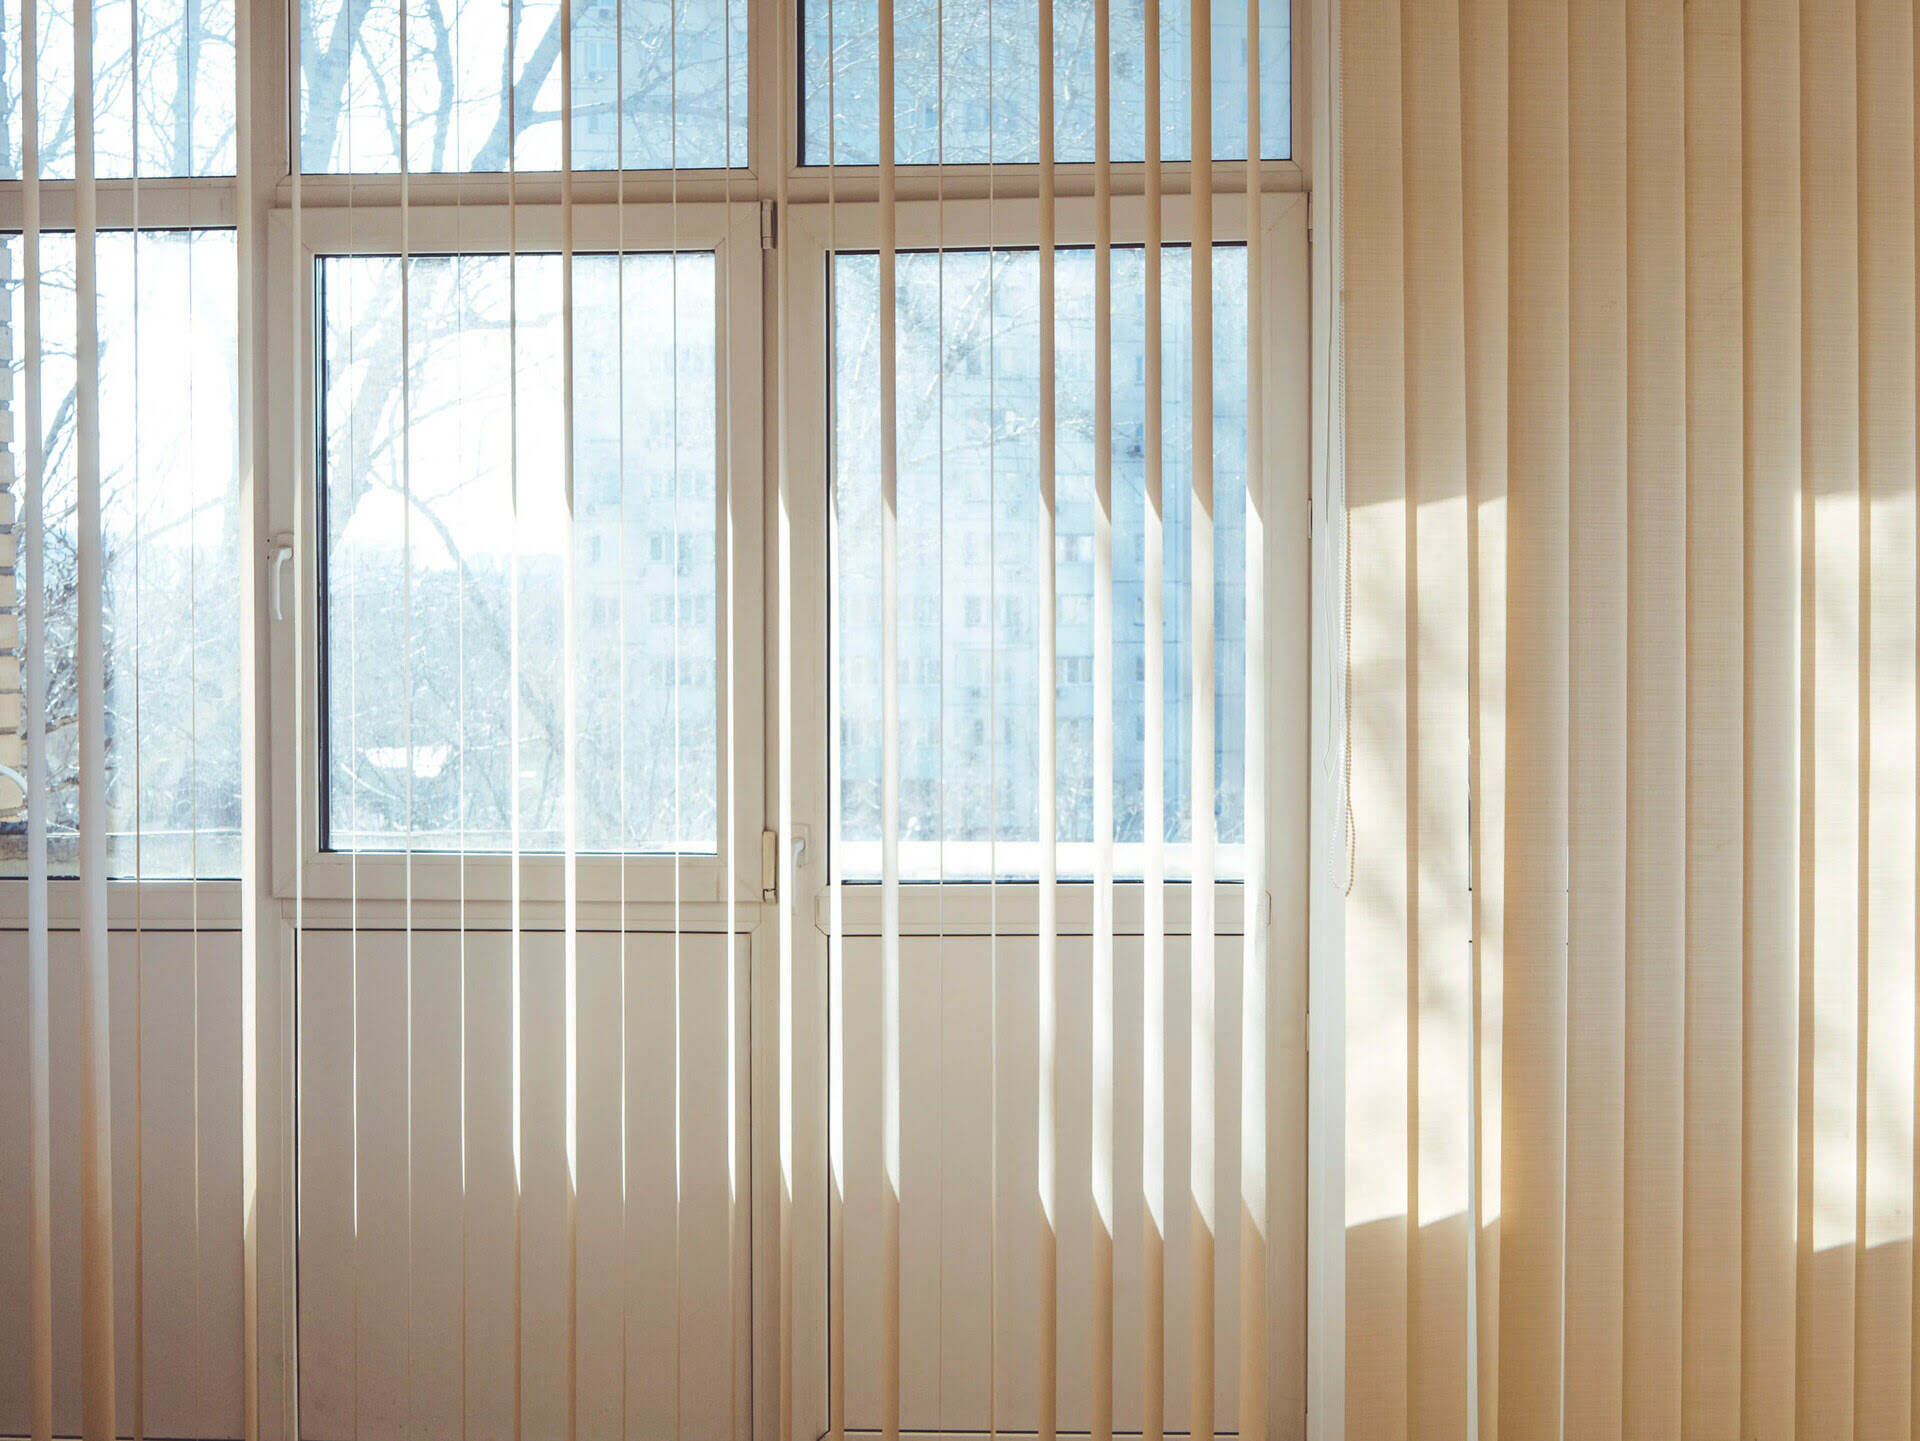
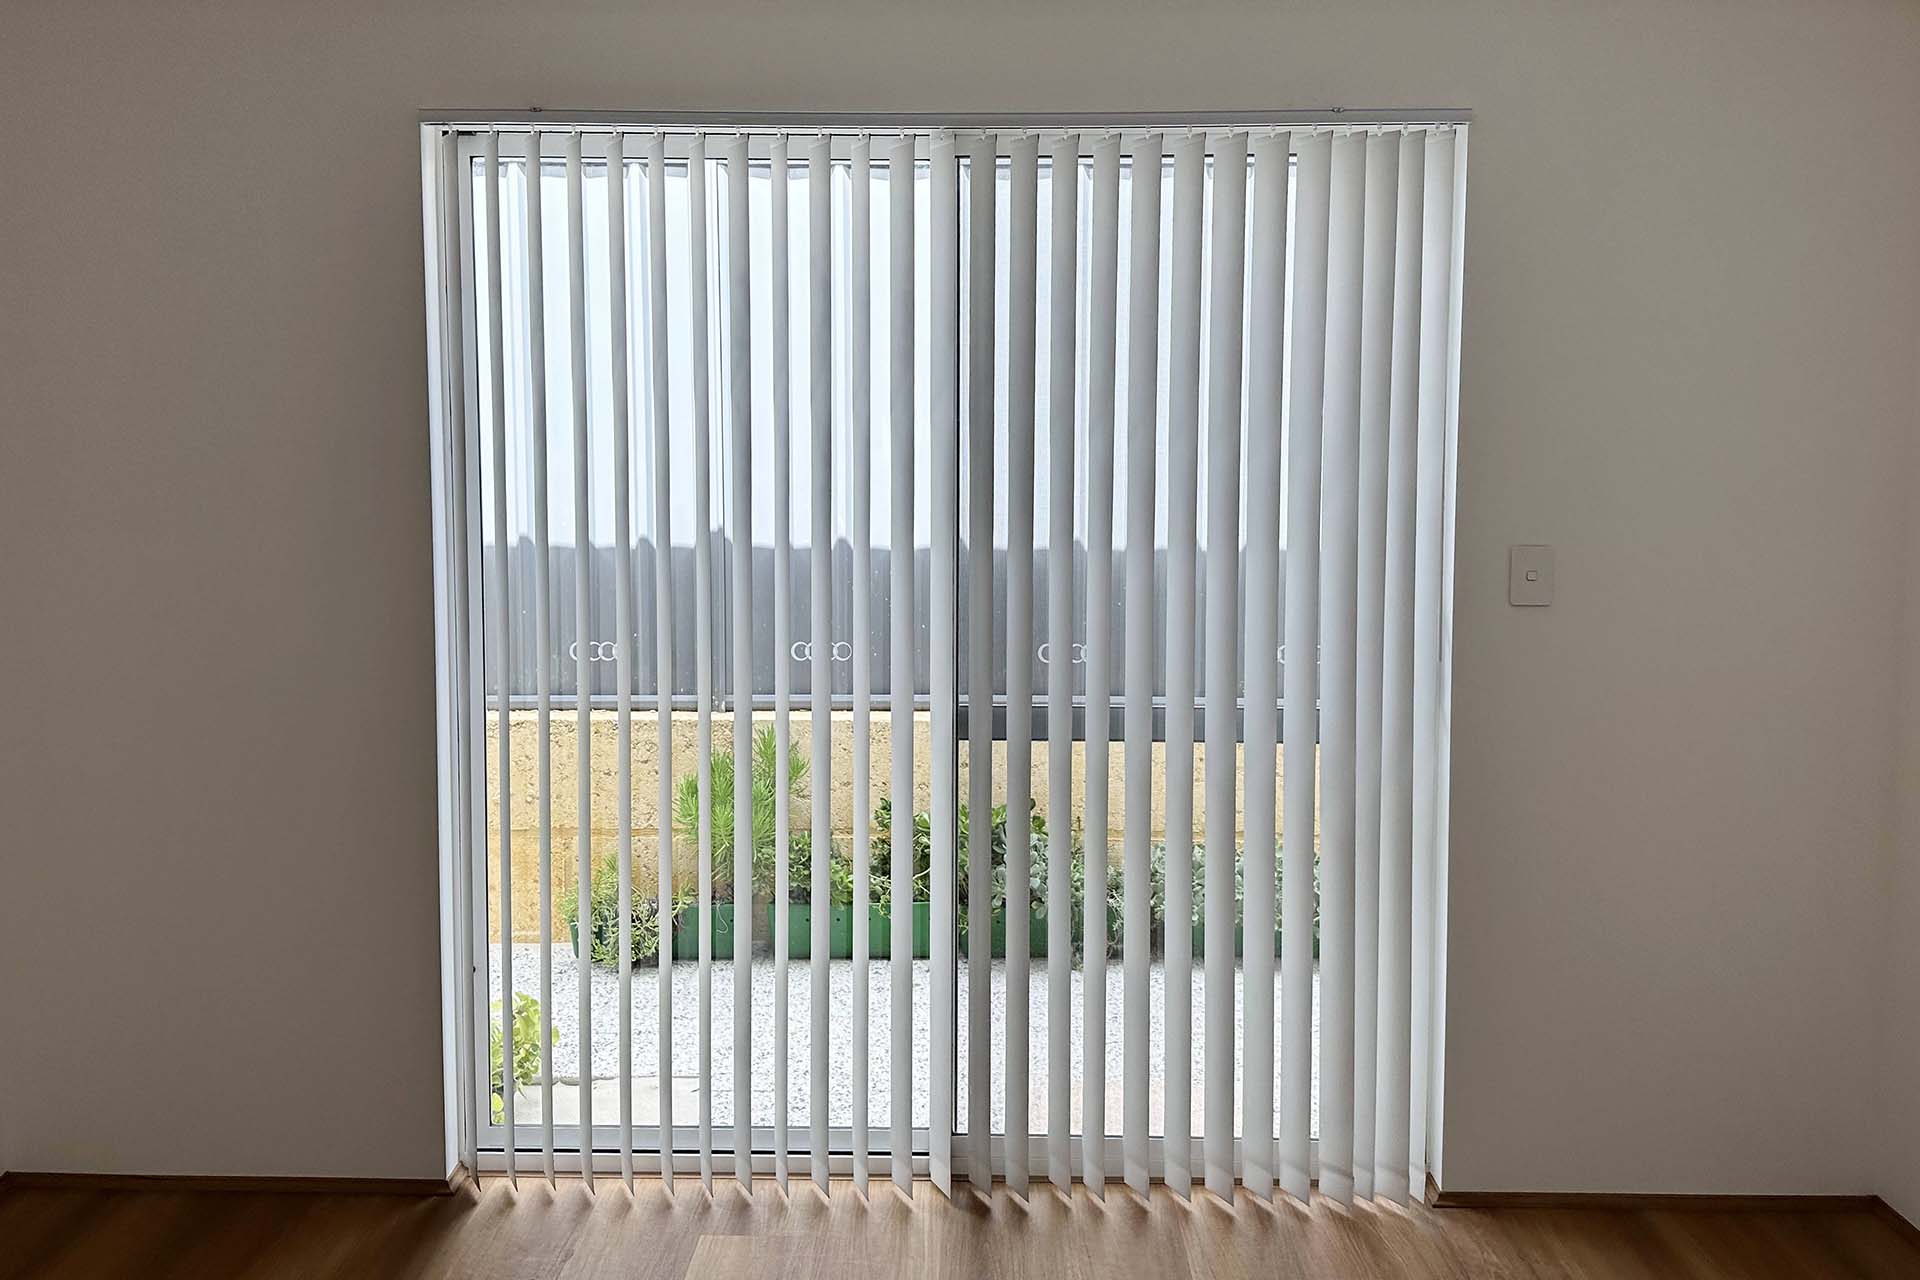
Vertical blinds can be a stylish and functional window treatment option in any home or office. However, there may come a time when you need to take them down, whether it’s for cleaning, replacement, or simply a change in decor. Removing vertical blinds may seem like a daunting task, but with the right tools and steps, it can be a straightforward process.
In this article, we will guide you through the steps to take down vertical blinds effectively and safely. By following these instructions, you will be able to remove your blinds with ease and without causing any damage to your windows or walls. So let’s get started!
Key Takeaways:
- Removing vertical blinds is a manageable task with the right tools and steps. Gather tools, remove blinds from brackets, detach the control mechanism, and take down the headrail for a smooth removal process.
- After successfully taking down your vertical blinds, don’t forget to patch any holes or damage caused by the removal process for a clean and finished look. Happy blind removal journey!
Read more: How To Take Down Norman Blinds
Step 1: Gather necessary tools and materials
Before you begin the process of taking down your vertical blinds, it’s important to gather all the necessary tools and materials. Having everything at hand will make the task easier and more efficient. Here are the items you will need:
- Screwdriver: You will need a screwdriver to remove any screws holding the brackets in place.
- Pliers: Pliers can be useful for releasing any clips or hooks that may be holding the blinds in place.
- Tape measure: Use a tape measure to ensure you have accurate measurements for reinstallation or if you plan on replacing the blinds.
- Step stool or ladder: Depending on the height of your windows, you may need a step stool or ladder to reach the top of the blinds.
- Drop cloth or plastic sheet: It’s a good idea to have a drop cloth or plastic sheet to catch any dust or debris that may fall during the removal process.
Once you have gathered all the necessary tools and materials, you are ready to move on to the next step.
Step 2: Remove the blinds from the brackets
Now that you have all the tools and materials ready, it’s time to remove the vertical blinds from the brackets. Follow these steps:
- Start by fully extending the blinds and tilting the slats open to their maximum position. This will make it easier to access the brackets.
- Locate the brackets that hold the blinds in place. They are usually located at the top of the window frame or on the wall above the window.
- Using a screwdriver, remove any screws that are securing the brackets to the wall or window frame. Set the screws aside in a safe place.
- Once the screws are removed, gently pull the brackets away from the wall or window frame. Be careful not to yank on the brackets too hard, as this can cause damage.
- If the brackets have any clips or hooks holding the blinds in place, use pliers to release them. Be cautious not to damage the blinds or the brackets in the process.
- With the brackets removed and the blinds hanging freely, carefully lift the blinds off the brackets. You may need to tilt the blinds at an angle to disengage them from the bracket slots.
Once you have successfully removed the blinds from the brackets, you can proceed to the next step.
Step 3: Detach the control mechanism
After removing the blinds from the brackets, the next step is to detach the control mechanism. This mechanism allows you to adjust the slats and control the movement of the blinds. Here’s how to do it:
- Locate the control mechanism, which is typically located at the top of the blinds or on the side.
- Look for any screws or fasteners that are securing the control mechanism to the headrail of the blinds.
- Using a screwdriver, remove the screws or fasteners to release the control mechanism from the headrail.
- Once the control mechanism is detached, gently slide it out of the headrail.
- Keep the control mechanism and any screws or fasteners in a safe place, as you may need them for reinstallation or if you plan on replacing the blinds.
By detaching the control mechanism, you will have removed another component of the vertical blinds. This will make it easier to continue with the removal process. Now you’re ready for the next step.
To take down vertical blinds, start by removing the valance and then unhook the blinds from the headrail. Next, detach the blinds from the carriers and carefully slide them out. Finally, remove the headrail from the brackets.
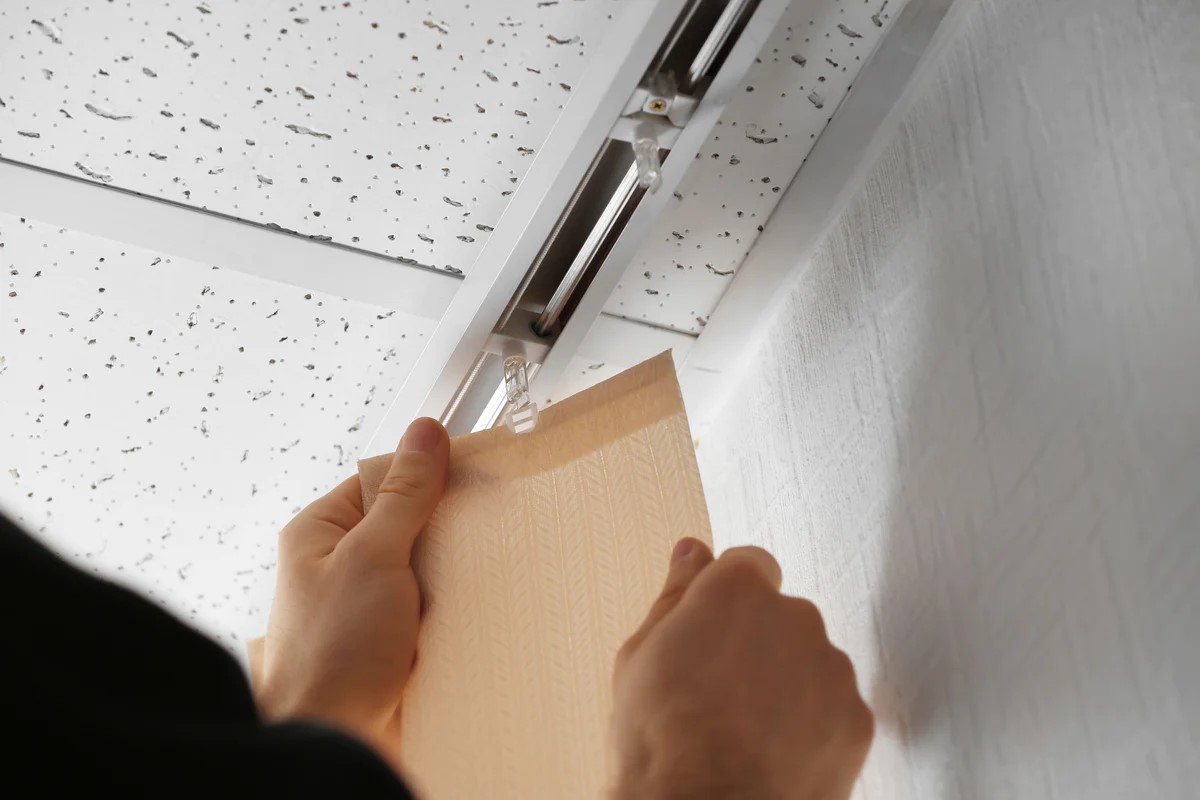
Step 4: Remove individual slats
With the control mechanism detached, it’s time to remove the individual slats of the vertical blinds. This step is necessary if you plan on replacing damaged slats or if you want to clean them individually. Here’s how to remove the slats:
- Start by fully extending the blinds and tilting the slats open to their maximum position.
- Locate the plastic clips or hangers that hold each slat in place. These are typically found on the top edge of each slat.
- One by one, gently unhook the slats from the clips or hangers by pushing them slightly upward before pulling them forward. Take care not to bend or damage the slats in the process.
- If the slats are held together by a chain or cord, detach the slats from the chain by unhooking them.
- Continue this process until all the slats are removed from the blinds.
By removing the individual slats, you have disassembled the vertical blinds further. This will make it easier to proceed with the next step of taking down the headrail. Let’s move on to the next step.
Read more: How To Take Down Mini Blinds
Step 5: Take down the headrail
After removing the individual slats, it’s time to take down the headrail of the vertical blinds. The headrail is the long horizontal bar that holds the slats and controls the movement of the blinds. Here’s how to take down the headrail:
- Starting from one end, locate the brackets that hold the headrail in place. These brackets are usually attached to the top of the window frame or the wall above the window.
- Using a screwdriver, remove any screws that are securing the brackets to the wall or window frame. Keep the screws in a safe place.
- Once the screws are removed, gently pull the brackets away from the wall or window frame, allowing the headrail to slide out.
- Be careful when removing the headrail, as it can be long and heavy. You may want to have a second person assist you.
- If the headrail is stuck or difficult to remove, check for any additional screws or fasteners that may be securing it to the brackets. Remove these screws or fasteners before attempting to remove the headrail again.
Once the headrail has been taken down, you have successfully removed the main component of the vertical blinds. This concludes the process of taking down the blinds. However, there is one more step you should consider before completing the task – patching any holes or damage caused by the brackets or headrail.
Step 6: Patch any holes or damage
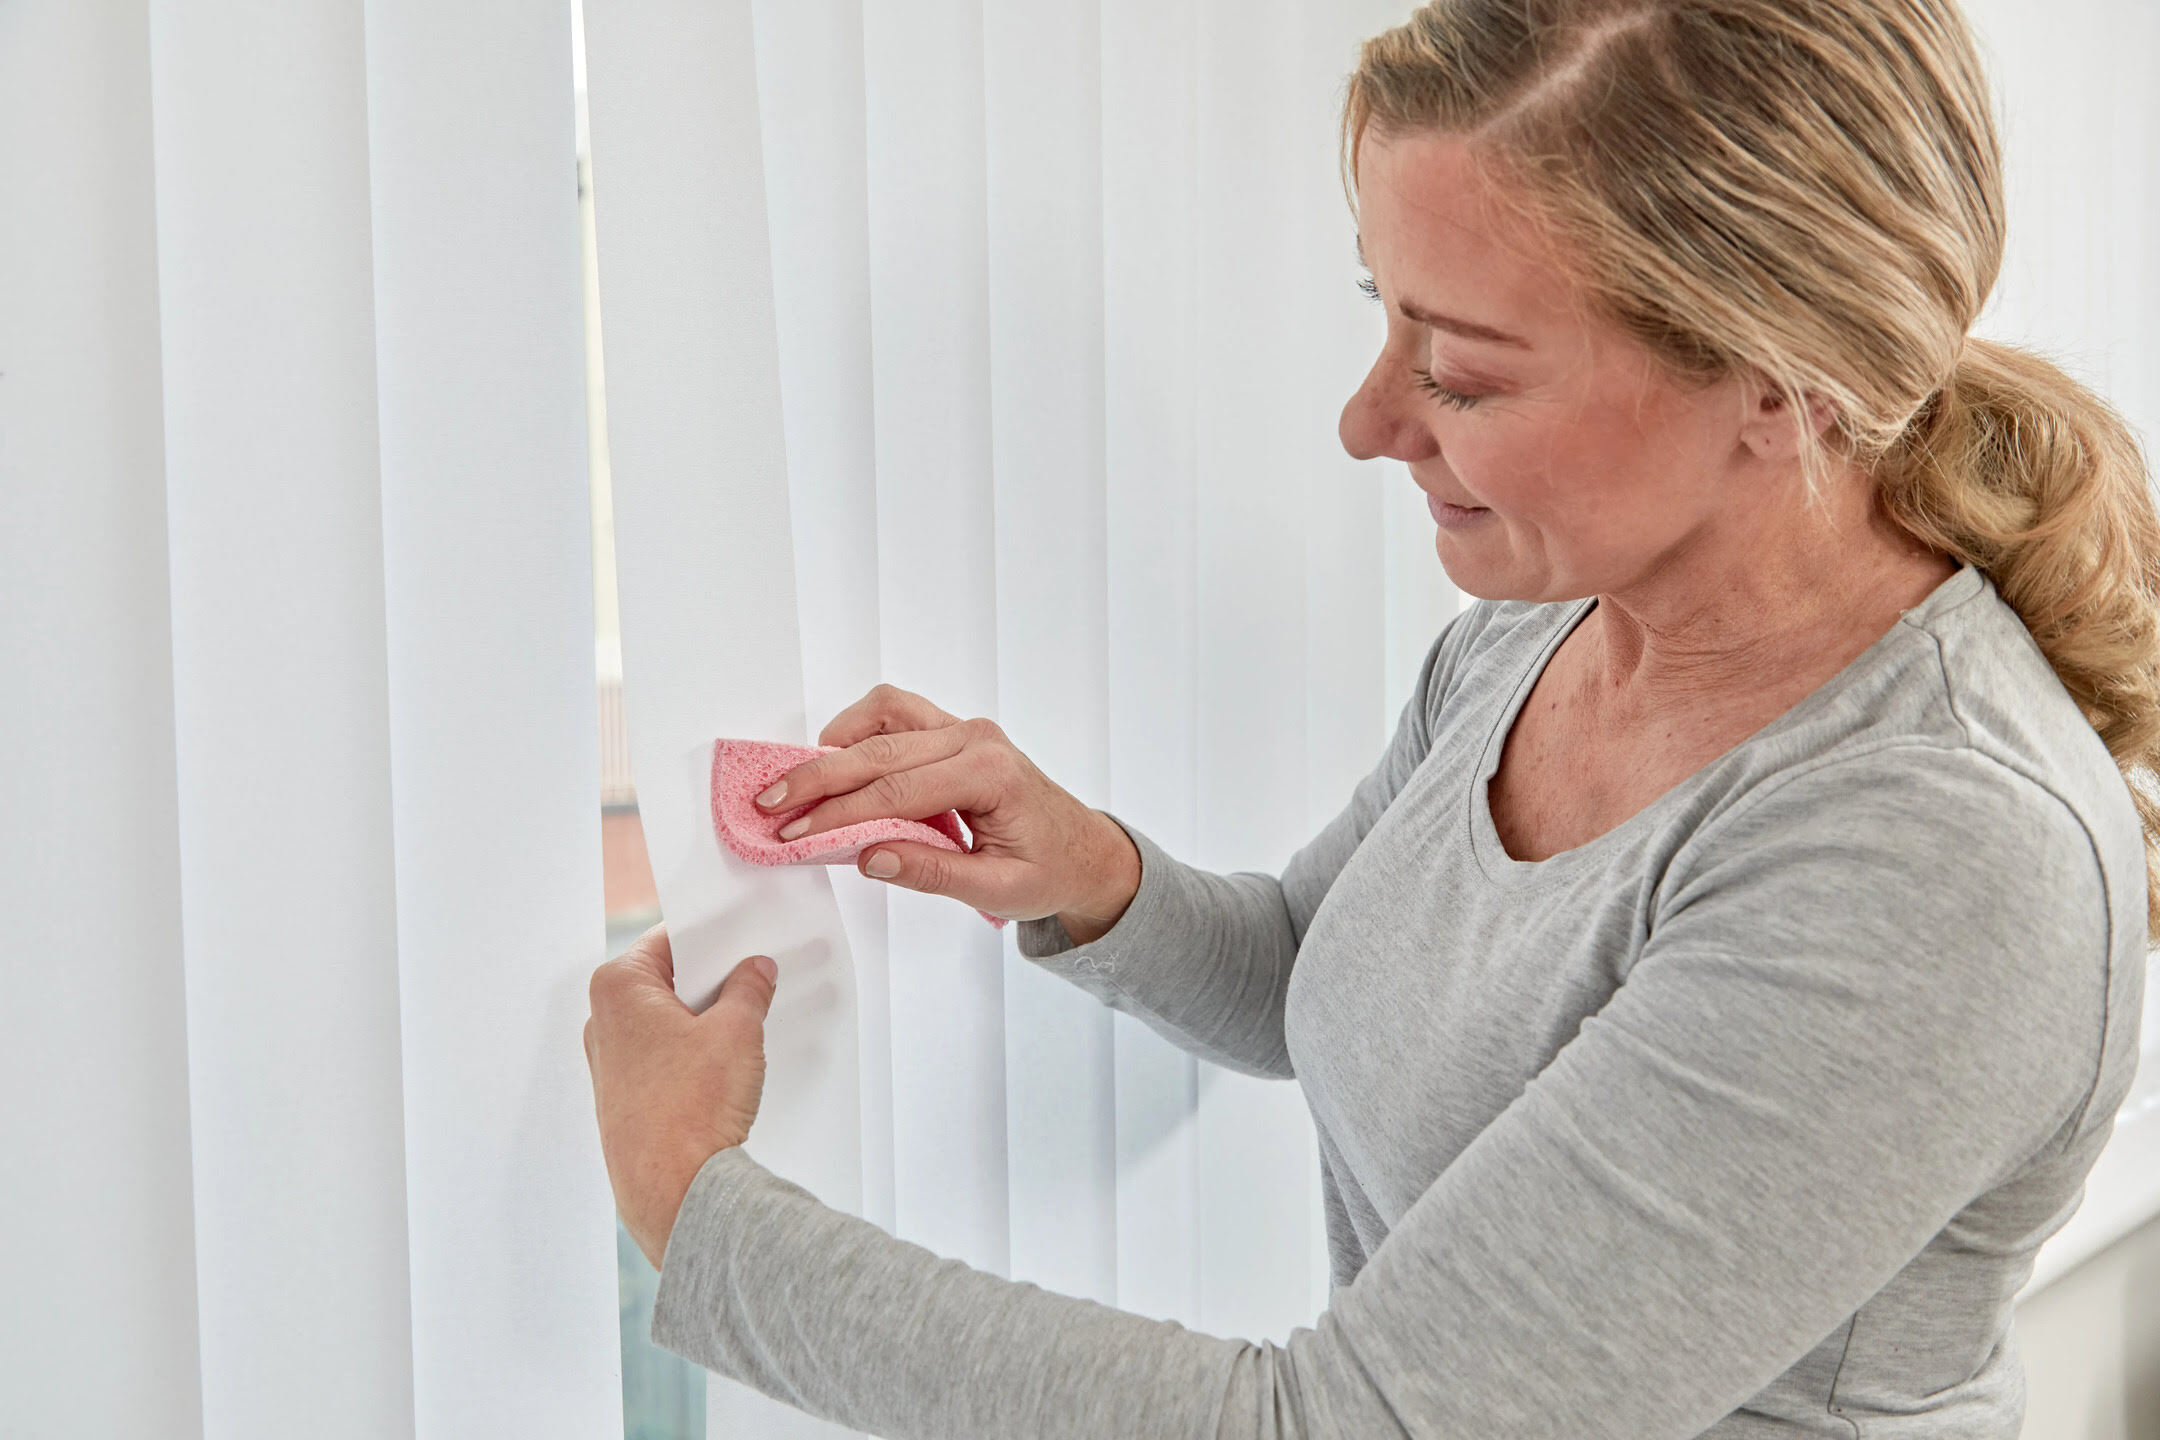
After removing the vertical blinds and the headrail, it’s important to inspect the area for any holes or damage that may have been caused by the brackets or screws. Patching these holes will not only improve the appearance of the wall or window frame but also ensure a smooth surface for reinstallation or for other window treatments. Here’s how to patch any holes or damage:
- Start by cleaning the area around the holes or damage with a damp cloth to remove any dust or debris.
- If the holes are small, you can use a lightweight spackling compound to fill them. Apply a small amount of spackling compound to a putty knife and smooth it over the holes, ensuring they are completely filled.
- If the holes are larger or there is significant damage, you may need to use a patching compound or wall repair kit. Follow the manufacturer’s instructions on how to apply and smooth the compound over the damaged area.
- Once the compound has dried, use a fine-grit sandpaper to lightly sand the patched area until it is smooth and level with the surrounding wall or window frame.
- Finally, wipe away any dust or debris from the patched area and touch up the paint, if necessary, to match the surrounding surface.
By patching any holes or damage, you are ensuring a clean and finished look to your windows or walls after the vertical blinds have been removed.
Congratulations! You have successfully taken down your vertical blinds. Whether you plan on cleaning, replacing, or updating your window treatments, following these steps will help you complete the task with ease. Remember to keep all the necessary components, such as screws and fasteners, in a safe place for future use.
Thank you for reading, and we hope this guide has been helpful in your quest to take down vertical blinds!
Conclusion
Taking down vertical blinds may seem like a daunting task, but with the right tools and steps, it can be a straightforward process. By following the six steps outlined in this guide, you can safely and effectively remove your vertical blinds without causing any damage to your windows or walls.
Remember to gather all the necessary tools and materials before starting the removal process. Having everything at hand will make the task easier and more efficient. A screwdriver, pliers, tape measure, step stool or ladder, and a drop cloth or plastic sheet are some of the essential items you will need.
Start by removing the blinds from the brackets, detaching the control mechanism, and then removing the individual slats. Once the slats are removed, carefully take down the headrail by removing any screws or fasteners and gently pulling the brackets away from the wall or window frame. Finally, patch any holes or damage caused by the removal process to ensure a smooth and finished surface.
By following these steps, you can successfully take down your vertical blinds and complete any necessary cleaning, replacements, or updates. Whether you’re looking to refresh your windows or switch to a different type of window treatment, this guide has provided you with the knowledge and confidence to accomplish your goal.
Thank you for reading, and we hope this guide has been informative and helpful. Good luck with your vertical blind removal journey!
Frequently Asked Questions about How To Take Down Vertical Blinds
Was this page helpful?
At Storables.com, we guarantee accurate and reliable information. Our content, validated by Expert Board Contributors, is crafted following stringent Editorial Policies. We're committed to providing you with well-researched, expert-backed insights for all your informational needs.