Articles
How To Cut Down Roller Blinds
Modified: February 24, 2024
Learn the best techniques for cutting down roller blinds in this comprehensive article. Find step-by-step instructions and expert tips to help you achieve the perfect fit for your windows.
(Many of the links in this article redirect to a specific reviewed product. Your purchase of these products through affiliate links helps to generate commission for Storables.com, at no extra cost. Learn more)
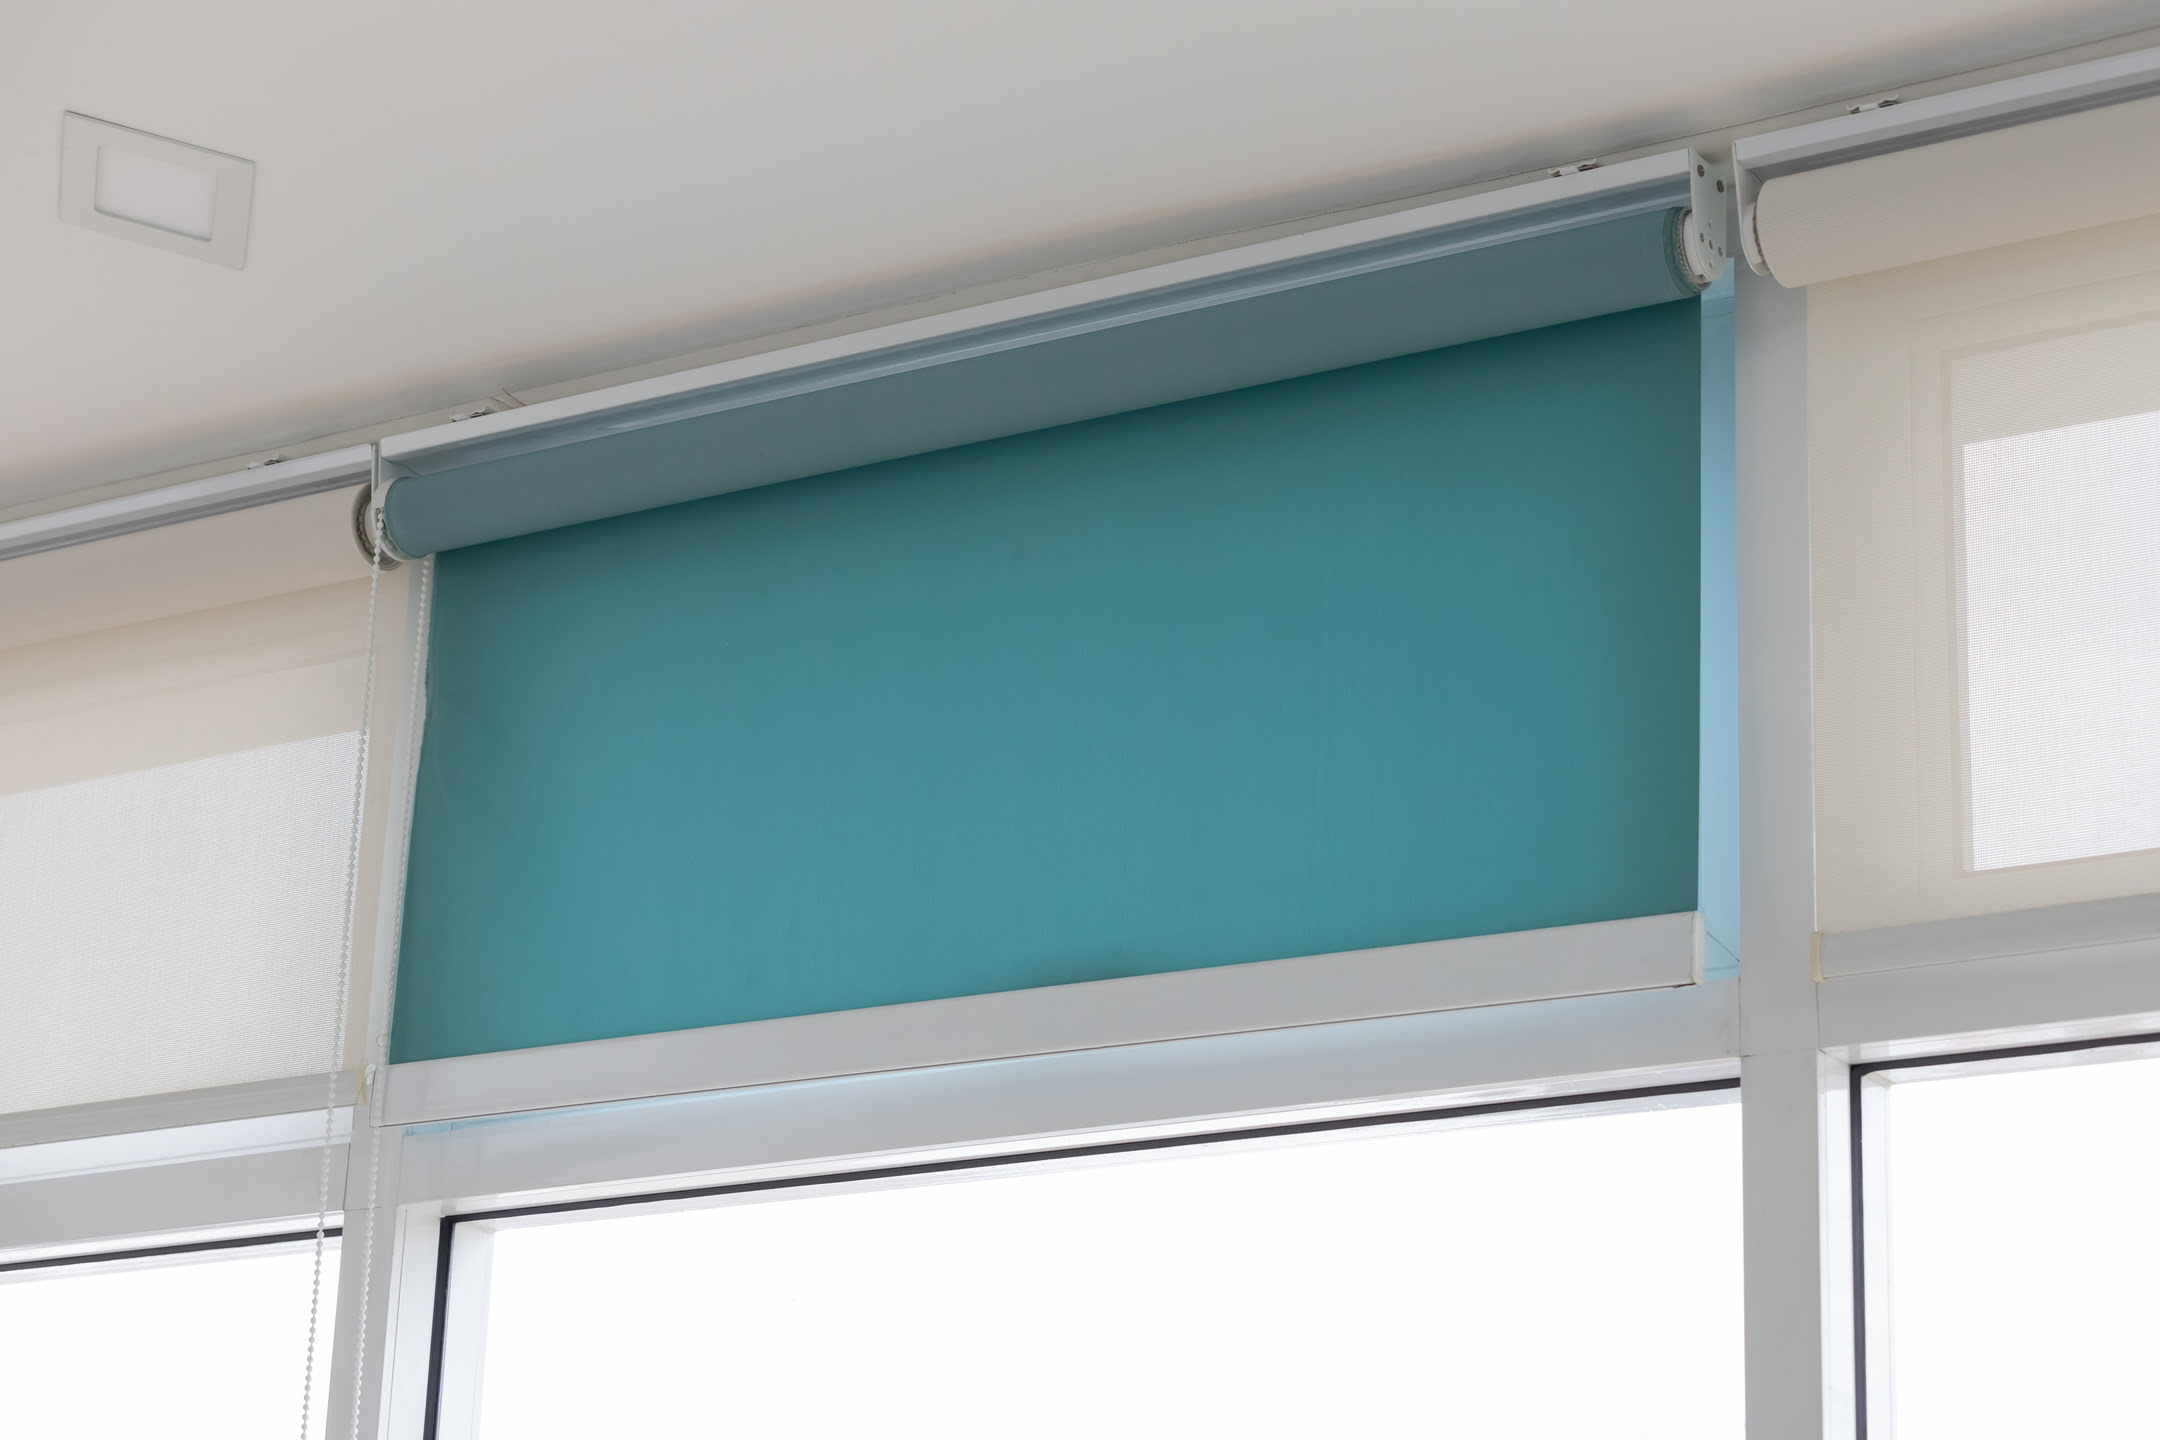
Introduction
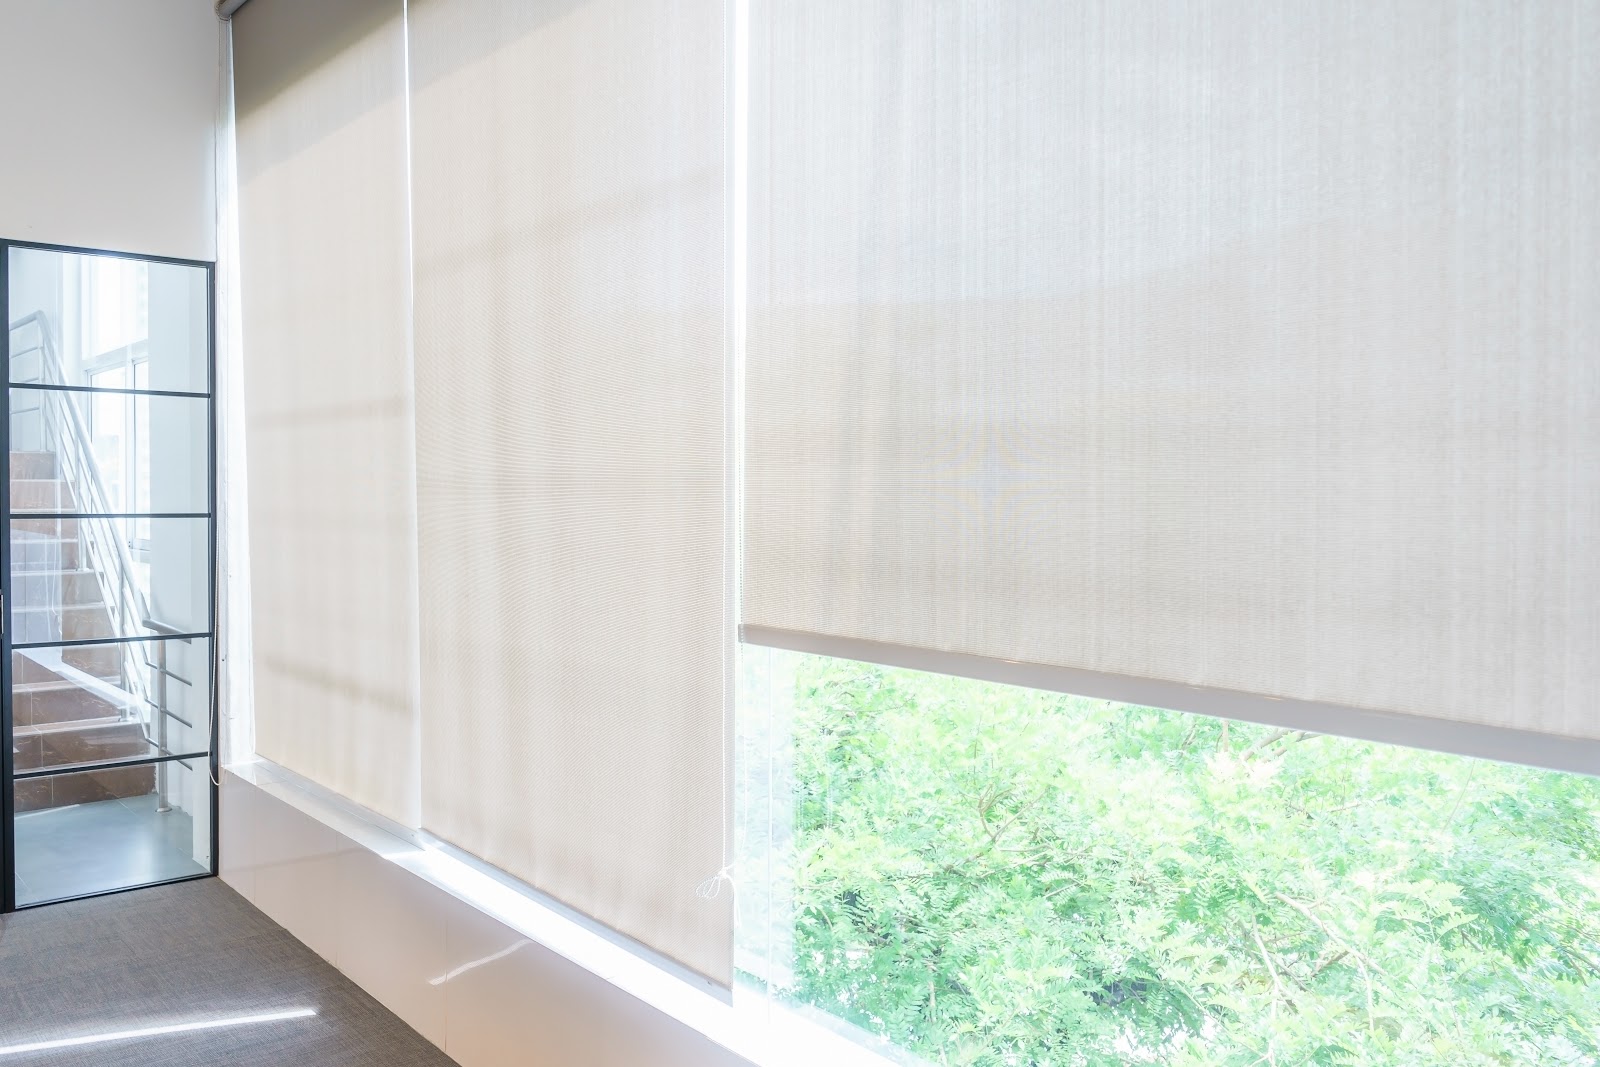
Roller blinds are a popular and practical window treatment option. However, sometimes the standard size of roller blinds may not perfectly fit your windows. In such cases, cutting down the blinds to the required size becomes necessary. Cutting down roller blinds might seem like a daunting task, but with the right tools and techniques, it can be easily accomplished.
In this article, we will guide you through the step-by-step process of cutting down roller blinds to ensure a perfect fit for your windows. Whether you need to trim the blinds for a small window or adjust them to a specific length, this guide will provide you with the necessary instructions and tips to achieve a professional-looking result.
Before we dive into the steps, let’s go over the tools and materials you will need for this project.
Key Takeaways:
- Achieve a professional-looking result by accurately measuring, marking, and cutting roller blinds to fit your windows. Prioritize safety, take your time, and add finishing touches for a customized look.
- With the right tools and techniques, cutting down roller blinds is easily accomplished. Follow the step-by-step process, secure the blinds, and prioritize precision and attention to detail for a perfect fit.
Read more: What Are Roller Blinds
Tools and Materials Needed
To cut down roller blinds, you will need the following tools and materials:
- Measuring tape
- Pencil or marker
- Straight edge or ruler
- Scissors or utility knife
- Cutting mat or sturdy surface
- Clamps or heavy objects
- Safety goggles
- Safety gloves
It’s important to gather all these items before you begin the process to ensure a smooth and efficient experience.
The measuring tape will be used to accurately measure the size of the roller blinds and determine how much needs to be trimmed. A pencil or marker will come in handy to mark the cutting line on the blinds. A straight edge or ruler will help ensure a straight and precise cutting line.
Scissors or a utility knife will be used to cut the blinds. If you are using a utility knife, make sure to have extra blades on hand as they can dull quickly when cutting through the fabric. It’s essential to work on a cutting mat or a sturdy surface to protect the underlying surface and prevent any accidents.
Clamps or heavy objects will help secure the blinds in place while cutting. This will prevent the blinds from shifting or moving during the cutting process and result in a clean and accurate cut. Don’t forget to wear safety goggles and gloves to protect your eyes and hands from any potential hazards.
Now that you have gathered all the necessary tools and materials, let’s move on to the step-by-step process of cutting down roller blinds.
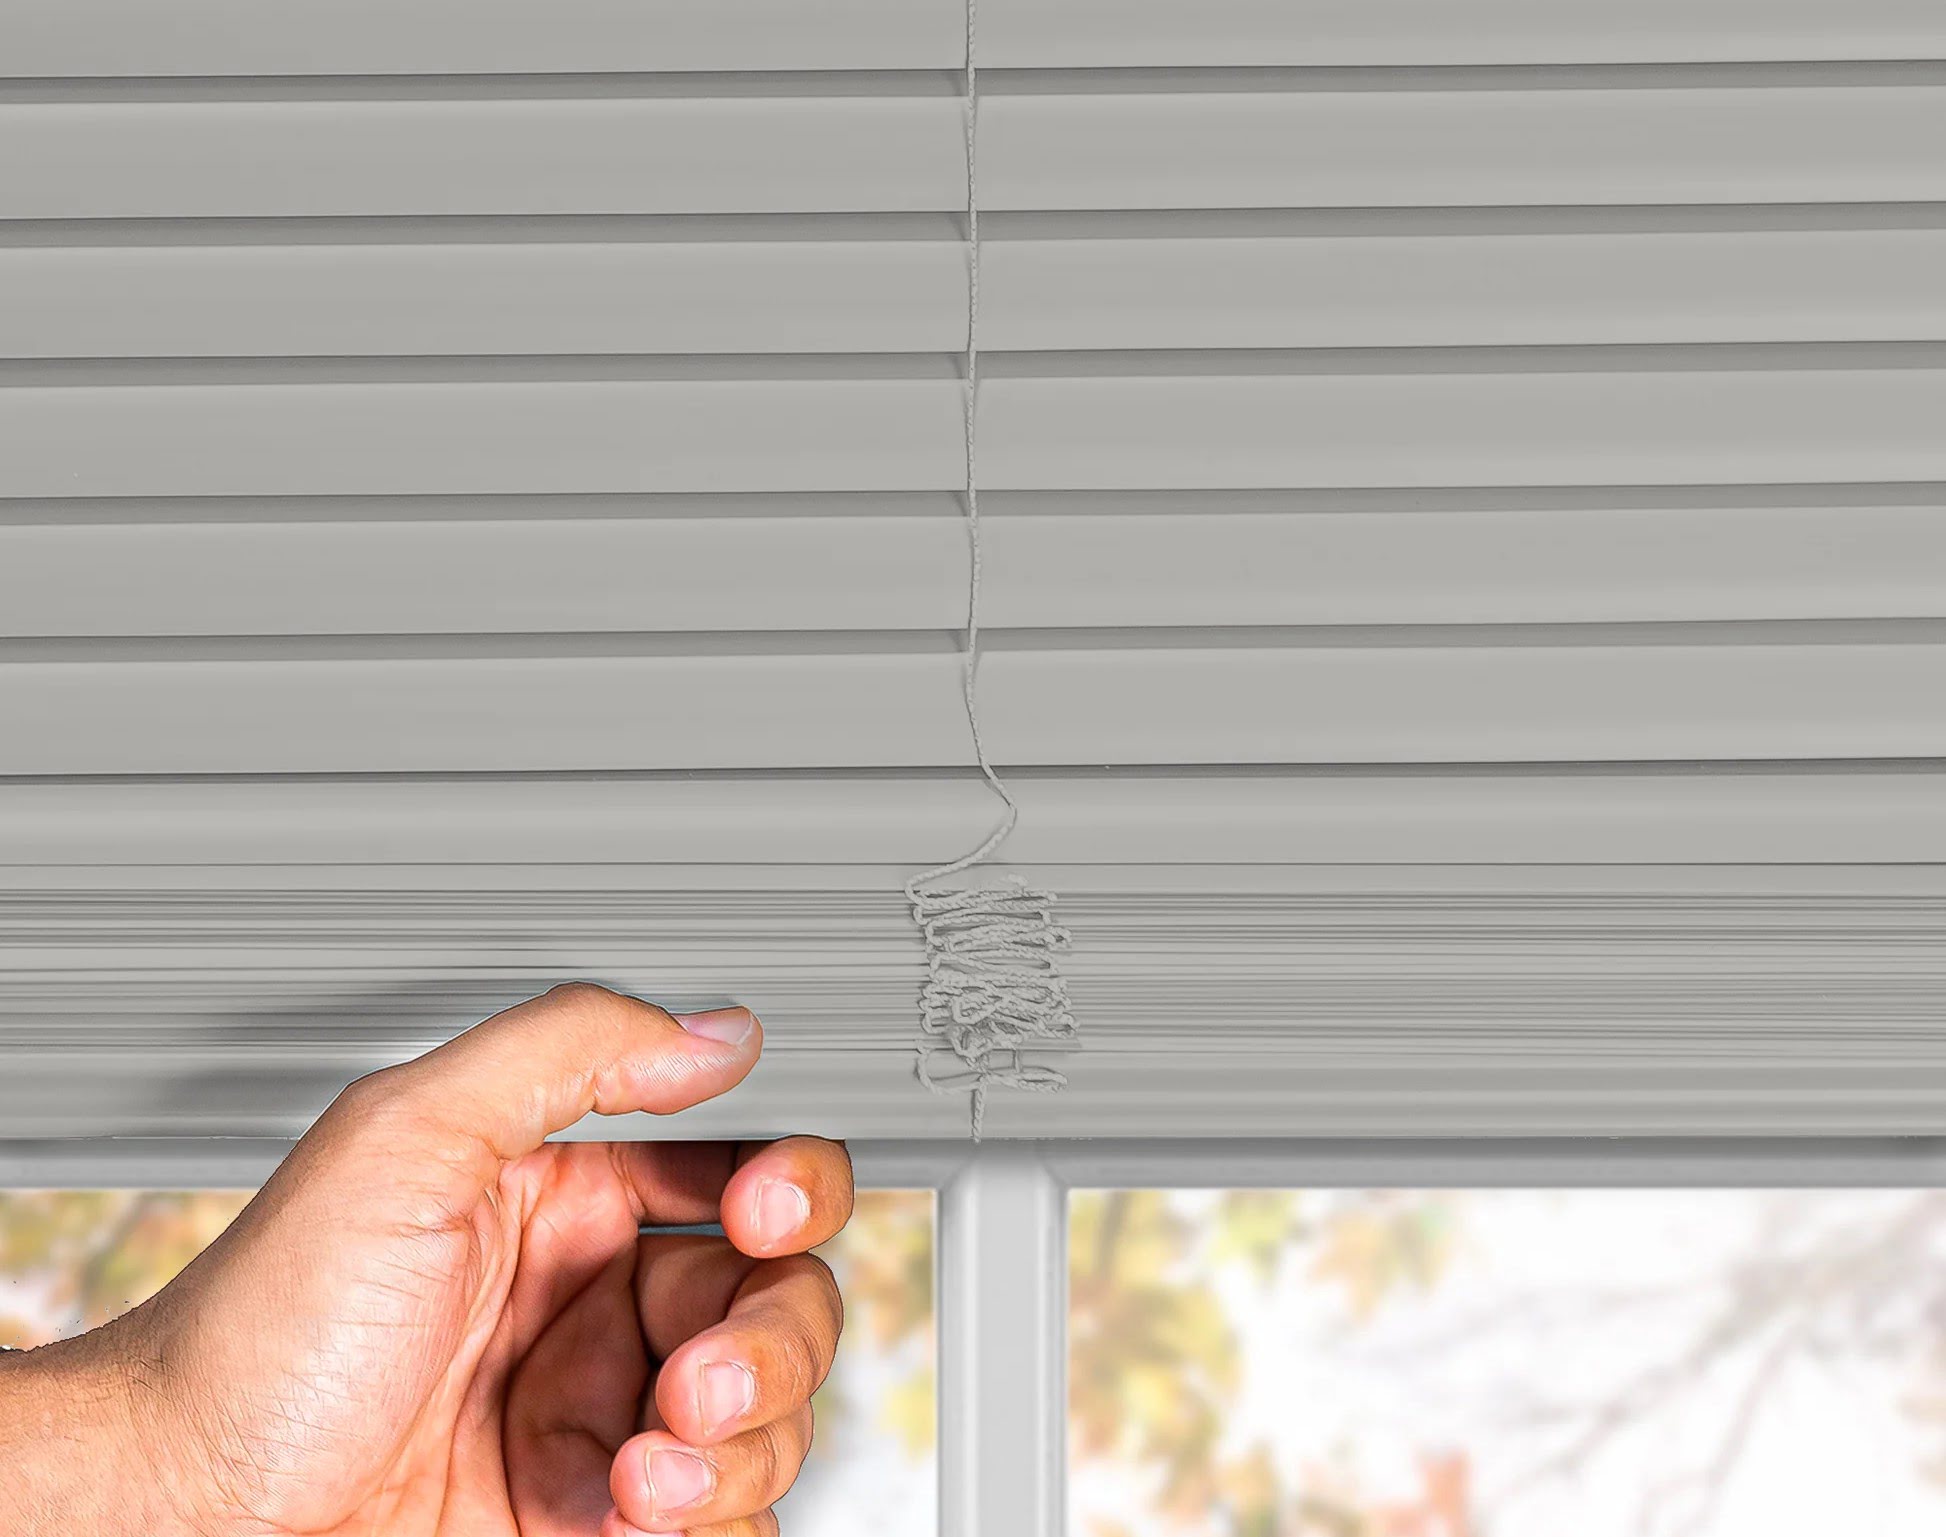
Step 1: Measure the Roller Blinds
The first step in cutting down roller blinds is to accurately measure the size of the blinds. This will help determine how much needs to be trimmed to achieve the desired fit for your windows.
Start by extending the roller blinds fully and placing them on a flat surface. Use a measuring tape to measure the width of the blinds from one end to the other. Take note of this measurement.
Next, measure the height of the blinds by extending them from the top to the bottom. Again, record this measurement.
It’s important to measure both the width and height of the blinds, as you may need to trim them to fit the dimensions of your window frame.
Once you have the measurements, compare them to the size of your window. If the blinds are larger than the window, you will need to trim them accordingly. If the blinds are slightly smaller than the window, you may have the option to either trim them to fit or leave a small gap on either side.
Remember to double-check your measurements to ensure accuracy before proceeding to the next step. Taking precise measurements will help you achieve a clean and professional-looking result when cutting down the roller blinds.
Step 2: Mark the Cutting Line
Once you have measured the roller blinds and determined the desired size, it’s time to mark the cutting line. This will ensure that you cut the blinds accurately and achieve a clean edge.
Start by extending the roller blinds fully and laying them on a flat surface. Use a pencil or marker to mark the desired width on the bottom edge of the blinds. Make sure to measure and mark the width accurately based on your previous measurements.
Next, use a straight edge or ruler to connect the marks you made on the blinds. This will create a straight cutting line and ensure that the blinds are cut evenly.
If you are cutting the blinds to a specific length, measure and mark the desired height on the side of the blinds using the same technique. Double-check the measurements and ensure the marks are aligned vertically.
It’s important to make distinct and visible marks on the blinds, as these will serve as your guide during the cutting process. Use a dark pencil or marker that contrasts with the color of the blinds for better visibility.
Once you have marked the cutting line, take a moment to review and confirm that the measurements and marks are accurate. Making precise and clear marks will help you achieve a clean and precise cut when trimming the roller blinds.
When cutting down roller blinds, measure carefully and use a sharp pair of scissors or a utility knife to make clean, straight cuts. Always double-check your measurements before cutting to ensure a proper fit.
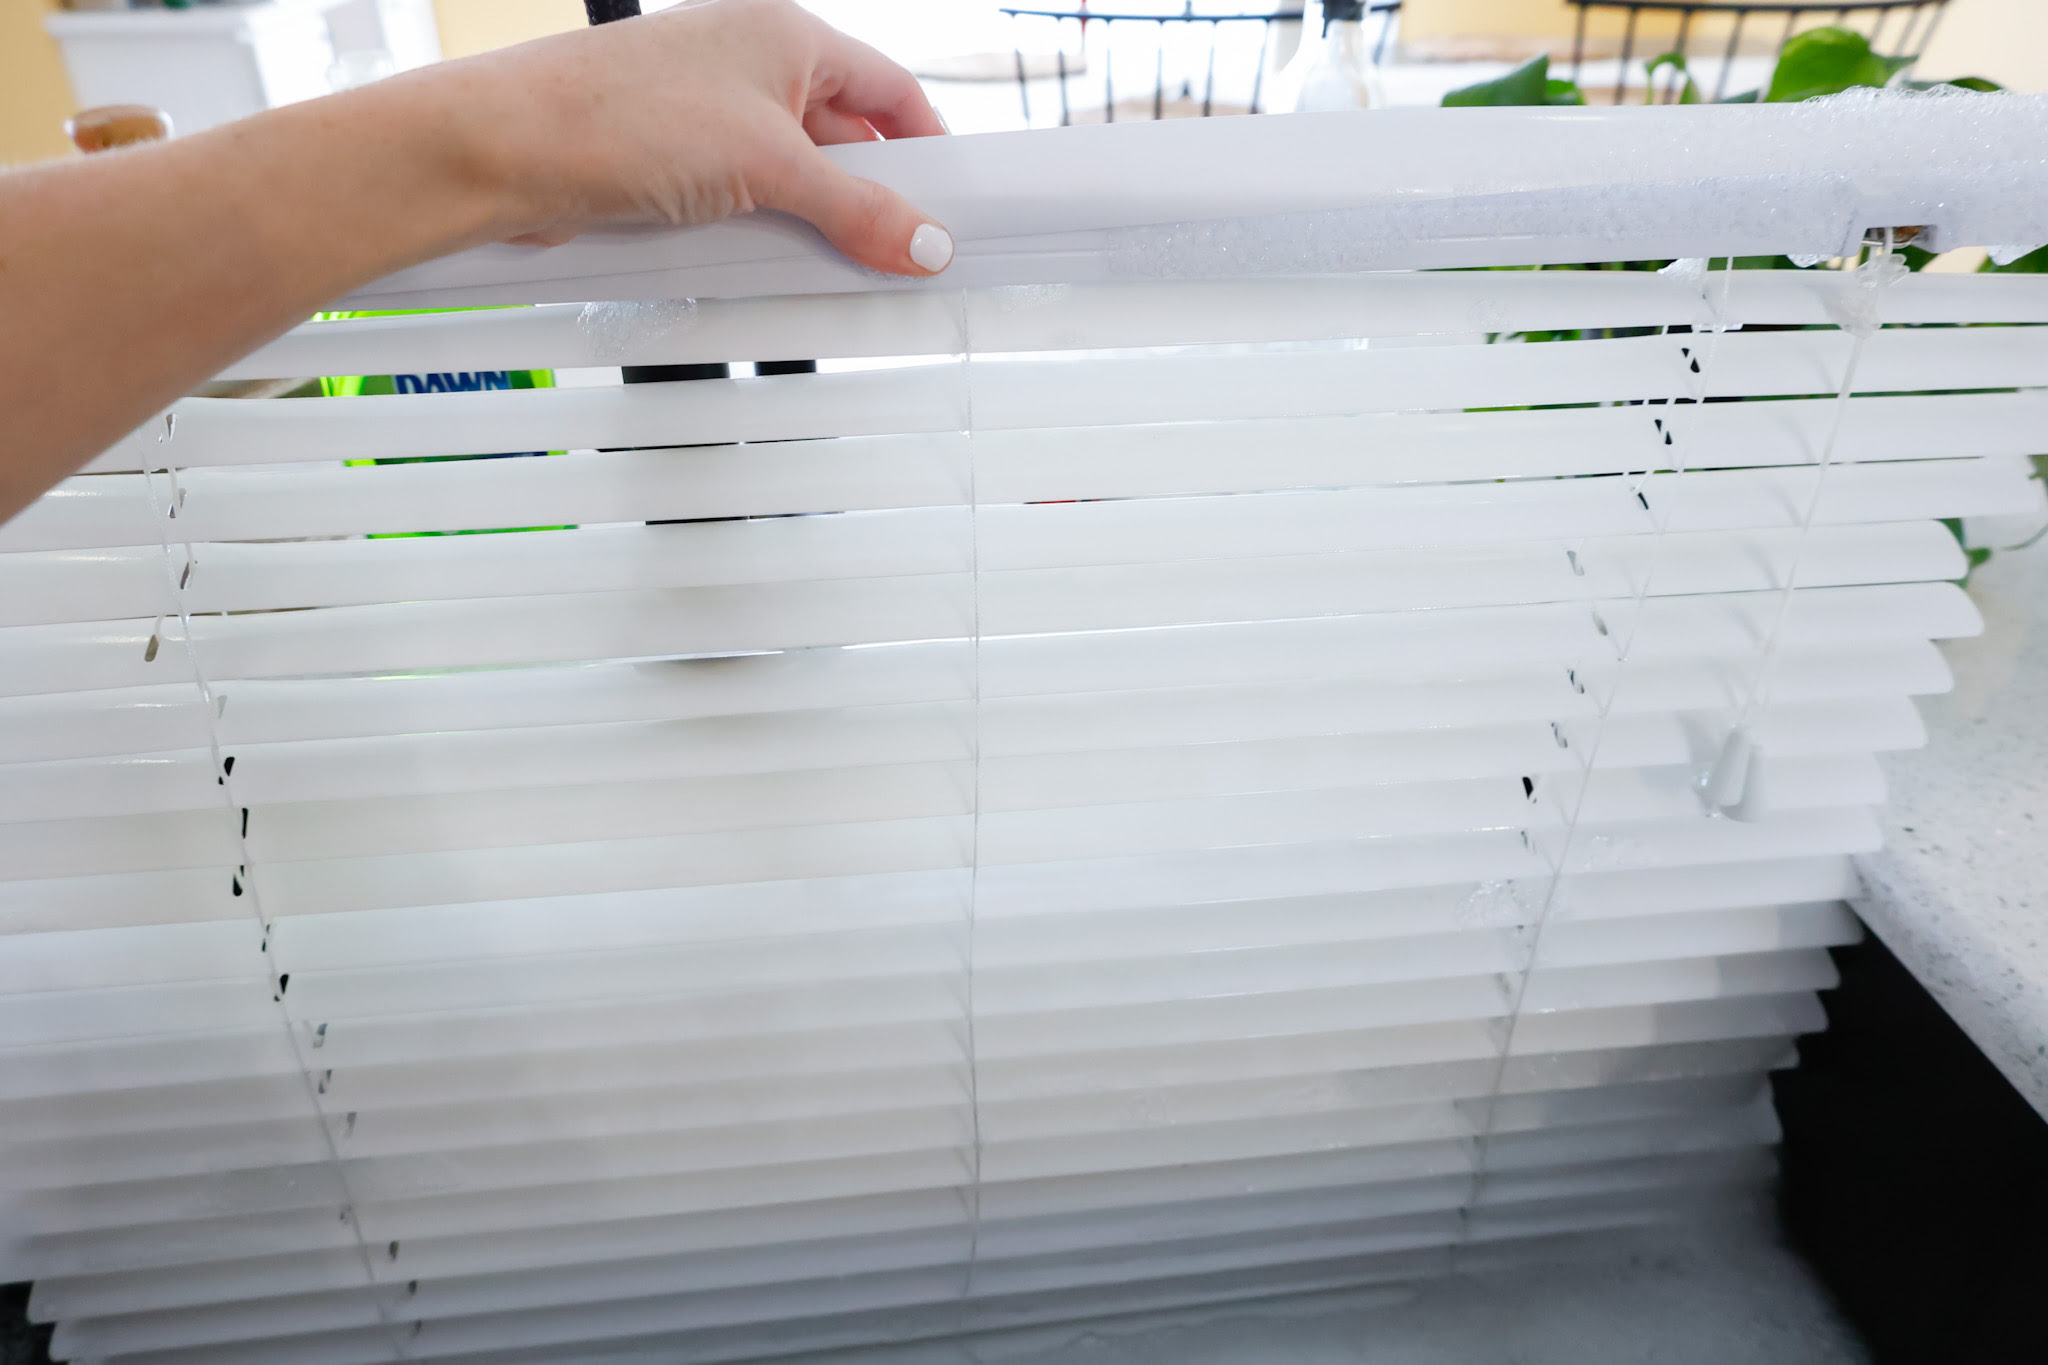
Step 3: Secure the Blinds
Before you begin cutting the roller blinds, it’s important to secure them in place to prevent any movement or sliding during the cutting process. This will ensure a clean and accurate cut.
For this step, you will need clamps or heavy objects that can hold the blinds in place. Start by positioning the blinds on a sturdy surface, with the cutting line facing up.
If you have clamps, place them on either side of the blinds, tightly securing them in place. Make sure the clamps are positioned away from the cutting line to avoid interfering with the cutting process.
If you don’t have clamps, you can use heavy objects such as books or weights to keep the blinds steady. Place these objects on either side of the blinds, ensuring they are stable enough to prevent any movement.
Securing the blinds is crucial as it will prevent them from shifting or moving while you are cutting. Any movement during the cutting process can result in an uneven or jagged cut.
Once you have securely positioned and clamped the blinds, double-check to ensure that they are stable and won’t move during the cutting process.
With the roller blinds securely in place, you are now ready to move on to the next step: cutting down the blinds to the marked line.
Read more: How To Measure For Roller Blinds
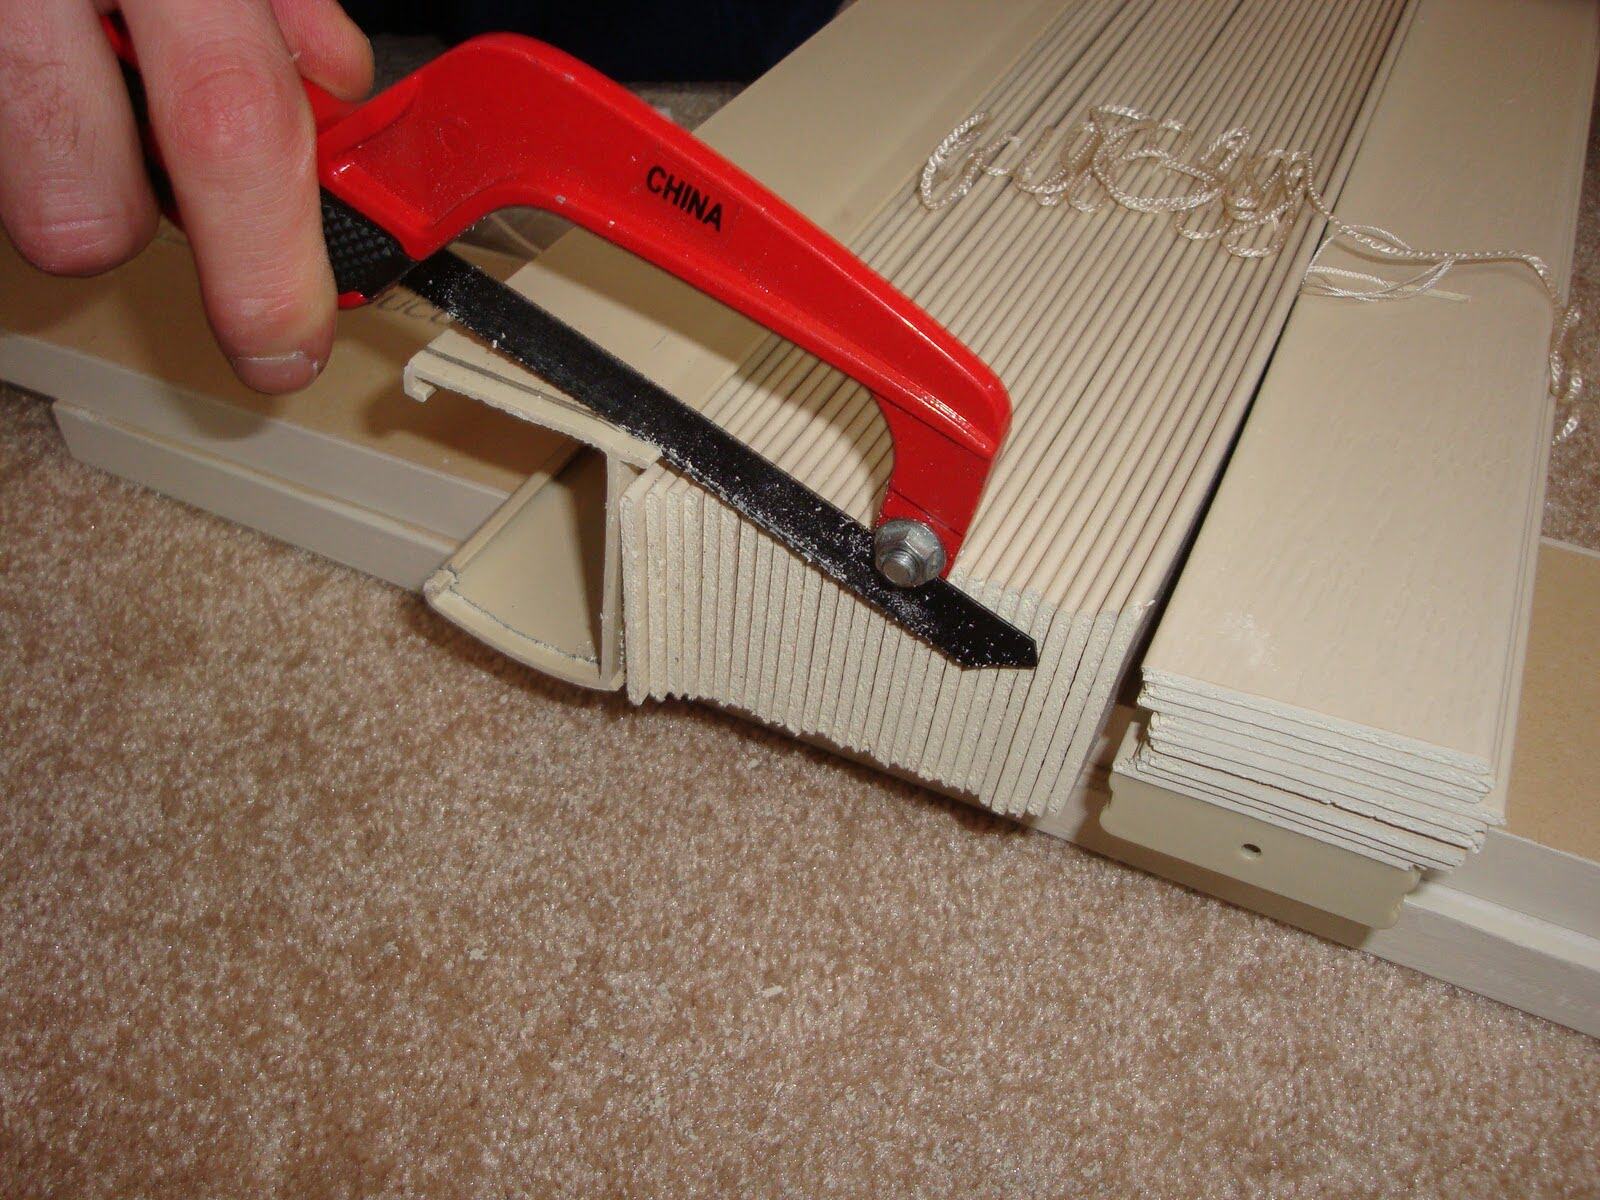
Step 4: Cut the Blinds
Now that the roller blinds are securely positioned and clamped, it’s time to proceed with cutting them down to the marked line. This step requires careful attention and precise cutting techniques to achieve clean and accurate results.
If you are using scissors, ensure they are sharp and suitable for cutting through the blinds. Position the scissors carefully along the marked cutting line and start cutting through the fabric. Take your time and make steady, even cuts, following the straight line that you marked.
If you are using a utility knife, position it along the marked line with the sharp blade facing down. Apply gentle and consistent pressure as you drag the blade along the line, ensuring a smooth and precise cut. Take caution to avoid any accidental slips or injuries by wearing safety gloves.
When cutting the blinds, it’s important to maintain a steady hand and avoid rushing the process. Take breaks if needed to ensure accuracy and prevent fatigue. Remember, it’s better to take your time and achieve a clean cut than to rush and end up with uneven edges.
As you approach the end of the cutting line, be cautious not to cut beyond the mark. Double-check your progress and ensure the cut matches the marked line precisely.
After completing the cut, carefully inspect the edge of the blinds to ensure it is smooth and even. If you notice any uneven or jagged areas, you can use sandpaper or a file to gently smooth them out.
Once you are satisfied with the cut and the edges are smooth, release the clamps or remove the heavy objects from the blinds.
Congratulations! You have successfully cut down the roller blinds to your desired size.
Step 5: Finishing Touches
Now that you have cut down the roller blinds to the desired size, it’s time to add some finishing touches to ensure they look polished and ready to be installed.
First, inspect the cut edges of the blinds to see if there are any loose threads or frayed fabric. If you notice any, carefully trim them with sharp scissors to create a clean and neat appearance.
Next, if your roller blinds have a bottom bar, check if it needs to be adjusted to fit the new size. If necessary, you can remove the end cap of the bottom bar, trim it to the appropriate length, and then reattach the end cap.
If the blinds have a decorative or fabric valance, you may need to trim it as well to match the new size. Use the same cutting techniques that you applied to the roller blinds fabric.
After all the necessary adjustments have been made, give the blinds a thorough inspection. Ensure that everything looks even and aligned, and that there are no visible imperfections.
Finally, take a moment to clean the roller blinds to remove any dust or debris that may have accumulated during the cutting process. You can use a clean cloth, a handheld vacuum cleaner with a brush attachment, or a duster to gently remove any dirt.
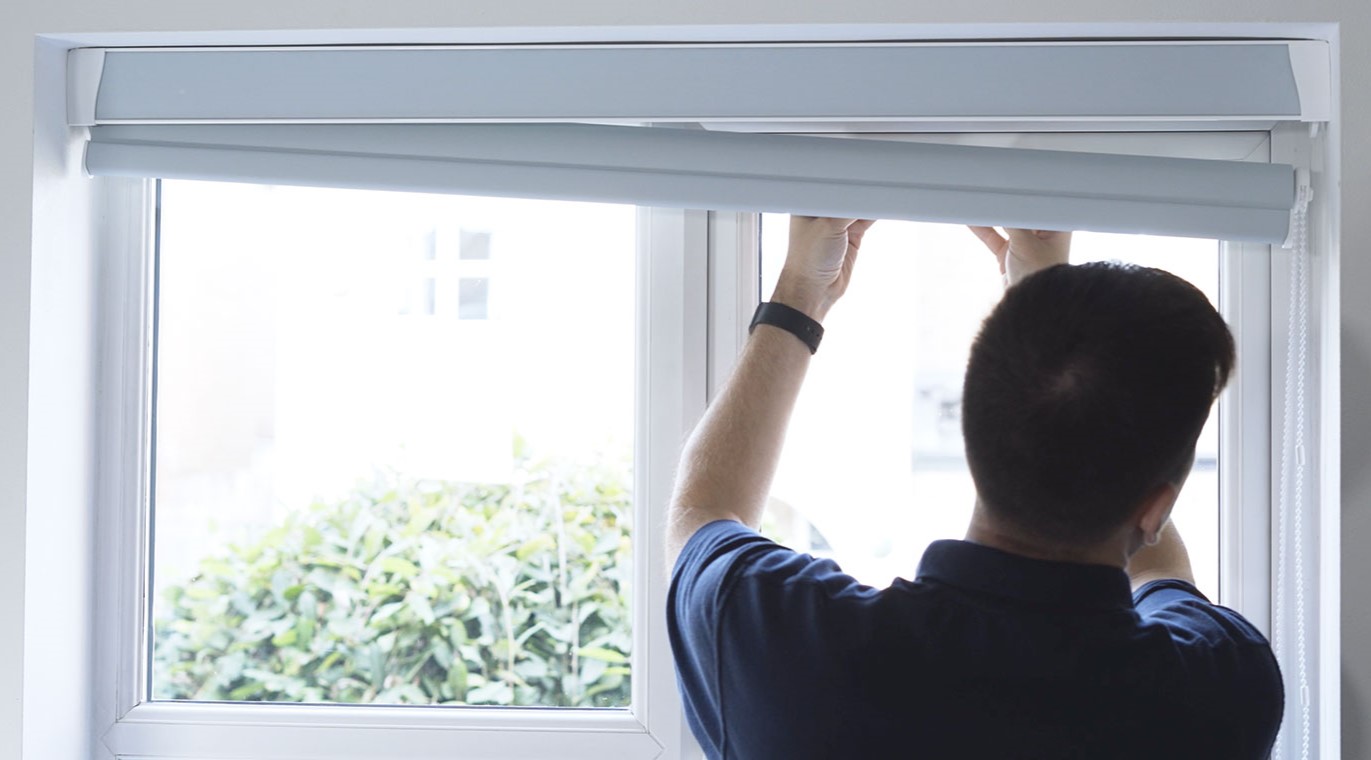
With the roller blinds cleaned and the finishing touches completed, your cut roller blinds are now ready to be installed and enhance the aesthetics of your windows.
Remember, when it comes to cutting down roller blinds, precision and attention to detail are key. Take your time, follow the steps carefully, and always prioritize safety throughout the process.
By following these steps and taking the necessary precautions, you can confidently tackle the task of cutting down roller blinds and achieve a customized fit that perfectly suits your windows and enhances your living spaces.
Conclusion
Trimming roller blinds to fit your windows may seem like a daunting task, but with the right tools, techniques, and attention to detail, it can be easily accomplished. Whether you are adjusting the width or height of the blinds, following the step-by-step process outlined in this article will help you achieve a professional-looking result.
Start by accurately measuring the blinds and marking the cutting lines to ensure precise cuts. Secure the blinds in place to prevent any movement during the cutting process, and use sharp scissors or a utility knife to make clean and even cuts along the marked lines. Take your time and always prioritize safety by wearing gloves and goggles.
Once the blinds are cut to size, add the finishing touches by trimming loose threads, adjusting the bottom bar, and cleaning the blinds to remove any debris. Inspect the blinds for any imperfections and ensure that everything looks aligned and well-finished.
By following these steps, you can confidently cut down roller blinds to perfectly fit your windows and achieve a customized look that enhances the aesthetics of your space. It’s important to remember that precision and attention to detail are key throughout the process.
Now that you have the knowledge and guidance to cut down roller blinds, you can confidently embark on this DIY project and enjoy the benefits of window treatments that are tailored to your specific window dimensions.
So go ahead, grab your measuring tape, scissors, and other necessary tools, and get started on cutting down your roller blinds for a perfect fit that adds both style and functionality to your windows.
Frequently Asked Questions about How To Cut Down Roller Blinds
Was this page helpful?
At Storables.com, we guarantee accurate and reliable information. Our content, validated by Expert Board Contributors, is crafted following stringent Editorial Policies. We're committed to providing you with well-researched, expert-backed insights for all your informational needs.