Articles
How To Hang Vertical Window Blinds
Modified: October 19, 2024
Learn how to hang vertical window blinds with our informative articles. Step-by-step guides and expert tips for a smooth installation process. Achieve a perfect fit and enhance your home's decor.
(Many of the links in this article redirect to a specific reviewed product. Your purchase of these products through affiliate links helps to generate commission for Storables.com, at no extra cost. Learn more)
Introduction
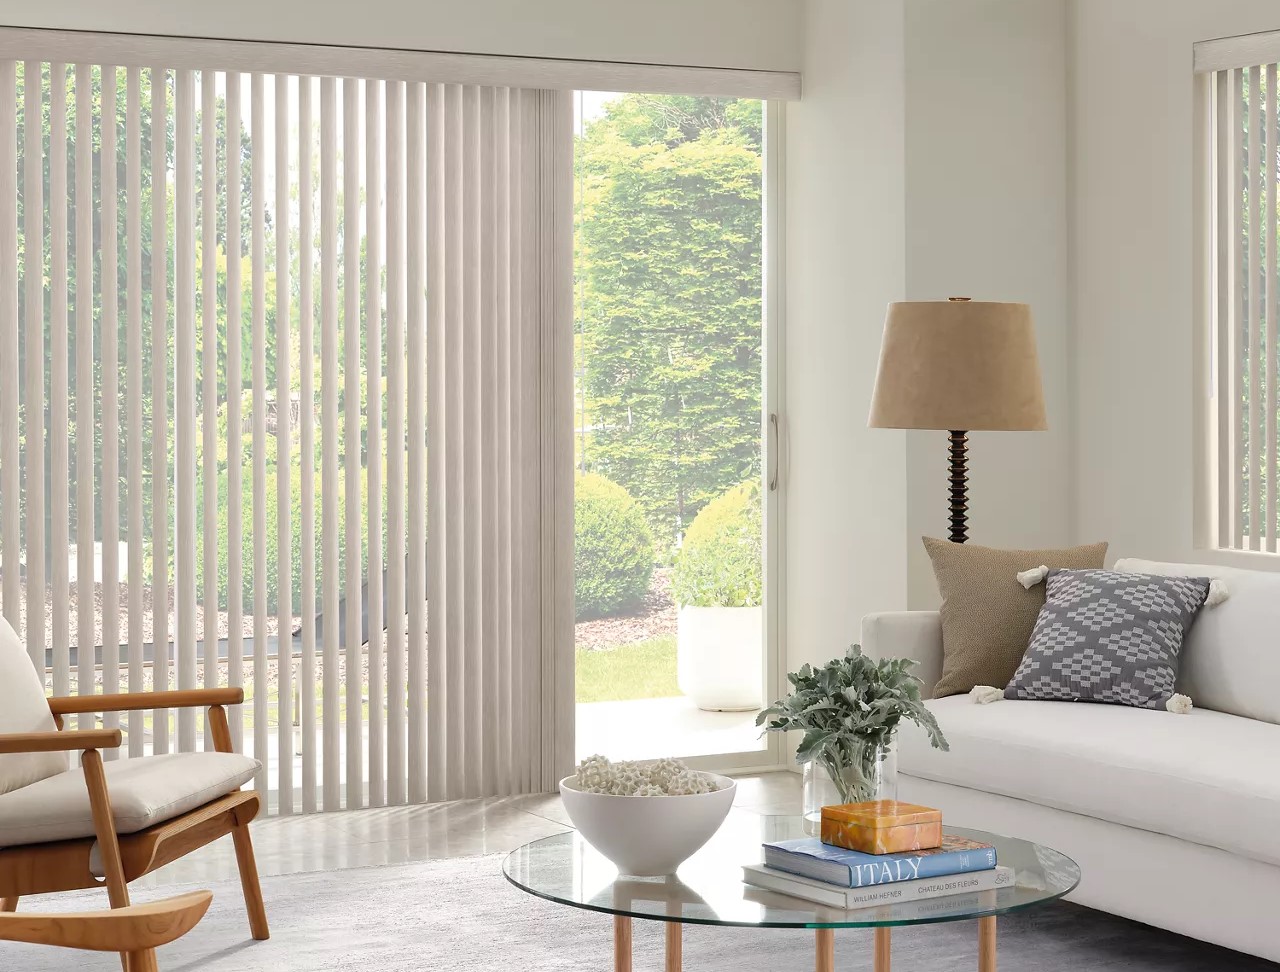
Window blinds are a popular choice for adding privacy, controlling light, and enhancing the aesthetics of a room. While horizontal blinds are commonly used, vertical blinds offer a unique and versatile option. They are particularly well-suited for large windows, sliding glass doors, and other spaces where a wider coverage is needed.
Installing vertical window blinds may seem like a daunting task, but with the right tools, materials, and a step-by-step approach, it can be done easily and efficiently. In this article, we will guide you through the process of hanging vertical window blinds, from measuring the window to testing the final installation.
Before we begin, it’s important to note that the specific instructions may vary depending on the type and brand of vertical blinds you choose. Always refer to the manufacturer’s instructions for detailed guidance. Additionally, ensure that you have all the necessary tools and materials before starting the installation.
Now let’s dive into the step-by-step process of hanging vertical window blinds and transform your windows into a stylish and functional feature of your home.
Key Takeaways:
- Transform your windows with ease by following a step-by-step guide to hanging vertical blinds. From measuring to testing, create a stylish and functional look for your home.
- Choose from a variety of vertical blind types to enhance your space with style and functionality. Follow the installation process for a seamless transformation.
Read more: Where To Hang Blinds In Deep Window
Step 1: Measure the Window
Accurate measurements are crucial for a successful installation of vertical window blinds. Before you begin, ensure that you have a measuring tape or ruler handy.
Start by measuring the width of the window opening. Measure the inside width from the left side to the right side of the window frame. Write down this measurement.
Next, measure the height of the window opening. Measure the inside height from the top of the window frame to the bottom. Write down this measurement as well.
It’s important to note that when measuring for vertical blinds, the standard practice is to take measurements for inside mount blinds rather than outside mount. Inside mount blinds are mounted within the window frame, providing a clean and streamlined look.
Once you have recorded the measurements, it’s a good idea to double-check them to ensure accuracy. In the case of any discrepancies, take the larger measurement to ensure that the blinds will fit properly.
In some cases, windows may have trim or molding that protrudes into the opening. If this is the case, make sure to account for the extra depth when taking measurements. Measure from the front of the trim to the back of the window recess to determine the depth.
By carefully measuring your window, you will be able to choose the right size of vertical blinds and ensure a perfect fit.
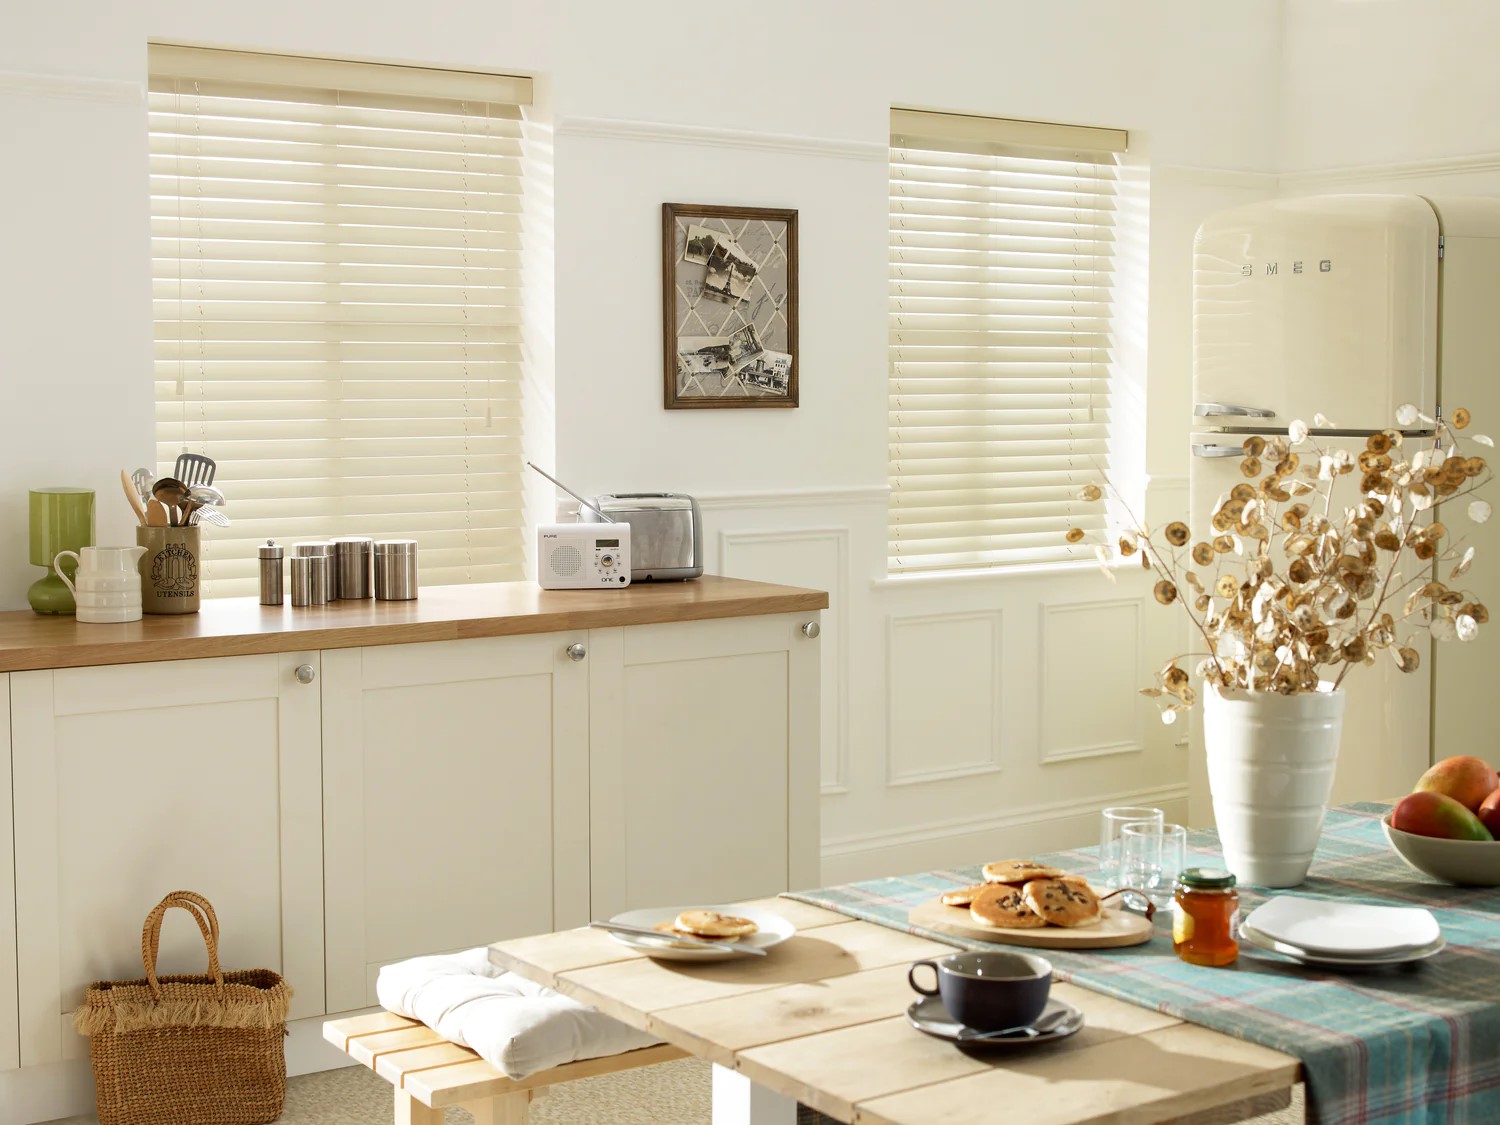
Step 2: Choose the Right Type of Vertical Blinds
When it comes to vertical blinds, there are various options available in terms of materials, styles, and colors. Choosing the right type of blinds can greatly enhance the overall aesthetic of your space and provide the functionality you desire.
Here are a few popular types of vertical blinds:
- Fabric blinds: Fabric vertical blinds offer a softer and more elegant look. They are available in a wide range of colors, patterns, and textures, allowing you to customize them to match your décor.
- Vinyl blinds: Vinyl vertical blinds are durable, easy to clean, and are often more affordable compared to other materials. They come in a variety of colors and finishes to suit your style.
- Wood blinds: Wood vertical blinds add a touch of sophistication and warmth to any space. They are available in different wood types and finishes, giving you a natural and timeless look.
- Faux wood blinds: Faux wood vertical blinds offer the same aesthetic appeal as real wood blinds but are more affordable and resistant to moisture. They are an ideal choice for areas with high humidity, such as bathrooms and kitchens.
- Metal blinds: Metal vertical blinds provide a modern and sleek look. They are often made of aluminum and come in a range of finishes like brushed, polished, or metallic colors.
Consider the style and functionality you want to achieve, as well as your budget and maintenance preferences, when choosing the type of vertical blinds. Take into account the existing décor and furniture in the room to ensure a cohesive and harmonious look.
Remember, different types of vertical blinds have different weight and thickness, which may affect the installation process. Refer to the manufacturer’s instructions and choose blinds that are suitable for your window size and mounting options.
Once you have chosen the right type of vertical blinds, you can proceed to gather the necessary tools and materials for the installation.
Step 3: Gather the Necessary Tools and Materials
Before you begin installing the vertical blinds, it’s important to gather all the necessary tools and materials. This will ensure a smooth and efficient installation process. Here’s a list of items you will need:
- Screwdriver: You will need a screwdriver to attach the mounting brackets to the window frame or wall. The type of screwdriver required may vary depending on the screws provided with your blinds. Check the manufacturer’s instructions for the recommended screwdriver type.
- Level: A level is essential for ensuring that your blinds are installed straight and level. This will prevent them from tilting or leaning to one side.
- Drill (if necessary): If you are mounting the blinds on a hard surface like concrete or brick, you may need a drill to make pilot holes before attaching the brackets.
- Tape measure: A tape measure is required to accurately measure the window dimensions, as well as to check the alignment of the brackets.
- Pencil: Use a pencil to mark the position of the brackets on the window frame or wall. This will help you ensure proper placement before drilling or screwing in the brackets.
- Vertical blinds: Of course, you will need the vertical blinds themselves, along with any additional components such as valance, slats, and control mechanisms.
- Mounting brackets: The mounting brackets are used to secure the blinds to the window frame or wall. Make sure you have the necessary brackets for your specific blinds.
- Screws and wall anchors: Depending on your mounting surface, you may need screws and wall anchors to securely attach the brackets. Check the manufacturer’s instructions for the recommended type and size of screws.
It’s always a good idea to check the manufacturer’s instructions for any specific tools or materials that may be required for your particular blinds. Once you have gathered all the necessary items, you are ready to move on to the next step – determining the hanging location.
Step 4: Determine the Hanging Location
Now that you have all the necessary tools and materials, it’s time to determine the hanging location for your vertical blinds. The hanging location will depend on factors such as the type of blinds, the window structure, and your personal preferences.
Here are some considerations to take into account when determining the hanging location:
- Inside mount vs. outside mount: Decide whether you want to install the blinds inside the window frame (inside mount) or outside the window frame (outside mount). Inside mount provides a clean, streamlined look, while outside mount offers more coverage and can make the window appear larger.
- Obstructions: Take note of any obstructions that may affect the installation or operation of the blinds, such as window handles, crank mechanisms, or trim. Ensure that there is enough clearance for the blinds to open and close freely.
- Light control: Consider the amount of light control you desire. If you want maximum light blocking, position the blinds as close to the window frame as possible.
- Privacy: Take into account your privacy needs. Position the blinds in a way that ensures privacy while still allowing for natural light to enter the room.
- Aesthetics: Consider the overall aesthetics of the room. Determine the height at which you would like to hang the blinds to create a visually pleasing balance with other elements in the space.
Once you have considered these factors, use a pencil to mark the desired position of the brackets. Use a level to ensure that the marks are straight and level. Double-check your measurements and marks before proceeding to the next step.
Now that you have determined the hanging location, you are ready to move on to the next step – mounting the brackets.
When hanging vertical window blinds, make sure to measure the width and length of the window accurately before purchasing the blinds to ensure a proper fit.
Read more: How Do I Hang Curtains Over Vertical Blinds
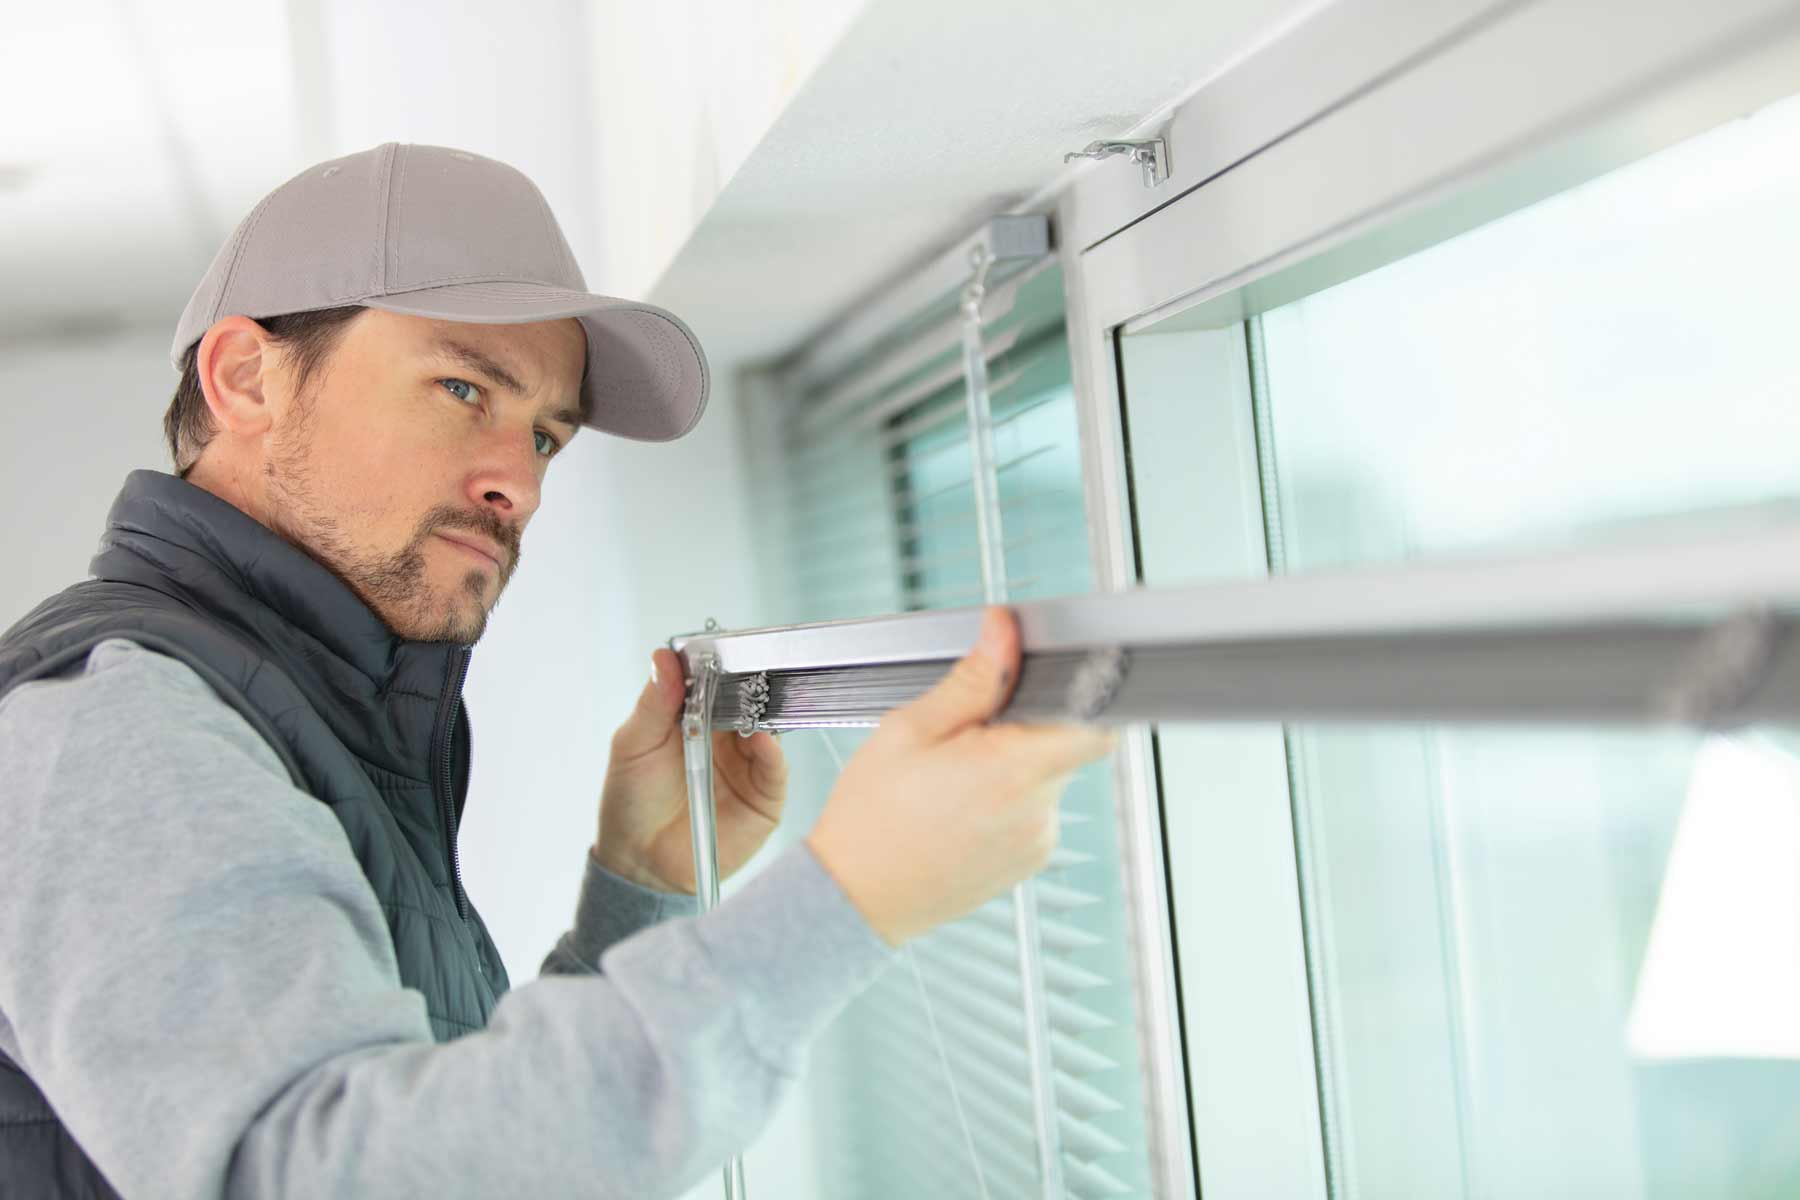
Step 5: Mount the Brackets
Mounting the brackets is a crucial step in the installation of vertical blinds, as they provide the support and stability for the blinds. Follow these steps to properly mount the brackets:
- Position the brackets: Take one of the brackets and align it with the pencil mark you made in the previous step. Ensure that the bracket is level by using a level. Mark the screw holes on the window frame or wall through the bracket’s mounting holes.
- Pre-drill (if necessary): If you are mounting the blinds on a hard surface like concrete or brick, use a drill with the appropriate drill bit size to make pilot holes at the marked screw hole locations. This will make it easier to screw in the brackets.
- Attach the brackets: Place the bracket back on the marked screw holes and align it properly. Use a screwdriver and the recommended screws provided by the manufacturer to secure the brackets in place. Make sure the brackets are tightly and securely fastened.
- Repeat for additional brackets: If your blinds require multiple brackets, follow the same process to mount the remaining brackets. Ensure consistent spacing between the brackets for a balanced and even installation.
Once all the brackets are securely mounted, double-check their alignment and stability. Test their strength by gently pulling on them to ensure they are firmly attached to the window frame or wall.
It’s essential to follow the manufacturer’s instructions and recommendations when installing the brackets, as different blinds may have different mounting requirements.
With the brackets mounted, you are now ready to move on to the next step – attaching the valance.
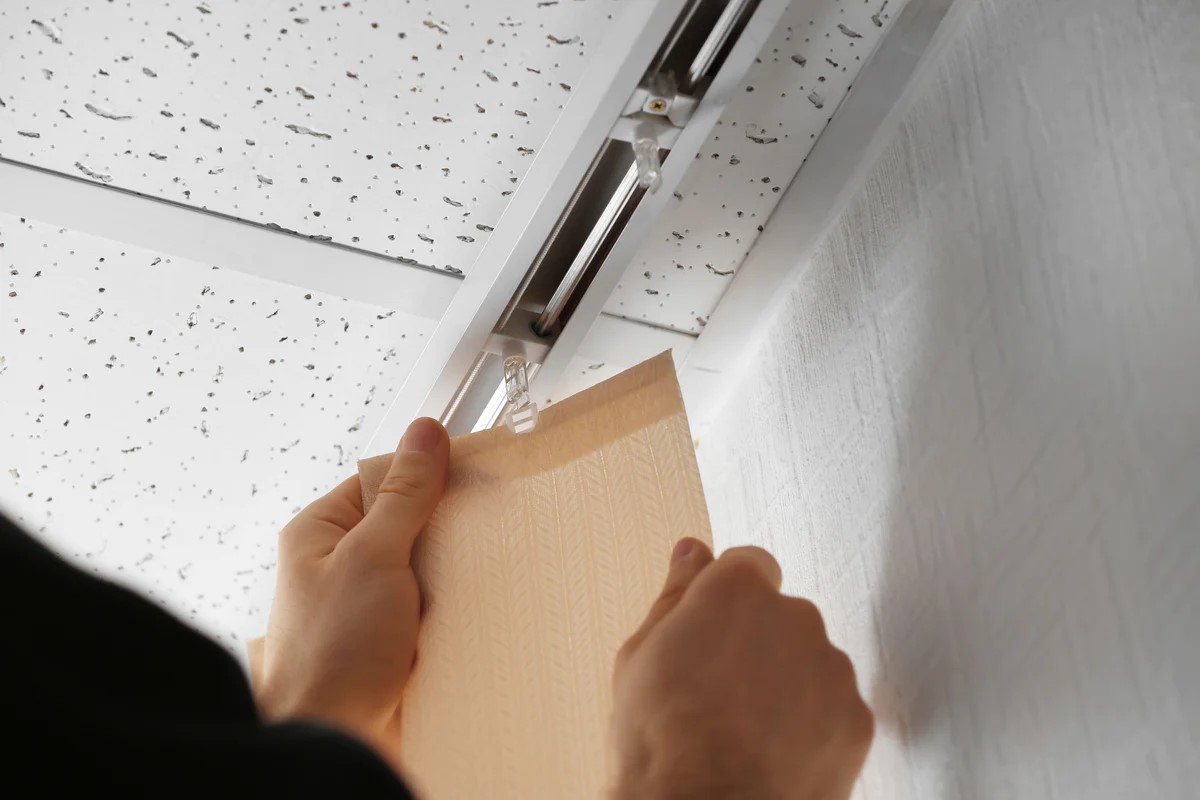
Step 6: Attach the Valance
The valance is the decorative cover that hides the mechanics of the vertical blinds and adds a finishing touch to the overall appearance. Attaching the valance is an important step in completing the installation process. Follow these steps to attach the valance:
- Position the valance clips: Take the valance clips provided with your blinds and position them on top of the brackets. The number of clips needed will depend on the width of your valance and the manufacturer’s recommendations. Ensure that the clips are evenly spaced and aligned with the brackets.
- Attach the valance: Align the valance with the installed clips and gently press it into place. Make sure it is secured firmly by ensuring each clip engages with the valance. Give it a gentle tug to ensure it is securely attached.
- Adjust the valance: Once the valance is attached, adjust it to ensure it is level and sits flush against the wall or window frame. Use a level if necessary to align the valance properly.
It’s important to note that different blinds may come with different types of valance clips. Follow the manufacturer’s instructions for attaching the valance specific to your blinds.
With the valance securely attached, the installation is starting to come together. The next step is to install the vertical blind slats.
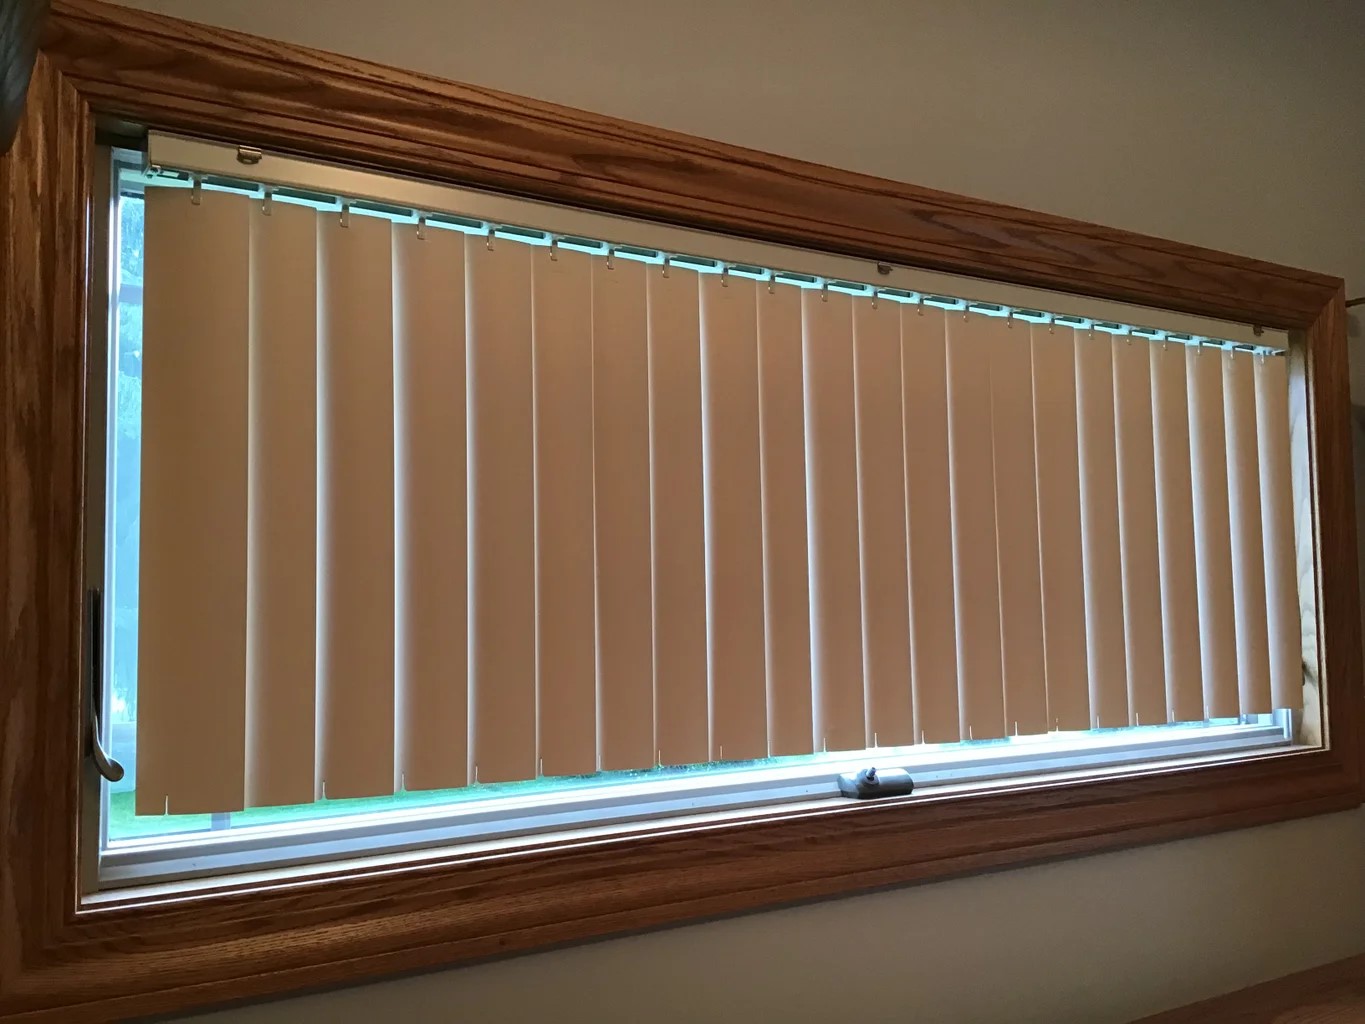
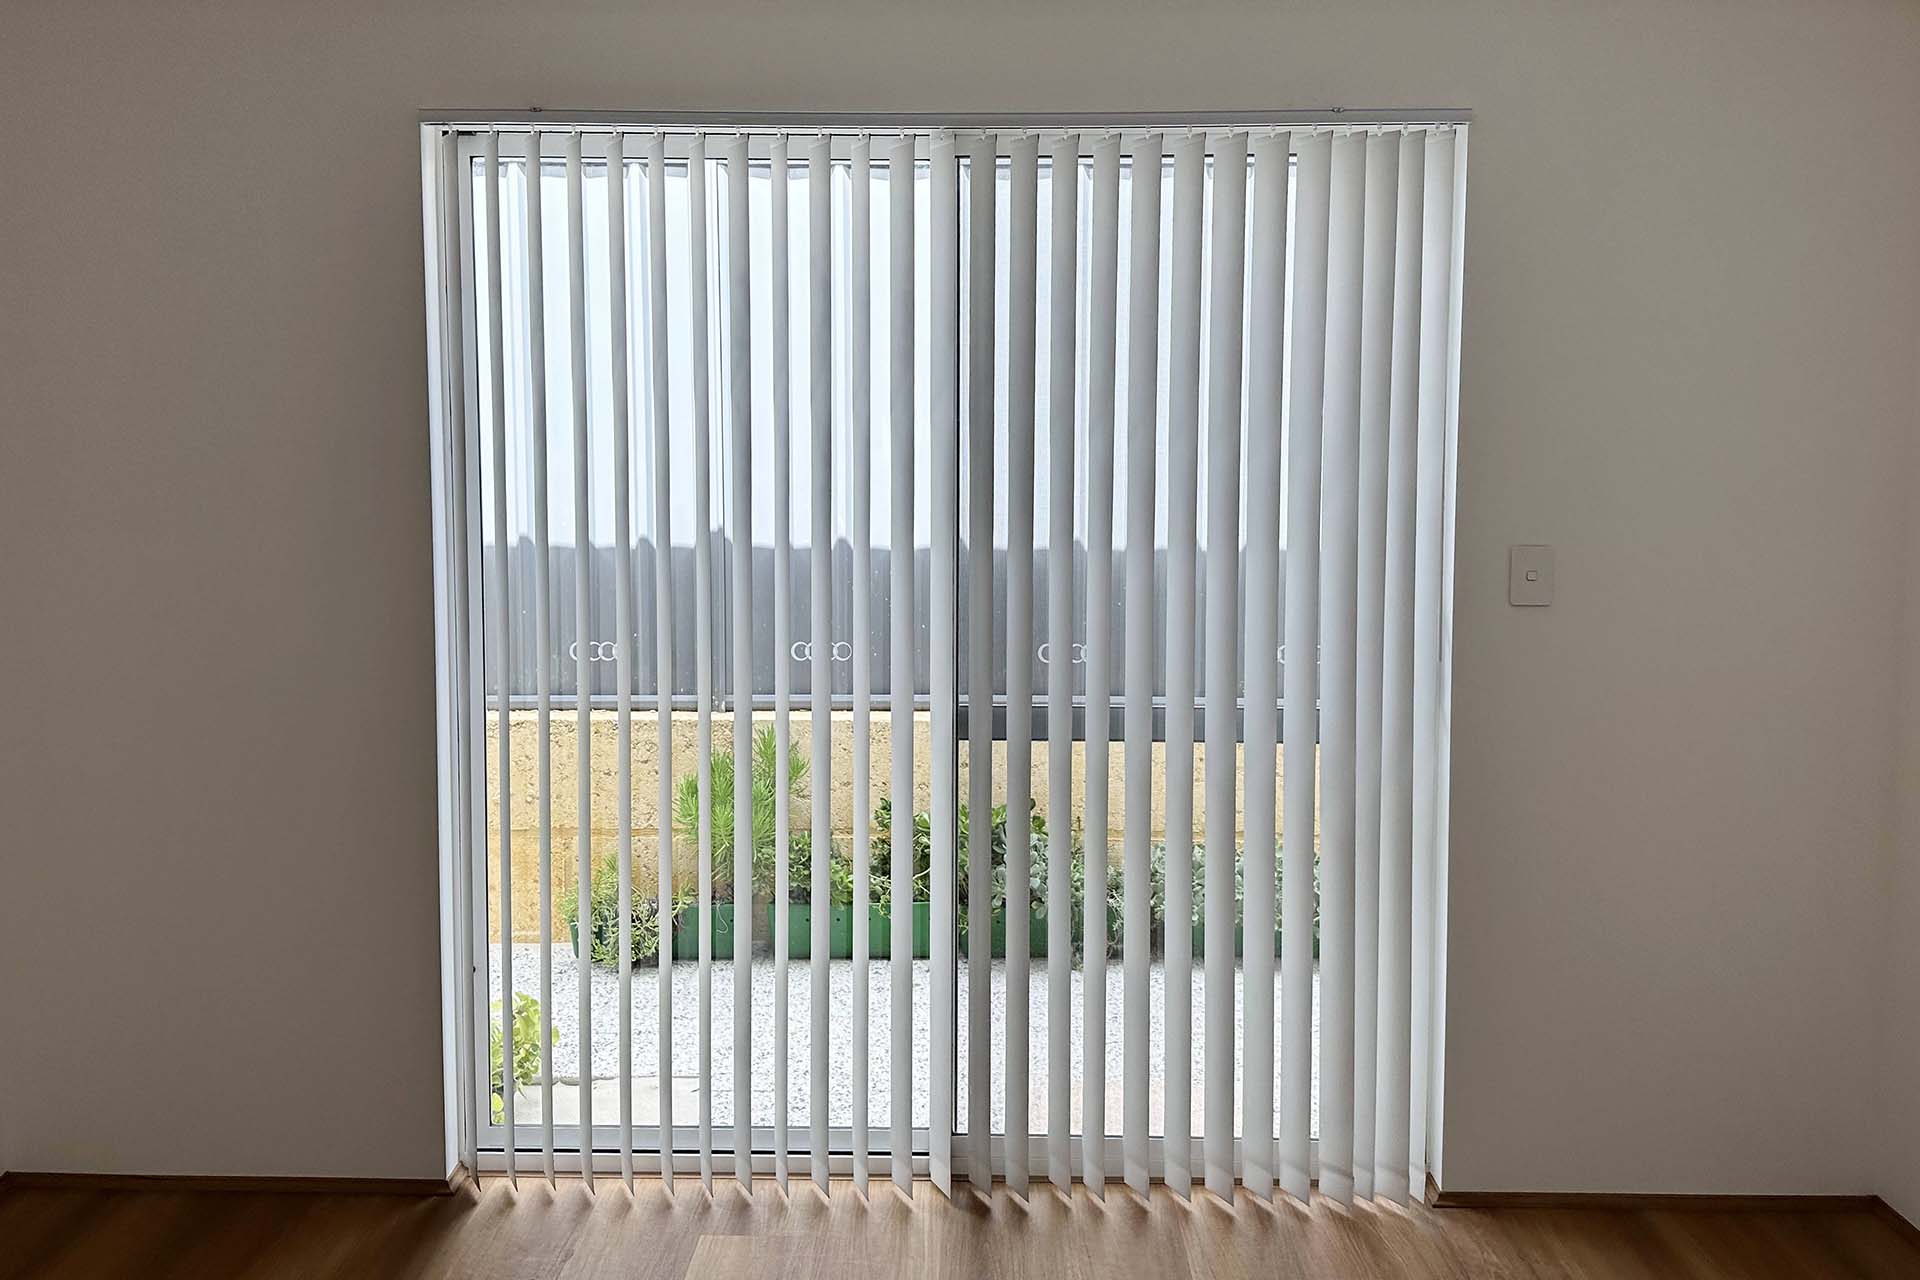
Step 7: Install the Vertical Blind Slats
Now that the brackets and valance are in place, it’s time to install the vertical blind slats. The slats are the individual panels that hang vertically and can be adjusted to control light and privacy. Follow these steps to install the slats:
- Unpack and prepare the slats: Carefully unpack the vertical blind slats and lay them out in order. If your blinds come with a control chain or wand, attach it to the first slat according to the manufacturer’s instructions.
- Insert the slats into the carriers: Each slat has a carrier at the top that holds it in place. Start with the first slat and insert it into the carrier by hooking the carrier onto the hole at the top of the slat. Repeat this process for each slat, ensuring they are properly aligned and evenly spaced.
- Secure the slats: Once all the slats are inserted, gently pull on the control chain or wand to ensure the slats move smoothly and evenly. Make any necessary adjustments to the spacing or alignment of the slats. Check that they hang straight and are not tangled.
It’s important to follow the manufacturer’s instructions for inserting the slats, as different blinds may have specific mechanisms or techniques for securing them in place.
Once the slats are installed and properly aligned, give them a gentle test by adjusting the control chain or wand to open and close the blinds. Ensure that the slats move smoothly and that the blinds operate correctly.
With the vertical blind slats installed, you’re almost done! The final step is to make adjustments and test the blinds for optimal performance.
Step 8: Adjust and Test the Blinds
In the final step of installing your vertical blinds, you will make any necessary adjustments and perform a thorough test to ensure they are working properly. Follow these steps to adjust and test the blinds:
- Adjust the slats: Take a moment to adjust the slats to your desired position. Use the control chain or wand to tilt the slats and control the amount of light and privacy. Ensure that the slats are straight and aligned.
- Test the opening and closing: Gently operate the control mechanism to open and close the blinds. Pay attention to any friction or resistance, as this may indicate the need for further adjustments. The blinds should move smoothly without getting stuck or jammed.
- Check for any gaps or misalignments: Inspect the blinds and ensure that they cover the window completely, without any gaps or misalignments. The slats should overlap properly, providing complete privacy and light control.
- Test the control chain or wand: Make sure the control chain or wand operates smoothly and effectively. It should easily rotate the slats and allow you to adjust the blinds to your desired position.
- Make necessary adjustments: If you notice any issues during the testing process, such as misaligned slats or difficult operation, make the necessary adjustments. This may involve straightening the slats, tightening screws, or realigning the brackets.
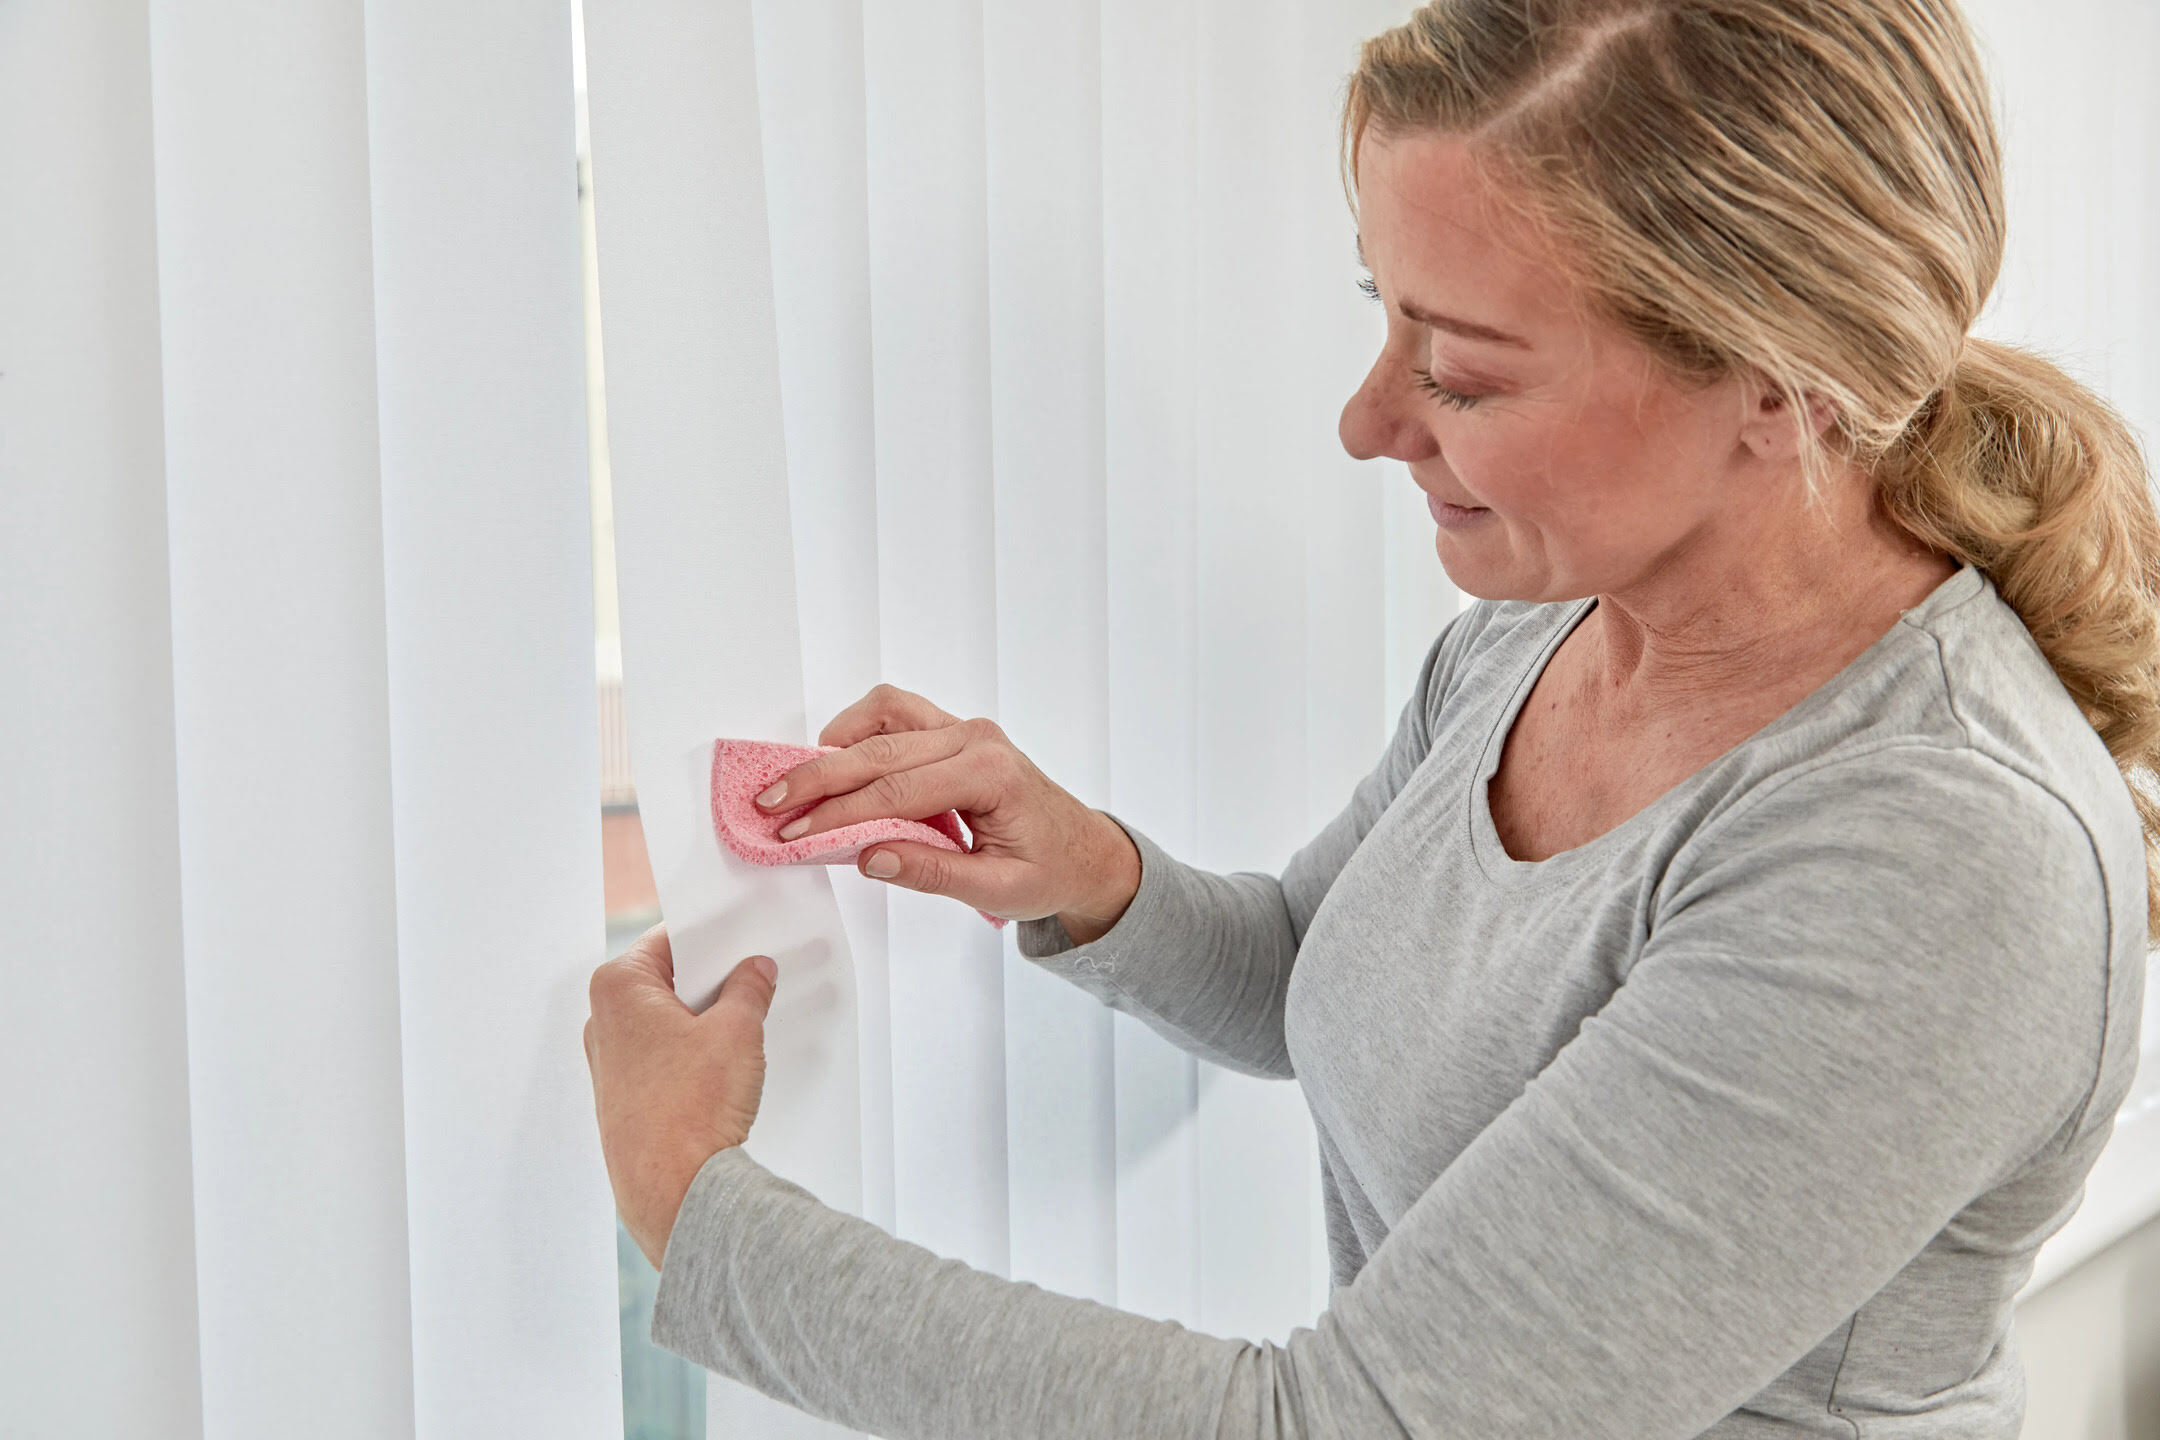
By thoroughly testing and adjusting the blinds, you can ensure that they function properly and provide the desired level of light control and privacy.
Once you are satisfied with the adjustments and the performance of the blinds, your installation is complete! Sit back and enjoy your newly installed vertical window blinds, which not only add functionality but also a touch of style to your space.
Read more: What Is Vertical Blinds
Conclusion
Installing vertical window blinds doesn’t have to be a daunting task. With the right tools, materials, and a systematic approach, you can successfully hang vertical blinds and transform the look and functionality of your windows. By following the step-by-step process outlined in this article, you have learned how to measure the window, choose the right type of blinds, gather the necessary tools and materials, determine the hanging location, mount the brackets, attach the valance, install the slats, and adjust and test the blinds for optimal performance.
Vertical blinds offer a versatile and stylish solution for controlling light and privacy in your home. Whether you opt for fabric, vinyl, wood, faux wood, or metal blinds, there is a wide range of options to suit your aesthetic preferences and functional needs.
Remember to always refer to the manufacturer’s instructions for specific guidelines related to your chosen blinds. Additionally, take your time throughout the installation process to ensure accuracy and precision.
By installing vertical window blinds with care and attention to detail, you can create a more comfortable and visually appealing living space. Enjoy the benefits of increased privacy, light control, and enhanced aesthetics that vertical blinds provide.
So go ahead, tackle your window installation project with confidence, and enjoy the transformation that vertical blinds bring to your home.
Frequently Asked Questions about How To Hang Vertical Window Blinds
Was this page helpful?
At Storables.com, we guarantee accurate and reliable information. Our content, validated by Expert Board Contributors, is crafted following stringent Editorial Policies. We're committed to providing you with well-researched, expert-backed insights for all your informational needs.