Articles
How To Cut Blinds To Size
Modified: October 20, 2024
Learn how to cut blinds to size with our informative articles. Get step-by-step instructions to easily customize your blinds for a perfect fit.
(Many of the links in this article redirect to a specific reviewed product. Your purchase of these products through affiliate links helps to generate commission for Storables.com, at no extra cost. Learn more)
Introduction
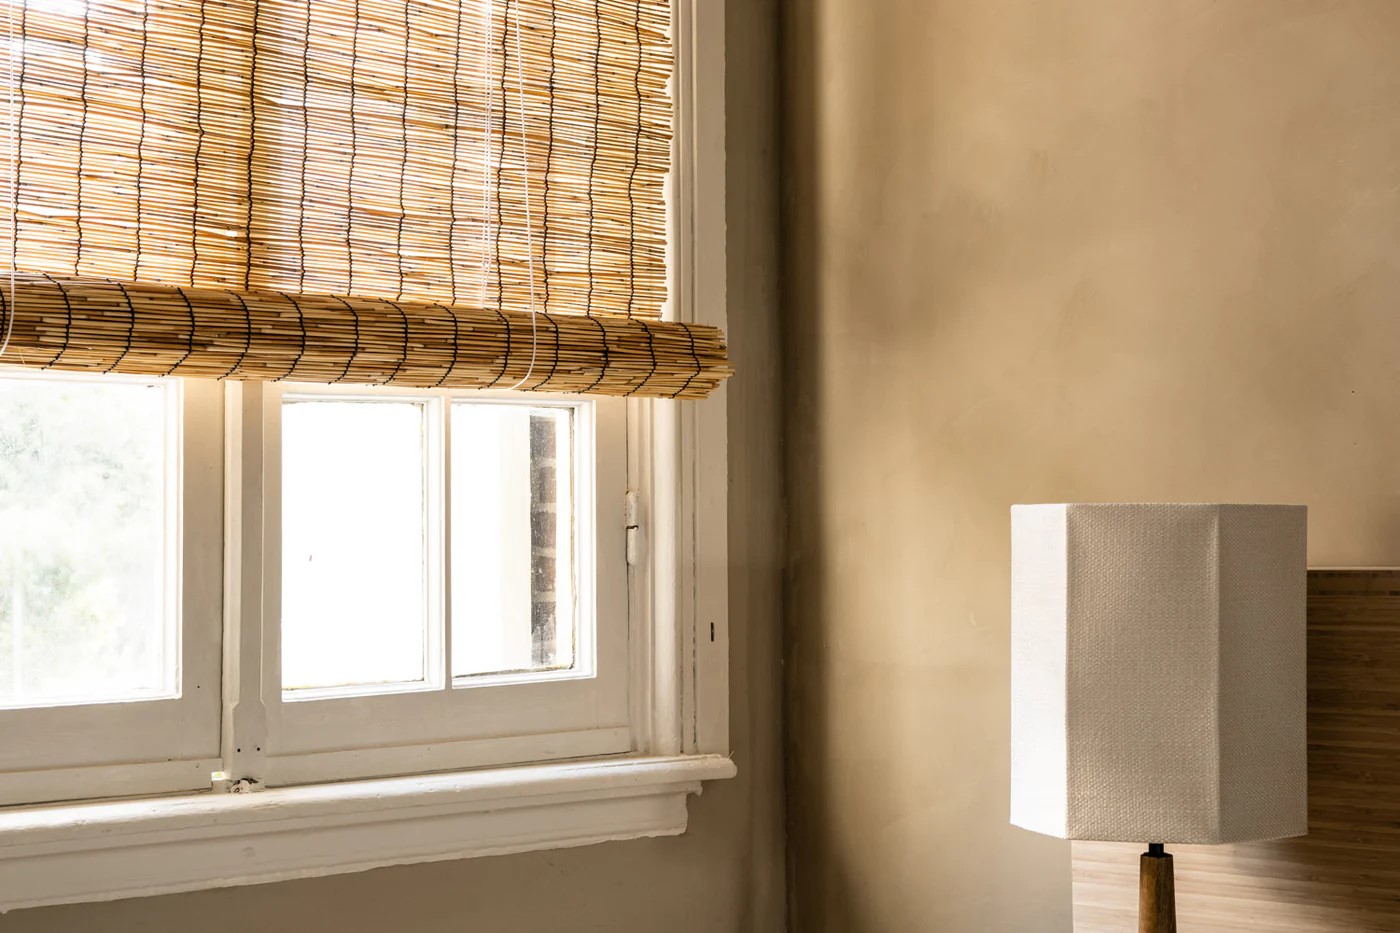
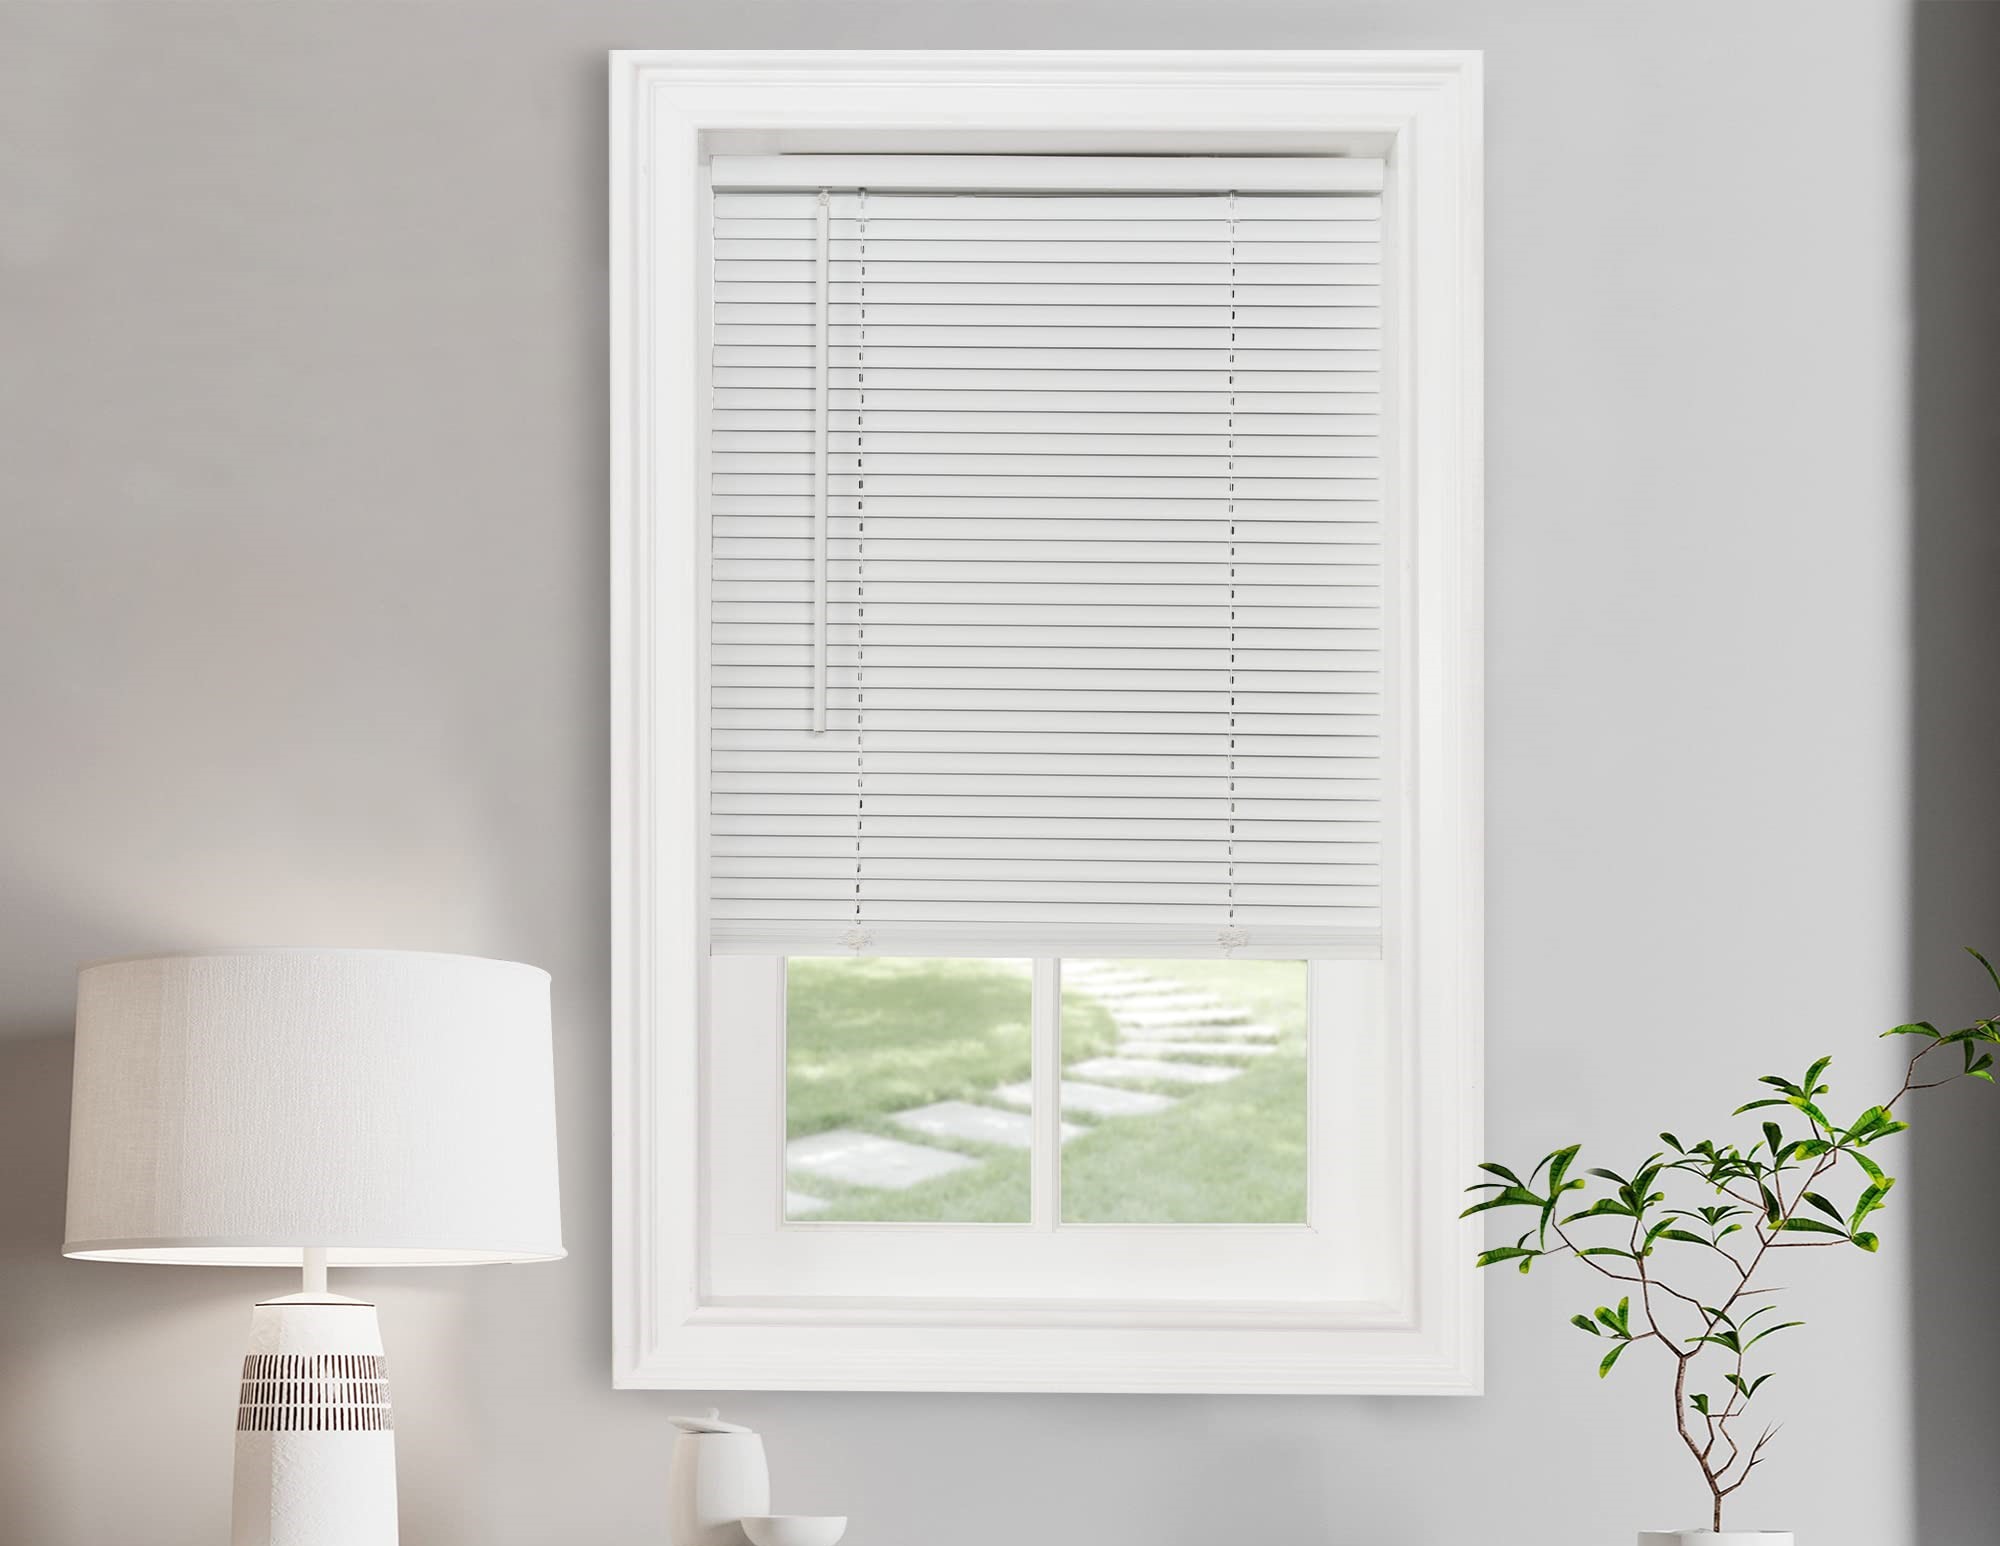
When it comes to dressing up your windows, blinds are a great option that offers both functionality and style. However, it’s not uncommon to find blinds that are too long or wide for your specific window measurements. That’s where knowing how to cut blinds to size becomes handy.
Whether you’ve just purchased new blinds or you’re repurposing existing ones, cutting them to fit your window perfectly can make a significant difference in the overall aesthetic of your space. While it may seem like a daunting task, with the right tools and careful measurements, you can easily customize your blinds to ensure a perfect fit.
In this article, we’ll guide you through the step-by-step process of cutting blinds to size. By the end, you’ll have all the knowledge and confidence you need to tackle this project on your own.
Key Takeaways:
- Customizing blinds to fit your window perfectly is achievable with the right tools and careful measurements. Remember to measure twice, cut once, and prioritize safety for a polished DIY result.
- After cutting your blinds to size, add the finishing touches by cleaning, applying a wood finish, and ensuring proper installation. Embrace the DIY project to elevate the aesthetics and functionality of your space.
Read more: How To Cut Vertical Blinds
Understanding the Blinds Cutting Process
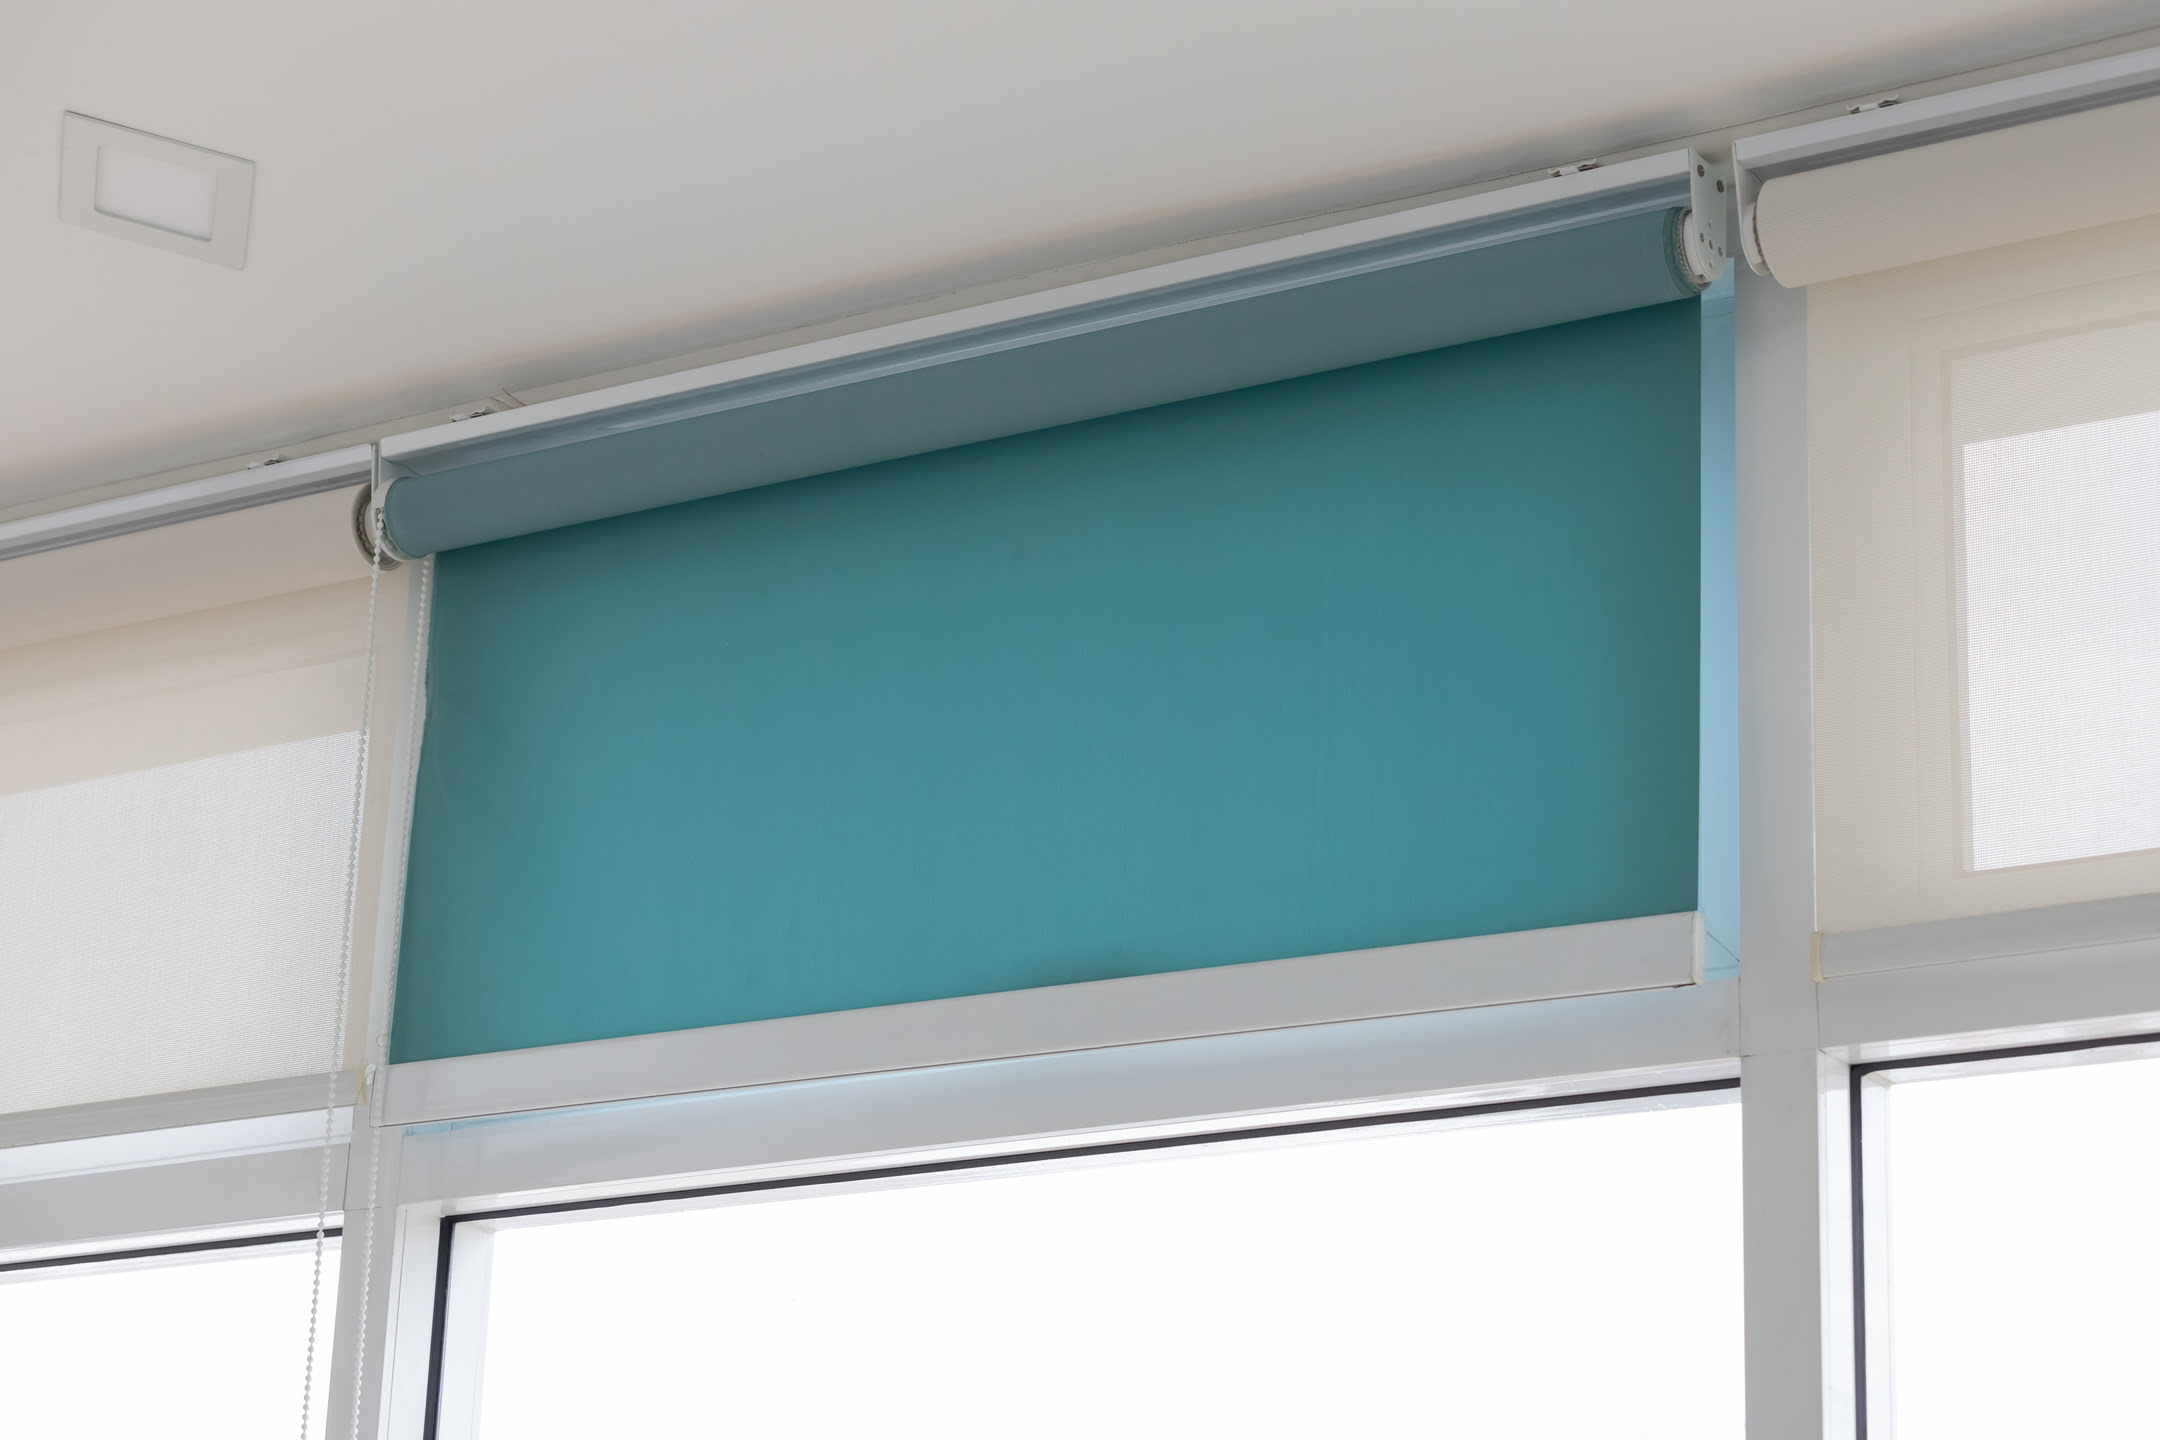
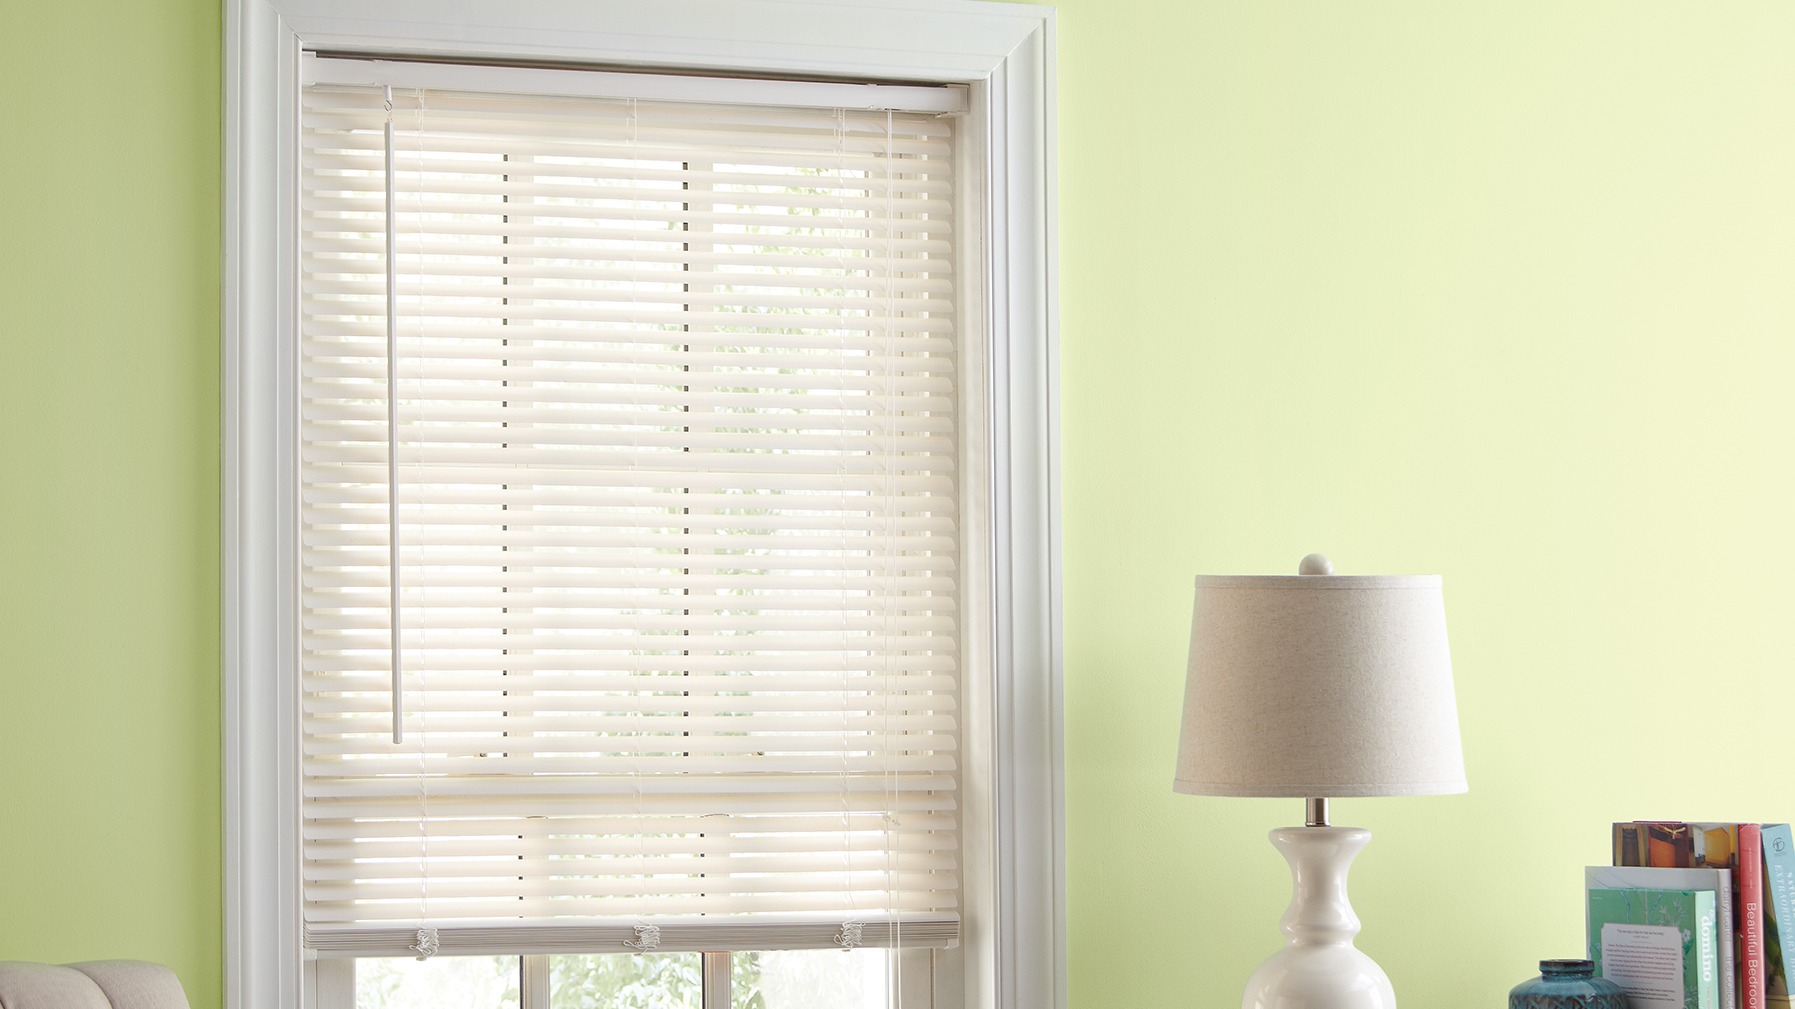
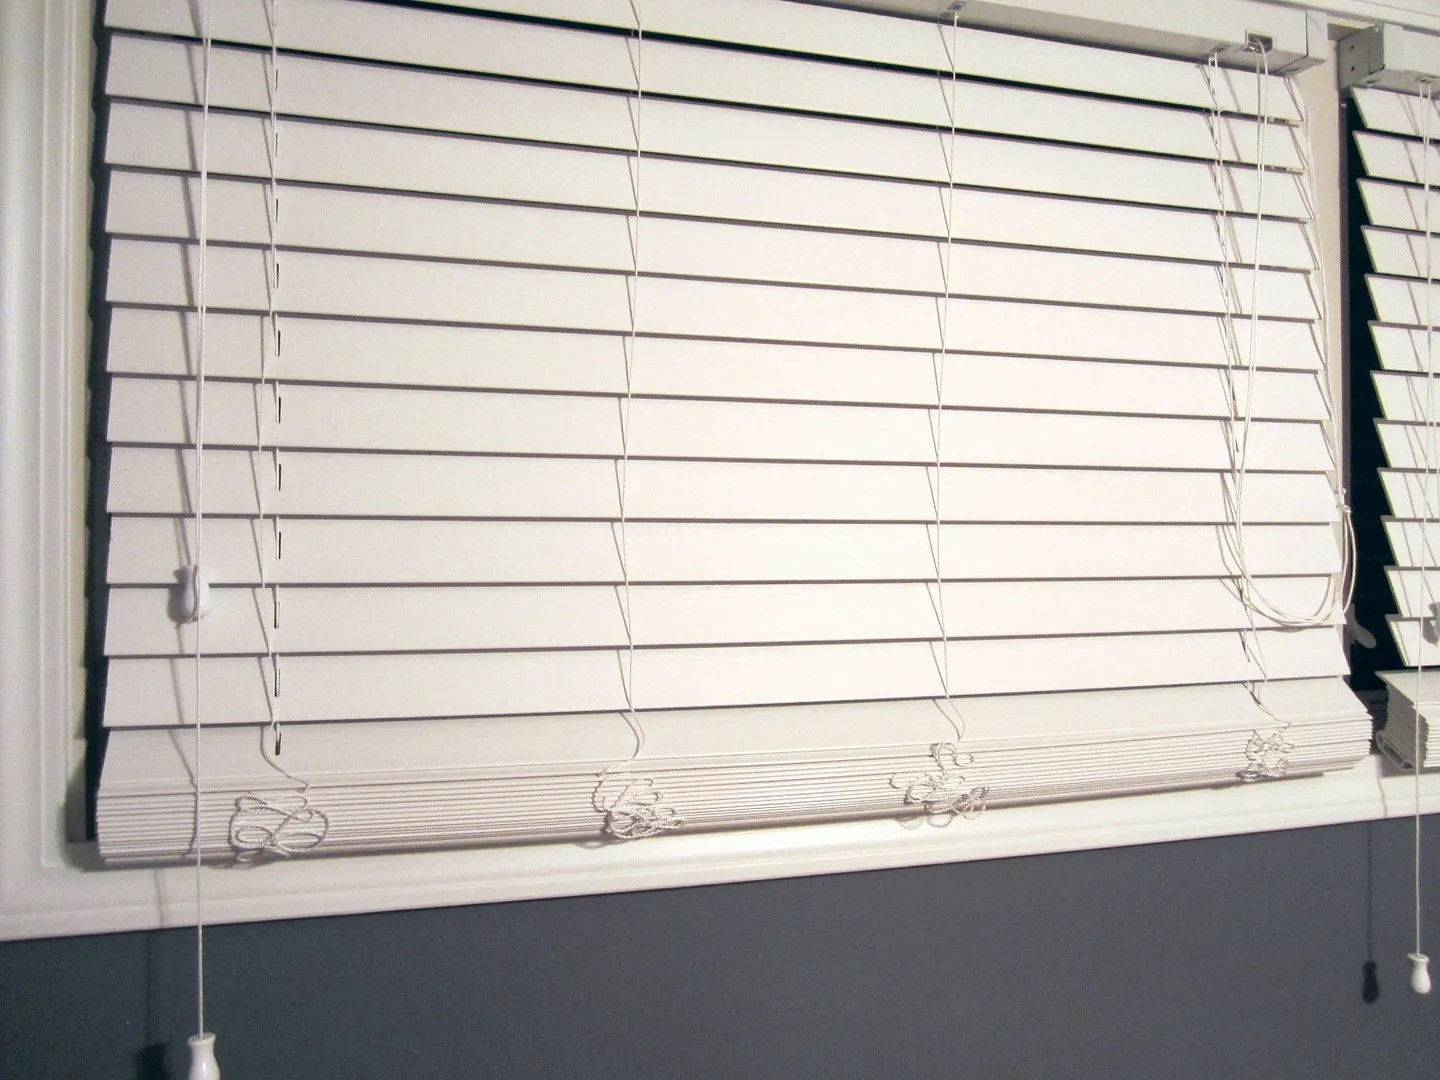
Before you start cutting your blinds, it’s important to have a basic understanding of how they are constructed. Most blinds consist of slats that are connected by a string ladder. The slats can be made of various materials such as wood, vinyl, or aluminum, and they can be adjusted to control the amount of light and privacy in a room.
When it comes to cutting blinds, there are two main areas to consider: the width and the length. The width refers to the overall size of the blinds from side to side, while the length refers to the distance from the top of the blinds to the bottom. It’s essential to measure both dimensions accurately to ensure the blinds fit your window opening perfectly.
Keep in mind that not all blinds can be cut. Some blinds, especially those made of delicate materials or with specific mechanisms, may not be suitable for cutting. It’s always best to check the manufacturer’s guidelines or consult with a professional if you’re unsure about the cutting process for your particular blinds.
Furthermore, it’s important to note that cutting blinds is a permanent alteration. Once you’ve made the cuts, there’s no going back, so it’s crucial to double-check your measurements before proceeding. Take your time and measure twice to avoid any costly mistakes.
Now that you have a basic understanding of the blinds cutting process, let’s move on to the tools and materials you’ll need.
Tools and Materials Needed
Before you begin cutting your blinds, gather the following tools and materials:
- Measuring tape: A reliable measuring tape is essential for accurately measuring the width and length of your blinds and window.
- Pencil or marker: Use a pencil or marker to mark the measurements on the blinds.
- Straightedge: A straightedge, such as a ruler or a level, will help you create precise lines for cutting.
- Hacksaw or blinds cutter: Depending on the material of your blinds, you’ll need a hacksaw or a specialized blinds cutter to make the cuts. Ensure that the blades are sharp and in good condition.
- Safety goggles: Protect your eyes by wearing safety goggles while cutting the blinds.
- Masking tape: Use masking tape to secure the slats together before making the cuts. This will help prevent them from moving or shifting during the cutting process.
- Sandpaper: If you’re cutting wooden blinds, have sandpaper on hand to smooth any rough edges after cutting.
Gather all these tools and materials before you begin the cutting process to ensure a smooth and efficient workflow. Once you have everything ready, it’s time to move on to the step-by-step instructions for cutting the blinds to size.
Step 1: Measure Twice
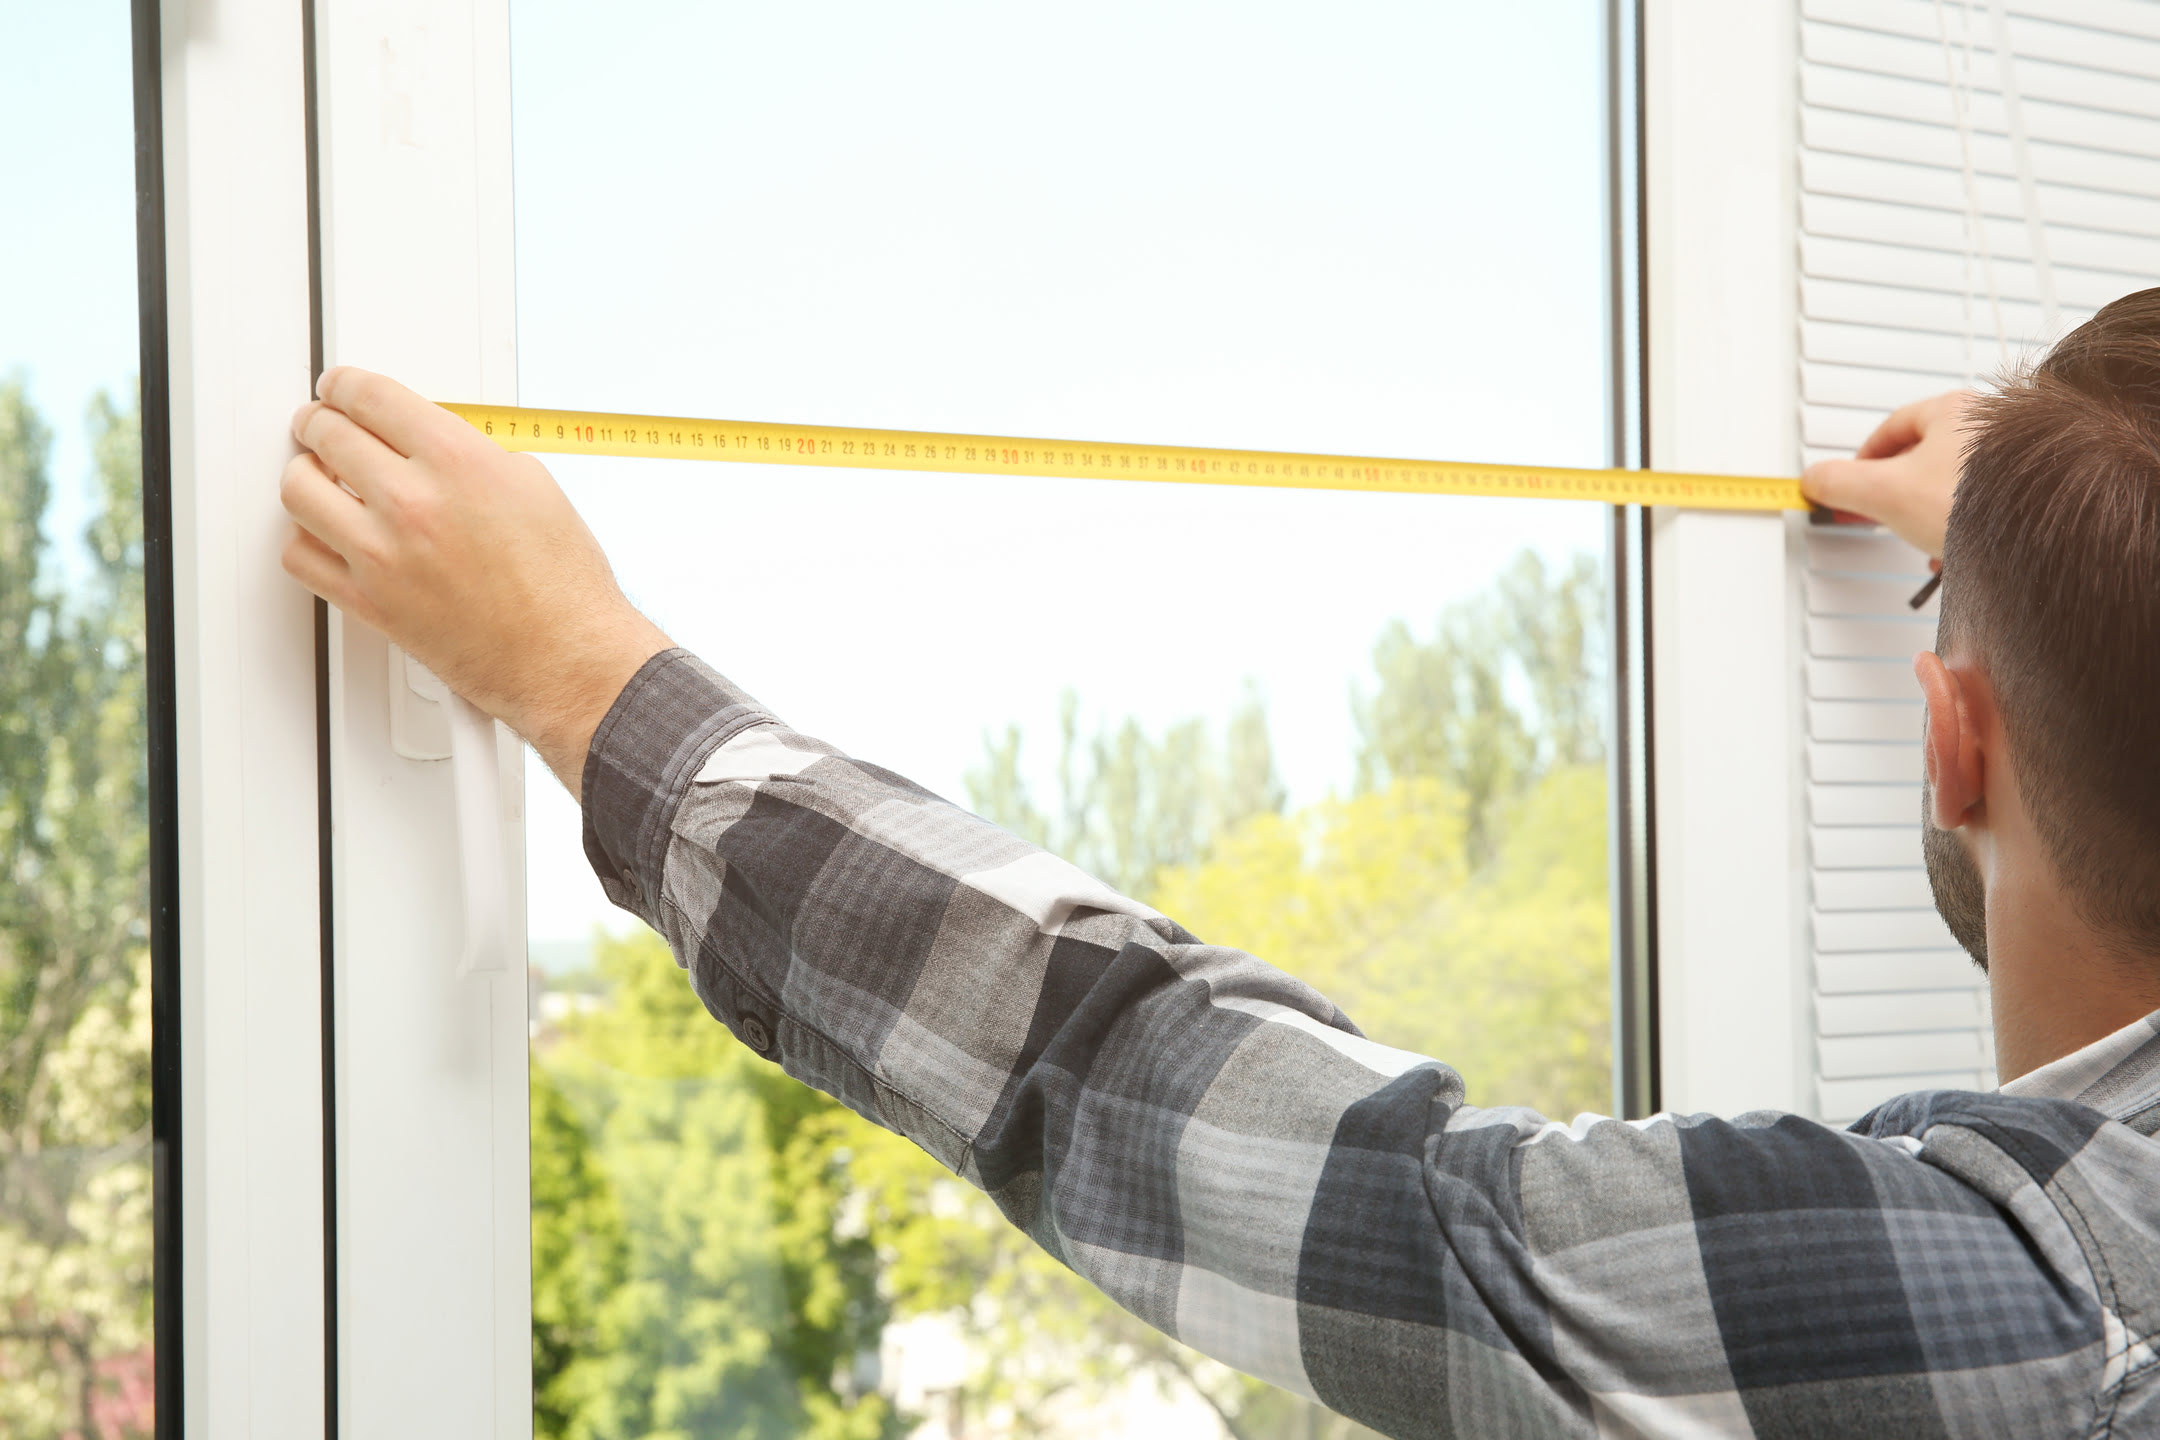
Accurate measurements are crucial when cutting blinds to size. Before you make any cuts, take the time to measure your blinds and window opening twice. This will help ensure that your blinds fit perfectly and avoid any mistakes.
Start by measuring the width of your window opening. Use a measuring tape to measure the distance between the inside edges of the window frame. Take the measurement at the top, middle, and bottom of the window to account for any variations in size.
Next, measure the length of your window opening. Measure from the top inside edge of the window frame to the bottom. Again, take the measurement at multiple points to account for any irregularities.
Once you have your measurements, compare them to the width and length of your blinds. If the blinds are wider or longer than your window opening, you’ll need to cut them down to size.
Remember, it’s always better to take off a little extra than cut too much. You can always trim the blinds down further if needed, but you can’t add material back once it’s been cut.
Take your time during this step and double-check your measurements. Precision is key to ensuring a professional-looking end result. Once you’re confident in your measurements, it’s time to move on to the next step: marking your measurements on the blinds.
Step 2: Mark Your Measurements
Now that you have your accurate measurements, it’s time to mark them on the blinds. This step is crucial to ensure that you make precise cuts and that your blinds fit perfectly in your window.
Start by laying your blinds flat on a clean and sturdy surface, such as a workbench or a large table. Make sure that the blinds are fully extended, and the slats are aligned.
Using a pencil or a marker, carefully mark the measurements you took earlier on the bottom rail of the blinds. Make a small mark at both ends of the rail to indicate the desired width and length of the blinds.
If you’re cutting blinds that have a ladder string, you’ll need to mark each individual slat as well. Measure and mark the desired length on each slat, ensuring that they are consistent and even throughout.
Double-check your marks to ensure they are accurate and aligned with your measurements. It’s a good idea to step back and visually inspect the marks before proceeding to the next step.
Marking your measurements on the blinds will serve as your guide when it comes time to make the cuts. It’s important to be precise and deliberate during this step to achieve the best possible outcome. Once you’re satisfied with your marks, you’re ready to move on to preparing the blinds for cutting.
When cutting blinds to size, always measure twice and cut once. Use a sharp pair of scissors or a fine-toothed saw to ensure a clean and precise cut. Remember to double-check your measurements before making any cuts to avoid costly mistakes.
Read more: How To Cut PVC Blinds?
Step 3: Prepare the Blind for Cutting
Before you start cutting your blinds, it’s important to ensure they are properly prepared to prevent any damage or mishaps during the cutting process. This step will help ensure clean and precise cuts.
First, if your blinds have a ladder string, secure the slats together using masking tape. This will prevent them from moving or shifting during the cutting process.
If you’re working with wooden blinds, you might encounter rough edges after cutting. To minimize this, lightly sand the edges of the blinds using sandpaper. This will smoothen any rough surfaces and give the blinds a more polished look.
Make sure to clean the area where you’ll be cutting the blinds to remove any dust or debris that may affect the cutting process or damage the blinds.
Additionally, take the necessary safety precautions. Wear safety goggles to protect your eyes from any potential flying debris, and ensure that the blades of your saw or blinds cutter are sharp and in good condition.
By properly preparing the blinds for cutting, you’ll create an optimal environment for accurate and smooth cuts. With the blinds secured and the workspace clean, you’re ready to proceed to the next step: cutting the blinds to size.
Step 4: Cutting the Blinds to Size
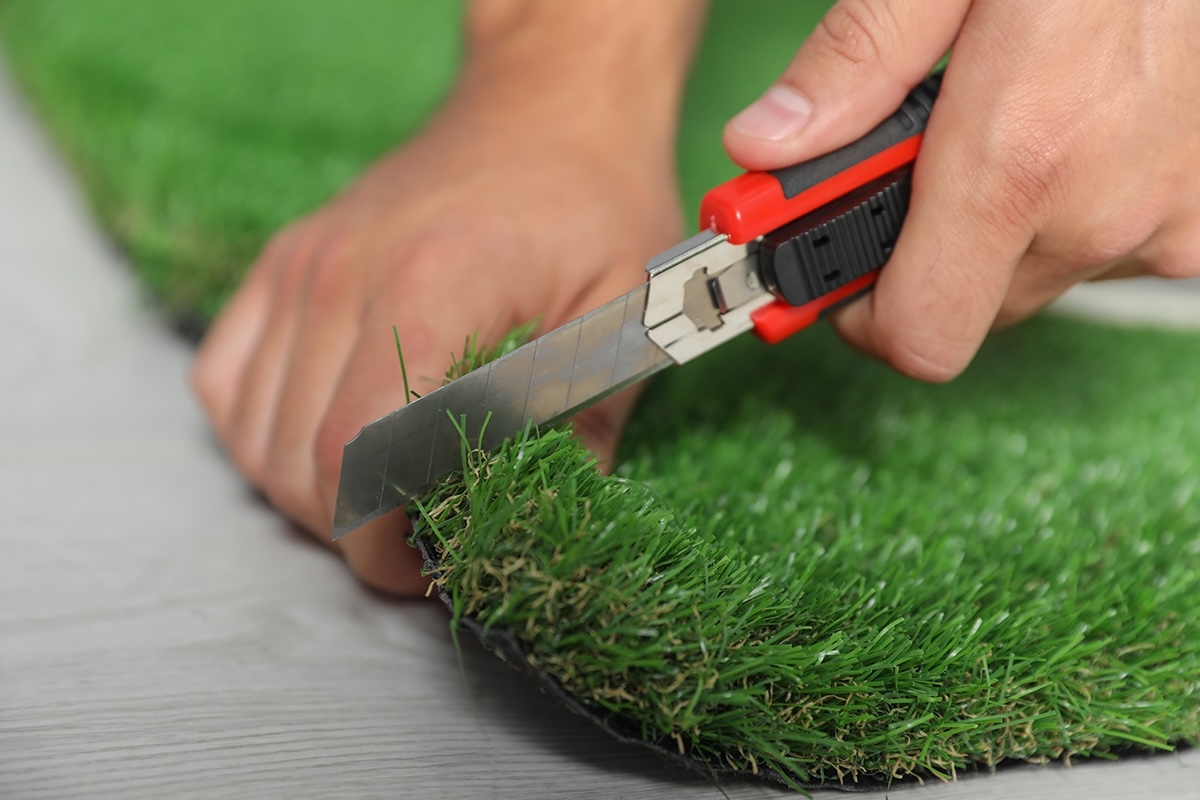
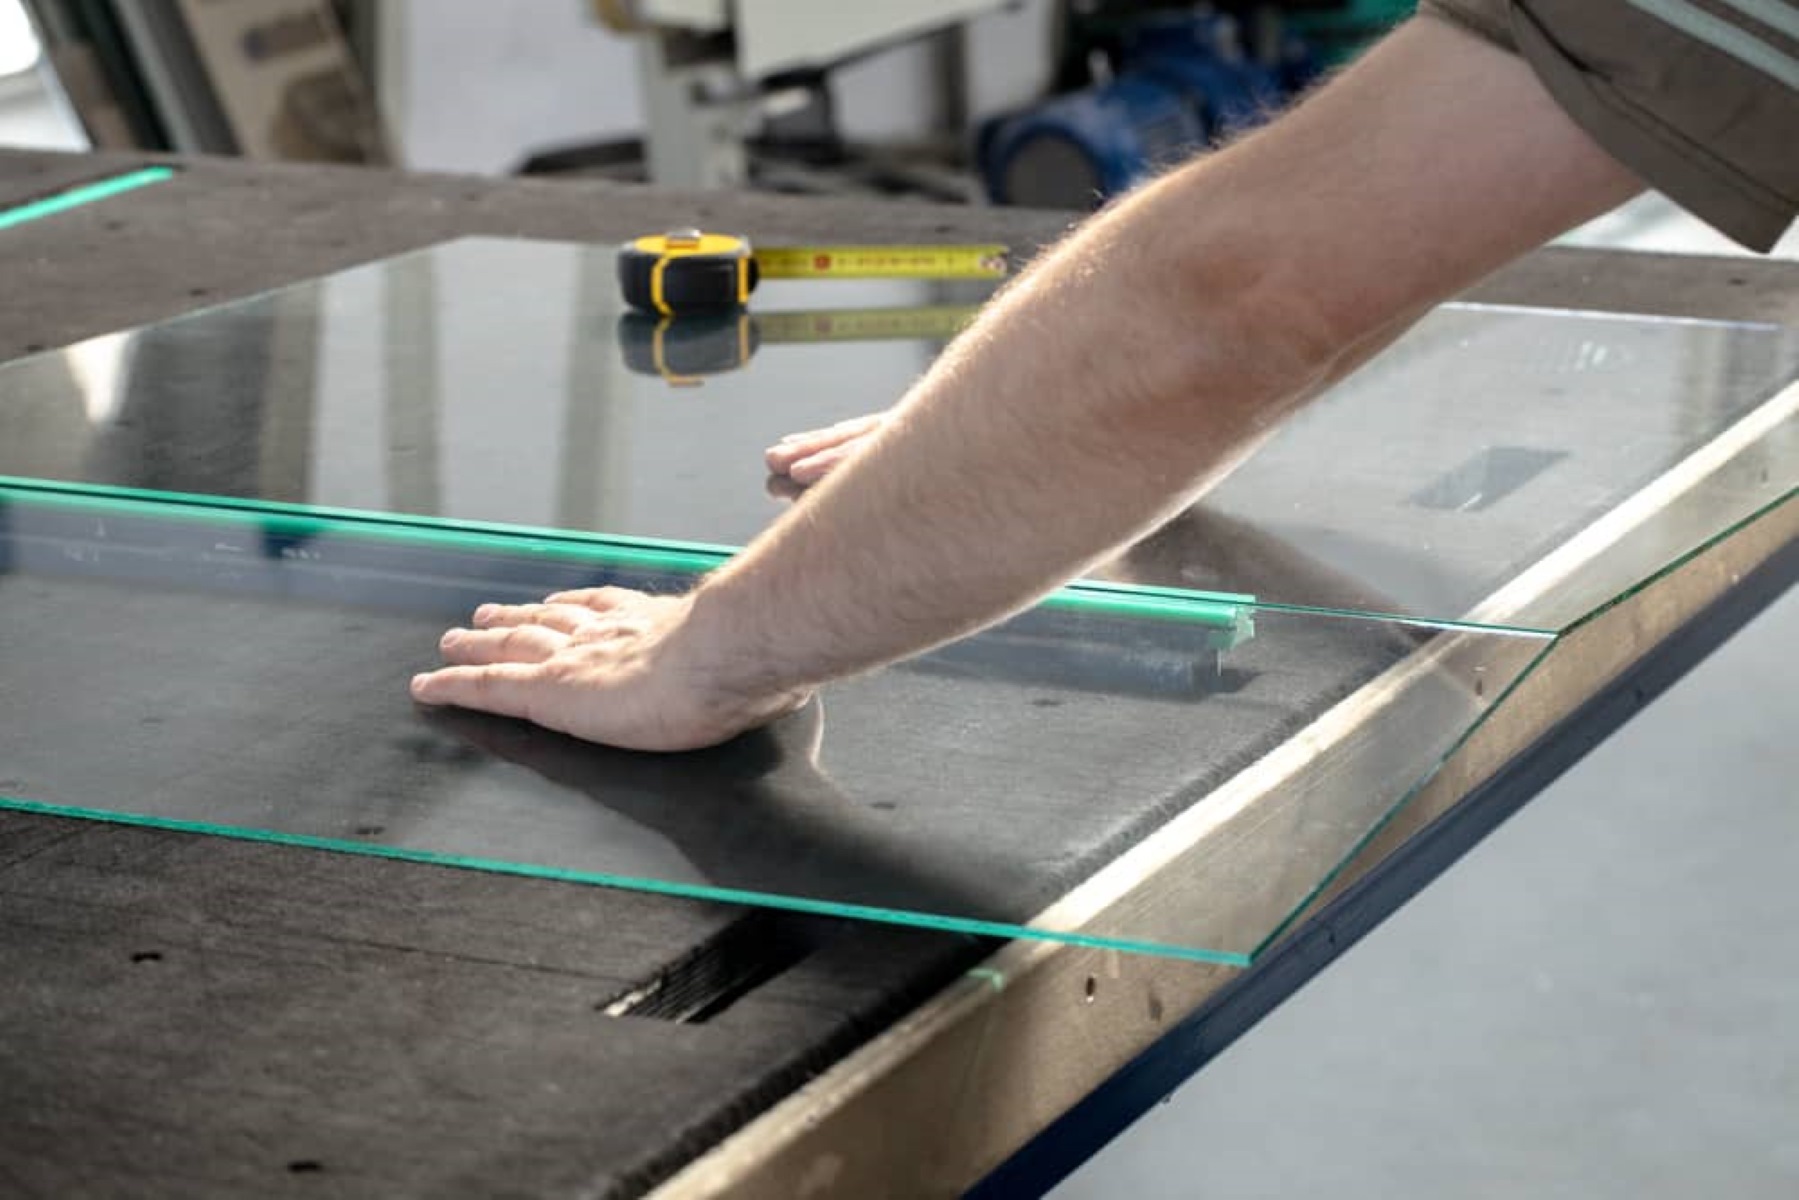
Now comes the moment you’ve been waiting for – cutting the blinds to your desired size. With your measurements marked and the blinds properly prepared, it’s time to make precise cuts to ensure a perfect fit.
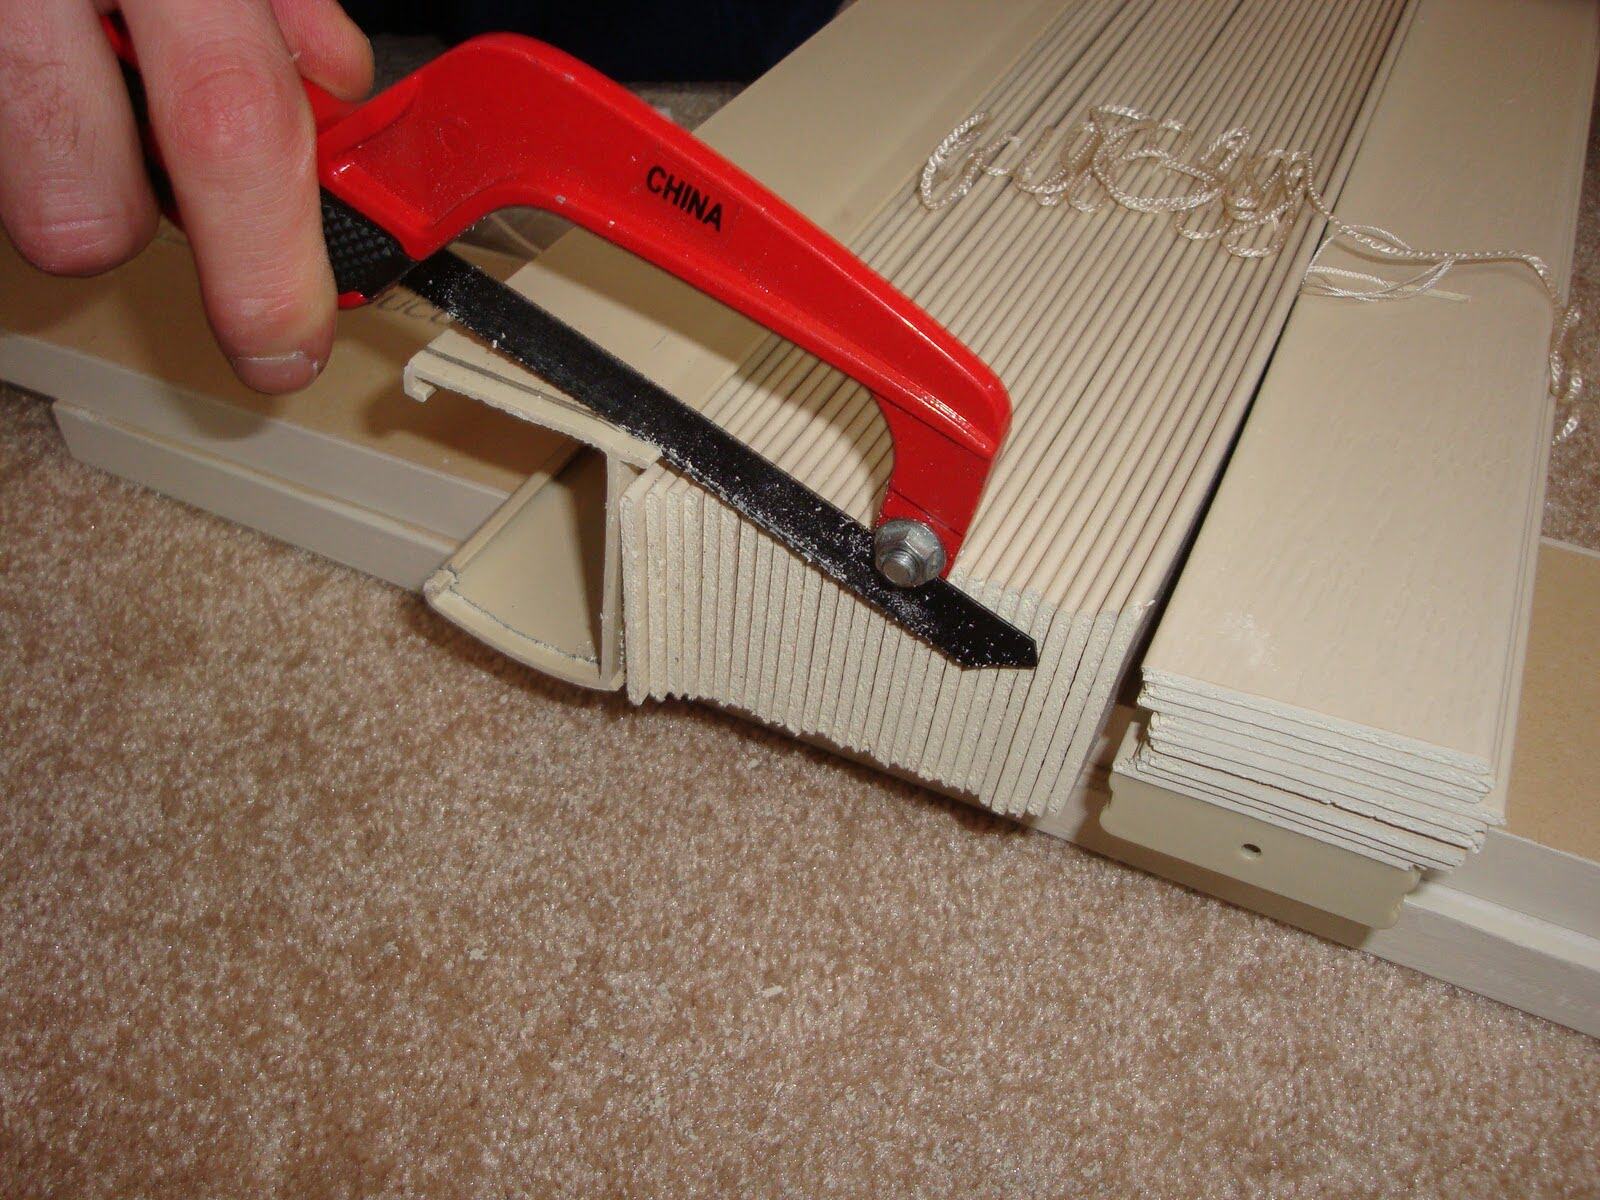
First, make sure you’re working on a stable surface and have a secure grip on the blinds. Use a hacksaw or a specialized blinds cutter to carefully cut along the marked lines.
Take your time and use steady, even pressure as you cut through the blinds. If you’re working with wooden blinds, use slow and controlled motions to avoid splintering or chipping.
Remember, it’s always better to cut slightly less than needed and then trim down further if necessary. You can always make additional cuts, but you can’t undo cuts that have already been made.
If you’re cutting blinds with a ladder string, make sure to cut the string along with the slats. Be cautious not to damage any other components of the blinds during the cutting process.
Once you’ve made your cuts, check the fit of the blinds in your window. If they need further adjustment, use the appropriate tools to trim down any excess material or make additional cuts as needed.
After cutting, remove any masking tape or debris from the blinds. If you’re working with wooden blinds, use sandpaper to smooth any rough edges and ensure a clean finish.
With the blinds cut to size, you’re almost done. All that’s left is to add the finishing touches.
Step 5: Finishing Touches
Now that you have successfully cut your blinds to the desired size, it’s time to add the finishing touches to ensure they look great in your window.
Start by removing any remaining debris or dust from the blinds. Use a cloth or a duster to gently wipe away any particles that may have accumulated during the cutting process.
If you’re working with wooden blinds, you can further enhance their appearance by applying a wood finish or stain to match your decor. Follow the manufacturer’s instructions when applying the finish, and allow it to dry completely before installing the blinds.
Before installing the blinds, check the fit once again by holding them up to the window opening. Ensure they align properly and smoothly move up and down without any obstructions or unevenness.
If everything looks good, go ahead and install the blinds according to the manufacturer’s instructions. Make sure they are securely fastened in place and adjust them to your desired height and angle.
Stand back and admire your custom-cut blinds that perfectly fit your window. Not only will they enhance the aesthetic appeal of your space, but they will also provide you with the desired amount of privacy and light control.
Remember to keep any leftover material or spare slats in case you need to replace or repair your blinds in the future.
Congratulations! You have successfully cut your blinds to size and completed the finishing touches. Take a moment to appreciate your DIY skills and the custom result you have achieved.
Conclusion
Cutting blinds to size may seem like a daunting task, but with the right tools, careful measurements, and a little bit of patience, it can be a rewarding DIY project. By customizing your blinds to fit your window perfectly, you can achieve a polished and professional look for your space.
Throughout this article, we’ve covered the step-by-step process of cutting blinds to size. From understanding the blinds cutting process to gathering the necessary tools and materials, marking your measurements, preparing the blinds, and making precise cuts, we’ve provided you with a comprehensive guide to help you tackle this project successfully.
Remember to measure twice and cut once, ensuring accuracy and precision throughout the process. Take your time, work on a stable surface, and prioritize safety by wearing goggles and using sharp blades.
Adding the finishing touches, such as cleaning the blinds, applying a wood finish, and ensuring proper installation, will elevate the overall appearance and functionality of your custom-cut blinds.
Now that you have the knowledge and confidence to cut blinds to size, you can transform your window treatments to perfectly fit your space, achieving both style and functionality.
So go ahead, grab your measuring tape and tools, and embark on this DIY project to create customized blinds that will enhance the beauty of your windows and elevate the ambiance of your home.
Frequently Asked Questions about How To Cut Blinds To Size
Was this page helpful?
At Storables.com, we guarantee accurate and reliable information. Our content, validated by Expert Board Contributors, is crafted following stringent Editorial Policies. We're committed to providing you with well-researched, expert-backed insights for all your informational needs.