Articles
How To Defrost An Upright Freezer
Modified: February 20, 2024
Learn how to defrost your upright freezer with these helpful articles. Find step-by-step instructions and tips to make the process quick and easy.
(Many of the links in this article redirect to a specific reviewed product. Your purchase of these products through affiliate links helps to generate commission for Storables.com, at no extra cost. Learn more)
Introduction
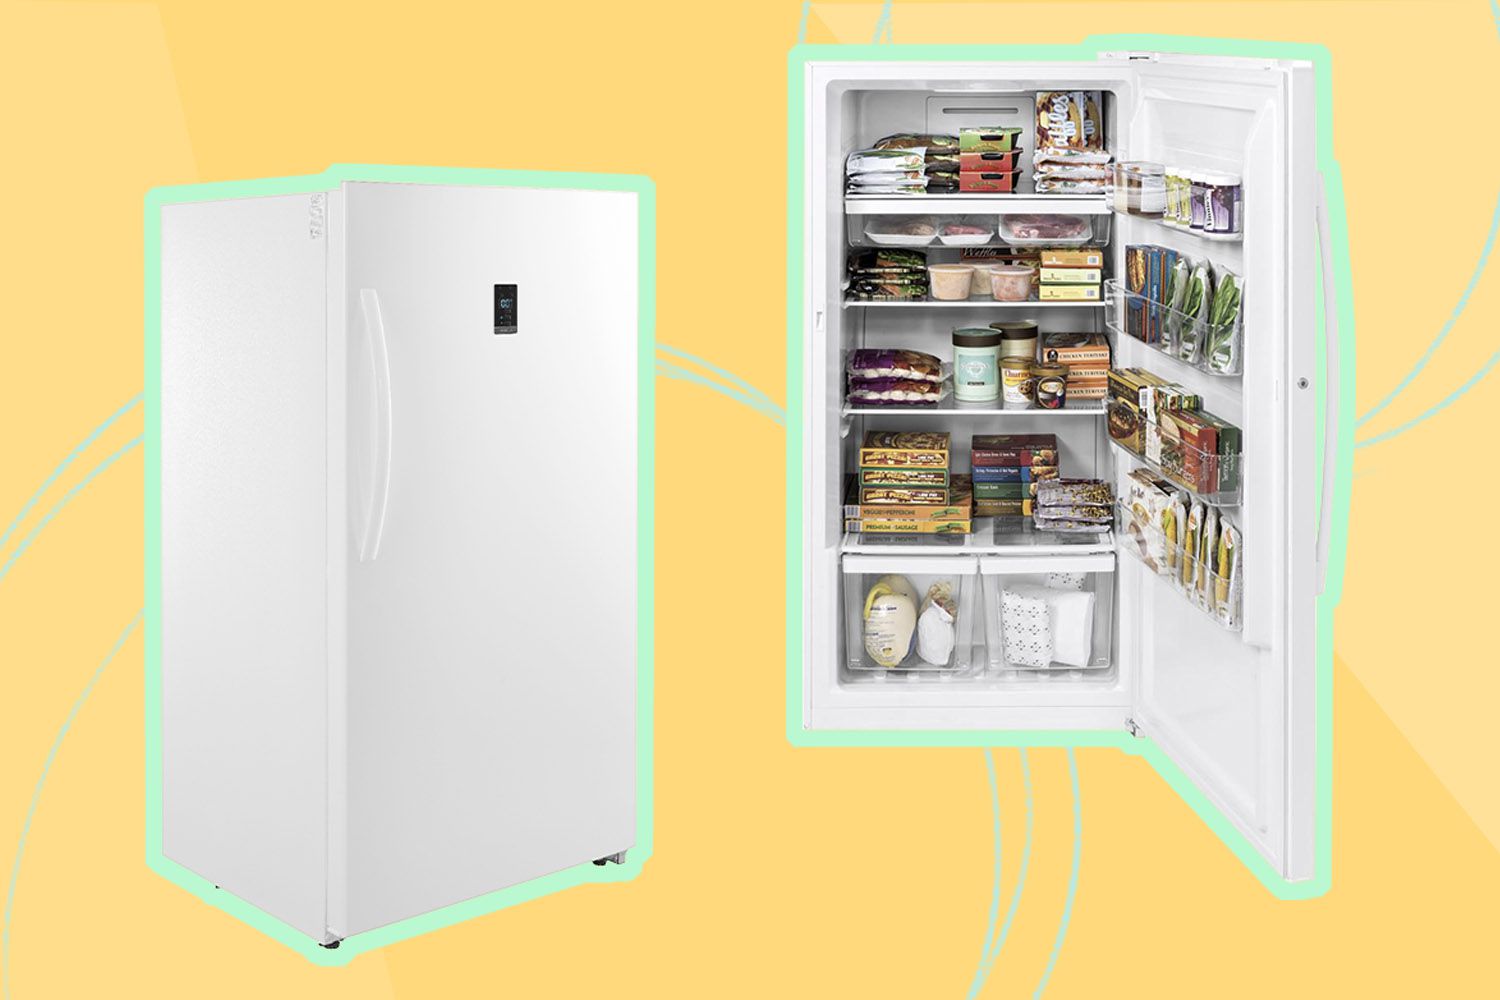
Welcome to the world of maintaining and caring for your upright freezer! If you are a proud owner of an upright freezer, you probably already know the convenience it offers in storing and preserving frozen foods. However, over time, you may notice a build-up of ice and frost inside your freezer, which can diminish its efficiency and storage capacity. To ensure optimal performance and prolong the life of your freezer, it’s essential to defrost it periodically.
In this article, we will guide you through the process of defrosting your upright freezer step by step. Whether you’re a seasoned freezer pro or a beginner, this guide will provide you with all the information you need to successfully defrost your freezer and keep it in excellent working condition.
Before we dive into the steps, let’s take a moment to understand why defrosting is necessary. Over time, moisture from the frozen food items can accumulate as ice and frost on the walls and shelves of the freezer. This build-up not only takes up valuable space but also strains the freezer’s cooling system, causing it to work harder and consume more energy. Regularly defrosting and cleaning your upright freezer will help maintain its efficiency, prevent excessive ice build-up, and ensure that your frozen foods are stored in optimal conditions.
Now that we understand the importance of defrosting, let’s move on to the next section, where we will prepare the freezer for the defrosting process.
Key Takeaways:
- Regularly defrosting your upright freezer is crucial for energy efficiency, storage capacity, food quality, and appliance lifespan. Follow the step-by-step guide to ensure optimal performance and longevity.
- Maintain a frost-free freezer by organizing items, rotating food, checking seals, minimizing door openings, cleaning spills, defrosting periodically, monitoring temperature, and performing regular maintenance. Keep your frozen items in optimal condition.
Read more: When To Defrost A Freezer
Understanding the Need to Defrost an Upright Freezer
As mentioned earlier, a build-up of ice and frost inside an upright freezer can have several negative effects. Let’s delve deeper into why defrosting is crucial for the optimal functioning of your freezer.
1. Energy Efficiency: When ice and frost accumulate on the walls and shelves of your freezer, they act as insulators, making it harder for the cooling system to maintain the desired temperature. This means that the freezer has to work harder and consume more energy to keep your food frozen. By regularly defrosting the freezer, you can remove this insulation and improve its energy efficiency.
2. Storage Capacity: Ice build-up can take up valuable space inside your freezer, reducing its storage capacity. This means you might not be able to fit as much food as you would like. Defrosting your upright freezer will help maximize the available storage space and allow you to store more frozen goods.
3. Food Quality: Excessive frost inside the freezer can have a detrimental effect on the quality of your frozen food. When ice crystals form on the food, they can cause freezer burn, leading to a loss of taste and texture. Defrosting and cleaning your freezer regularly will prevent freezer burn and help maintain the quality and freshness of your frozen goods.
4. Appliance Lifespan: Ice build-up can put additional strain on the freezer’s cooling system, potentially shortening its lifespan. By defrosting your upright freezer and keeping it clean, you can extend the longevity of your appliance and avoid costly repairs or replacements.
It’s important to note that the frequency of defrosting will depend on various factors, such as the model of the freezer, usage patterns, and atmospheric conditions. As a general guideline, it is recommended to defrost your upright freezer at least once or twice a year, or whenever you notice a significant build-up of frost.
Now that we understand the importance of defrosting, let’s move on to the next section, where we will prepare the freezer for the defrosting process.
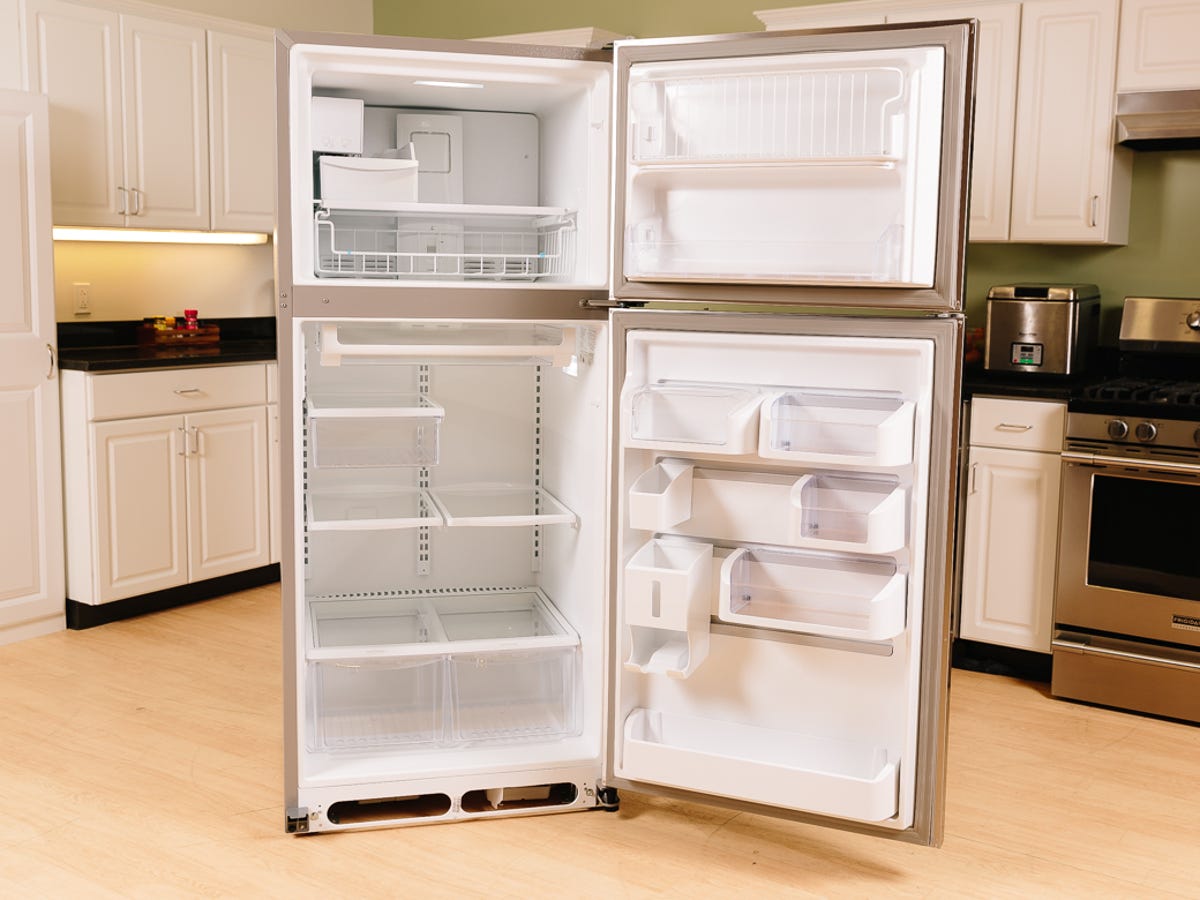
Preparing the Freezer for Defrosting
Before you begin the defrosting process, it’s important to properly prepare your upright freezer. This will ensure a smooth and hassle-free defrosting experience. Follow the steps below to prepare your freezer:
- Check the manufacturer’s instructions: Consult the user manual that came with your upright freezer for any specific recommendations or guidelines regarding defrosting. Different freezer models may have specific instructions or features that you need to be aware of.
- Plan the defrosting process: Find a suitable time to defrost your freezer when you have enough time to dedicate to the process. Defrosting can take several hours, so it’s best to plan it when you won’t need access to the frozen foods for a while.
- Remove the perishable items: Take out any perishable items from the freezer and transfer them to a temporary storage solution, such as a cooler with ice packs or another freezer. Make sure to label and organize the items to easily return them to the upright freezer later.
- Use up or discard non-perishable items: If you have any non-perishable items in the freezer that you don’t plan on using, consider using them up or discarding them before defrosting. This will help minimize waste and make the defrosting process easier.
- Clean the exterior of the freezer: Wipe down the exterior of the freezer with a mild detergent and warm water to remove any dirt, dust, or spills. This will ensure a clean and hygienic surface during the defrosting process.
By following these preparatory steps, you will be ready to begin the defrosting process with a clean and organized freezer. In the next section, we will discuss the necessary supplies you will need to complete the defrosting process effectively.
Gathering the Necessary Supplies
Before you start the actual defrosting process, it’s important to gather all the necessary supplies. Having everything ready will facilitate a smooth and efficient defrosting experience. Here are the supplies you’ll need:
- Buckets or containers: Prepare a few buckets or containers to collect the water that will melt as you defrost the freezer. Make sure they are large enough to hold the amount of water you anticipate.
- Sponges or towels: Have some sponges or towels handy to soak up any excess water and ensure a dry surface once the defrosting is complete.
- Plastic scraper: Get a plastic scraper or a plastic spatula to gently remove any ice or frost build-up on the walls and shelves of the freezer. Avoid using sharp objects that could damage the interior of the freezer.
- Mild detergent: Choose a mild detergent or a natural cleaning solution to clean the interior of the freezer once the defrosting is complete.
- Warm water: Fill a bucket with warm water to use for cleaning the freezer. Make sure the water is not too hot to avoid damaging the freezer’s interior.
- Cleaning cloth or sponge: Have a cleaning cloth or sponge ready to apply the detergent solution and scrub the interior of the freezer.
- Cooler or alternative freezer: If possible, arrange for a cooler or another freezer to temporarily store the frozen food items while the defrosting process is underway.
By gathering these supplies beforehand, you’ll be fully equipped to defrost your upright freezer without any interruptions. Once you have everything ready, it’s time to proceed to the next section, where we will discuss the steps to empty the freezer before defrosting.
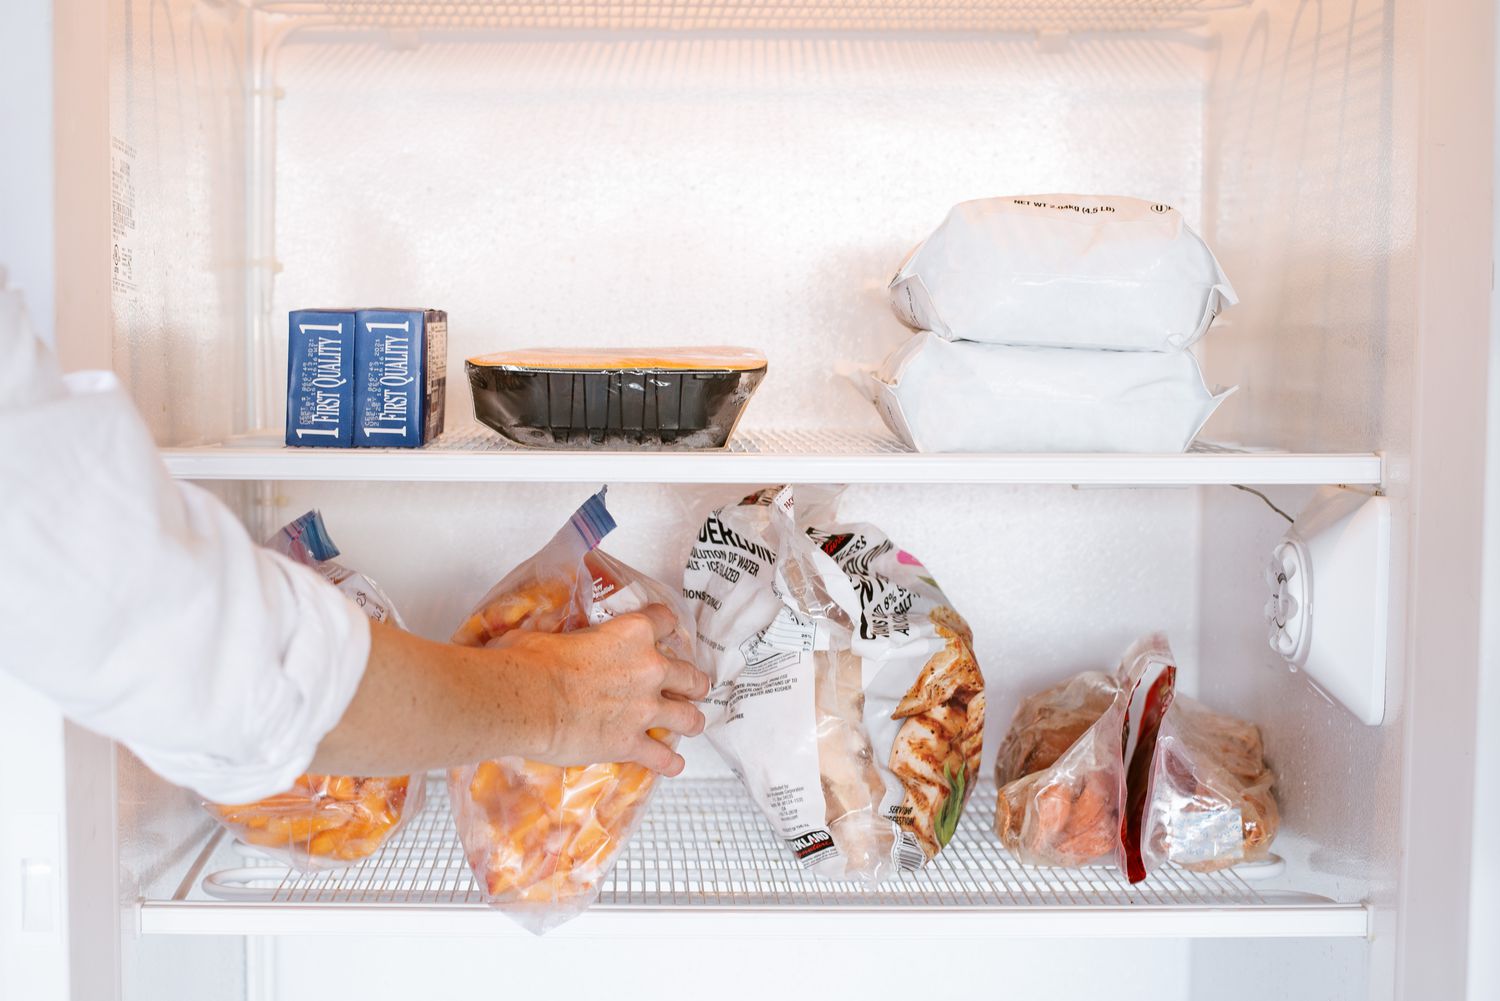
Emptying the Freezer
Before you can begin the defrosting process, it’s essential to empty the contents of your upright freezer. This step is crucial to ensure that the food remains safe and to prevent any items from getting damaged during the defrosting process. Follow these steps to empty your freezer:
- Plan ahead: Choose a time when you won’t need access to the freezer for a few hours. The defrosting process can take some time, so make sure you have a suitable place to temporarily store your frozen items.
- Sort the items: While emptying the freezer, sort the food items into categories. Group similar items together to make it easier to organize them later.
- Check expiration dates: Take a moment to check the expiration dates on your frozen items. Discard any items that have passed their expiration date or show signs of spoilage.
- Transfer to a cooler or another freezer: If possible, transfer the frozen items to a cooler with ice packs or another freezer. This will help keep the food frozen and prevent it from thawing during the defrosting process.
- Label and organize: As you transfer the items, label them, and organize them in a manner that will make it easier to return them to the freezer once the defrosting is complete. This will save you time and effort later on.
- Take inventory: While emptying the freezer, make a note of the items you have and their quantities. This will help you keep track of your frozen inventory and prevent unnecessary purchases.
Emptying the freezer allows you to thoroughly clean and defrost the interior, ensuring optimal performance and hygiene. Once you’ve emptied the freezer and organized the contents, you’re ready to move on to the next step: turning off the freezer.
Read more: How Long To Defrost A Freezer
Turning off the Freezer
Now that you have emptied the contents of your upright freezer, it’s time to turn it off. This step is crucial to ensure safety during the defrosting process. Follow these steps to turn off your freezer:
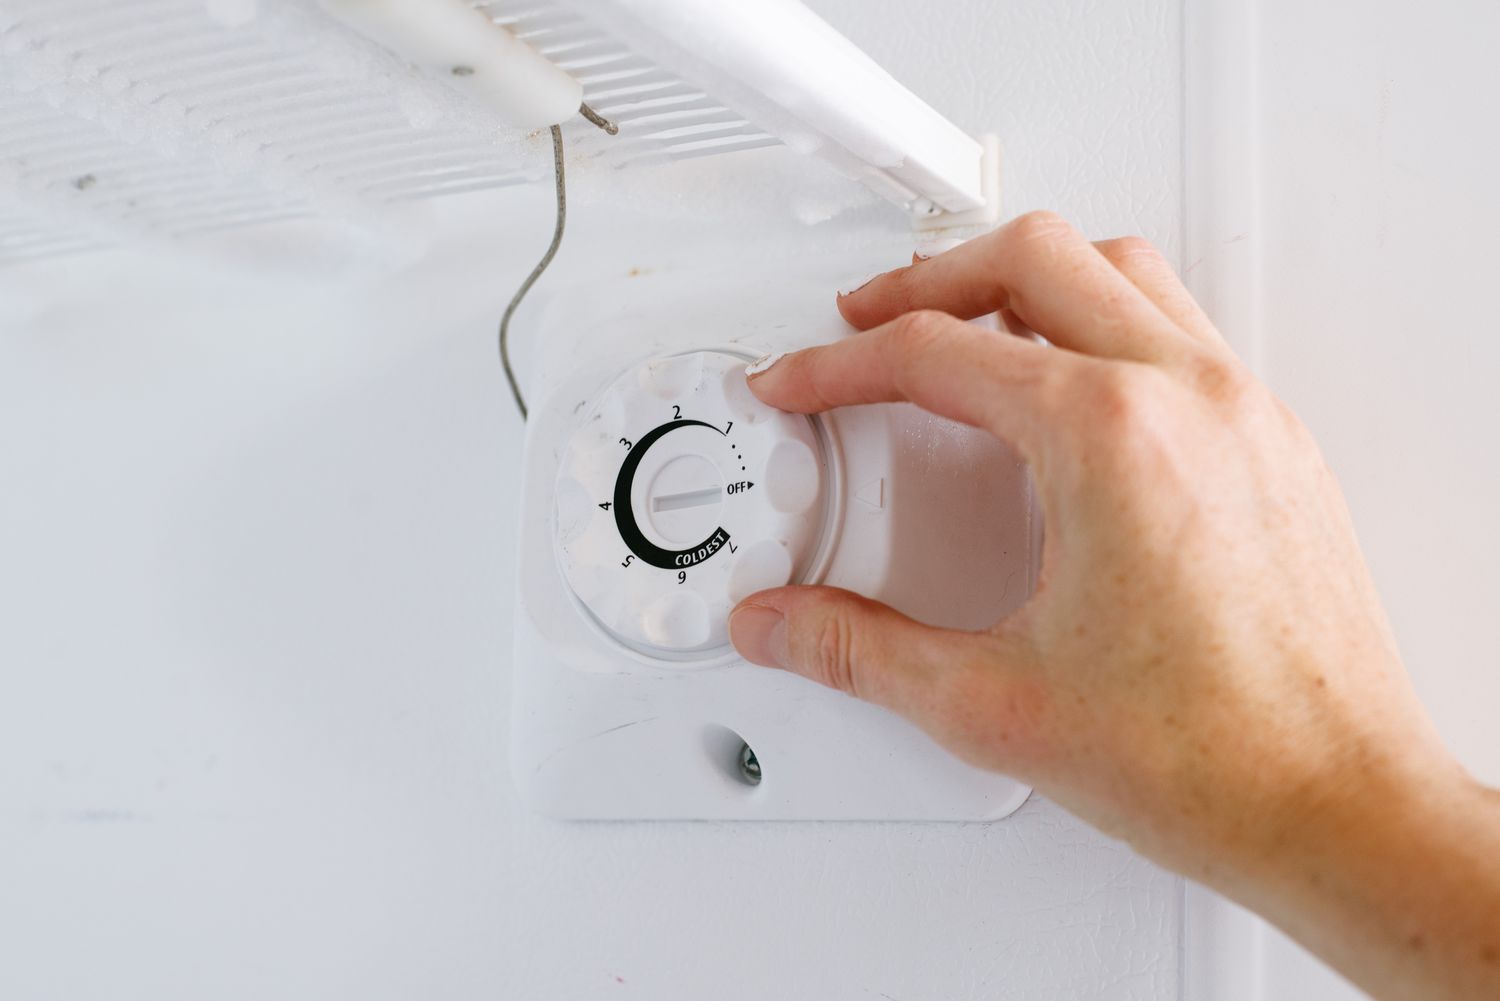
- Locate the temperature control: Look for the temperature control knob or button on your freezer. It is usually located on the front or side of the appliance.
- Adjust the temperature control: Turn the temperature control knob or press the appropriate button to adjust the temperature to the warmest setting. This will help prevent the freezer from running and ensure that the defrosting process is effective.
- Unplug the freezer: Locate the power cord at the back of the freezer and unplug it from the electrical outlet. This will ensure that no power is supplied to the freezer during the defrosting process.
- Leave the freezer door(s) open: To facilitate the defrosting process, keep the door(s) of the freezer open. This will allow the ice and frost to melt more quickly.
- Place towels around the freezer: Place towels or absorbent cloths around the base of the freezer to catch any water that may drip during the defrosting process. This will help protect your floor and prevent any potential damage.
Once you have followed these steps, the freezer will be safely turned off and ready for the defrosting process. In the next section, we will discuss how to remove ice and frost from the freezer effectively.
To defrost an upright freezer, turn off the power, remove all food and shelves, place towels at the bottom to catch water, and use a hairdryer or hot water to speed up the process. Wipe dry and turn the power back on.
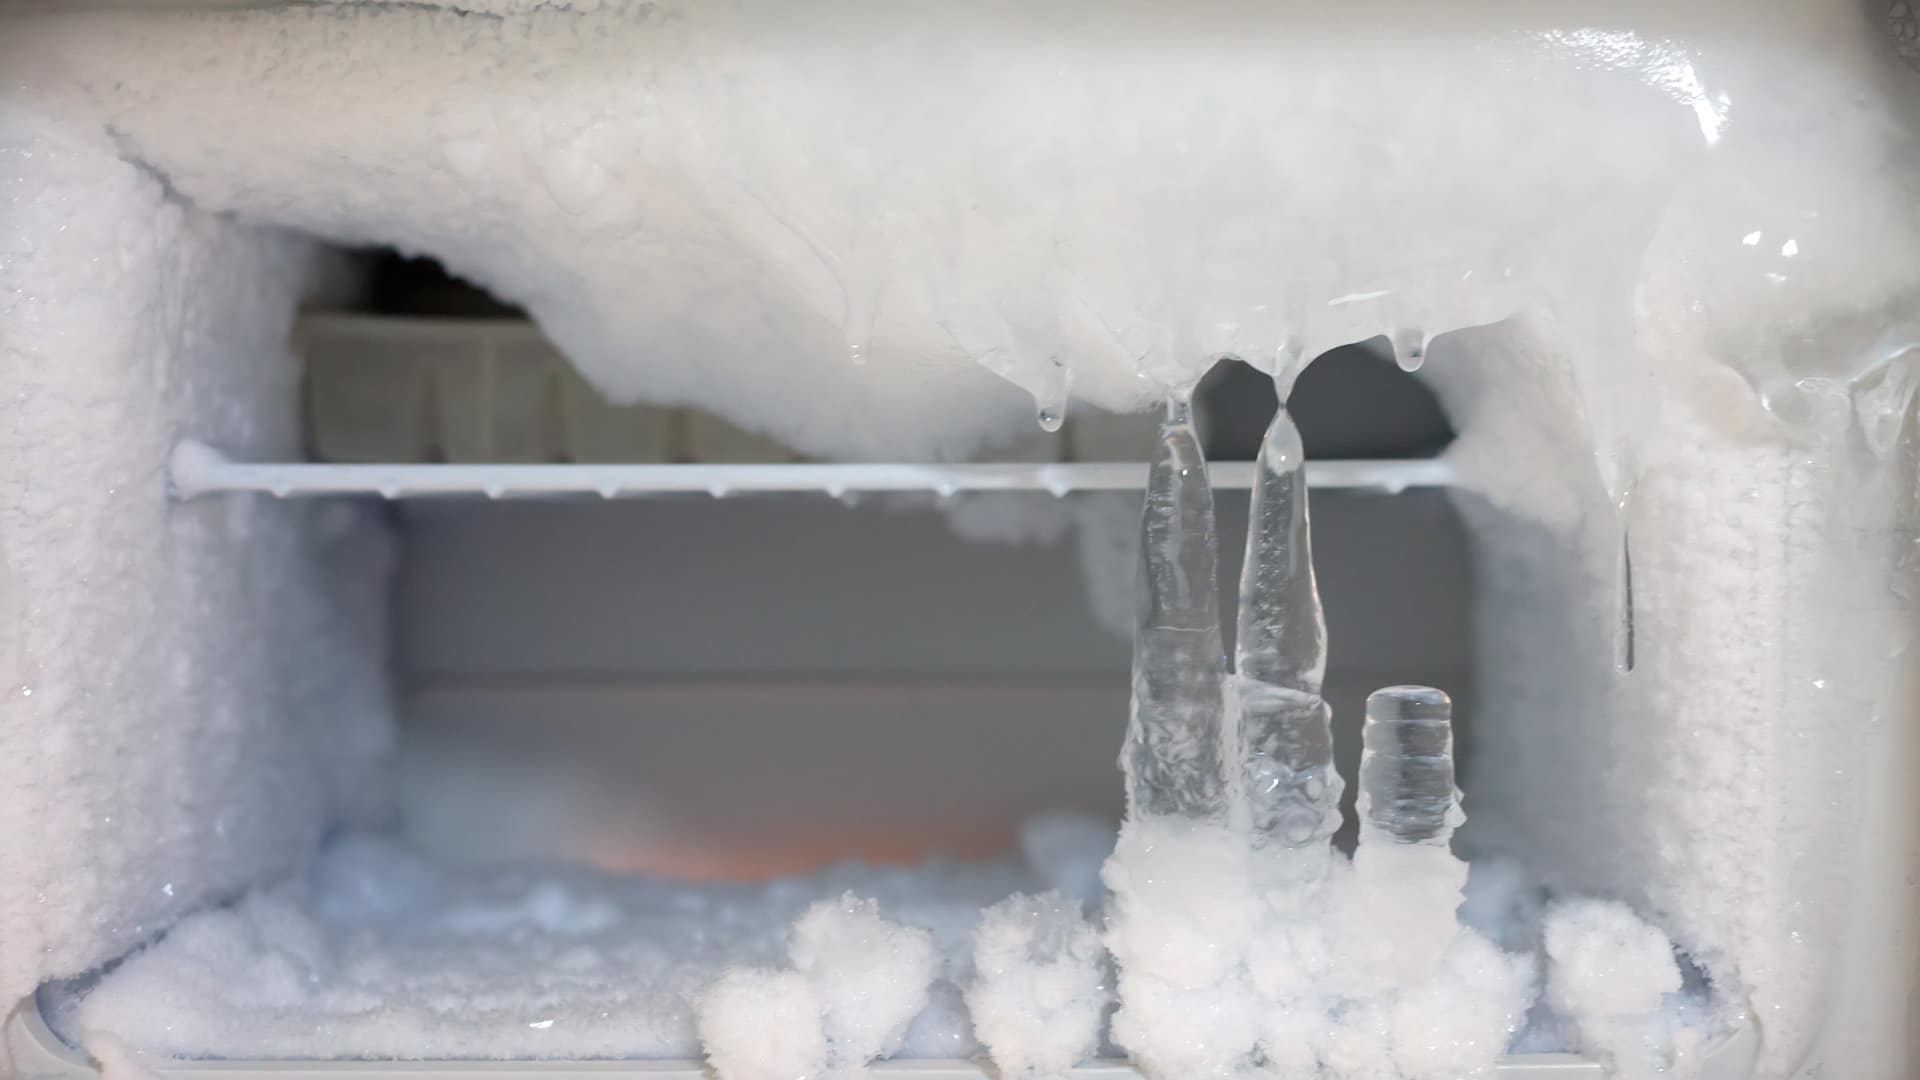
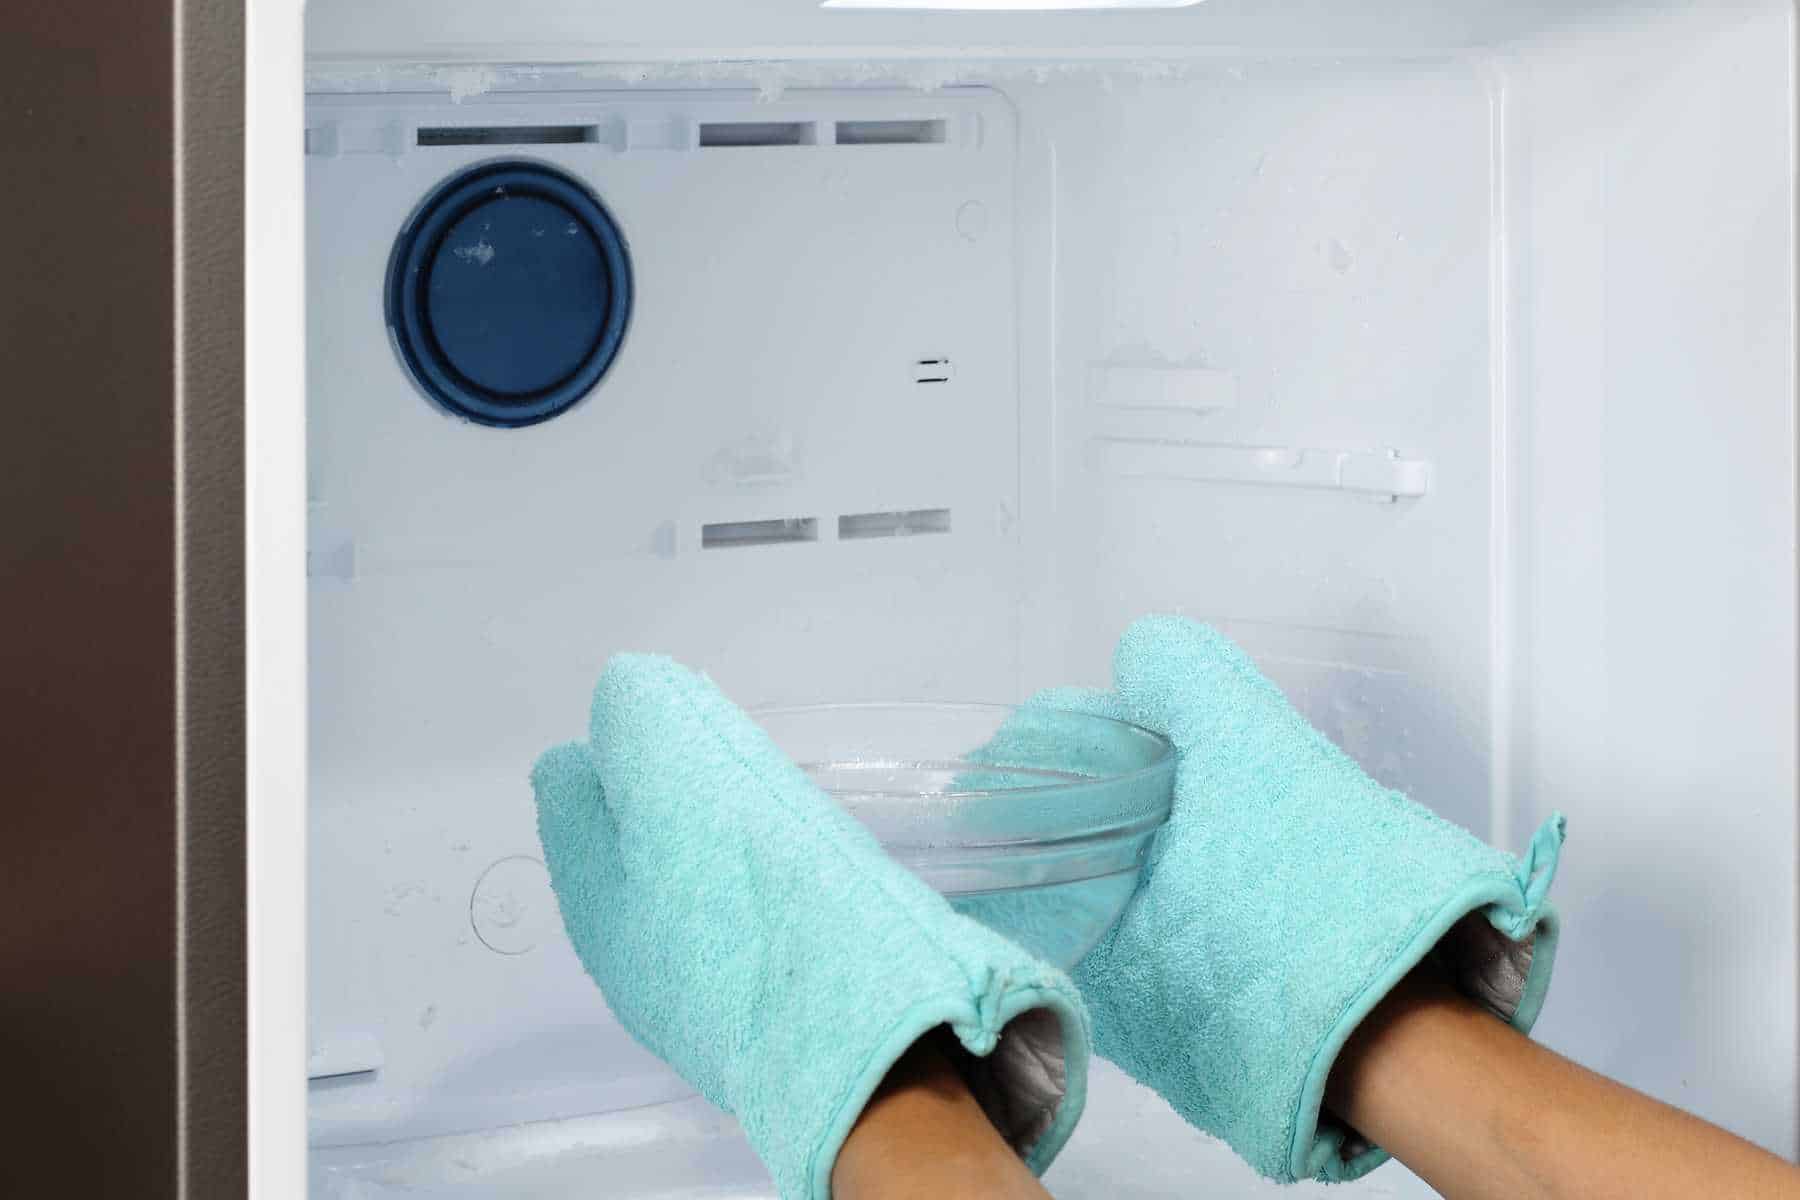
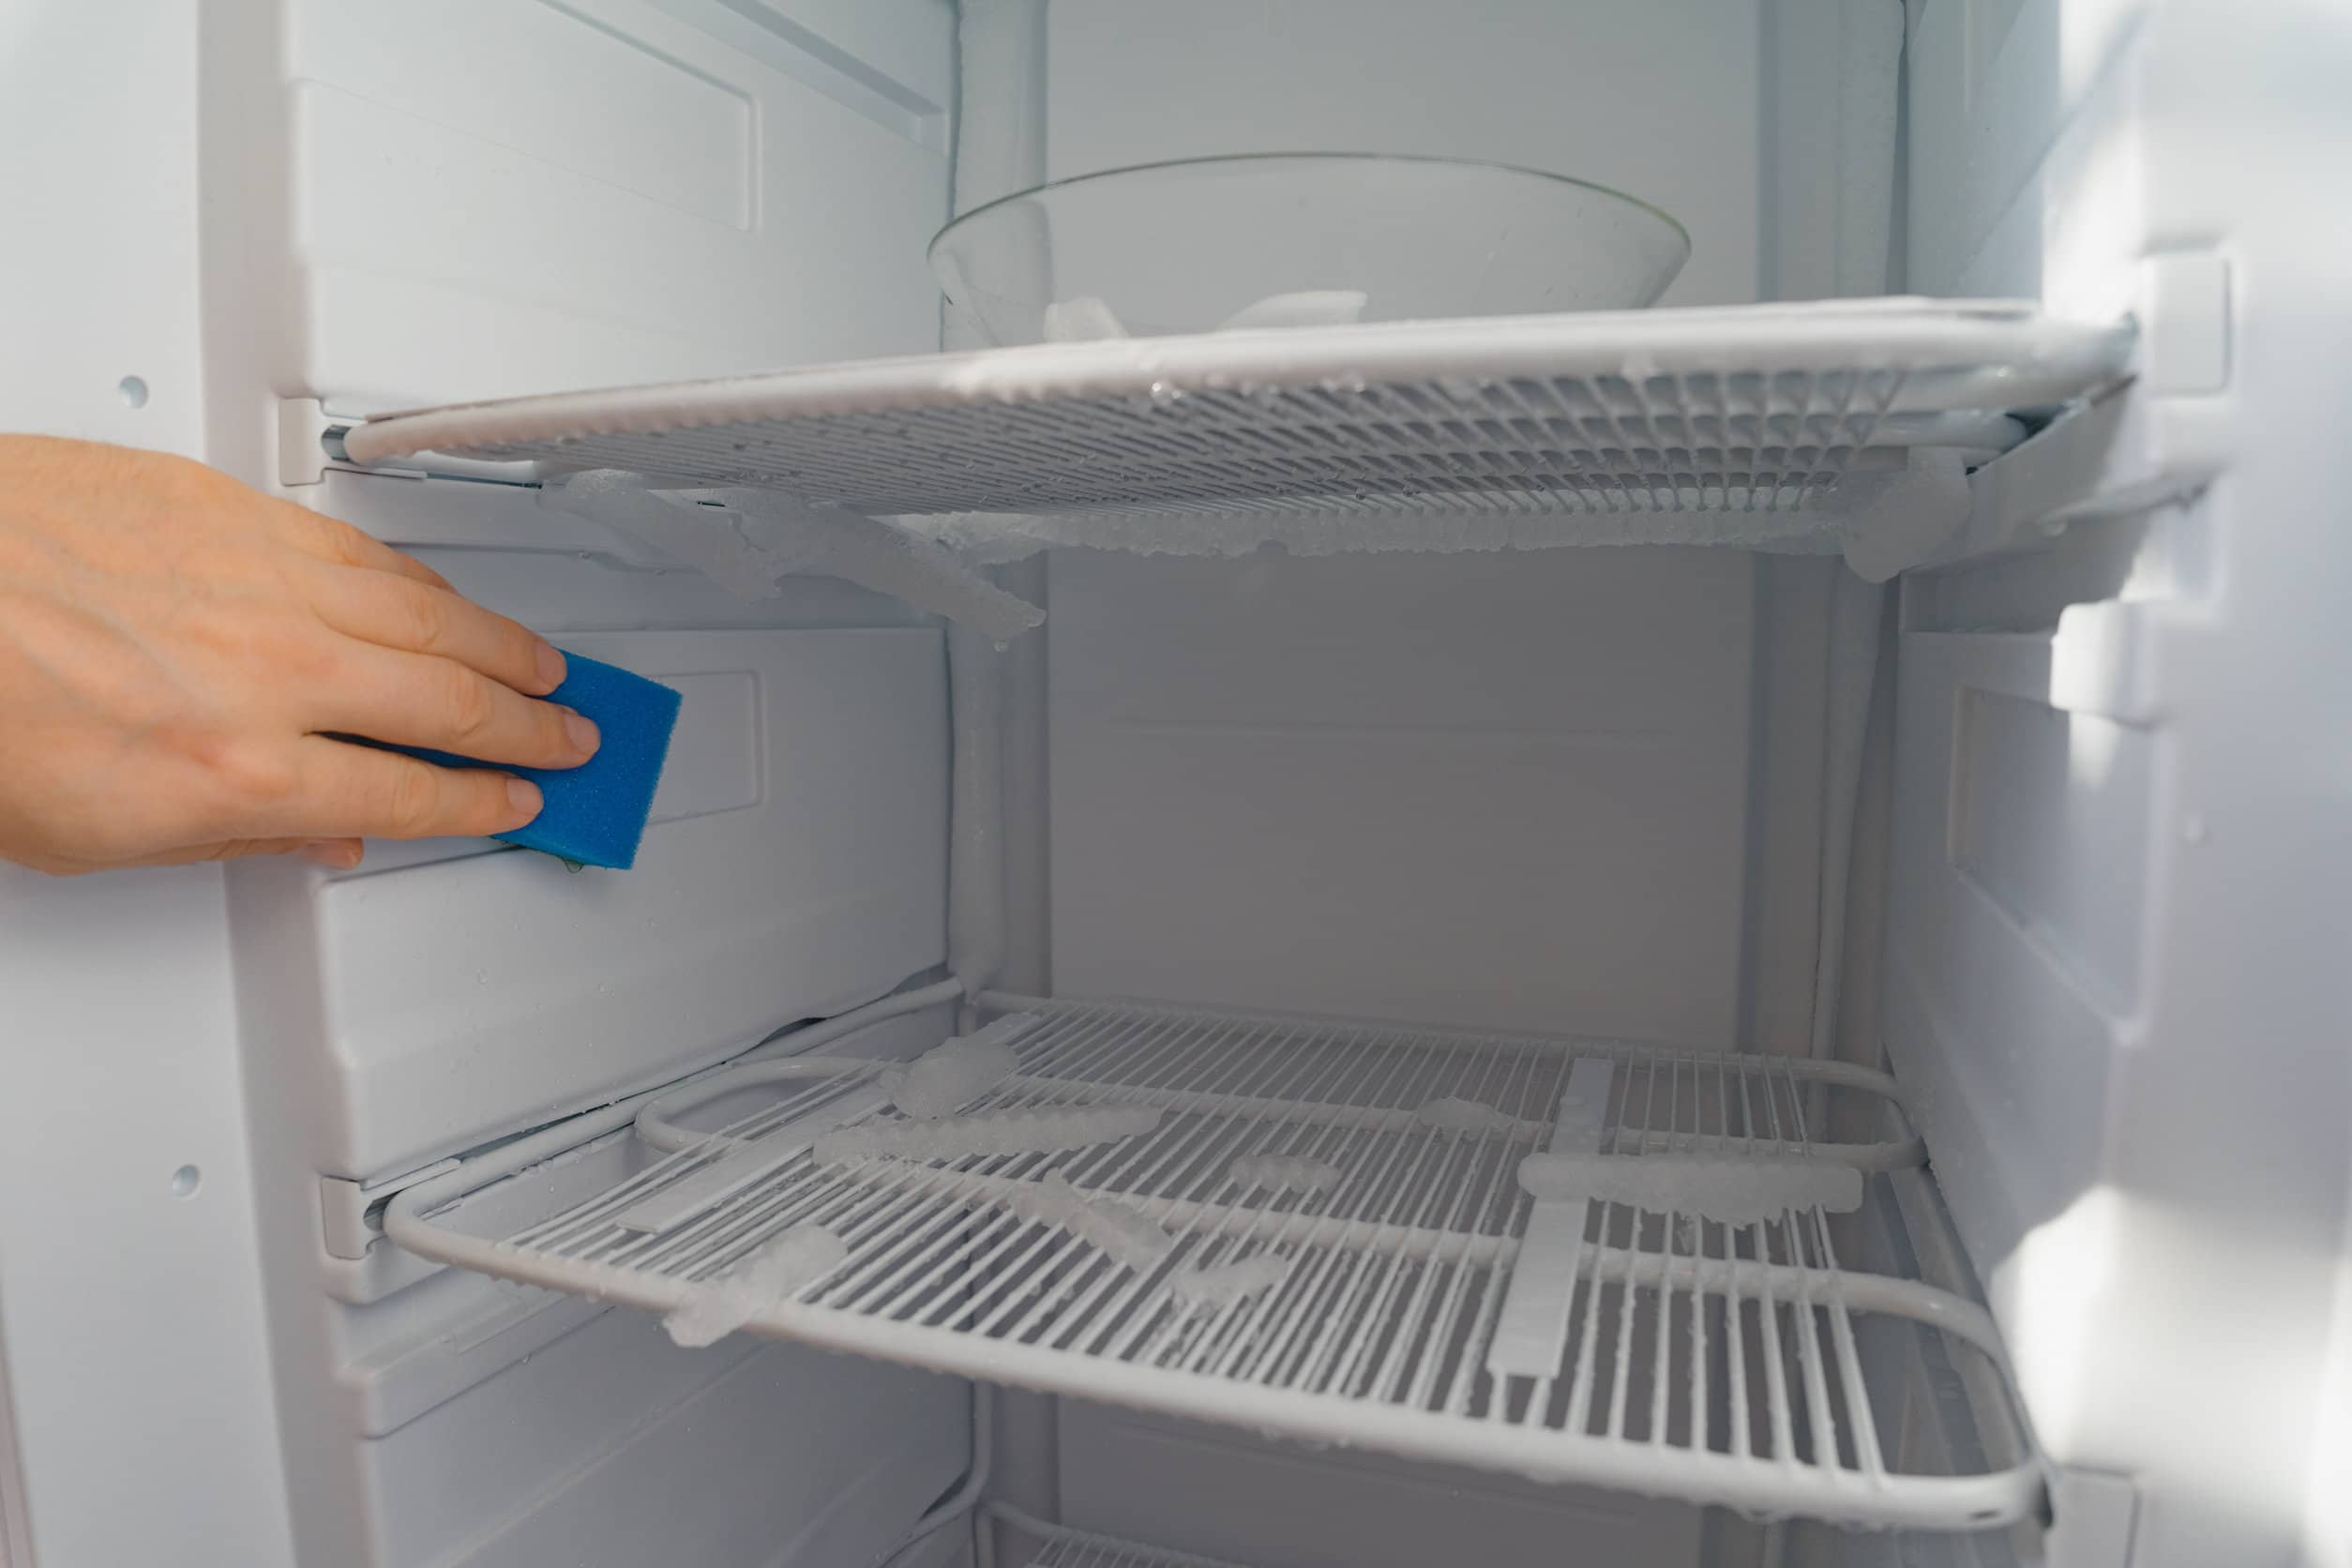
Removing Ice and Frost
With the freezer turned off, it’s time to tackle the ice and frost build-up inside. Removing the ice and frost is a necessary step in the defrosting process to ensure optimal performance and storage capacity. Follow these steps to effectively remove ice and frost from your upright freezer:
- Allow time for the ice to melt: Leave the freezer door(s) open and allow the ice and frost to melt naturally. This can take several hours, so be patient and avoid using any sharp objects to hasten the process, as this can damage the interior of the freezer.
- Collect the melting water: As the ice melts, use buckets or containers to collect the water. Empty the containers as needed to make room for more water. Be mindful of any water dripping on the floor and use towels or cloths to absorb it.
- Gently remove loose ice and frost: Once the majority of the ice has melted, use a plastic scraper or spatula to gently remove any loose ice and frost from the walls and shelves of the freezer. Be careful not to apply excessive force or swipe too aggressively to avoid damaging the interior surfaces.
- Thaw stubborn areas: If there are stubborn areas with thick ice or frost, you can use a hairdryer set to low heat to carefully thaw them. Keep a safe distance from the interior surfaces and continuously move the hairdryer to prevent overheating.
- Wipe down surfaces: After removing the ice and frost, take a damp cloth or sponge and wipe down the interior surfaces of the freezer. This will remove any remaining water or residue and prepare the freezer for cleaning later.
By following these steps, you will ensure that the ice and frost are safely and effectively removed from your upright freezer. With the freezer now free of ice and frost, we can move on to the next section: cleaning the freezer.
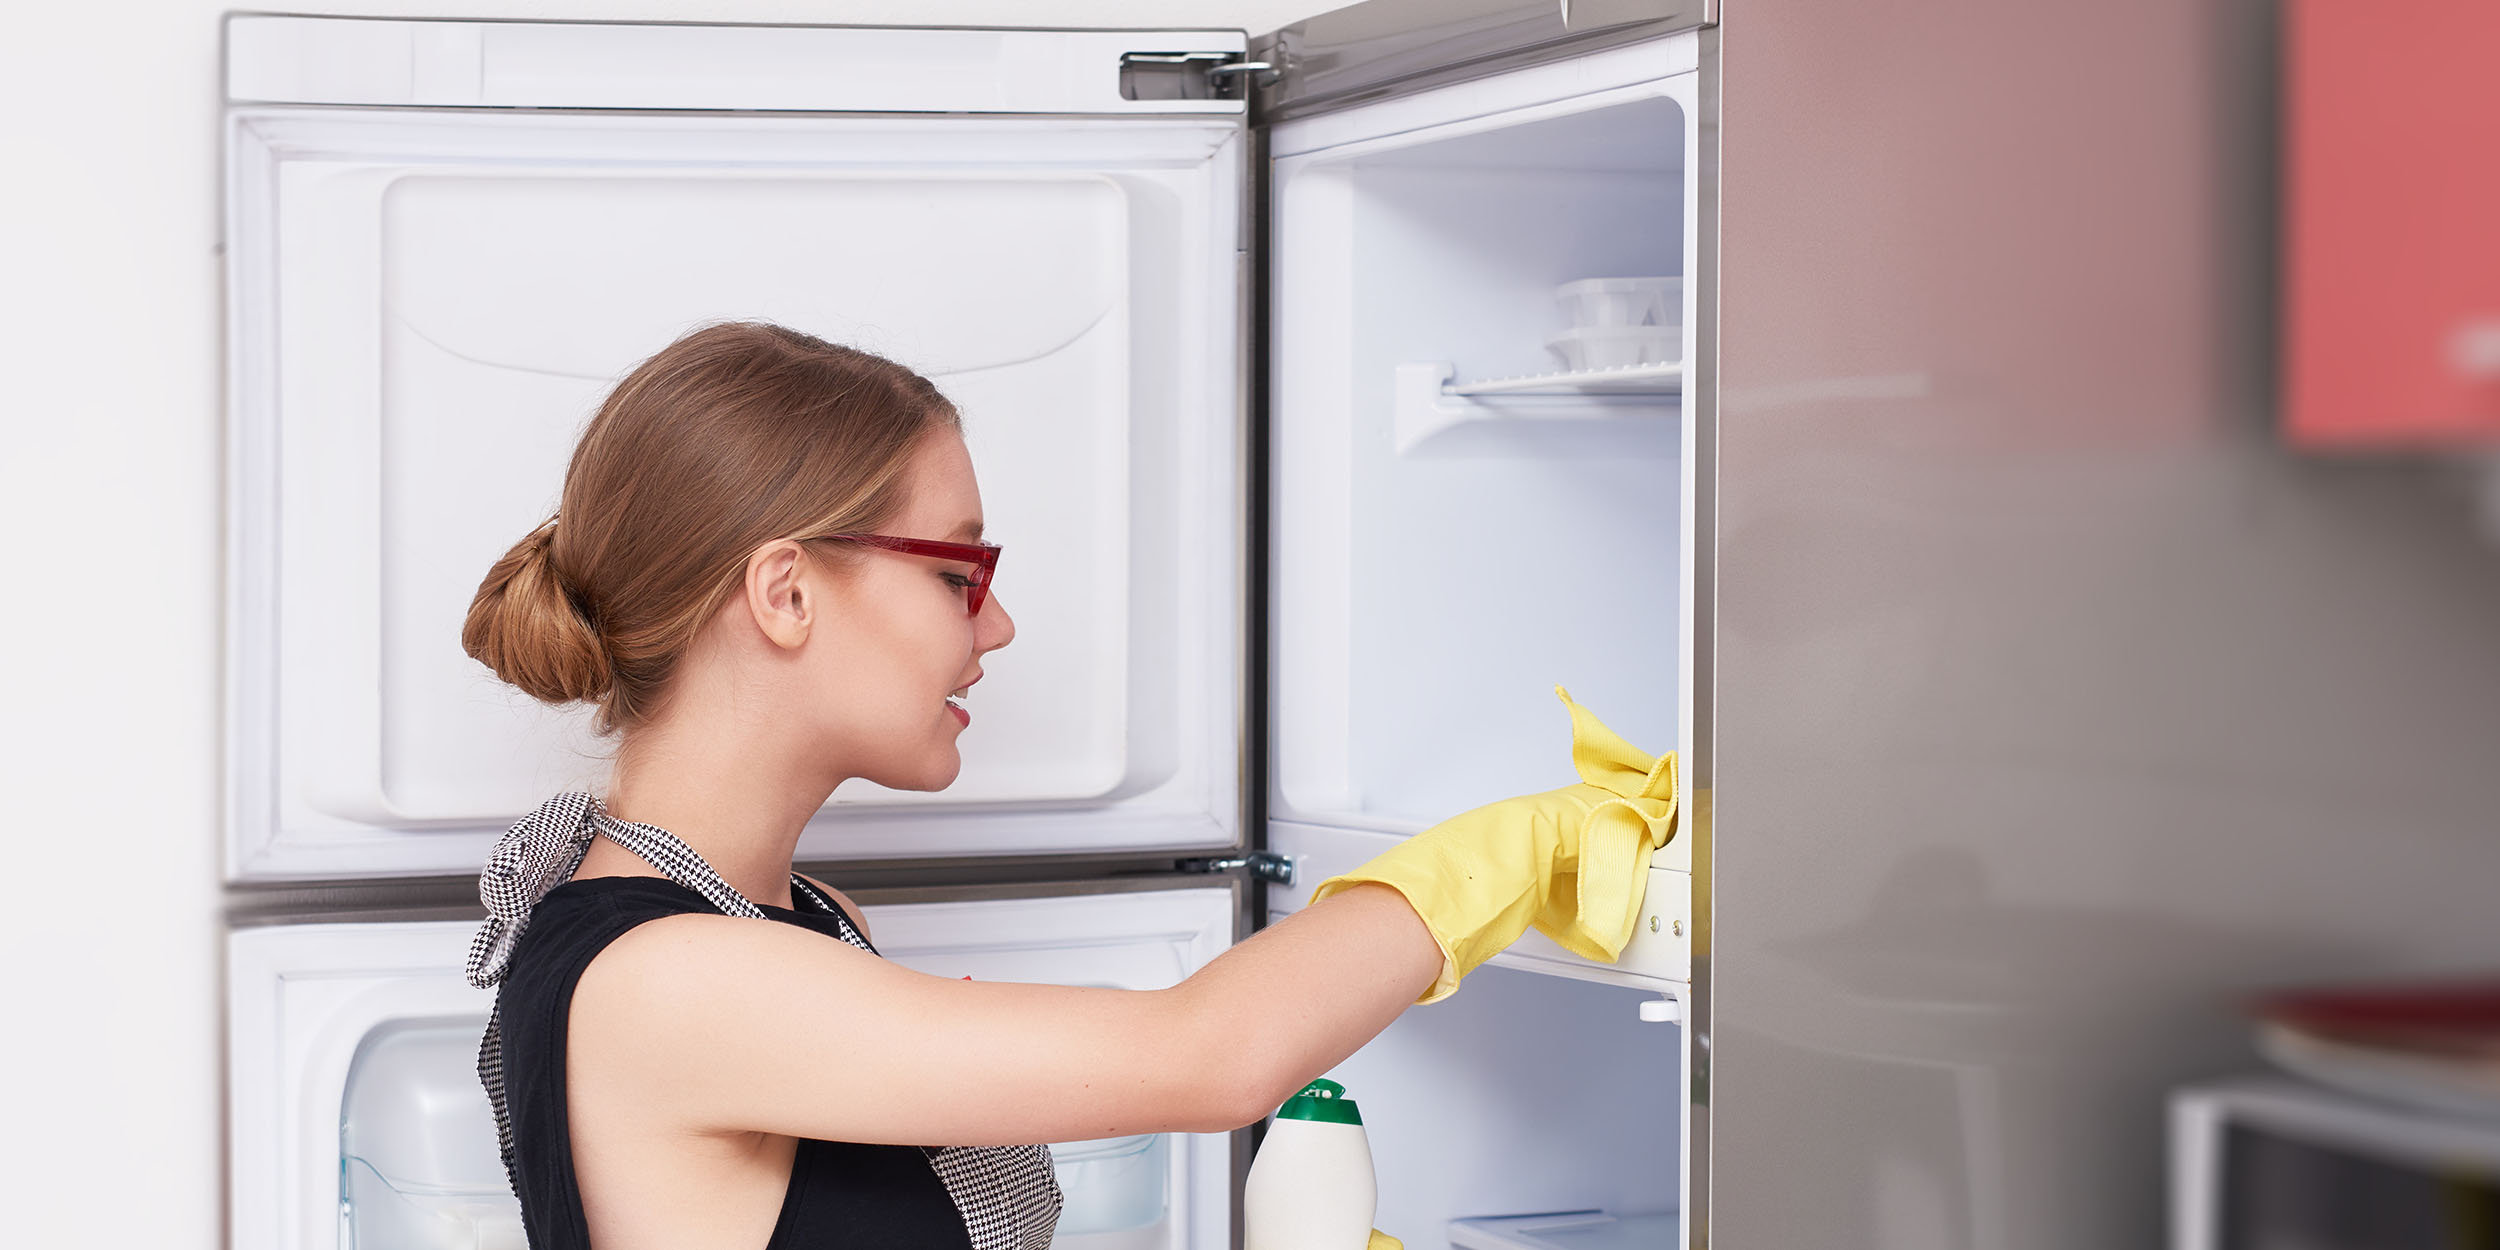
Cleaning the Freezer
Now that you have successfully removed the ice and frost from your upright freezer, it’s time to give it a thorough cleaning. Cleaning the freezer will not only ensure a hygienic storage space for your frozen food but also help maintain its optimal performance. Follow these steps to effectively clean your freezer:
- Prepare a cleaning solution: Fill a bucket with warm water and add a small amount of mild detergent or a natural cleaning solution. Mix it well to create a gentle cleaning solution.
- Dampen a cloth or sponge: Take a clean cloth or sponge and dampen it in the cleaning solution. Make sure the cloth is not dripping wet, as excess water can cause damage to the interior components of the freezer.
- Wipe down the interior surfaces: Start by wiping down the interior surfaces of the freezer, including the walls, shelves, and drawers. Pay extra attention to areas that may have accumulated dirt or spills. Use gentle and circular motions to effectively clean the surfaces.
- Remove and wash removable parts: If your freezer has removable shelves, drawers, or bins, take them out and wash them separately in the sink with warm water and mild detergent. Rinse them thoroughly and allow them to fully dry before placing them back in the freezer.
- Clean the seals and gaskets: The seals and gaskets around the freezer door(s) are prone to collecting dirt and grime. Use a cloth or sponge dampened in the cleaning solution to wipe them down. Pay attention to any hard-to-reach corners or crevices.
- Rinse with a clean damp cloth: After cleaning, use a clean damp cloth to wipe down the surfaces again, ensuring that any cleaning residue is removed. This will prevent any potential chemical build-up inside the freezer.
- Dry the interior: Use a dry cloth or towel to thoroughly dry the interior surfaces of the freezer. Pay special attention to corners and crevices to prevent any moisture from remaining.
By following these cleaning steps, you will have a clean and hygienic freezer ready to be reassembled and turned back on. In the next section, we will discuss how to dry and reassemble the freezer.
Drying and Reassembling the Freezer
Now that you have cleaned the interior of your upright freezer, it’s time to ensure that it is thoroughly dry and ready for reassembly. Follow these steps to effectively dry and reassemble your freezer:
- Remove any remaining moisture: Use a dry cloth or towel to absorb any remaining moisture inside the freezer. Pay attention to corners, crevices, and hard-to-reach areas.
- Air-dry the freezer: Leave the freezer door(s) open and allow the interior to air-dry for some time. This will help ensure that no moisture is trapped inside before reassembling the freezer.
- Check the freezer components: Take a moment to inspect the removable shelves, drawers, or bins that you washed earlier. Ensure that they are fully dried and free from any moisture or residue.
- Reassemble the freezer: Carefully place the dry shelves, drawers, or bins back into their designated positions. Make sure they are securely in place and aligned properly.
- Close the freezer door(s): Once the interior is dry and the components are reassembled, gently close the freezer door(s). Ensure that they are fully closed and sealed to maintain optimal temperature and energy efficiency.
By following these steps, you will ensure that your upright freezer is completely dry and properly reassembled. Now that the cleaning and reassembly process is complete, it’s time to move on to the final step: turning the freezer back on.
Read more: How To Defrost A Chest Freezer
Turning the Freezer Back On
With the cleaning, drying, and reassembly complete, it’s time to turn your upright freezer back on. Follow these steps to safely and effectively turn the freezer back on:
- Plug in the freezer: Locate the power cord at the back of the freezer and plug it into a functioning electrical outlet. Make sure the outlet is suitable for the power requirements of the freezer.
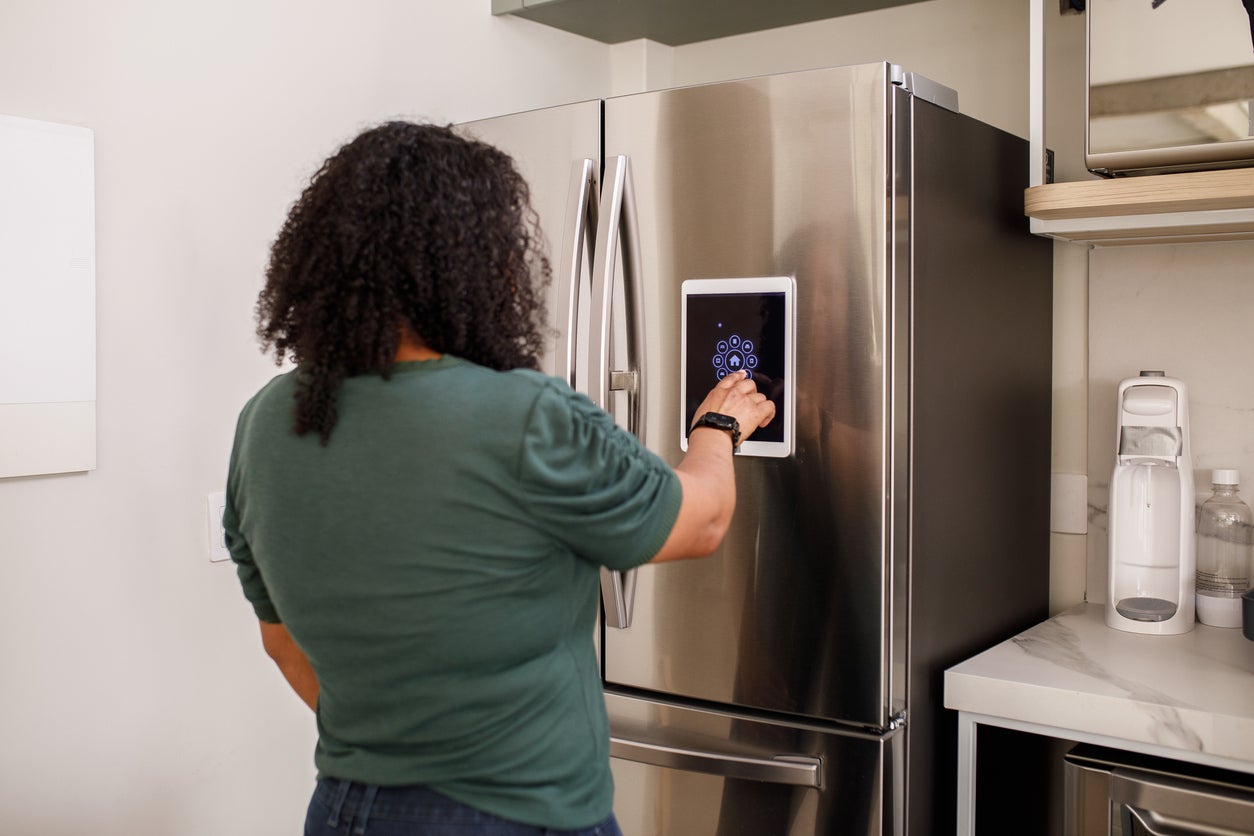
- Adjust the temperature control: Locate the temperature control knob or button and set it to your desired freezing temperature. Consult the manufacturer’s recommendations for the recommended setting.
- Give it time to cool down: After turning on the freezer, allow some time for it to reach the desired freezing temperature. This may take a few hours, so be patient and avoid opening the door frequently during this time.
- Check for proper functionality: Monitor the freezer to ensure that it is cooling properly and maintaining the set temperature. Listen for any unusual noises or warning indicators that may indicate a problem. If you notice any issues, consult the user manual or contact a professional for assistance.
Once you have followed these steps, your upright freezer should be up and running again, ready to efficiently freeze and preserve your food. It’s important to maintain regular cleaning and maintenance habits to prevent excessive ice build-up and ensure the longevity of your freezer.
In the final section, we will discuss some tips on how to maintain a frost-free freezer and prevent ice build-up in the future.
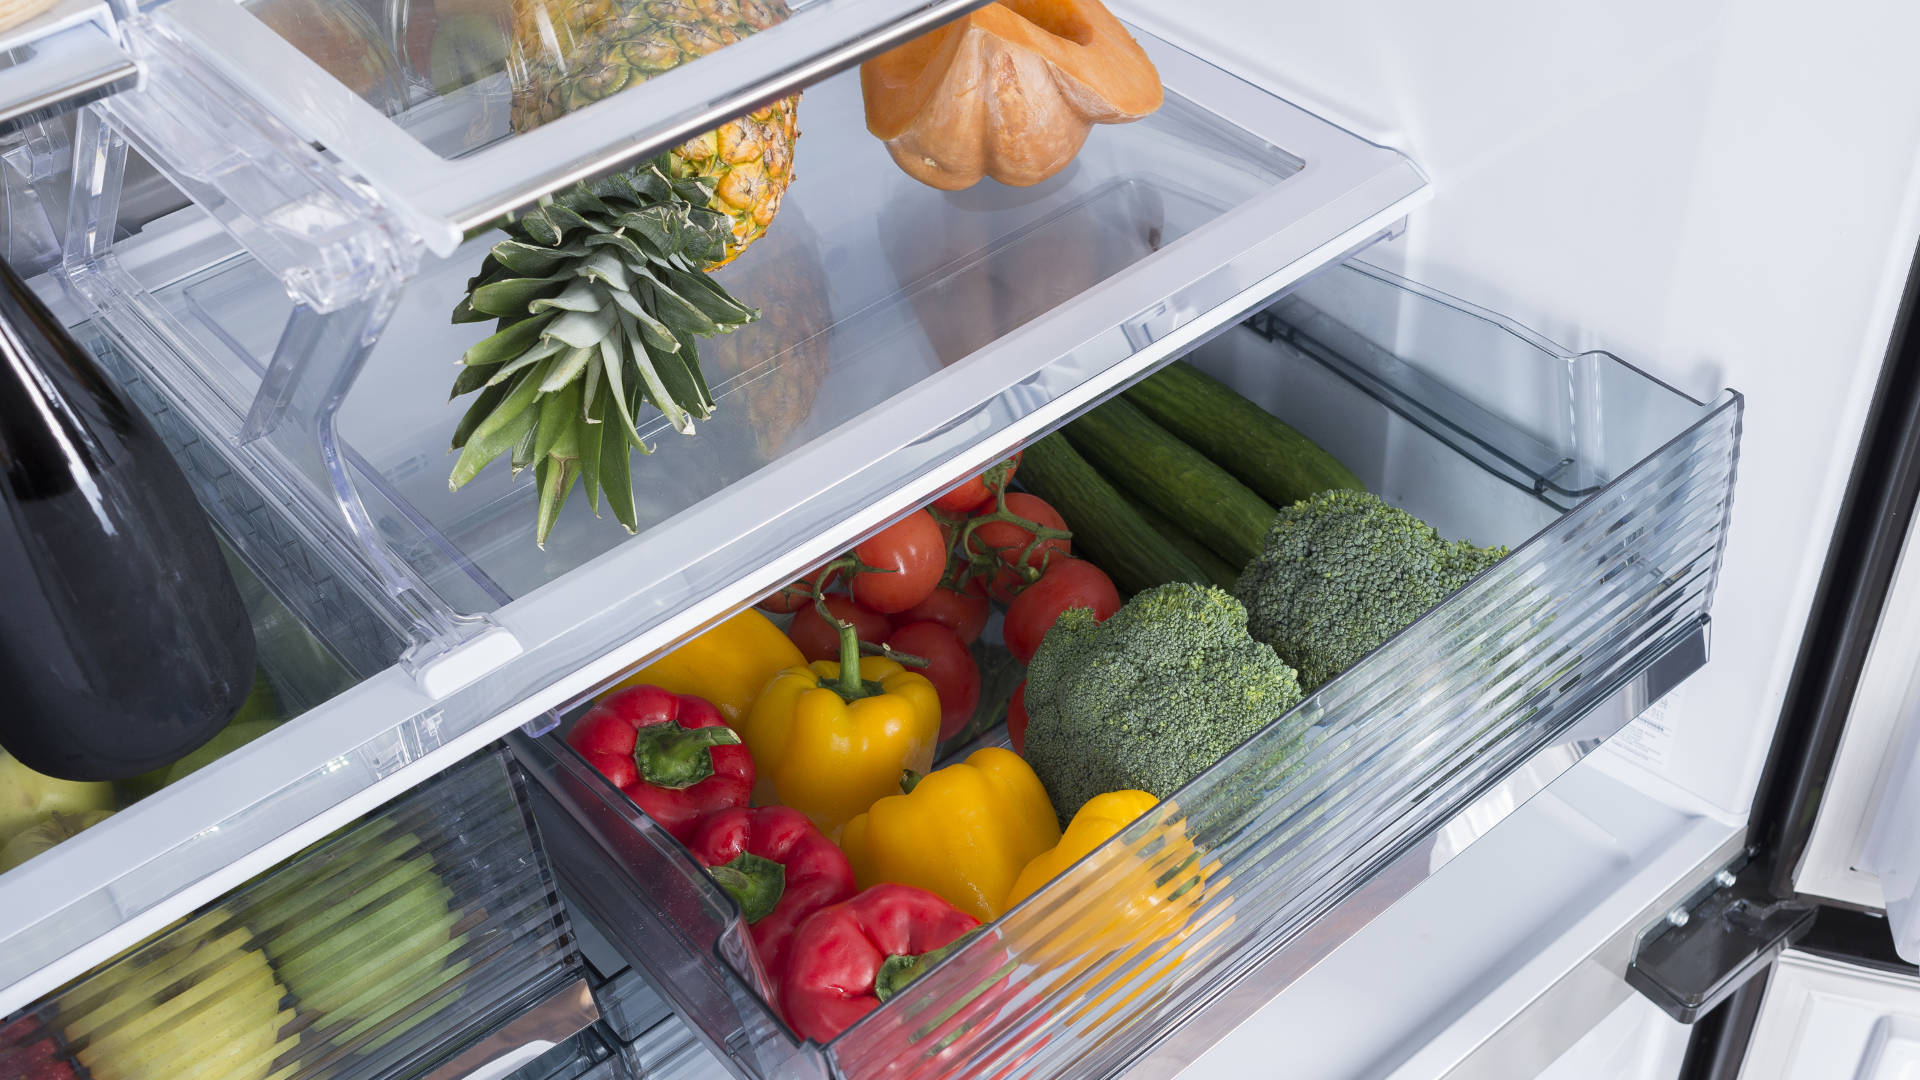
Maintaining a Frost-Free Freezer
Now that you have defrosted, cleaned, and reassembled your upright freezer, it’s important to implement some preventive measures to keep it frost-free and operating efficiently. Follow these tips to maintain a frost-free freezer:
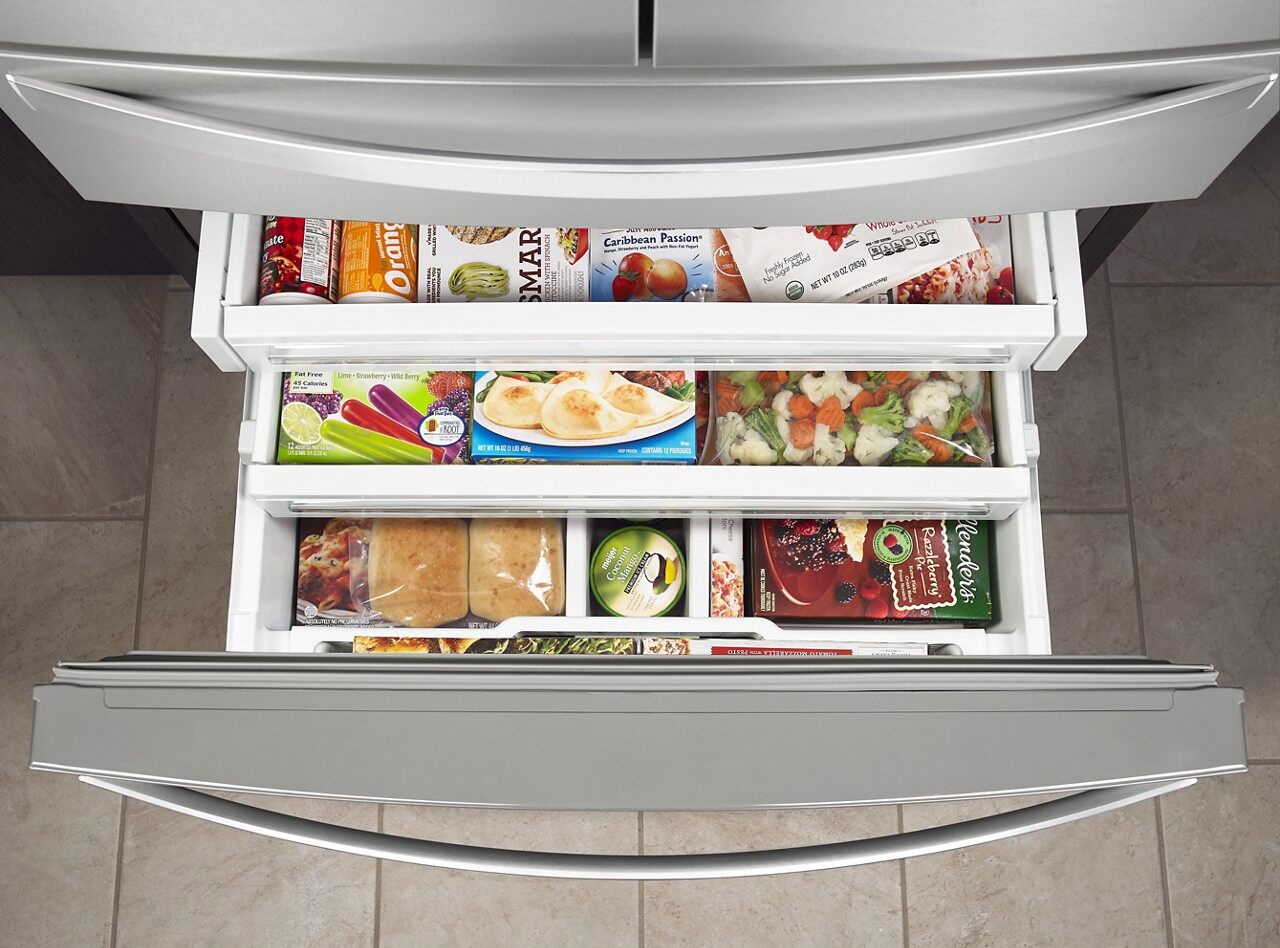
- Keep the freezer organized: Proper organization prevents overcrowding and allows for better air circulation. Be mindful of how you arrange items in the freezer, ensuring that they are not blocking the air vents.
- Rotate your food: Regularly rotate your frozen items to ensure that older items are used first. This will prevent items from sitting in the freezer for an extended period, which can lead to freezer burn or spoilage.
- Check for leaks and seals: Regularly inspect the seals and gaskets around the freezer door(s). If you notice any cracks or gaps, replace them to ensure proper sealing and prevent warm air from entering the freezer.
- Avoid frequent door openings: Limit the number of times you open the freezer door to reduce the influx of warm air. This will help maintain a consistently low temperature and prevent ice build-up.
- Clean spills immediately: If you spill any liquids or foods inside the freezer, clean them up promptly. Spills can contribute to ice build-up and affect the efficiency of the freezer.
- Defrost periodically: Set a schedule to defrost your upright freezer at least once or twice a year, or whenever you notice a significant build-up of ice and frost. Regular defrosting prevents excessive ice accumulation and ensures optimal performance.
- Monitor temperature settings: Keep an eye on the temperature settings to ensure that the freezer is maintaining the desired temperature. Adjust the settings if necessary, especially during extreme weather conditions or changes in usage patterns.
- Perform regular maintenance: Clean the exterior of the freezer, including removing dust and debris from the vents and coils. This will help the freezer operate efficiently and prevent dust accumulation that can impact performance.
By following these maintenance tips, you can ensure that your upright freezer remains frost-free and operates at its best. Regular cleaning, organization, and monitoring will help prolong the life of your freezer and keep your frozen items in optimal condition.
With these tips in mind, you are now equipped to maintain a frost-free freezer and enjoy the convenience of properly stored and preserved frozen foods.
Frequently Asked Questions about How To Defrost An Upright Freezer
Was this page helpful?
At Storables.com, we guarantee accurate and reliable information. Our content, validated by Expert Board Contributors, is crafted following stringent Editorial Policies. We're committed to providing you with well-researched, expert-backed insights for all your informational needs.


0 thoughts on “How To Defrost An Upright Freezer”