Articles
How To Clean Chest Freezer
Modified: October 20, 2024
Learn the best methods for cleaning your chest freezer with these helpful articles. Keep your frozen food fresh and your freezer in top condition!
(Many of the links in this article redirect to a specific reviewed product. Your purchase of these products through affiliate links helps to generate commission for Storables.com, at no extra cost. Learn more)
Introduction
A chest freezer is a valuable appliance that provides ample storage space for frozen foods. However, over time, it can become dirty and cluttered, which can affect its efficiency and the quality of the frozen items. Regular cleaning and maintenance of your chest freezer is crucial to ensure optimal performance and keep your food fresh.
In this article, we will guide you through the process of cleaning and organizing your chest freezer effectively. We will also provide some tips on how to maintain it in the long run. So, roll up your sleeves and let’s get started!
Before you begin, make sure to read the manufacturer’s instructions for your specific chest freezer model. These guidelines may include additional safety precautions or special cleaning instructions that you need to be aware of.
Key Takeaways:
- Regularly cleaning and organizing your chest freezer is essential to maintain its efficiency and keep your frozen items fresh. Follow the safety precautions and step-by-step guide to ensure a safe and thorough cleaning process.
- In addition to cleaning, proper maintenance of your chest freezer, including temperature monitoring and regular defrosting, is crucial for its longevity and optimal performance. Keep it well-organized and enjoy the benefits of a clean and efficient appliance.
Read more: How To Clean Tool Chest
Safety Precautions
Before you start cleaning your chest freezer, it is important to take some safety precautions to protect yourself and prevent any damage to the appliance. Here are a few safety guidelines to keep in mind:
- Turn off and unplug the freezer: Before you begin the cleaning process, make sure to turn off and unplug the freezer from the power source. This will prevent any accidental electrical shocks or injuries.
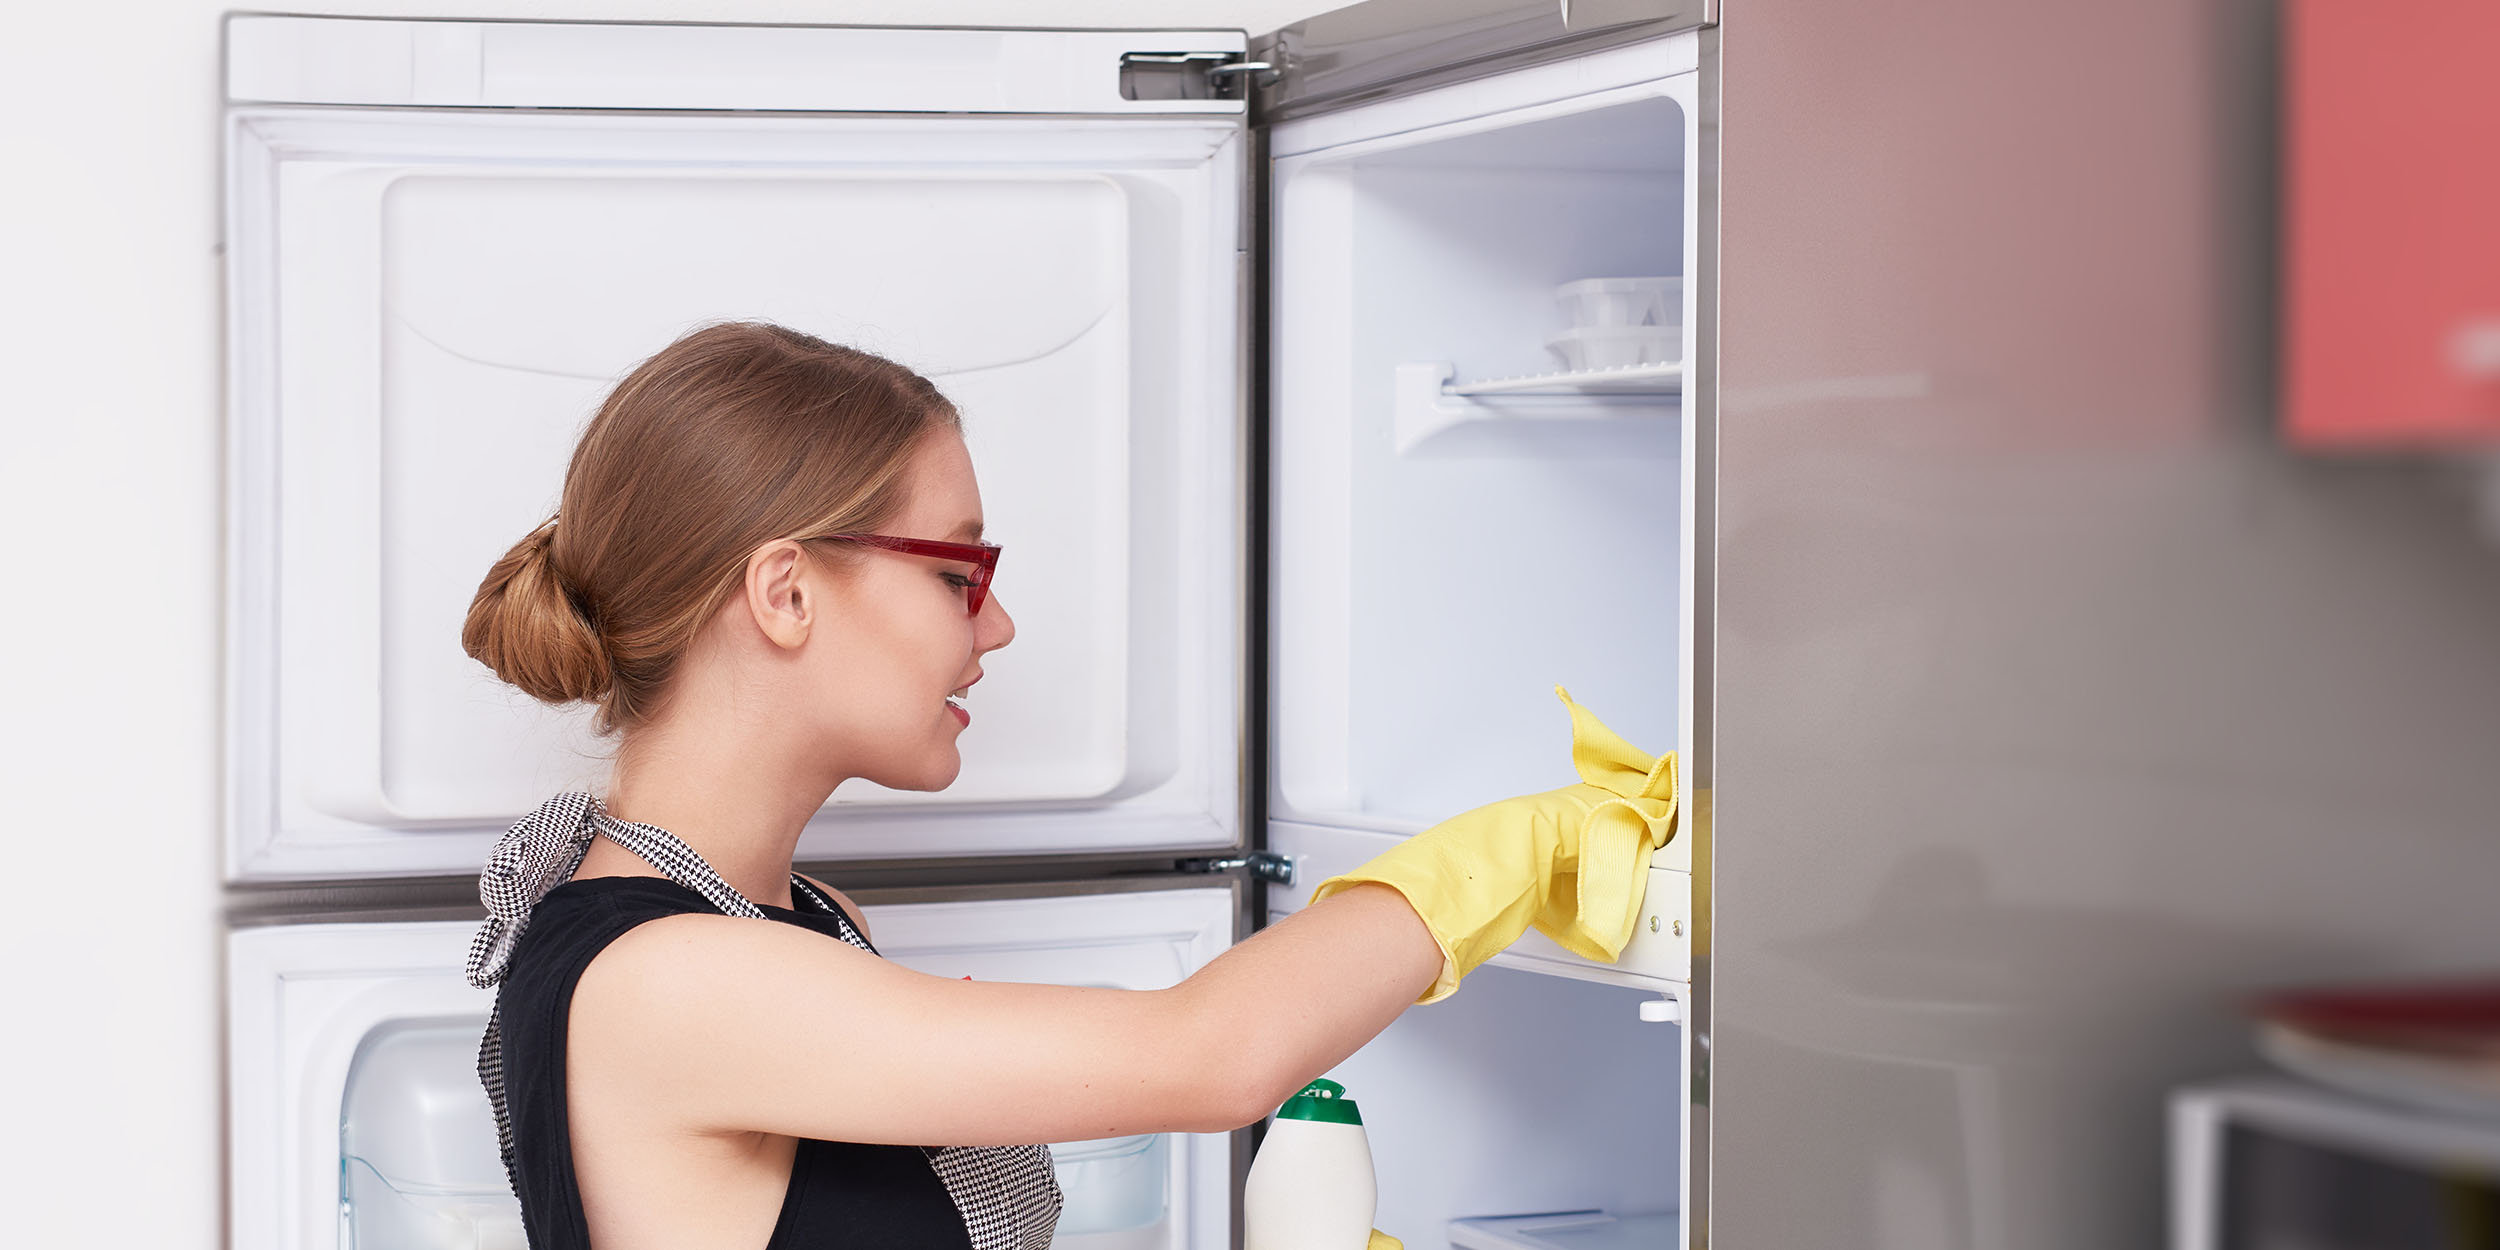
- Wear protective gear: Cleaning a chest freezer can involve handling potentially harmful substances, such as cleaning agents and mold. It is recommended to wear gloves, goggles, and a mask to protect yourself from any chemicals or allergens.
- Ventilate the area: Ensure that the area where you are cleaning the chest freezer is well-ventilated. Open windows or use fans to allow proper airflow and prevent the accumulation of fumes from cleaning products.
- Use non-abrasive cleaners: When choosing cleaning products, opt for non-abrasive cleaners that are safe for use on freezer surfaces. Avoid using harsh chemicals or abrasive scrubbing pads, as they can damage the interior of the freezer.
- Handle food safely: If you have to remove any frozen food items during the cleaning process, be sure to handle them safely. Transfer them to a cooler with ice packs to maintain their temperature and prevent spoilage.
- Keep children and pets away: While cleaning your chest freezer, it is important to keep children and pets away from the area to avoid accidents or injuries. Store cleaning products out of their reach.
By following these safety precautions, you can ensure a safe and efficient cleaning process for your chest freezer.
Materials Needed
Before you begin cleaning your chest freezer, gather the necessary materials to make the process more efficient. Here are the materials you will need:
- Warm water: You will need warm water to dissolve any dirt or grime inside the freezer.
- Mild detergent or cleaning solution: Choose a mild detergent or a cleaning solution specifically designed for freezer cleaning. Avoid using harsh chemicals that can damage the freezer surface.
- Soft microfiber cloths: Use soft microfiber cloths to wipe down the interior and exterior of the freezer. These cloths are gentle and effective in removing dust, spills, and stains.
- Sponge or brush: A sponge or a non-abrasive brush can be used to gently scrub away stubborn stains or residue inside the freezer.
- Baking soda: Baking soda is a natural deodorizer that can help eliminate any unpleasant odors in the freezer.
- Vinegar: Vinegar is a versatile cleaning agent that can be used to remove tough stains and disinfect the freezer.
- Ice pack or cooler: If you need to remove frozen items from the freezer during the cleaning process, you will need an ice pack or cooler to keep them frozen and prevent spoilage.
Having these materials ready before you start cleaning will save you time and make the process smoother.
Step 1: Emptying the Freezer
Before you can begin cleaning your chest freezer, you need to empty its contents. Follow these steps to ensure a smooth and organized process:
- Plan ahead: Choose a time when you have minimal frozen items or when you can temporarily store the contents of your freezer elsewhere. This will prevent any food from defrosting and spoiling during the cleaning process.
- Sort and categorize: As you remove items from the freezer, sort them into categories. Group similar items together, such as meat, vegetables, fruits, and frozen meals. This will make it easier to organize the items back into the freezer after cleaning.
- Check expiration dates: Take this opportunity to check the expiration dates of the items in your freezer. Discard any expired or freezer-burned items to make room for fresh ones.
- Transfer frozen items: If you have a small cooler or an ice pack, transfer the frozen items to keep them chilled. Alternatively, you can temporarily store them in another freezer if available.
- Label and seal containers: If you have any open containers or bags, make sure to seal them tightly and label them with the contents and dates. This will help you identify items easily and prevent freezer burn.
By emptying and organizing the contents of your chest freezer, you can now move on to the next step: defrosting the freezer.
Step 2: Defrosting the Freezer
Defrosting your chest freezer is an essential step in the cleaning process. Over time, ice can build up inside the freezer, affecting its efficiency and storage capacity. Follow these steps to defrost your chest freezer effectively:
- Unplug the freezer: Ensure that the freezer is unplugged from the power source to avoid any electrical hazards during the defrosting process.
- Open the lid: Keep the freezer lid open to allow the ice inside to melt. You can place towels or a large tray underneath to catch the melting ice.
- Speed up the process: To expedite the defrosting process, you can place bowls of hot water or use a hairdryer on a low setting to gently melt the ice. Be cautious when using a hairdryer to avoid getting it wet.
- Remove ice chunks: As the ice begins to melt, use a plastic or wooden spatula to carefully remove any large chunks of ice. Do not use sharp objects or metal utensils, as they can damage the interior of the freezer.
- Wipe away excess moisture: Once all the ice has melted, use a soft cloth or towel to wipe away any excess moisture inside the freezer. Make sure the interior is completely dry before moving on to the next step.
Defrosting your chest freezer may take several hours, depending on the amount of ice buildup. It is important to be patient and not rush the process to avoid damaging the freezer. Once the freezer is defrosted and dry, you can proceed to the next step: cleaning the interior.
To clean a chest freezer, unplug it and remove all food. Use a mixture of warm water and mild detergent to wipe down the interior. Defrost if necessary, then dry thoroughly before plugging it back in.
Read more: How To Clean Tool Box
Step 3: Cleaning the Interior
Now that your chest freezer is defrosted and dry, it’s time to clean the interior. Follow these steps to ensure a thorough and effective cleaning:
- Create a cleaning solution: Fill a bucket or basin with warm water and add a mild detergent or a freezer-safe cleaning solution. Avoid using harsh chemicals or abrasive cleaners that can damage the interior of the freezer.
- Dip a soft cloth or sponge into the cleaning solution: Wet a soft cloth or sponge in the cleaning solution and wring out any excess liquid. You want the cloth or sponge to be damp, not dripping wet.
- Wipe down the interior: Starting from the top, wipe down the interior walls, shelves, and baskets of the freezer. Pay special attention to areas with spills or stains. Use a gentle circular motion to remove any dirt or grime.
- Remove stubborn stains: If you encounter stubborn stains or residue, dip a soft brush or sponge into the cleaning solution and gently scrub the affected areas. Avoid using abrasive brushes or scrubbers that can scratch the surface.
- Rinse with clean water: Once you have wiped down the interior, rinse the cloth or sponge with clean water and go over the surfaces again to remove any soap residue. This will help prevent a soapy aftertaste in your frozen items.
- Dry the interior: Use a clean and dry cloth or towel to thoroughly dry the interior of the freezer. Make sure there is no moisture left behind to prevent the formation of ice crystals or mold.
Once the interior is clean and dry, you can move on to the next step: cleaning the exterior of the chest freezer.
Step 4: Cleaning the Exterior
Now that you have cleaned the interior of your chest freezer, it’s time to give the exterior some attention. Follow these steps to clean the exterior of your freezer:
- Unplug the freezer: Before you begin cleaning the exterior, make sure to unplug the freezer from the power source to ensure safety.
- Prepare a cleaning solution: Fill a bucket with warm water and add a mild detergent or a freezer-safe cleaning solution. Mix it well to create a soapy solution.
- Dampen a soft cloth or sponge: Dip a soft cloth or sponge into the cleaning solution, making sure it is damp but not overly saturated.
- Wipe down the exterior: Starting from the top, gently wipe down the exterior surfaces of the chest freezer. Pay attention to any areas that may be dirty or have fingerprints or smudges.
- Pay attention to crevices and handles: Use a small brush or toothbrush to clean any crevices or hard-to-reach areas around the handles and on the exterior surface of the freezer.
- Rinse with clean water: Once you have wiped down the exterior, rinse the cloth or sponge with clean water and go over the surfaces again to remove any soap residue.
- Dry the exterior: Use a clean and dry cloth or towel to thoroughly dry the exterior of the chest freezer. This will prevent any water spots or streaks from forming.
By following these steps, you can ensure that not only the interior but also the exterior of your chest freezer is clean and free of dirt and grime.
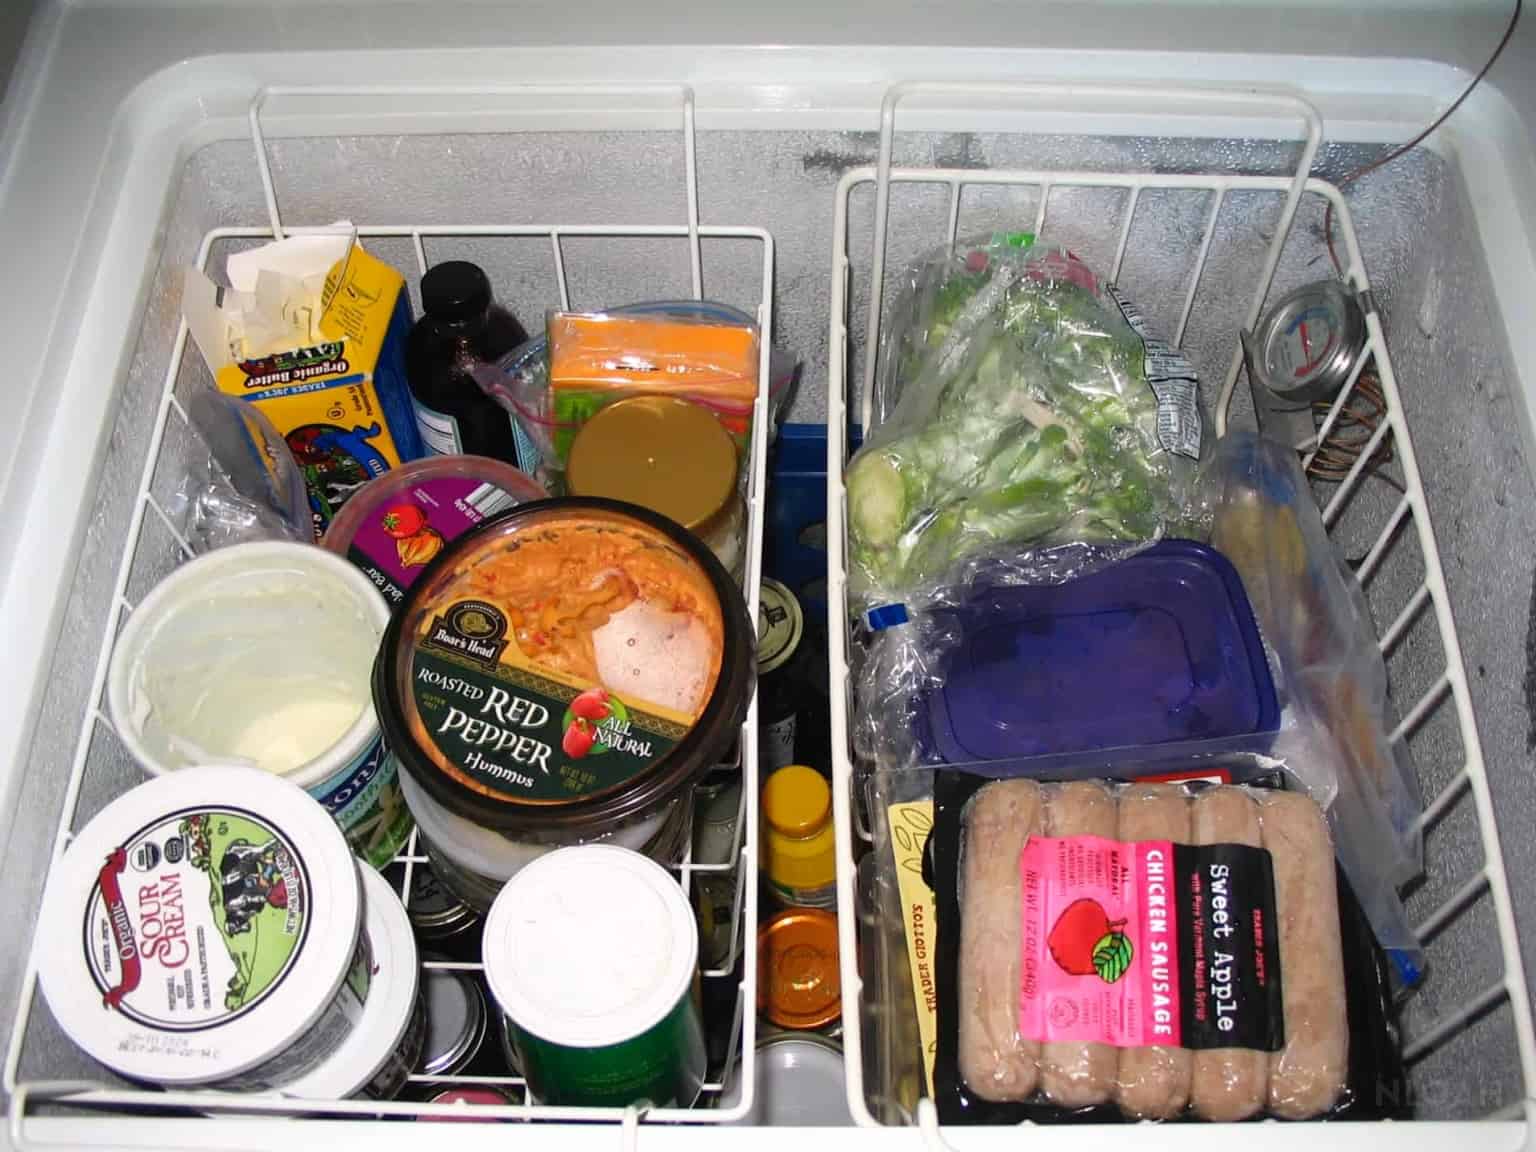
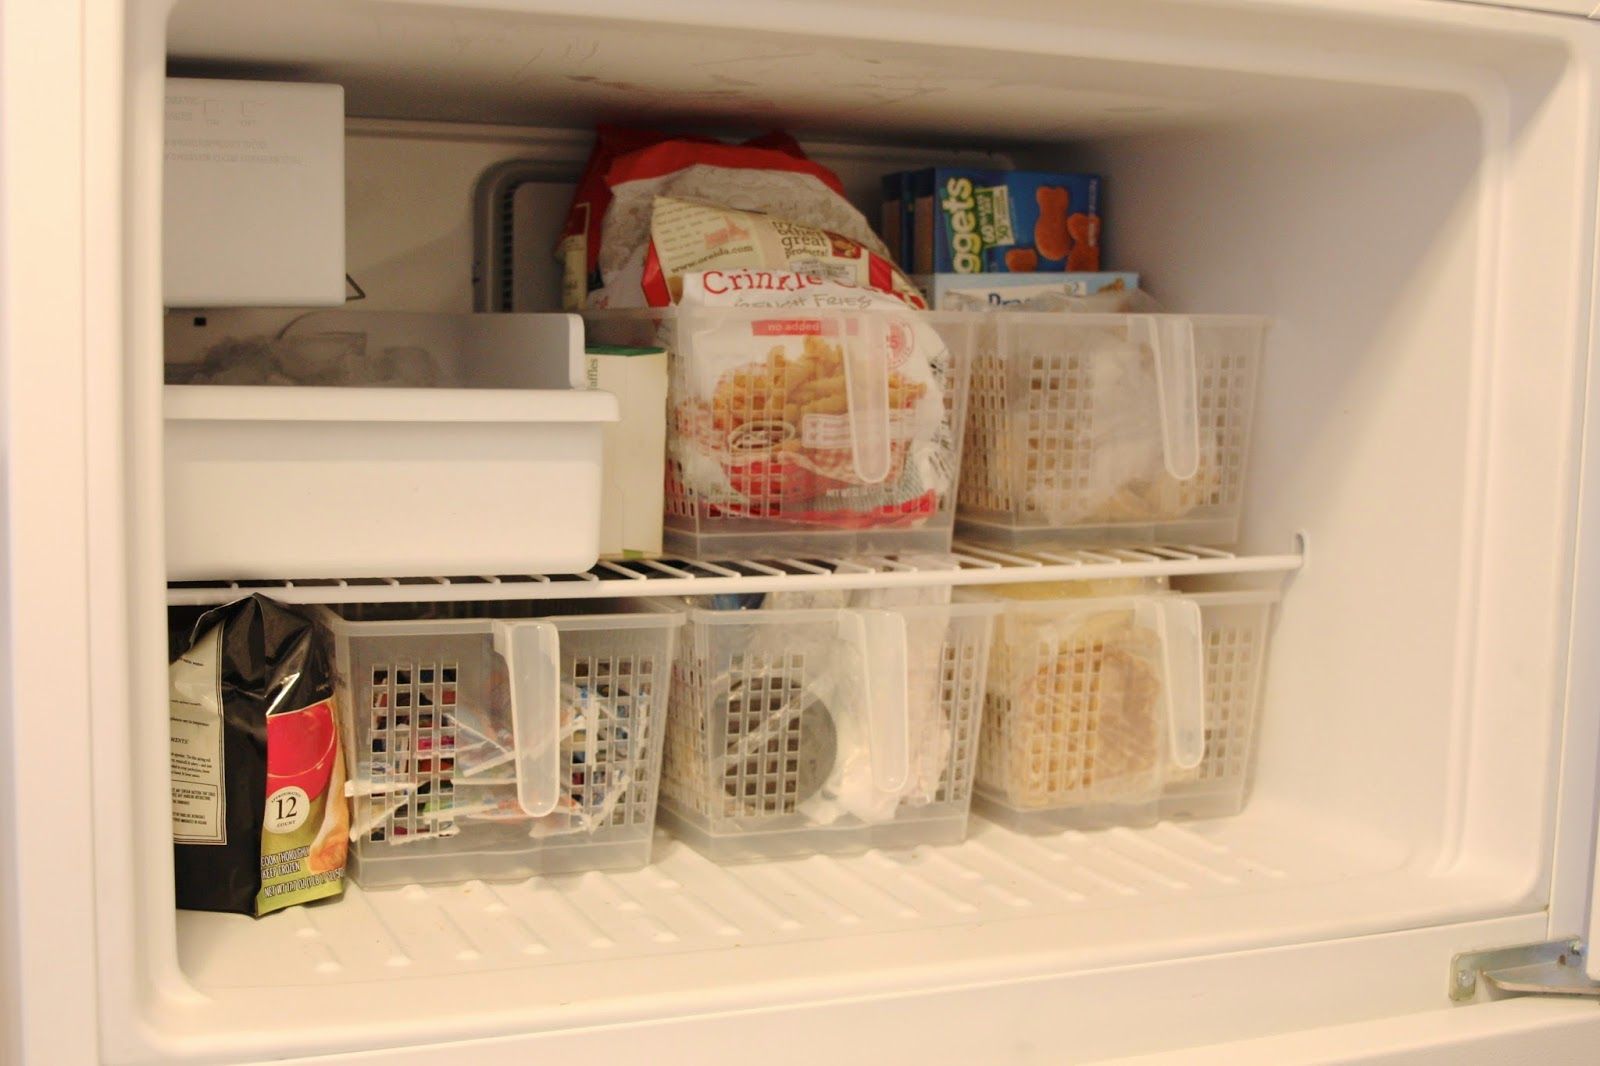
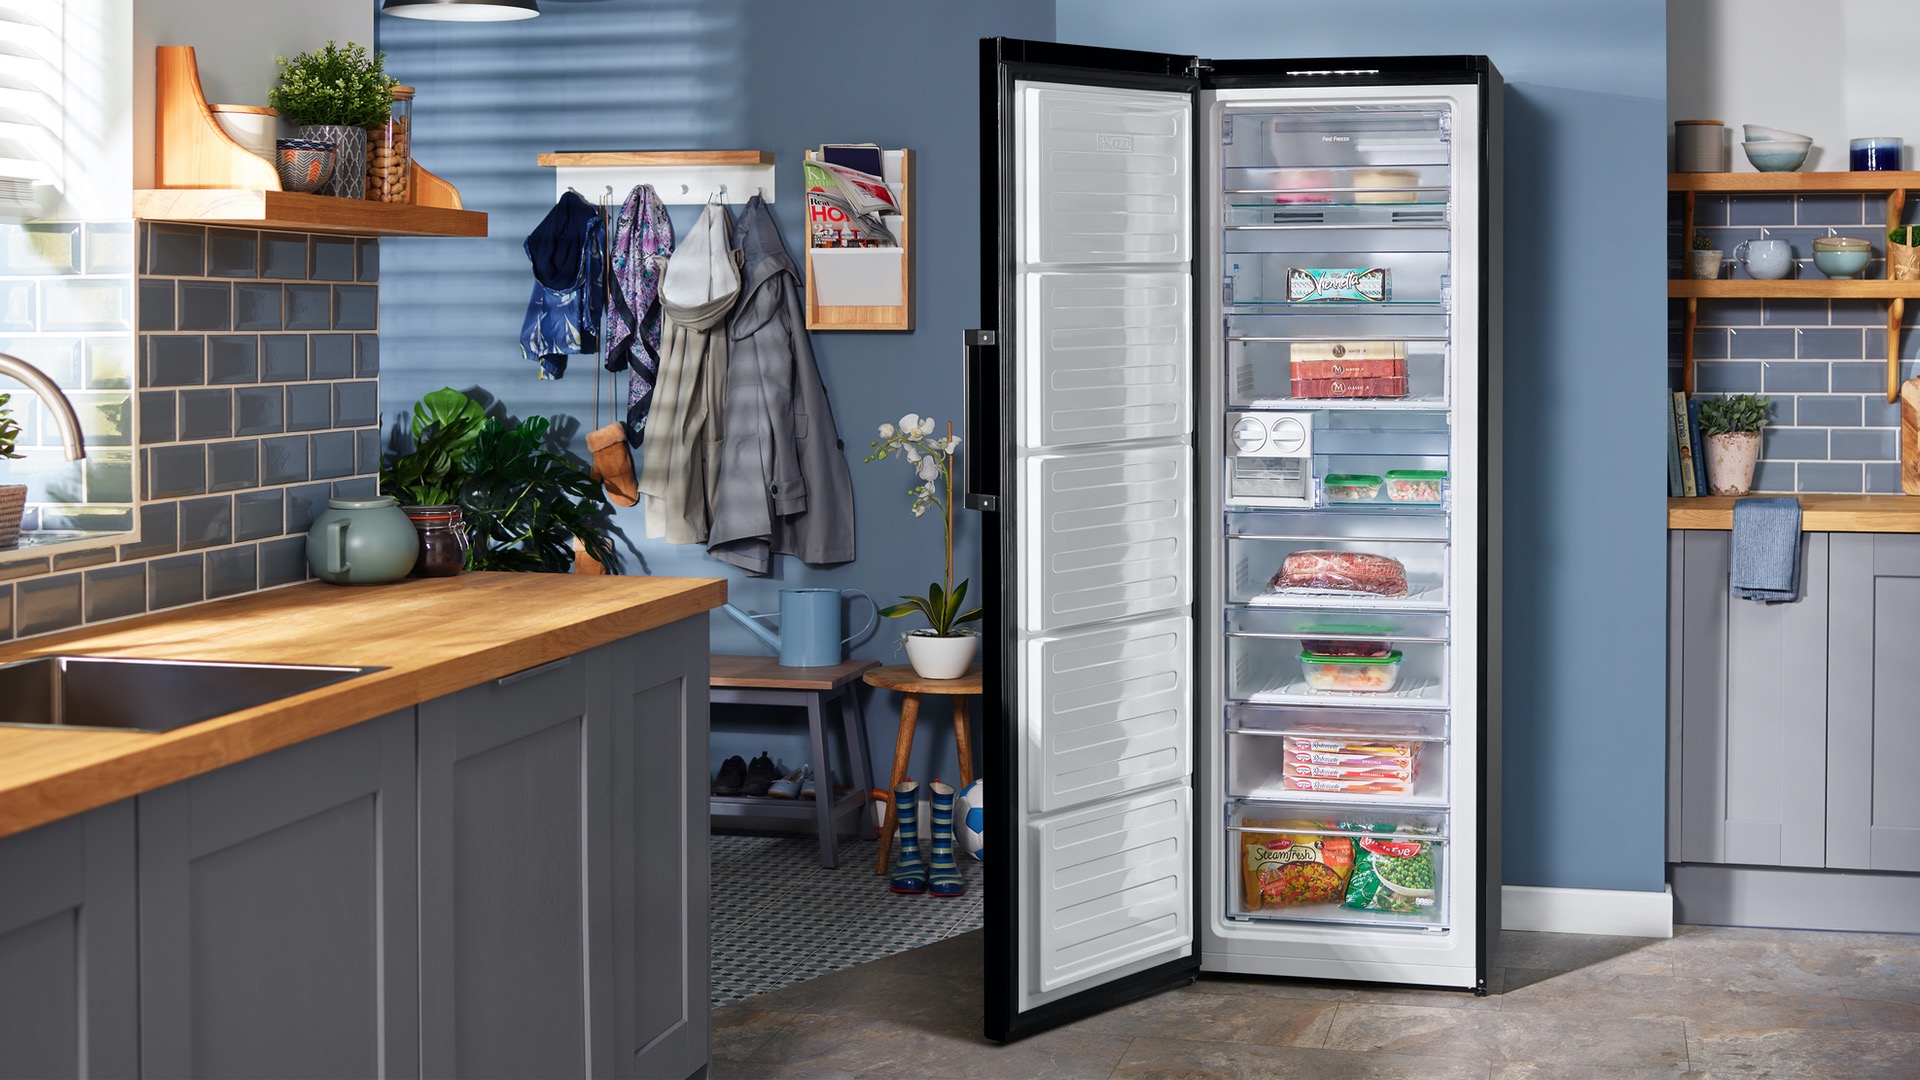
Step 5: Organizing the Freezer
Now that your chest freezer is clean, it’s time to organize it to maximize its storage space and make it easy to find your frozen items. Follow these steps to effectively organize your freezer:
- Group similar items together: Categorize your frozen items and group similar items together. This could include grouping meat, vegetables, fruits, and prepared meals in separate sections or baskets.
- Use storage containers or bins: Consider using clear plastic bins or containers to store smaller items or to separate different categories of food. This will prevent items from getting lost or buried under other items.
- Label containers: Label the containers or use transparent containers to easily identify the contents. This will help you find what you need quickly without having to dig through the entire freezer.
- Arrange items by accessibility: Place frequently used items towards the front or on the top shelf for easy access. Reserve the lower shelves for items that may not be used as often.
- Stack items vertically: Maximize the vertical space in the freezer by stacking items vertically. Use freezer-safe bags or containers to store items such as frozen fruits or vegetables.
- Utilize the freezer door: Take advantage of the door compartments to store small items like ice packs, condiments, or frequently used items. Just make sure not to overcrowd the door to avoid blocking the seal.
By organizing your chest freezer in a systematic way, you can optimize its storage capacity and make it easier to find and access your frozen items.
Step 6: Maintaining the Freezer
Once you have cleaned and organized your chest freezer, it’s important to keep up with regular maintenance to ensure its longevity and efficient performance. Follow these steps to maintain your freezer:
- Regularly check the temperature: Use a freezer thermometer to monitor the temperature inside the freezer. The ideal temperature for a chest freezer is around -18 to -20 degrees Celsius (-0.4 to -4 degrees Fahrenheit). Adjust the temperature settings if necessary.
- Keep the freezer stocked: A well-stocked freezer is more energy-efficient. It helps maintain a steady temperature and reduces the amount of warm air that enters whenever the freezer is opened. However, avoid overstuffing the freezer, as it can restrict airflow.
- Monitor and rotate items: Regularly check the contents of your freezer and use the oldest items first to prevent food waste. Rotate items to ensure even freezing and prevent items from being forgotten and going bad.
- Keep the freezer clean: Regularly wipe down the interior and exterior of the chest freezer to remove any spills, stains, or debris. This will prevent the buildup of dirt and maintain a clean environment for your frozen items.
- Check the seals: Inspect the door seals or gaskets for any signs of wear or damage. Damaged seals can allow warm air to enter, leading to frost buildup and reduced efficiency. If needed, replace the seals to maintain a tight and secure seal.
- Defrost when necessary: Pay attention to any signs of frost buildup inside the freezer. If ice starts accumulating, it’s time to defrost the freezer again to prevent excessive ice formation.
- Avoid placing hot items in the freezer: Allow hot or warm food items to cool down before placing them in the freezer. Placing hot items directly into the freezer can raise the internal temperature and put additional stress on the appliance.
By following these maintenance tips, you can ensure the longevity, efficiency, and cleanliness of your chest freezer, allowing it to continue preserving your frozen items effectively.
Read more: How To Clean Freezer
Conclusion
Cleaning and maintaining your chest freezer is a crucial task that ensures the freshness and quality of your frozen items. By following the steps outlined in this article, you can keep your chest freezer in top condition and maximize its performance.
Remember to prioritize safety by following the necessary precautions, such as unplugging the freezer, wearing protective gear, and properly ventilating the area. Gathering the required materials beforehand will also make the cleaning process more efficient.
Emptying the freezer, defrosting it, and cleaning the interior and exterior are fundamental steps to maintain a clean and organized freezer. Take your time to organize your frozen items, label containers, and utilize the available space effectively to maximize storage capacity.
Regular maintenance is key to ensuring the long-term functionality of your freezer. Monitor the temperature, keep the freezer stocked, and regularly clean and check the seals for any wear or damage. Defrost the freezer as needed to prevent excessive ice buildup.
By following these steps and adopting good freezer maintenance habits, you can enjoy the benefits of a clean, organized, and efficient chest freezer. Your frozen items will stay fresh, and you’ll have peace of mind knowing that your freezer is operating at its best.
So, take the time to give your chest freezer the attention it deserves. Your future self will thank you when you can easily find your frozen treats or ingredients for a delicious meal!
Frequently Asked Questions about How To Clean Chest Freezer
Was this page helpful?
At Storables.com, we guarantee accurate and reliable information. Our content, validated by Expert Board Contributors, is crafted following stringent Editorial Policies. We're committed to providing you with well-researched, expert-backed insights for all your informational needs.


0 thoughts on “How To Clean Chest Freezer”