Articles
How To Clean A Freezer Without Defrosting
Modified: February 20, 2024
Learn how to clean your freezer without the hassle of defrosting it. Get expert tips and articles on freezer maintenance and organization.
(Many of the links in this article redirect to a specific reviewed product. Your purchase of these products through affiliate links helps to generate commission for Storables.com, at no extra cost. Learn more)
Introduction
Welcome to our guide on how to clean a freezer without defrosting. Keeping your freezer clean and organized is essential for maintaining food safety and prolonging the lifespan of your appliance. While defrosting is a common method used to clean freezers, it can be a time-consuming process that requires you to remove all the items and wait for the ice to melt.
However, there is an alternative method that allows you to clean your freezer without the need for defrosting. By following a few simple steps and using some basic supplies, you can effectively clean both the interior and exterior of your freezer without the hassle of defrosting.
In this guide, we will take you through the process of cleaning a freezer without defrosting, providing you with expert tips and insights along the way. So, let’s get started!
Key Takeaways:
- Clean your freezer without defrosting by gathering supplies, removing ice buildup, and organizing the interior and exterior. Regular maintenance ensures optimal performance and prolongs the freezer’s lifespan.
- Save time and effort by cleaning your freezer without defrosting. Follow simple steps, use gentle cleaners, and maintain the freezer for efficient and safe food storage.
Read more: How To Defrost A Samsung Freezer
Gather Your Supplies
Before you begin cleaning your freezer without defrosting, it’s important to gather all the necessary supplies. Having everything prepared beforehand will make the process smoother and more efficient. Here are the supplies you’ll need:
- A cooler or insulated bags to temporarily store the frozen items
- Rubber gloves to protect your hands
- A bucket or basin
- Dish soap or mild detergent
- Warm water
- A sponge or soft cloth
- Baking soda or vinegar (optional for dealing with stubborn stains or odors)
- A microfiber cloth or towel
Make sure to check that you have all these supplies readily available before you begin. It’s always best to use gentle cleaning solutions to avoid any damage to the freezer’s surfaces or affecting the taste and quality of your frozen food.
Additionally, you might want to consider wearing old clothes or an apron to protect your clothing from any potential spills or splashes while cleaning. Now that you have all your supplies ready, let’s move on to the next step of the process.
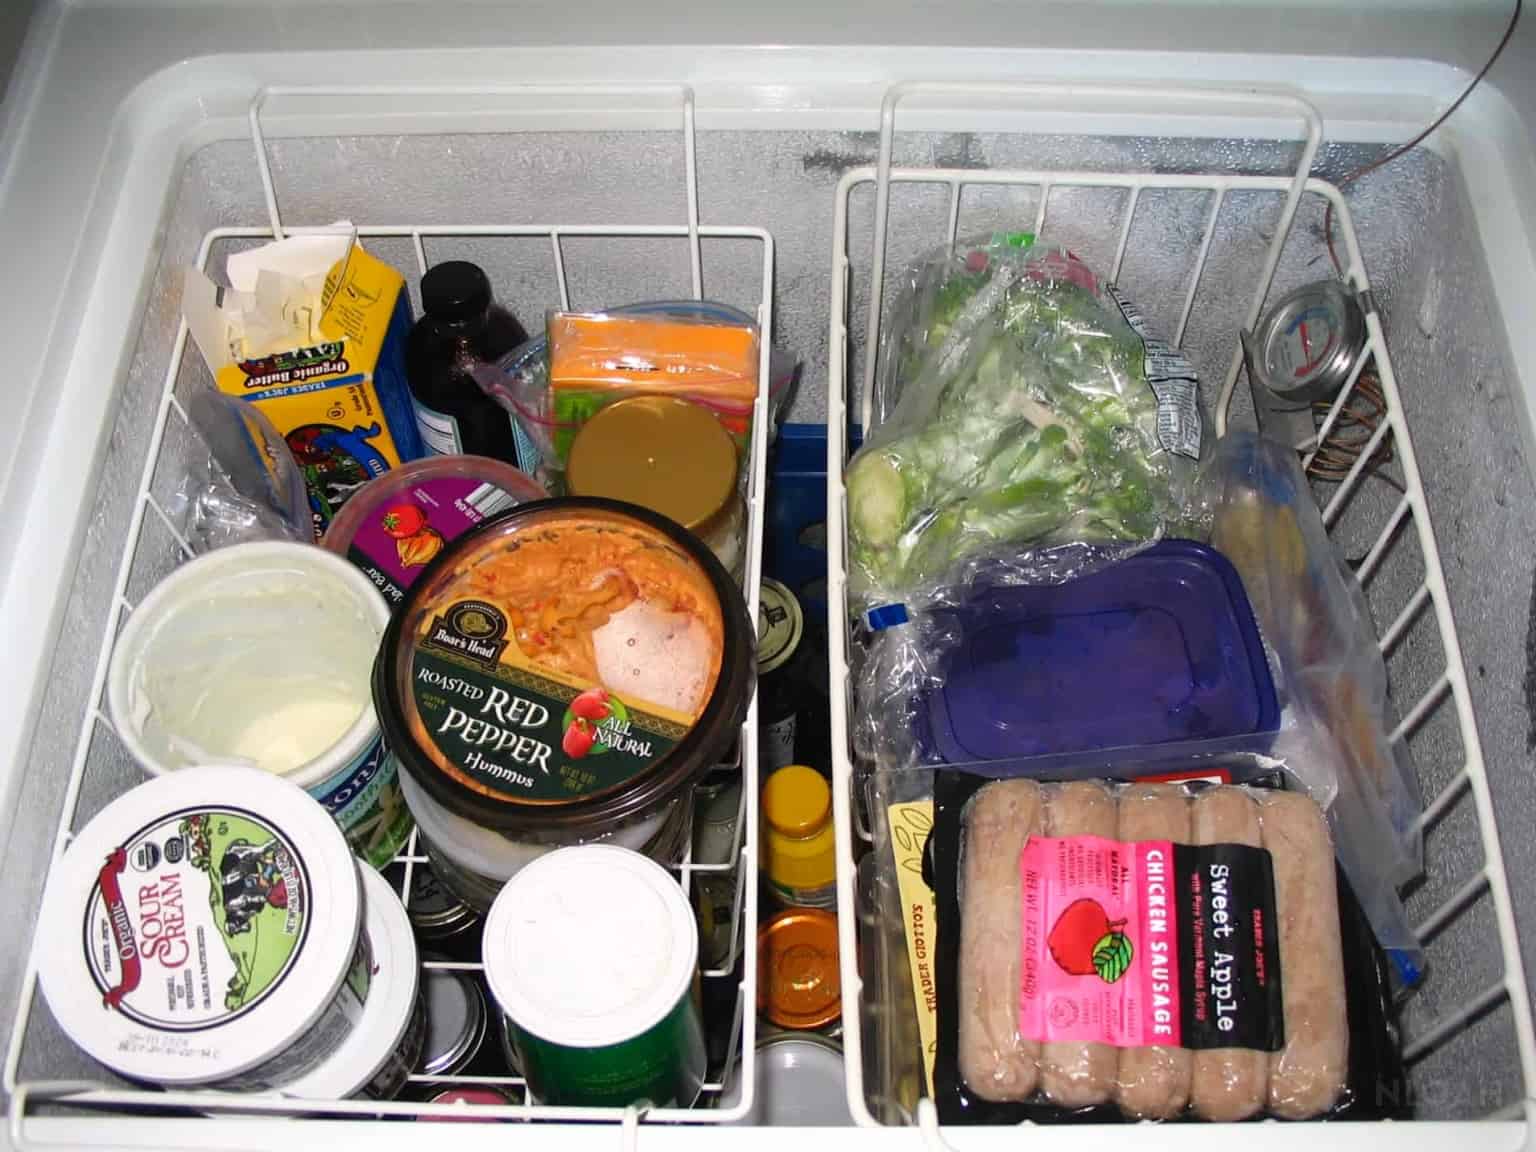
Emptying and Organizing the Freezer
Before you can start cleaning your freezer, you’ll need to empty its contents. Begin by unplugging the freezer or switching it off at the circuit breaker to prevent any accidents or thawing of the frozen items. While the freezer is still cold, quickly transfer the perishable items like meat, poultry, and seafood to a cooler or insulated bags with ice packs to keep them at a safe temperature.
Next, remove the remaining frozen items and place them in another cooler or insulated bags. It’s a good idea to group similar items together for ease of organization later. If you have any expired or freezer-burned items, now is the time to discard them.
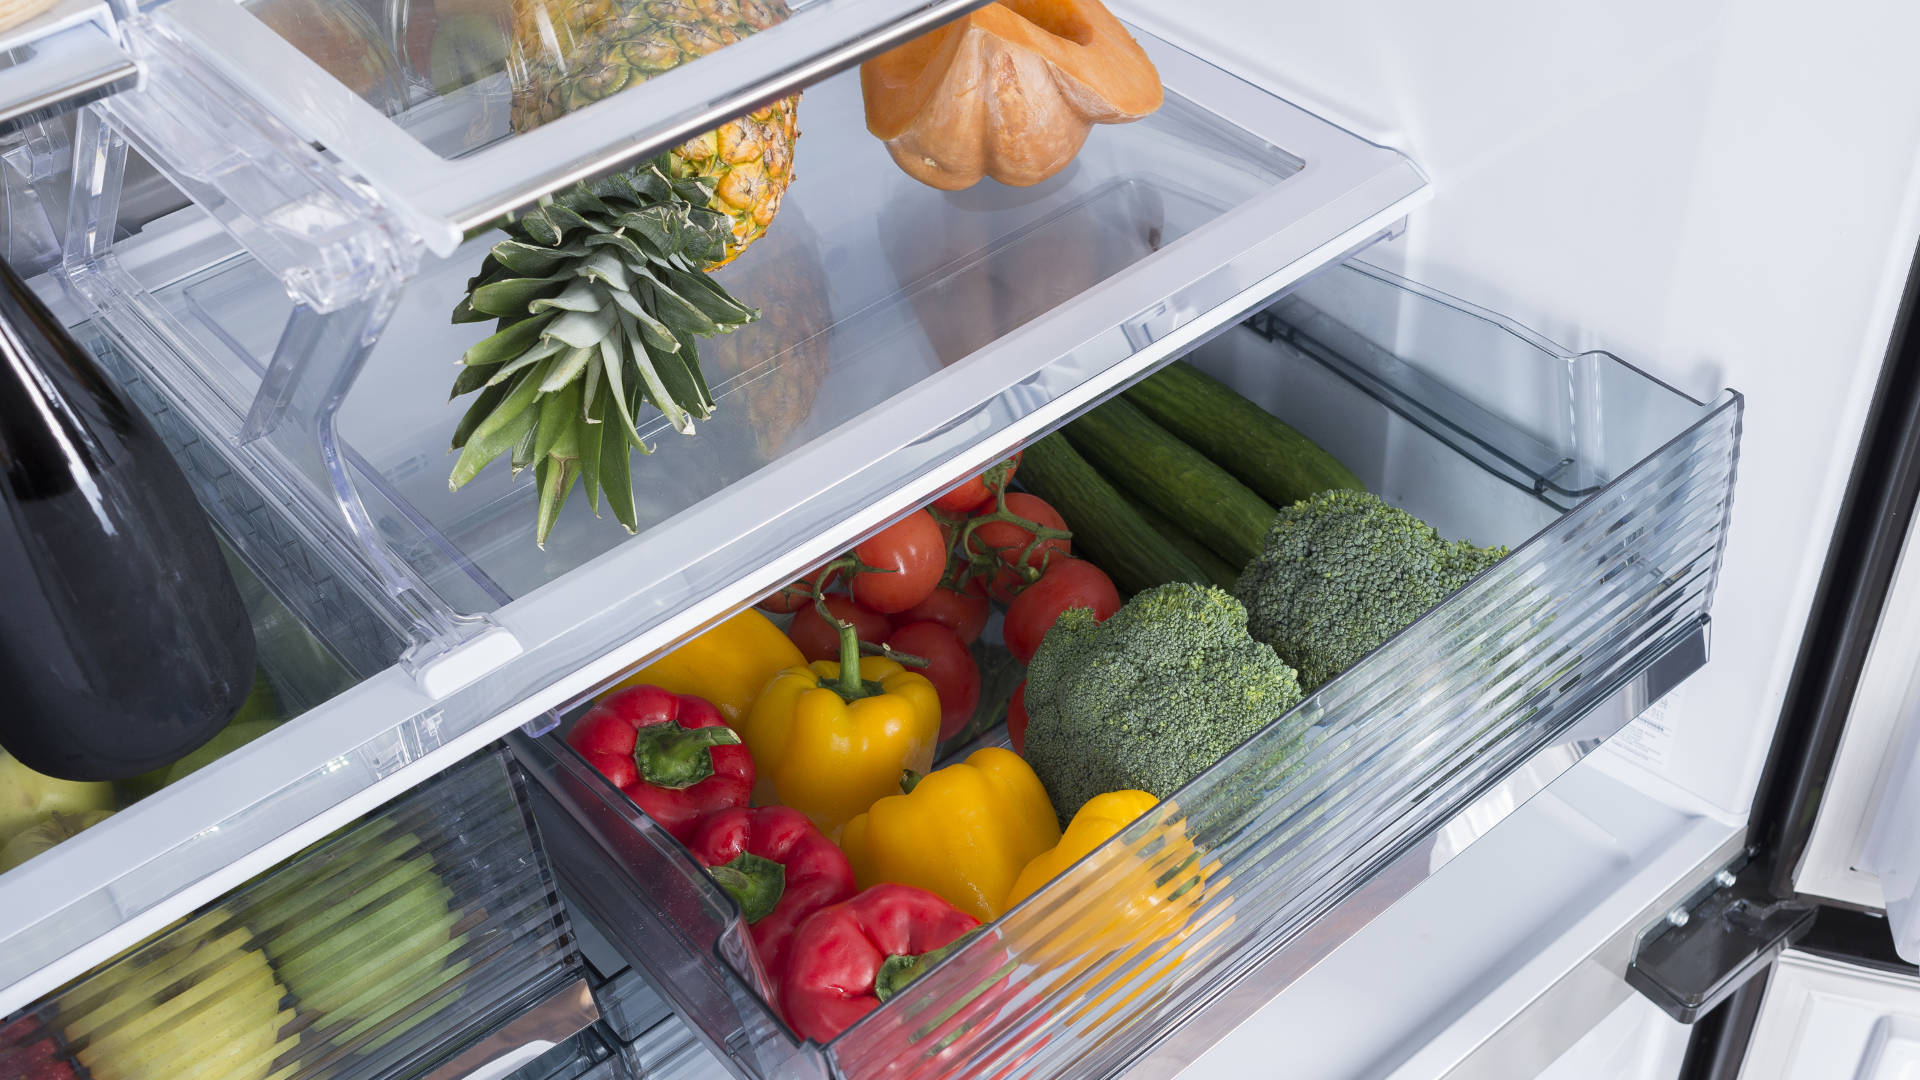
Once the freezer is emptied, take the opportunity to organize the items you plan to return. Use suitable containers or freezer-safe bags to store smaller items like fruits, vegetables, or leftovers, making sure to label and date them for easy identification in the future. Consider using stacking baskets or bins to maximize space and accessibility in the freezer.
By emptying and organizing your freezer, you create a clean slate for the next steps and make it easier to clean and maintain the freezer going forward. Now, let’s move on to removing the ice buildup without defrosting.
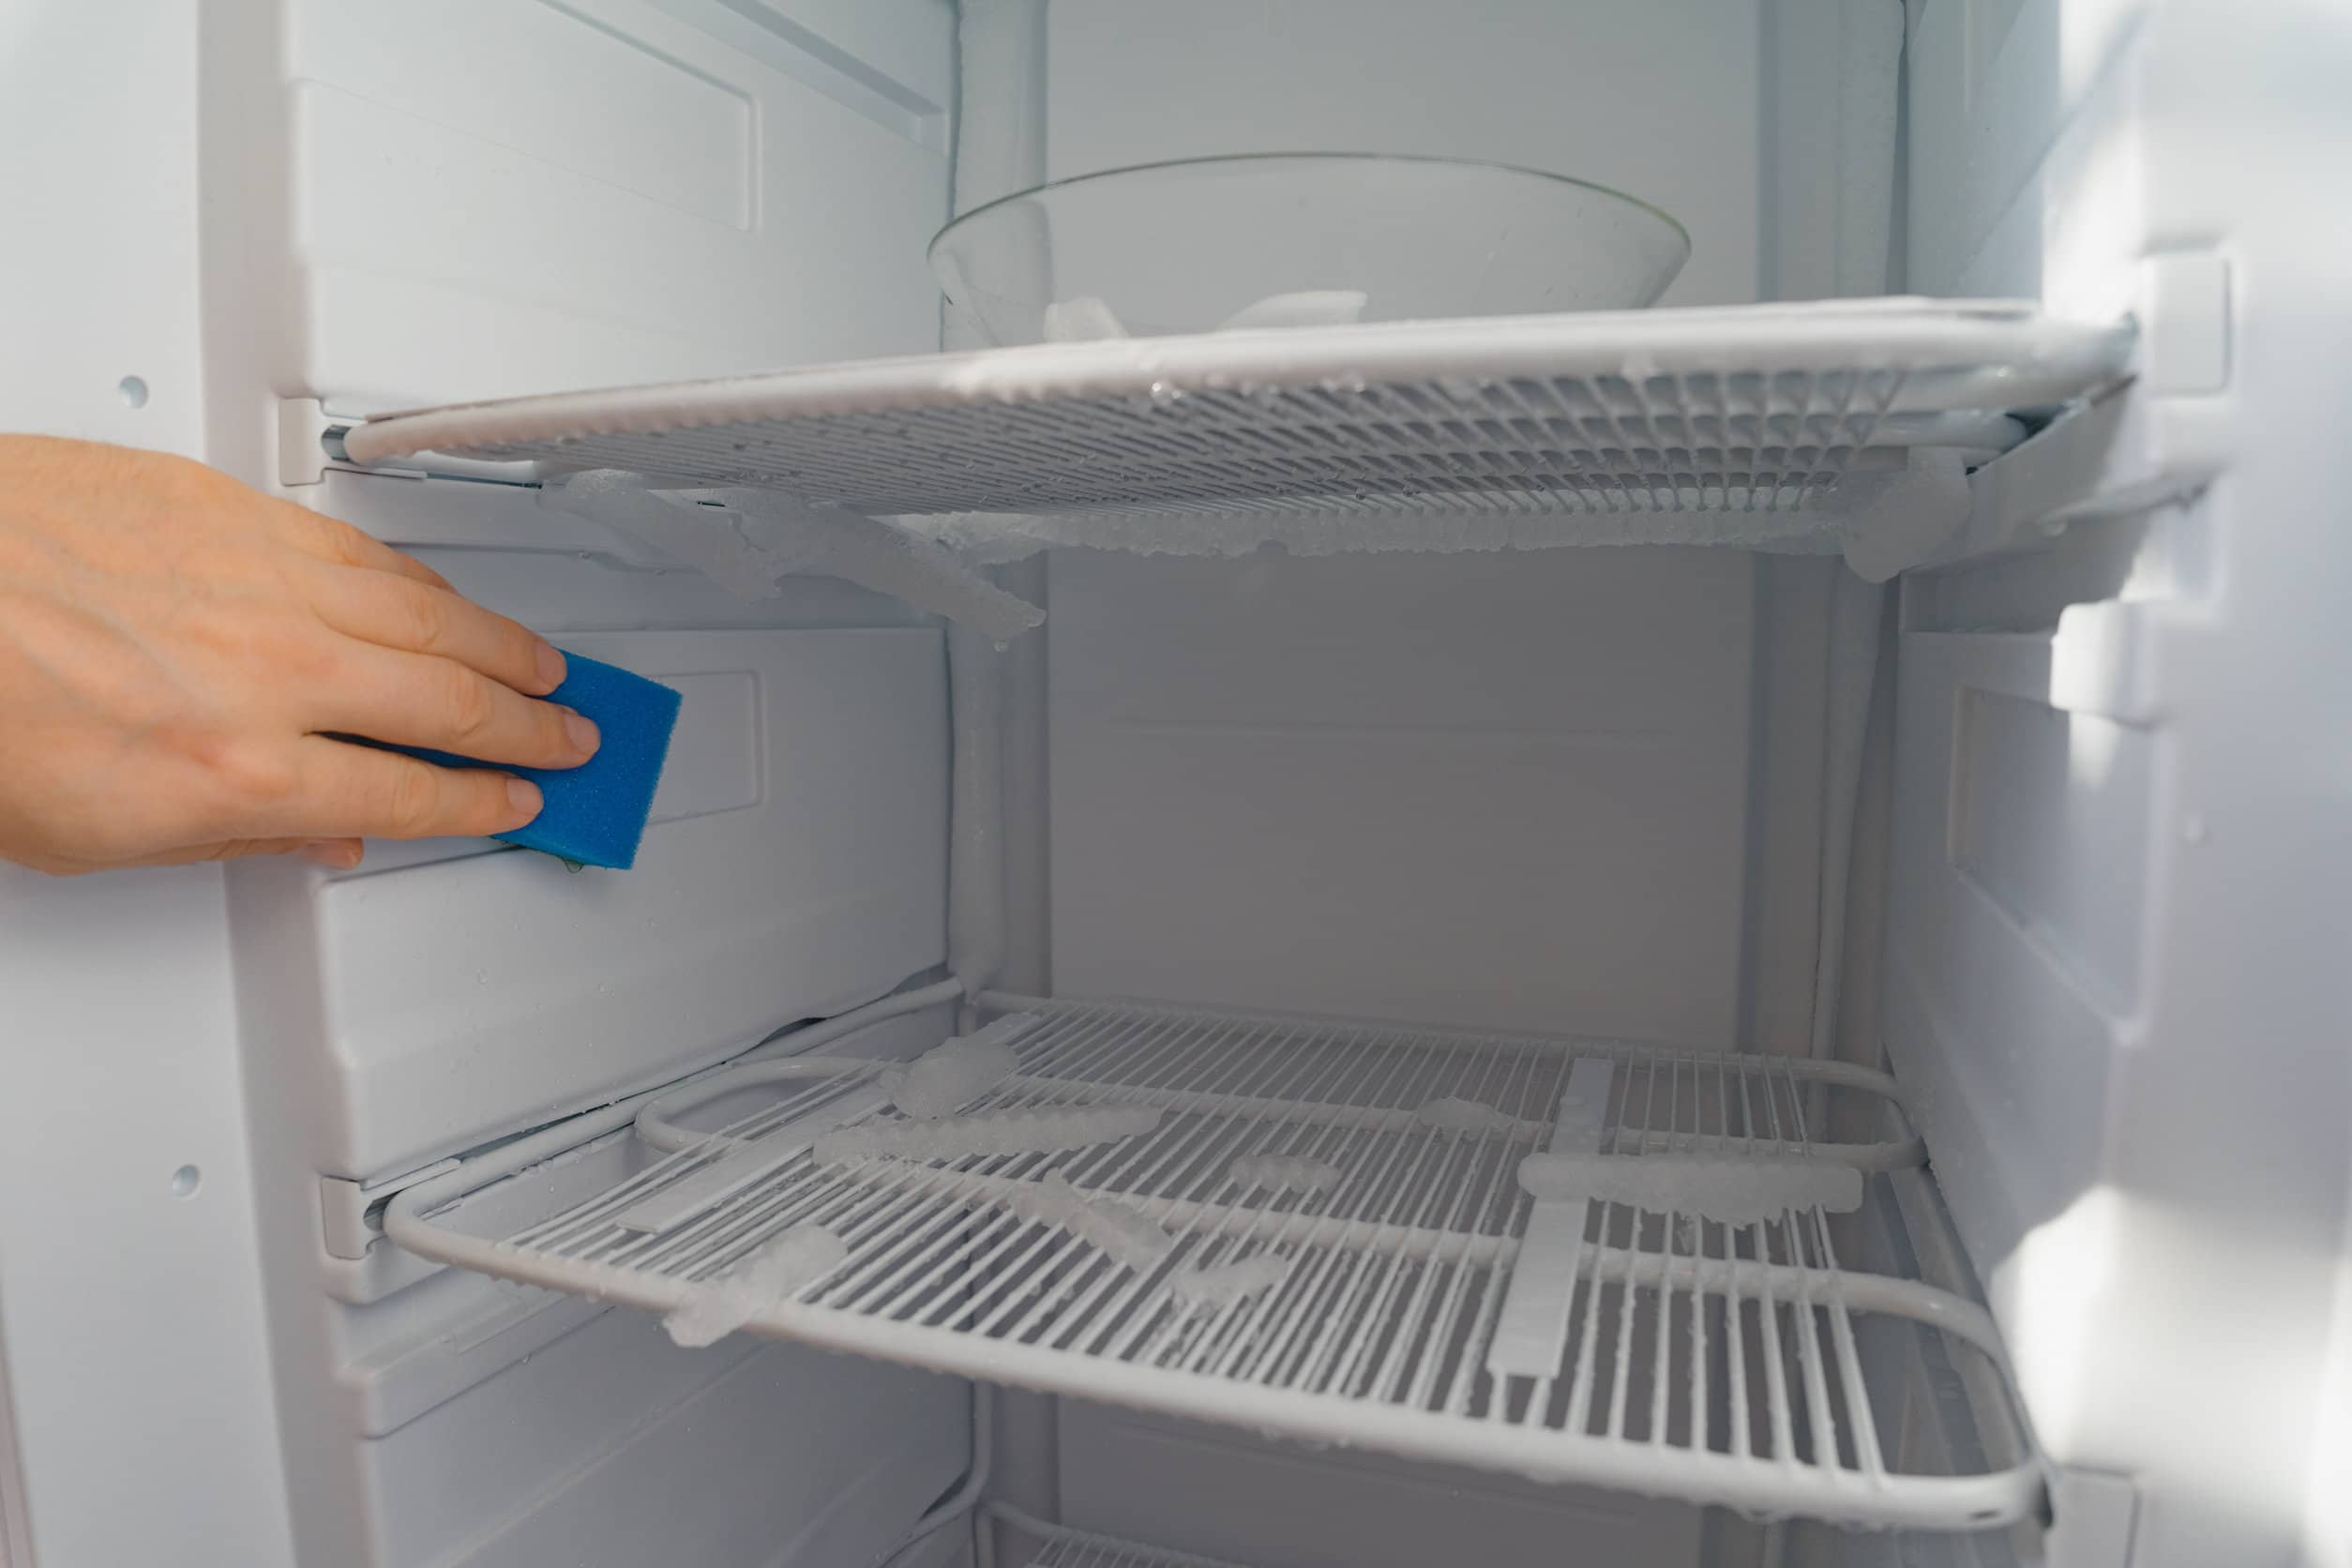
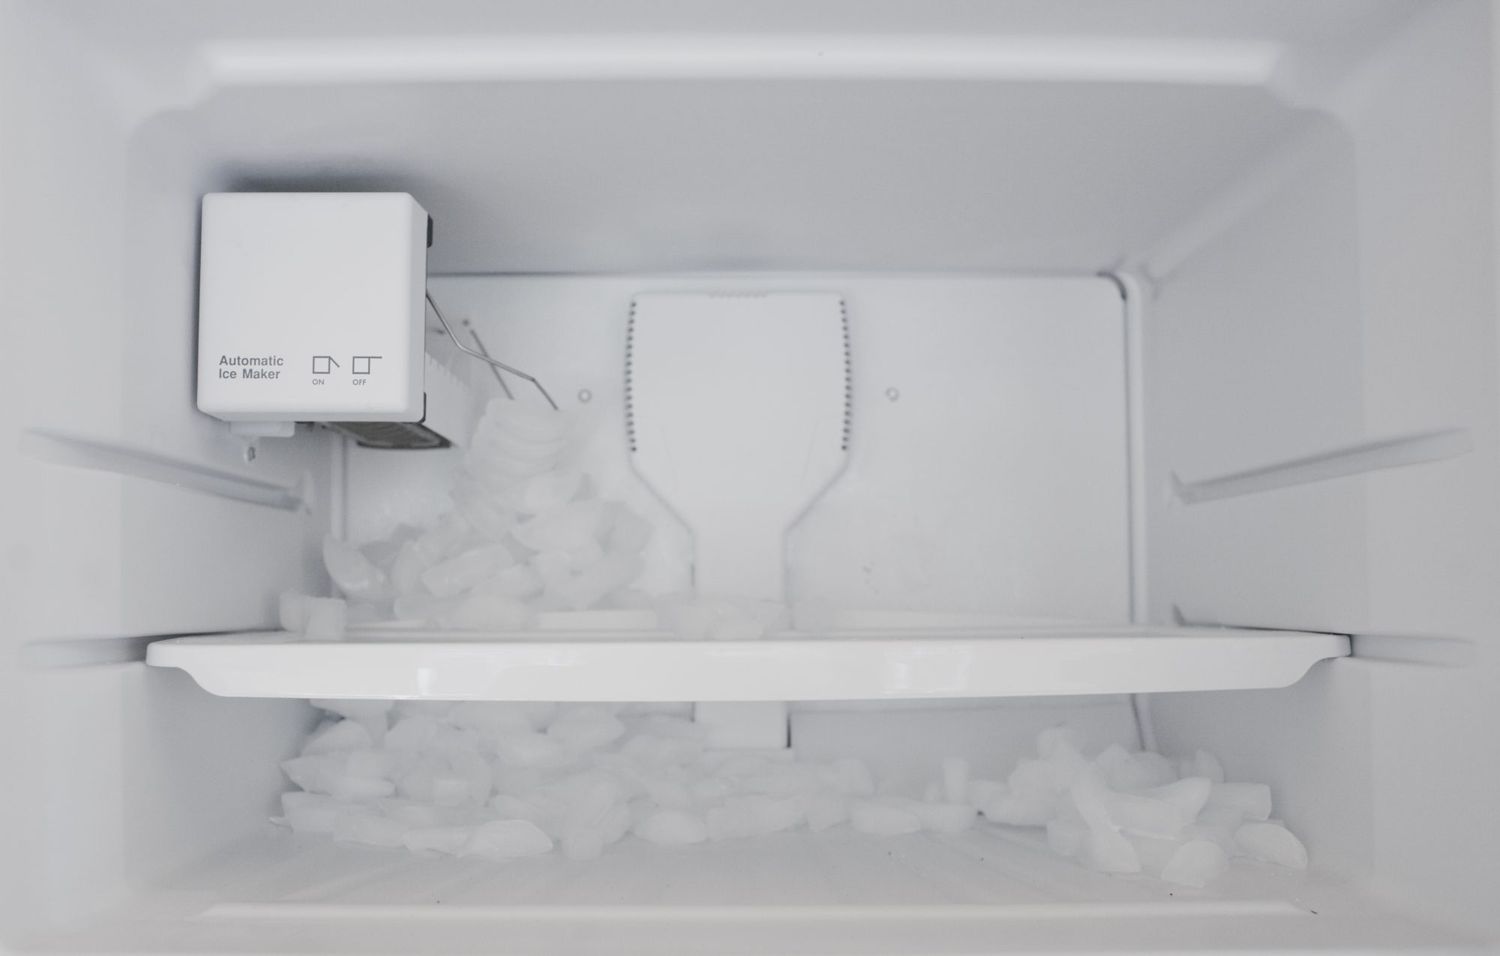
Removing Ice Buildup
Ice buildup can be a common issue in freezers, especially if they haven’t been defrosted regularly. While the initial temptation may be to scrape away at the ice with a sharp tool, it’s important to avoid using any sharp objects as they can damage the interior surfaces of the freezer.
Instead, there are a few safe and efficient methods you can employ to remove ice buildup without defrosting. Here are a couple of options:
Method 1: Hot Water
- Boil a kettle of water and allow it to cool slightly.
- Place a towel at the bottom of the freezer to catch any water that may drip.
- Gently pour the hot water over the ice buildup, focusing on the areas where the ice is thickest.
- Wait for a few minutes to allow the ice to soften and melt.
- Use a sponge or soft cloth to wipe away the melted ice.
- Repeat the process if there is still remaining ice buildup.
Read more: How To Defrost Frigidaire Freezer
Method 2: Homemade Ice Melt
- Mix equal parts of warm water and vinegar in a spray bottle.
- Spray the mixture directly onto the ice buildup, ensuring it is thoroughly saturated.
- Wait for a few minutes to allow the mixture to penetrate and soften the ice.
- Use a sponge or soft cloth to wipe away the softened ice.
- Repeat the process if needed, especially for stubborn areas.
Remember to be patient during this process, as it may take some time to completely remove the ice buildup. Avoid using excessive force or sharp objects, as they can damage the freezer. Once the ice has been removed, we can move on to the next step: cleaning the interior of the freezer.
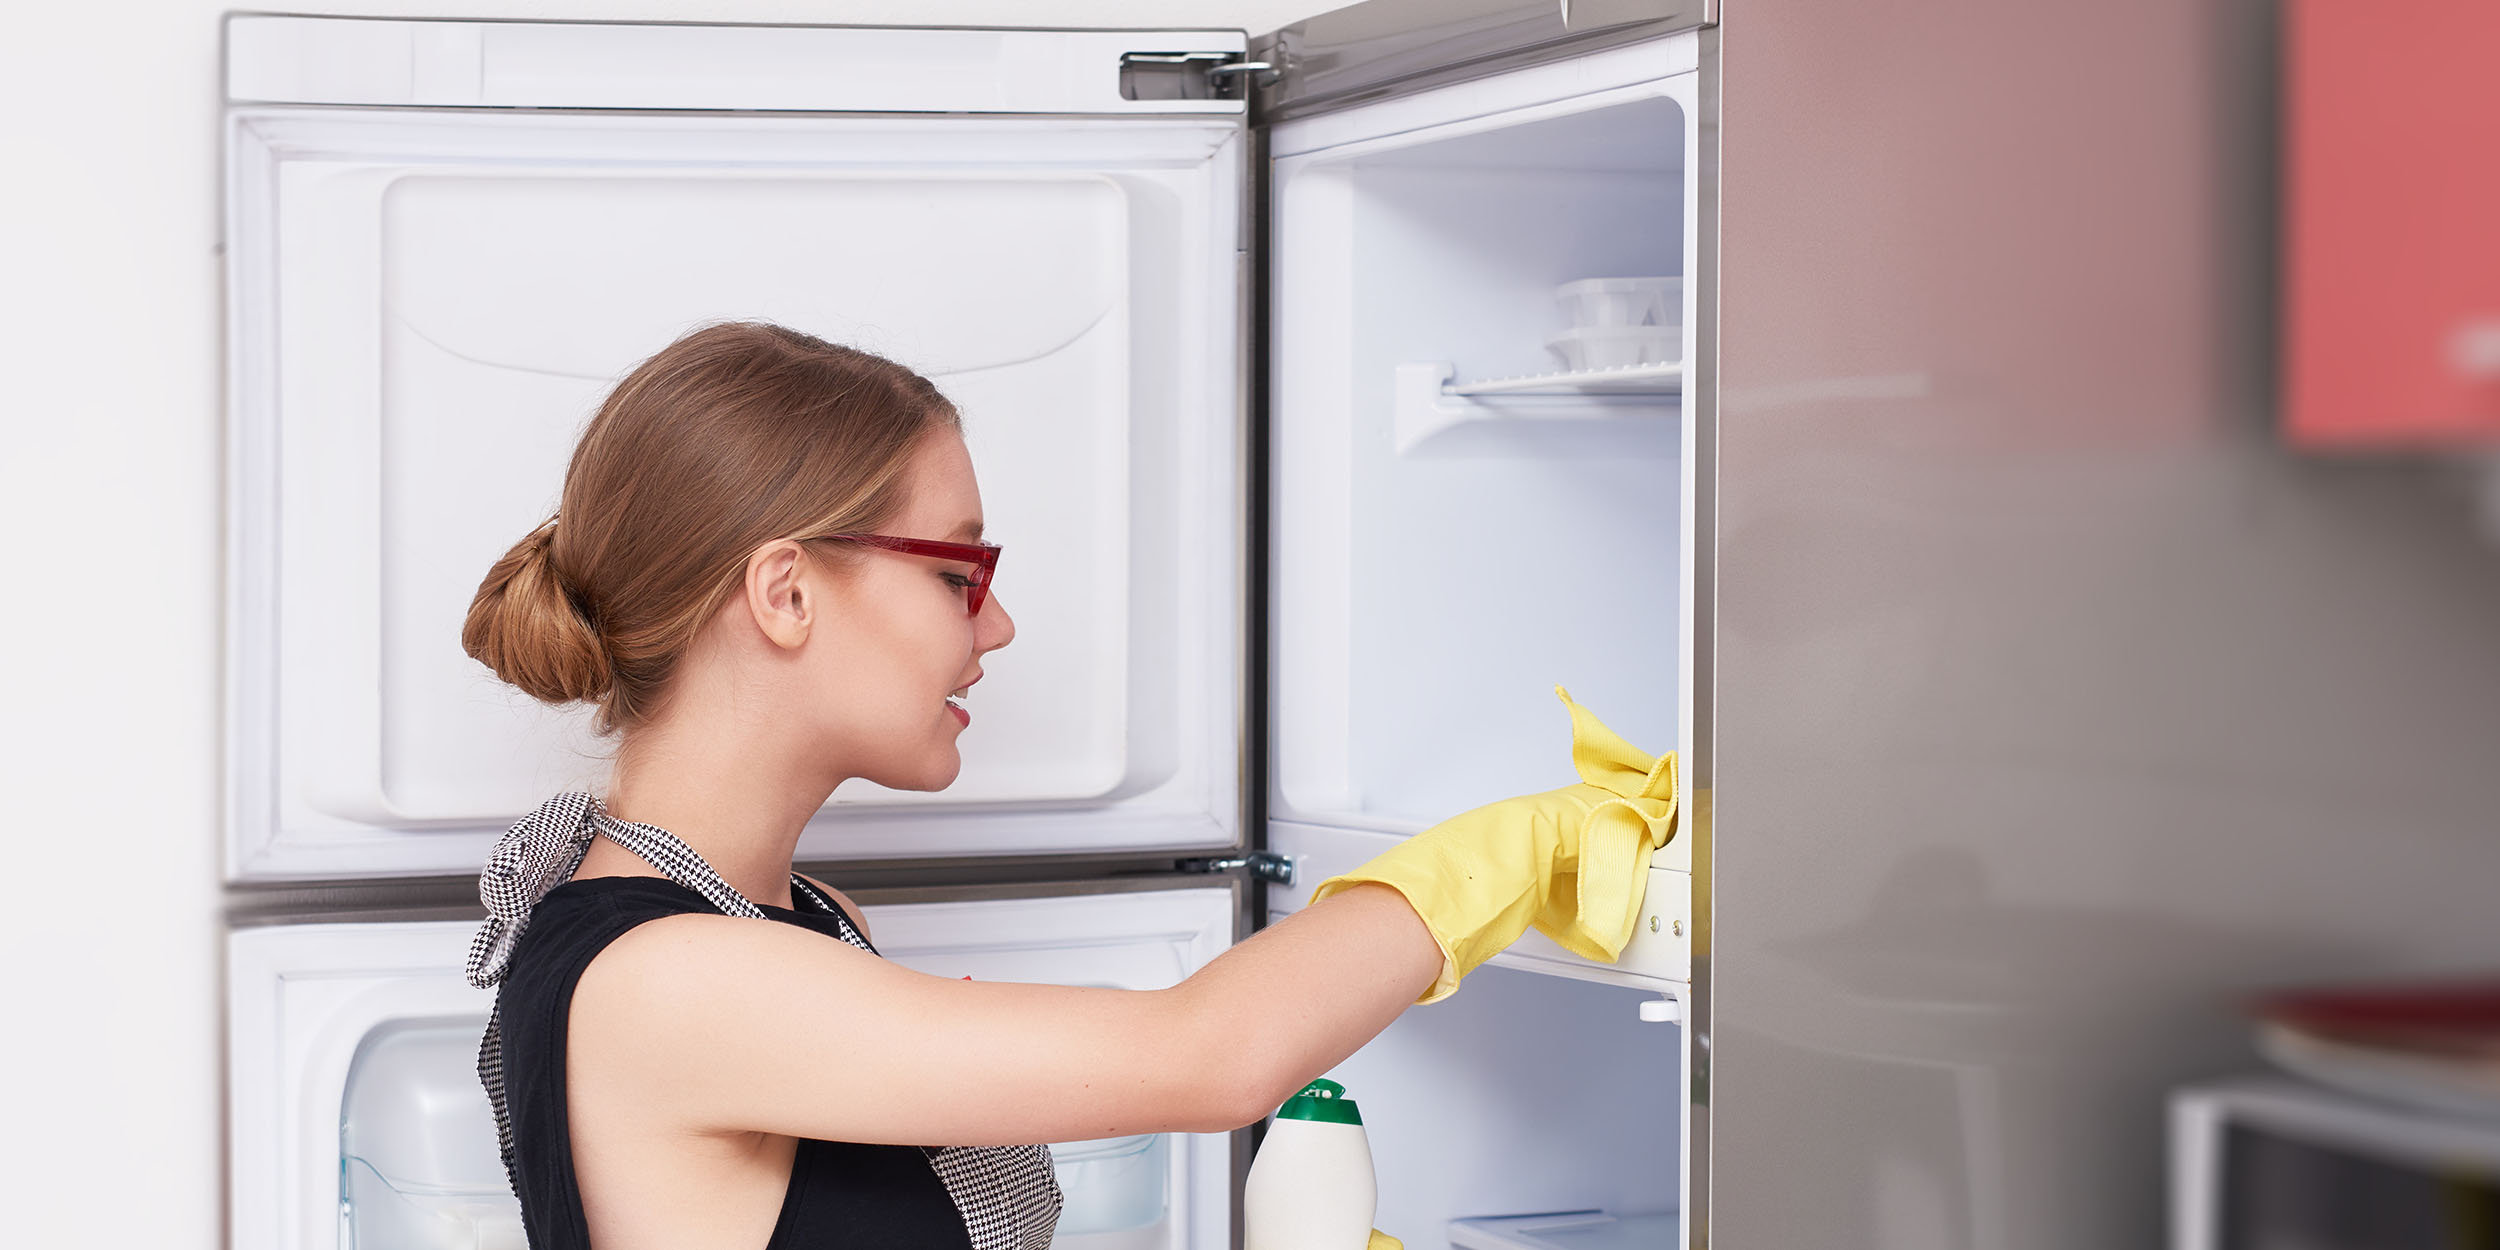
Cleaning the Interior
With the ice buildup removed, it’s time to clean the interior of your freezer. This step is crucial for maintaining hygiene and preventing any unpleasant odors. Here’s how you can effectively clean the interior:
- Prepare a solution of warm water and mild dish soap or detergent in a bucket or basin. Avoid using harsh chemicals or abrasive cleaners that can damage the surfaces.
- Dip a sponge or soft cloth into the soapy water and wring out any excess moisture.
- Starting from the top, wipe down the interior walls of the freezer, working your way down to the bottom. Pay close attention to any stains or spills, and gently scrub them with the sponge.
- For stubborn stains or odors, you can use a paste made of baking soda and water or a solution of equal parts water and vinegar. Apply it to the affected areas and let it sit for a few minutes before gently scrubbing and wiping away.
- Remember to also clean the shelves, drawers, and any other removable components of the freezer. Wash them with the soapy water, rinse thoroughly, and dry before placing them back into the freezer.
- Once you’ve finished cleaning the interior, use a fresh cloth or sponge soaked in clean water to wipe away any soap residue.
- Lastly, use a dry microfiber cloth or towel to thoroughly dry the interior. This step is important to prevent the formation of ice crystals.
By following these steps, you can ensure that your freezer’s interior is clean, sanitized, and free from any lingering odors. Now, let’s move on to cleaning the exterior surfaces of your freezer.
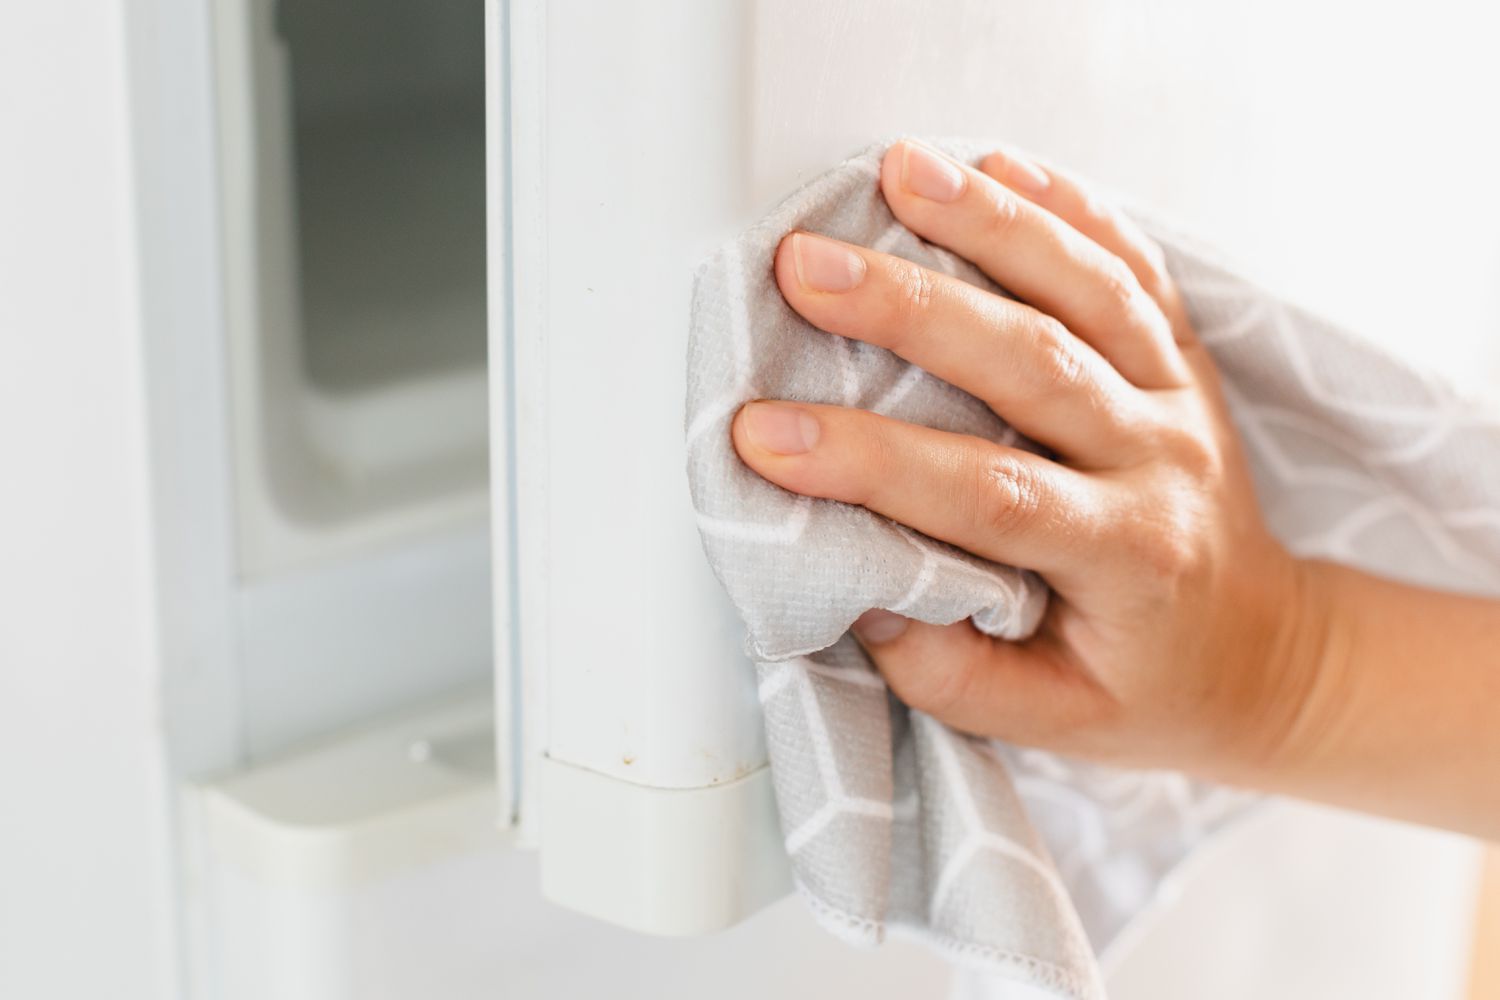
Cleaning the Exterior
Once the interior of your freezer is sparkling clean, it’s time to shift your focus to the exterior surfaces. Cleaning the exterior not only enhances the overall appearance of the appliance but also helps to maintain its functionality. Here’s how you can effectively clean the exterior:
- Unplug the freezer or switch it off at the circuit breaker to ensure your safety.
- Dampen a soft cloth or sponge with warm, soapy water. You can use mild dish soap or a gentle all-purpose cleaner.
- Gently wipe down the exterior surfaces, including the door, sides, top, and front of the freezer. Pay special attention to any areas that may have accumulated dirt or fingerprints.
- For stainless steel surfaces, use a specialized stainless steel cleaner or a mixture of equal parts water and vinegar. Apply it to a soft cloth and gently wipe in the direction of the grain to avoid scratching the surface.
- For stubborn stains or sticky residue, apply a small amount of rubbing alcohol or a non-abrasive cleaner and gently scrub using a soft cloth or sponge.
- Once you have cleaned the exterior surfaces, use a clean cloth or sponge soaked in clean water to remove any soap residue.
- Dry the exterior thoroughly with a microfiber cloth or towel to prevent the formation of water spots.
- Plug the freezer back in or switch it on at the circuit breaker.
By following these steps, you can ensure that the exterior of your freezer is clean, free from dirt and stains, and maintaining its stylish appearance. Now, let’s move on to the next step: putting everything back in order.
Putting Everything Back
Now that you have successfully cleaned both the interior and exterior of your freezer, it’s time to put everything back in order. Follow these steps to ensure an organized and efficient freezer:
- Take out the items you stored in the cooler or insulated bags and carefully place them back into the freezer. Group similar items together and organize them in a way that makes it easy to find what you need.
- Return any removable shelves, drawers, or compartments to their designated spots in the freezer. Make sure they are clean and dry before placing them back.
- As you put the items back, take the opportunity to check their expiration dates. Discard any expired or freezer-burned items to maintain food safety and maximize space in your freezer.
- Consider utilizing storage solutions such as bins, baskets, or dividers to keep the items organized and prevent them from shifting during use.
- Once everything is placed back, make sure the freezer door is properly sealed and closed. This will help maintain the optimum temperature inside and prevent any potential energy wastage.
By organizing your freezer and ensuring all items are properly stored, you can make the most of the available space, reduce clutter, and easily locate the items you need. Now that you have completed the cleaning process, let’s move on to some maintenance tips to keep your freezer in top condition.
Read more: What Is A Manual Defrost Freezer
Maintenance Tips
Regular maintenance is key to keeping your freezer clean, efficient, and in optimal condition. Here are some essential maintenance tips to help you prolong the lifespan of your freezer:
1. Defrost Regularly:
To prevent excessive ice buildup, it’s recommended to defrost your freezer at least once a year or when the ice reaches around ¼ inch thickness. This will help maintain its efficiency and prevent ice from taking up valuable space.
2. Keep the Freezer Organized:
Maintain an organized freezer by grouping similar items together, using storage solutions, and labeling containers. This not only maximizes space but also helps you easily locate and access items without causing disarray.
3. Clean Spills Immediately:
If any spills occur in your freezer, clean them up as soon as possible. This prevents stains, odors, and the potential growth of bacteria. Regularly wipe down the interior to remove any residue or debris.
Read more: How To Defrost Bread From Freezer
4. Check and Rotate Contents:
Periodically check the contents of your freezer, particularly the ones stored for a longer duration. Use older items first to prevent food waste, and ensure that items are properly sealed to maintain their quality and prevent freezer burn.
5. Inspect Seals and Door Gaskets:
Check the door seals and gaskets regularly for any signs of wear or damage. Damaged seals can lead to air leakage and cause the freezer to work harder, reducing its efficiency. Replace worn-out seals promptly to maintain energy efficiency.
6. Keep the Freezer Temperature Consistent:
Ensure that the freezer temperature remains consistently set at the recommended level (usually between -18°C to -23°C or 0°F to -10°F). Fluctuating temperatures can affect food quality and safety, so monitor the temperature regularly.
By following these simple maintenance tips, you can extend the lifespan of your freezer, prevent any potential issues, and ensure that it continues to operate efficiently. Now, let’s conclude our guide on cleaning a freezer without defrosting.
Conclusion
Cleaning a freezer without defrosting can be a time-saving and practical alternative to traditional methods. By following the steps outlined in this guide, you can effectively clean and maintain your freezer without the hassle of waiting for the ice to melt.
Remember to gather all the necessary supplies beforehand, empty and organize the freezer, remove ice buildup using hot water or homemade ice melt solutions, clean the interior and exterior surfaces with gentle cleaners, and put everything back in an organized manner. Additionally, incorporating regular maintenance habits such as defrosting, checking seals, and keeping the freezer temperature consistent will aid in prolonging its lifespan and ensuring optimal performance.
A clean and well-maintained freezer not only promotes food safety but also helps you easily locate and access items, maximizes storage space, and minimizes energy consumption. By following the advice and tips in this guide, you can keep your freezer in top condition and maintain its efficiency for years to come.
We hope this guide has provided you with valuable insights and practical steps to clean your freezer without the need for defrosting. By implementing these strategies, you can enjoy a clean, organized, and efficient freezer that allows you to store and preserve your frozen goods with peace of mind.
Happy cleaning!
Frequently Asked Questions about How To Clean A Freezer Without Defrosting
Was this page helpful?
At Storables.com, we guarantee accurate and reliable information. Our content, validated by Expert Board Contributors, is crafted following stringent Editorial Policies. We're committed to providing you with well-researched, expert-backed insights for all your informational needs.


0 thoughts on “How To Clean A Freezer Without Defrosting”