Articles
How To Defrost A Samsung Freezer
Modified: August 20, 2024
Discover the best articles on how to defrost a Samsung freezer. Get step-by-step guides and expert tips to quickly and safely thaw your freezer.
(Many of the links in this article redirect to a specific reviewed product. Your purchase of these products through affiliate links helps to generate commission for Storables.com, at no extra cost. Learn more)
Introduction
Welcome to our guide on how to defrost a Samsung freezer. If you own a Samsung refrigerator with a freezer compartment, you may encounter issues with ice buildup over time. This can impact the freezer’s performance, causing inadequate cooling and potential damage to your food items. To ensure optimal functioning and longevity of your Samsung freezer, regular defrosting is necessary.
Defrosting a freezer may seem like a daunting task, but with the right tools and step-by-step instructions, it can be a relatively simple process. In this article, we will outline the necessary tools and preparations, as well as provide a detailed guide on how to defrost your Samsung freezer successfully.
Properly defrosting your Samsung freezer not only improves its efficiency but also helps maintain a hygienic environment, preventing the accumulation of bacteria and unpleasant odors. So, let’s get started and learn how to defrost your Samsung freezer like a pro!
Key Takeaways:
- Regularly defrosting your Samsung freezer is essential to maintain its efficiency and longevity, ensuring optimal performance in preserving your frozen food items.
- By following the step-by-step guide, you can easily and effectively defrost your Samsung freezer, contributing to a hygienic environment and prolonging its lifespan.
Read more: How To Defrost Samsung Refrigerator
Necessary Tools and Preparations
Before you begin the defrosting process, make sure you have the following tools and preparations handy:
- A plastic or silicone scraper: This will help you gently remove any ice buildup from the walls and shelves of the freezer.
- A large container or basin: You will need this to collect the water as the ice melts.
- A towel or old cloth: You’ll use this to dry the interior of the freezer once the defrosting is complete.
- A cooler or insulated bags: These will come in handy to temporarily store your frozen food items while you defrost the freezer.
- Mild dish soap and warm water: You will need these for cleaning the freezer once it’s defrosted.
- A thermometer (optional): This can be used to check the temperature of the freezer after defrosting to ensure it is functioning correctly.
Once you have gathered all the necessary tools, there are a few important preparations to make before starting the defrosting process:
- Plan ahead: Choose a convenient time to defrost your Samsung freezer when you have several hours available. Avoid defrosting it when you need to access frozen items urgently.
- Empty the freezer: Remove all the frozen food items from the freezer and place them in the cooler or insulated bags to keep them frozen during the defrosting process.
- Unplug the refrigerator: To ensure safety while defrosting, unplug the refrigerator from the power source or switch off the circuit breaker connected to it.
- Keep the doors open: Open the freezer door and prop it open to allow air circulation and expedite the melting process.
By having these tools on hand and making the necessary preparations, you will be ready to defrost your Samsung freezer efficiently and effectively. Let’s move on to the step-by-step process of defrosting the freezer.
Step 1: Emptying the Freezer
The first step in defrosting your Samsung freezer is to remove all the contents from the freezer compartment. Start by taking out any frozen food items and placing them in the cooler or insulated bags to keep them frozen during the defrosting process.
As you remove the items, check for any expired or spoiled food and discard them. This is also a good opportunity to organize your frozen items and discard any unwanted items that have been taking up space in your freezer.
Be sure to check the door shelves and drawers as well, as these areas may have small items that can easily be overlooked. Take your time to empty the freezer completely and ensure that all food items are safely stored in the cooler or insulated bags.
If you have a large amount of food stored in the freezer, it may be helpful to work in small sections, removing and organizing items to streamline the process.
Once you have emptied the freezer, you can move on to the next step in the defrosting process. Remember, a clear and empty freezer will make it easier for you to remove any built-up ice and clean the interior thoroughly.
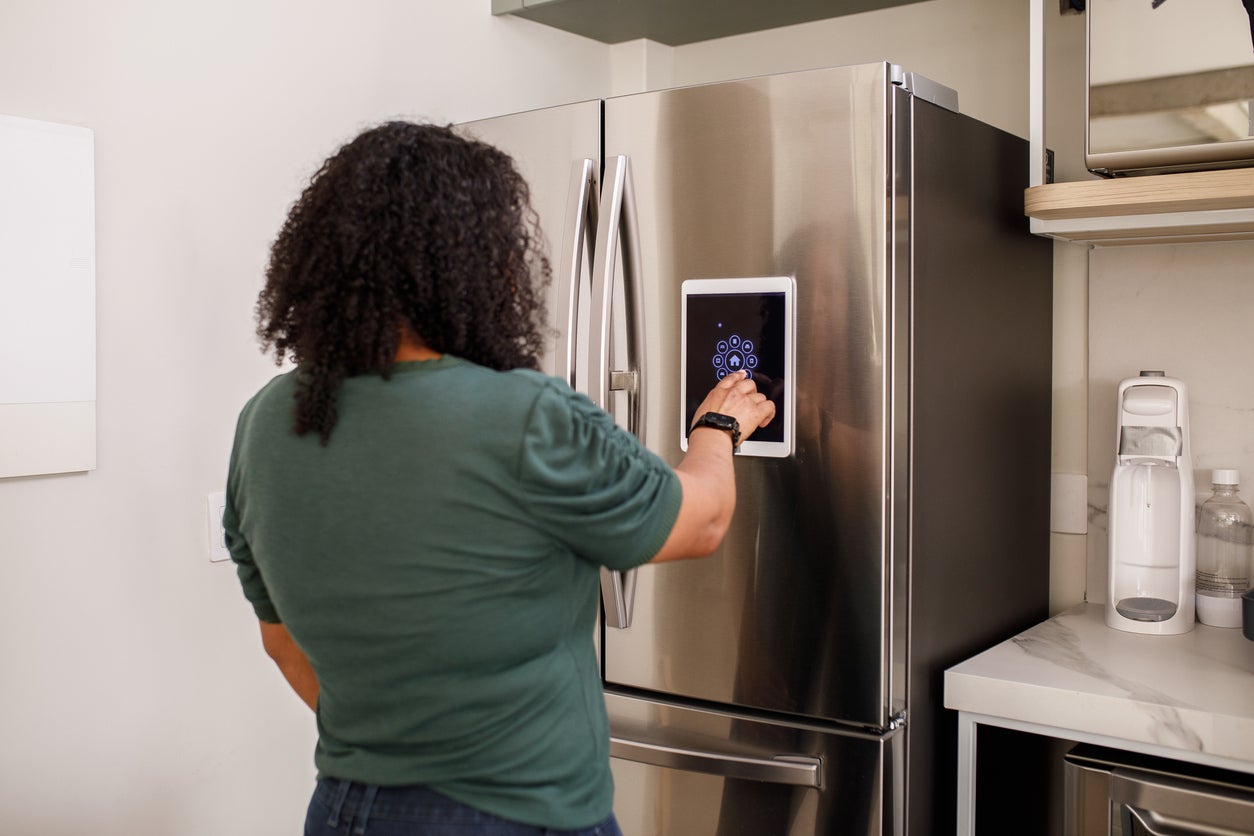
Step 2: Turning off the Freezer
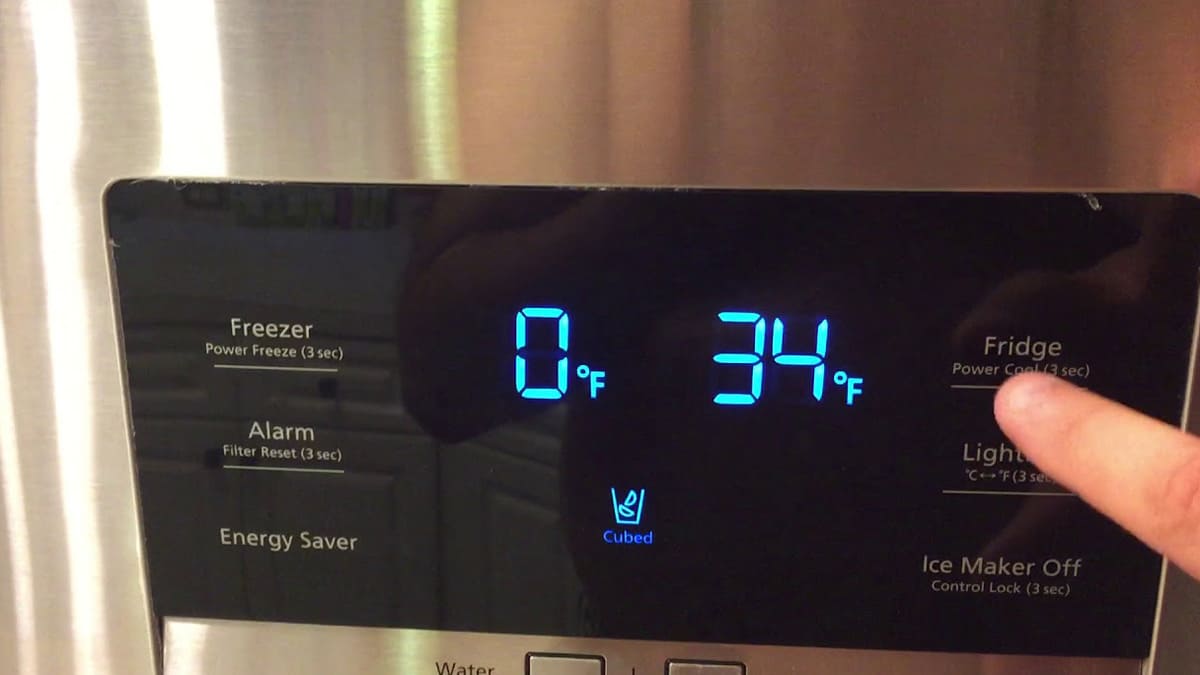
After emptying the freezer, the next step is to turn off the freezer to facilitate the defrosting process. Locate the power switch or unplug the refrigerator from the power source. If you are unsure, consult the user manual for your specific Samsung freezer model.
By turning off the freezer, you ensure that there is no cooling taking place, allowing the built-up ice to melt naturally. This step is crucial to prevent any damage to the freezer during the defrosting process.
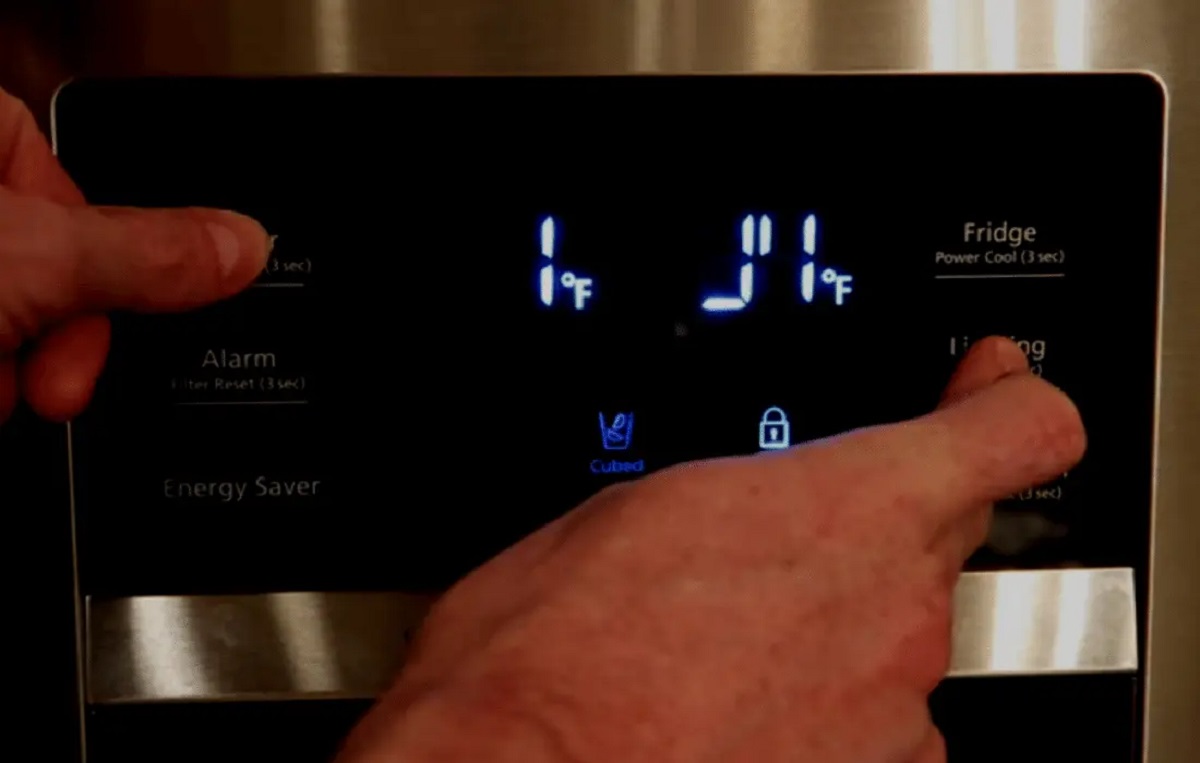
Some Samsung freezers may have a specific button or feature that allows you to switch to “defrost mode.” If your freezer has this feature, follow the manufacturer’s instructions to activate the defrost mode. This will automatically stop the cooling system and trigger the defrosting process.
Once you have successfully turned off the freezer or activated the defrost mode, you can proceed to the next step of removing the ice buildup.
It’s worth mentioning that during the defrosting process, some water might leak from the freezer compartment. To prevent any water damage, place a towel or absorbent cloth around the freezer to catch any dripping water.
Now that the freezer is turned off, let’s move on to the next step to remove the ice buildup from your Samsung freezer.
Step 3: Removing Ice Build-up
With the freezer turned off, it’s time to tackle the ice build-up inside the freezer. Use a plastic or silicone scraper to carefully scrape off the ice from the walls, shelves, and drawers of the freezer. Start from the top and work your way down, being gentle to avoid damaging the interior surfaces.
As you scrape off the ice, collect the ice shavings in a large container or basin. This will prevent the ice from melting and causing a mess on the floor. You may need to periodically empty the container if it becomes full.
For stubborn, hard-to-remove ice, you can try using a hairdryer on a low heat setting. Hold the hairdryer a few inches away from the ice and move it back and forth until the ice begins to melt. Be cautious not to overheat the freezer or directly expose it to excessive heat, as this can damage the freezer’s components.
Continue scraping and melting the ice until you have removed as much ice as possible from the freezer. Take your time during this step to ensure thorough removal of the ice build-up.
Remember to be cautious when handling the ice scraper and hairdryer to avoid injury or damage to the freezer. If needed, take breaks in between to avoid straining your hands or arms.
Once you have successfully removed the ice build-up, you can move on to the next step of cleaning the freezer to ensure a hygienic environment for your frozen items.
To defrost a Samsung freezer, unplug the unit and remove all food. Place towels inside to catch water. Leave the door open and use a hairdryer or hot water to melt the ice. Clean up excess water before plugging the unit back in.
Read more: How To Defrost Frigidaire Freezer
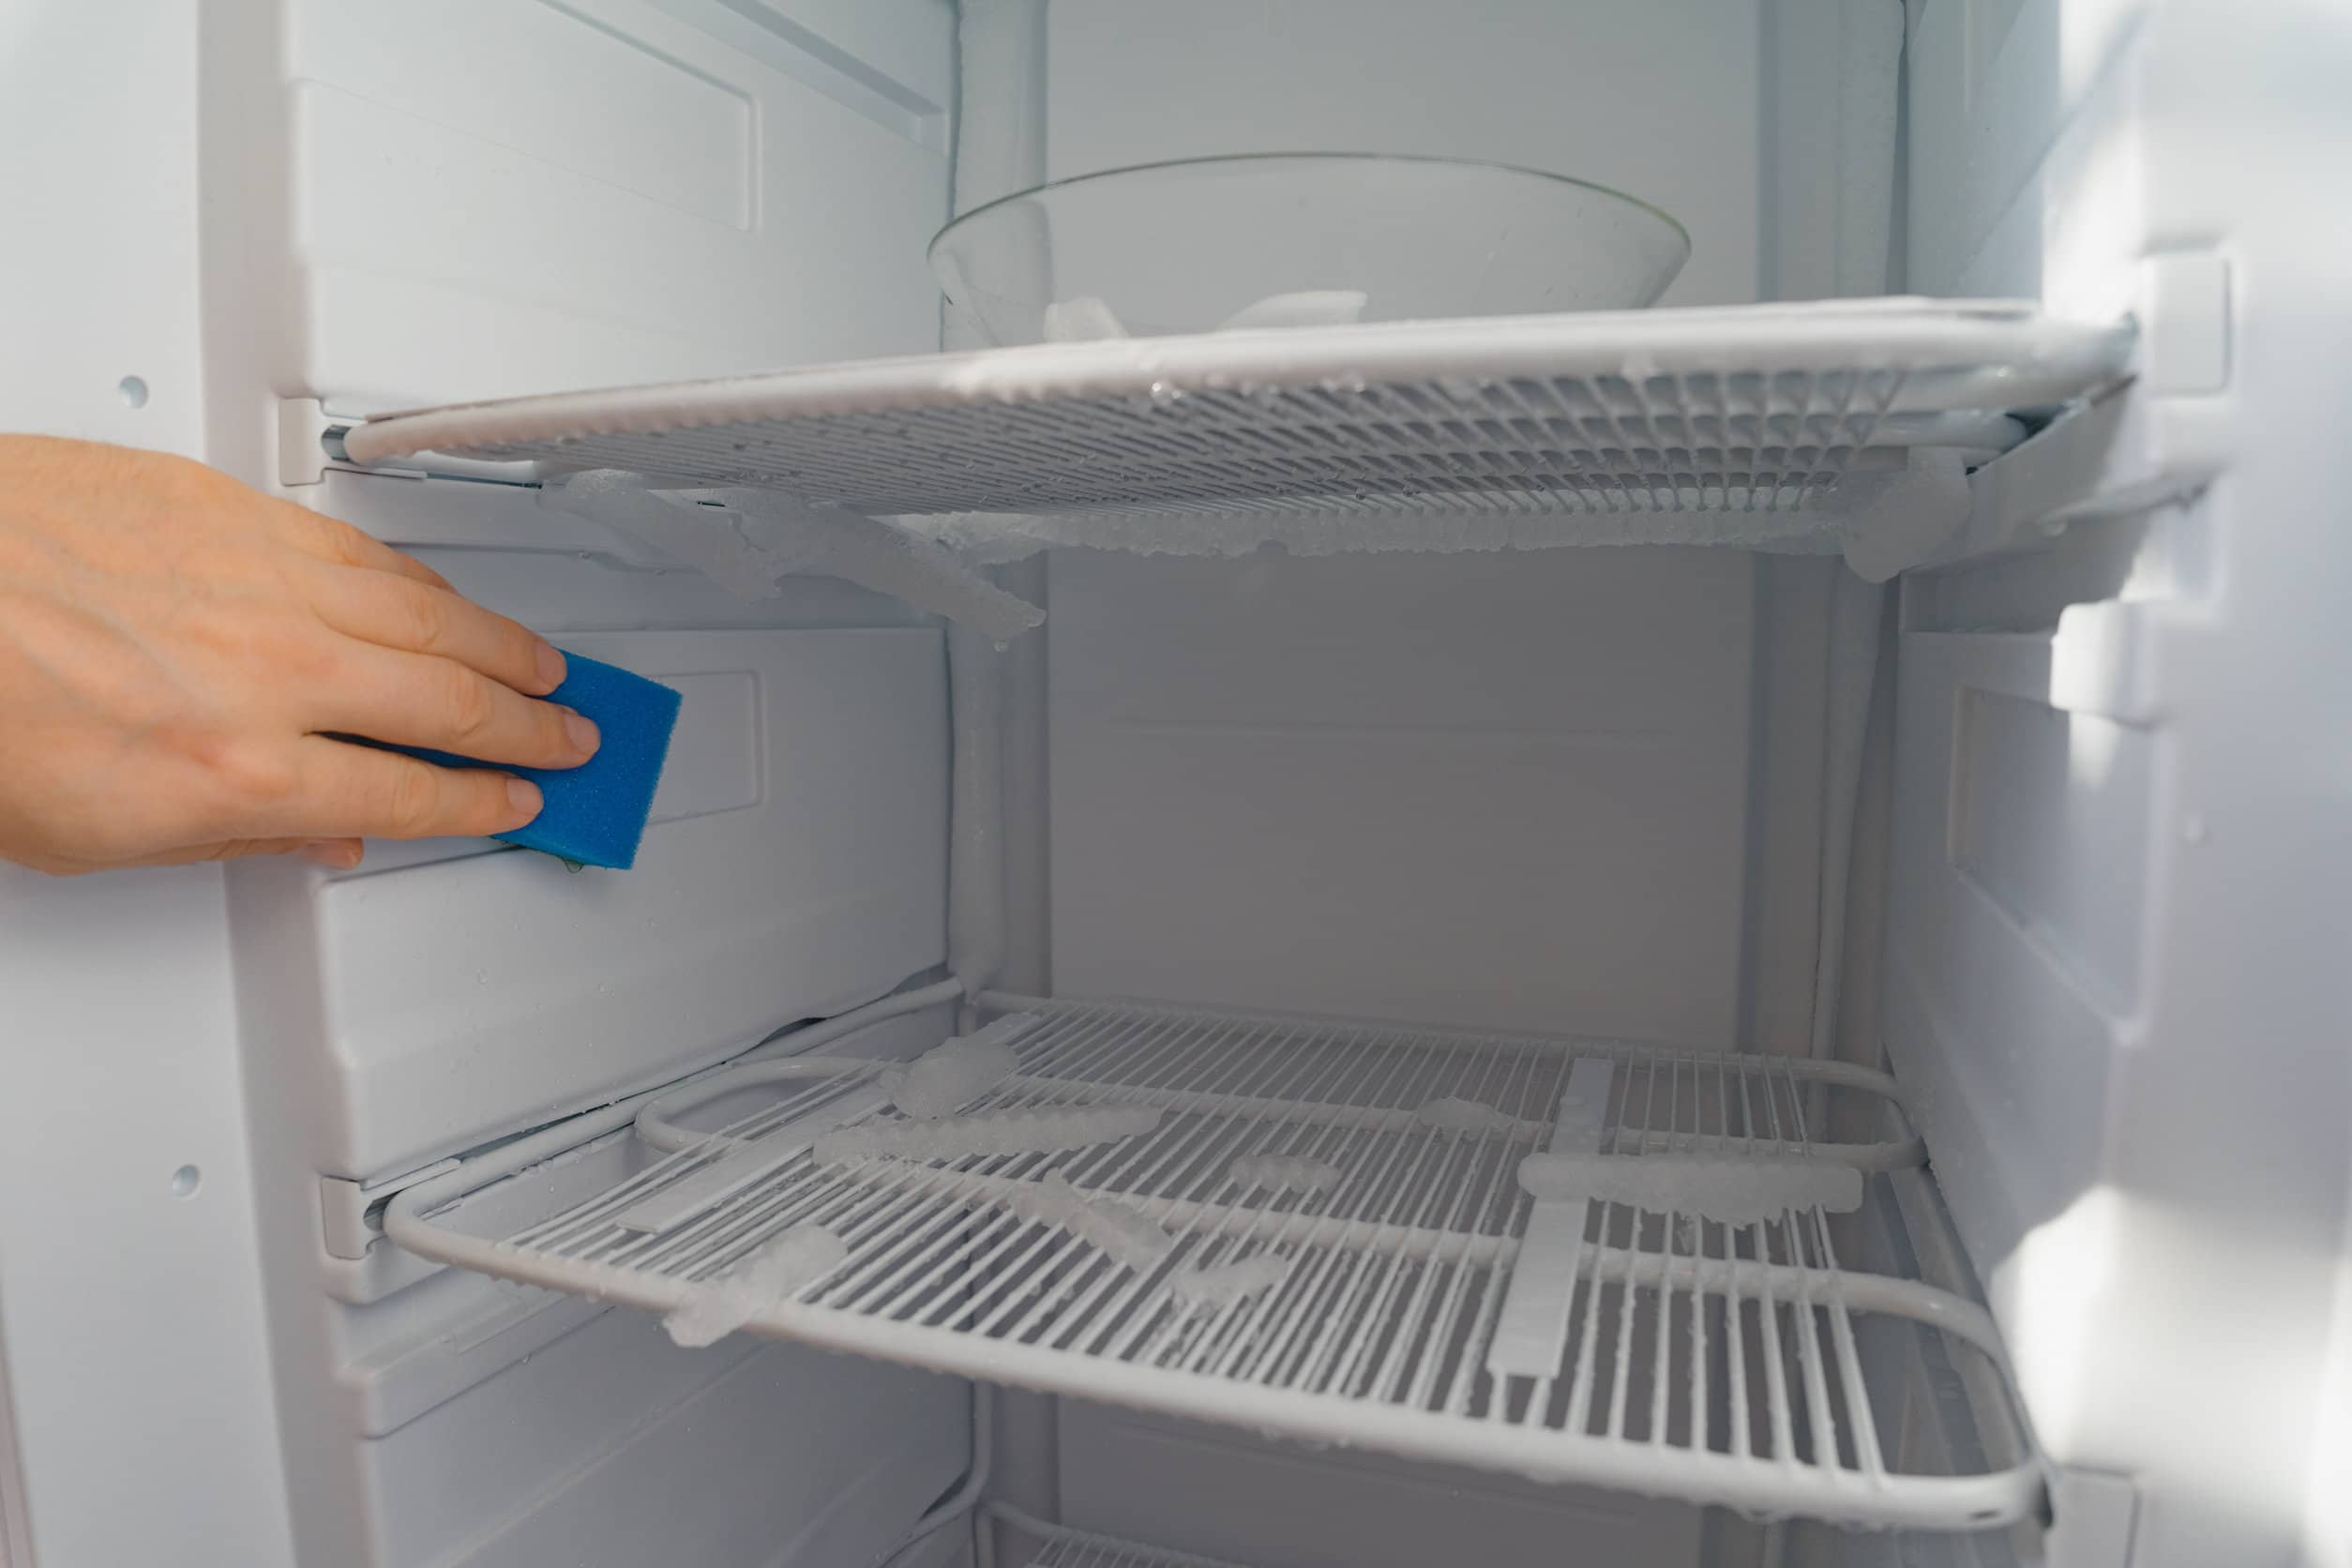
Step 4: Cleaning the Freezer
After removing the ice build-up, it’s important to clean the interior of the freezer thoroughly. Cleaning the freezer not only helps eliminate any lingering odors but also maintains a hygienic environment for your food items.
Here are the steps to clean your Samsung freezer:
- Prepare a cleaning solution: Mix a mild dish soap with warm water to create a gentle cleaning solution.
- Dip a clean cloth or sponge into the cleaning solution and wring out any excess moisture. You want the cloth or sponge to be damp, not dripping wet.
- Start from the top and work your way down, wiping the walls, shelves, and drawers of the freezer with the damp cloth or sponge. Pay special attention to any sticky or stubborn stains, gently scrubbing them away.
- Rinse the cloth or sponge with clean water and wipe down the interior surfaces again to remove any soap residue.
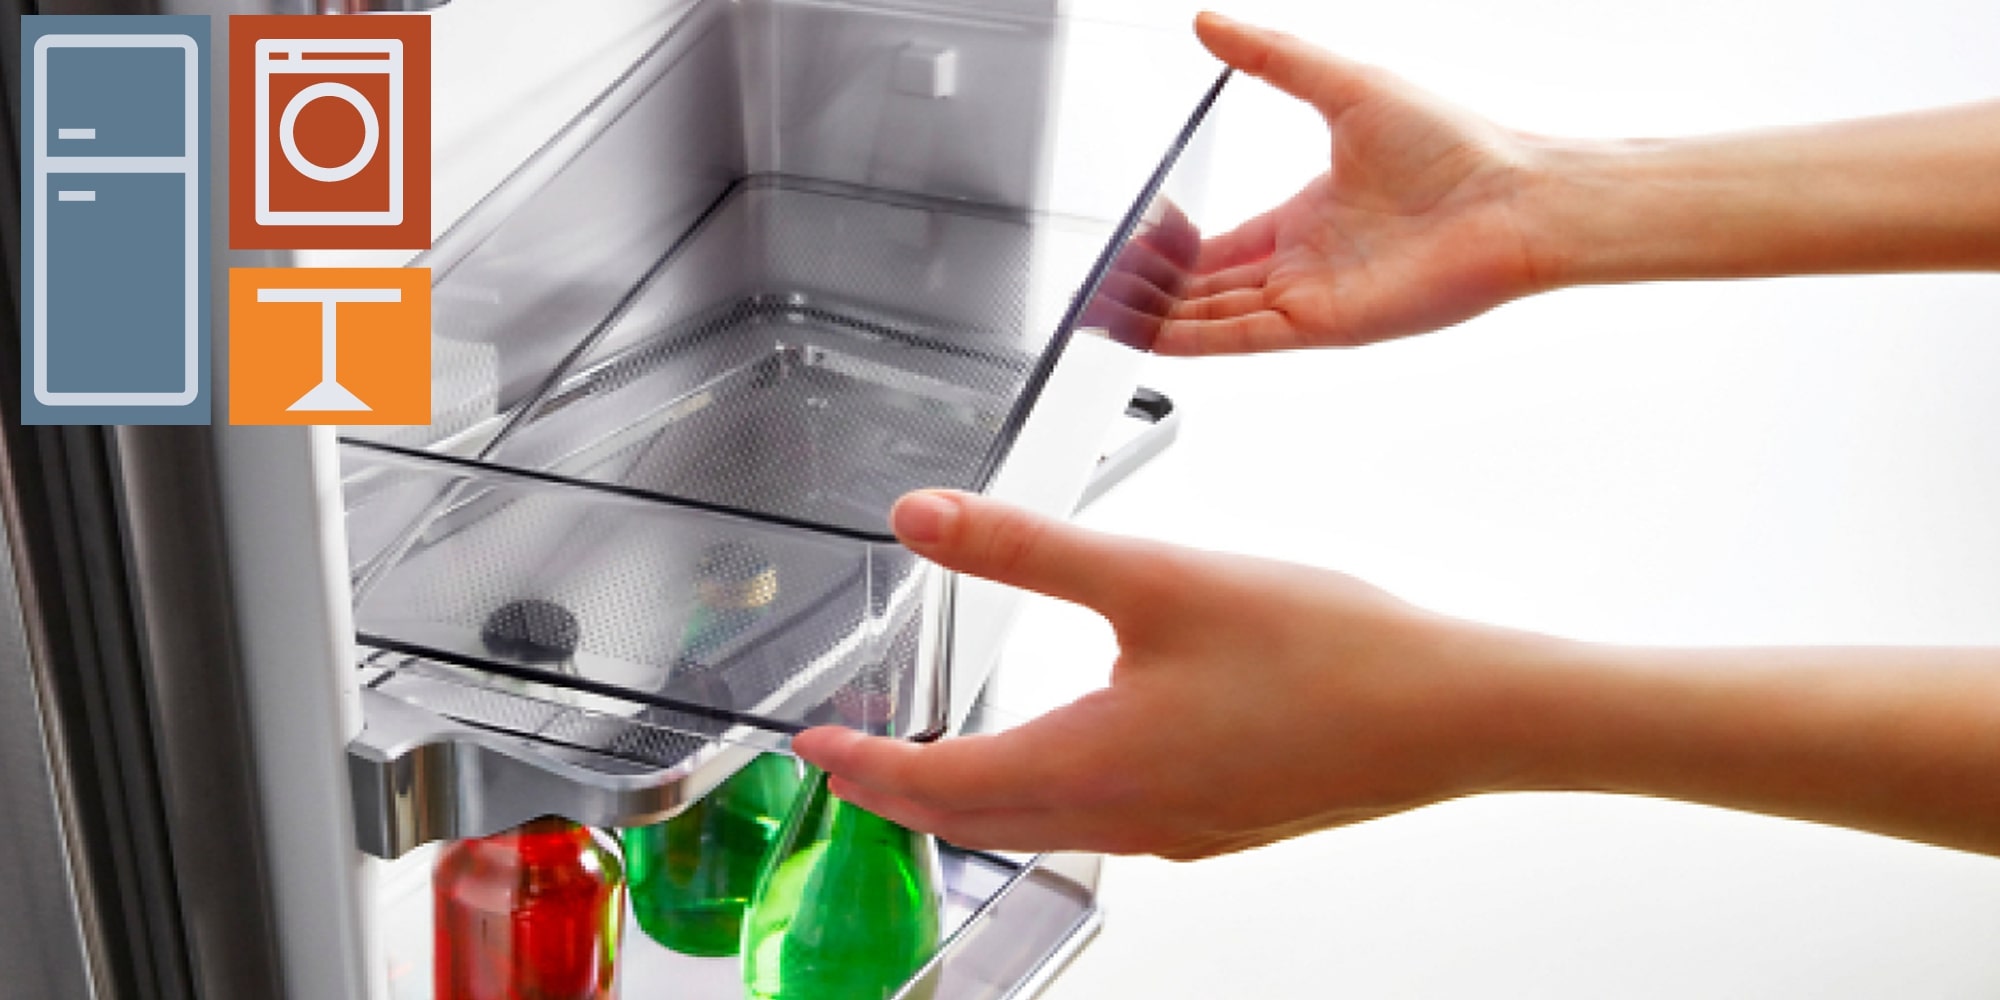
- If there are any removable shelves or drawers, make sure to clean them separately using the same cleaning solution. Rinse them thoroughly and allow them to dry completely before placing them back into the freezer.
- Once you have finished cleaning, use a dry cloth or towel to wipe down the interior surfaces to ensure they are completely dry.
It’s important to avoid using harsh chemicals or abrasive scrubbers as they can damage the interior of the freezer. Stick to mild dish soap and gentle cleaning techniques to maintain the longevity of your Samsung freezer.
By following these steps, you will be able to remove any dirt or residue that may accumulate in the freezer over time. With a clean freezer, you can proceed to the next step of defrosting your Samsung freezer.
Step 5: Defrosting the Freezer
Now that you have emptied the freezer, removed the ice build-up, and cleaned the interior, it’s time to initiate the defrosting process. This step involves allowing the remaining ice to melt and drain away.
Follow these steps to defrost your Samsung freezer:
- Leave the freezer door open: Keep the freezer door propped open to allow warm air to circulate inside the freezer and expedite the melting process.
- Place towels or absorbent cloths around the freezer: This will help catch any melting water and prevent it from causing a mess on the floor.
- Be patient and wait: Depending on the severity of the ice build-up, the defrosting process can take several hours or overnight. Avoid using any sharp objects or tools to speed up the process, as this can damage the freezer.
- Check and empty the drip pan: Some Samsung freezers may have a small drip pan beneath the freezer compartment. Check if there is any water collecting in the drip pan periodically, and empty it if needed.
During the defrosting process, you may notice water droplets forming on the interior walls of the freezer. This is perfectly normal and indicates that the ice is melting. However, if you observe excessive water or leakage, it’s a good idea to monitor it closely and take the necessary steps to prevent further damage.
While waiting for the ice to melt, take this opportunity to clean the exterior of the refrigerator using a damp cloth and mild detergent. Wipe down the door handles, control panel, and any other accessible areas to maintain a clean and presentable appearance.
Once all the ice has melted and the freezer has thoroughly drained, you’re ready to move on to the next step of drying the freezer.
Step 6: Drying the Freezer
After the defrosting process is complete and any remaining water has drained away, it’s essential to ensure that the interior of the freezer is completely dry before you turn it back on.
Follow these steps to dry your Samsung freezer:
- Use a clean towel or cloth to wipe down the interior surfaces of the freezer. Pay attention to any remaining moisture or water droplets and make sure to dry them thoroughly.
- Leave the freezer door open for a while to allow any lingering moisture to evaporate. This will help prevent the formation of mold or mildew.
- If you have a fan available, you can place it near the open freezer door to accelerate the drying process.
- Double-check that all shelves and drawers are completely dry before placing them back into the freezer. Moisture trapped in these compartments can lead to frost formation later on.
It’s important to ensure that the freezer is completely dry before you proceed to the next step of turning it back on. Any remaining moisture can impact the freezer’s performance and potentially cause frost to form more quickly.
Once you are confident that the freezer is dry, you can move on to the final step of turning the freezer back on and restoring normal operation.
Step 7: Turning the Freezer On
After successfully defrosting and drying your Samsung freezer, it’s time to turn it back on and restore normal operation. Follow these steps to ensure a smooth transition:
- Close the freezer door: Make sure the freezer door is securely closed before proceeding.
- Plug the refrigerator back in: If you had unplugged the refrigerator during the defrosting process, now is the time to plug it back into the power source.
- Switch on the freezer: Locate the power switch or turn on the circuit breaker connected to the freezer. Consult the user manual if you are unsure of the specific steps for your Samsung freezer model.
- Set the desired temperature: Adjust the temperature setting according to your preference. It may take some time for the freezer to reach the desired temperature, so be patient.
- Wait for the freezer to cool down: Allow the freezer to cool down before placing any food items back into it. This typically takes a few hours, depending on the freezer’s size and the ambient temperature.
- Organize and restock the freezer: Once the freezer has reached the desired temperature, you can begin organizing and restocking it with the previously removed frozen food items. Take care to arrange the items in a way that maximizes space and allows for efficient airflow.
- Monitor the freezer’s performance: Keep an eye on the freezer’s performance over the next few days to ensure it is cooling properly. If you notice any issues or unusual sounds, consult the user manual or contact Samsung customer support for assistance.
By carefully following these steps, you can successfully turn your Samsung freezer back on and resume its regular functioning. Enjoy the properly cooled and organized freezer, knowing that you have taken the necessary steps to maintain its optimal performance.
With the defrosting process complete, you can now rest easy knowing that your Samsung freezer is free from ice build-up and ready to keep your frozen goods fresh and preserved. Remember to schedule regular defrosting sessions to prevent excessive ice accumulation in the future and to maintain the efficiency of your freezer.
Read more: What Is A Manual Defrost Freezer
Conclusion
Defrosting a Samsung freezer is an essential task to maintain its efficiency and ensure the longevity of the appliance. By following the step-by-step guide provided in this article, you can easily and effectively defrost your Samsung freezer, allowing it to perform optimally in preserving your frozen food items.
We began by discussing the necessary tools and preparations needed for the defrosting process. Having these tools on hand and preparing the freezer appropriately sets the stage for a successful defrosting experience.
We then walked through each step of the defrosting process, including emptying the freezer, turning off the freezer, removing the ice buildup, cleaning the freezer, defrosting the freezer, drying the freezer, and finally, turning the freezer back on.
Throughout these steps, it is important to approach the process with patience and care to avoid damaging the freezer or causing any injuries. Taking the time to remove all the ice, clean the interior surfaces, and thoroughly dry the freezer ensures that it will operate efficiently once it is turned back on.
Remember to monitor the freezer’s performance in the days following the defrosting process to ensure it is cooling properly and addressing any issues promptly.
Regularly defrosting your Samsung freezer not only improves its effectiveness but also contributes to a hygienic environment and prolongs its lifespan. A clean and well-maintained freezer will not only provide optimal cooling but also ensure the safe storage of your frozen goods.
With the knowledge and guidance provided in this article, you are now well-equipped to defrost your Samsung freezer effectively and efficiently. So, don’t let ice buildup hinder your freezer’s performance any longer – take the necessary steps to defrost it and enjoy the benefits of a properly functioning freezer.
Frequently Asked Questions about How To Defrost A Samsung Freezer
Was this page helpful?
At Storables.com, we guarantee accurate and reliable information. Our content, validated by Expert Board Contributors, is crafted following stringent Editorial Policies. We're committed to providing you with well-researched, expert-backed insights for all your informational needs.


0 thoughts on “How To Defrost A Samsung Freezer”