Articles
How To Defrost A Chest Freezer
Modified: February 28, 2024
Learn how to defrost a chest freezer with these helpful articles. Find step-by-step guides and expert tips to safely and efficiently thaw your freezer.
(Many of the links in this article redirect to a specific reviewed product. Your purchase of these products through affiliate links helps to generate commission for Storables.com, at no extra cost. Learn more)
Introduction
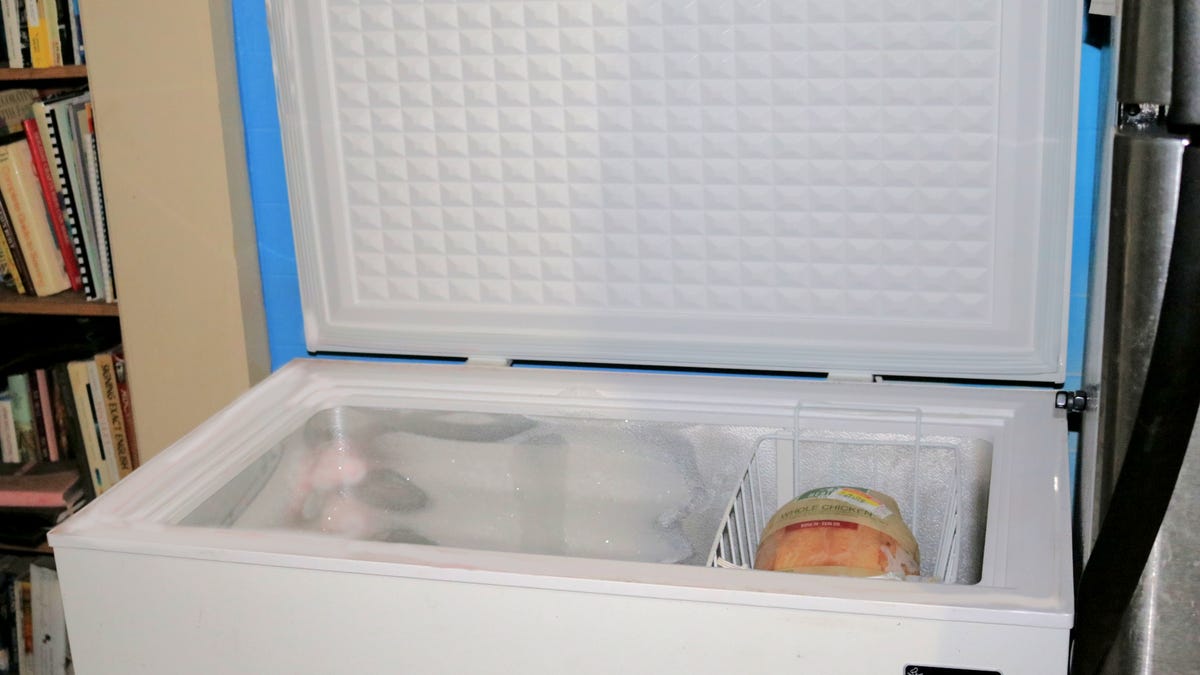
Having a chest freezer can be a convenient and efficient way to store your frozen goods. However, over time, ice can build up inside the freezer, reducing its energy efficiency and storage capacity. To keep your chest freezer in optimal condition, it is essential to defrost it regularly.
Defrosting a chest freezer may sound like a daunting task, but with the right steps and a bit of preparation, you can easily do it yourself. In this article, we will guide you through the process of defrosting a chest freezer, ensuring that your freezer remains clean, odor-free, and functioning at its best.
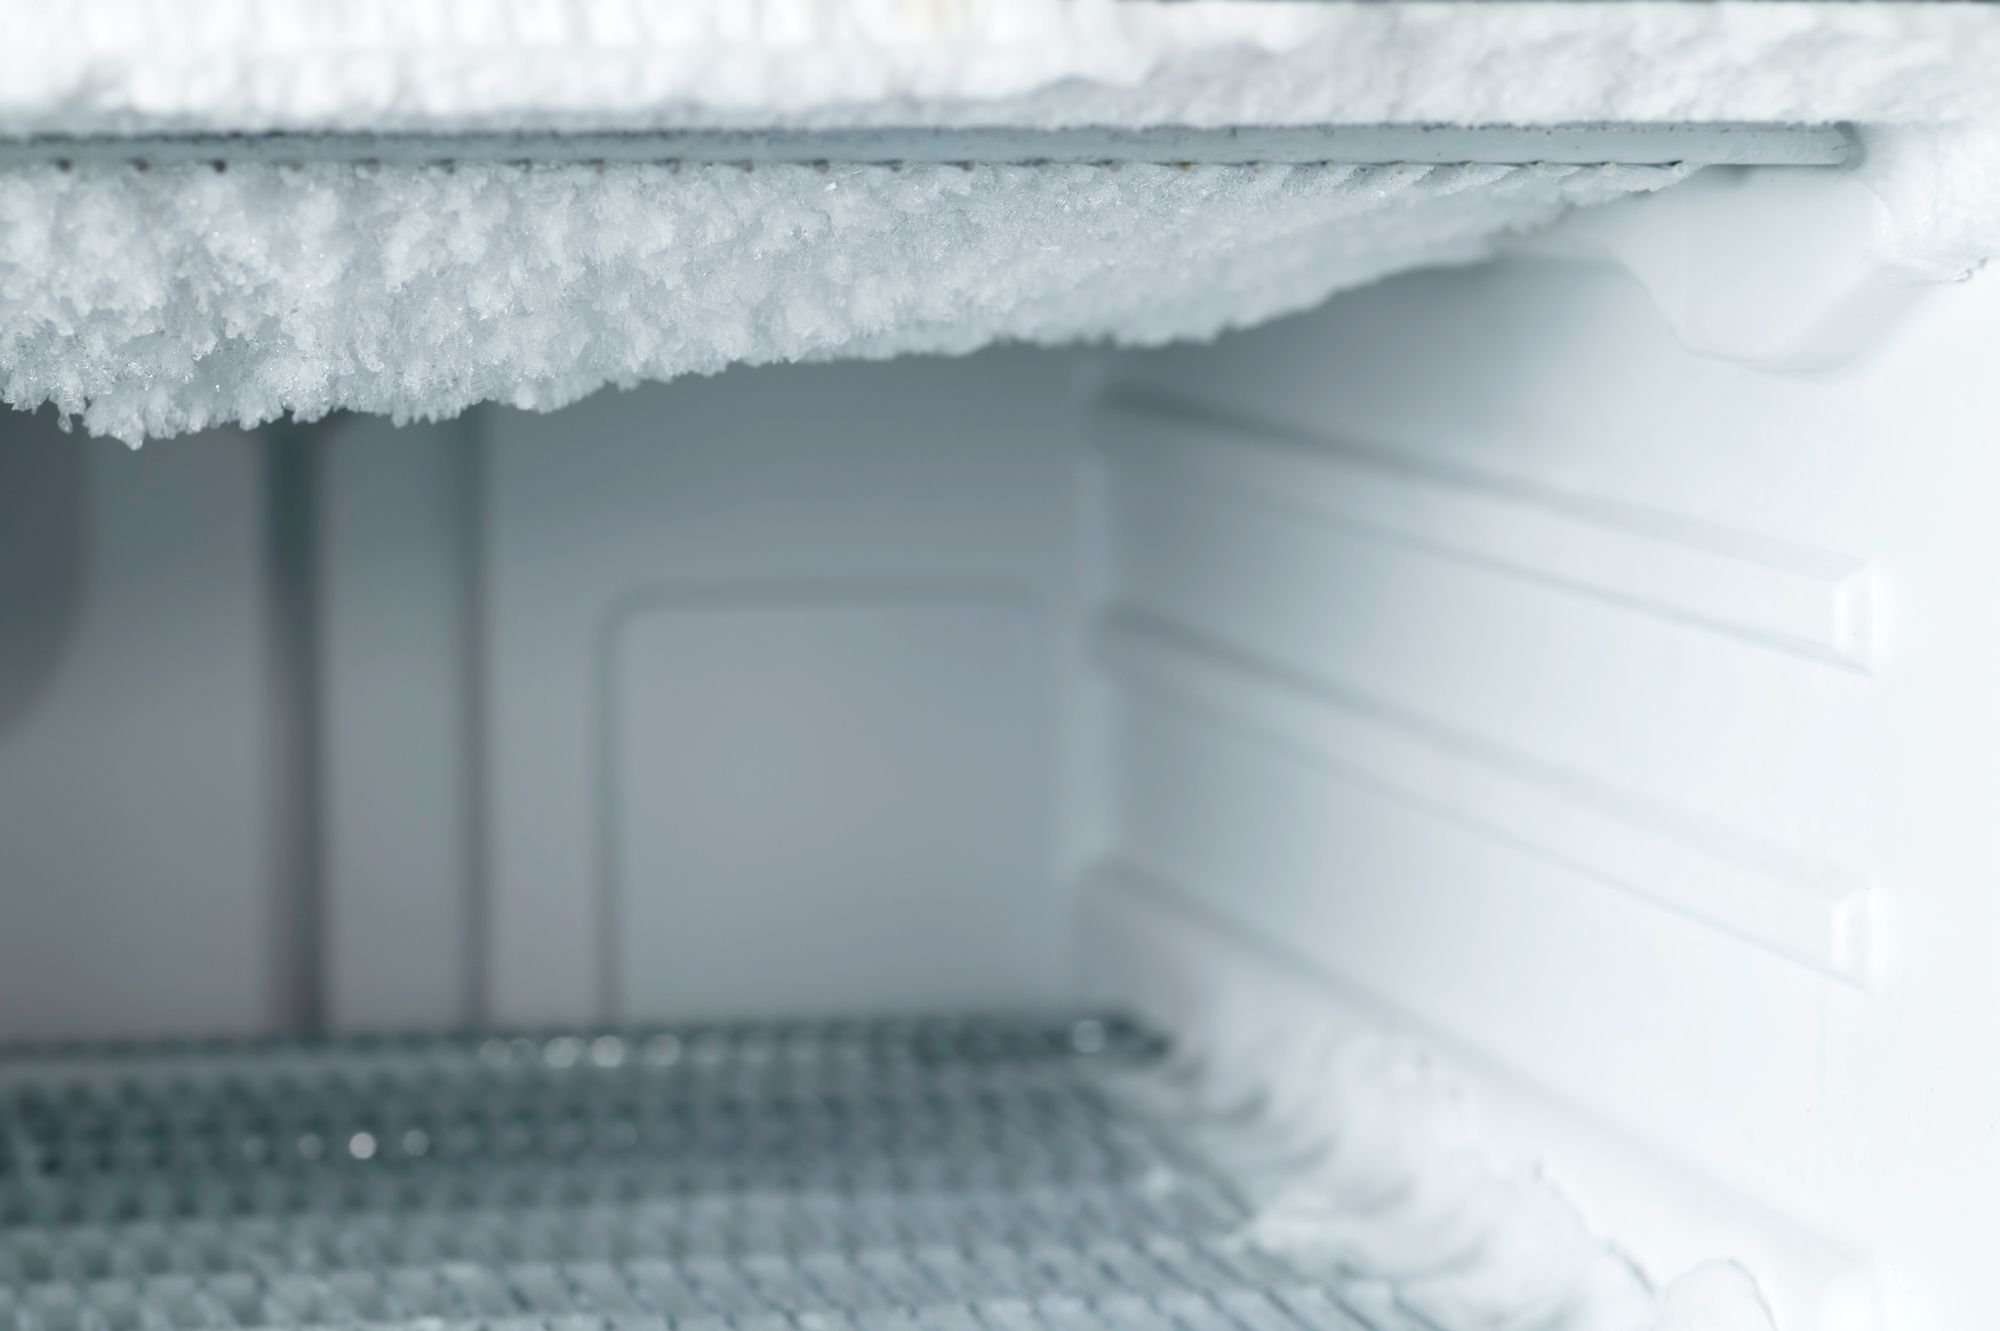
Before we get started, it’s important to note that the frequency of defrosting will depend on the usage and environment of your chest freezer. However, as a general rule of thumb, it’s recommended to defrost your freezer at least once a year, or whenever the ice buildup exceeds half an inch.
So, without further ado, let’s dive into the steps required to defrost your chest freezer and keep it in excellent working condition!
Key Takeaways:
- Regularly defrosting and cleaning your chest freezer is essential for maintaining its efficiency, preserving the quality of frozen items, and ensuring longer-lasting storage. Follow the step-by-step guide for a well-functioning and organized freezer.
- Gather necessary supplies, empty the freezer, unplug, remove ice buildup, clean, dry, and restock strategically to maintain an efficient chest freezer. Enjoy the benefits of a clean and well-maintained freezer for years to come!
Read more: When To Defrost A Freezer
Step 1: Gathering the necessary supplies
Before you begin the process of defrosting your chest freezer, it’s essential to gather all the necessary supplies. Having everything on hand will make the process much smoother and more efficient. Here’s a list of the items you’ll need:
- Large cooler or insulated bags: These will come in handy for temporarily storing your frozen items while the freezer defrosts.
- Large towels or blankets: These will help absorb any water that may leak during the defrosting process.
- Plastic scraper or spatula: You’ll need this tool to remove any stubborn ice buildup.
- Bucket or large container: This will be used to collect the water that melts from the ice.
- Mild dish soap or freezer cleaner: You’ll need this to clean the interior of the freezer once it’s defrosted.
- Warm water: This will be used to speed up the defrosting process.
- Cloth or sponge: This will be used to wipe down the interior of the freezer after cleaning.
Make sure all these supplies are easily accessible before you start defrosting your chest freezer. This will save you time and prevent any unnecessary interruptions during the process.
Step 2: Emptying the chest freezer
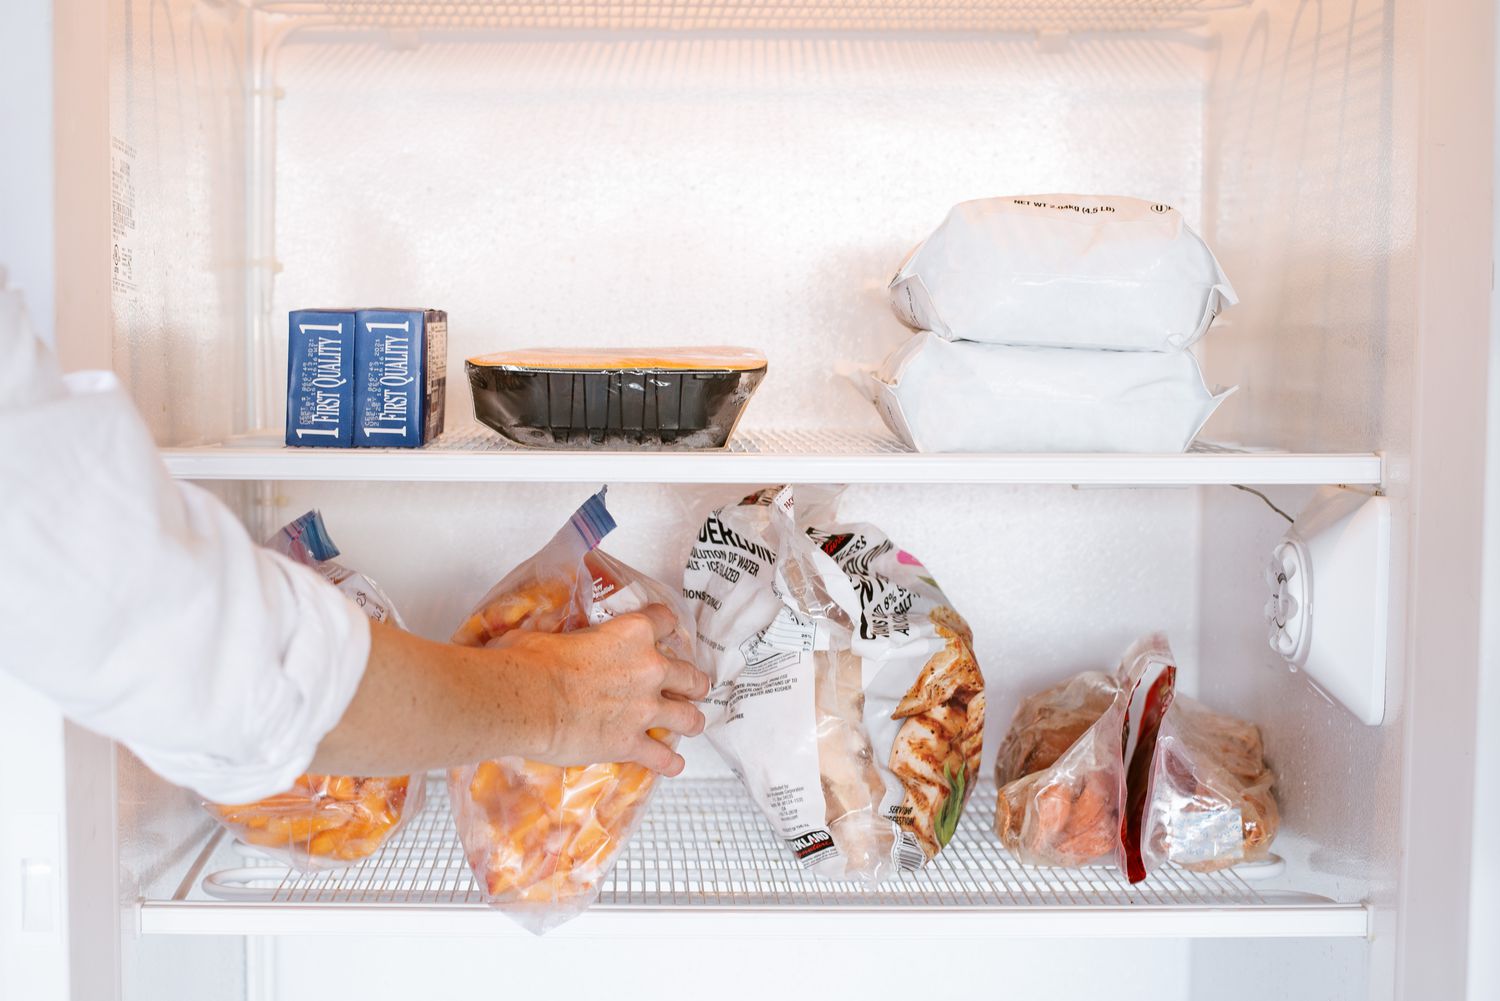
Once you have gathered all the necessary supplies, it’s time to empty the contents of your chest freezer. Start by taking out all the items and placing them in the large cooler or insulated bags. It’s important to work quickly during this step to prevent the items from thawing.
If you have any perishable items that have already started to thaw, prioritize consuming or cooking them immediately to prevent spoilage. For items that are still frozen, make sure to keep them in the insulated bags or cooler to maintain their frozen state.
As you remove the items, take the opportunity to assess their condition and expiration dates. Discard any items that have passed their expiration date or show signs of freezer burn or spoilage. This will help you declutter and organize your freezer once the defrosting process is complete.
Remember to label the bags or containers to keep track of what’s inside and where it needs to be placed once the chest freezer is ready to be restocked.
Once you have emptied the chest freezer, take a moment to wipe down any moisture or condensation on the interior walls. This will prevent excess water from pooling when the defrosting process begins.
With the contents removed and the interior wiped down, you’re now ready to proceed to the next step.
Step 3: Unplugging the chest freezer
Now that your chest freezer is empty, it’s time to unplug it from the power source. Locate the power cord at the back of the freezer and gently unplug it from the outlet. This will ensure the freezer is not powered during the defrosting process and will prevent any accidents from occurring.
Once the freezer is unplugged, take a moment to inspect the power cord for any signs of damage. If you notice any frayed wires or other issues, it’s best to have it repaired before using the freezer again.
It’s important to note that during the defrosting process, your chest freezer won’t be operational, so it’s a good idea to have an alternative storage plan for any perishable items that need to remain frozen. Utilize the large cooler or insulated bags we mentioned earlier for this purpose.
Keep the chest freezer door closed throughout the defrosting process to maintain the cold temperature inside as much as possible. This will help prolong the frozen state of any remaining items and facilitate a faster defrosting process.
Now that the chest freezer is unplugged, it’s time to move on to the next step: removing any ice buildup.
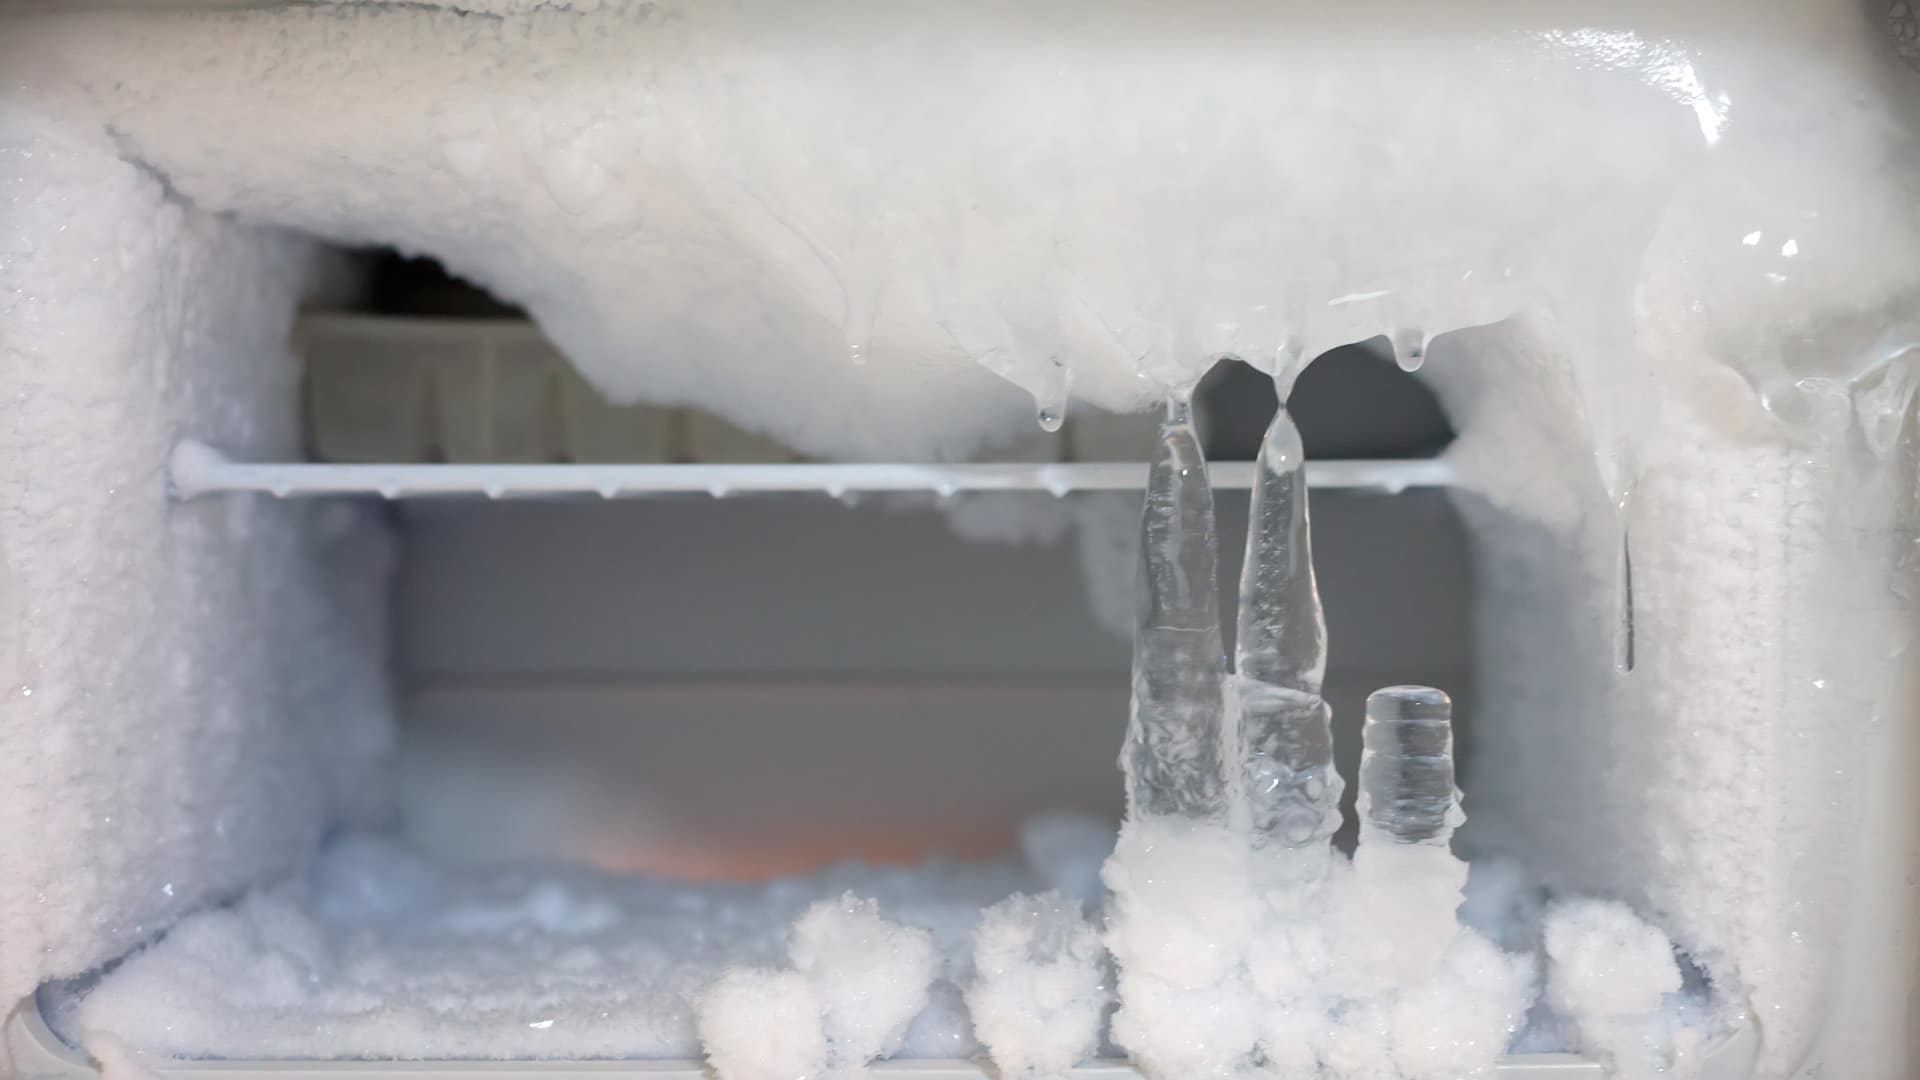
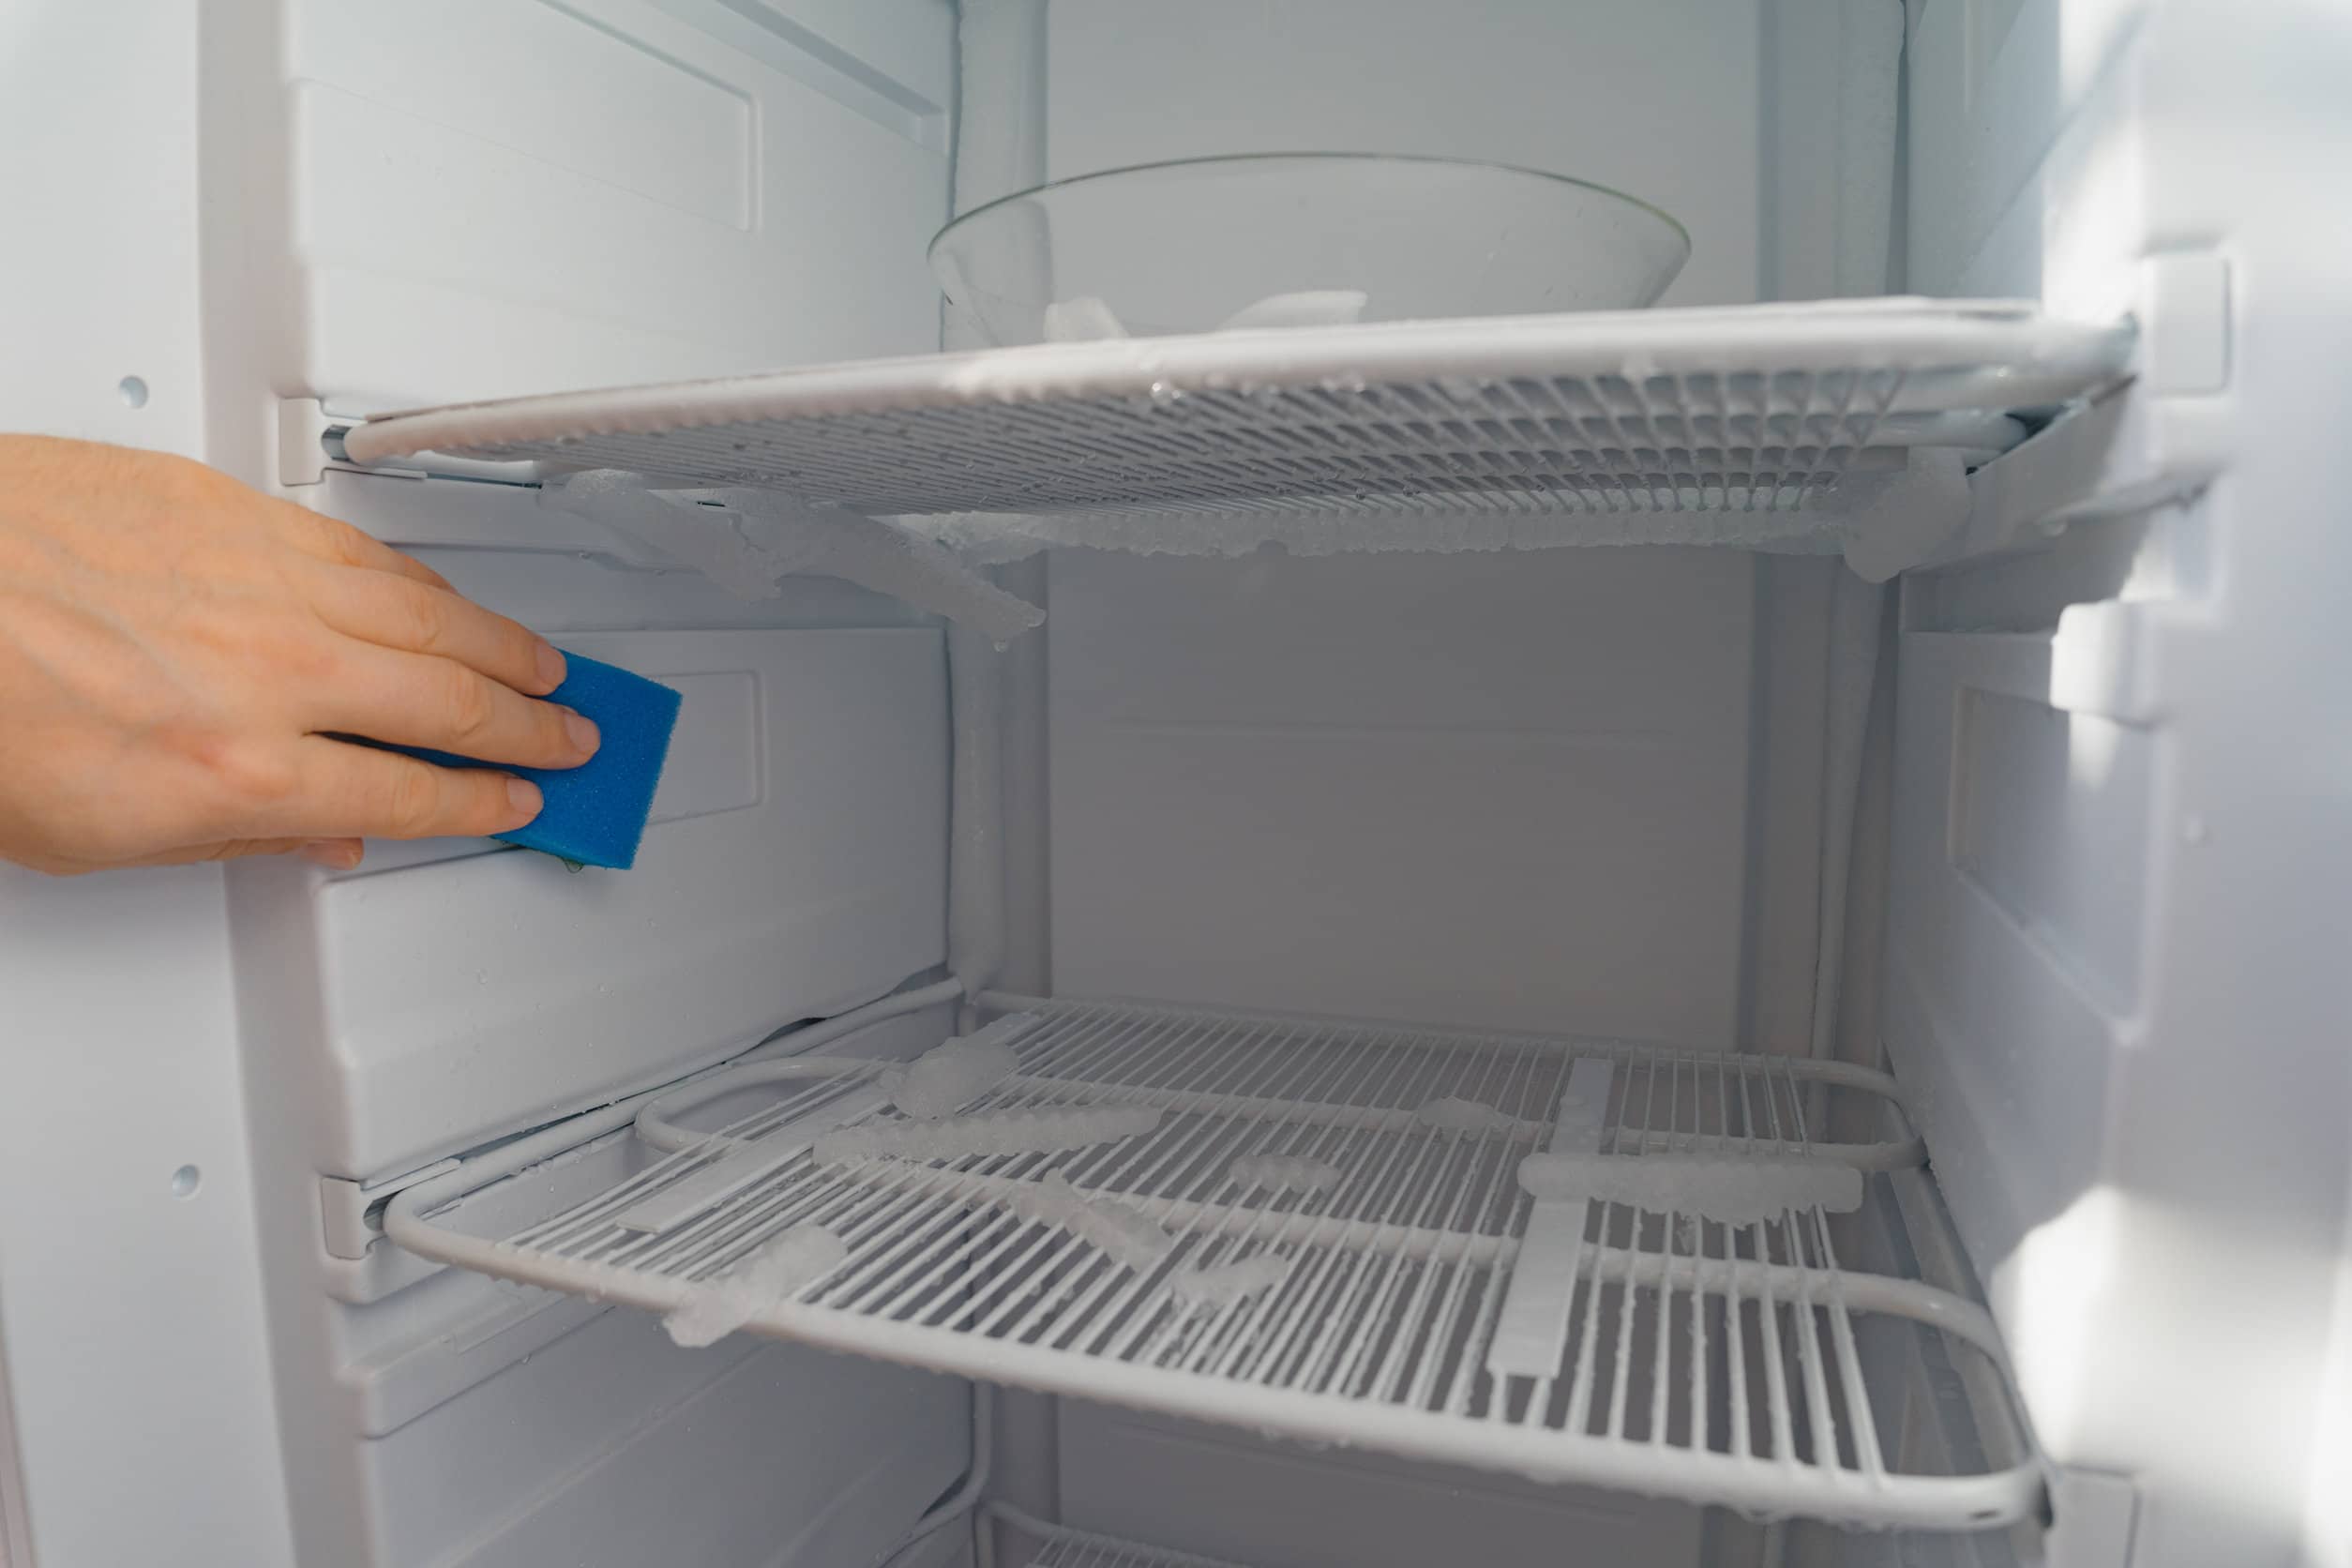
Step 4: Removing any ice buildup
With the chest freezer unplugged, it’s time to tackle the ice buildup inside. Depending on the extent of the ice accumulation, this step may require patience and some elbow grease.
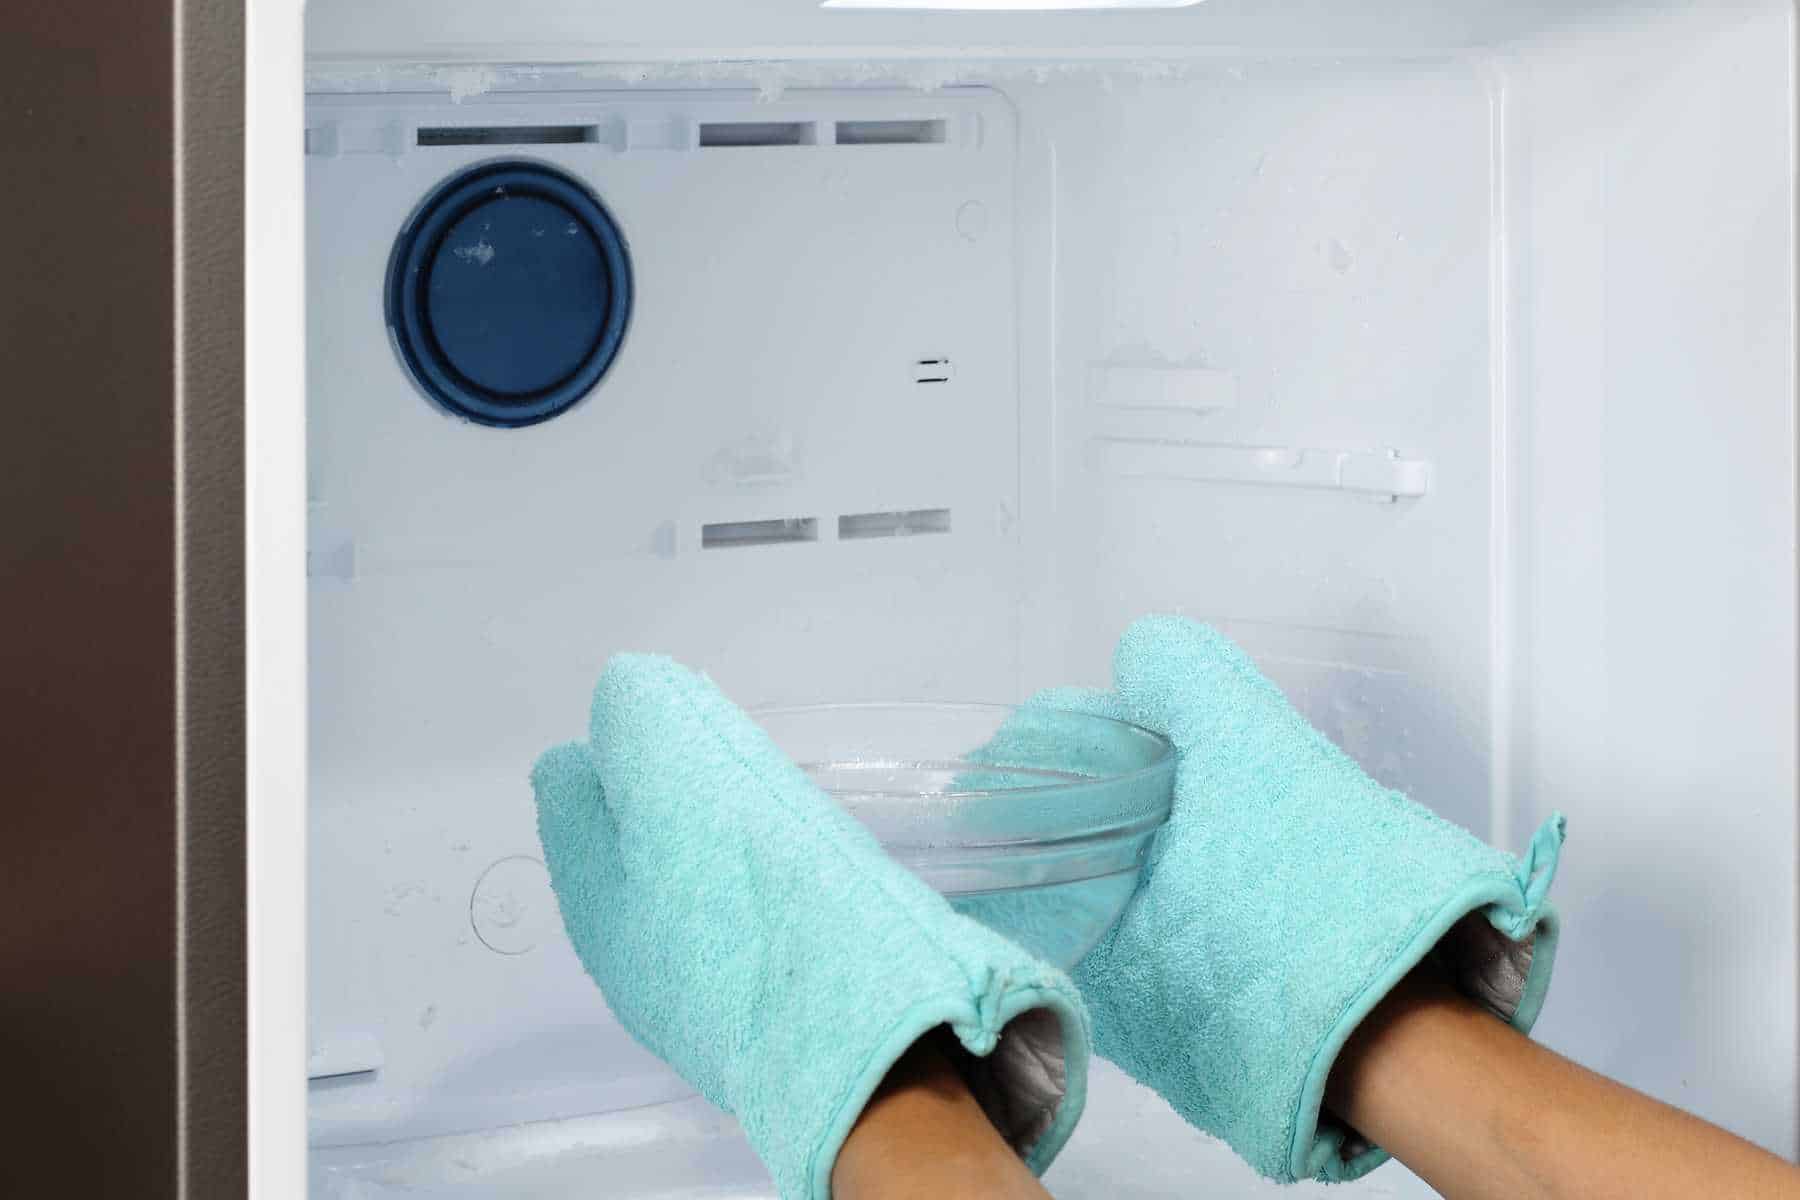
Start by allowing the ice to naturally melt on its own. You can speed up the process by placing bowls of warm water inside the freezer. The warm water will help melt the ice faster and make it easier to remove. Avoid using sharp objects or utensils to chip away at the ice, as this can damage the interior of the freezer.
As the ice begins to melt, you may notice water pooling at the bottom of the freezer. Place a bucket or a large container to collect the water and prevent any mess. You can also use towels or blankets around the freezer to absorb any additional water.
Once most of the ice has melted, you can use a plastic scraper or spatula to gently remove any remaining ice buildup. Be careful not to apply excessive force or scrape too aggressively, as this can damage the interior surfaces of the freezer.
Take your time and work systematically, removing ice from all corners and crevices of the freezer. If needed, you can repeat the process of using warm water to melt stubborn pieces of ice.
Remember to periodically empty the bucket or container as it fills with water. This will prevent any accidental spills or overflow.
Once all the ice has been removed, it’s time to move on to the next step: cleaning the chest freezer.
Read more: How To Defrost An Upright Freezer
Step 5: Cleaning the chest freezer
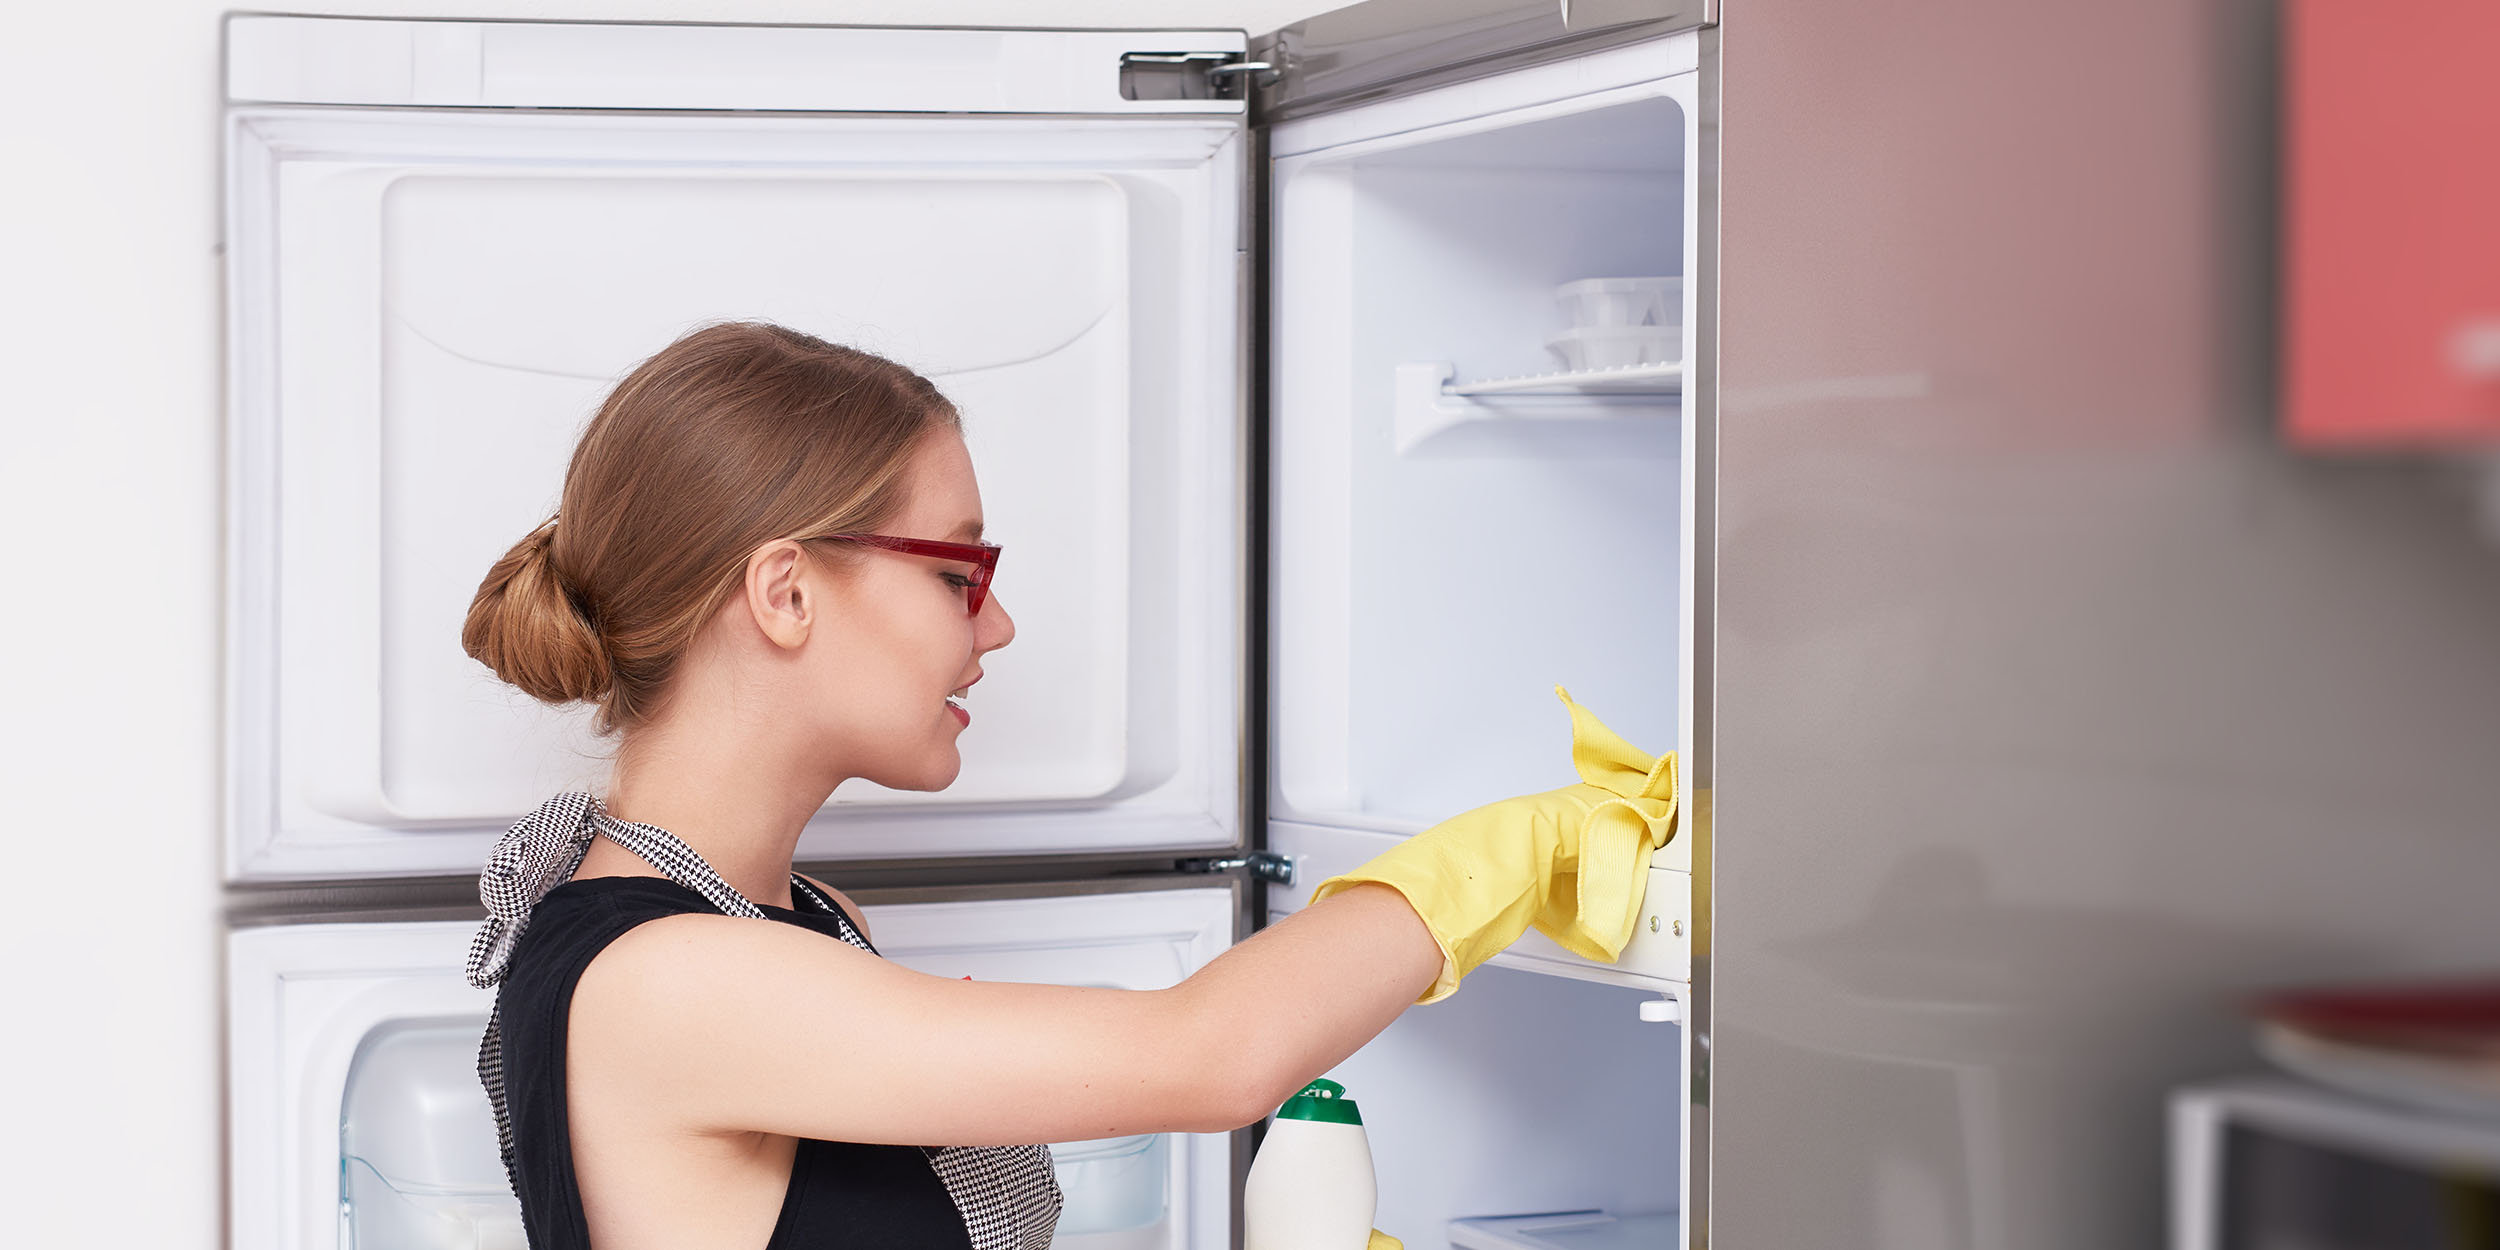
Now that you’ve successfully removed all the ice buildup from your chest freezer, it’s important to thoroughly clean the interior to remove any dirt, grime, or odors. Cleaning the freezer will not only ensure a fresh and sanitary storage space but also contribute to better freezer performance.
Start by creating a cleaning solution using mild dish soap or a freezer cleaner. Mix the solution with warm water in a bucket or basin. Avoid using harsh chemicals or abrasive cleaners as they can damage the surfaces of the freezer.
Dip a cloth or sponge into the cleaning solution and wring out any excess moisture. Gently wipe down the interior walls, shelves, and any other surfaces of the freezer. Pay special attention to any areas where food particles or stains may have accumulated.
If there are any stubborn stains or residue, you can use a soft-bristle brush or toothbrush to scrub them away. Be gentle to avoid scratching the surfaces.
After cleaning, rinse the cloth or sponge thoroughly and wipe down the interior of the freezer with clean water. This will remove any soap residue left behind.
Once you’ve finished cleaning the interior, don’t forget to clean the gasket or seal around the door. Use a damp cloth to wipe away any dirt or debris. Keeping the gasket clean will help maintain a proper seal and prevent energy loss.
After the cleaning process is complete, leave the freezer door open for a while to allow any excess moisture to evaporate. This will help prevent mold or mildew from forming.
Now that the chest freezer is clean and dry, it’s time to move on to the next step: allowing the freezer to defrost completely.
To defrost a chest freezer, first unplug it and remove all the food. Place towels inside to absorb the water as the ice melts. Use a plastic scraper to gently remove the ice buildup, and wipe down the interior with a mixture of warm water and mild detergent. Once the ice is completely melted, dry the interior thoroughly before plugging the freezer back in.
Step 6: Allowing the freezer to defrost
With the chest freezer cleaned and ready, it’s time to allow it to defrost completely. This step is crucial for ensuring that all the remaining ice and moisture have melted away.
First, double-check that the chest freezer is still unplugged from the power source. Keeping the freezer door open, allow it to sit and defrost naturally at room temperature.
Depending on the size of your freezer and the thickness of the ice buildup, the defrosting process can take several hours to a day or more. Patience is key during this step, as rushing the process can lead to water leakage or damage to the freezer.
During the defrosting period, periodically check on the progress. If necessary, you can use towels or blankets to absorb any excess water that accumulates inside the freezer. Be mindful not to touch any cold surfaces with wet hands to avoid freezing to the freezer.
A useful tip to speed up the defrosting process is to place a fan near the open freezer to circulate air. The airflow helps evaporate the melted ice more quickly.
Once the chest freezer is completely defrosted, you’ll notice that there is no more ice or water inside. The interior walls and surfaces should be dry to the touch.
Now that the defrosting process is complete, it’s time to move on to the next step: drying and reassembling the chest freezer.
Step 7: Drying and reassembling the chest freezer
After the chest freezer has completely defrosted, it’s important to ensure that it is thoroughly dry before reassembling. This will prevent any residual moisture from causing issues once the freezer is plugged back in.
Begin by using clean towels or cloths to wipe down the interior of the freezer. Pay special attention to any areas that may still be damp or have lingering moisture.
If needed, use a fan or open windows to aid in the drying process. Good ventilation will help evaporate any remaining moisture more quickly.
Once the interior is completely dry, it’s time to reassemble the chest freezer. Start by replacing any removable shelves, baskets, or dividers that were taken out during the defrosting process. Ensure they are securely in place.
Next, carefully place the frozen items back into the chest freezer. Take the opportunity to organize and declutter as you restock. Discard any items that are expired or no longer needed.
Ensure that the items are arranged in a way that allows for efficient airflow and easy access. This will help maintain the freezer’s temperature and make it easier to find specific items in the future.
With the chest freezer reassembled and restocked, it’s time to move on to the next step: plugging the freezer back in.
Step 8: Plug the chest freezer back in
Now that your chest freezer has been defrosted, cleaned, dried, and reassembled, it’s time to plug it back in and restore its functionality. Follow these steps to safely reconnect your freezer to the power source:
1. Double-check that the chest freezer door is securely closed.
2. Locate the power cord at the back of the freezer.
3. Gently plug the power cord into a nearby electrical outlet.
4. Ensure that the outlet is functioning properly by testing it with another device.
5. Once the freezer is successfully plugged in, you should hear a humming sound indicating that it has started running.
6. Allow the freezer to run for a few minutes and check if it is cooling down properly.
It’s important to note that the initial cooling process may take some time, especially if the freezer was turned off for an extended period during the defrosting process. Be patient and avoid opening the freezer frequently to allow it to reach its optimal temperature.
Once the chest freezer has reached its desired temperature, you can start monitoring it to ensure that it is functioning properly. Check for any unusual noises, cooling issues, or signs of frost buildup.
With the chest freezer plugged back in, it’s time to move on to the final step: restocking the freezer with your frozen items.
Read more: How To Defrost Frigidaire Freezer
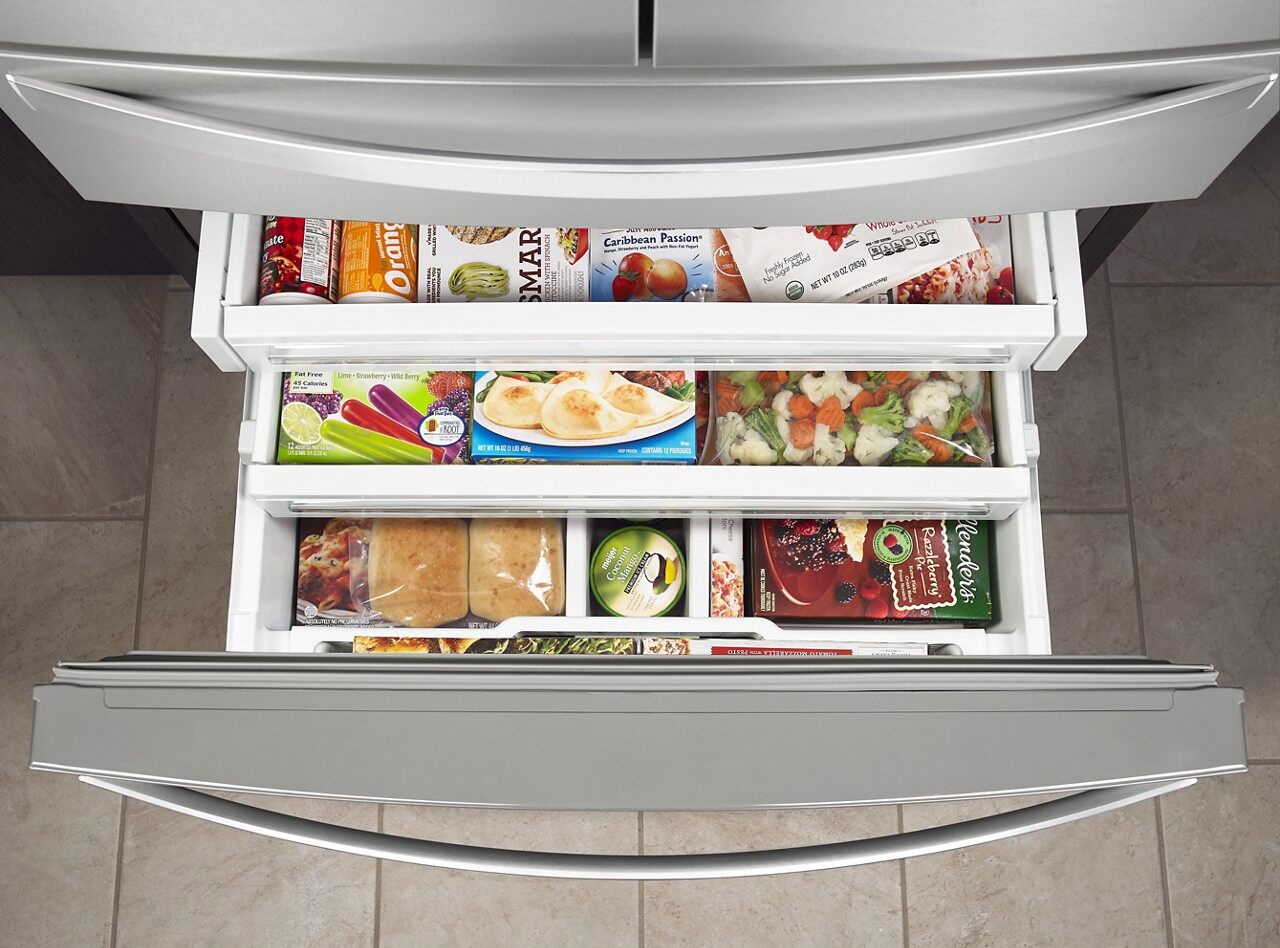
Step 9: Restocking the chest freezer
Now that your chest freezer is up and running again, it’s time to restock it with your frozen items. Follow these steps to ensure efficient and organized storage:
1. Start by arranging the items strategically. Place frequently used items in easily accessible locations to minimize rearranging and searching.
2. Use storage bins or containers to group similar items together. This will make it easier to locate specific items and keep your freezer organized.
3. Make sure to leave enough space between items to allow for proper airflow. This will help maintain consistent temperatures and ensure optimal freezer efficiency.
4. Label or mark the containers to make it easier to identify their contents. This way, you can quickly find what you need without having to dig through the freezer.
5. Consider using freezer-safe bags or vacuum-sealed packaging for items to prevent freezer burn and extend their shelf life.
6. Avoid overfilling the freezer as it can hinder proper airflow and make it difficult to access items. Leave some empty space for future additions or new purchases.
7. Periodically review and rotate your frozen items. Use older items first to prevent food waste and ensure you’re always consuming items within their recommended shelf life.
By following these steps, you can maintain an organized and efficient chest freezer, making it easier to find and access your frozen goods.
With your chest freezer fully restocked, you have successfully completed the process of defrosting, cleaning, and reassembling your freezer. Congratulations!
Remember to schedule regular defrosting sessions to prevent excessive ice buildup and maintain the optimal performance of your chest freezer. This will help keep your frozen items in the best condition and ensure energy efficiency.
Thank you for following this step-by-step guide on how to defrost a chest freezer. Enjoy the benefits of a clean and organized freezer for years to come!
Conclusion
Defrosting a chest freezer may seem like a daunting task, but with the right approach, it can be a manageable and rewarding process. By following the steps outlined in this guide, you can effectively remove ice buildup, clean the interior, and restore your freezer to optimal performance.
Regularly defrosting your chest freezer is not only essential for maintaining its efficiency but also for preserving the quality of your frozen items. By eliminating ice buildup, you create more space for storage and ensure proper airflow, resulting in longer-lasting frozen goods.
Remember to gather all the necessary supplies before starting, including a large cooler or insulated bags, towels, a plastic scraper, and cleaning solutions. Take the time to empty the freezer, unplug it, and remove all the ice buildup without causing any damage to the interior surfaces.
Once the defrosting process is complete, thoroughly clean and dry the freezer to eliminate any dirt, grime, or odors. Reassemble the freezer, plug it back in, and restock it with organized and strategically placed frozen items.
Keep in mind that regular maintenance, such as defrosting and cleaning, will ensure the longevity of your chest freezer and enhance its energy efficiency. A clean and well-maintained freezer not only saves you money on energy bills but also provides a more hygienic and convenient storage solution for your frozen foods.
Now that you have the knowledge and steps to defrost a chest freezer, you can confidently tackle this task whenever necessary. Enjoy the benefits of a well-functioning and organized freezer, with your frozen items readily available when you need them.
Thank you for following this comprehensive guide. Happy defrosting!
Frequently Asked Questions about How To Defrost A Chest Freezer
Was this page helpful?
At Storables.com, we guarantee accurate and reliable information. Our content, validated by Expert Board Contributors, is crafted following stringent Editorial Policies. We're committed to providing you with well-researched, expert-backed insights for all your informational needs.


0 thoughts on “How To Defrost A Chest Freezer”