Articles
How To Diagnose A Bad HVAC Thermostat
Modified: January 9, 2024
Learn how to diagnose a bad thermostat in your HVAC system with our comprehensive articles. Gain insights and troubleshoot common thermostat issues easily.
(Many of the links in this article redirect to a specific reviewed product. Your purchase of these products through affiliate links helps to generate commission for Storables.com, at no extra cost. Learn more)
Introduction
When it comes to maintaining a comfortable indoor climate, the thermostat plays a crucial role in regulating temperature and controlling your HVAC (Heating, Ventilation, and Air Conditioning) system. A properly functioning thermostat ensures that your home stays cozy in winter and cool in summer. However, just like any other electronic device, thermostats can develop issues over time.
Diagnosing a bad thermostat is essential to ensure optimal performance and prevent potential HVAC problems. Understanding the common symptoms of a faulty thermostat can help you identify the issue and take appropriate steps to resolve it. In this article, we will explore the signs of a bad thermostat and guide you through the diagnostic process.
Before jumping into the diagnosis, it is important to gather the necessary tools and equipment. Having these on hand will make the process smoother and more efficient. You will need the following:
- A screwdriver
- A multimeter or voltage tester
- A small brush or soft cloth for cleaning
These tools will enable you to inspect and test your thermostat accurately. Once you have them ready, let’s dive into the step-by-step guide to diagnosing a bad thermostat.
Key Takeaways:
- Diagnosing a bad thermostat involves recognizing symptoms like inconsistent temperatures, unresponsive controls, and frequent cycling. Testing, checking for voltage issues, and cleaning are crucial steps to ensure optimal thermostat functionality.
- Possible causes of thermostat malfunction include electrical issues, dirt and debris accumulation, temperature sensor problems, and compatibility issues. Seeking professional HVAC technician assistance is recommended if DIY efforts do not resolve the problem.
Read more: How To Tell If Home Thermostat Is Bad
Common Symptoms of a Bad Thermostat
A malfunctioning thermostat can present several noticeable symptoms. By recognizing these signs, you can determine whether your thermostat is experiencing issues and needs to be diagnosed. Here are the most common symptoms of a bad thermostat:
- Inconsistent Temperatures: One telltale sign of a malfunctioning thermostat is inconsistent temperature regulation. If you set your thermostat to a certain temperature, but the actual room temperature fluctuates significantly, it could be an indication of a faulty thermostat. For example, you may feel cold air blowing from the vents when you expect warm air, or vice versa.
- Unresponsive Controls: If your thermostat is unresponsive to adjustments or commands, it may indicate a problem. For instance, the display screen might not light up or respond when you try to adjust the temperature settings. This could be a sign that the thermostat has a wiring or power issue.
- Frequent Cycling: When a thermostat is working properly, it maintains a consistent temperature by cycling the HVAC system on and off as needed. However, if you notice frequent cycling, where the system turns on and off more frequently than usual, it could be a sign of a thermostat malfunction.
- Constantly Running HVAC System: On the other hand, if your HVAC system runs continuously without reaching the desired temperature, it may indicate a faulty thermostat. This can lead to energy waste and discomfort in your home.
- Inaccurate Temperature Readings: If you suspect that your thermostat is providing inaccurate temperature readings, you can easily test it by using a separate thermometer. Place the thermometer near the thermostat and compare the readings. If there is a significant difference between the two, it may indicate that your thermostat’s temperature sensor is malfunctioning.
- Lack of Display: A malfunctioning thermostat may also have issues with its display. If your thermostat screen is flickering, showing incorrect information, or blank, it could be a sign of a problem. In some cases, a blank display indicates a loss of power to the thermostat.
Keep in mind that these symptoms can also be caused by other HVAC-related issues. Therefore, it is crucial to perform a thorough diagnosis to determine if the problem lies specifically with the thermostat. With the symptoms identified, let’s move on to the next step, which is gathering the necessary tools and equipment for the diagnosis process.
Tools and Equipment Needed for Diagnosis
Before you begin diagnosing a bad thermostat, it’s important to ensure you have the necessary tools and equipment on hand. Having these items readily available will make the diagnosis process smoother and more efficient. Here are the tools and equipment you will need:
- A Screwdriver: You will need a screwdriver to remove the thermostat cover and access the internal components. Make sure you have the appropriate size and type of screwdriver for your specific thermostat model.
- A Multimeter or Voltage Tester: A multimeter or voltage tester is essential for checking the voltage and continuity of the electrical connections in your thermostat. This tool will help you identify any potential wiring or power issues.
- A Small Brush or Soft Cloth: To ensure accurate readings and proper functioning of the thermostat, it’s important to keep it clean and free of debris. A small brush or soft cloth can be used to gently remove any dust or build-up that may interfere with the thermostat’s operation.
Make sure your multimeter or voltage tester is properly calibrated and the battery is charged before beginning the diagnostic process. It’s also a good idea to familiarize yourself with the user manual for your specific multimeter or voltage tester, as instructions may vary depending on the model.
Additionally, it’s always a good idea to have a pen and paper handy to take notes during the diagnostic process. Documenting any observations, readings, or potential issues will help you keep track of your progress and communicate any findings to a professional technician if needed.
Now that you have gathered all the necessary tools and equipment, you are ready to proceed with the step-by-step guide to diagnosing a bad thermostat.
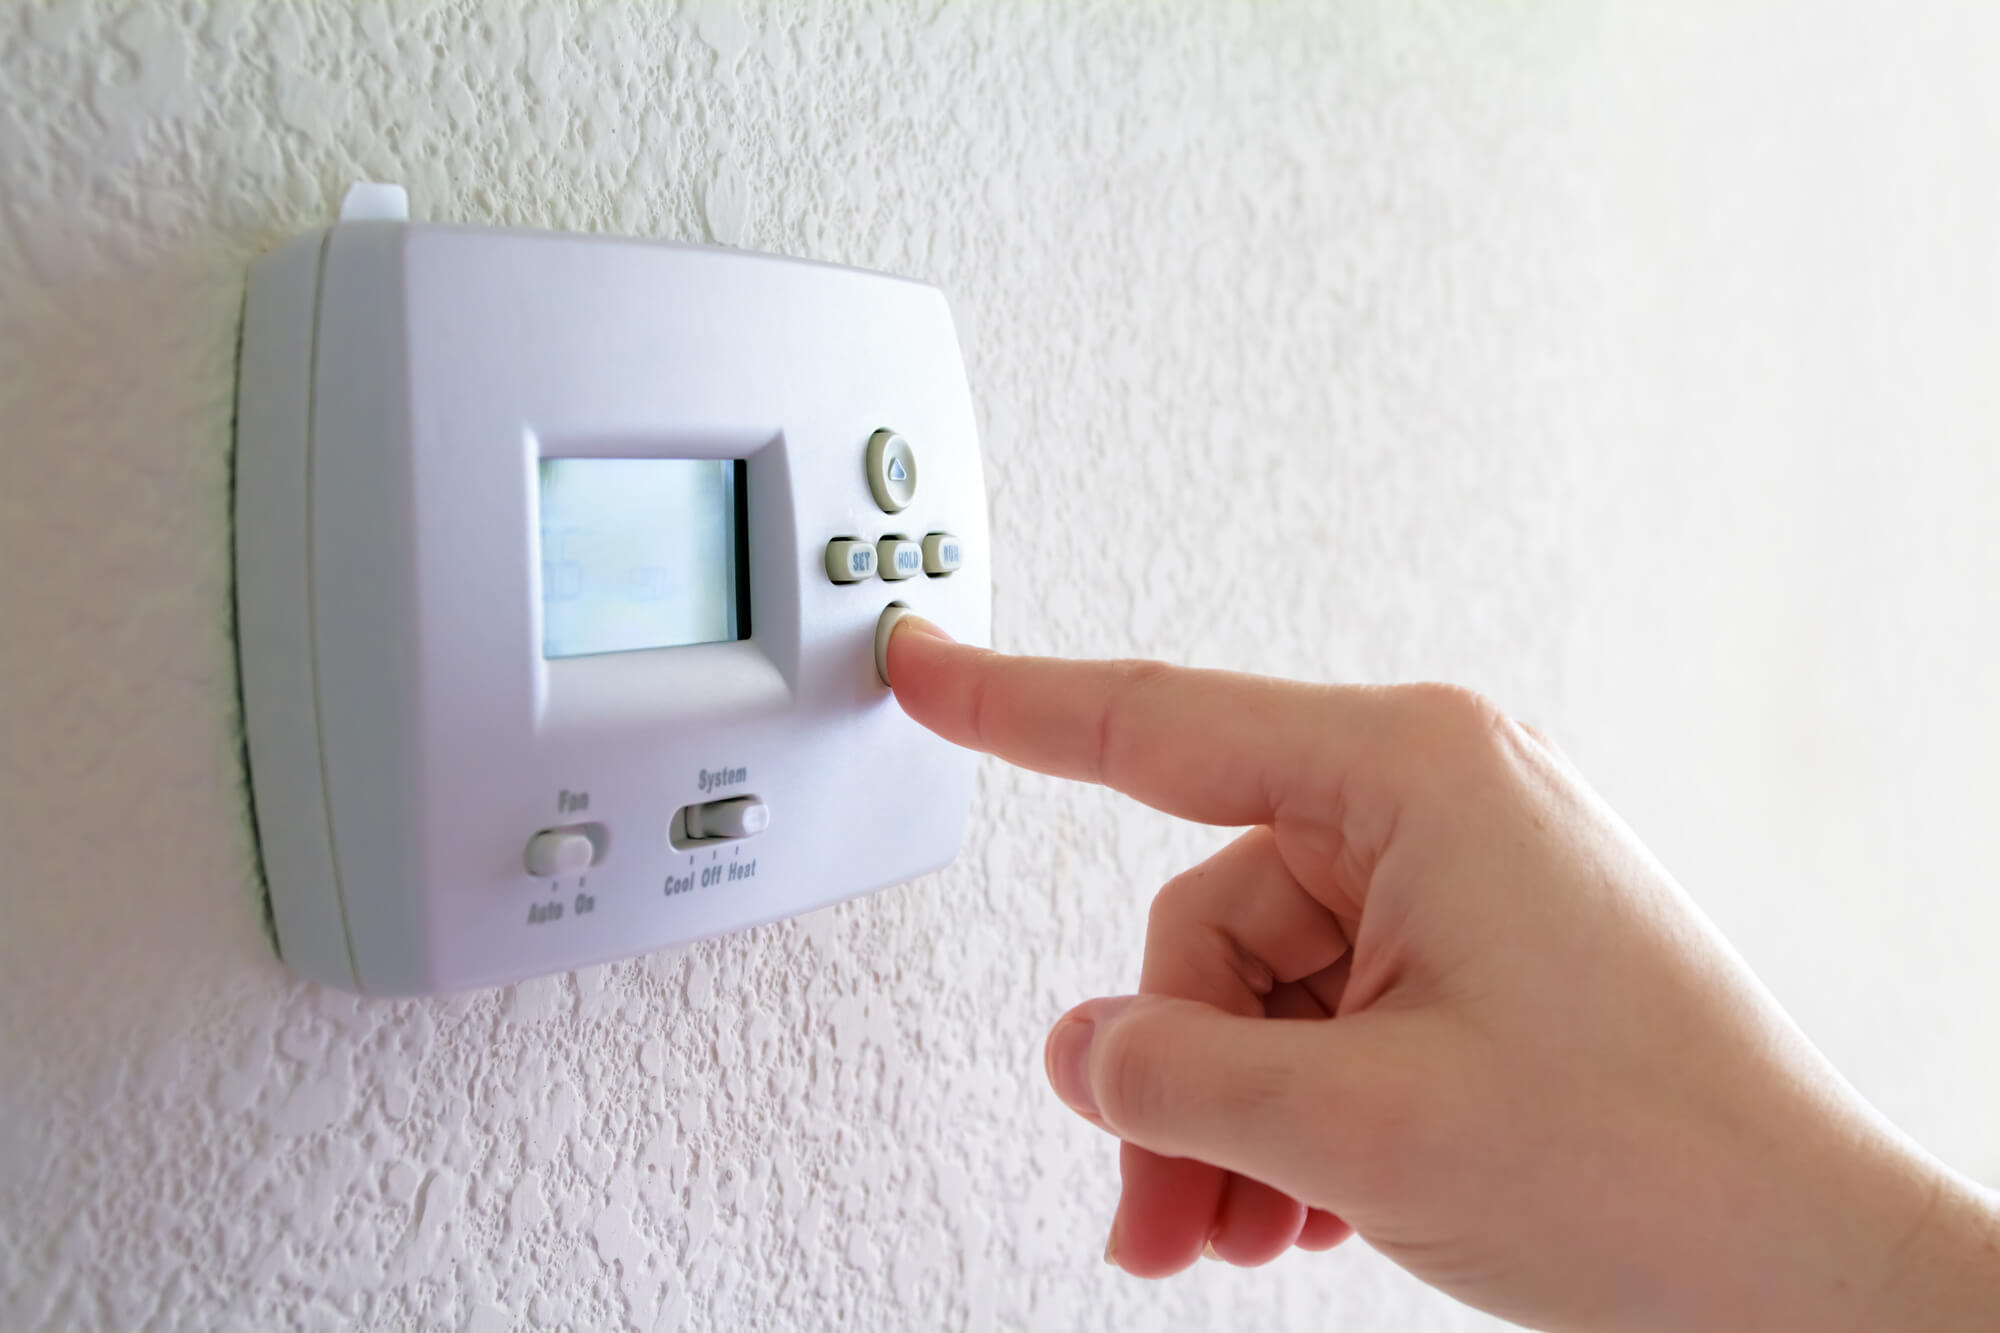
Step-by-Step Guide to Diagnosing a Bad Thermostat
Diagnosing a bad thermostat requires a systematic approach to accurately identify any issues or malfunctions. Follow these step-by-step instructions to effectively diagnose a faulty thermostat:
- Turn Off Power: Before you start working on your thermostat, ensure that the power to your HVAC system is turned off. This will prevent any potential electrical accidents or damages.
- Remove Thermostat Cover: Use a screwdriver to carefully remove the cover of your thermostat. This will expose the internal components for further inspection.
- Check Wiring Connections: Examine the wiring connections inside the thermostat. Ensure that all wires are securely connected and there are no loose or damaged wires. If you notice any issues, tighten or replace the wires as necessary.
- Test for Voltage: Use a multimeter or voltage tester to check for voltage at the thermostat terminals. Follow the manufacturer’s instructions for proper usage of the device. Make sure to check both the power supply and the voltage across the terminals when the HVAC system is running.
- Confirm Sensor Functionality: Check the thermostat’s temperature sensor or thermistor. With the HVAC system turned off, use a multimeter to measure the resistance across the sensor terminals. Compare the reading with the manufacturer’s specifications to ensure that the sensor is functioning correctly.
- Verify Function of Other Thermostat Features: If your thermostat has additional features like fan control or programmable settings, test them to ensure proper functionality. Use the manufacturer’s instructions to properly navigate through the settings and make any necessary adjustments.
- Observe System Behavior: Once you have performed the necessary tests and inspections, turn on the power to the HVAC system and observe its behavior. Check if the system responds to adjustments made on the thermostat. Pay attention to whether the system cycles on and off properly and if the temperature readings are accurate.
- Record Findings: Take note of any observations, readings, or potential issues that you have encountered during the diagnosis process. This information will help you communicate your findings accurately or assist a professional technician if further assistance is required.
Following these steps will allow you to identify any potential issues with your thermostat and determine whether it is indeed the cause of the HVAC system malfunction. If you have successfully diagnosed the thermostat as the culprit, you can proceed with the necessary repairs or consider contacting a professional technician for further assistance.
Next, we will discuss how to test the thermostat for proper functionality to further validate your diagnosis and determine the best course of action.
Testing the Thermostat
Once you have diagnosed a potentially faulty thermostat, it’s important to test its functionality to further validate your diagnosis and determine the next steps. Testing the thermostat involves verifying if it can accurately sense and control temperature and communicate effectively with the HVAC system. Follow these steps to test your thermostat:
- Turn Off Power: Before testing the thermostat, make sure to turn off the power to your HVAC system to avoid any accidents or damages.
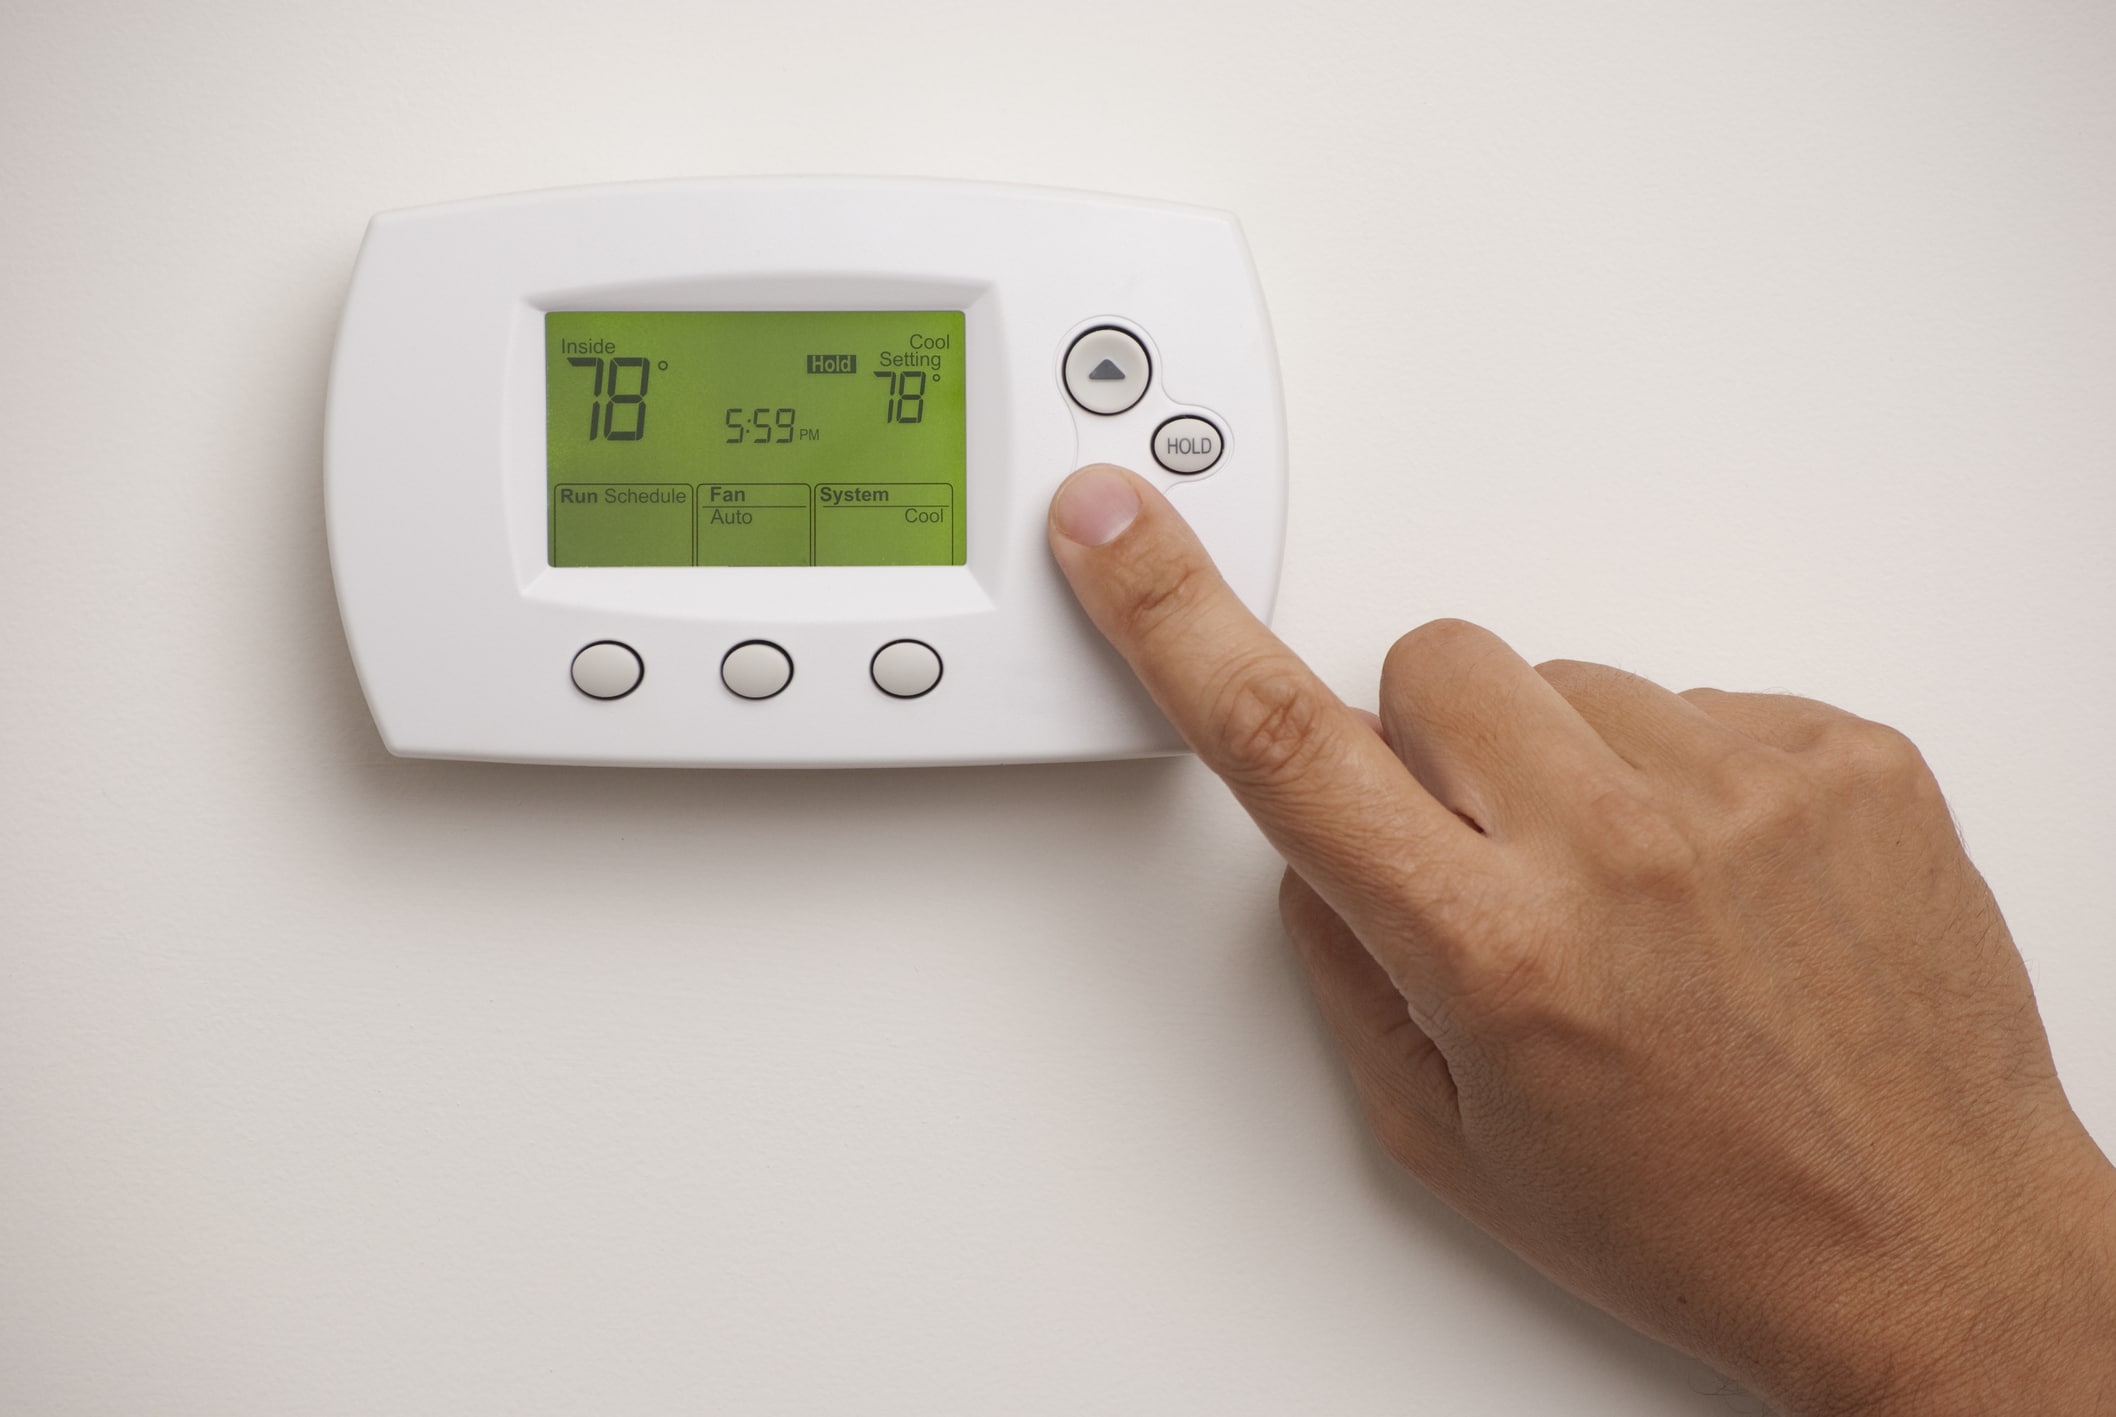
- Adjust Set Temperature: Set the thermostat to a target temperature that is different from the current room temperature.
- Wait for Response: Wait for a few minutes to allow the thermostat to register the new temperature setting and observe if the HVAC system responds accordingly.
- Check for Changes: Pay close attention to the behavior of the HVAC system. If the system turns on and off as expected to reach the target temperature, it indicates that the thermostat is functioning properly. However, if there is no response or the system does not reach the desired temperature, it confirms that the thermostat is indeed faulty.
- Calibration Check: If you suspect that the thermostat is not accurately sensing temperature, you can perform a simple calibration check. Use a separate thermometer and place it near the thermostat. Compare the reading on the thermometer with the temperature displayed on the thermostat. If there is a significant discrepancy, it may indicate the need for thermostat recalibration or replacement.
- Testing Other Features: If your thermostat has additional features such as fan control or programmable settings, test them to ensure their proper functionality. Adjust the settings and check if the thermostat responds accordingly.
By following these testing steps, you can confirm whether the thermostat is indeed the cause of the HVAC issues and determine the appropriate course of action. If the thermostat proves to be faulty, you may consider replacing it or seeking the assistance of a professional technician for further evaluation and repair.
Next, we will explore the importance of checking for voltage issues and how it can affect the thermostat’s functionality.
If your HVAC system is not reaching the set temperature or constantly running, it could be a sign of a bad thermostat. Use a separate thermometer to compare the actual room temperature with the thermostat reading to diagnose the issue.
Read more: How To Change HVAC Thermostat
Checking for Voltage Issues
When diagnosing a bad thermostat, it’s important to check for voltage issues as they can significantly impact its functionality. Voltage problems can occur due to wiring issues, electrical failures, or power supply problems. Here’s a step-by-step guide on how to check for voltage issues:
- Turn Off Power: Before conducting any voltage tests, ensure that the power to your HVAC system is turned off to prevent electrical accidents or shocks.
- Prepare the Multimeter: If you’re using a multimeter to check for voltage, set it to the proper voltage measurement range. Follow the manufacturer’s instructions for your specific multimeter model.
- Test the Power Supply: Begin by testing the power supply that feeds the thermostat. Locate the wiring connections where the power supply enters the thermostat. Using the multimeter, place the probes on the hot and neutral wires. The multimeter should display the appropriate voltage reading. If there is no voltage, it indicates a power supply issue that needs to be addressed.
- Check Voltage Across Thermostat Terminals: After confirming the power supply, check for voltage across the thermostat terminals. With the HVAC system on and the thermostat set to call for cooling or heating, place the multimeter probes on the appropriate terminals. If voltage is present, it indicates that power is reaching the thermostat correctly.
- Test Voltage at Other Connections: To ensure proper function of the thermostat, test the voltage at other relevant connections such as the fan control or auxiliary heat. Each connection should deliver the expected voltage depending on the specific HVAC setup.
- Note Any Irregularities: If you encounter any irregularities such as inconsistent voltage readings or no voltage at all, it may indicate wiring issues or electrical failures. Note down any discrepancies or abnormal readings for further inspection or professional assistance.
Checking for voltage issues is crucial in diagnosing a bad thermostat. If you discover any voltage problems, it’s recommended to consult a professional HVAC technician. They can accurately assess the electrical system, address any wiring issues, or make any necessary repairs to ensure the proper functioning of your thermostat and HVAC system.
Next, we will discuss the importance of inspecting and cleaning the thermostat as part of the diagnostic process.
Inspecting and Cleaning the Thermostat
As part of the diagnostic process for a bad thermostat, it’s important to inspect and clean the device. Over time, dirt, dust, and debris can accumulate, affecting the thermostat’s performance. Here’s a step-by-step guide on how to inspect and clean your thermostat:
- Turn Off Power: Before you begin inspecting and cleaning the thermostat, make sure to turn off the power to your HVAC system to avoid any potential electrical accidents.
- Remove the Thermostat Cover: Use a screwdriver to carefully remove the cover of the thermostat. This will expose the internal components for inspection and cleaning.
- Inspect for Dust and Debris: Take a close look at the internal components of the thermostat. Inspect for any visible dust, dirt, or debris that may have accumulated over time. Pay special attention to the wires, contacts, and temperature sensor.
- Clean with a Soft Brush or Cloth: Use a small brush or a soft cloth to gently remove any dust or debris from the thermostat’s internal components. Be careful not to apply too much pressure or damage any delicate parts.
- Clean the Thermostat Cover: While you have the thermostat cover removed, take the opportunity to clean it as well. Use a damp cloth to wipe away any dirt or smudges on the cover’s surface. Make sure it is completely dry before reattaching it.
- Reattach the Cover: Once you have finished cleaning, carefully reattach the thermostat cover using the screwdriver. Ensure that it is securely fastened.
Regularly inspecting and cleaning your thermostat helps maintain its efficiency and prolong its lifespan. By removing any accumulated dirt or debris, you can ensure clear communication between the internal components of the thermostat and improve its overall performance.
However, bear in mind that not all thermostats are designed to be opened or cleaned by homeowners. Some thermostats may require professional maintenance or cleaning. If you are unsure or uncomfortable with inspecting and cleaning your thermostat, it’s best to consult a professional HVAC technician who can provide expert guidance and assistance.
Now that we have covered the importance of inspecting and cleaning the thermostat, let’s move on to discuss the possible causes of thermostat malfunction.
Possible Causes of Thermostat Malfunction
When diagnosing a bad thermostat, it’s important to consider the possible causes of its malfunction. Understanding these causes can help you identify the root of the problem and determine the necessary steps for repair or replacement. Here are some common causes of thermostat malfunction:
- Electrical Issues: Faulty electrical connections, loose wiring, or power supply problems can cause the thermostat to malfunction. Check for any loose or damaged wires and ensure that the power supply is stable and reaching the thermostat correctly.
- Dirt and Debris: Dust, dirt, or debris accumulation inside the thermostat can interfere with its internal components, affecting its performance. Regularly cleaning and inspecting the thermostat can help mitigate this issue.
- Temperature Sensor Problems: The temperature sensor, also known as a thermistor, is responsible for measuring the room temperature and sending signals to the HVAC system. If the sensor is faulty, it may provide inaccurate temperature readings, leading to issues with temperature regulation.
- Programming Errors: If your thermostat has programmable features and settings, programming errors can cause malfunctioning. Double-check the thermostat’s programming to ensure that it accurately reflects your desired temperature settings and schedule.
- Battery Issues: If your thermostat operates on batteries, low or dead batteries can result in erratic behavior or failure to function. Replace the batteries with fresh ones to see if it resolves the issue.
- Physical Damage: Physical damage to the thermostat, such as a cracked screen or broken buttons, can render it non-functional. Inspect the thermostat for any visible signs of damage and consider replacement if necessary.
- Compatibility Problems: If you recently replaced your HVAC system or upgraded your thermostat, ensure that they are compatible with each other. Incompatible components can cause the thermostat to malfunction or fail to communicate effectively with the HVAC system.
Identifying the possible causes of thermostat malfunction can help narrow down the issue and determine the appropriate course of action. If basic troubleshooting and DIY measures do not resolve the problem, it’s advisable to consult a professional HVAC technician. They can provide specialized expertise and diagnose the issue accurately, ensuring the efficient operation of your thermostat and HVAC system.
Now that we have explored the possible causes of thermostat malfunction, let’s conclude our discussion.
Conclusion
Diagnosing a bad thermostat is crucial for maintaining optimal comfort and efficiency in your home’s HVAC system. By recognizing the common symptoms of a faulty thermostat and following the step-by-step guide, you can identify and address any issues that may arise. Remember to gather the necessary tools and equipment, such as a screwdriver and multimeter, before beginning the diagnosis process.
During the diagnostics, pay attention to inconsistent temperatures, unresponsive controls, frequent cycling, constantly running HVAC systems, inaccurate temperature readings, and lack of display. These symptoms can be an indication that your thermostat is malfunctioning and requires attention.
Testing the thermostat can further validate your diagnosis. Adjust the set temperature, observe the HVAC system’s response, and conduct a calibration check if necessary. This will help you confirm whether the thermostat is indeed the cause of the issues.
Additionally, checking for voltage issues and inspecting and cleaning the thermostat are essential steps in the diagnosis process. Voltage problems can impact the thermostat’s functionality and should be addressed promptly. Regular inspections and cleaning help maintain the thermostat’s efficiency and prevent performance issues caused by dirt and debris accumulation.
Remember that several factors can contribute to thermostat malfunction, including electrical issues, temperature sensor problems, programming errors, battery issues, physical damage, and compatibility problems. Understanding these potential causes will enable you to troubleshoot and address the issue appropriately.
If your DIY efforts do not resolve the problem, it’s recommended to seek the expertise of a professional HVAC technician. They have the necessary knowledge and experience to accurately diagnose and repair or replace your thermostat as needed.
By following the steps outlined in this guide and seeking professional assistance when necessary, you can ensure the efficient and reliable operation of your thermostat and HVAC system, keeping your home comfortable all year round.
Frequently Asked Questions about How To Diagnose A Bad HVAC Thermostat
Was this page helpful?
At Storables.com, we guarantee accurate and reliable information. Our content, validated by Expert Board Contributors, is crafted following stringent Editorial Policies. We're committed to providing you with well-researched, expert-backed insights for all your informational needs.


0 thoughts on “How To Diagnose A Bad HVAC Thermostat”