
Articles
How To Change HVAC Thermostat
Modified: September 1, 2024
Learn how to change your HVAC thermostat with our helpful articles. Step-by-step instructions and expert tips to make the process quick and easy.
(Many of the links in this article redirect to a specific reviewed product. Your purchase of these products through affiliate links helps to generate commission for Storables.com, at no extra cost. Learn more)
Introduction
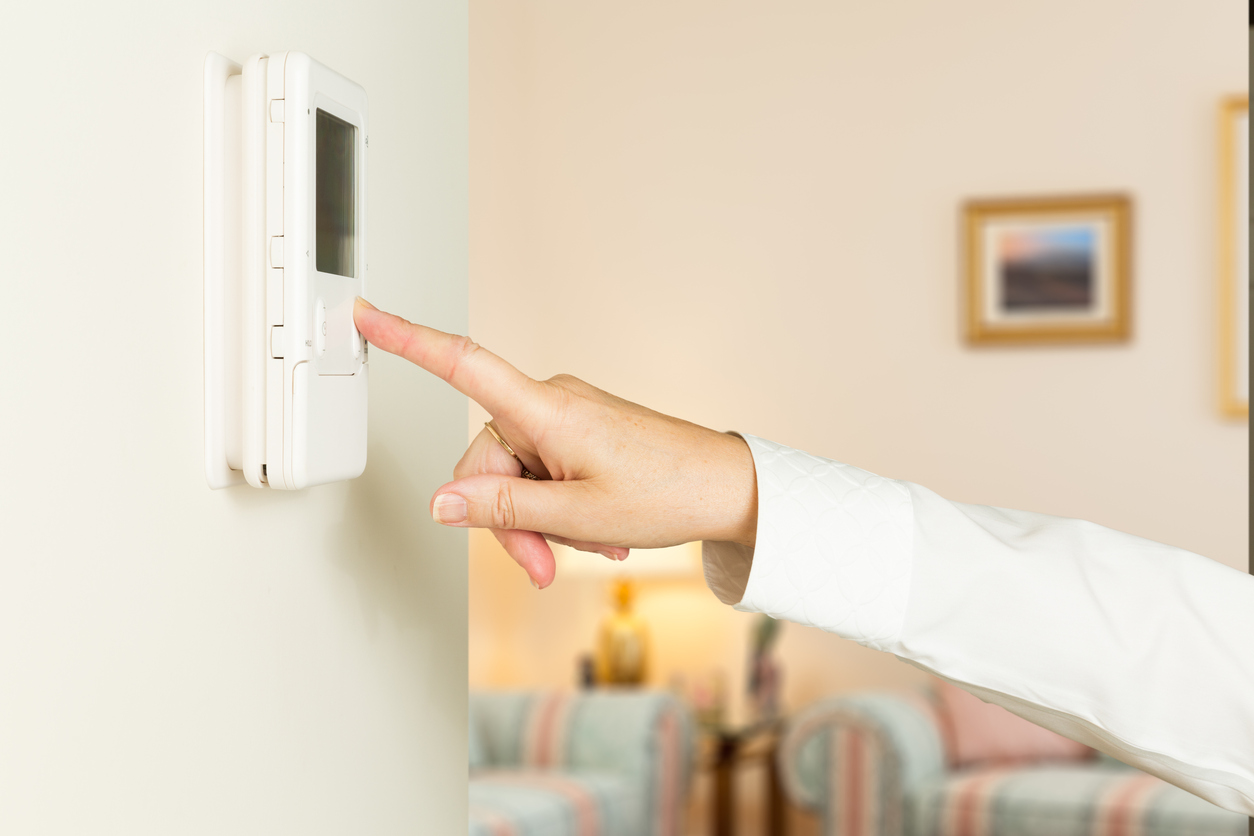
When it comes to maintaining a comfortable indoor environment, the HVAC (Heating, Ventilation, and Air Conditioning) system plays a crucial role. The thermostat, as the control center of the HVAC system, allows users to set and regulate the temperature within their homes or offices.
Over time, you may find the need to change your HVAC thermostat. Whether it’s due to a malfunctioning unit or simply upgrading to a more advanced model, replacing a thermostat can be a relatively simple task that can save you money and improve the efficiency of your HVAC system.
In this article, we will provide you with a step-by-step guide on how to change your HVAC thermostat. We will cover everything from gathering the necessary tools, shutting off the power, removing the old thermostat, installing the new thermostat, connecting the wiring, restoring the power, and setting up the new thermostat.
By following these instructions, you will be able to confidently replace your thermostat and maintain a comfortable indoor environment in no time.
Key Takeaways:
- Save time and effort by gathering necessary tools before changing your HVAC thermostat. Prioritize safety by shutting off power and securely connecting wiring for a smooth and successful installation process.
- Enjoy optimal temperature control and energy efficiency by setting up your new thermostat according to manufacturer’s instructions. Upgrade to a modern, programmable model for a comfortable living space while saving on energy consumption.
Read more: How To Change HVAC Capacitor
Step 1: Gather the necessary tools
Before you begin the process of changing your HVAC thermostat, it’s important to gather all the necessary tools. Having the right tools on hand will ensure a smooth installation process and avoid any unnecessary delays. Here are the tools you’ll need:
- Screwdriver – You will likely need a Phillips or flat-head screwdriver, depending on the type of screws used to mount your thermostat.
- Ladder – If your thermostat is located on a high wall, you may need a ladder to safely reach and remove the old thermostat and install the new one.
- Wire stripper – In some cases, you may need to strip the insulation off the wires to connect them properly to the new thermostat.
- Electrical tape – Electrical tape can be used to secure and insulate the wired connections, preventing any shorts or loose connections.
- Labels or masking tape – It’s a good idea to label the wires as you disconnect them from the old thermostat. This will help you remember which wire goes where when installing the new thermostat.
By ensuring you have all these tools at your disposal before starting the process, you’ll save yourself valuable time and effort.
Step 2: Shut off the power
Before you start working on your HVAC thermostat, it’s crucial to shut off the power to prevent any electrical mishaps. Here’s how you can safely shut off the power:
- Locate and turn off the circuit breaker – The HVAC system will have a dedicated circuit breaker in your electrical panel. Find the breaker labeled for the HVAC system and switch it to the “off” position. This will cut off the power supply to the thermostat and prevent any electric shock hazards.
- Double-check the power is off – Once you have turned off the circuit breaker, it’s a good idea to double-check that the power is indeed off. Go to your thermostat and try turning on the heating or cooling mode. If nothing kicks on, it means you have successfully shut off the power.
Remember, safety should always be the priority when working with electrical components. By shutting off the power before proceeding, you reduce the risk of electric shock and damage to the HVAC system.
Step 3: Remove the old thermostat
Now that the power is shut off, you can safely remove the old thermostat from the wall. Follow these steps to remove the old thermostat:
- Remove the thermostat cover – Most thermostat covers are held in place by small clips or screws. Use a screwdriver to loosen any screws or gently pull the cover to detach it from the wall.
- Take note of the wiring – Inside the thermostat, you will see a series of wires connected to terminals. Take a picture or make note of which wires are connected to which terminals. This will help you when connecting the wires to the new thermostat.
- Disconnect the wires – Carefully loosen the screws or terminal connectors that are securing the wires to the thermostat’s terminals. As you disconnect each wire, use your labels or masking tape to mark them accordingly.
- Remove the mounting plate – Once the wires are disconnected, you can remove the mounting plate of the old thermostat. Gently unscrew any screws or clips holding it in place.
- Inspect the wall – With the old thermostat removed, take a moment to inspect the wall for any damage or debris. Clean up any dust or residue, and repair any holes or paint damage if necessary.
By following these steps, you can safely remove the old thermostat and prepare the wall for the installation of the new thermostat.
Step 4: Install the new thermostat
Now that you’ve successfully removed the old thermostat, it’s time to install the new thermostat. Follow these steps to properly install the new thermostat:
- Position the mounting plate – Take the mounting plate that came with your new thermostat and position it on the wall. Make sure it is level and aligns with any existing holes or wiring in the wall.
- Secure the mounting plate – Once the mounting plate is in the desired position, use screws or clips provided with the new thermostat to secure it to the wall. Ensure it is firmly attached and level.
- Prepare the new thermostat – If your new thermostat has batteries, insert them according to the manufacturer’s instructions. This step may not be necessary if your thermostat is powered by the HVAC system itself.
- Attach the thermostat to the mounting plate – With the mounting plate securely in place, align the slots or connectors on the back of the thermostat with the corresponding tabs on the mounting plate. Gently press the thermostat onto the plate until it snaps into place.
- Double-check the stability – Give the thermostat a slight tug to ensure it is firmly attached to the mounting plate. You don’t want it to come loose once the wiring is connected.
By following these steps, you will have successfully installed the new thermostat onto the wall. The next step is to connect the wiring and ensure everything is properly connected.
When changing your HVAC thermostat, make sure to turn off the power to the unit before beginning. This will prevent any electrical accidents and ensure a safe installation process.
Read more: How To Change A Hotel Thermostat
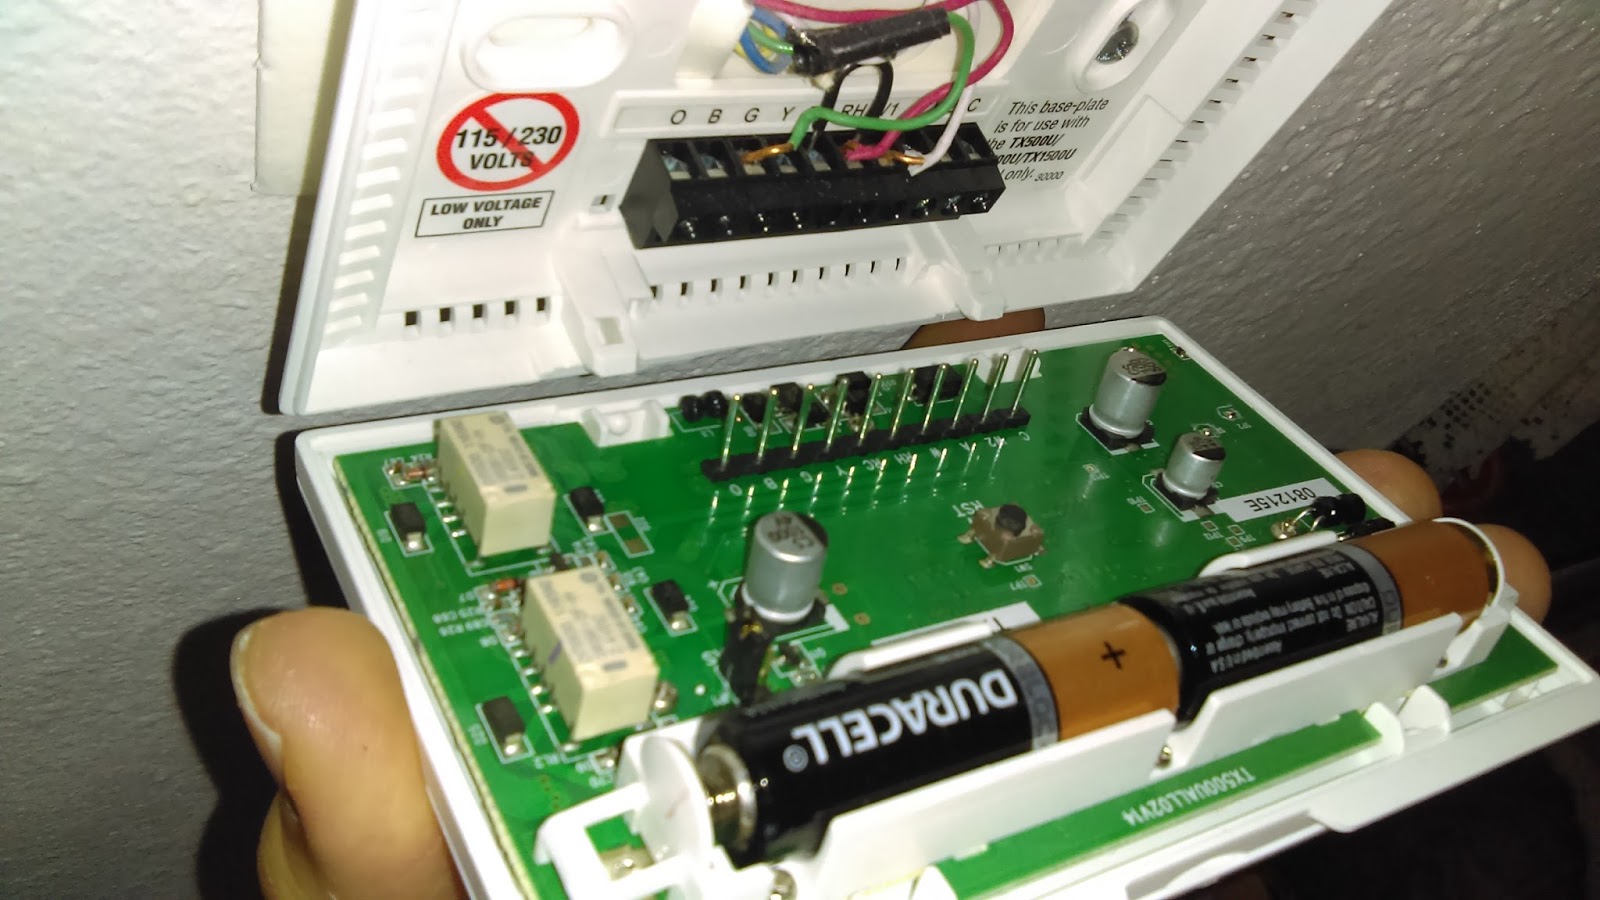
Step 5: Connect the wiring
With the new thermostat securely installed, it’s time to connect the wiring. Here’s how you can properly connect the wires to your new thermostat:
- Refer to the wiring labels – Take a look at the picture or notes you made when disconnecting the wires from the old thermostat. Each wire should have a corresponding label or marking to identify its purpose.
- Match the wires to the terminal labels – The new thermostat will have labeled terminals that correspond to the HVAC system’s different functions. Match each wire to its appropriate terminal based on your previous notes.
- Strip the wires (if necessary) – If the ends of the wires are covered with insulation, you may need to strip a small portion of the insulation off using a wire stripper. This will expose a clean copper wire for better connectivity.
- Connect the wires – Once the wires are stripped (if needed), insert each wire into its corresponding terminal on the new thermostat. Tighten the terminal screws securely to ensure proper contact.
- Double-check the connections – Give each wire a gentle tug to make sure it is securely attached. Loose connections can lead to malfunctions or intermittent issues.
It’s important to note that the color coding of wires may vary depending on the HVAC system and the thermostat model. Refer to the new thermostat’s manual or the manufacturer’s instructions for any specific wiring details.
By following these steps, you will have successfully connected the wiring for your new thermostat. The next step is to restore power and set up the new thermostat.
Step 6: Restore the power
Now that the wiring is correctly connected, it’s time to restore power to your HVAC system. Follow these steps to safely restore power:
- Locate the circuit breaker panel – Find the circuit breaker panel where you previously turned off the power to the HVAC system.
- Switch on the dedicated breaker – Locate the breaker that controls the power supply to your HVAC system and switch it back to the “on” position.
- Verify the power is restored – Once you’ve turned on the breaker, go to your new thermostat and ensure that power is restored. You may see the display light up or hear the HVAC system start running.
It’s important to note that it may take a few minutes for the HVAC system to fully power up and start responding to the new thermostat. Give it some time to initialize and adjust accordingly.
By following these steps, you will restore power to your HVAC system and be one step closer to enjoying the benefits of your new thermostat.
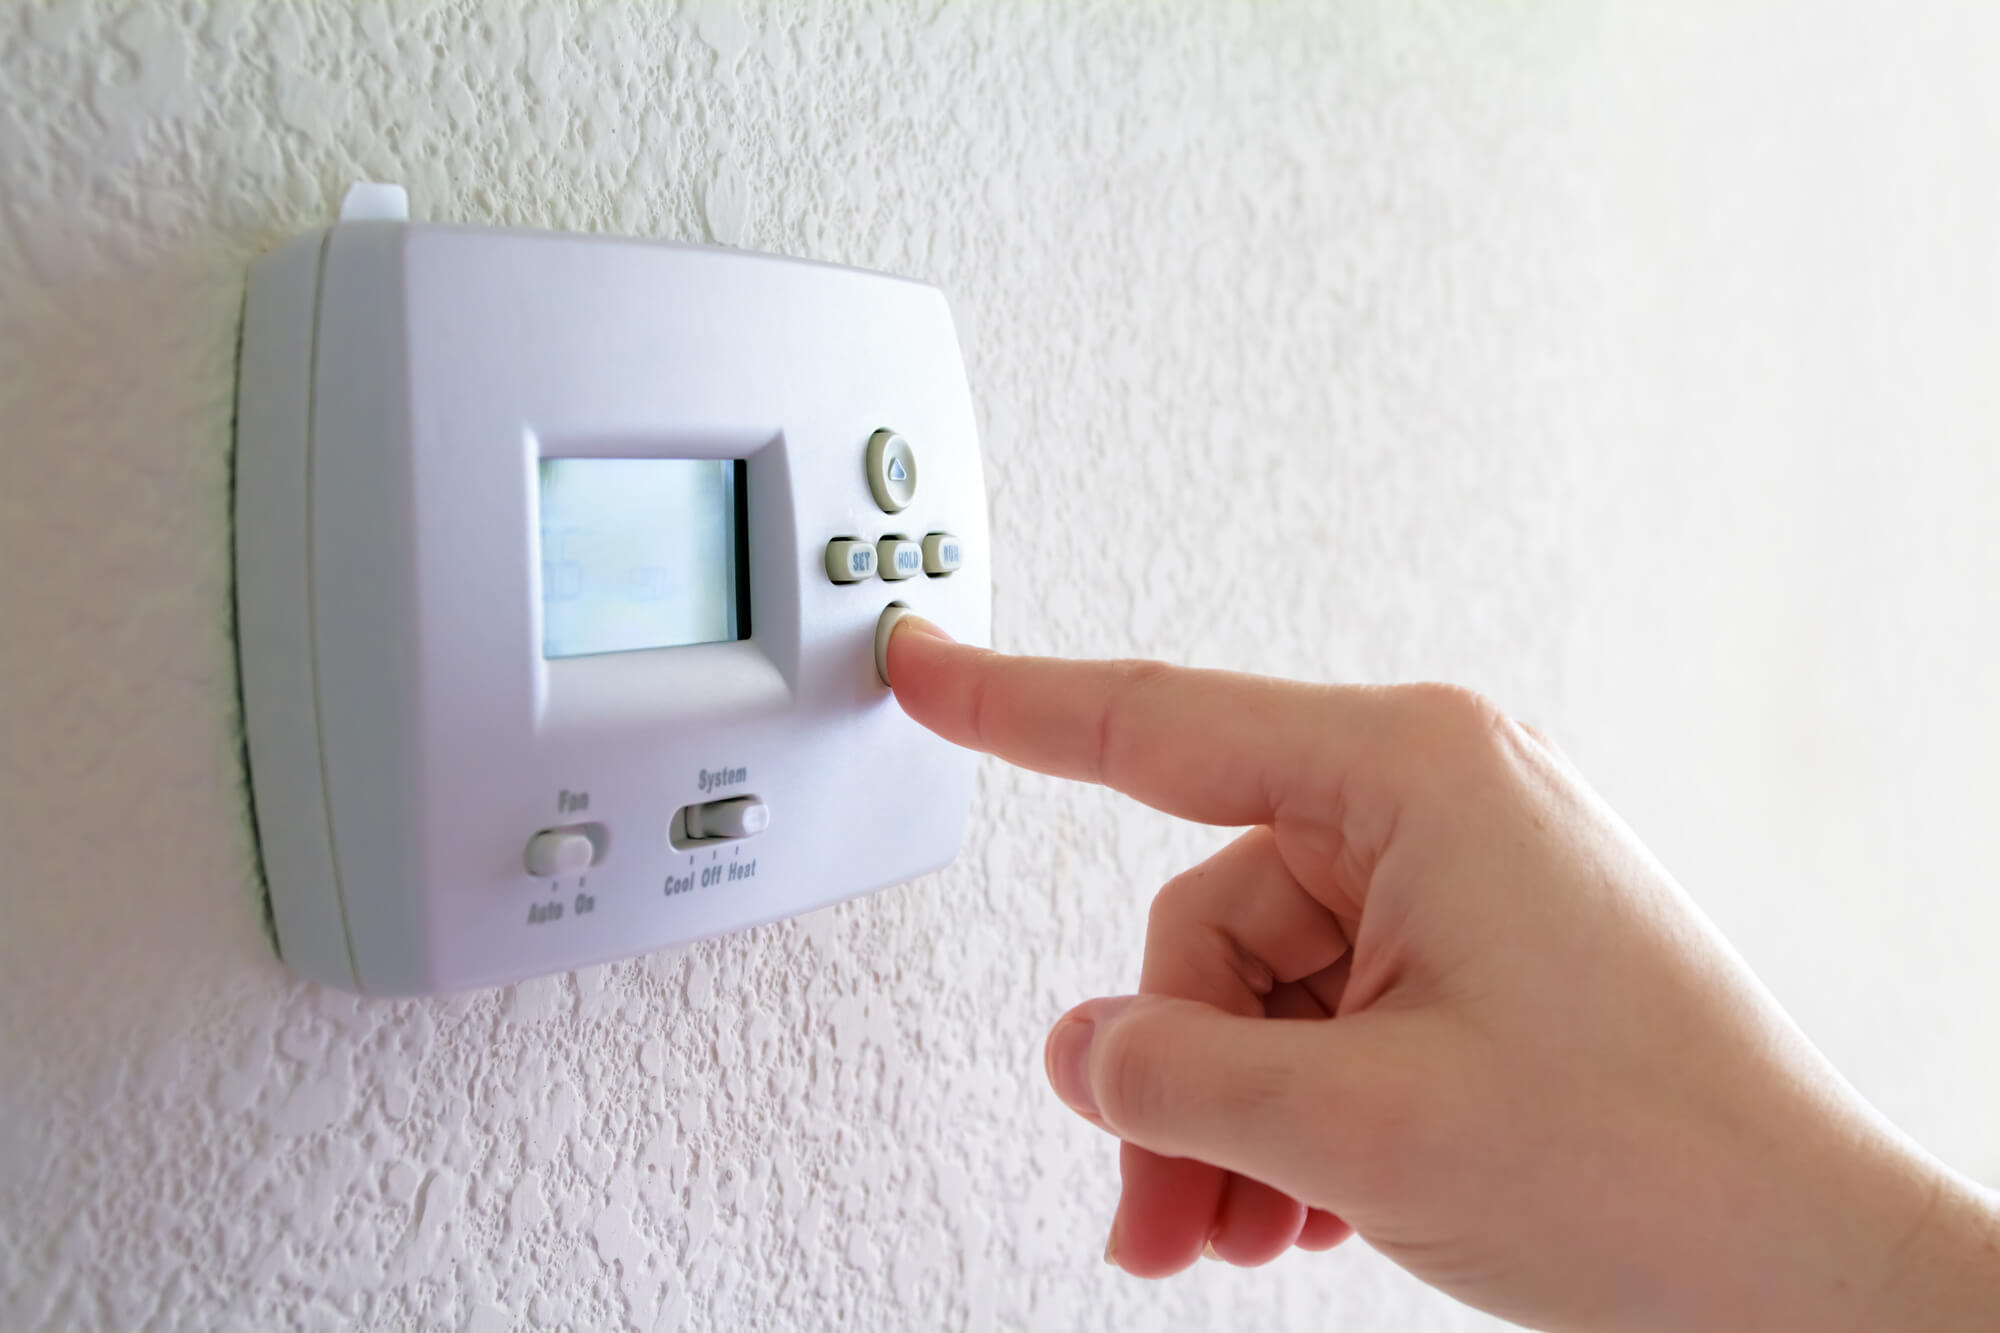
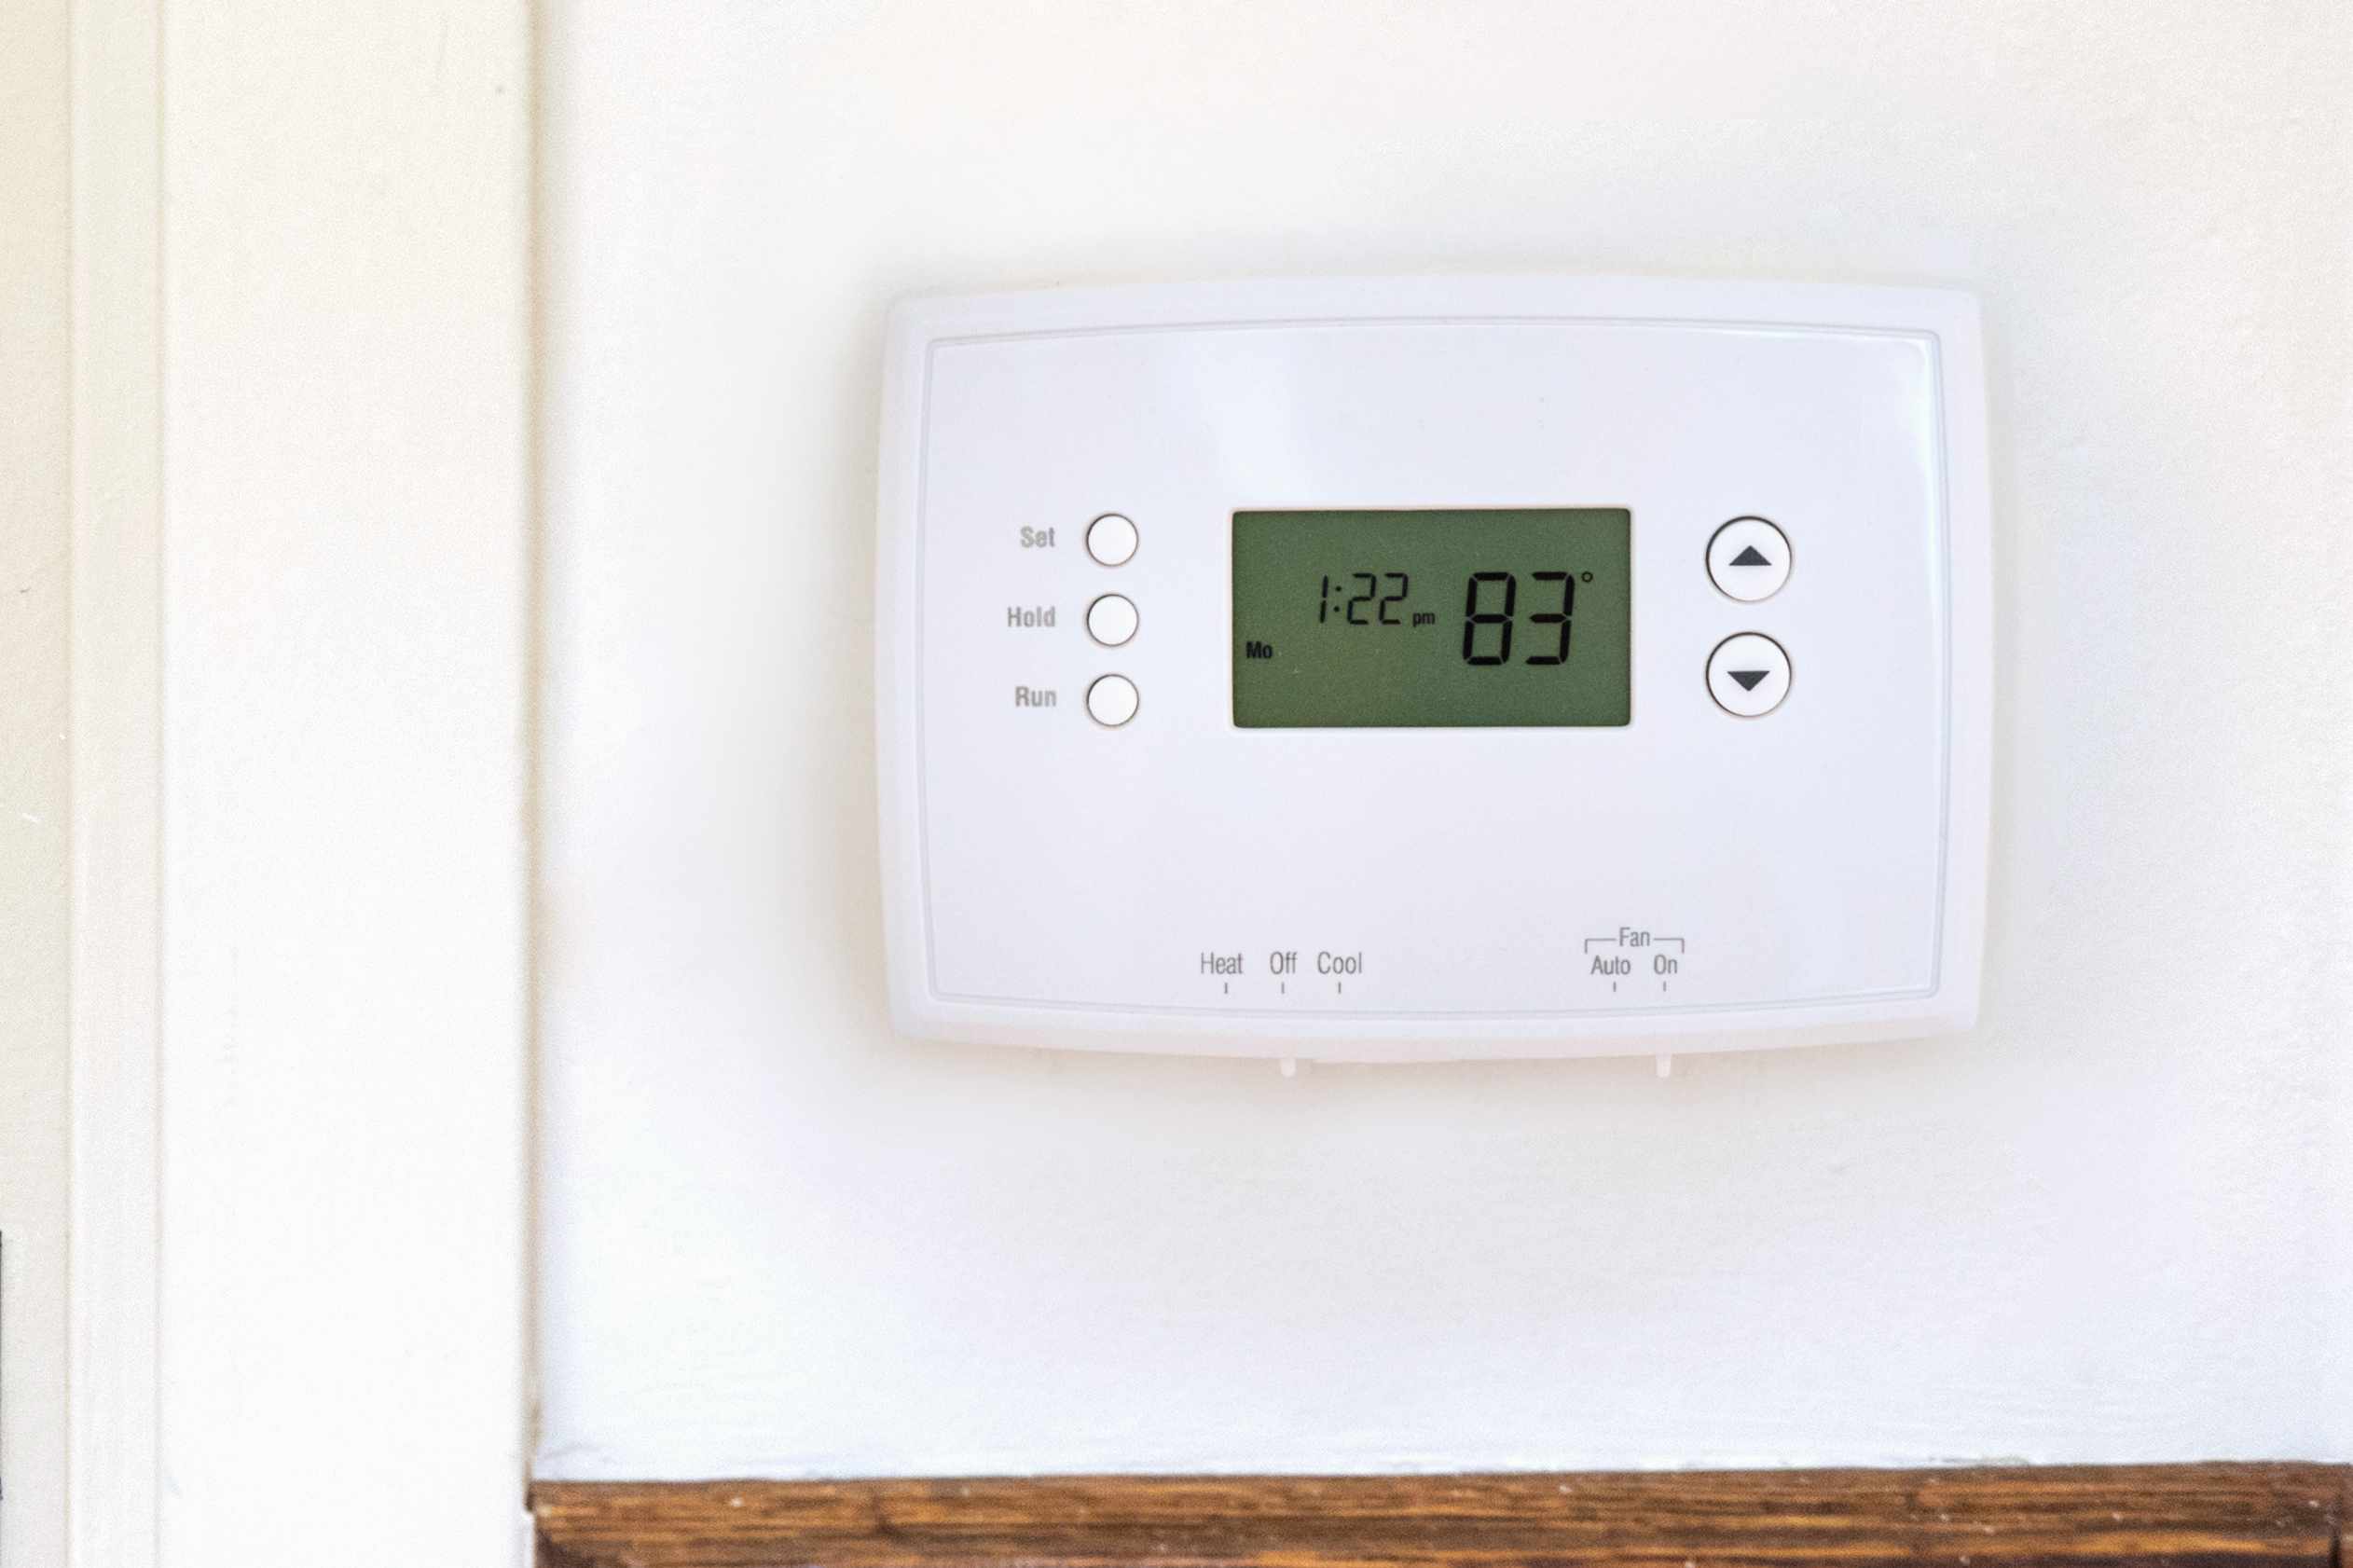
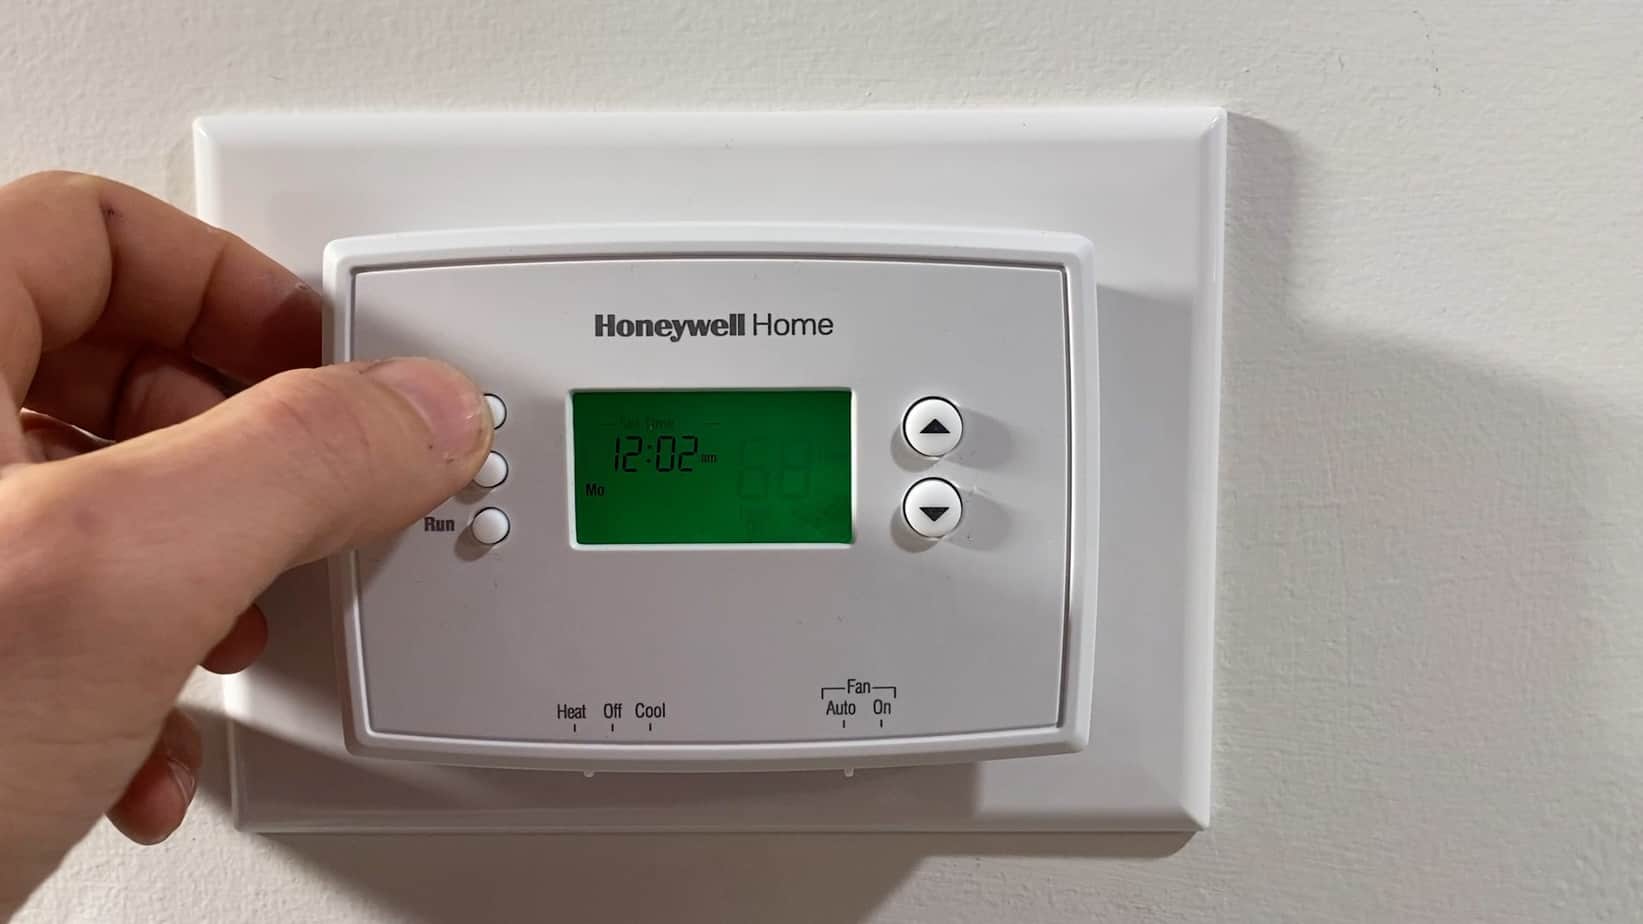
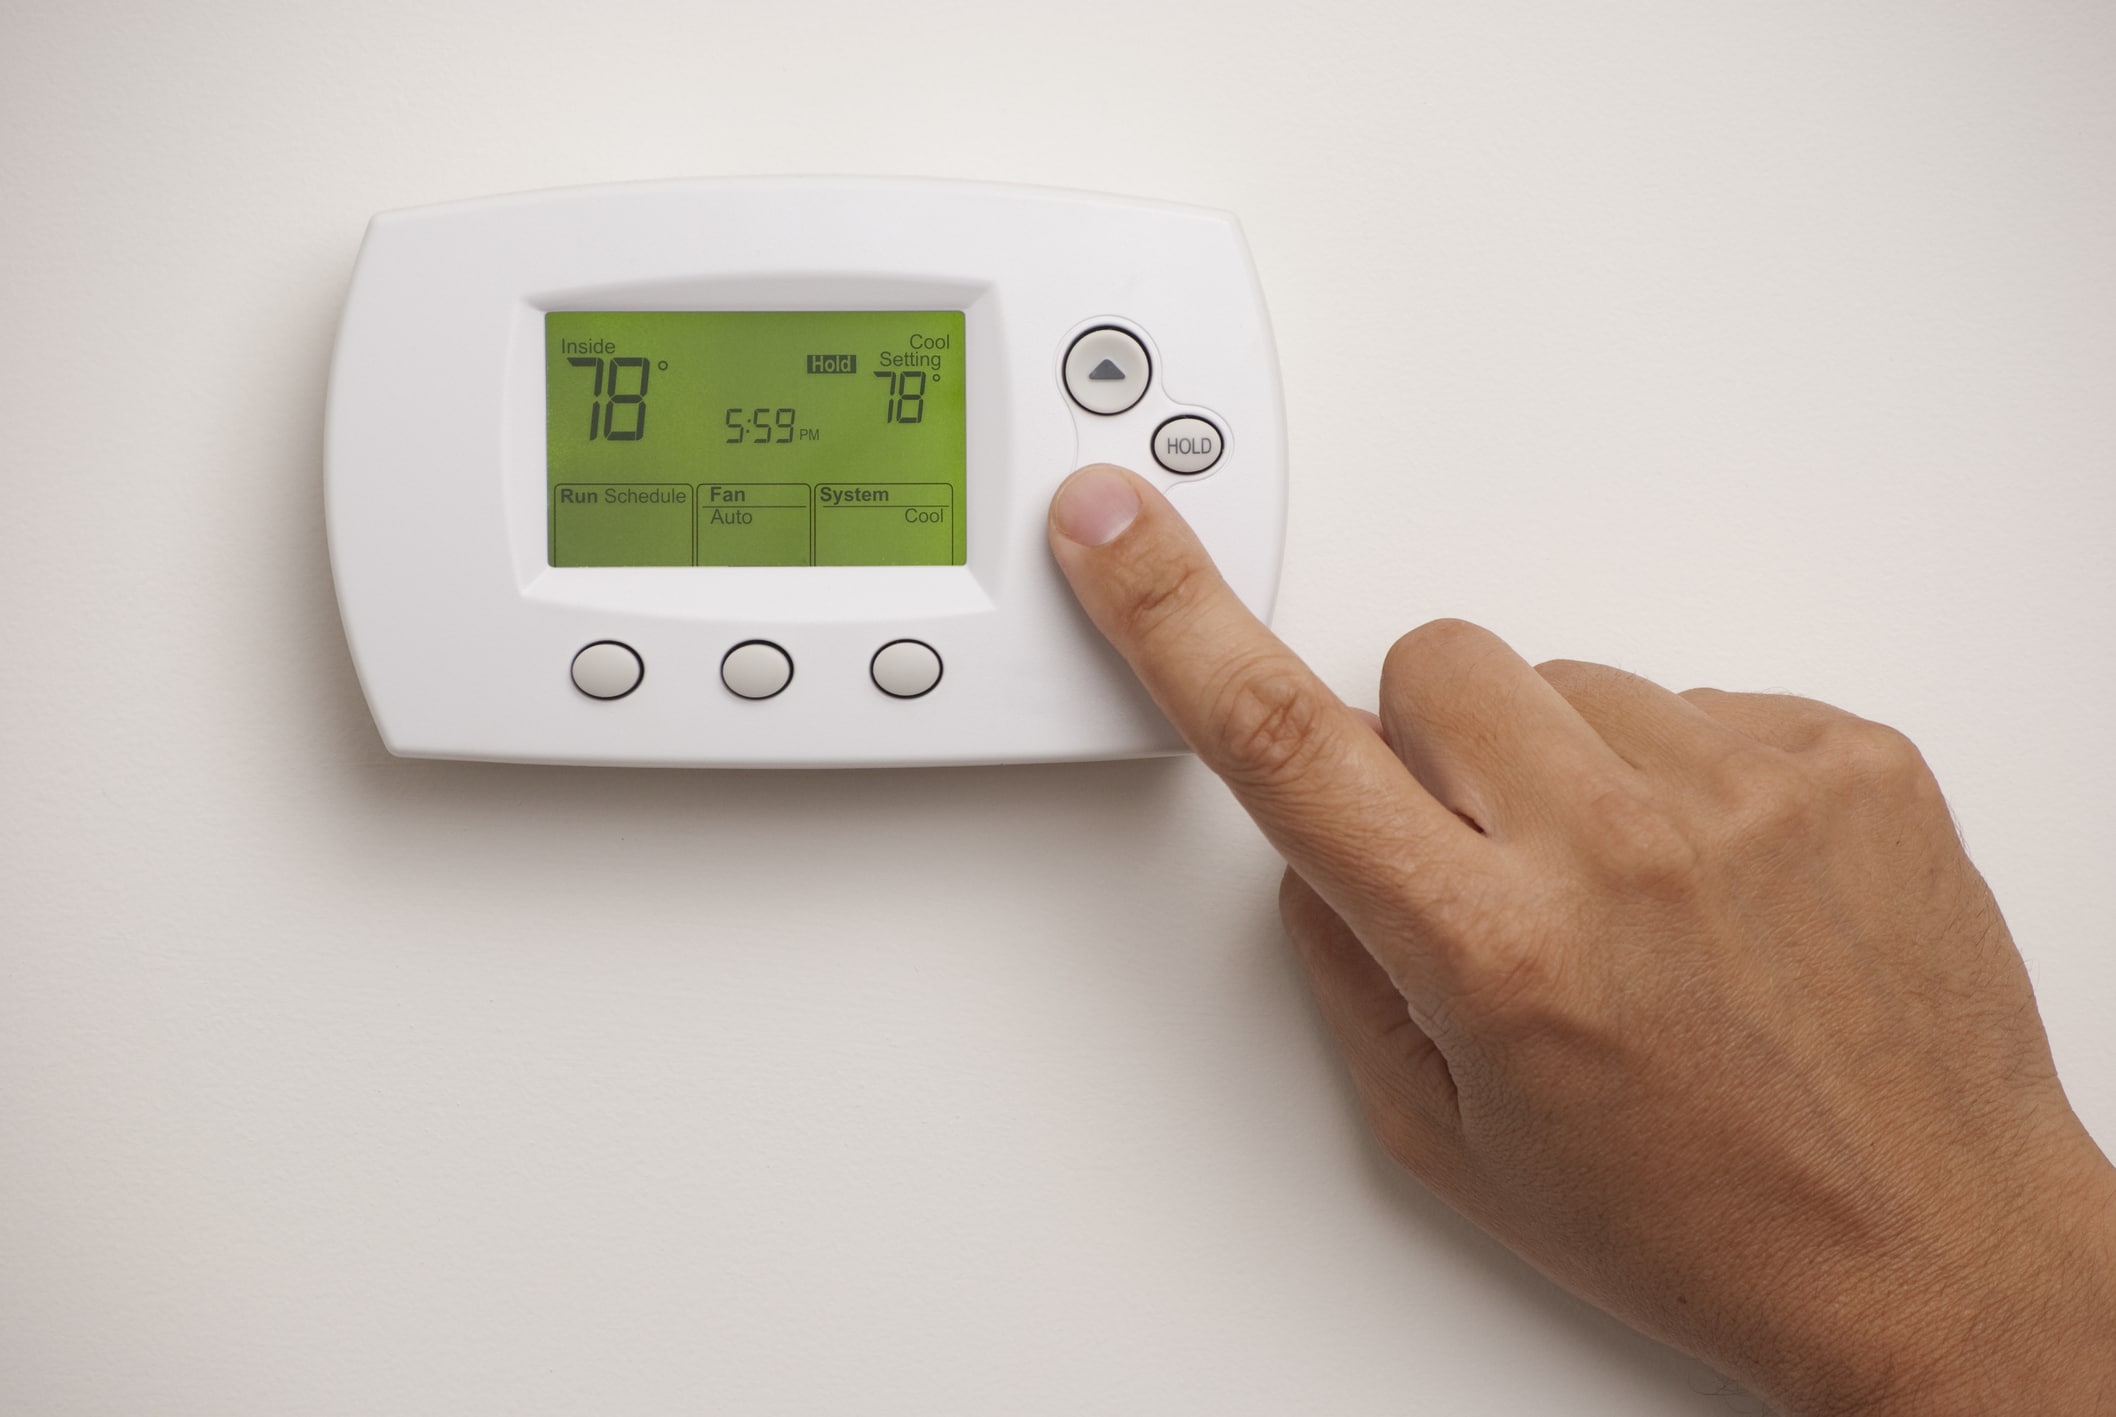
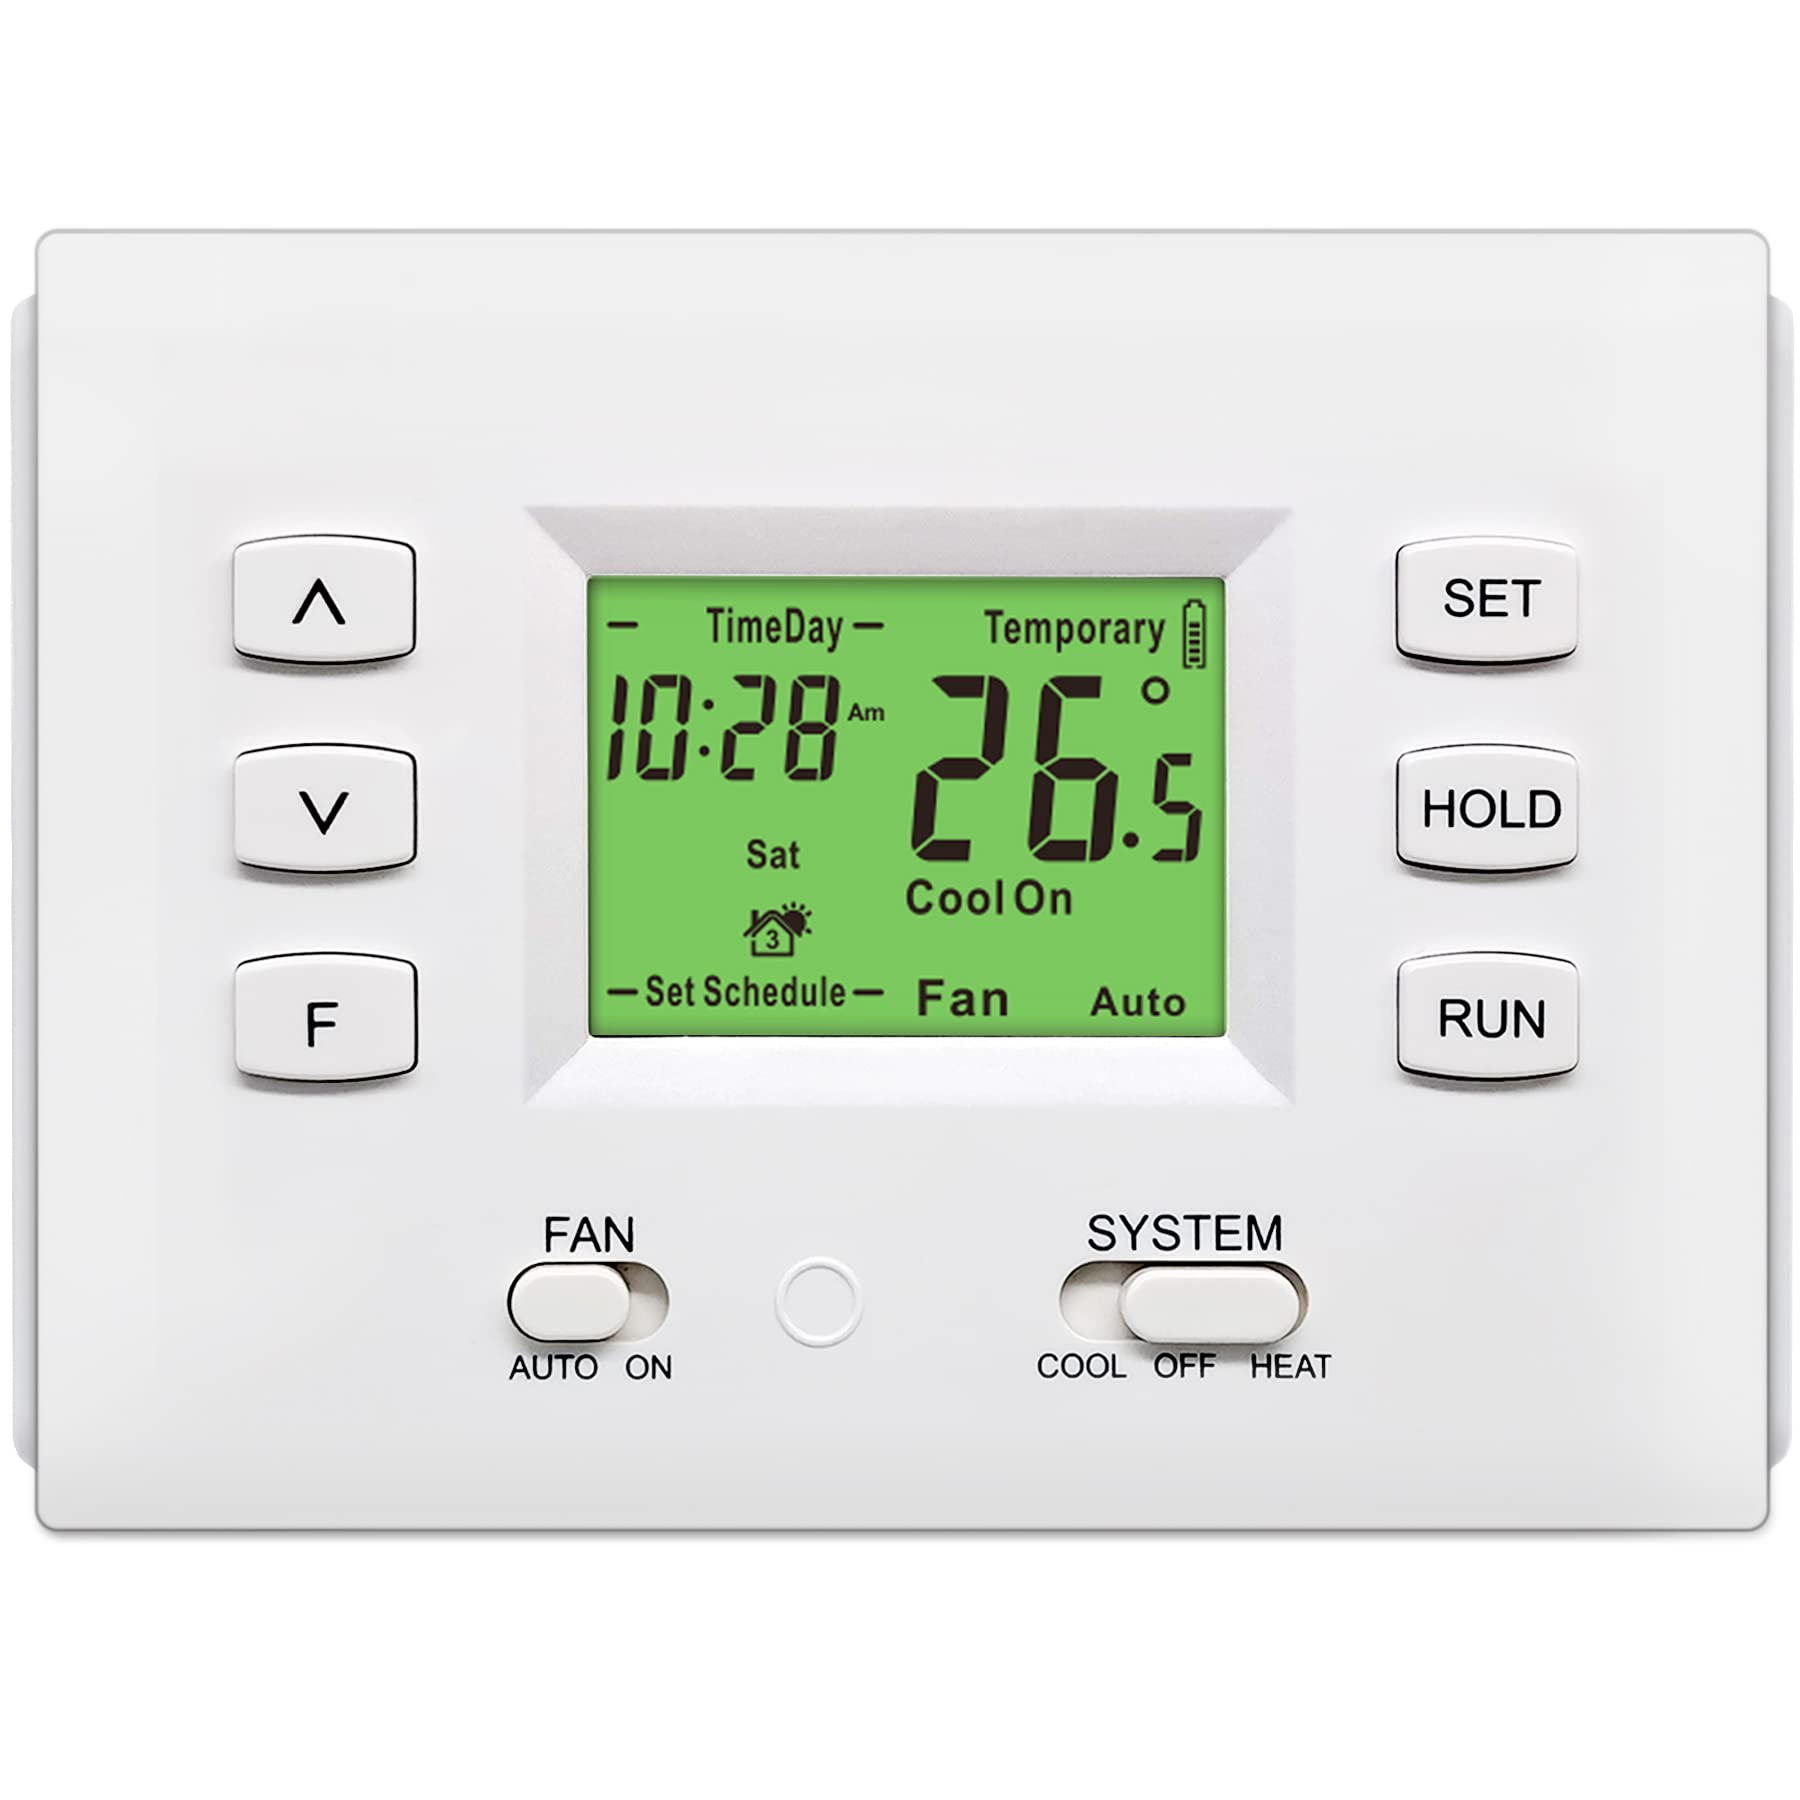
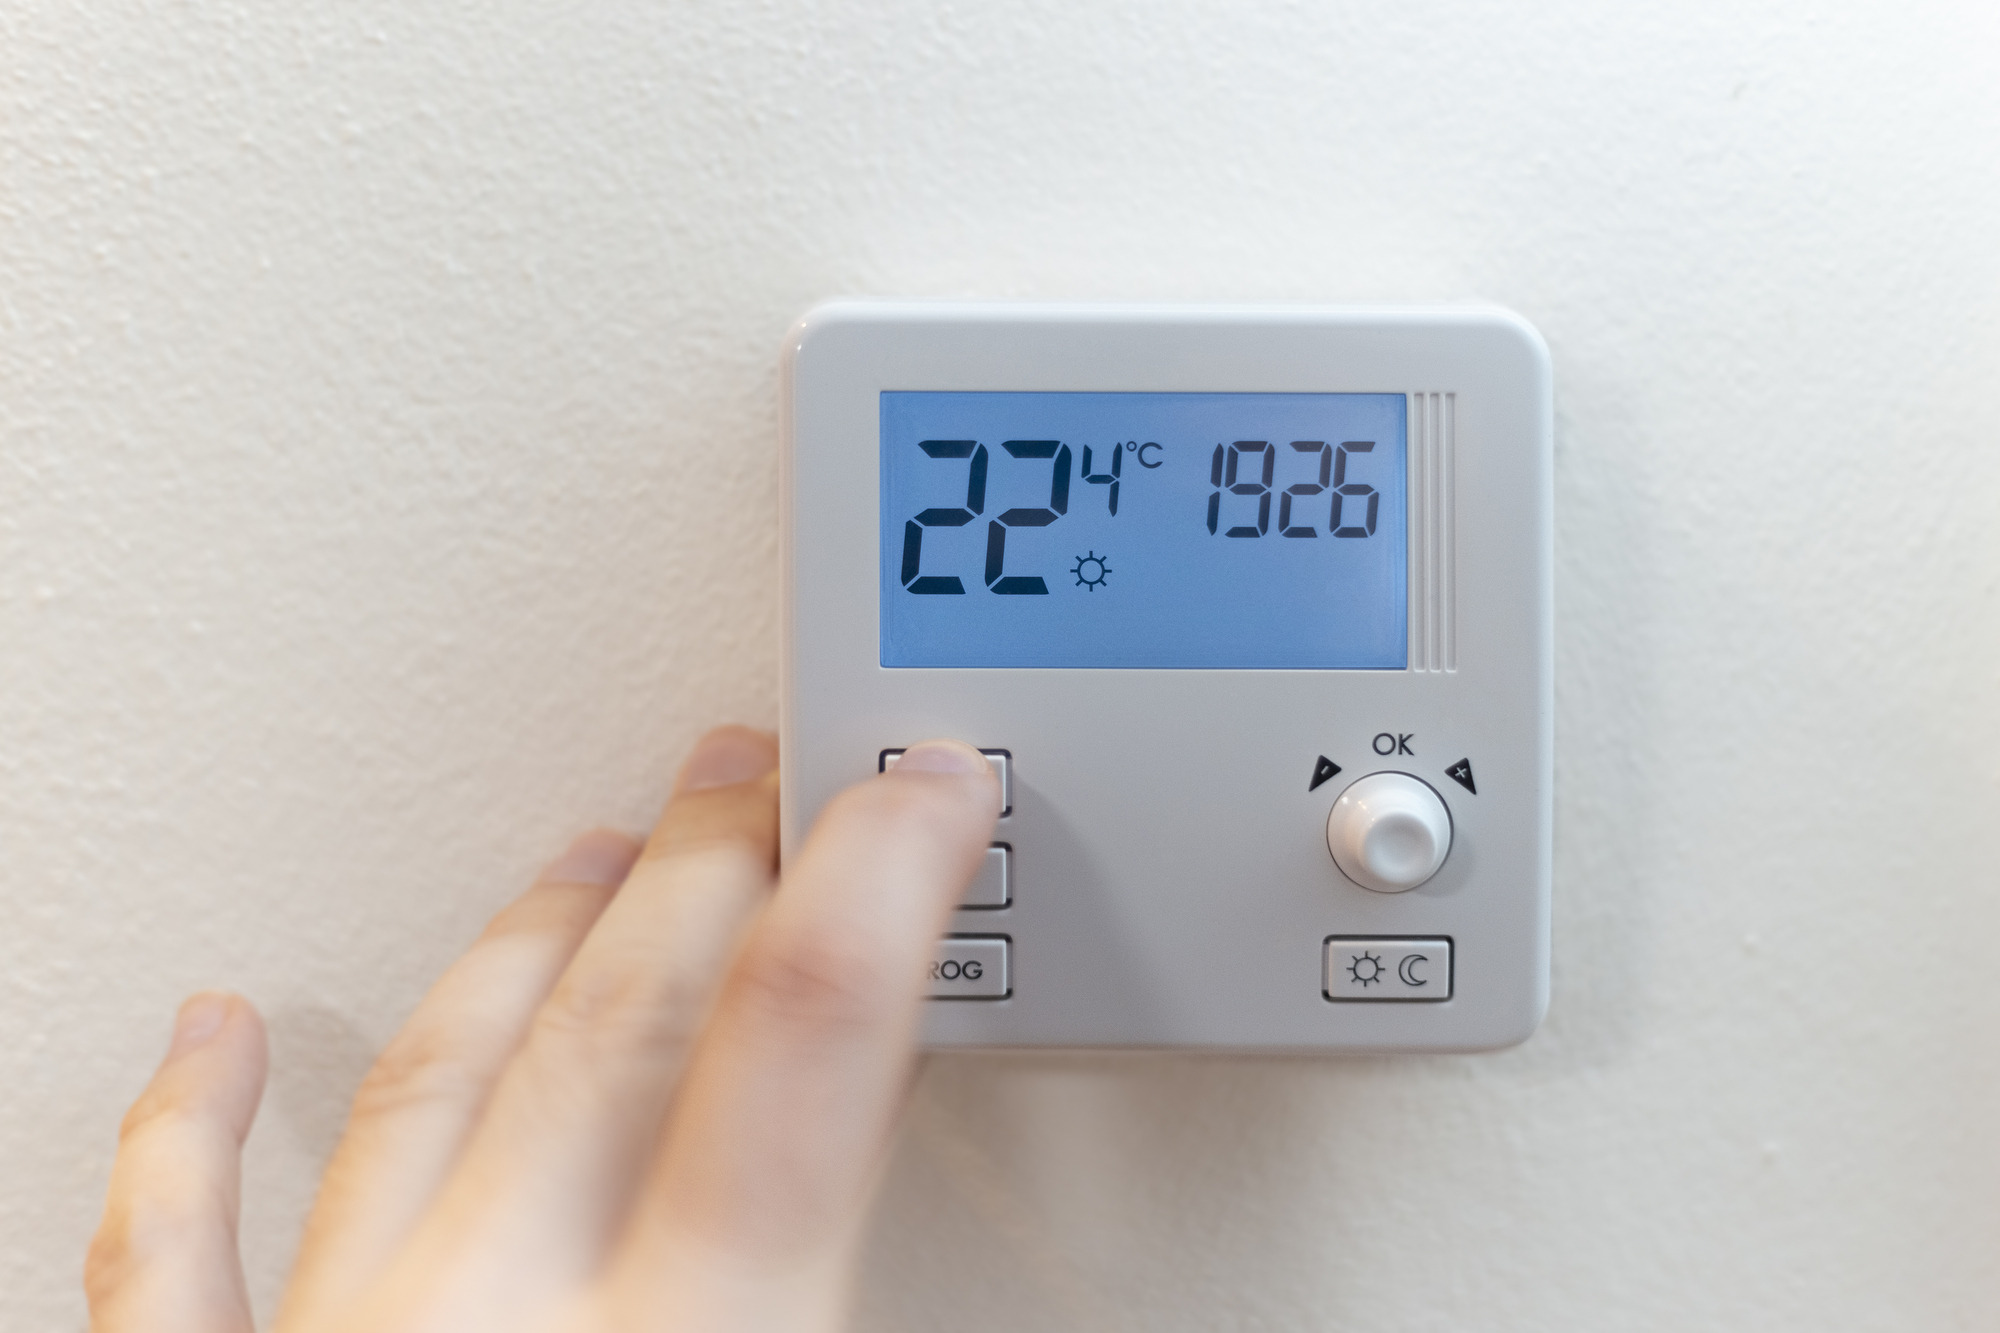
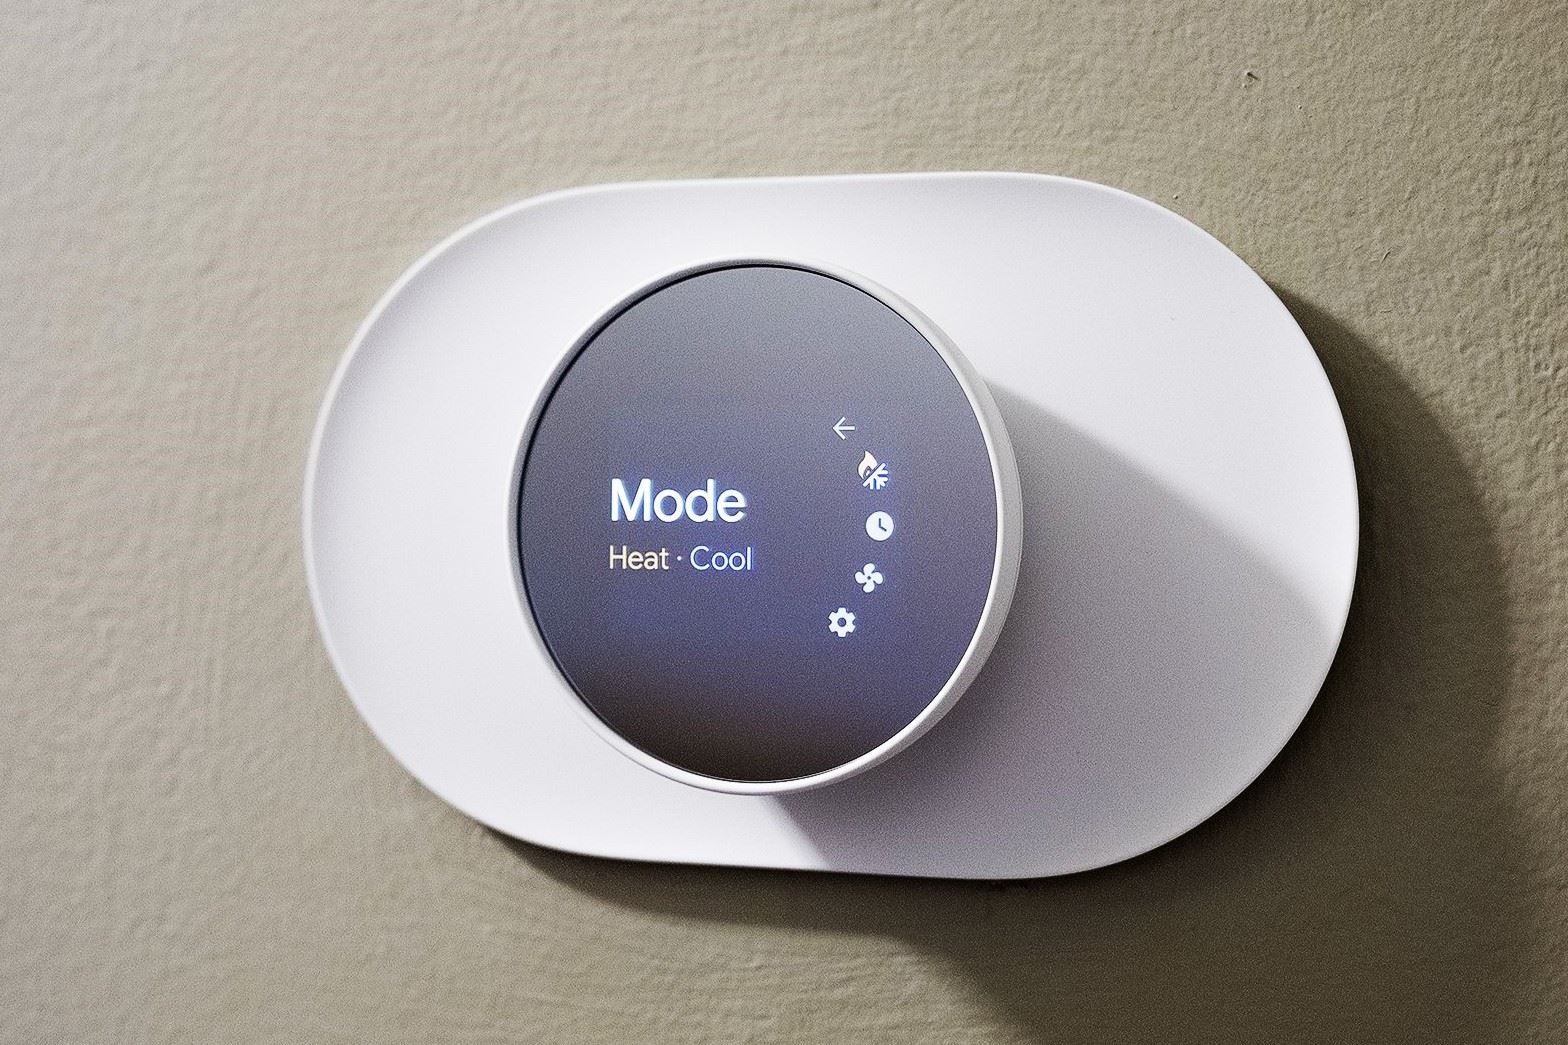
Step 7: Set up the new thermostat
With the power restored, it’s time to set up your new thermostat and configure it according to your preferences. Here’s how you can set up your new thermostat:
- Refer to the manufacturer’s instructions – Each thermostat model may have different setup instructions and features. Refer to the manufacturer’s provided manual or instruction guide to familiarize yourself with the specific setup process.
- Set the time and date – Many thermostats have a built-in clock feature. Use the thermostat’s interface to set the current time and date. This information is important for scheduling programs and accurate temperature control.
- Configure the temperature settings – Depending on your thermostat, you may have various options for temperature control. Adjust the thermostat’s settings to your desired heating and cooling preferences, as well as any energy-saving features.
- Program schedules (if applicable) – Some thermostats offer programmable scheduling options. Set up a weekly schedule that aligns with your lifestyle and desired temperature settings for different times of the day.
- Test the system – Once you have finished setting up the thermostat, test both the heating and cooling functions to ensure they are working correctly. Make sure the HVAC system responds to temperature changes and turns on and off as expected.
It’s important to remember that different thermostats may have unique features and setup processes. Consulting the manufacturer’s instructions will provide you with the most accurate and detailed guidance for setting up your particular thermostat model.
By following these steps, you will have successfully set up your new thermostat and be ready to enjoy optimal temperature control and energy efficiency.
Conclusion
Changing your HVAC thermostat may seem like a daunting task, but with the right information and step-by-step guidance, it can be a straightforward process. By following the steps outlined in this article – from gathering necessary tools, shutting off the power, removing the old thermostat, installing the new thermostat, connecting the wiring, restoring power, and setting up the new thermostat – you can successfully replace your HVAC thermostat and improve the comfort and efficiency of your home or office.
Remember to prioritize safety by always shutting off the power before working with electrical components and ensuring all connections are secure. Take the time to label wires and refer to the manufacturer’s instructions for specific details on your thermostat model.
Changing your thermostat not only allows you to upgrade to a more modern and energy-efficient model but also gives you the flexibility to tailor your indoor environment to your preferences and schedule. With programmable options, you can have a comfortable living space while being mindful of energy consumption.
If you are unsure about any aspect of replacing your HVAC thermostat, it’s always advisable to consult a professional HVAC technician who can provide expert guidance and assistance.
By following the steps outlined in this article and taking the necessary precautions, you can confidently change your HVAC thermostat and enjoy a more comfortable and efficient indoor environment.
Frequently Asked Questions about How To Change HVAC Thermostat
Was this page helpful?
At Storables.com, we guarantee accurate and reliable information. Our content, validated by Expert Board Contributors, is crafted following stringent Editorial Policies. We're committed to providing you with well-researched, expert-backed insights for all your informational needs.
0 thoughts on “How To Change HVAC Thermostat”