Articles
How To Disinfect A Carpet
Modified: October 20, 2024
Learn effective methods and tips for disinfecting your carpet in this informative article. Keep your living space clean and healthy with our step-by-step guide.
(Many of the links in this article redirect to a specific reviewed product. Your purchase of these products through affiliate links helps to generate commission for Storables.com, at no extra cost. Learn more)
Introduction
Keeping our living spaces clean and free from germs and bacteria is more important than ever. Carpets, being one of the most used areas in our homes, are prone to accumulating dirt, allergens, and even microorganisms. Regular vacuuming can help maintain the cleanliness of the carpet, but sometimes it is necessary to go a step further and disinfect it to ensure a hygienic environment.
In this article, we will guide you through the process of disinfecting a carpet effectively. By following these steps, you can eliminate harmful germs and bacteria, leaving your carpet fresh and clean.
Please note that before proceeding with the disinfection process, it is essential to check the manufacturer’s instructions and recommendations for your specific type of carpet. Certain types of carpets may have specific cleaning requirements, and using the wrong products or methods can damage the carpet fibers.
Now, let’s dive into the step-by-step process of disinfecting your carpet.
Key Takeaways:
- Keep your carpet clean and hygienic by following a step-by-step disinfection process, from preparation to drying. Regular maintenance and preventive measures can prolong the cleanliness of your carpet, promoting a healthier home environment.
- Choose the right disinfectant, test it on a small area, and apply it evenly to effectively eliminate germs and bacteria from your carpet. Thorough drying and preventive measures help maintain a clean and fresh carpet for a healthier living space.
Read more: How To Disinfect Toothbrush After Strep
Step 1: Prepare for disinfection
Before you begin the disinfection process, there are a few preparatory steps you should take to ensure the best results.
- Clear the area: Remove any furniture or objects from the carpeted area, as these can obstruct the disinfection process.
- Dust and debris removal: Use a broom or a brush to sweep away loose dirt and debris from the carpet. This step will make the vacuuming process more effective.
- Spot cleaning: Prior to disinfecting, address any stains or spills on the carpet. You can use a carpet stain remover or a mixture of water and mild detergent to gently remove the stains.
- Ventilation: Open windows or turn on fans to improve air circulation in the room. Adequate ventilation will help the carpet dry faster after the disinfection process.
By taking these preparatory steps, you ensure that the carpet is free from obstructions, dirt, and stains, allowing for a more thorough and effective disinfection process.
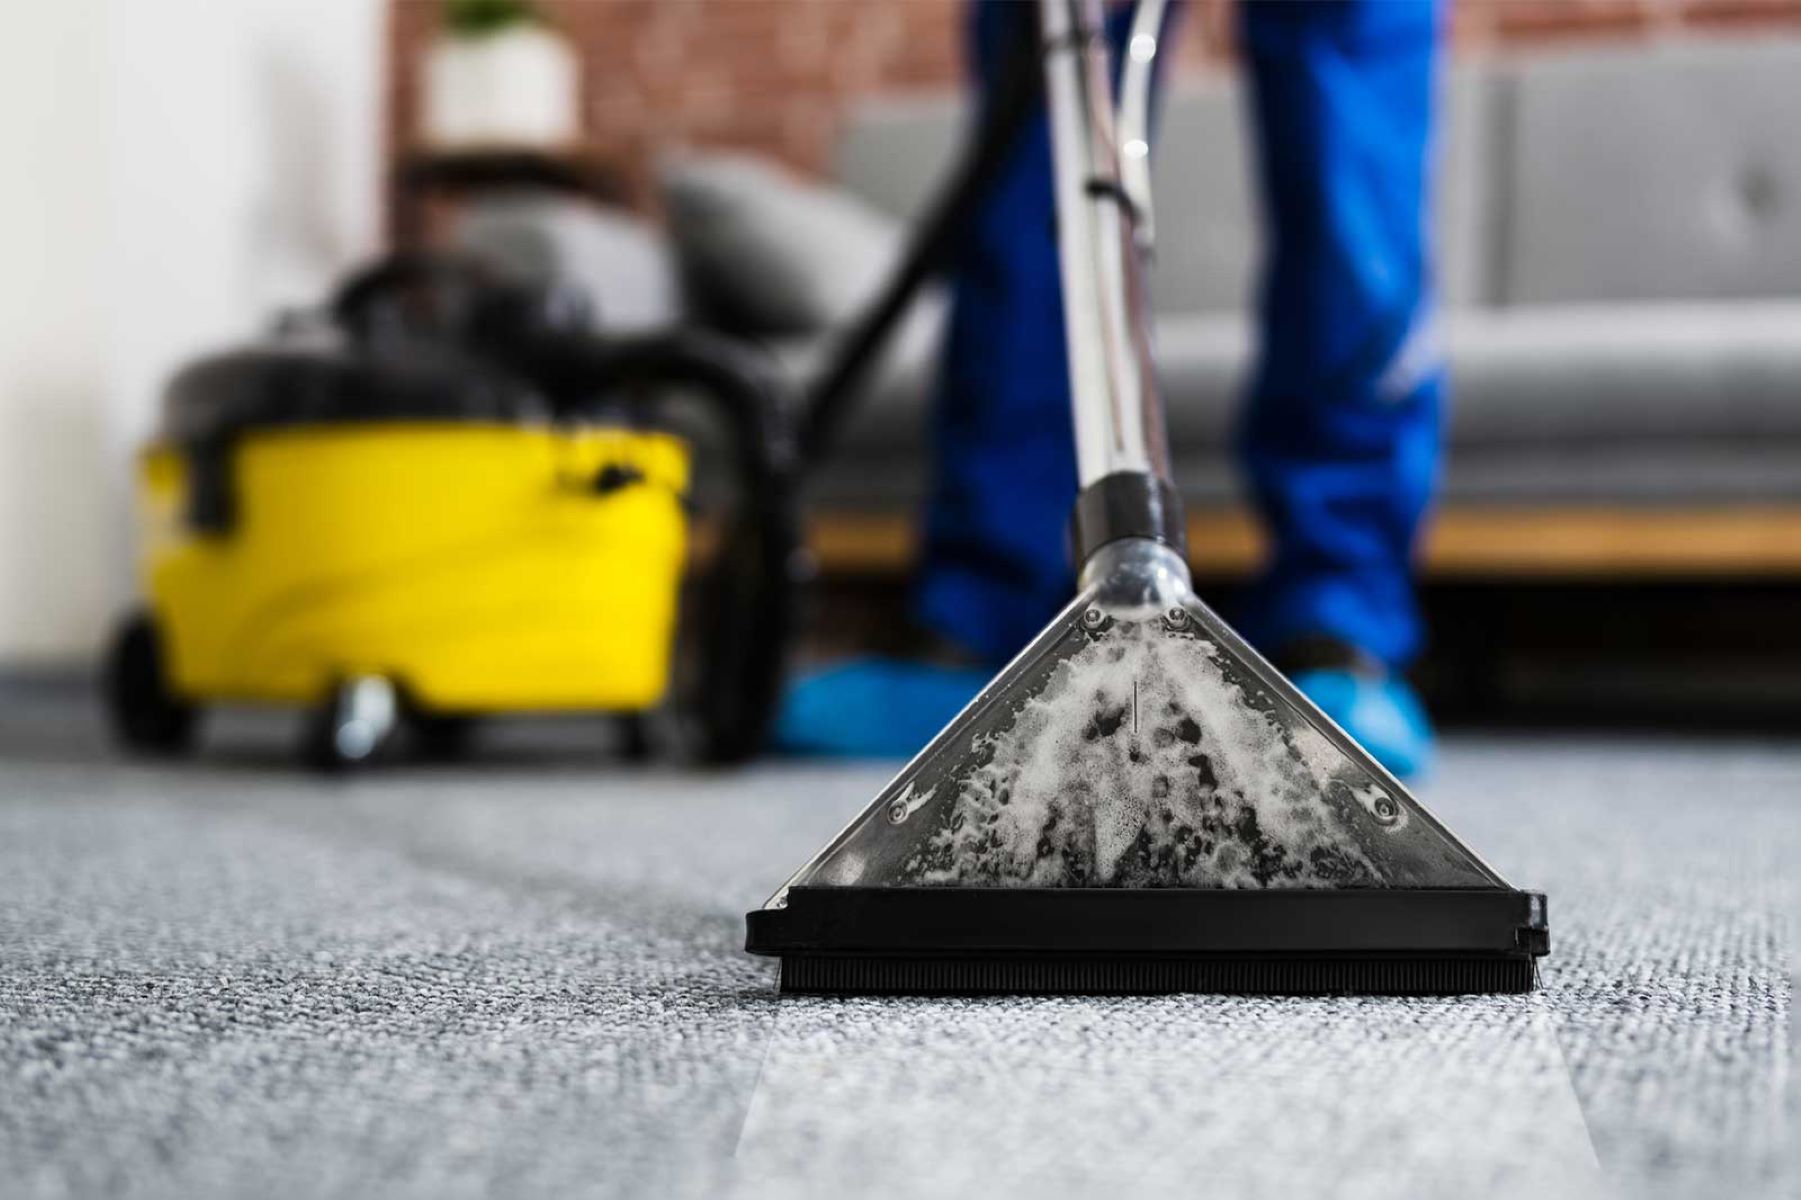
Step 2: Vacuum the carpet thoroughly
Vacuuming the carpet is an essential step in the disinfection process. It helps to remove loose dirt, dust, and debris from the surface, making the disinfectant more effective.
Here’s how to properly vacuum your carpet:
- Choose the right vacuum: Make sure you have a vacuum cleaner with sufficient suction power and a clean filter to ensure optimal performance.
- Clear the area: Remove any small objects or toys from the carpet that may get tangled in the vacuum cleaner.
- Adjust the height: Adjust the height setting of your vacuum cleaner based on the thickness of your carpet. This helps to ensure that the vacuum cleaner effectively picks up dirt from the carpet fibers.
- Divide the area: Divide the carpeted area into smaller sections for easier and more thorough vacuuming.
- Vacuum in multiple directions: Move the vacuum cleaner back and forth, overlapping the strokes to ensure complete coverage. Also, vacuum in different directions (vertical, horizontal, diagonal) to loosen and remove dirt from all angles.
- Pay attention to edges and corners: Use the crevice tool or attachments to thoroughly clean along the edges and corners of the carpeted area, where dirt and debris tend to accumulate.
- Empty the vacuum bag or canister: Regularly empty the vacuum bag or canister to maintain the vacuum cleaner’s suction power and prevent dirt from being released back into the air.
By vacuuming the carpet thoroughly before disinfection, you ensure that loose dirt and debris are removed, allowing the disinfectant to penetrate deeper into the carpet fibers and effectively eliminate germs and bacteria.
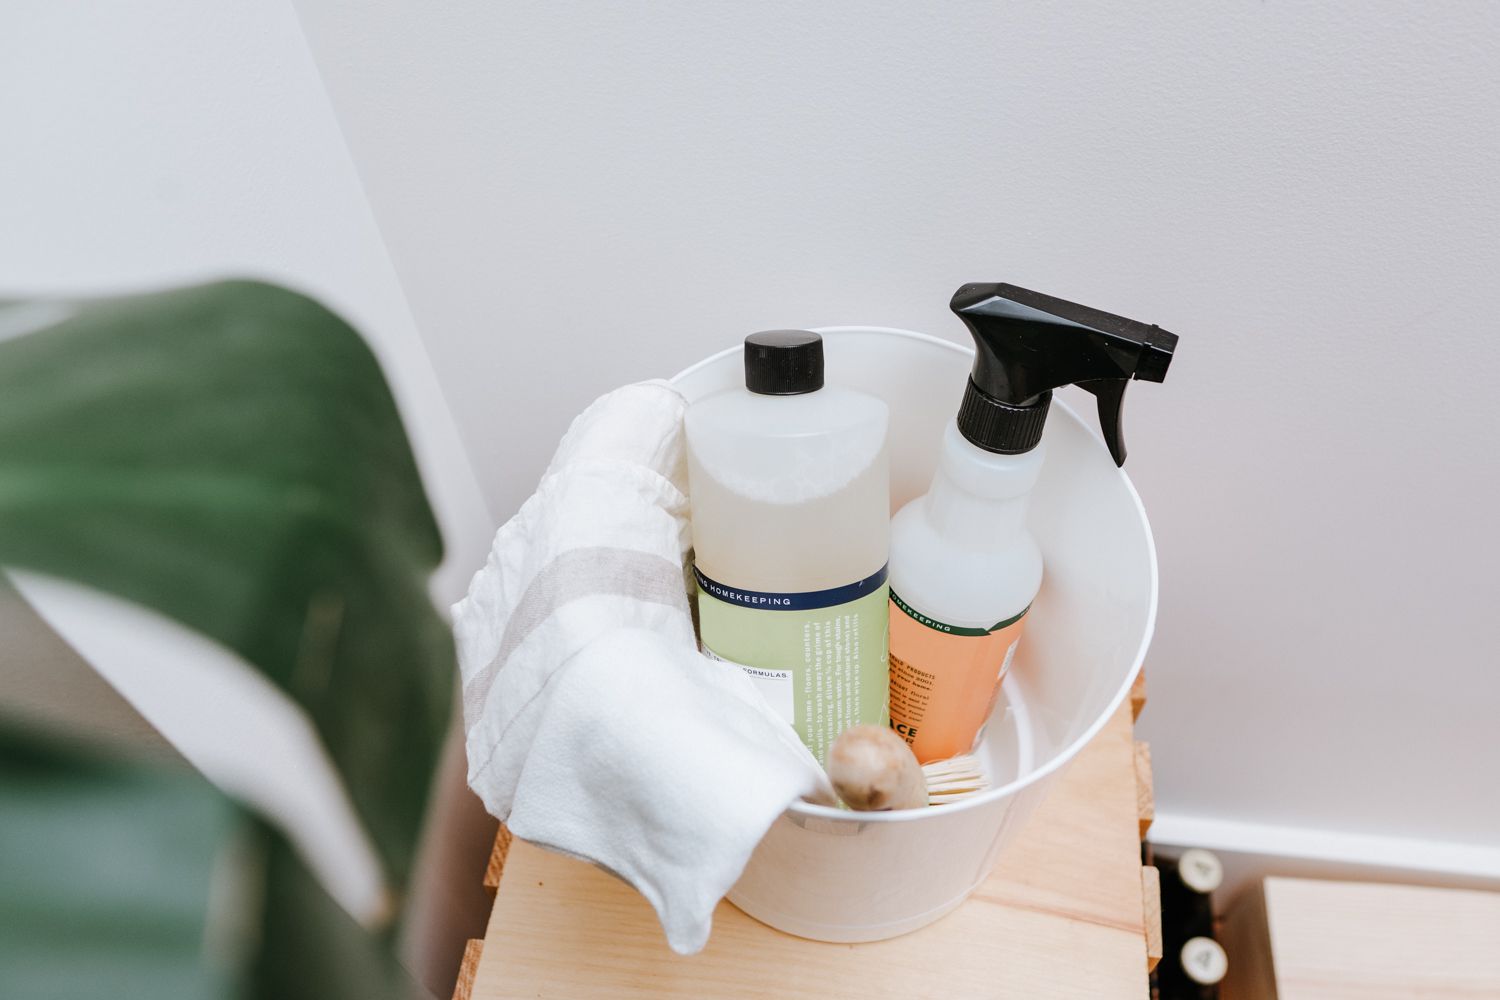
Step 3: Choose an appropriate disinfectant
Choosing the right disinfectant is crucial to effectively kill germs and bacteria on your carpet. There are various disinfectant options available, but it’s important to select one that is safe for your carpet and suitable for the type of contaminants you want to eliminate.
Here are a few factors to consider when choosing a disinfectant:
- Certifications: Look for disinfectants that have been approved by reputable organizations such as the Environmental Protection Agency (EPA) or the Centers for Disease Control and Prevention (CDC). These certifications ensure that the product is effective against a wide range of germs and bacteria.
- Compatibility: Check whether the disinfectant is safe to use on your specific type of carpet. Some disinfectants may be too harsh and could damage delicate carpet fibers. Read the product label or consult the manufacturer’s recommendations to ensure compatibility.
- Effectiveness against specific pathogens: If you’re specifically concerned about certain types of germs or bacteria, such as viruses or mold, choose a disinfectant that specifies effectiveness against those pathogens.
- Application method: Consider the ease of application. Some disinfectants come in spray bottles, while others are concentrated formulas that need to be diluted. Choose a method that is convenient for you and suits the size of the carpeted area.
- Safety: Ensure that the disinfectant is safe for use around pets, children, and individuals with respiratory sensitivities. Look for non-toxic options that have minimal odor or fumes.
By carefully selecting the right disinfectant, you can effectively eliminate germs and bacteria from your carpet without causing any damage or harm.
Step 4: Test the disinfectant on a small area
Before applying the disinfectant to the entire carpet, it is essential to test it on a small, inconspicuous area. This step is crucial to ensure that the disinfectant does not cause any discoloration, damage, or adverse reactions on your carpet.
Here’s how to perform the disinfectant test:
- Select a small area: Choose a hidden corner of the carpet or an area that is not easily noticeable, such as behind furniture.
- Dilute if necessary: If the disinfectant needs to be diluted according to the manufacturer’s instructions, do so before performing the test.
- Apply the disinfectant: Follow the manufacturer’s instructions to apply the disinfectant to the designated test area. Use a cloth or sponge to gently spread the disinfectant over the carpet fibers.
- Wait and observe: Allow the disinfectant to sit on the test area for the recommended time. Observe any changes in color, texture, or appearance of the carpet.
- Check for damage: After the recommended time has passed, inspect the test area for any discoloration, fading, or damage. Look for any signs of adverse reactions such as fraying or disintegration of the carpet fibers.
- Proceed with caution: If the test area shows no negative effects, it is likely safe to proceed with disinfecting the entire carpet. However, if there are any unexpected reactions, discontinue using the disinfectant and consider alternative options.
By conducting a small patch test, you can avoid potential damage to your carpet and ensure that the chosen disinfectant is safe to use on the entire carpeted area.
Read more: How To Disinfect Silverware
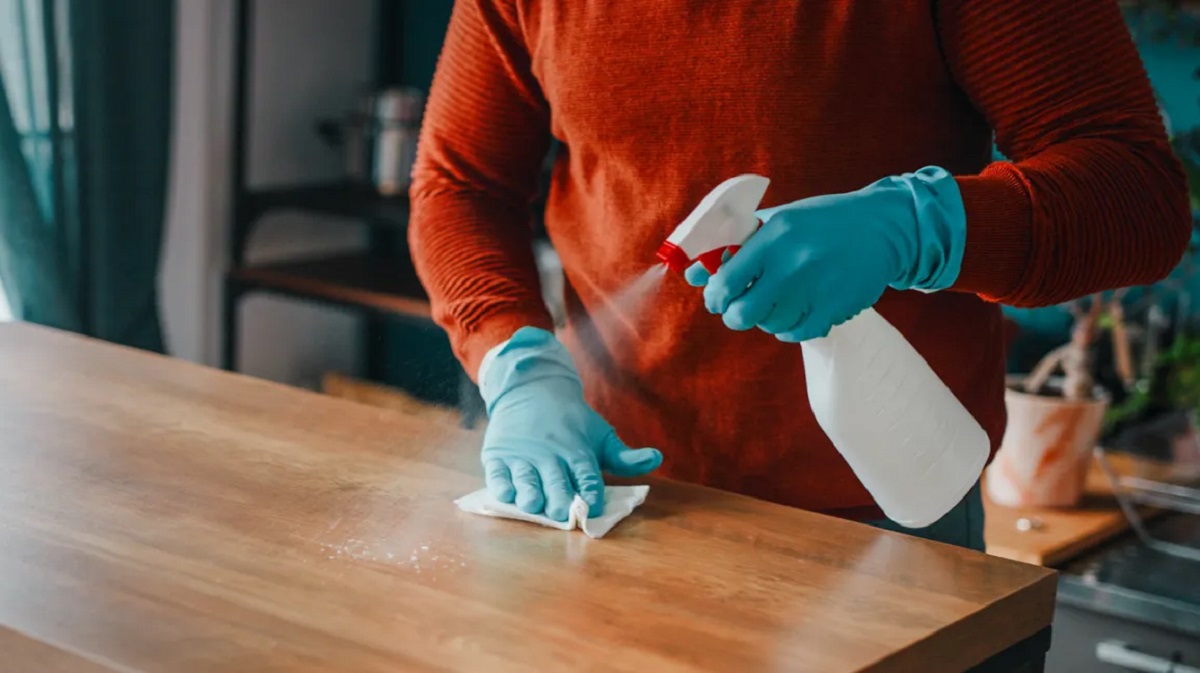
Step 5: Apply the disinfectant to the carpet
Once you have successfully tested the disinfectant and ensured its compatibility with your carpet, it’s time to apply it to the entire carpeted area. Follow these steps to effectively apply the disinfectant:
- Prepare the disinfectant: Dilute the disinfectant if necessary, following the instructions provided by the manufacturer. Ensure that you mix the proper ratio of disinfectant to water, as indicated on the product label.
- Choose an application method: Depending on the size of the carpeted area, you can use a sprayer, a mop, or a sponge to apply the disinfectant. Select a method that allows for an even distribution of the disinfectant across the carpet.
- Start from the farthest point: Begin applying the disinfectant from the farthest corner of the room, working your way towards the exit. This prevents you from stepping on the freshly disinfected areas as you work.
- Apply evenly: Spray or apply the disinfectant in a sweeping motion, making sure to cover the entire surface of the carpet. Pay special attention to high-traffic areas and spots that may have come into contact with contaminants.
- Work in sections: If you have a large carpeted area, divide it into manageable sections. This allows you to apply the disinfectant more effectively and prevents it from drying out before you have a chance to spread it evenly.
- Follow the recommended contact time: Each disinfectant has a specific contact time, which is the duration the disinfectant needs to remain on the carpet to effectively kill germs and bacteria. Refer to the product instructions to determine the appropriate contact time.
By following these steps, you can ensure that the disinfectant is evenly applied to the carpet, maximizing its effectiveness in eliminating germs, bacteria, and other contaminants.
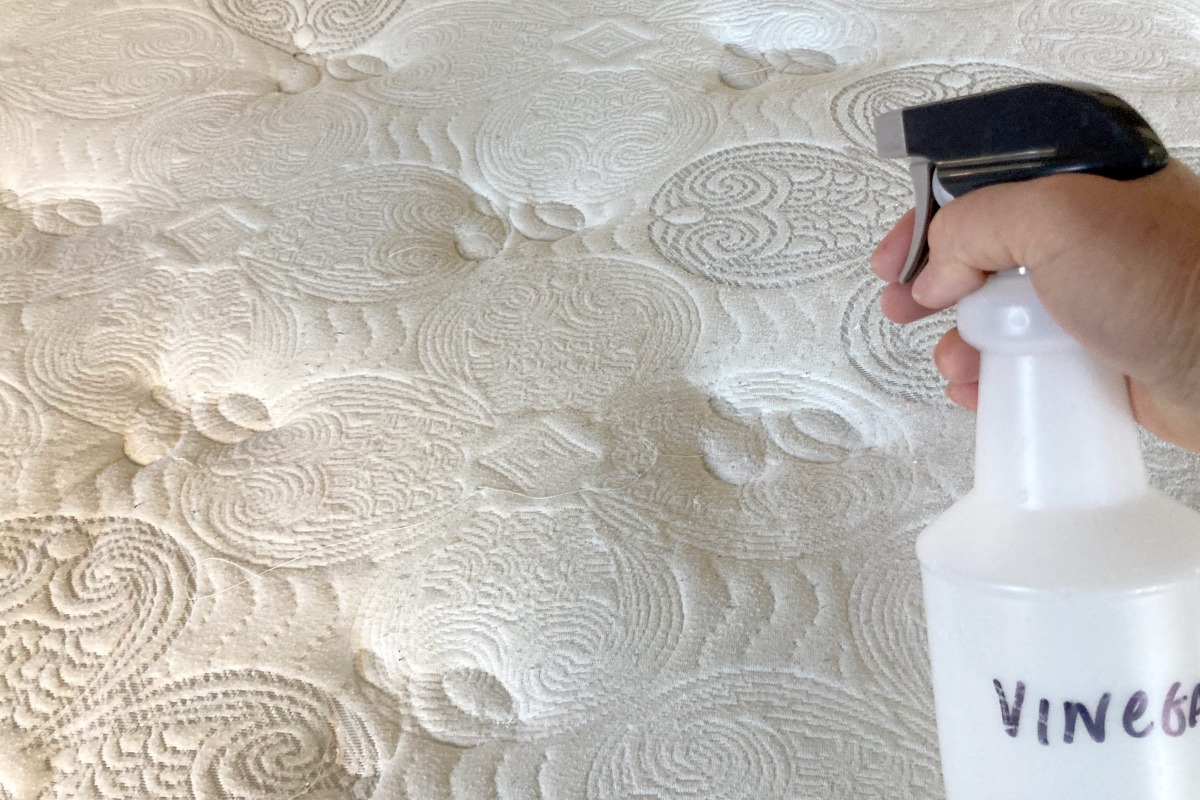
To disinfect a carpet, mix equal parts water and white vinegar in a spray bottle. Spray the solution onto the carpet and let it sit for 10 minutes before blotting it dry with a clean cloth. This will help to kill bacteria and germs.
Step 6: Allow the disinfectant to sit
After applying the disinfectant to the carpet, it is important to allow it to sit for the recommended contact time. This contact time allows the disinfectant to effectively kill germs, bacteria, and other pathogens that may be present in the carpet fibers.
Here’s what you need to do:
- Refer to the product instructions: Check the label or product instructions to determine the recommended contact time for the disinfectant you are using. Different disinfectants have varying contact times, so it is essential to follow the specific guidelines provided.
- Do not disturb the treated areas: Avoid walking or placing any objects on the areas that have been treated with the disinfectant. This ensures that the disinfectant can work undisturbed during the contact time.
- Set a timer if necessary: To ensure that you adhere to the proper contact time, set a timer or alarm. This will help prevent the disinfectant from drying out or being prematurely removed from the carpet.
- Maintain proper ventilation: During the contact time, ensure that the room is adequately ventilated. This helps ensure proper airflow and aids in the drying process once the disinfection period is complete.
By allowing the disinfectant to sit for the recommended contact time, you give it the best opportunity to effectively eradicate any germs, bacteria, and pathogens present in your carpet.
Step 7: Remove excess moisture
After the recommended contact time has elapsed, it’s important to remove any excess moisture from the carpet. Excess moisture can lead to mold and mildew growth, as well as prolong the drying time of your carpet. Here are the steps to remove excess moisture:
- Blot the carpet: Use clean, absorbent towels or cloths to gently blot the carpet surface. Press down firmly to absorb as much moisture as possible. Avoid rubbing or scrubbing, as this can spread the moisture and potentially damage the carpet fibers.
- Repeat blotting: If the towels become saturated, replace them with dry ones and continue blotting until no more moisture is being absorbed.
- Use a wet/dry vacuum: If you have a wet/dry vacuum cleaner, you can use it to extract any remaining moisture from the carpet. Follow the manufacturer’s instructions for proper usage.
- Avoid excessive water use: It’s important not to oversaturate the carpet with water during this step. The goal is to remove excess moisture, not introduce more.
By removing excess moisture from the carpet, you prevent potential mold growth and help expedite the drying process.
Step 8: Dry the carpet completely
Drying the carpet thoroughly is crucial to prevent mold, mildew, and odors from developing. Here are the steps to ensure your carpet dries completely:
- Utilize airflow: Increase airflow in the room by opening windows, using fans, or turning on ceiling fans. This helps to circulate air and accelerate the drying process.
- Dehumidifier: If the humidity level is high, consider using a dehumidifier to remove excess moisture from the air. Lowering the humidity speeds up the evaporation process.
- Avoid walking on damp carpet: To prevent any dirt or debris from being pressed into the damp carpet, avoid walking on it until it is completely dry.
- Use drying equipment: If available, use specialized carpet drying equipment such as air movers or carpet blowers. These devices direct airflow onto the carpet, helping it dry faster.
- Patience: Depending on the temperature, humidity, and amount of moisture, it may take several hours or even days for the carpet to dry completely. Be patient and allow enough time for the carpet to dry thoroughly.
Ensuring the carpet is completely dry helps to avoid potential issues such as mold growth, unpleasant odors, and damage to the carpet fibers. By following these steps, you can help expedite the drying process and restore your carpet to its clean and fresh state.
Read more: How To Disinfect Washer
Step 9: Vacuum the carpet again
Once the carpet is completely dry, it’s time to give it a final vacuuming to remove any residue or loosened particles. This step helps to restore the carpet’s appearance and ensure that it’s free from any remaining debris.
Follow these steps to vacuum the carpet again:
- Adjust the vacuum settings: Set the vacuum cleaner to the appropriate height for your carpet. Ensure that the brush or beater bar is properly adjusted to avoid damaging the carpet fibers.
- Vacuum in multiple directions: Similar to the initial vacuuming, make sure to vacuum the carpet in various directions to thoroughly remove any remaining dirt and debris.
- Pay attention to edges and corners: Use the appropriate attachments or the crevice tool to clean along the edges and corners of the carpeted area. These areas often accumulate more dust and debris.
- Empty the vacuum: Regularly empty the vacuum bag or canister to maintain the suction power and prevent debris from being released back into the air.
By vacuuming the carpet again, you not only remove any residual particles but also help to fluff up the carpet fibers, restoring its appearance and making it look fresh and well-maintained.
Step 10: Take preventive measures
Prevention is key to maintaining a clean and disinfected carpet. By implementing a few preventive measures, you can reduce the accumulation of dirt, allergens, and bacteria, effectively prolonging the cleanliness of your carpet. Here are some preventive measures to consider:
- Regular vacuuming: Vacuum your carpet at least once a week, or more frequently if it’s a high-traffic area. Regular vacuuming helps to remove loose dirt and debris before they settle into the carpet fibers.
- Use doormats: Place doormats at the entrances of your home to trap dirt and moisture from shoes. This helps prevent outside contaminants from being tracked onto the carpet.
- Remove shoes: Encourage your family members and guests to remove their shoes when entering your home. This prevents dirt, germs, and other contaminants from being brought onto the carpet.
- Address spills immediately: Accidents happen, so it’s important to blot spills or stains immediately to prevent them from seeping into the carpet fibers. Use a clean cloth or paper towel to absorb the liquid, then follow the appropriate stain removal techniques.
- Use carpet protectors: Consider applying carpet protectors, such as scotchgard, to create a barrier against spills and stains. These products can make it easier to clean up any future accidents.
- Regular professional cleaning: Schedule regular professional carpet cleaning to deep clean and remove any accumulated dirt and allergens. Professional cleaning helps maintain the longevity and freshness of your carpet.
By incorporating these preventive measures into your carpet maintenance routine, you can keep your carpet cleaner for longer periods, reducing the need for frequent disinfection.
Remember, maintaining a clean and hygienic carpet contributes to a healthier home environment for you and your family.
Conclusion
Disinfecting your carpet is an essential step in maintaining a clean and hygienic living space. By following the step-by-step process outlined in this article, you can effectively eliminate germs, bacteria, and other contaminants from your carpet, creating a healthier environment for you and your loved ones.
It’s important to remember that each carpet is unique, and it’s crucial to check the manufacturer’s guidelines and recommendations before applying any disinfectants or cleaning agents. This will help ensure that you choose the right products and methods that are safe for your specific type of carpet.
From preparing the carpet for disinfection to choosing the appropriate disinfectant, testing it on a small area, and applying it to the entire carpet, each step plays a vital role in the overall effectiveness of the disinfection process. Removing excess moisture and thoroughly drying the carpet is essential to prevent mold and mildew growth, while vacuuming the carpet before and after the disinfection process helps to remove dirt and debris for a clean and refreshed appearance.
Taking preventive measures, such as regular vacuuming, using doormats, and addressing spills immediately, can help keep your carpet cleaner for longer and reduce the need for frequent disinfection. Additionally, regular professional cleaning is recommended to deep clean and maintain the longevity of your carpet.
By incorporating these practices into your carpet maintenance routine, you can enjoy a clean, fresh, and healthy carpet that contributes to a comfortable and hygienic living environment.
Remember, a well-maintained carpet not only enhances the aesthetic appeal of your home but also promotes better indoor air quality and a sense of cleanliness and well-being for you and your family.
Frequently Asked Questions about How To Disinfect A Carpet
Was this page helpful?
At Storables.com, we guarantee accurate and reliable information. Our content, validated by Expert Board Contributors, is crafted following stringent Editorial Policies. We're committed to providing you with well-researched, expert-backed insights for all your informational needs.