Home>Furniture>Bedroom Furniture>How To Disinfect A Mattress
Bedroom Furniture
How To Disinfect A Mattress
Modified: February 17, 2024
Learn effective methods to disinfect and sanitize your mattress in this comprehensive guide. Keep your bedroom furniture clean and fresh for a healthier sleep environment.
(Many of the links in this article redirect to a specific reviewed product. Your purchase of these products through affiliate links helps to generate commission for Storables.com, at no extra cost. Learn more)
Introduction
Welcome to our guide on how to disinfect a mattress. Your mattress is where you spend around one-third of your life, making it important to keep it clean and hygienic. Regularly disinfecting your mattress can help eliminate allergens, odors, and bacteria, ensuring a healthier and more comfortable sleep environment.
Throughout the day, our bodies shed dead skin cells, sweat, and oils, creating an ideal breeding ground for dust mites and other unwanted pests. Additionally, accidents happen, and mattresses can become stained or soiled. By following a few simple steps, you can effectively clean and disinfect your mattress, promoting better sleep and overall well-being.
In this guide, we will take you through the process of disinfecting your mattress thoroughly. Before beginning, gather the necessary supplies, including a vacuum cleaner, baking soda, hydrogen peroxide, dish soap, a spray bottle, clean cloths, and a mattress protector (optional). Now, let’s get started!
Disclaimer: Before using any cleaning products or techniques on your mattress, it is essential to check the manufacturer’s instructions for care and maintenance. Some mattresses have specific cleaning requirements, and not following these guidelines could potentially void the warranty.
Key Takeaways:
- Regularly disinfecting your mattress with simple steps like vacuuming, spot cleaning, and using natural disinfectants like vinegar and hydrogen peroxide can create a healthier and more comfortable sleep environment.
- After disinfecting your mattress, ensure thorough drying and deodorizing with baking soda or essential oils to maintain a fresh and inviting sleeping space. Don’t forget to regularly clean and replace bedding for a hygienic retreat.
Read more: How To Disinfect A Used Mattress
Step 1: Remove all bedding
The first step in disinfecting your mattress is to remove all bedding, including sheets, pillowcases, and mattress protectors. Take these items to the laundry room and wash them according to the manufacturer’s instructions. This will help eliminate any dust mites, allergens, and surface-level dirt that may have accumulated over time.
While your bedding is being washed and dried, take the opportunity to inspect your mattress for any visible stains, spots, or areas that require extra attention. This will allow you to target these areas during the cleaning process.
Pro tip: If you have a mattress protector, it is advisable to check its care instructions. Some protectors can be machine-washed, while others may require spot cleaning. Follow the recommended cleaning method to maintain the protector’s integrity and effectiveness.
If you do not have a mattress protector, now might be a good time to consider investing in one. A mattress protector acts as a barrier, protecting your mattress from spills, stains, and dirt, and can be easily removed and washed. It adds an extra layer of protection and prolongs the lifespan of your mattress.
Once you have removed all the bedding and accessories from your mattress, you are ready to move on to the next step in the disinfection process.
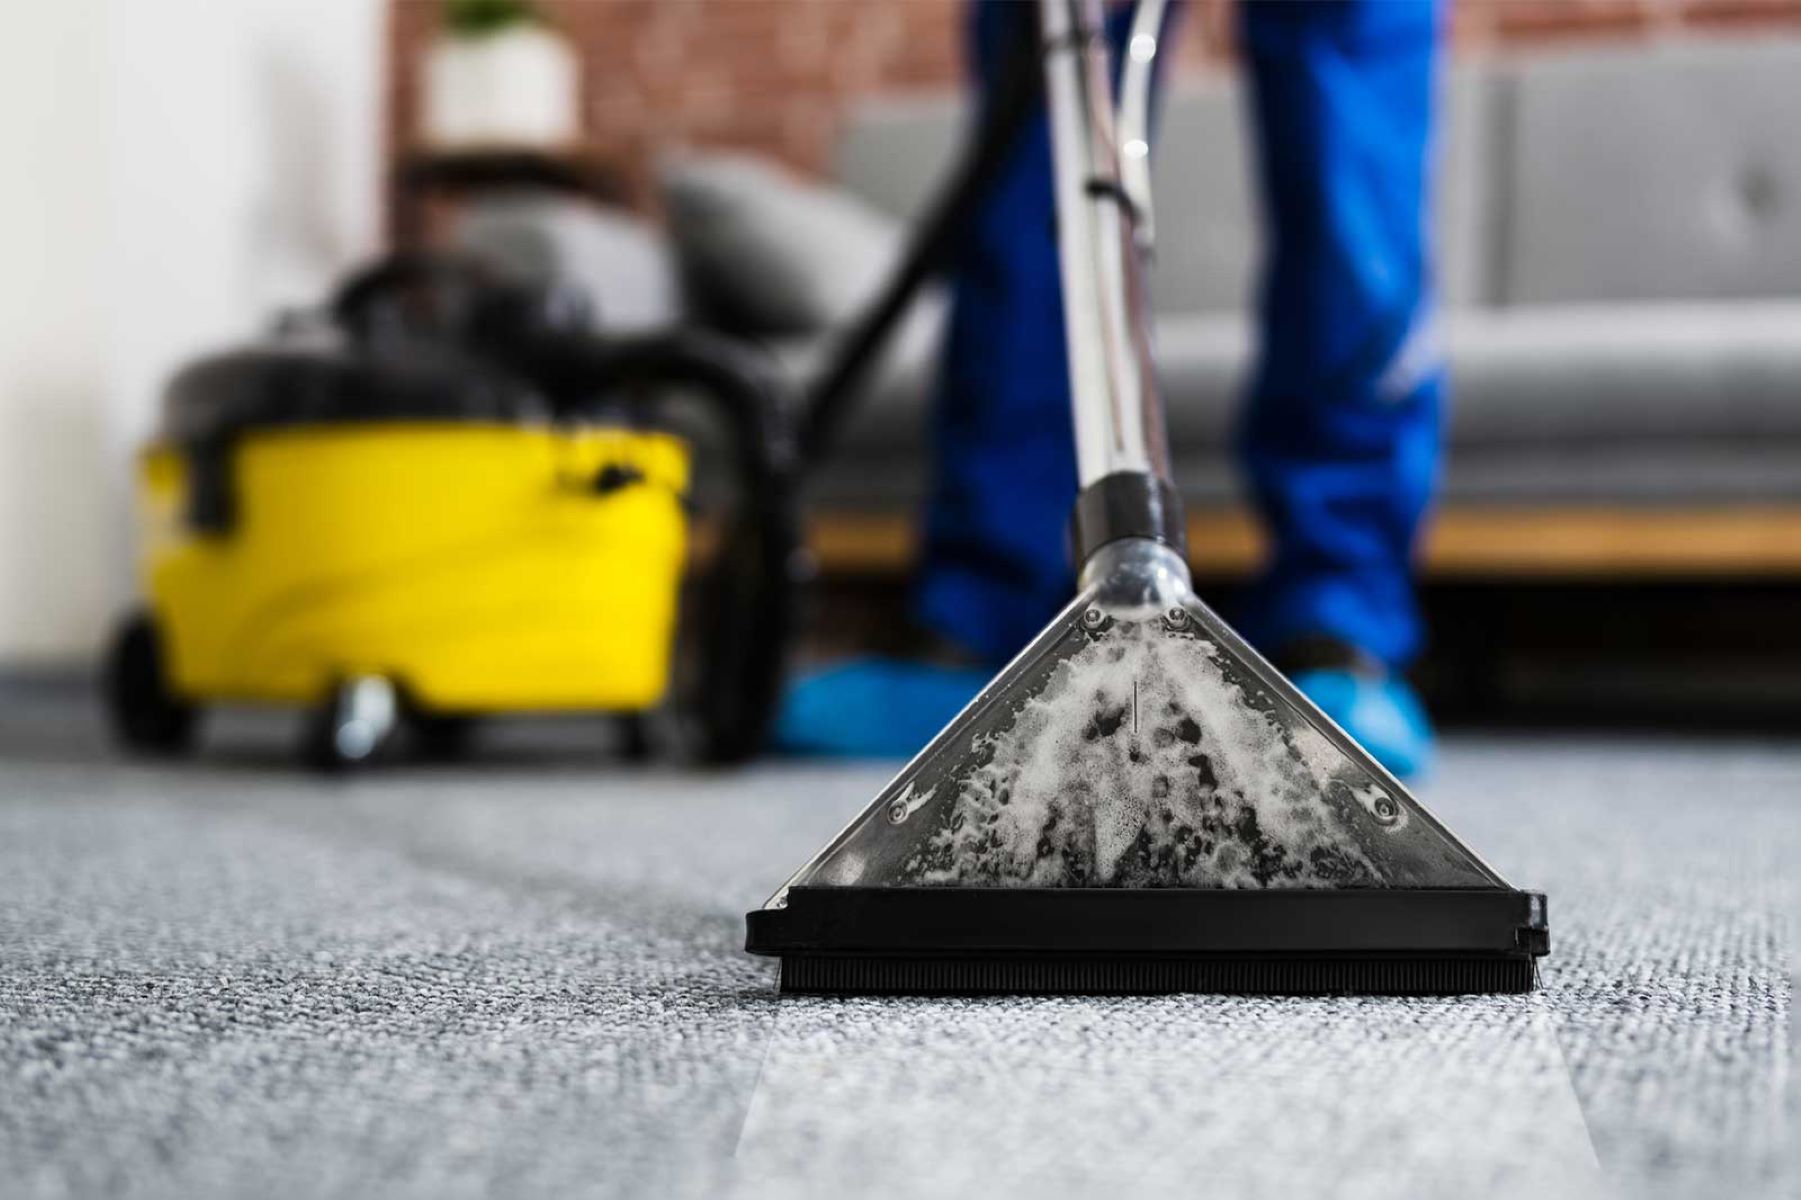
Step 2: Vacuum the mattress
After removing all the bedding, it’s time to give your mattress a thorough vacuuming. This step will help eliminate dust, dirt, and any loose particles that may have settled on the surface and in the crevices of the mattress.
Start by using the upholstery attachment on your vacuum cleaner. Begin at the top of the mattress and work your way down, using gentle strokes and overlapping movements. Pay extra attention to the seams, edges, and corners of the mattress, as these areas tend to accumulate more debris.
When vacuuming, make sure to go over the entire surface, including both sides if possible. Dust mites, allergens, and dirt can settle into the fabric or padding of the mattress, so it’s crucial to thoroughly clean both sides.
If your vacuum cleaner has a HEPA (High-Efficiency Particulate Air) filter, use it to capture and trap smaller particles such as dust mite allergens and pet dander. This will help ensure a more thorough cleaning and reduce the presence of allergens in your mattress.
Pro tip: If you have a handheld vacuum cleaner or a vacuum cleaner with attachments, you can also clean the crevices between the mattress and the bed frame. Dust and debris can accumulate in these areas, so it’s a good idea to give them a thorough vacuuming as well.
Once you have vacuumed the entire mattress, you are ready to move on to the next step: spot cleaning visible stains.
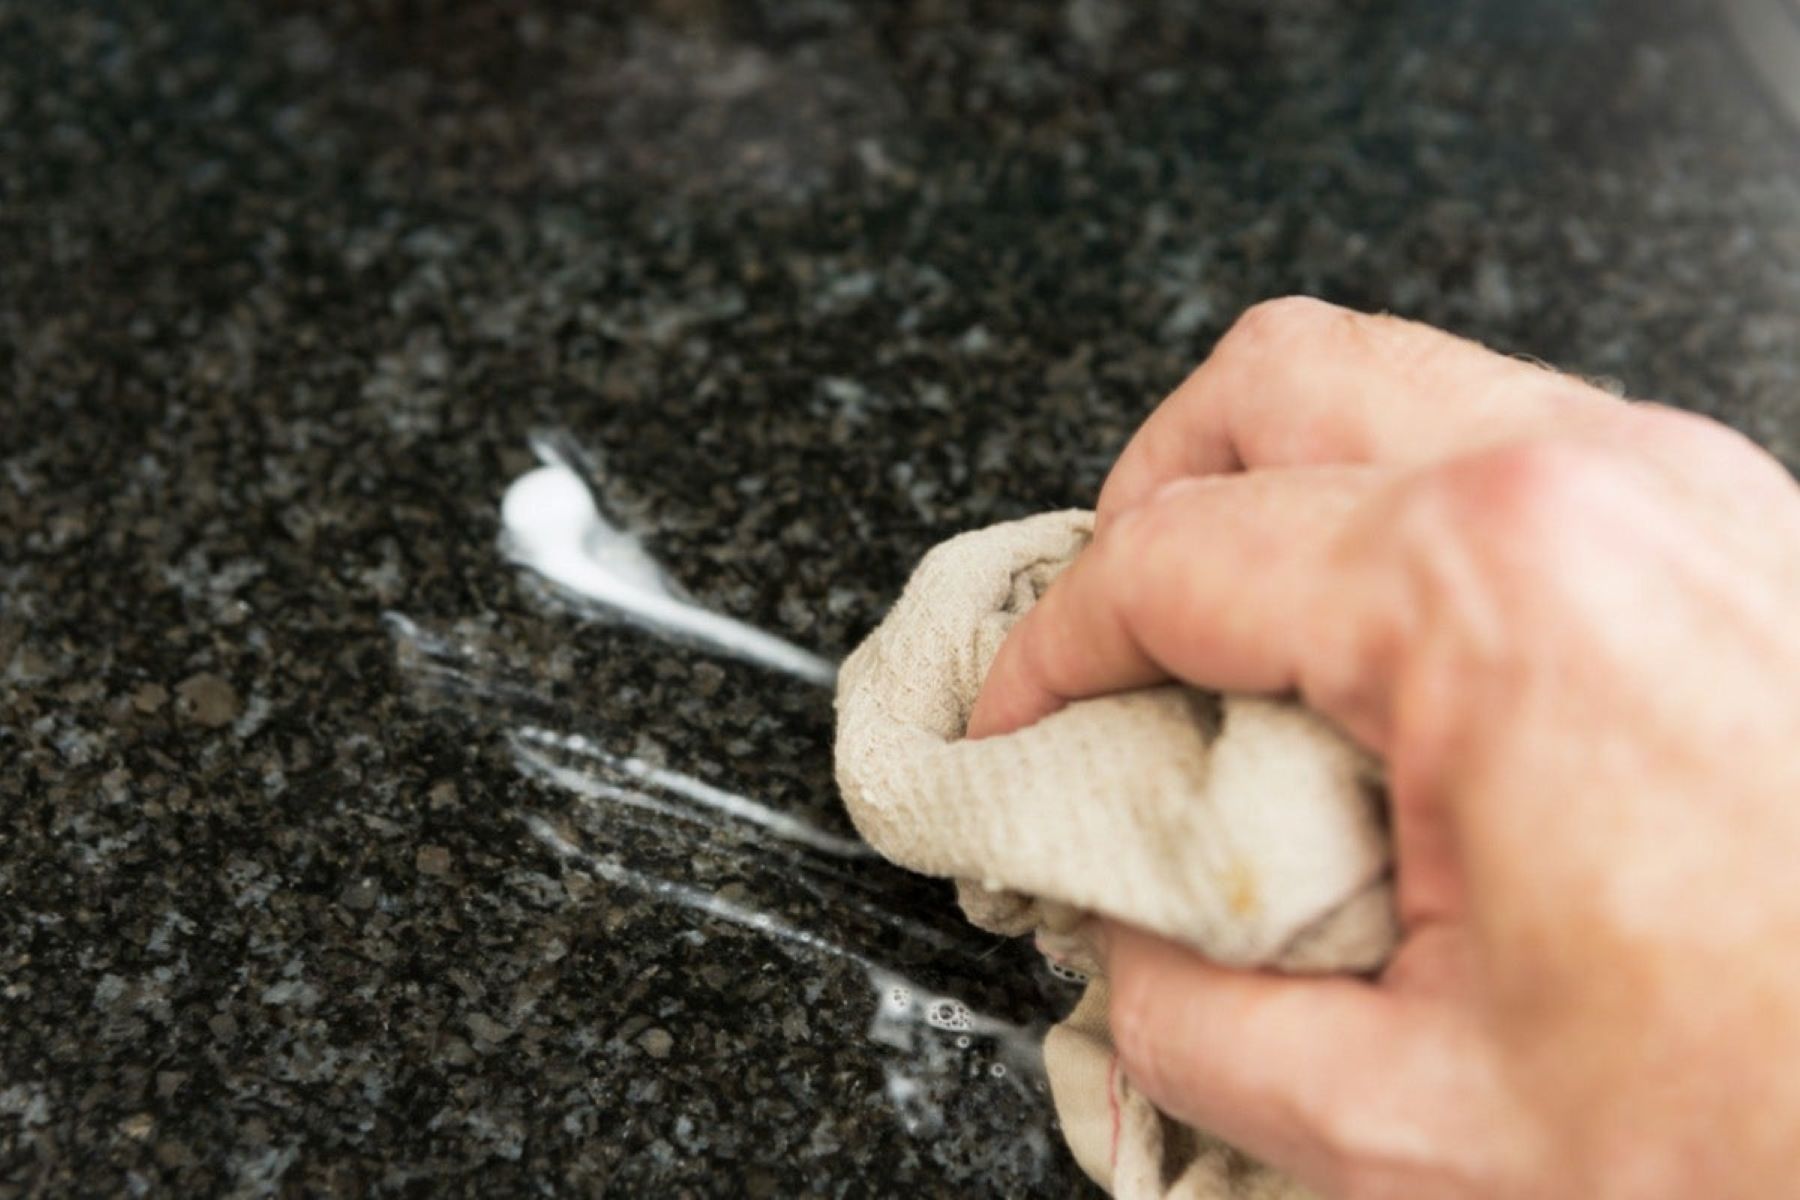
Step 3: Spot clean visible stains
Spot cleaning visible stains is an important step in disinfecting your mattress. Whether it’s a food stain, wine spill, or bodily fluid, tackling these stains promptly will help prevent them from setting and becoming more difficult to remove.
Before applying any cleaning solution to the stain, it’s essential to do a spot test on a small, inconspicuous area of the mattress. This will ensure that the cleaning solution does not cause any discoloration or damage to the fabric. Once you have confirmed that it is safe to proceed, follow these steps:
- Blot the stain gently using a clean cloth or paper towels. Avoid rubbing the stain, as this can cause it to spread or penetrate deeper into the mattress.
- Mix a solution of mild dish soap and warm water. Use approximately 1 tablespoon of dish soap per cup of water.
- Dampen a clean cloth with the soapy solution and gently dab the stained area. Be careful not to saturate the mattress with liquid, as excessive moisture can lead to mold or mildew growth.
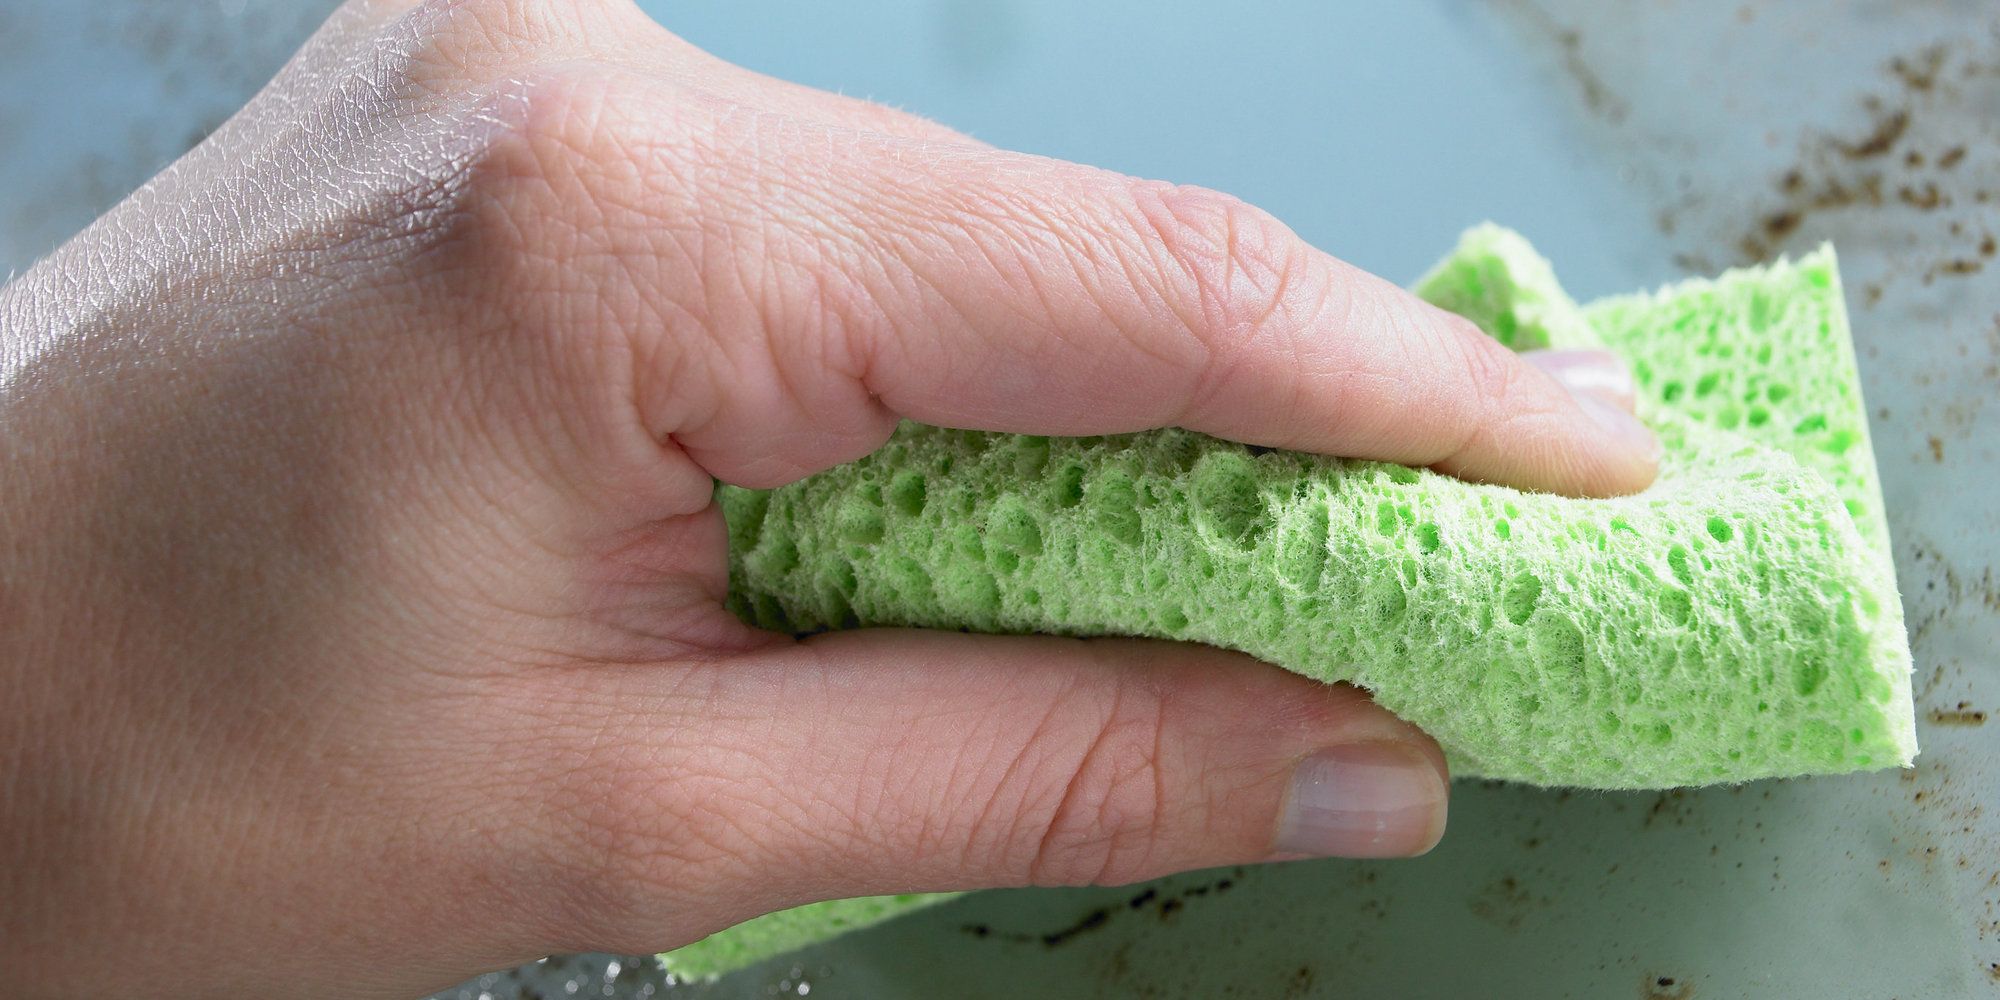
- Continue blotting the stain until it starts to lift. If needed, you can gently scrub the stain in a circular motion using a soft-bristled brush.
- Once the stain has been removed, blot the area with a clean, damp cloth to remove any soapy residue. Then, blot the area with a dry cloth to soak up excess moisture. Allow the spot to air dry completely.
If the stain persists or if you’re dealing with tougher stains such as urine or blood, you can try using a mixture of hydrogen peroxide and baking soda. Apply the mixture to the stain, leave it for a few minutes, then blot and clean as described above.
Remember to handle cleaning solutions with care and always follow the instructions provided. Avoid using harsh chemicals or bleach, as they can damage the fabric and potentially pose health risks.
Once you have successfully spot cleaned the visible stains, it’s time to move on to the next step: disinfecting the mattress.
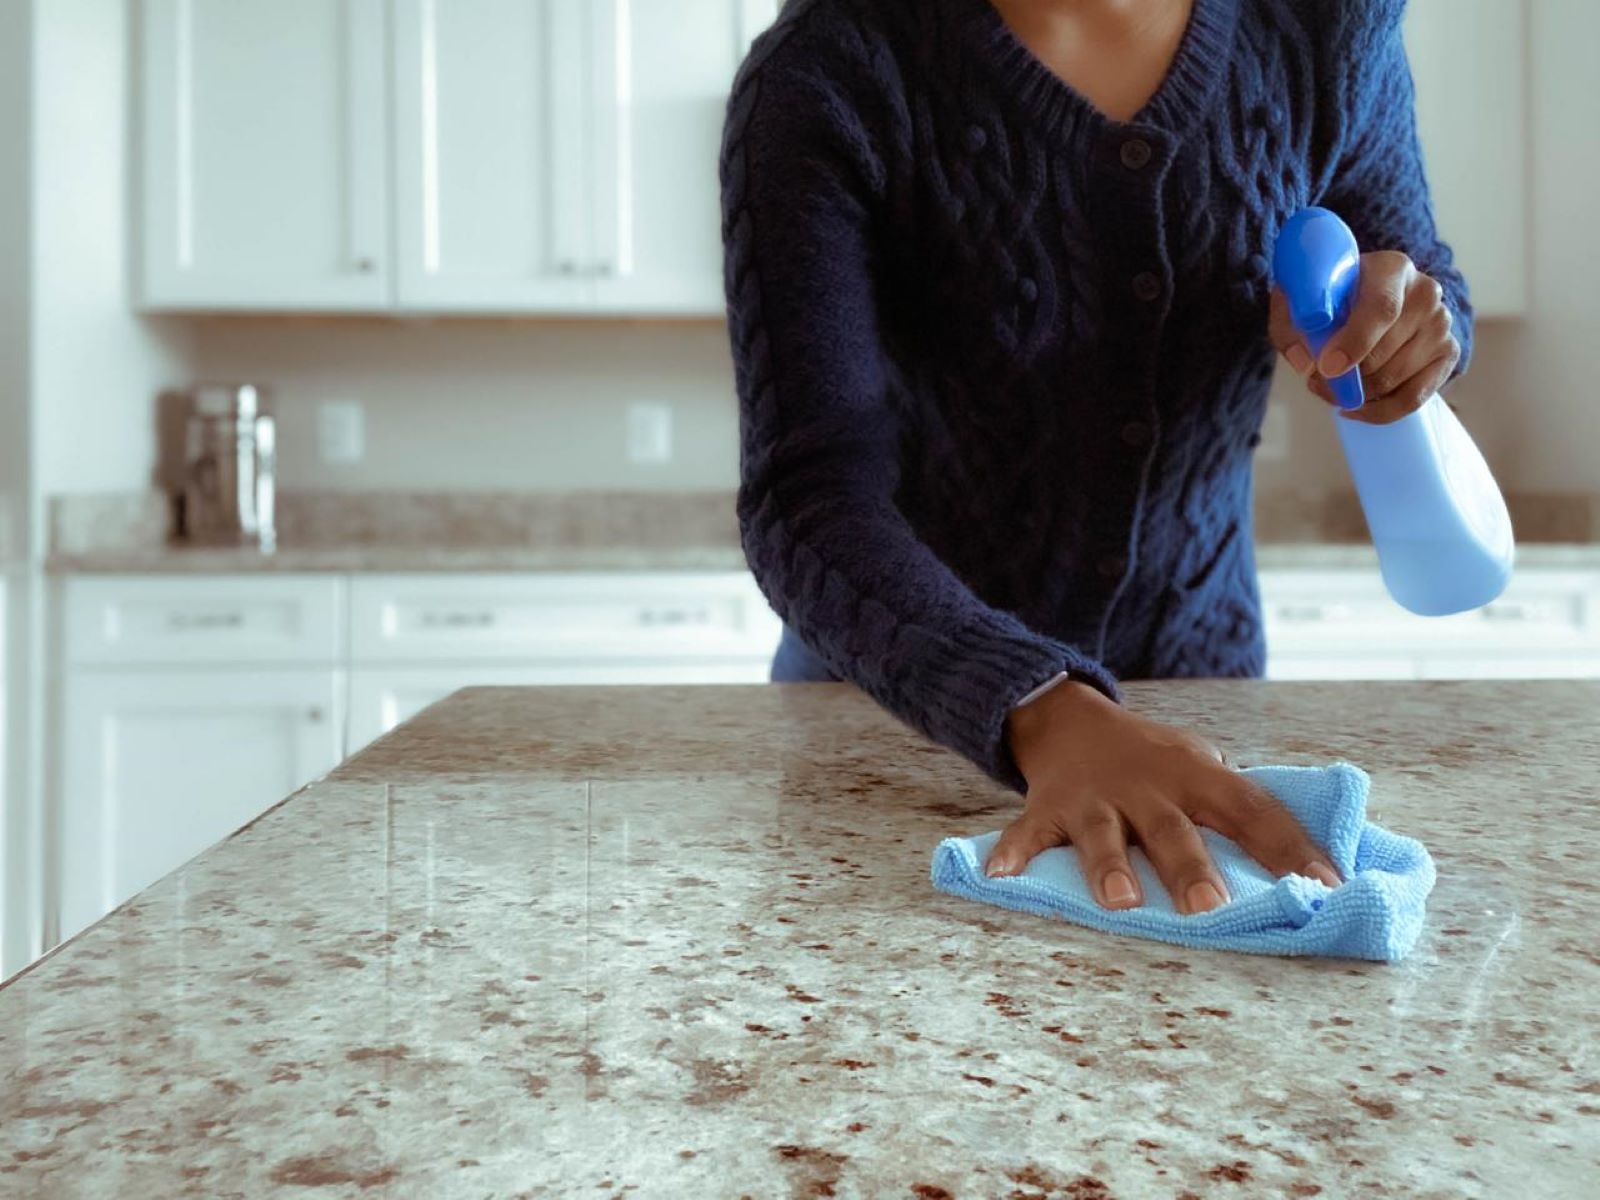
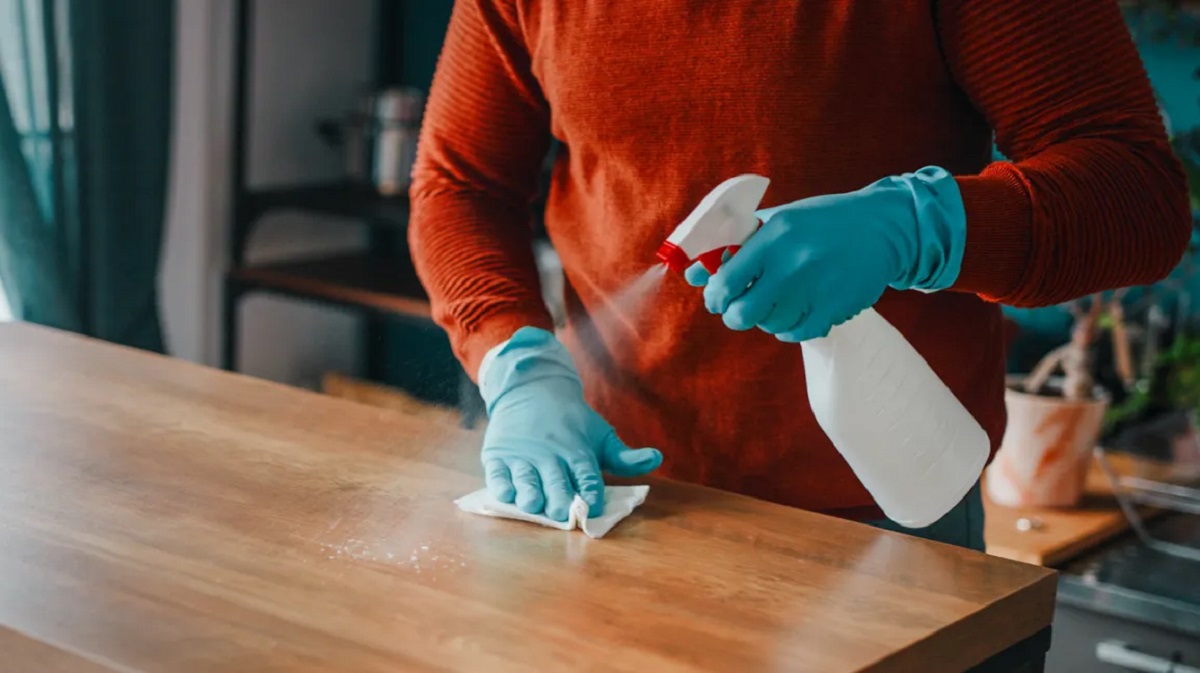
Step 4: Disinfect the mattress
Disinfecting your mattress is an important step in removing bacteria, germs, and other microorganisms that may be present. This will help create a cleaner and healthier sleeping environment. There are a few effective methods you can use to disinfect your mattress:
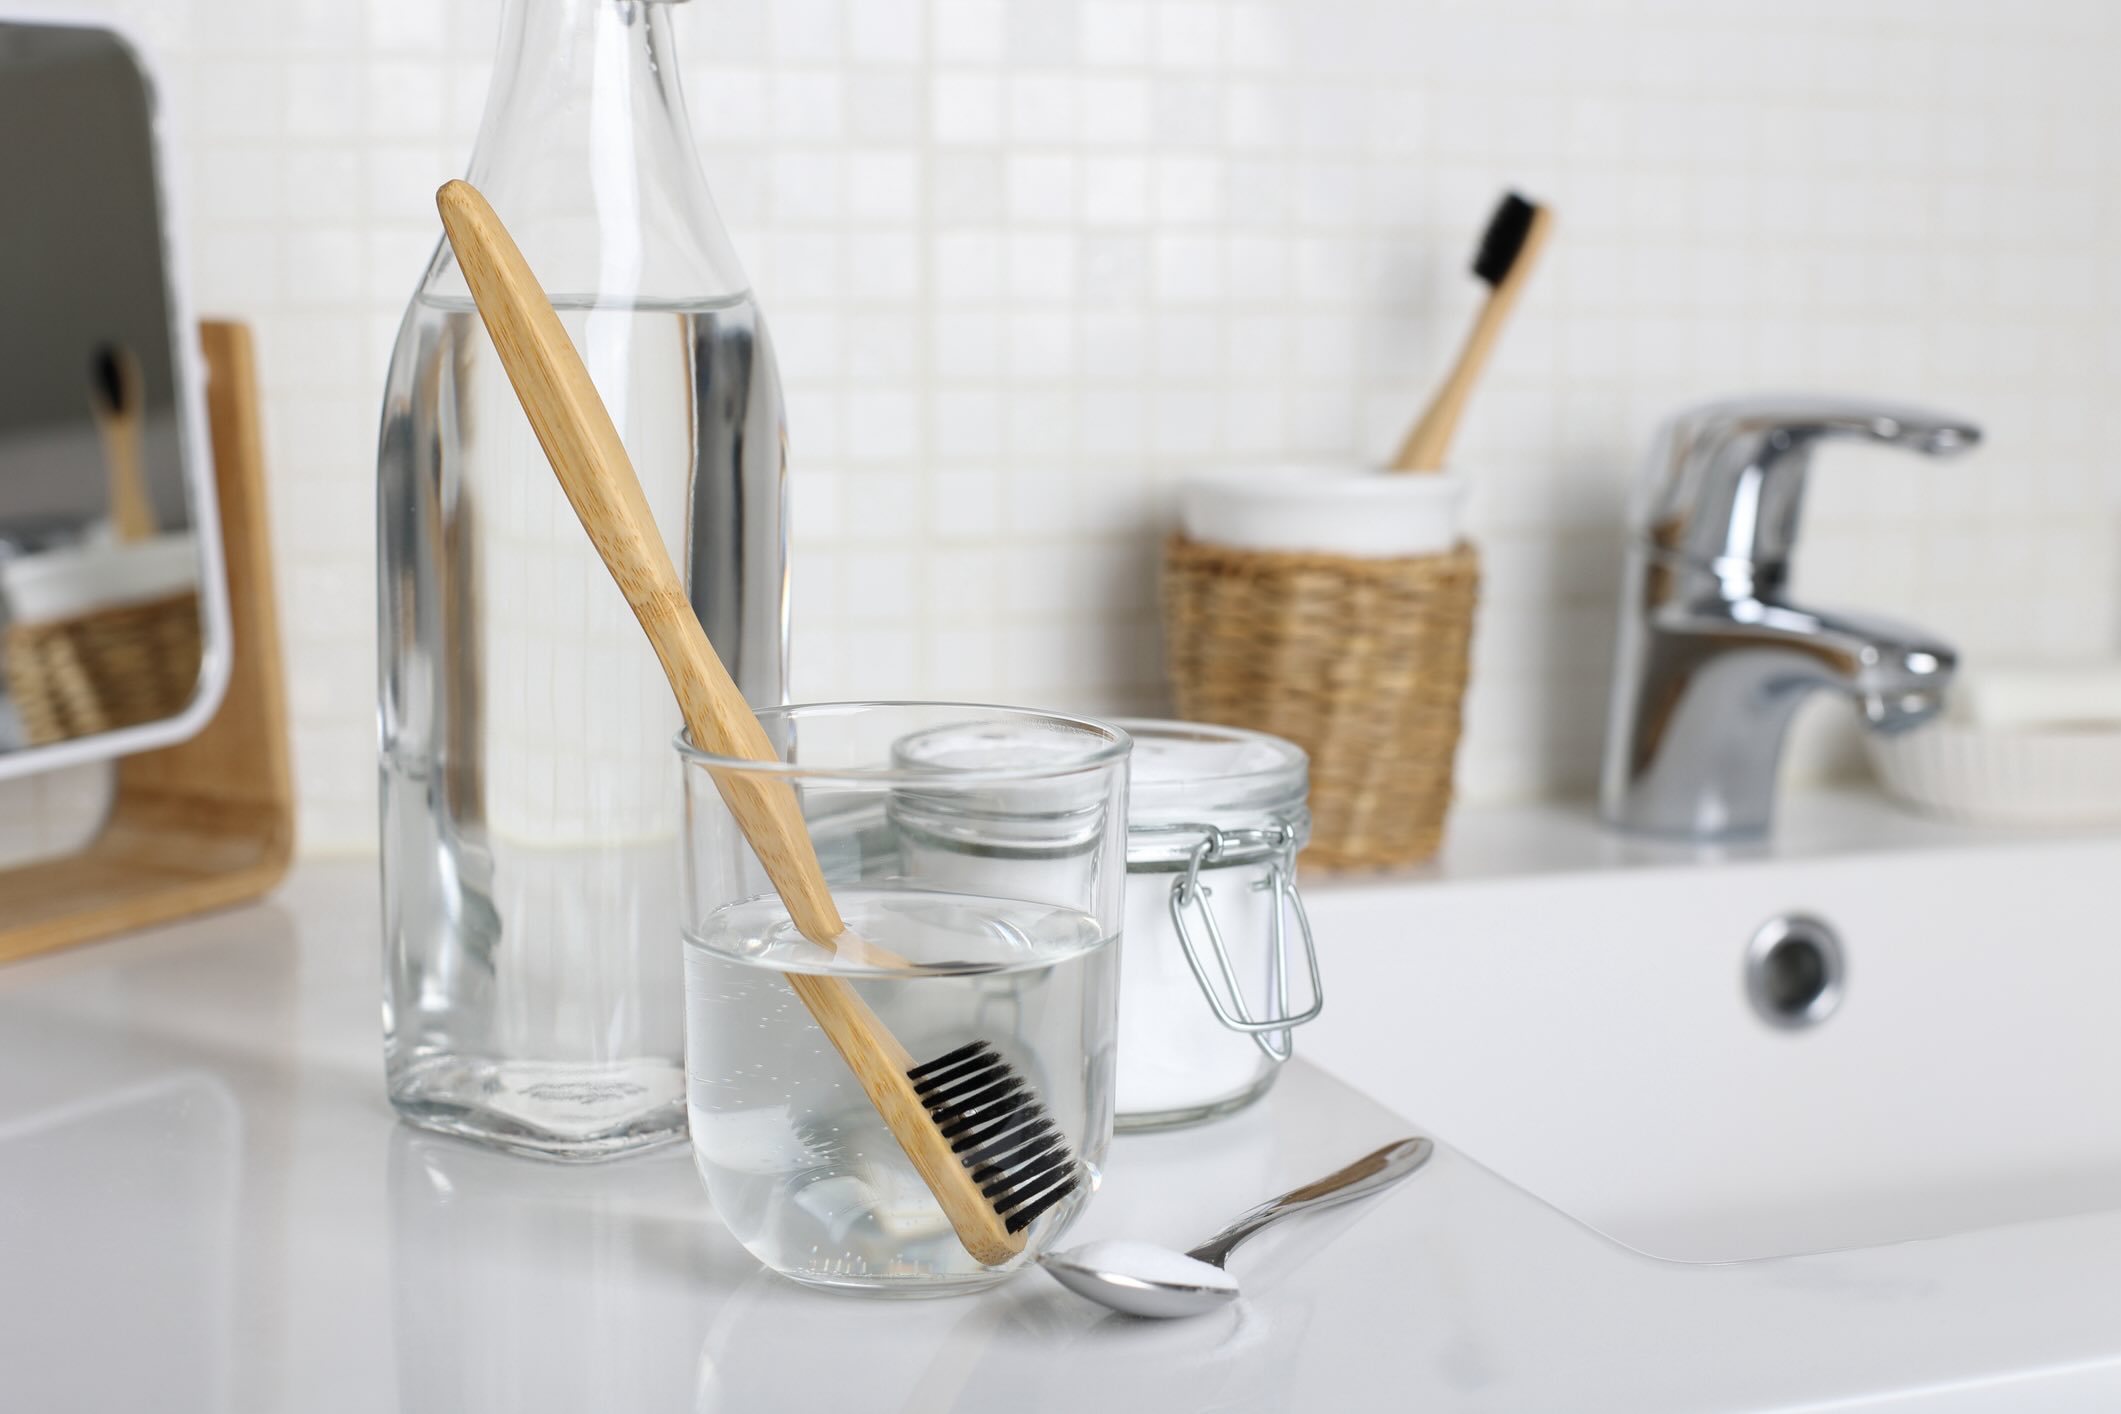
- Vinegar: Vinegar is a natural disinfectant that can help kill bacteria and neutralize odors. Fill a spray bottle with equal parts vinegar and water. Mist the entire surface of the mattress, paying extra attention to any areas that may be more prone to harboring bacteria. Avoid saturating the mattress, as excessive moisture can lead to mold growth. Allow the vinegar solution to air dry.
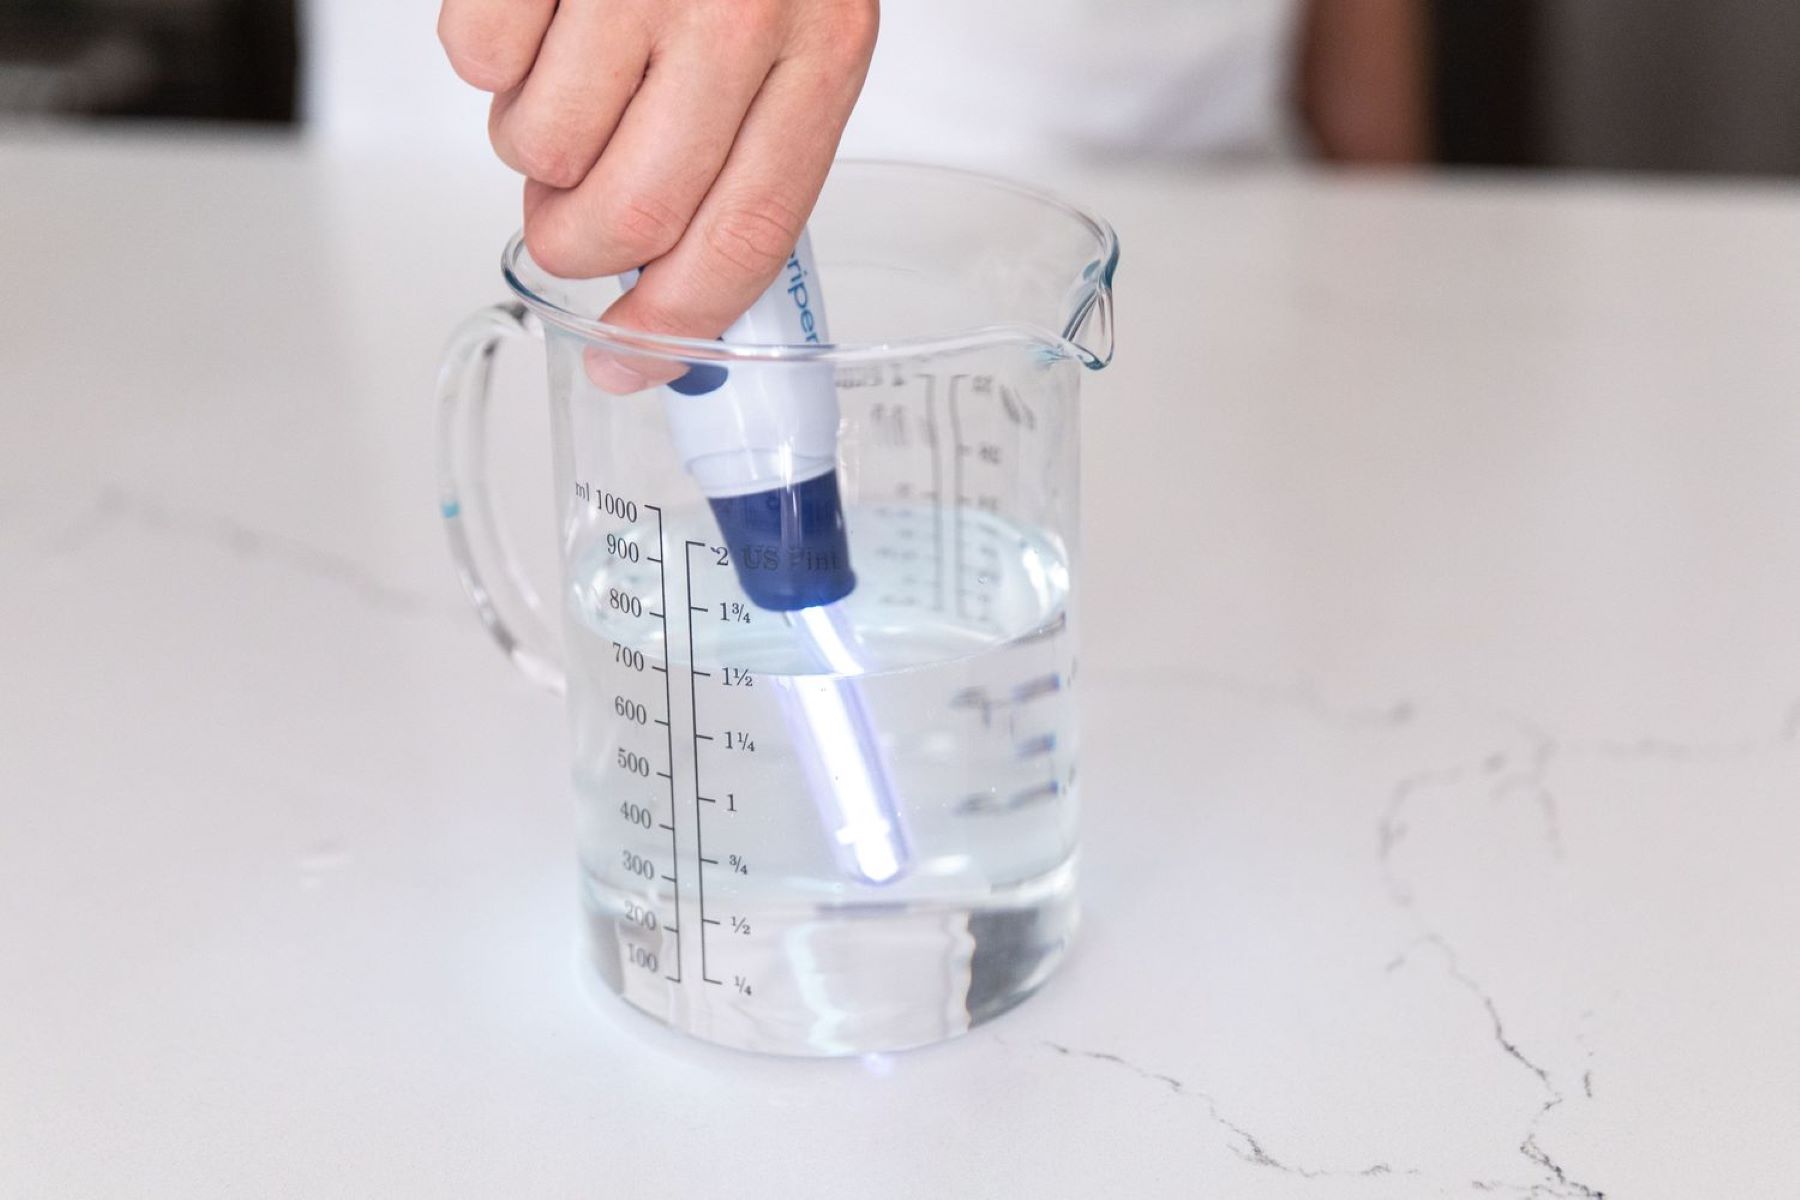
- Hydrogen peroxide: Hydrogen peroxide is another effective disinfectant. Fill a spray bottle with 3% hydrogen peroxide and lightly mist the mattress surface. Allow it to sit for a few minutes, then blot with a clean cloth to remove any excess liquid. Like with the vinegar solution, allow the mattress to air dry.
- Steam cleaning: If you have access to a steam cleaner, this can be an excellent method for deep disinfection. Follow the manufacturer’s instructions and use the steam cleaner to thoroughly clean the entire surface of the mattress. The high temperature of the steam will help kill bacteria and allergens effectively.
Note: It’s always important to test any cleaning solution or method on a small, inconspicuous area of the mattress first to ensure it does not cause any discoloration or damage.
Choose the method that suits your preferences and the resources available to you. Whichever method you use, be sure to allow the mattress to fully dry before moving on to the next step, as moisture can lead to mold or mildew growth.
By disinfecting your mattress, you are taking an important step towards ensuring a cleaner and healthier sleep environment.
Now that you have successfully disinfected your mattress, it’s time to move on to the next step: allowing the mattress to air dry.
To disinfect a mattress, mix equal parts of water and white vinegar in a spray bottle and lightly mist the mattress. Let it air dry completely before putting on clean sheets. This will help to kill any bacteria and neutralize odors.
Read more: How Do You Disinfect A Mattress
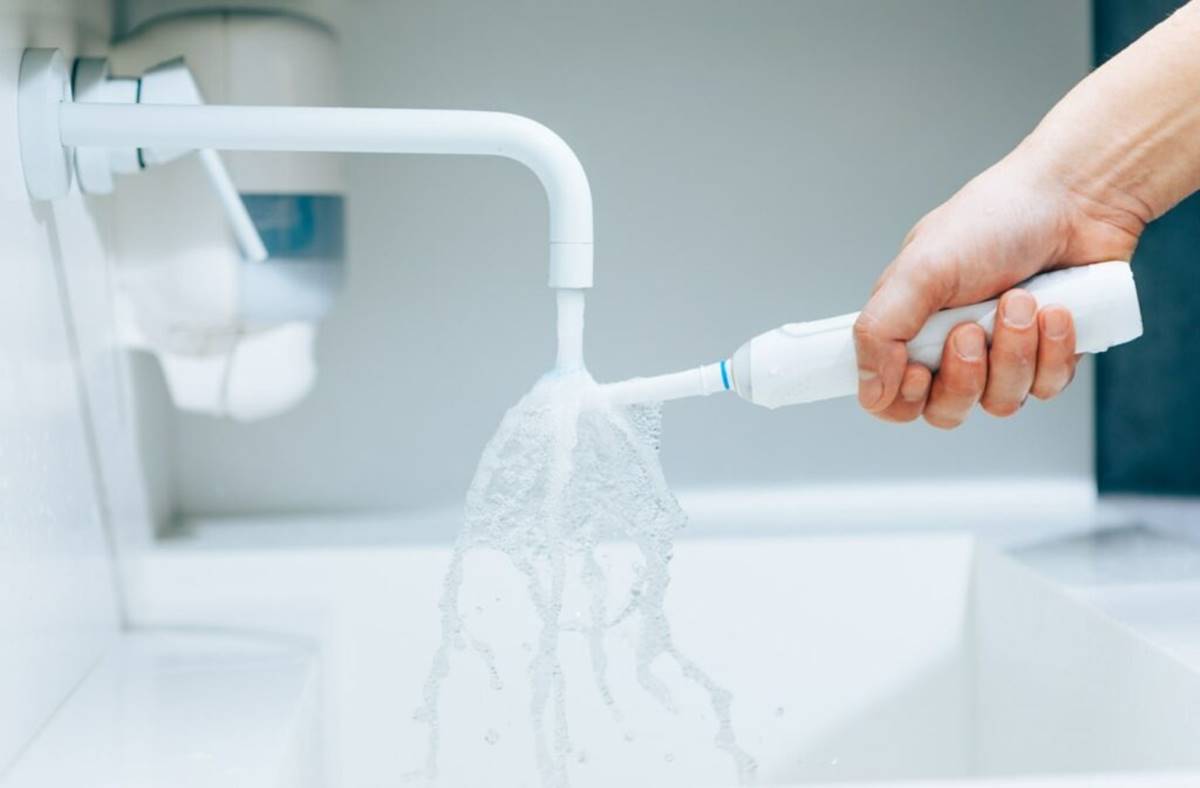
Step 5: Allow the mattress to air dry
Once you have completed the disinfection process, it’s crucial to allow your mattress to air dry thoroughly. Proper drying is essential to prevent the growth of mold and mildew, which can lead to unpleasant odors and potentially affect your overall health.
Here are some tips to ensure your mattress dries effectively:
- Place your mattress in a well-ventilated area. If possible, position it near an open window or use a fan to increase airflow.
- Avoid direct sunlight, as prolonged exposure can cause the fabric to fade or become damaged.
- Flip or rotate the mattress periodically to ensure both sides dry evenly.
- Consider using a dehumidifier in the room to help regulate moisture levels and speed up the drying process.
- Allow the mattress to air dry for at least 24-48 hours before putting bedding back on.
It’s important to note that the drying time may vary depending on various factors such as humidity levels, room temperature, and mattress thickness. Be patient and ensure the mattress is completely dry before proceeding to the next step.
While the mattress is drying, you can take this opportunity to clean your bedding. Launder your sheets, pillowcases, and mattress protector, if applicable, following the care instructions provided by the manufacturer. This will help maintain a clean and hygienic sleep environment.
Once the mattress has fully dried and you have cleaned your bedding, you’re ready for the next step: deodorizing the mattress.
Step 6: Deodorize the mattress
Deodorizing your mattress is an important step in keeping it fresh and smelling pleasant. Over time, mattresses can develop odors from sweat, body oils, and other sources. Fortunately, there are several methods you can use to effectively deodorize your mattress:
- Baking soda: Baking soda is a natural deodorizer that can help absorb and neutralize odors. Sprinkle a generous amount of baking soda over the entire surface of the mattress. Use a clean brush or sponge to gently rub the baking soda into the fabric, ensuring it reaches into the crevices and corners. Let the baking soda sit for several hours or overnight to allow it to absorb odors. Finally, use a vacuum cleaner with a brush attachment to thoroughly remove the baking soda from the mattress.
- Essential oils: Essential oils can add a pleasant scent to your mattress while also providing antibacterial properties. Dilute a few drops of your favorite essential oil, such as lavender or tea tree oil, in a spray bottle filled with water. Lightly mist the mattress, focusing on areas that may need extra freshness. Allow the mattress to air dry completely before putting bedding back on.
- Mattress sprays: You can find commercially available mattress sprays that are specifically designed to deodorize and refresh mattresses. Follow the instructions on the product and spray it lightly over the surface of the mattress. Allow the mattress to air dry before making up the bed.
These deodorizing methods can help remove unpleasant odors and leave your mattress smelling clean and fresh. However, it’s important to note that some people may be sensitive to certain scents or chemicals. It’s advisable to test a small area of the mattress or try a scent-free option if you have concerns.
Once you have successfully deodorized your mattress, the final step is to put the bedding back on and prepare for a restful night’s sleep.
Step 7: Put bedding back on the mattress
After completing all the necessary steps to clean, disinfect, air dry, and deodorize your mattress, it’s time to put the bedding back on and prepare for a comfortable and restful night’s sleep. Follow these tips to ensure a smooth and hygienic process:
- Start by placing a clean mattress protector or encasement on the mattress. This extra layer of protection will not only help prevent stains and spills from reaching the mattress but also provide an additional barrier against allergens and dust mites.
- Carefully put on a fresh fitted sheet over the mattress protector. Smooth out any wrinkles or creases for a neat and comfortable fit.
- Add a top sheet, if you prefer to use one, and tuck it securely under the mattress. This will provide an extra layer of cleanliness and comfort.
- Finish by adding any additional bedding such as blankets, duvets, or comforters. Fluff and arrange them to your desired level of comfort.
- Don’t forget to add clean pillowcases to your pillows to complete the clean and fresh bedding ensemble.
By putting clean bedding back on your freshly cleaned mattress, you create a cozy and hygienic sleeping environment that promotes a good night’s sleep.
Remember, it’s essential to regularly launder and replace your bedding to maintain cleanliness and freshness. Aim to wash your sheets, pillowcases, and mattress protectors at least once every one to two weeks, or more frequently if needed.
By following these steps and implementing proper mattress care, you can enjoy a clean, fresh, and inviting bedroom retreat.
With your newly cleaned and prepared mattress, you can now look forward to a healthier and more rejuvenating sleep experience. Rest easy knowing that you have taken the necessary steps to keep your mattress clean, hygienic, and comfortable.
We hope this comprehensive guide has provided you with valuable insights and practical tips on how to effectively disinfect and care for your mattress. Sweet dreams!
Conclusion
Maintaining a clean and hygienic mattress is essential for creating a healthy sleep environment. By following the steps outlined in this guide, you can effectively disinfect your mattress, remove stains and odors, and ensure a fresh and comfortable place to rest each night.
Remember to regularly remove all bedding and clean it according to the manufacturer’s instructions. Vacuum your mattress regularly to eliminate dust, allergens, and dirt that can accumulate over time. Spot clean any visible stains promptly to prevent them from setting and becoming harder to remove.
Disinfecting your mattress is crucial in eliminating bacteria, germs, and other microorganisms that may be present. You can use vinegar, hydrogen peroxide, or steam cleaning methods to effectively disinfect your mattress. Allow your mattress to air dry fully to prevent the growth of mold or mildew.
Deodorizing your mattress will help remove any lingering odors and keep it smelling fresh. Baking soda, essential oils, or commercially available mattress sprays can be used to achieve this. Remember to test any products or methods on a small area of the mattress first to ensure compatibility and avoid any damage.
Once you have completed all the steps, it’s time to put the clean bedding back on your mattress. Utilize a mattress protector or encasement for added protection, ensure that your sheets and pillowcases are laundered regularly, and fluff and arrange your bedding for maximum comfort.
By taking care of your mattress and implementing these cleaning procedures, you can extend its lifespan, enhance your sleep quality, and promote a healthier sleeping environment.
So, give your mattress the attention it deserves and enjoy the benefits of a clean, fresh, and hygienic place to rest and rejuvenate every night.
Rest well and sleep tight!
Frequently Asked Questions about How To Disinfect A Mattress
Was this page helpful?
At Storables.com, we guarantee accurate and reliable information. Our content, validated by Expert Board Contributors, is crafted following stringent Editorial Policies. We're committed to providing you with well-researched, expert-backed insights for all your informational needs.