Articles
How To Disinfect Wood Furniture
Modified: October 19, 2024
Learn how to properly disinfect your wood furniture using safe and effective methods. Preserve the beauty and lifespan of your favorite pieces with these expert tips.
(Many of the links in this article redirect to a specific reviewed product. Your purchase of these products through affiliate links helps to generate commission for Storables.com, at no extra cost. Learn more)
Introduction
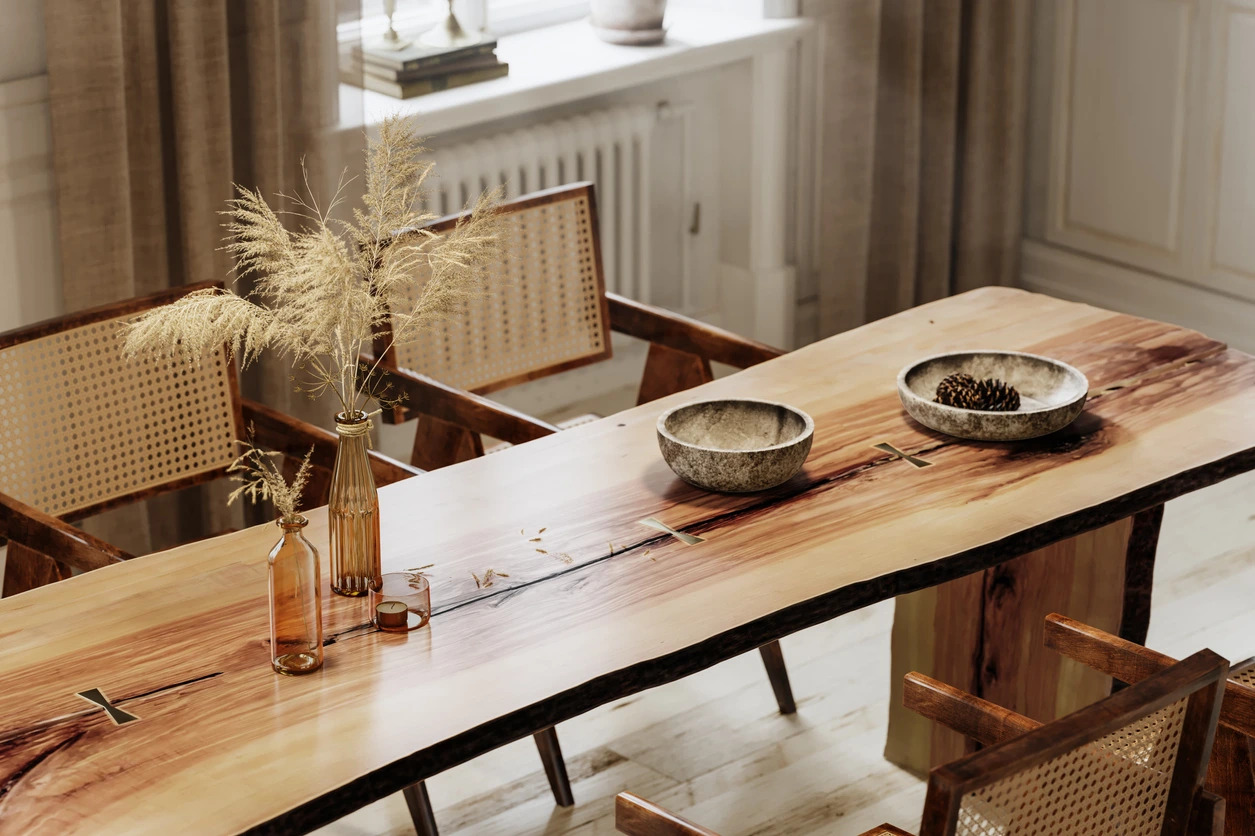
Wood furniture is a popular choice for its timeless beauty, durability, and functionality. Whether you have a stunning hardwood dining table, a cozy wooden chair, or a charming oak bookshelf, taking care of your wood furniture is essential to ensure its longevity and maintain its aesthetic appeal. One crucial aspect of caring for wood furniture is disinfection.
In today’s world, where hygiene is of utmost importance, it is essential to keep our furniture clean and germ-free. While regular cleaning removes surface dust and dirt, disinfecting goes a step further by eliminating harmful bacteria, viruses, and other germs that might be lurking on the surfaces of our beloved wood furniture.
However, before proceeding with the disinfection process, it is vital to understand the specific needs and characteristics of wood furniture to avoid causing any damage during the cleaning process. Different types of wood, finishes, and treatments require different approaches when it comes to disinfection.
In this article, we will explore the importance of disinfecting wood furniture, as well as safety precautions to take before embarking on the cleaning process. We will then guide you through a step-by-step process on how to disinfect your wood furniture effectively, ensuring its cleanliness without compromising its integrity. So, let’s dive in!
Key Takeaways:
- Properly disinfecting wood furniture is essential for maintaining a clean and healthy living environment. By following safety precautions, testing solutions, and applying protective finishes, you can ensure the longevity of your cherished pieces.
- Regular maintenance, including dusting, using coasters, and spot cleaning, is crucial for preserving the cleanliness and appearance of wood furniture. By incorporating these steps and tips, you can enjoy germ-free and beautiful furniture for years to come.
Read more: How To Lighten Wood Furniture
Understanding the Importance of Disinfecting Wood Furniture
Wood furniture is not only a beautiful addition to our homes, but it also provides us with functional and comfortable spaces. However, it is important to recognize that wood, just like any other surface, can harbor bacteria, viruses, and other contaminants.
In recent times, maintaining proper hygiene and cleanliness has become a top priority. With the spread of illnesses and increased awareness of germs, disinfecting our surroundings has become crucial. This includes disinfecting frequently touched surfaces, and yes, that includes our cherished wood furniture.
Germs can easily transfer to wood furniture through various means, such as hands, food spills, and pet dander. If left untreated, these germs can thrive and potentially pose health risks to you and your family. Moreover, wood furniture can also become a breeding ground for mold and mildew if it is exposed to moisture or high humidity.
By regularly disinfecting your wood furniture, you can maintain a clean and healthy environment in your home. Disinfection not only helps to eliminate harmful bacteria and viruses but also prevents their spread to other surfaces. It is especially crucial in households with young children, elderly individuals, or individuals with compromised immune systems.
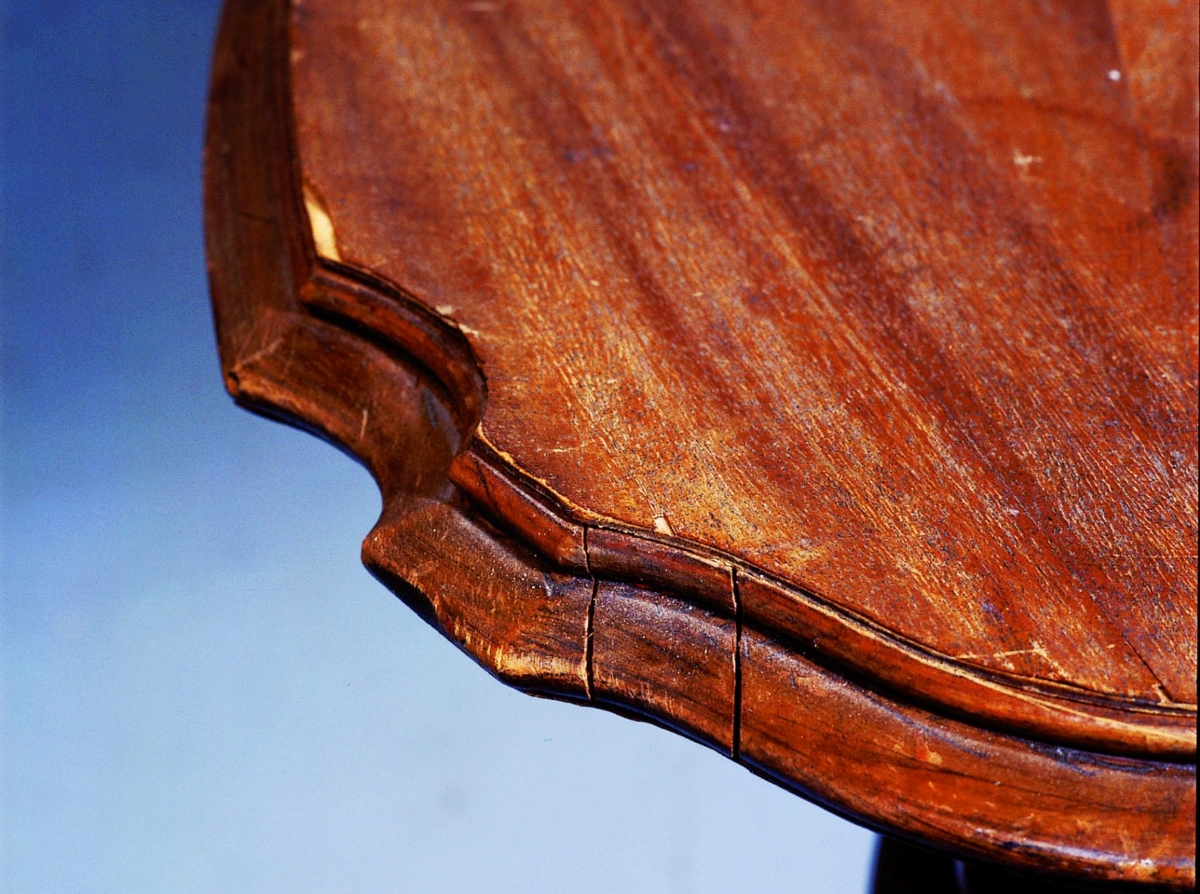
Furthermore, disinfecting wood furniture can also help to prolong its lifespan. Disinfection can prevent the growth of mold and mildew, which can cause structural damage and deterioration of the wood. By keeping your wood furniture clean and free from harmful contaminants, you can ensure that it remains beautiful and functional for years to come.
Additionally, disinfecting your wood furniture is particularly important during flu seasons or in the event of any illness in your household. This can help prevent the spread of illness-causing germs and protect the well-being of your loved ones.
Now that we understand the significance of disinfecting wood furniture, let’s move on to the essential safety precautions you should take before initiating the cleaning process.
Safety Precautions Before Disinfecting Wood Furniture
Before you begin the process of disinfecting your wood furniture, it is crucial to take certain safety precautions to ensure that you protect both yourself and your furniture. These precautions will help you minimize the risk of damage and maintain the integrity of your wood furniture. Here are some important safety measures to consider:
- Read the manufacturer’s guidelines: Different types of wood and finishes may have specific cleaning and disinfection instructions provided by the manufacturer. It is important to read and follow these guidelines to avoid any potential damage caused by using the wrong cleaning agents or techniques.
- Test on a small, inconspicuous area: Before applying any disinfectant to your wood furniture, perform a patch test on a small, hidden area. This will help you ensure that the disinfectant does not cause any adverse effects or discoloration on your furniture.
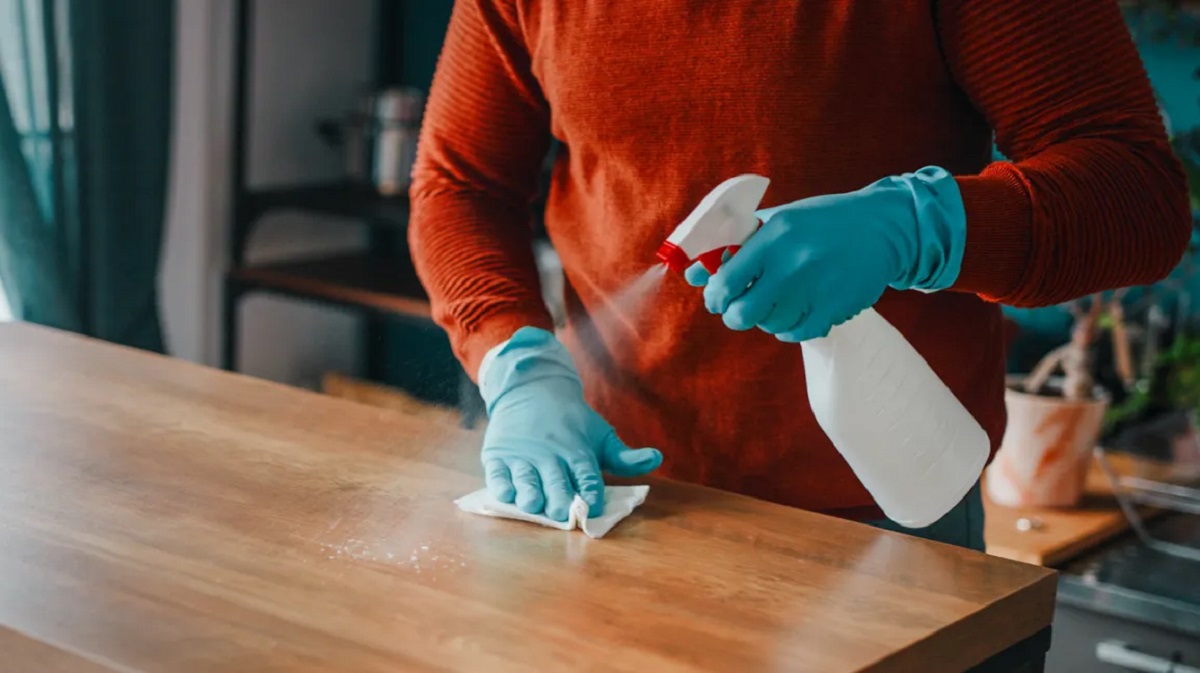
- Protect yourself: Wear gloves to protect your hands from any harsh chemicals in the disinfectant solution. If you are using disinfectant wipes, still consider wearing gloves to protect both your hands and the wood surface.
- Work in a well-ventilated area: Ensure that the room where you are disinfecting your furniture is well-ventilated. Open windows or use a fan to create airflow, as some disinfectants may have strong fumes that can be harmful when inhaled.
- Use the right cleaning agents: For wood furniture, it is important to choose disinfectants that are safe for use on wood surfaces. Avoid using bleach or harsh chemicals that can strip the finish or damage the wood. Look for disinfectants that are specifically labeled safe for use on wood.
- Follow the instructions: Carefully read and follow the instructions provided by the disinfectant manufacturer. Pay attention to recommended exposure times, dilution ratios (if applicable), and any additional precautions mentioned.
- Avoid excessive moisture: Wood is susceptible to damage from excessive moisture. While disinfecting, avoid saturating the wood with the disinfectant solution. Wring out any cloth or sponge before applying it to the furniture.
By adhering to these safety precautions, you can ensure that the disinfection process is effective and safe for your wood furniture. Now that you have taken the necessary precautions, it’s time to gather the materials you’ll need for disinfection.
Step 1: Gather the Required Materials
Before you begin the process of disinfecting your wood furniture, it is important to gather all the necessary materials. Having everything prepared beforehand will make the process smoother and more efficient. Here are the materials you will need:
- Microfiber cloth: A soft and lint-free microfiber cloth will be your go-to tool for wiping and cleaning the wood furniture. It is gentle on the surface and helps to prevent scratches.
- Disinfectant solution: Choose a disinfectant that is safe for use on wood surfaces. Look for options that are specifically labeled to be safe for wood furniture. You can find disinfectant sprays or make your own cleaning solution using household disinfectants like isopropyl alcohol or hydrogen peroxide.
- Spray bottle: If you decide to make your own disinfectant solution, you’ll need a clean spray bottle to store and apply the solution.
- Protective gloves: It is essential to protect your hands during the disinfection process. Choose disposable gloves or reusable rubber gloves to keep your hands safe from any potentially harmful chemicals.
- Mask (optional): If you are using a disinfectant that has strong fumes or if you have sensitivities or allergies, consider wearing a mask to protect your respiratory system.
- Bucket of warm water: You will need a bucket of warm water to rinse your cloth or sponge when cleaning the furniture.
Make sure to gather all these materials before you start the disinfection process. Having them readily available will save you time and help you complete the task efficiently.
Now that you have all the necessary materials, it’s time to move on to the next step: removing the dust and debris from the wood furniture.
Step 2: Remove Dust and Debris from the Furniture
Before disinfecting your wood furniture, it is important to start with a clean surface. Dust and debris can accumulate on the furniture, making it difficult for the disinfectant to penetrate effectively. Here’s how you can remove dust and debris from your wood furniture:
- Prepare the surface: Clear the area around the furniture to create space to work. It is also a good idea to lay down a clean cloth or sheet beneath the furniture to catch any dust or debris that may fall during the cleaning process.
- Use a microfiber cloth: Take a clean, dry microfiber cloth and gently wipe the surface of the furniture. Start from the top and work your way down, covering all the surfaces, including the back, sides, and legs. Be gentle to avoid scratching the wood.
- Pay attention to crevices and corners: Dust tends to accumulate in crevices and corners. Use a soft-bristled brush or a cotton swab to gently clean these hard-to-reach areas. Be mindful not to apply too much pressure or force, as it may damage delicate wood trim or carvings.
- Remove loose debris: For any loose debris, such as crumbs or pet hair, use a vacuum cleaner with a soft brush attachment to gently remove them from the surface of the furniture. Be cautious not to scratch or damage the wood with the vacuum attachment.
- Inspect for stubborn stains: While cleaning, keep an eye out for any stubborn stains or spills. These may require additional cleaning or spot treatment before proceeding with the disinfection process. If you notice any stains, refer to the manufacturer’s guidelines or specific stain removal methods for your type of wood furniture.
By thoroughly removing dust and debris from your wood furniture, you create a clean surface that is ready for disinfection. This step ensures that the disinfectant can make direct contact with the wood and effectively eliminate any germs or pathogens that may be present.
With the furniture now dust-free, it’s time to move on to the next step: preparing a disinfecting solution.
Read more: How To Identify Wood Furniture
Step 3: Prepare a Disinfecting Solution
Preparing a suitable disinfecting solution is crucial for effectively sanitizing your wood furniture. Using the right solution will ensure that you eliminate harmful germs and bacteria without causing any damage to the wood surface. Here’s how you can prepare a disinfecting solution:
- Choose the appropriate disinfectant: Select a disinfectant that is safe for use on wood surfaces. Look for products that are specifically labeled as safe for wood furniture. Alternatively, you can create your own disinfecting solution using household disinfectants like isopropyl alcohol, hydrogen peroxide, or vinegar.
- Follow the manufacturer’s instructions: If you opt for a commercial disinfectant, carefully read and follow the instructions provided on the product label. Pay attention to recommended dilution ratios and exposure times to ensure effective disinfection.
- If making your own solution: If you choose to make your own disinfecting solution, here are a few recipes you can try:
- Vinegar and water solution: Mix equal parts vinegar and water in a spray bottle. Vinegar is a natural disinfectant and can effectively kill bacteria and viruses. It is safe for most wood surfaces but avoid using it on waxed or shellacked furniture.
- Isopropyl alcohol solution: Dilute isopropyl alcohol with water in a 1:1 ratio. This solution is effective in killing germs and is safe for most finished wood surfaces.
- Hydrogen peroxide solution: Mix equal parts hydrogen peroxide and water. Hydrogen peroxide has disinfectant properties and can be used on wood surfaces. However, it is important to test this solution on a small, inconspicuous area of your furniture to ensure it doesn’t cause any discoloration.
Remember to always follow the recommended guidelines for the disinfectant you choose or the homemade solution you create. This will help ensure effective disinfection while protecting the integrity of your wood furniture.
Now that you have prepared the disinfecting solution, it’s time to test it on a small, inconspicuous area to ensure it is safe for use on your wood furniture. This will be covered in the next step.
Step 4: Test the Solution on a Small, Inconspicuous Area
Before applying the disinfecting solution to your entire wood furniture, it is important to perform a patch test on a small, inconspicuous area. This test will help determine if the solution is safe for use on your specific type of wood and finish. Here’s how you can perform the patch test:
- Select a small area: Choose a discreet spot on the furniture, such as the backside of a leg or an underside area, where any potential damage or discoloration will not be visible.
- Apply the solution: Take a clean, soft cloth and, using gentle pressure, apply a small amount of the disinfecting solution to the selected area. Make sure to saturate the cloth with the solution, but avoid dripping excess liquid onto the wood surface.
- Wait and observe: Allow the solution to sit on the test area for the recommended time mentioned in the disinfectant instructions. It is important to follow the specified exposure time to accurately assess any negative effects on the wood.
- Check for adverse reactions: After the designated time has passed, carefully examine the test area for any signs of damage, discoloration, or adverse reactions. Look for changes in the wood’s appearance, such as warping, fading, or swelling.
- Assess the results: If the test area shows no negative effects or changes, it is likely safe to proceed with the disinfection process. However, if you observe any undesirable reactions, discontinue the use of the disinfecting solution on your wood furniture.
Performing a patch test is crucial in preventing any potential damage to your wood furniture. Each type of wood and finish may react differently to disinfecting solutions, so it’s important to ensure compatibility before applying the solution to the entire piece.
If the patch test is successful and there are no adverse effects, you can proceed with confidence to the next step: applying the disinfecting solution to the wood furniture.
Use a solution of 70% isopropyl alcohol and 30% water to disinfect wood furniture. Spray the solution on a microfiber cloth and wipe the furniture down, then allow it to air dry. Avoid using bleach or harsh chemicals on wood.
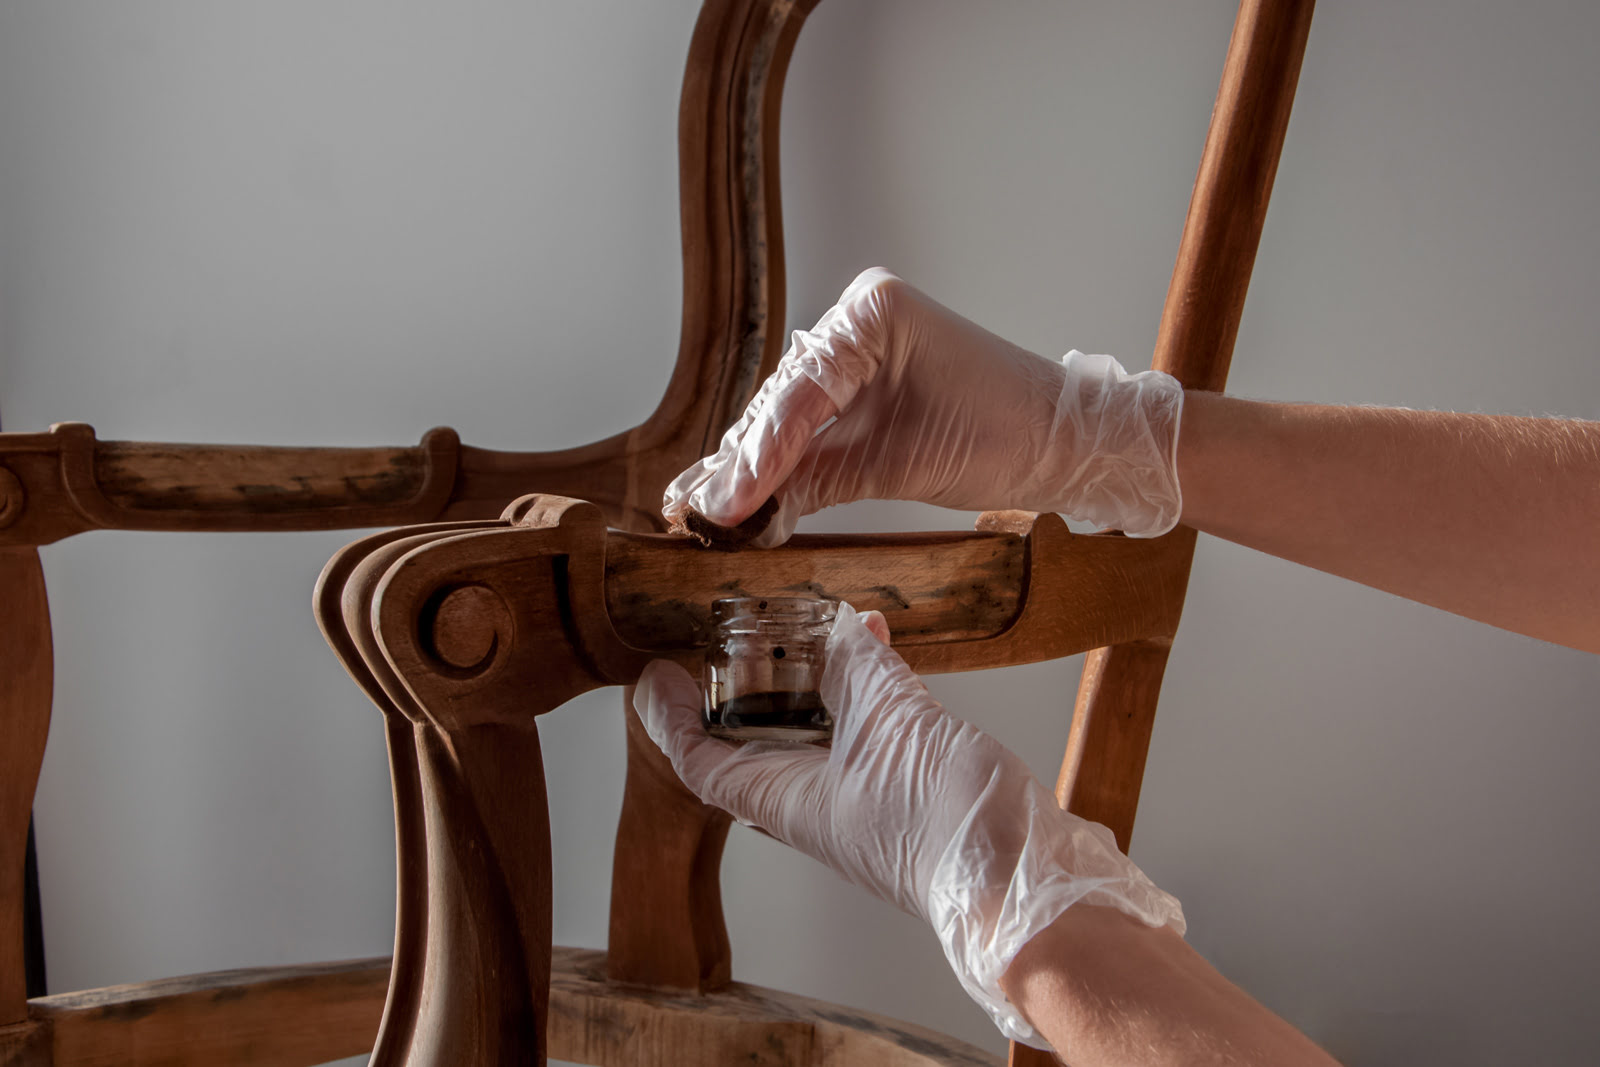
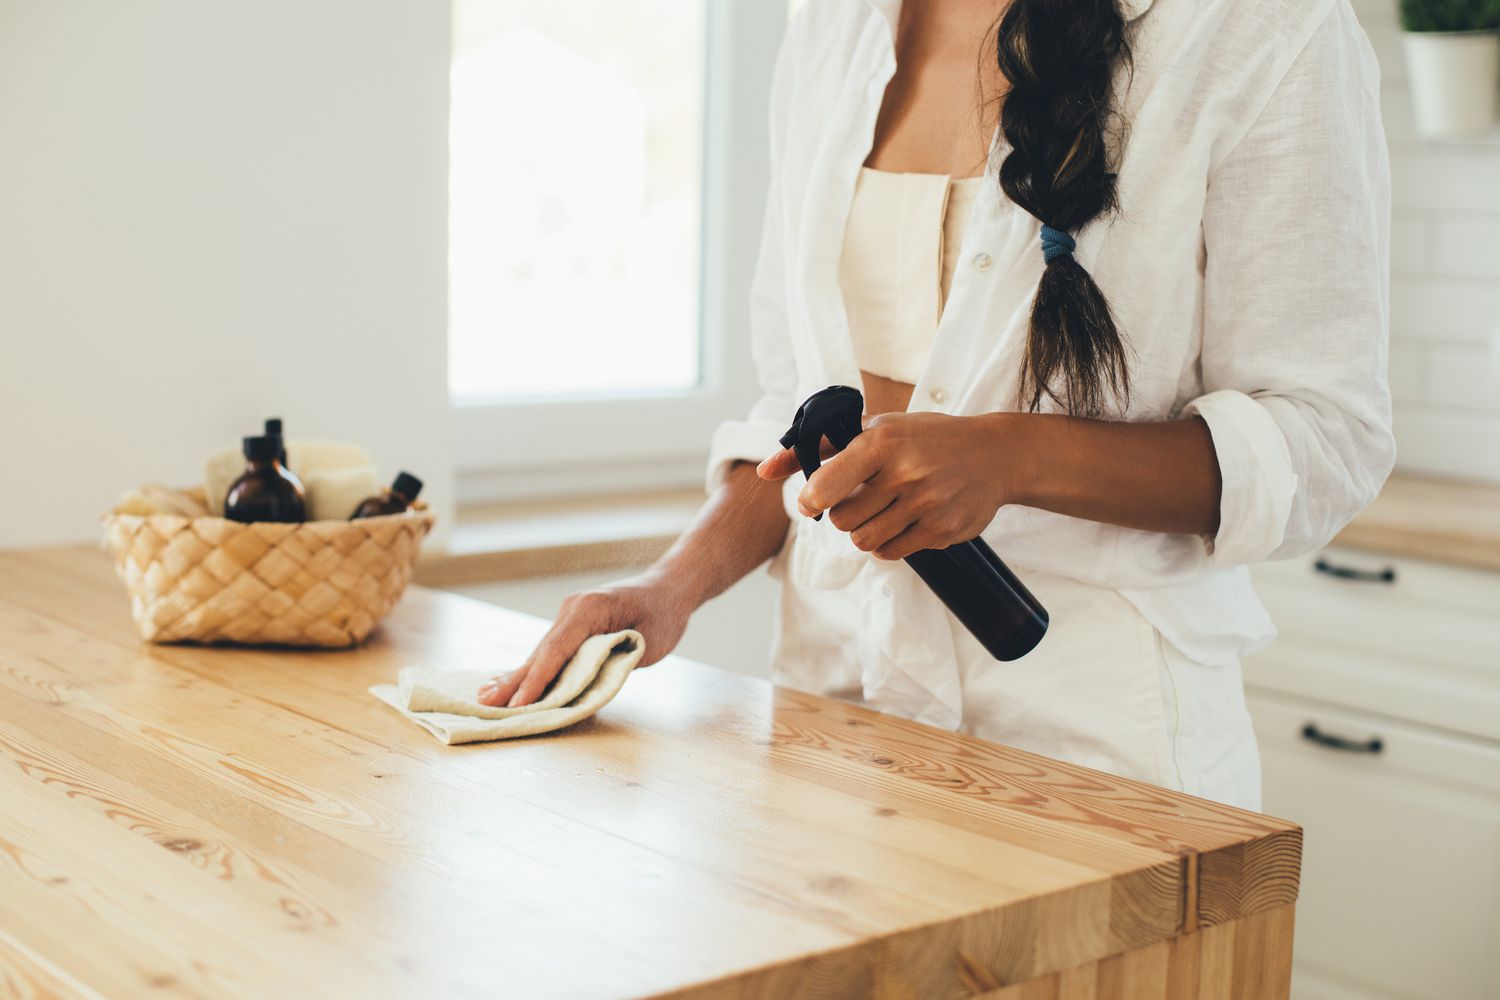
Step 5: Apply the Disinfecting Solution to the Wood Furniture
Now that you have tested the disinfecting solution on a small, inconspicuous area and confirmed its compatibility with your wood furniture, it’s time to apply the solution to the entire piece. Here’s how you can effectively apply the disinfecting solution:
- Prepare your workspace: Ensure that your work area is clean and well-ventilated. Open windows or turn on fans to promote airflow and minimize exposure to any fumes from the disinfecting solution.
- Saturate a cloth: Take a clean, soft cloth and saturate it with the disinfecting solution. Make sure the cloth is damp but not dripping with excess liquid. A microfiber cloth is an excellent choice as it is gentle on the wood’s surface.
- Start from the top: Begin applying the disinfecting solution to the wood furniture, starting from the top and working your way down. This will help prevent any drips or streaks on already cleaned areas.
- Gently wipe the surface: Using the damp cloth, gently wipe the entire surface of the wood furniture, including all sides, legs, and any intricate details or carvings. Pay extra attention to frequently touched areas, such as armrests or tabletops.
- Control the moisture: While disinfecting, be cautious not to oversaturate the wood with the solution. Wipe in gentle, circular motions, ensuring even coverage without leaving excess liquid that can penetrate the wood or cause damage.
- Reapply as needed: If necessary, reapply the disinfecting solution to the cloth to ensure continuous and thorough coverage of the wood furniture. Use additional disinfectant as needed to maintain a damp cloth throughout the process.
- Pay attention to details: Remember to clean every nook and cranny, including corners, crevices, and any intricate designs on your wood furniture. Use a soft-bristled brush or cotton swab to reach these tight spots.
By following these steps, you can effectively apply the disinfecting solution to your wood furniture, ensuring that every surface is properly cleaned and sanitized. Once you have completed this step, it’s time to allow the solution to sit and penetrate the wood, which we will cover in the next step.
Step 6: Allow the Solution to Sit and Penetrate
Once you have applied the disinfecting solution to your wood furniture, it is important to give it sufficient time to sit and penetrate the wood. This allows the solution to effectively kill any germs, bacteria, or viruses present on the surface. Here’s what you should do:
- Read the disinfectant instructions: Refer to the disinfectant product label or the information provided with your homemade solution to determine the recommended contact time. This is the duration for which the solution should remain on the surface of the wood furniture to effectively disinfect it.
- Let the solution sit: After applying the disinfecting solution, avoid immediately wiping it off. Instead, leave the solution undisturbed on the surface for the specified contact time. This will allow the disinfectant to penetrate the wood and effectively kill any harmful bacteria or viruses present.
- Avoid excessive drying: To prevent the solution from drying out quickly, you can cover the furniture with a plastic sheet or cling wrap. This helps maintain moisture and ensure sufficient contact time for the disinfectant to work.
- Follow recommended guidelines: It is crucial to adhere to the recommended contact time specified by the disinfectant manufacturer or the guidelines for your homemade solution. This ensures that the disinfectant has enough time to eliminate any contaminants effectively.
Allowing the disinfecting solution to sit and penetrate the wood is a critical step in the process. It ensures that proper disinfection takes place, providing a clean and germ-free surface. Once the recommended contact time has passed, you can move on to the next step: wiping and drying the furniture.
Read more: How To Stain Wood Furniture
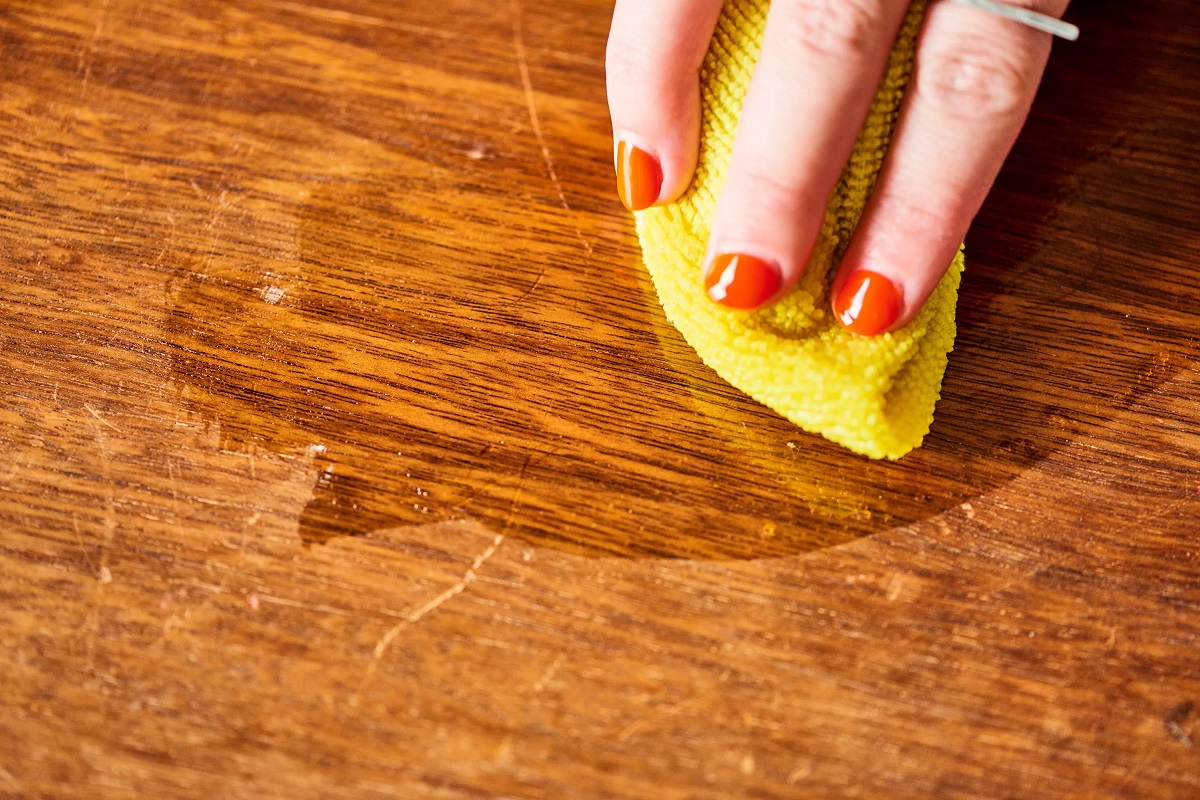
Step 7: Wipe and Dry the Furniture Thoroughly
After the disinfecting solution has had sufficient contact time to penetrate the wood and eliminate any germs or bacteria, it is important to thoroughly wipe and dry the furniture. This step ensures that excess moisture is removed, preventing any potential damage to the wood’s surface. Here’s what you should do:
- Use a clean, dry cloth: Take a fresh, dry cloth, preferably a microfiber cloth, to wipe down the furniture. Start from the top and work your way down, ensuring that you cover all surfaces, corners, and crevices.
- Gently wipe the furniture: Wipe the furniture in gentle, circular motions, applying slight pressure to remove any remaining disinfectant solution. Be thorough and make sure to reach all areas, including the back, sides, legs, and any intricate details.
- Pay attention to moisture: Ensure that the cloth is absorbing the moisture properly. If the cloth becomes saturated, wring it out or replace it with a dry cloth to prevent excessive moisture from being transferred to the wood surface. This is important as prolonged exposure to moisture can lead to damage, such as warping or swelling of the wood.
- Dry the furniture: After wiping, allow the furniture to air dry for a short period. This will help remove any residual moisture. You can also use a dry, clean cloth to pat dry the surface of the furniture, ensuring that it is completely dry before using or placing any items back on it.
- Check for streaks or residue: Inspect the furniture for any streaks or residue left behind by the disinfectant. If you notice any, you can lightly dampen a clean cloth with water and gently wipe the affected area to remove the residue. Make sure to dry the spot thoroughly afterward.
Thoroughly wiping and drying the furniture ensures that any remaining disinfectant solution is removed, leaving your wood furniture clean, dry, and ready to be used again. By following these steps, you can help maintain the integrity and longevity of your cherished wood furniture.
In the next step, we will discuss an optional but beneficial step: applying a protective finish to further safeguard your wood furniture.
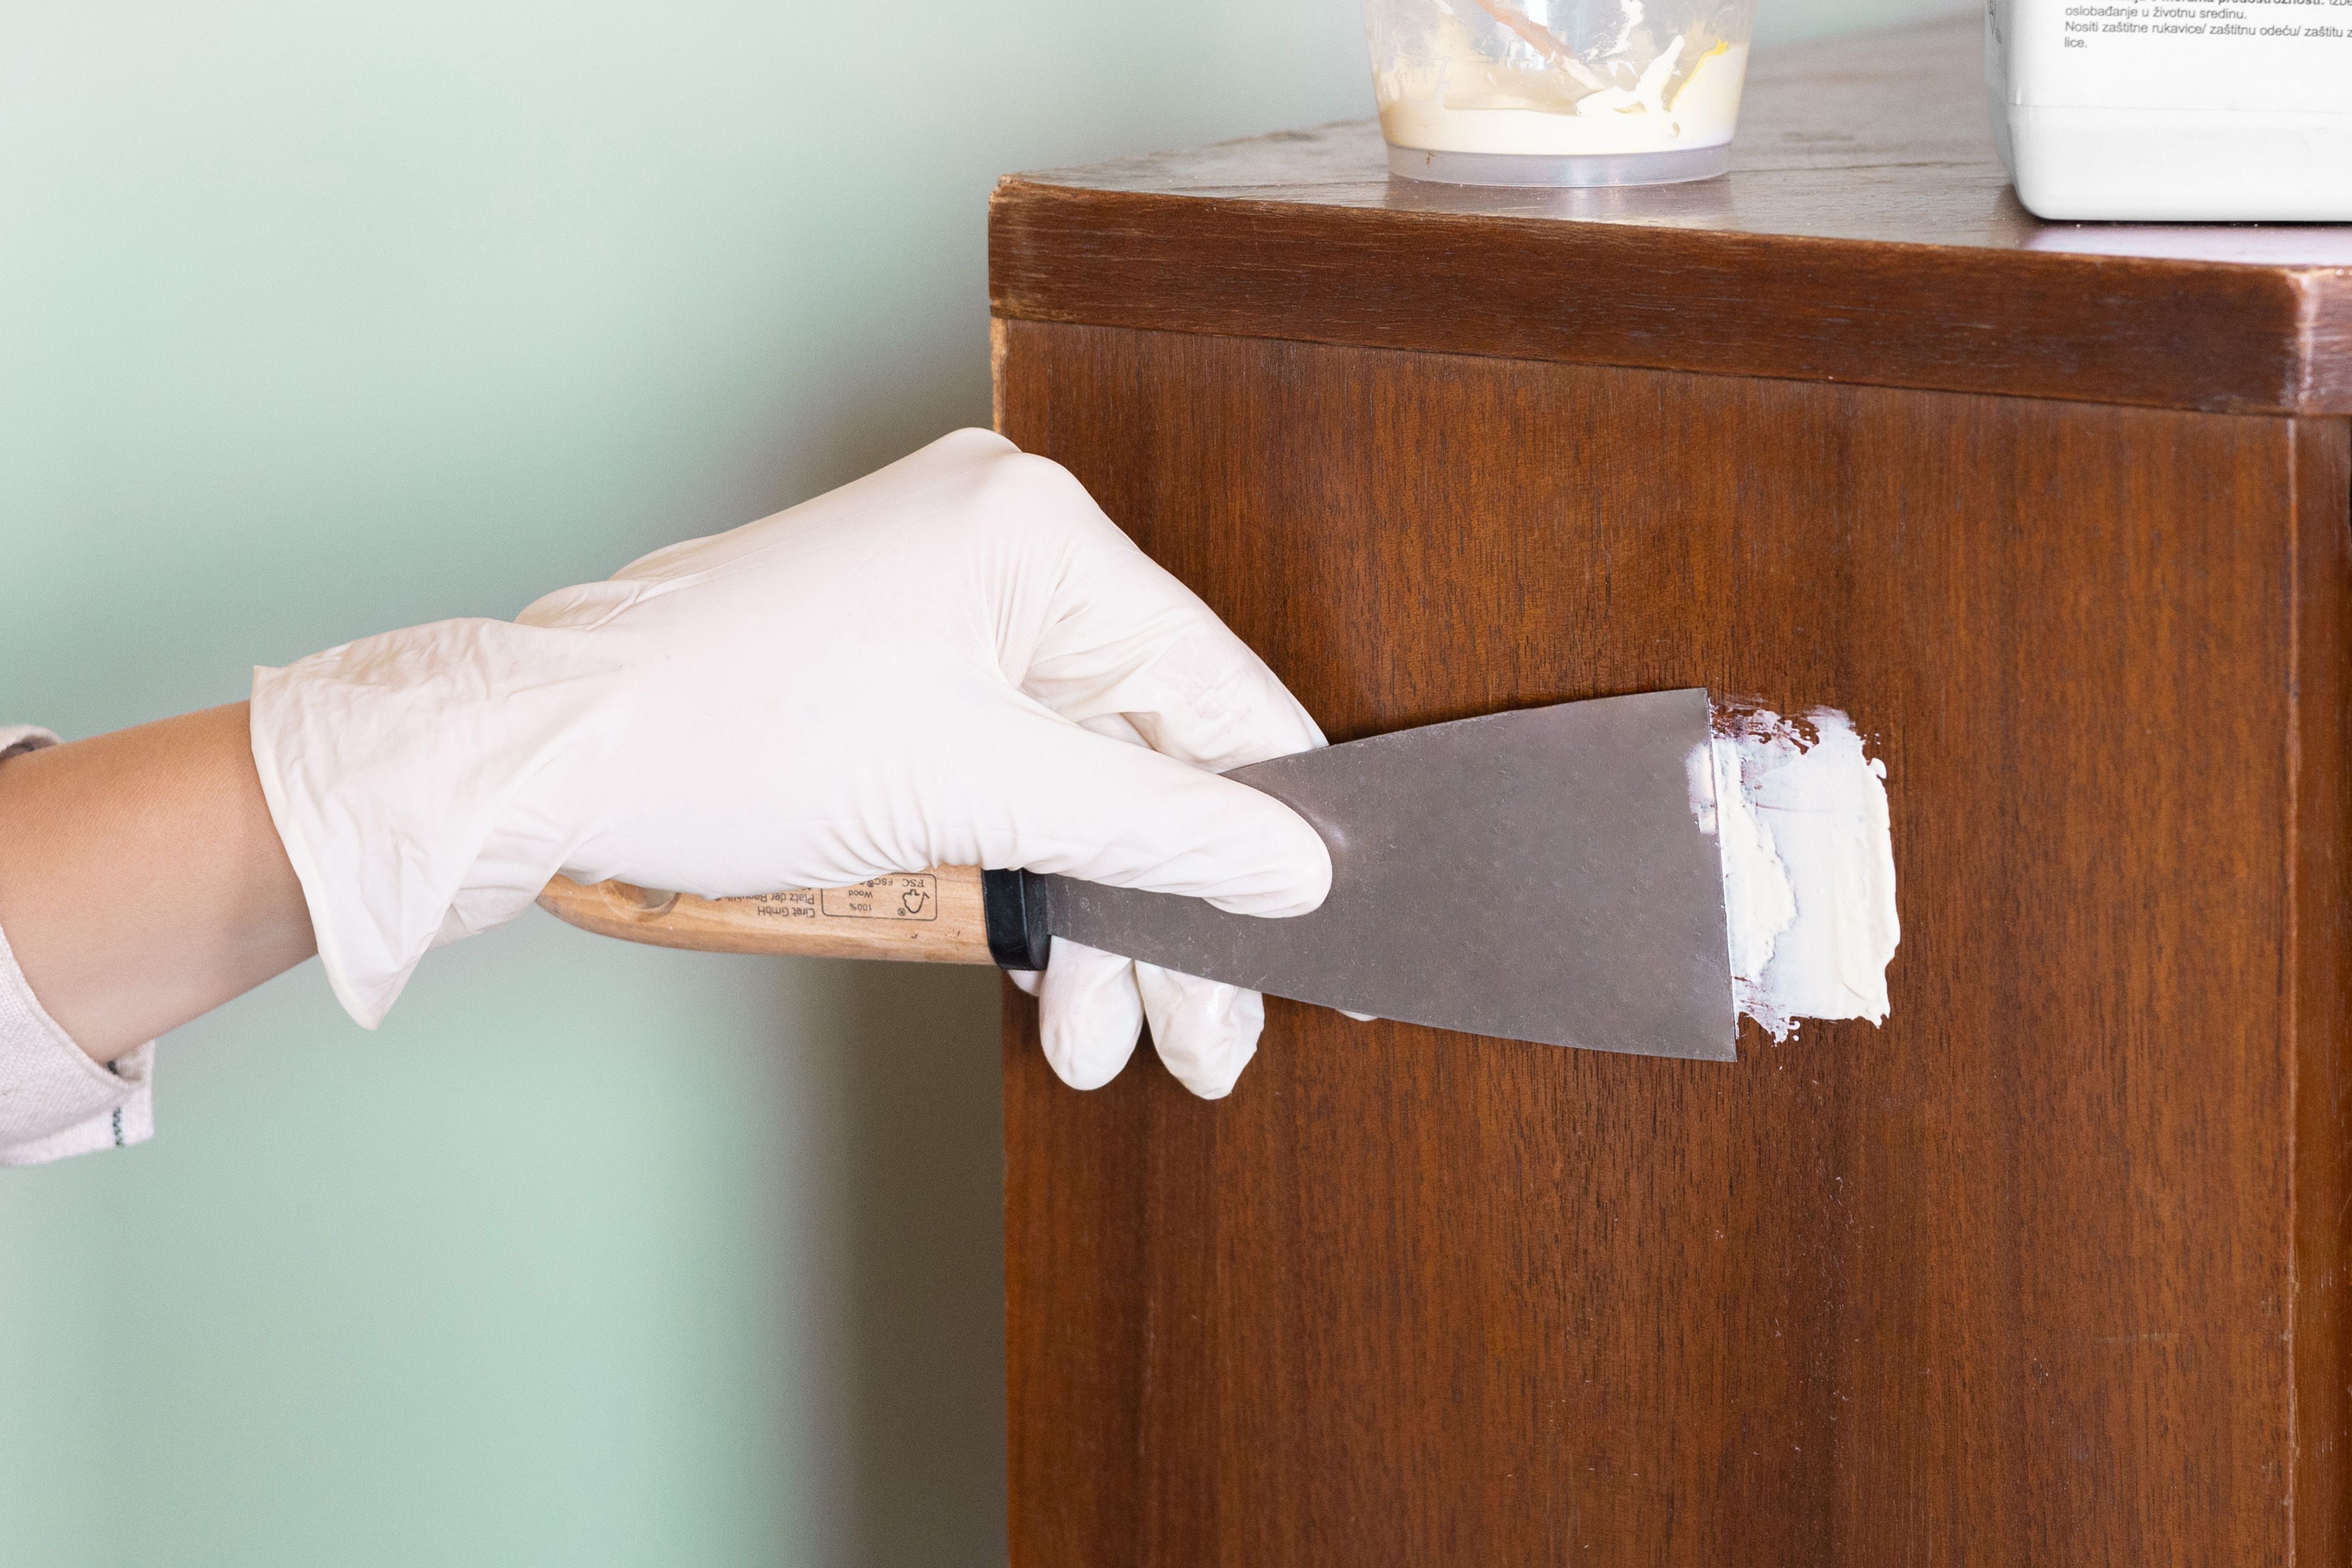
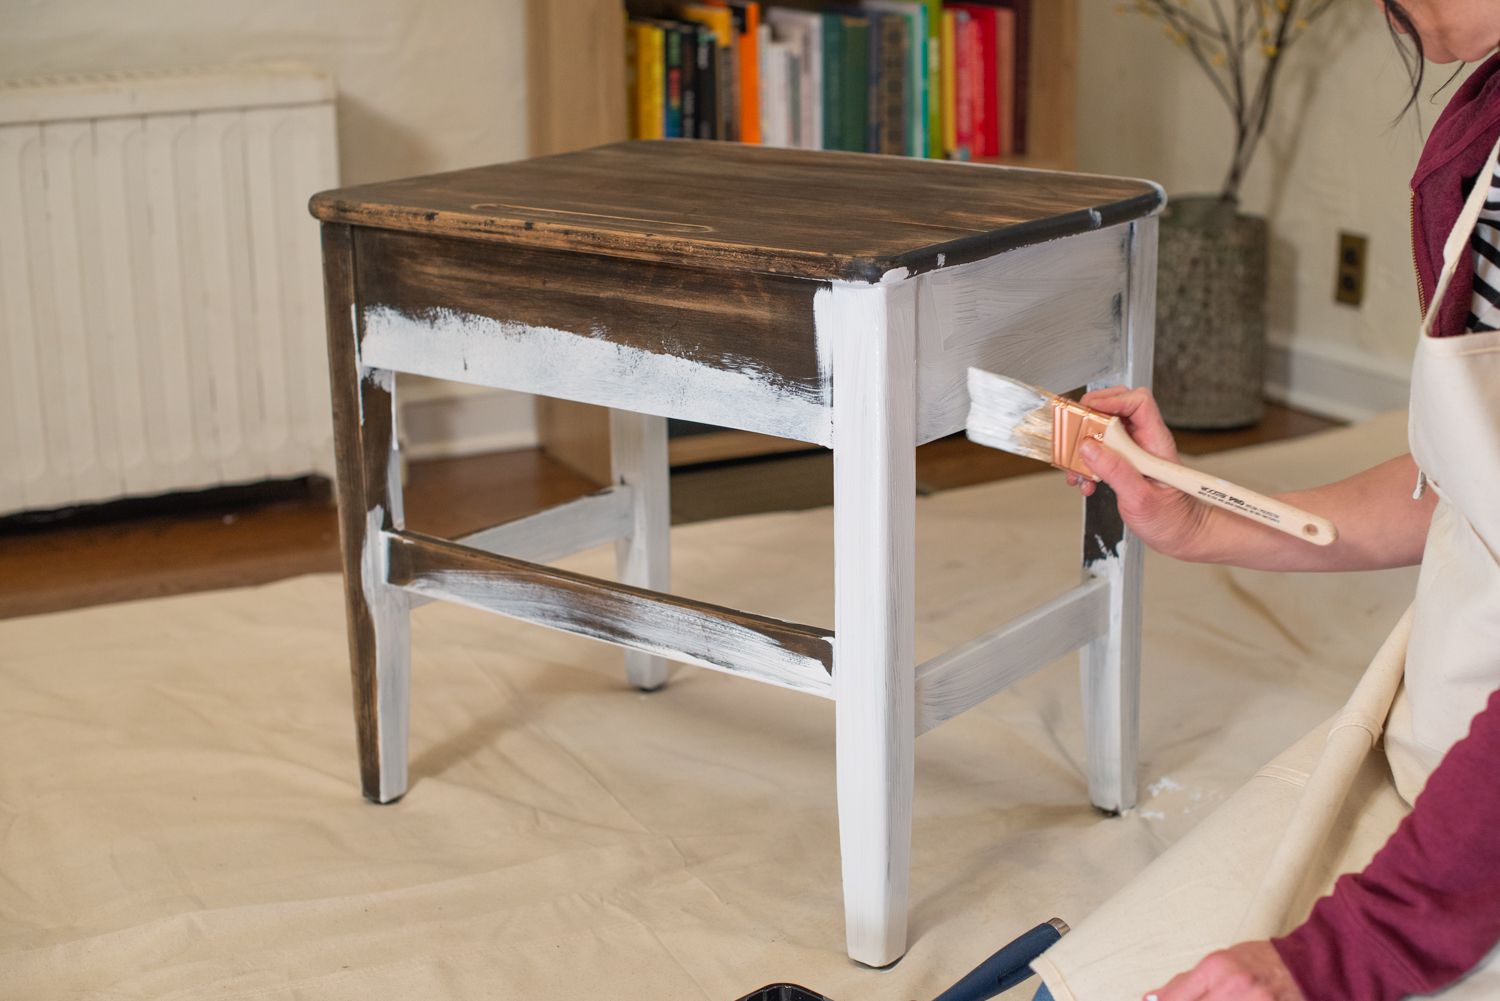
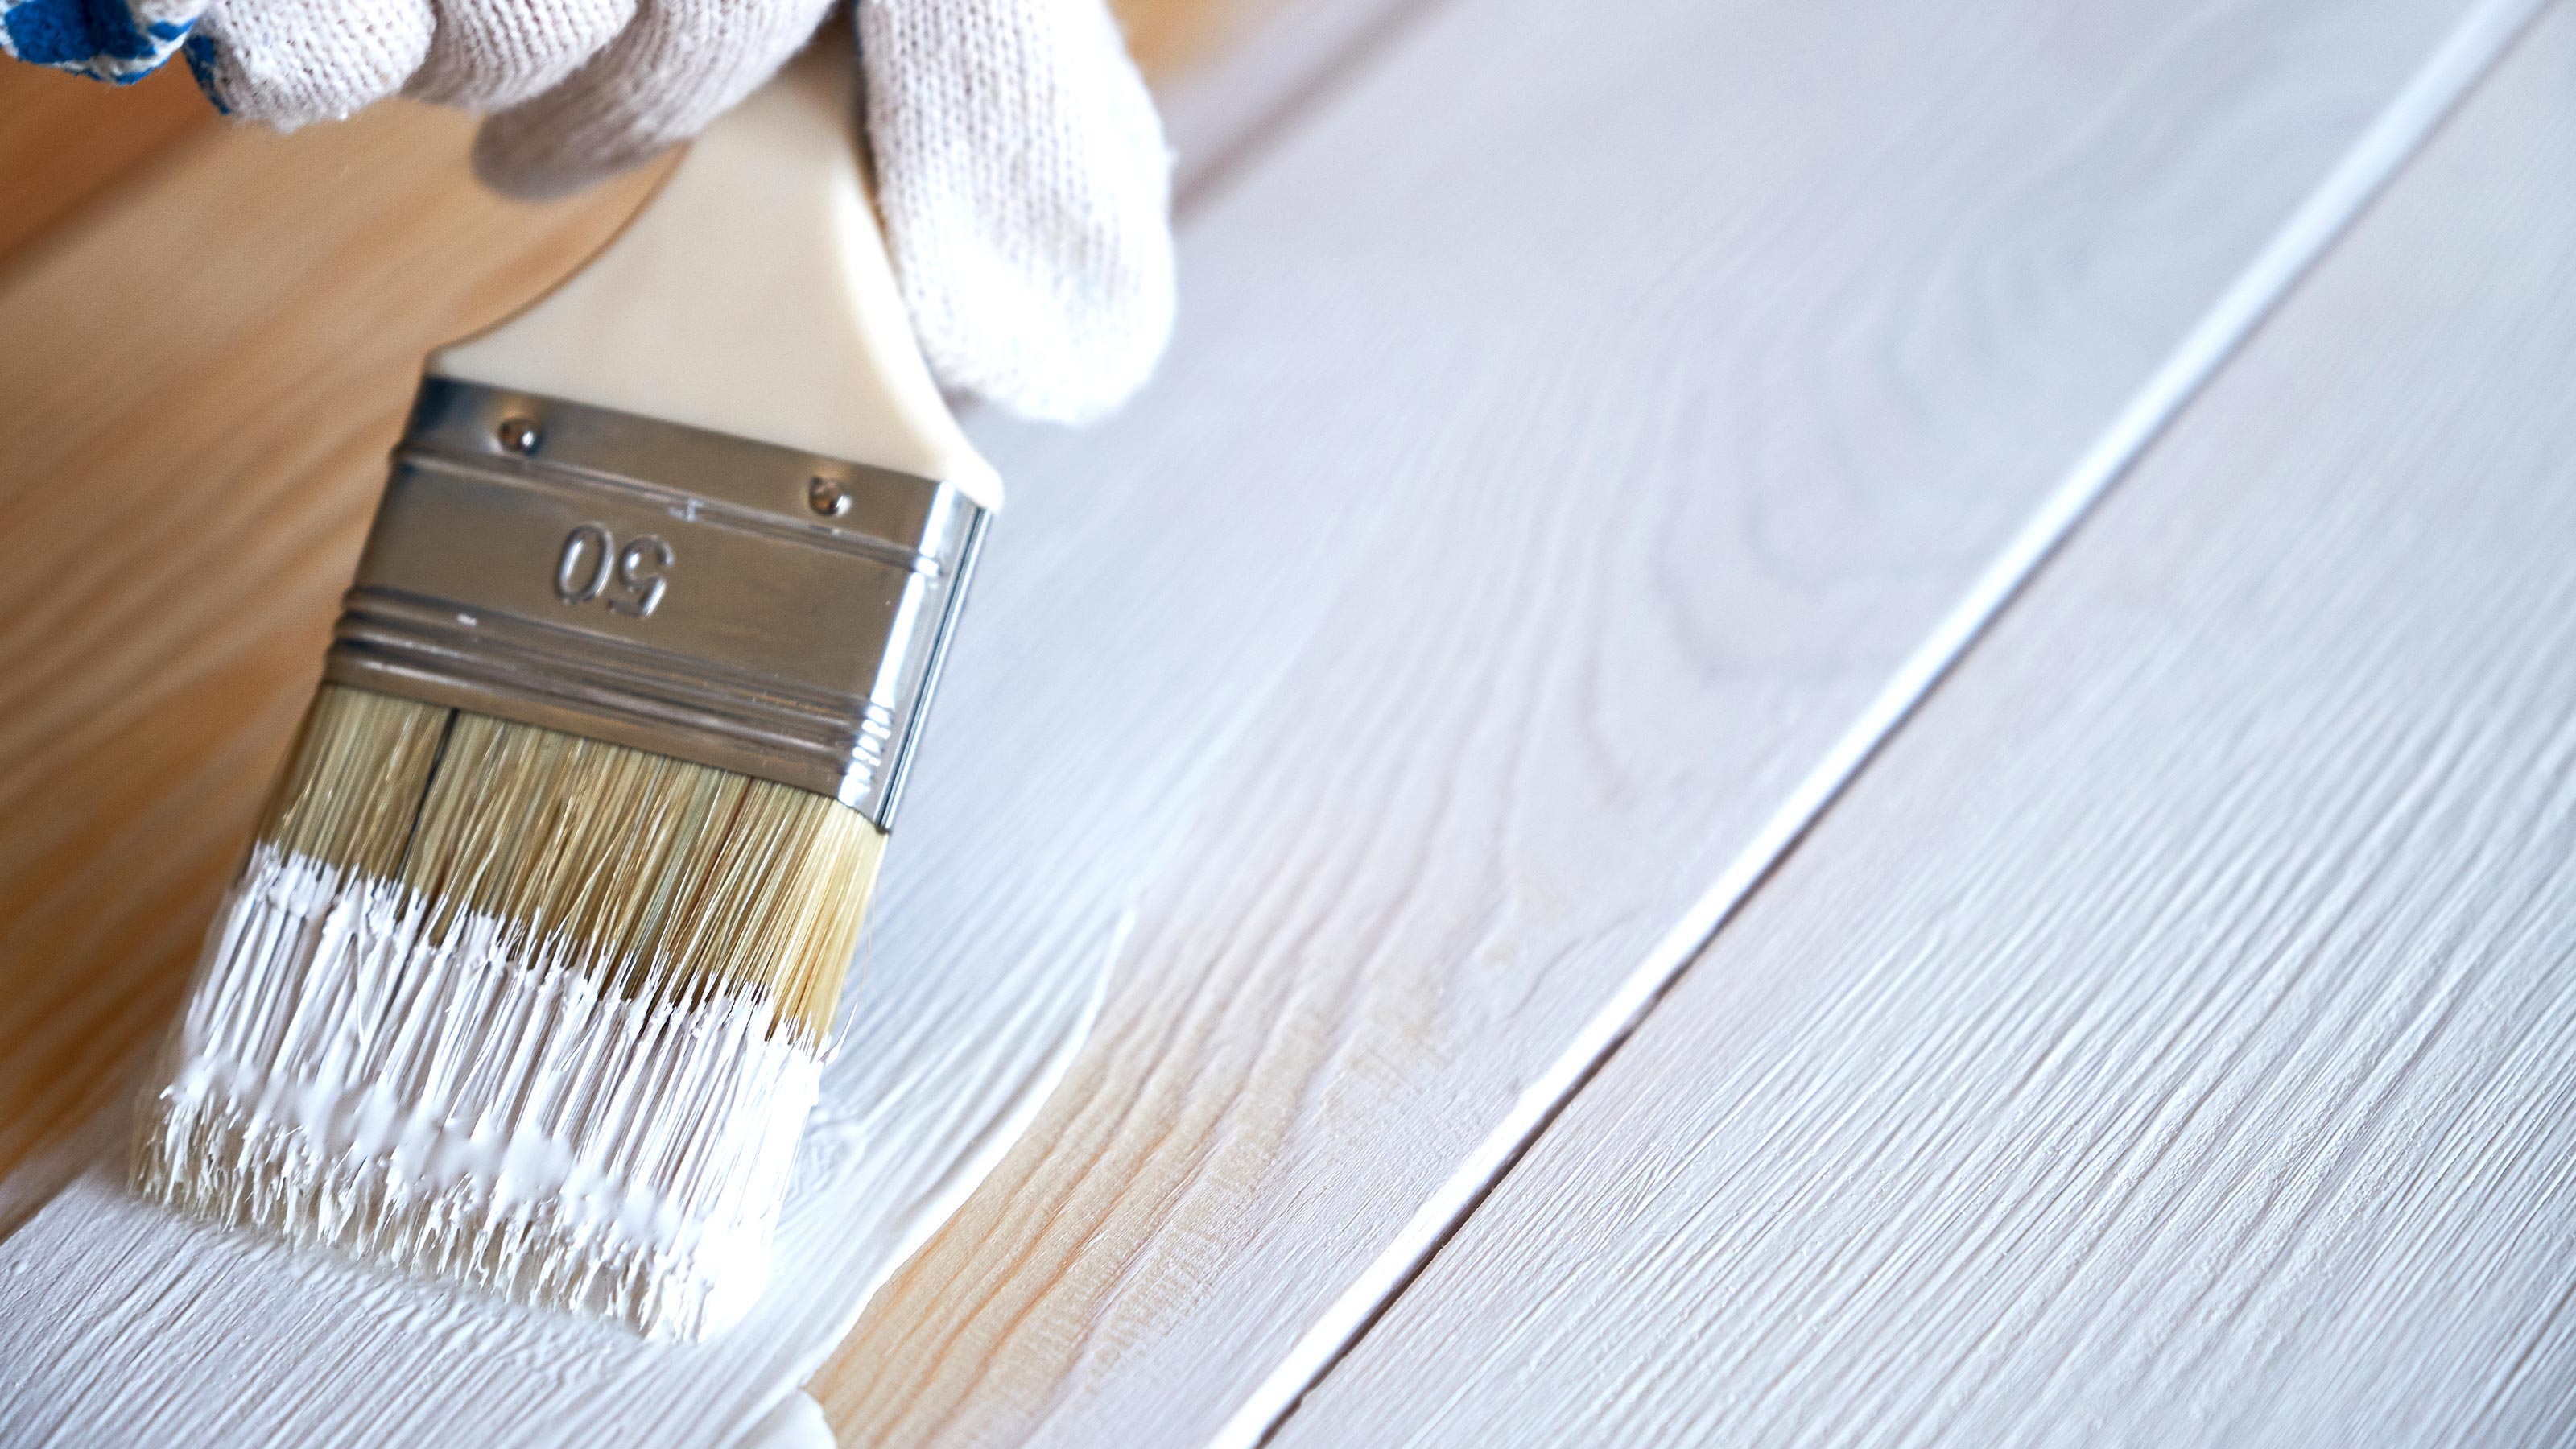
Step 8: Apply a Protective Finish (Optional)
Applying a protective finish to your wood furniture is an optional but beneficial step that can help enhance its durability, maintain its appearance, and provide an extra layer of protection. This step is particularly helpful in preventing future damage and simplifying the cleaning and disinfection process. Here’s how you can apply a protective finish:
- Choose an appropriate finish: Select a finish that is suitable for your type of wood furniture. Options include varnish, polyurethane, lacquer, or wax. Each type of finish has its own application method and provides different levels of protection and sheen.
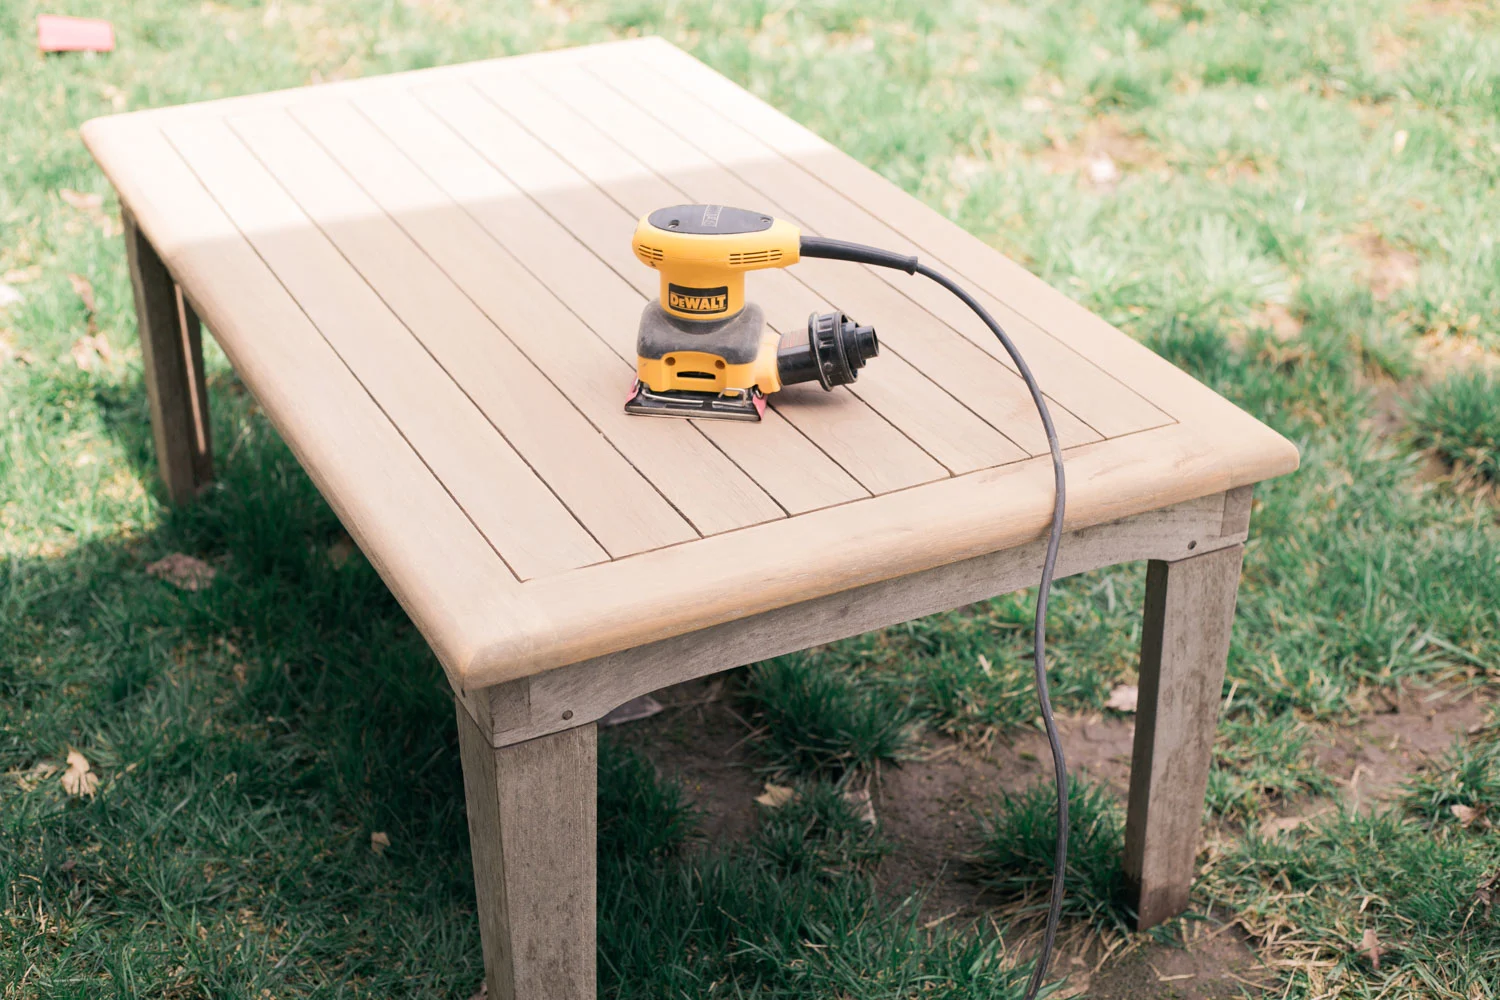
- Prepare the furniture: Ensure that the wood surface is clean and dry before applying the protective finish. Remove any dust or debris using a soft cloth or brush. Make sure to follow the manufacturer’s guidelines for preparing the wood surface, as some finishes may require sanding or prepping beforehand.
- Apply the finish: Using a clean brush, sponge, or cloth, apply a thin and even layer of the protective finish to the wood furniture. Work in the direction of the wood grain for a smooth and uniform finish. Follow the specific instructions provided by the finish manufacturer for the best application technique and coverage.
- Allow drying and curing time: After applying the protective finish, allow it to dry and cure according to the manufacturer’s instructions. This may take several hours or even days, depending on the type of finish used. Avoid using or placing objects on the furniture during this time to prevent any marks or damage.
- Apply additional coats (if desired): Depending on the level of protection you desire, you may choose to apply multiple coats of the protective finish. Follow the instructions for the recommended drying time between coats to ensure optimal results.
- Buff and maintain the finish: Once the protective finish has fully cured, you can buff the surface lightly with a soft cloth to achieve a smooth and polished look. Regularly maintain the finish by cleaning the furniture with a gentle wood cleaner and avoiding harsh chemicals or abrasive materials that can damage or strip the protective layer.
Applying a protective finish to your wood furniture not only enhances its appearance but also offers increased resistance to stains, scratches, and moisture. It helps to maintain the natural beauty and prolong the lifespan of your cherished pieces. While this step is optional, it can provide long-term benefits.
Following these steps will ensure that your wood furniture is not only disinfected but also protected and well-maintained. By taking the time to properly care for your wood furniture, you can enjoy its beauty and functionality for many years to come.
Now that you have completed the optional step of applying a protective finish, you have successfully disinfected and safeguarded your wood furniture. It’s time to explore some additional tips for maintaining clean and disinfected wood furniture.
Additional Tips for Maintaining Clean and Disinfected Wood Furniture
Keeping your wood furniture clean and disinfected not only ensures its longevity but also promotes a healthy and hygienic environment. Here are some additional tips to help you maintain the cleanliness and disinfection of your wood furniture:
- Regularly dust your furniture: Dust your wood furniture frequently using a soft cloth or a dusting tool. This prevents the accumulation of dust and debris, which can become a breeding ground for germs and allergens.
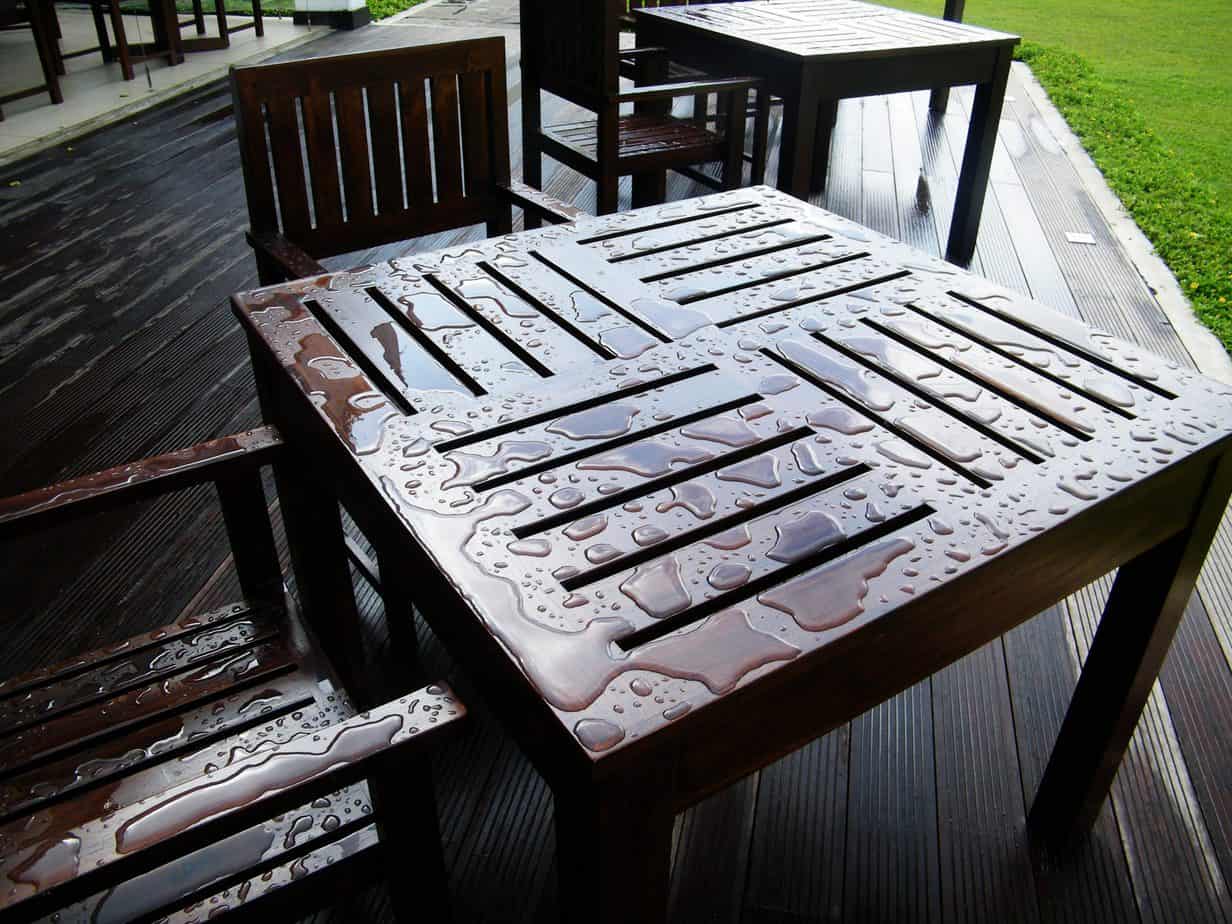
- Use coasters and placemats: To protect your wood furniture from spills and water rings, use coasters, placemats, or table runners. This helps prevent moisture from seeping into the wood and causing damage or staining.
- Wipe up spills immediately: Accidental spills can happen, so it’s crucial to quickly wipe up any liquid spills using a clean cloth. This prevents the liquid from penetrating the wood surface and causing staining or warping.
- Avoid direct sunlight: Prolonged exposure to direct sunlight can fade the color and finish of your wood furniture. Place your furniture away from windows or use curtains or blinds to limit exposure to harmful UV rays.
- Consider furniture polish: Using a furniture polish specifically designed for wood can help restore shine and provide an added layer of protection. Follow the manufacturer’s instructions and avoid using excessive amounts of polish, as it can create a sticky residue.
- Use gentle cleaning products: When cleaning your wood furniture, use gentle and non-abrasive cleaning products. Avoid harsh chemicals, ammonia-based cleaners, or abrasive tools that can damage the wood’s surface or finish.
- Spot clean as needed: If you notice any stains or spots, use a damp cloth with mild soap to spot clean the affected area. Gently rub the spot in a circular motion and then wipe it dry to prevent water damage.
- Regularly disinfect high-touch areas: Pay special attention to high-touch areas such as table surfaces, armrests, or drawer handles. Wipe these areas down with a disinfectant solution regularly to keep them germ-free.
- Protect against scratches: Place felt pads or furniture glides under heavy objects or items that may scratch the wood surface. This helps prevent scratches and dents when moving or sliding items.
- Monitor humidity levels: Wood furniture can be sensitive to changes in humidity. Maintain an optimal humidity level in your home, ideally between 40% and 45%, to prevent the wood from swelling or contracting excessively.
By incorporating these additional tips into your wood furniture care routine, you can ensure that your furniture remains clean, disinfected, and in pristine condition for years to come.
Congratulations! You have now learned how to effectively disinfect and maintain your wood furniture. By following the steps outlined in this guide and implementing the additional tips, you can enjoy not only the beauty of your wood furniture but also the peace of mind that comes with a clean and germ-free living space.
Remember, regular maintenance, proper cleaning, and periodic disinfection are key to preserving the allure and longevity of your beloved wood furniture.
Conclusion
Properly disinfecting and maintaining your wood furniture is essential for both its longevity and the health and well-being of your household. By following the steps outlined in this guide and incorporating the additional tips, you can ensure that your wood furniture remains clean, germ-free, and in excellent condition.
Understanding the importance of disinfecting wood furniture has become increasingly necessary in today’s world, where maintaining hygiene is paramount. Wood furniture can harbor bacteria, viruses, and other contaminants, making regular disinfection crucial to create a clean and healthy living environment.
Before disinfecting your wood furniture, it is essential to take the necessary safety precautions to protect yourself and prevent any potential damage. Testing the disinfecting solution on a small, inconspicuous area ensures that it is safe for use on your specific type of wood and finish.
After gathering the required materials and removing dust and debris from the furniture, you can proceed to prepare the disinfecting solution. Whether using a commercial product or a homemade solution, ensuring the right concentration and safety is crucial.
Applying the disinfecting solution to the wood furniture is followed by allowing it to sit and penetrate the surface, effectively eliminating germs and bacteria. Thoroughly wiping and drying the furniture afterward ensures the removal of excess moisture and any residue left behind.
As an optional but advantageous step, applying a protective finish offers added protection and helps maintain the appearance of your wood furniture. Regular maintenance, such as dusting, using coasters, and spot cleaning, further contributes to its cleanliness and longevity.
By incorporating these steps and tips into your wood furniture care routine, you can enjoy clean, disinfected, and beautiful furniture that will remain a cherished part of your home for years to come.
Remember, taking care of your wood furniture goes beyond its aesthetic appeal. It is an investment in creating a healthy and comfortable living space. So, don’t forget to regularly clean, disinfect, and maintain your wood furniture for years of enjoyment and beauty.
Frequently Asked Questions about How To Disinfect Wood Furniture
Was this page helpful?
At Storables.com, we guarantee accurate and reliable information. Our content, validated by Expert Board Contributors, is crafted following stringent Editorial Policies. We're committed to providing you with well-researched, expert-backed insights for all your informational needs.


0 thoughts on “How To Disinfect Wood Furniture”