Home>Storage Ideas>Kitchen Storage>How To Clean And Disinfect A Kitchen Sponge
Kitchen Storage
How To Clean And Disinfect A Kitchen Sponge
Modified: April 23, 2024
Learn effective kitchen storage ideas to keep your sponges clean and sanitized. Discover how to properly clean and disinfect a kitchen sponge for a hygienic and germ-free space.
(Many of the links in this article redirect to a specific reviewed product. Your purchase of these products through affiliate links helps to generate commission for Storables.com, at no extra cost. Learn more)
Introduction
Welcome to our guide on how to clean and disinfect a kitchen sponge. Kitchen sponges are versatile tools that help us with various cleaning tasks in the kitchen, but they can also harbor bacteria and start to develop unpleasant odors over time. By following the proper cleaning and disinfecting techniques, you can ensure that your kitchen sponge remains clean, fresh, and safe to use.
A kitchen sponge is an ideal breeding ground for bacteria due to its porous nature, which allows food particles and moisture to get trapped within its fibers. As you use the sponge to clean dishes, countertops, and utensils, these particles can become a rich environment for bacteria to multiply.
Regularly cleaning and disinfecting your kitchen sponge will help eliminate these harmful bacteria and prevent cross-contamination in your kitchen. In this guide, we will walk you through step-by-step instructions on how to effectively clean and disinfect your kitchen sponge using simple household items.
It is important to note that while these methods can help reduce the bacteria on your sponge, they do not guarantee complete sterilization. Therefore, it is recommended to replace your kitchen sponge regularly to maintain optimal cleanliness and hygiene in your kitchen.
Now, let’s dive into the step-by-step process of cleaning and disinfecting a kitchen sponge to keep it fresh and ready for use.
Key Takeaways:
- Keep your kitchen sponge clean and safe by regularly rinsing, microwaving, soaking in bleach or vinegar, and washing in the dishwasher. Remember to replace it every 2-4 weeks for optimal hygiene.
- Maintain a fresh and bacteria-free kitchen sponge by incorporating simple cleaning and disinfecting methods into your routine. Regular replacement and good hygiene habits are key to a clean and healthy kitchen.
Read more: How To Clean A Sponge Mop
Step 1: Rinse the Sponge
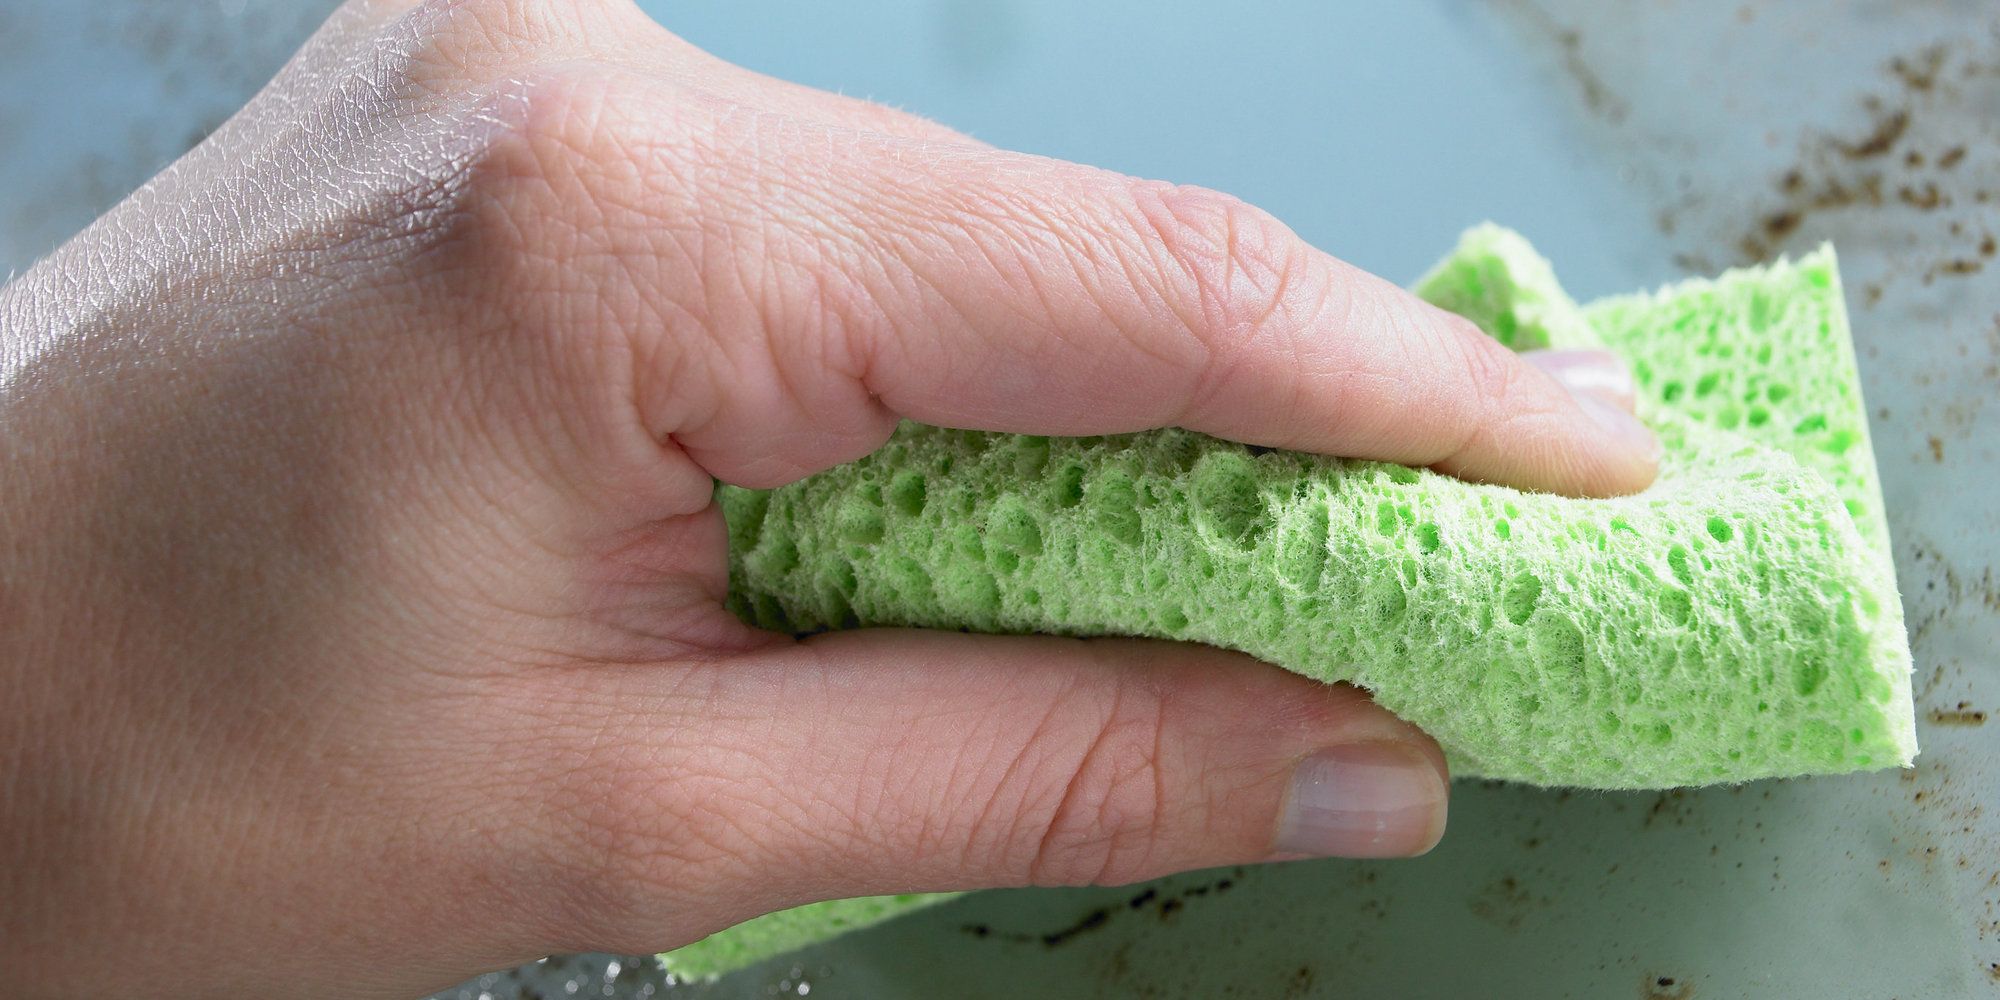
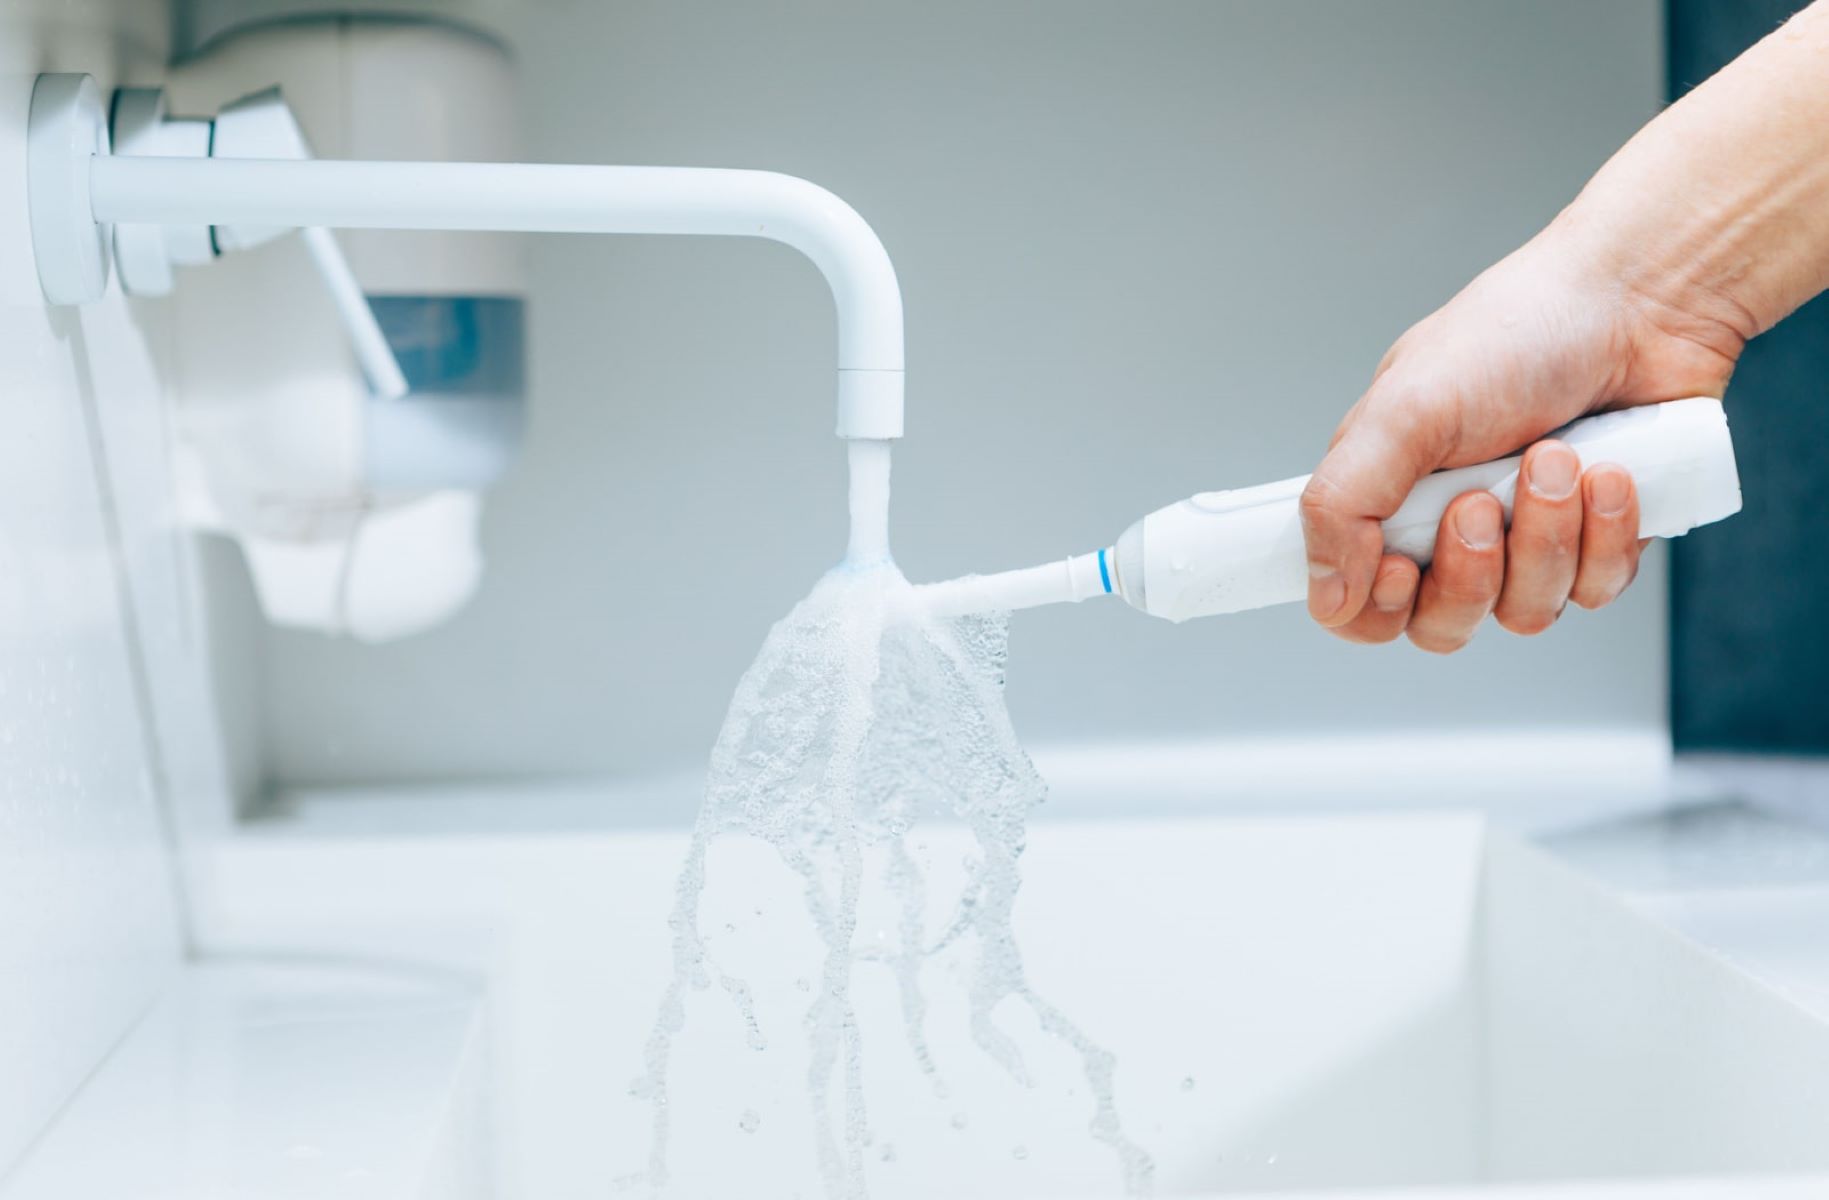
The first step in cleaning and disinfecting your kitchen sponge is to thoroughly rinse it under warm running water. By rinsing the sponge, you will help remove any loose food particles and debris that may be stuck in its fibers.
Hold the sponge under the faucet and allow the water to flow through it, making sure to cover all areas of the sponge. Use your fingers to gently squeeze and massage the sponge as you rinse it, helping to dislodge any trapped debris.
Continue rinsing the sponge until the water runs clear and there are no visible traces of food particles on the sponge. This initial rinsing step is crucial as it prepares the sponge for the subsequent cleaning and disinfecting process.
Once the sponge has been thoroughly rinsed, gently squeeze out the excess water. It is important to ensure that the sponge is damp but not dripping wet before moving on to the next step.
Rinsing the sponge prior to cleaning and disinfecting it helps remove surface dirt and debris, making the subsequent cleaning process more effective. It is a simple yet essential step that sets the foundation for a thoroughly cleaned and disinfected kitchen sponge.
Step 2: Microwave the Sponge
Microwaving your kitchen sponge is an effective method to kill bacteria that may be present. The heat from the microwave helps to sterilize the sponge and eliminate any harmful bacteria that could be lurking within its fibers.
To microwave your sponge, dampen it with water and place it in a microwave-safe dish. It is important to make sure the sponge is wet to prevent it from catching fire in the microwave.
Set the microwave to high power and heat the sponge for approximately 1-2 minutes. The exact time may vary depending on the wattage of your microwave, so adjust accordingly. It is essential to monitor the sponge while it is in the microwave to avoid any potential damage or risks.
When the microwave cycle is complete, carefully remove the dish and sponge from the microwave using oven mitts or a heat-resistant glove. Be cautious as the sponge might be hot.
Allow the sponge to cool down completely before using it or moving on to the next step. The heat from the microwave will help kill bacteria, leaving your sponge cleaner and safer to use.
It is important to note that microwaving the sponge is a supplemental method to help reduce bacteria but may not completely eliminate all contaminants. Regularly replacing your kitchen sponge is still recommended to maintain optimal hygiene in your kitchen.
Microwaving your kitchen sponge can be an efficient and convenient way to sanitize it. By following this step, you are taking an important measure to ensure the cleanliness of your sponge and the safety of your kitchen.
Step 3: Soak the Sponge in Bleach Solution
Using a bleach solution to soak your kitchen sponge is another effective method for disinfecting and killing bacteria. Bleach is a powerful disinfectant that can help eliminate harmful microorganisms and keep your sponge fresh and clean.
Start by preparing a bleach solution. Mix one tablespoon of bleach with one gallon of water in a container. Ensure that the bleach you are using is suitable for disinfection and follow the instructions on the label for proper dilution ratios.
Once you have prepared the bleach solution, place the kitchen sponge in the container, ensuring that it is fully submerged in the liquid. Let the sponge soak in the solution for approximately 5 minutes.
While the sponge is soaking, make sure to keep the container in a well-ventilated area. The fumes from the bleach solution can be strong, so it is important to take precautions and avoid inhaling them.
After the soaking time is complete, carefully remove the sponge from the bleach solution and rinse it thoroughly under running water to remove any residual bleach. It’s crucial to remove all traces of bleach from the sponge to prevent any potential damage or irritation.
Once the sponge has been rinsed, gently squeeze out the excess water and allow it to air dry completely before using it again. This drying process helps prevent the growth of mold and bacteria on the sponge.
Remember, when working with bleach, it is essential to follow safety guidelines. Wear protective gloves and make sure to keep the bleach solution out of reach of children and pets.
Soaking your kitchen sponge in a bleach solution is an effective way to disinfect it and eliminate bacteria. By incorporating this step into your cleaning routine, you can ensure that your sponge remains clean, safe, and free from harmful microorganisms.
Soak the sponge in a solution of 1 part bleach to 9 parts water for 5 minutes to disinfect. Then, rinse thoroughly with water and allow to air dry.
Step 4: Use Vinegar to Disinfect the Sponge
Vinegar is a natural and eco-friendly solution that can effectively disinfect and deodorize your kitchen sponge. It contains acetic acid, which has antimicrobial properties that help kill bacteria and remove unwanted odors.
To begin, fill a bowl or container with equal parts of white vinegar and warm water. Submerge the kitchen sponge in the vinegar solution, ensuring that it is fully saturated.
Allow the sponge to soak in the vinegar solution for approximately 15-20 minutes. During this time, the acetic acid in the vinegar will work to disinfect the sponge and break down any residue.
After the soaking period, remove the sponge from the vinegar solution and rinse it thoroughly under running water. Ensure that all traces of vinegar are completely washed away.
Gently squeeze out the excess water and air dry the sponge completely before using it again. This drying process helps prevent the growth of bacteria and maintains the freshness of the sponge.
Using vinegar to disinfect your kitchen sponge is a safe and natural alternative to chemical-based cleaners. It not only helps kill bacteria but also eliminates unpleasant odors, leaving your sponge fresh and ready for use.
Note that while vinegar is an effective disinfectant, it may not be as powerful as bleach. If you are dealing with heavily soiled or highly contaminated sponges, it is recommended to use the bleach soaking method mentioned in Step 3.
By incorporating vinegar into your cleaning routine, you can maintain a clean and hygienic kitchen sponge while opting for a more environmentally friendly approach.
Step 5: Wash the Sponge in the Dishwasher
Washing your kitchen sponge in the dishwasher is a convenient and effective way to clean and disinfect it. The high temperature and powerful water jets in the dishwasher can help remove dirt, bacteria, and odors from the sponge.
To begin, make sure your kitchen sponge is dishwasher-safe. Check the manufacturer’s instructions or the packaging to ensure that the sponge can withstand the dishwasher’s heat and water pressure.
Before placing the sponge in the dishwasher, rinse it under warm water to remove any loose food particles or debris. Squeeze out excess water to prevent excessive dripping in the dishwasher.
Place the sponge in the utensil compartment or any other designated space in the dishwasher. It is recommended to position the sponge in a way that allows it to receive direct water spray and ample cleaning action.
Run the dishwasher on a hot water cycle with a drying function. The high temperature and steam within the dishwasher will help sanitize the sponge and eliminate any bacteria that may be present.
Once the dishwasher cycle is complete, remove the sponge and inspect it for any remaining debris or dirt. If needed, rinse it under water again to ensure all residue has been removed.
Gently squeeze out excess water from the sponge and allow it to air dry completely before using it again. Proper drying is important to prevent the growth of mold or mildew on the sponge.
Washing your kitchen sponge in the dishwasher not only provides a thorough cleaning but also helps eliminate bacteria and odors effectively. It is a convenient option for regular maintenance of your sponge’s cleanliness.
However, it’s important to note that dishwashers vary in terms of water temperature and cleaning power, so some bacteria may still remain on the sponge. If you are dealing with heavily soiled or highly contaminated sponges, it is recommended to use additional disinfection methods mentioned earlier in this guide.
By utilizing the dishwasher, you can ensure the hygiene and cleanliness of your kitchen sponge with minimal effort.
Step 6: Replace the Sponge Regularly
While proper cleaning and disinfecting methods can help prolong the life of your kitchen sponge, it is important to recognize that sponges have a limited lifespan. Over time, even with regular cleaning, sponges can accumulate bacteria and become less effective in cleaning.
To maintain optimal cleanliness and hygiene in your kitchen, it is recommended to replace your kitchen sponge regularly. The frequency of replacement will depend on factors such as the usage, type of sponge, and cleaning habits. However, a general guideline is to replace your sponge every 2-4 weeks.
By replacing your sponge regularly, you can minimize the risk of bacterial contamination and ensure that you are using a clean and effective tool for your cleaning tasks. New sponges are more efficient in removing dirt and grime, providing better cleaning results.
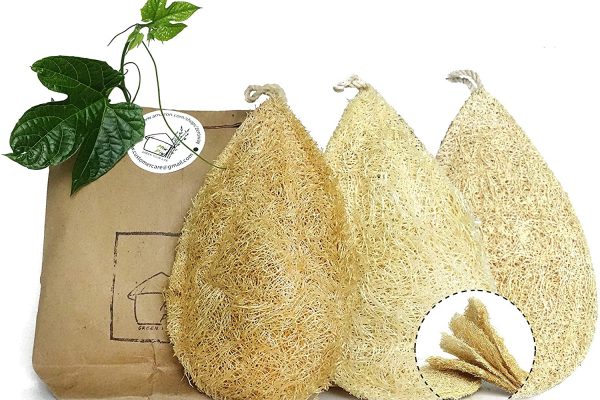
When choosing a new sponge, consider options that are durable, easy to clean, and resistant to odors and mildew. There are various types of sponges available, such as cellulose sponges, scrub sponges, and microfiber sponges. Select a sponge that suits your cleaning needs and preferences.
Once you have purchased a new sponge, follow the cleaning and disinfecting methods mentioned earlier in this guide to maintain its cleanliness and extend its lifespan.
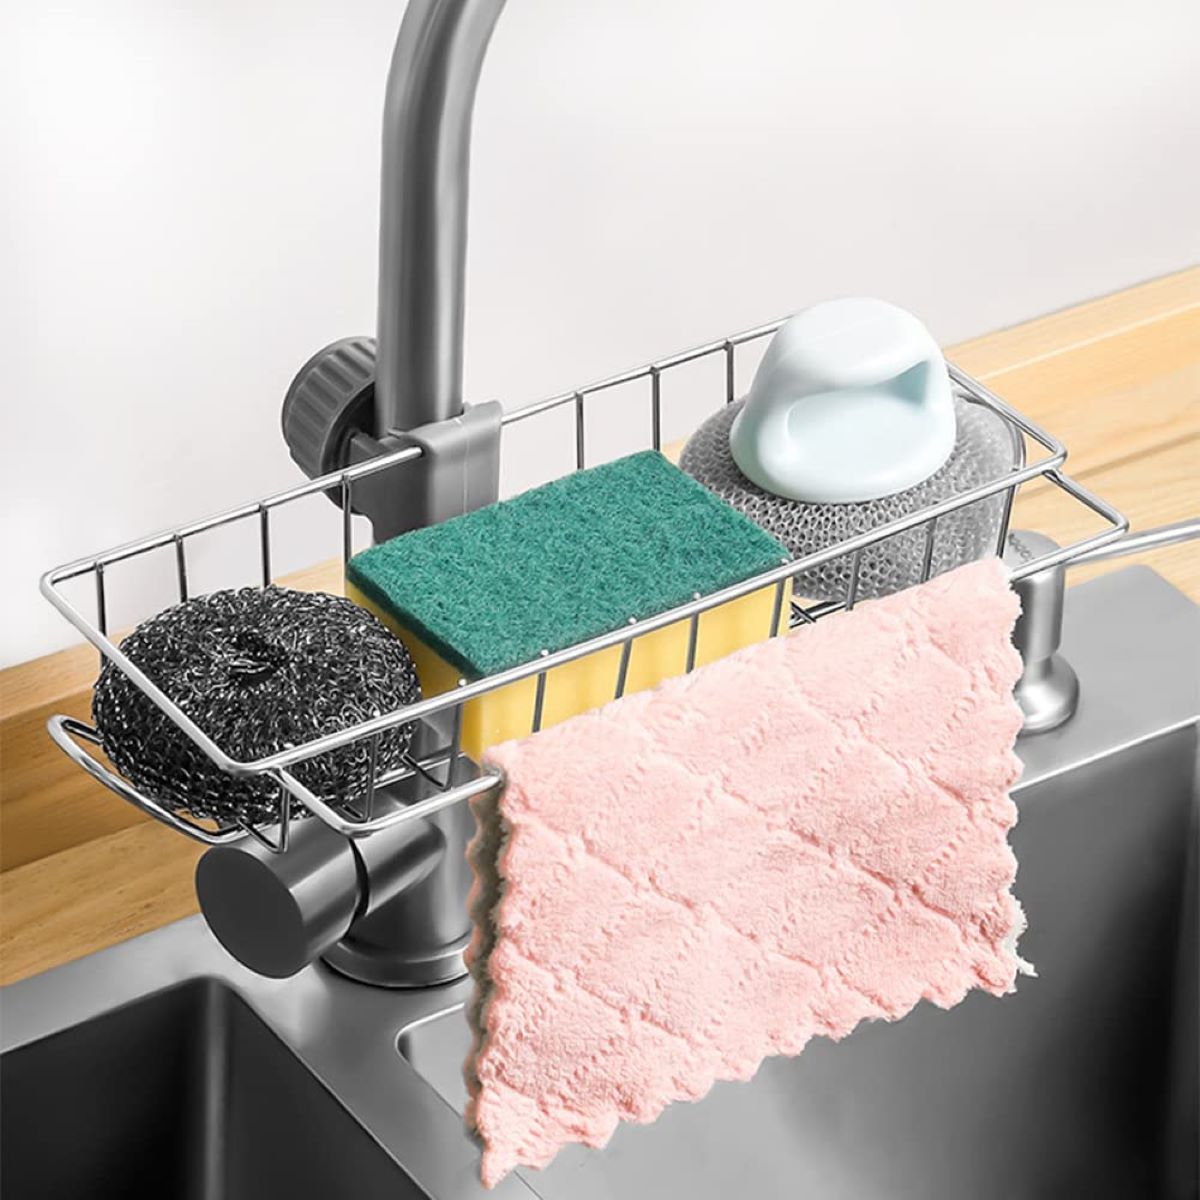
In addition to regular sponge replacement, it is important to practice good sponge hygiene habits. After each use, rinse the sponge thoroughly and squeeze out excess water. Store the sponge in a well-ventilated area to allow it to dry completely and prevent the growth of bacteria and mold.
By replacing your sponge regularly and practicing good hygiene habits, you can ensure that your kitchen stays clean and free from bacteria, providing a safe and healthy environment for your meal preparation and cooking activities.
Conclusion
Cleaning and disinfecting your kitchen sponge is essential for maintaining a clean and hygienic kitchen environment. By following the steps outlined in this guide, you can ensure that your sponge remains free from bacteria and unpleasant odors, allowing you to effectively clean your dishes and countertops.
Start by rinsing the sponge under warm water to remove loose debris, then utilize different methods to disinfect it. Microwaving the sponge, soaking it in a bleach solution, using vinegar, or washing it in the dishwasher are all effective ways to kill bacteria and keep your sponge clean. Remember to follow safety precautions and thoroughly rinse the sponge after disinfection to remove any residues.
In addition to proper cleaning and disinfecting, it is crucial to replace your kitchen sponge regularly. Over time, sponges become less effective and can harbor bacteria, despite regular cleaning. By replacing your sponge every 2-4 weeks, you can maintain optimal cleanliness and ensure a more effective cleaning experience.
Remember to practice good sponge hygiene habits, such as rinsing and thoroughly drying the sponge after each use. Storing it in a well-ventilated area will prevent the growth of bacteria and mold.
By incorporating these cleaning and maintenance practices into your routine, you can enjoy a fresh and clean kitchen sponge that helps you keep your kitchen spotless and your family safe from harmful bacteria.
Always prioritize your safety when handling cleaning solutions and follow any cautionary instructions provided by the manufacturer. With regular cleaning, disinfecting, and replacement, you can maintain a clean and healthy kitchen environment, ensuring that your sponge remains a useful tool in your kitchen for a longer period.
Frequently Asked Questions about How To Clean And Disinfect A Kitchen Sponge
Was this page helpful?
At Storables.com, we guarantee accurate and reliable information. Our content, validated by Expert Board Contributors, is crafted following stringent Editorial Policies. We're committed to providing you with well-researched, expert-backed insights for all your informational needs.


0 thoughts on “How To Clean And Disinfect A Kitchen Sponge”