Home>Storage Ideas>Kitchen Storage>How To Clean Butcher Block Countertops: To Prevent Stains
Kitchen Storage
How To Clean Butcher Block Countertops: To Prevent Stains
Modified: December 7, 2023
Learn how to clean and maintain butcher block countertops in your kitchen to prevent stains and keep them looking fresh. Discover useful kitchen storage ideas along the way.
(Many of the links in this article redirect to a specific reviewed product. Your purchase of these products through affiliate links helps to generate commission for Storables.com, at no extra cost. Learn more)
Introduction
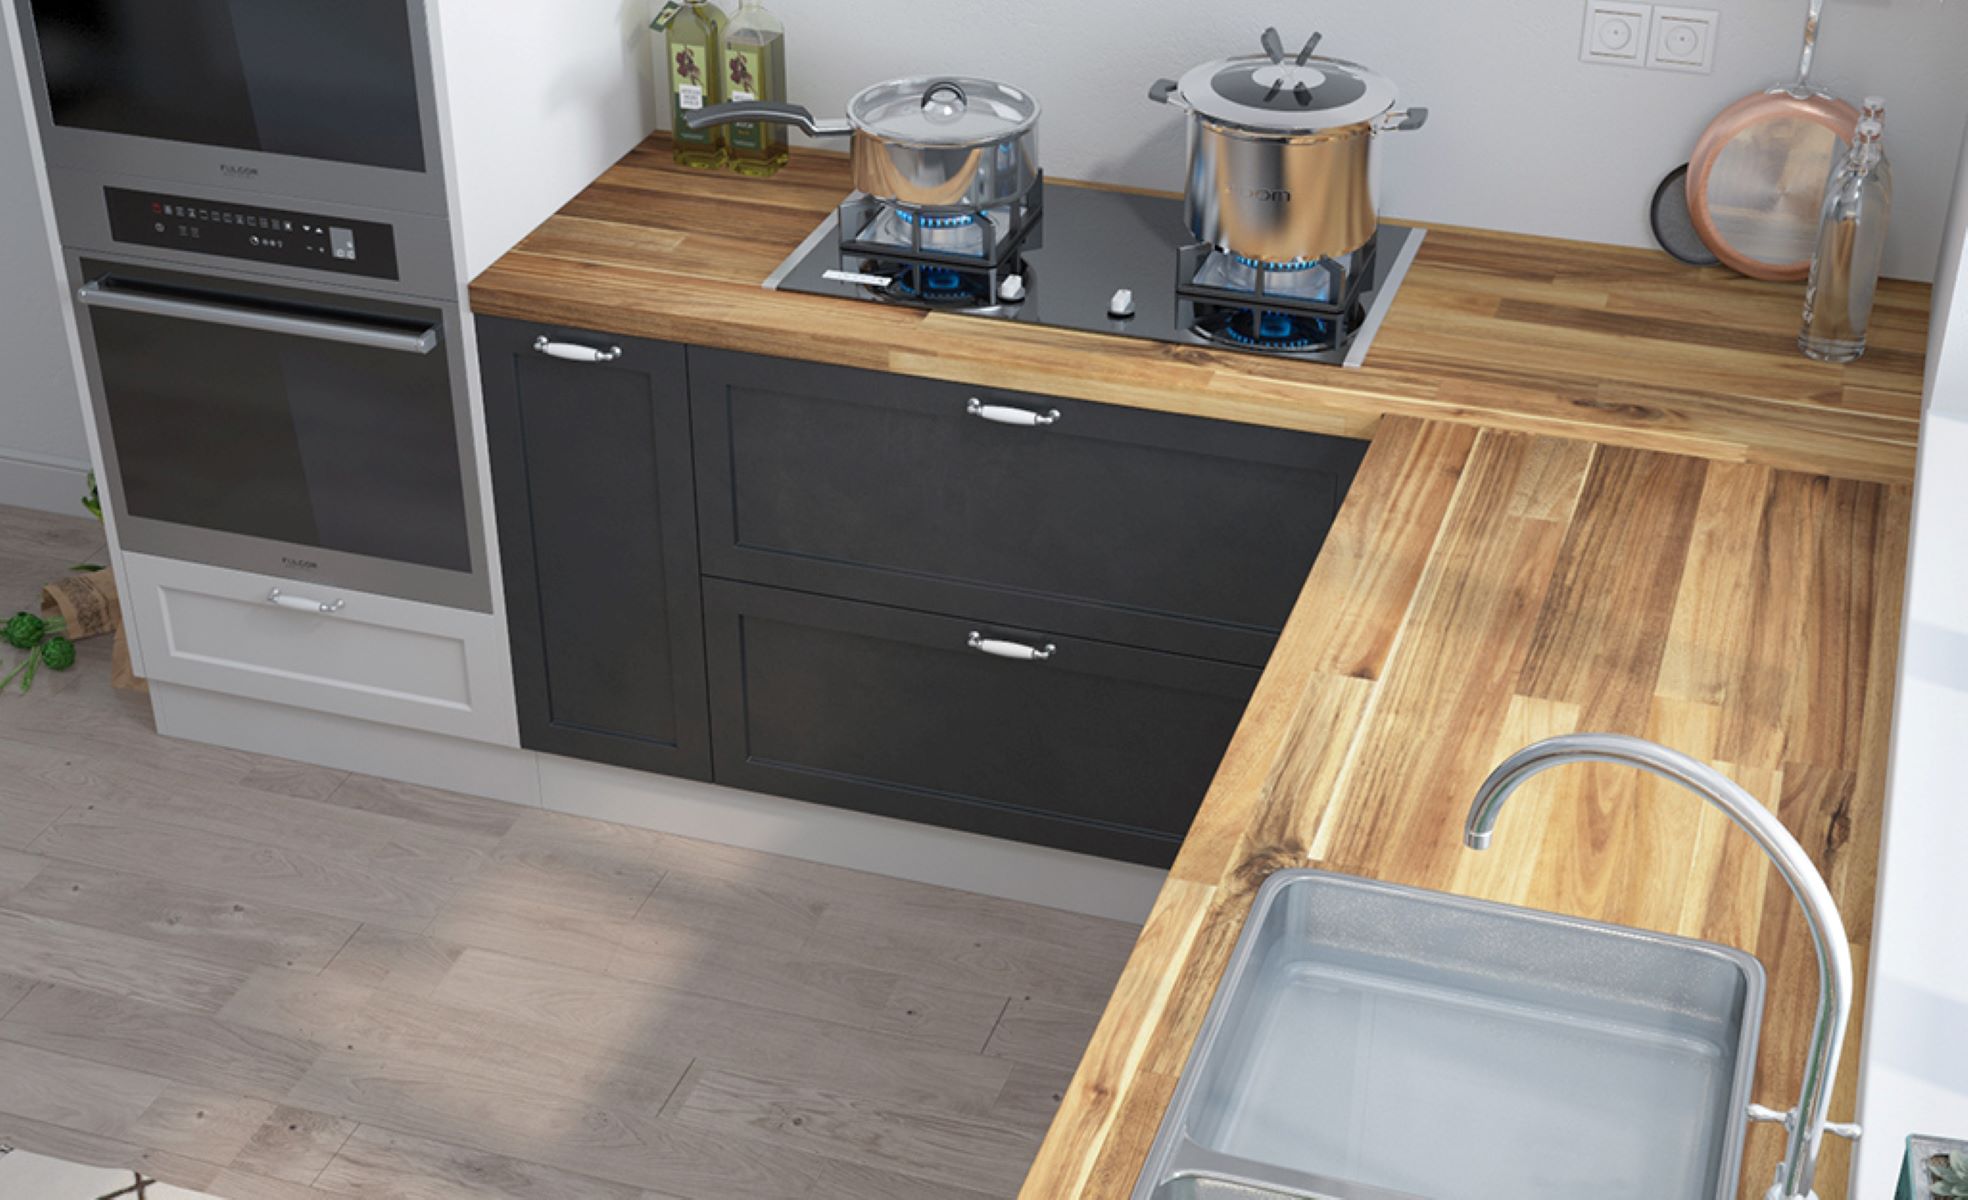
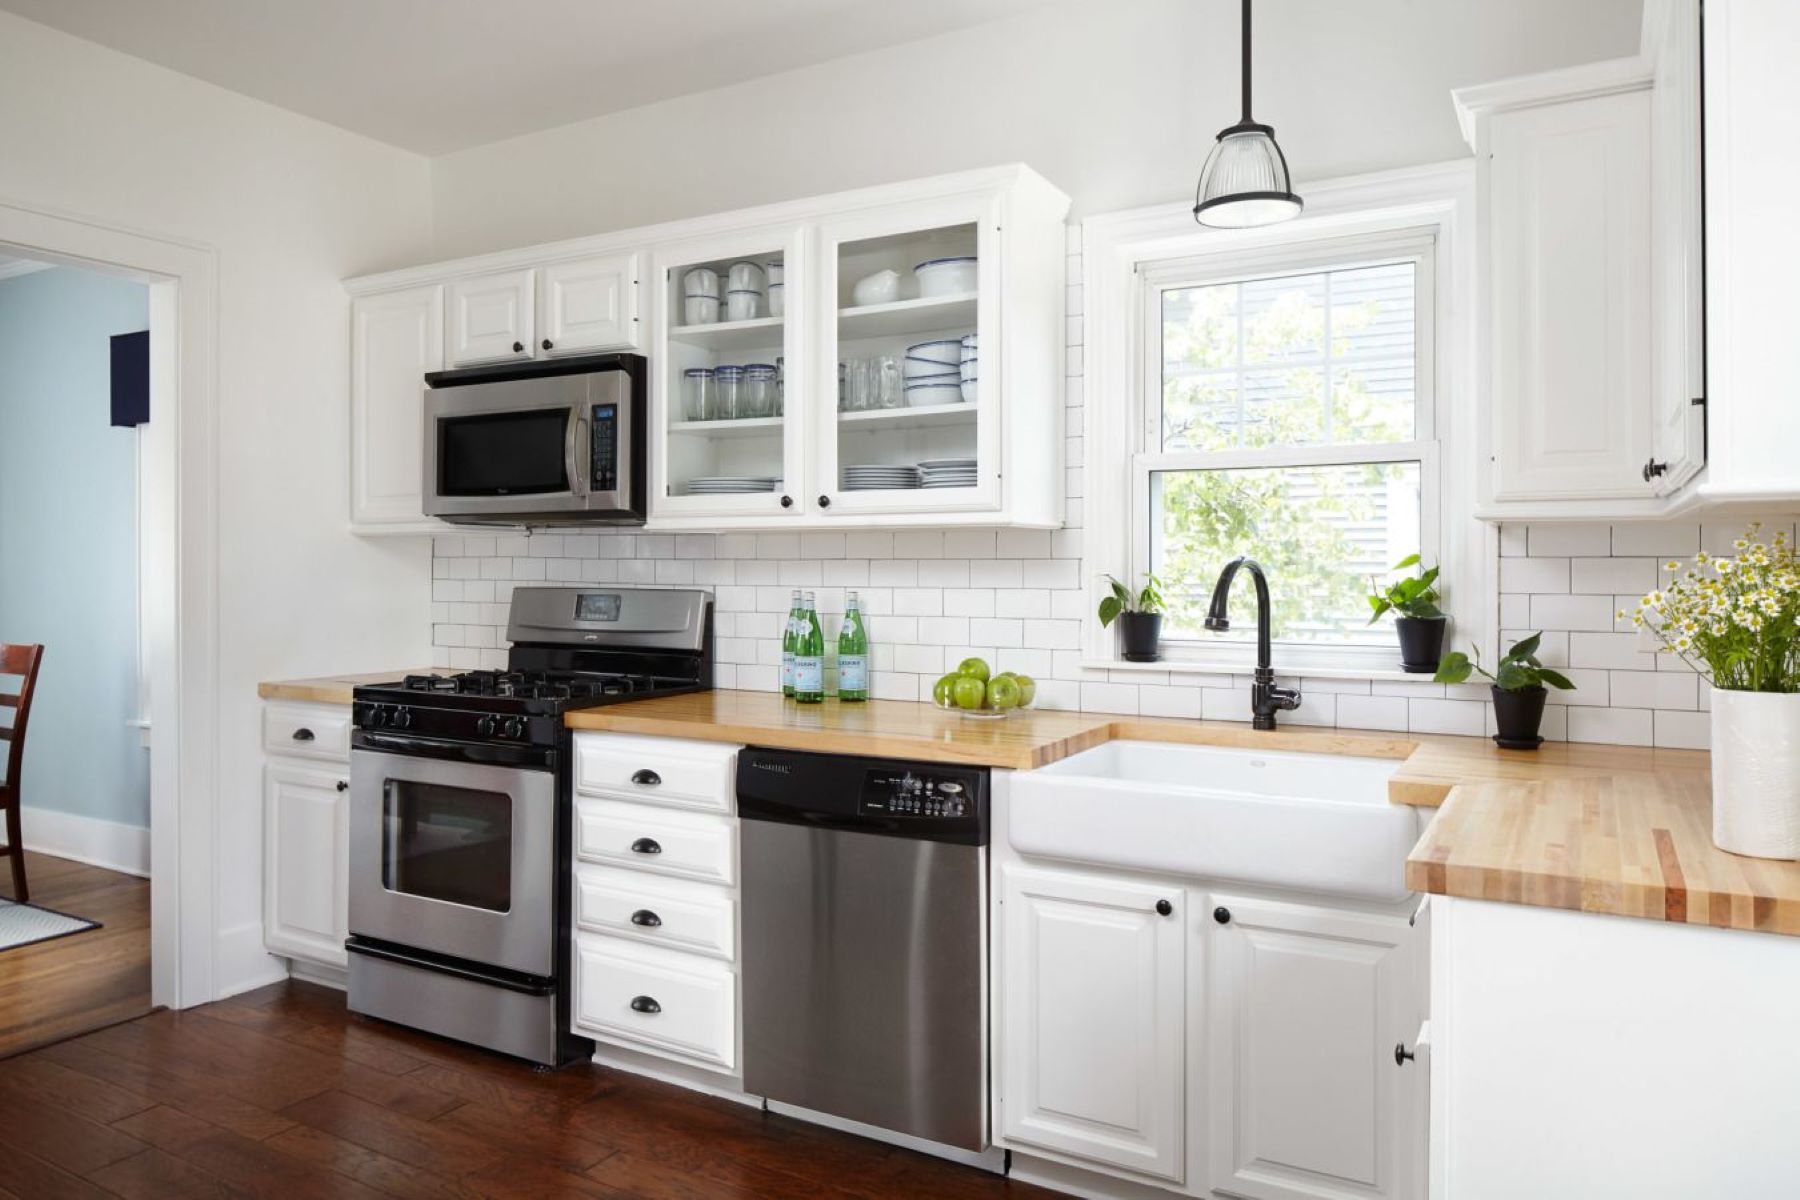
Welcome to our comprehensive guide on how to clean butcher block countertops and prevent stains. Butcher block countertops are a popular choice in kitchens due to their durability, natural beauty, and functionality. They are made from thick, sturdy cuts of wood that can withstand heavy use and add warmth to any kitchen decor. However, proper cleaning and maintenance are crucial to keep these countertops looking their best and extend their lifespan.
Butcher block countertops require regular upkeep to prevent stains, remove bacteria, and maintain their natural appearance. In this article, we will provide you with step-by-step instructions on how to clean your butcher block countertops, as well as valuable tips and tricks to prevent stains and keep them in pristine condition.
Before we dive into the cleaning process, it’s essential to understand the importance of proper maintenance for butcher block countertops. These countertops are porous, which means they can absorb liquids and bacteria if not properly cared for. Regular cleaning not only helps remove stains and bacteria but also helps prevent the wood from warping or splitting.
Now that you understand the significance of keeping your butcher block countertops clean, let’s gather the necessary materials for the cleaning process.
Key Takeaways:
- Regular cleaning and oiling of butcher block countertops is essential to maintain their appearance, prevent stains, and ensure longevity. Proper maintenance preserves the natural beauty of the wood and prevents damage.
- Implementing preventive measures such as sealing the wood, using cutting boards, and wiping up spills immediately can help prevent stains and maintain the pristine condition of butcher block countertops. Regular inspection and prompt repairs are crucial for countertop maintenance.
Read more: How Durable Is Butcher Block Countertops
Understanding the Importance of Cleaning Butcher Block Countertops
When it comes to kitchen hygiene, cleaning your butcher block countertops is of utmost importance. These countertops can come into contact with raw meat, fruits, vegetables, and other food items, making them prone to stains and bacterial growth. Failing to clean them properly could result in cross-contamination and potential health risks.
Regular cleaning of butcher block countertops helps remove harmful bacteria, such as E.coli and salmonella, which can cause foodborne illnesses. The porous nature of the wood allows bacteria to seep into the surface, making it necessary to clean them thoroughly after each use.
In addition to the health aspect, proper cleaning also helps maintain the appearance of your butcher block countertops. Over time, stains from food, oils, and liquids can seep into the wood, leaving unsightly marks. Regular cleaning not only removes these stains but also helps preserve the natural beauty of the wood, ensuring that your countertops remain a focal point in your kitchen.
Furthermore, neglecting to clean your butcher block countertops can lead to damage and deterioration. The wood can warp or crack if exposed to excessive moisture, heat, or prolonged contact with acidic substances. By following a regular cleaning routine, you can prevent such damage and prolong the lifespan of your countertops.
Lastly, cleaning your butcher block countertops regularly allows you to maintain a clean and organized kitchen. Cluttered and dirty countertops not only affect the overall aesthetics of your kitchen but can also make food preparation and cooking a frustrating experience. Keeping them clean and free from stains ensures you have a clean, functional, and inviting workspace.
By understanding the importance of cleaning your butcher block countertops, you can prioritize their regular maintenance and enjoy all the benefits they offer without compromising on hygiene or appearance.
Materials Needed for Cleaning Butcher Block Countertops
Before you start cleaning your butcher block countertops, it’s important to gather the necessary materials. Having the right tools on hand will make the cleaning process more efficient and effective. Here are the materials you will need:
- Mild dish soap: Look for a gentle dish soap that is free from harsh chemicals and additives that can damage the wood.
- Warm water: Hot water can cause the wood to expand and warp, so it’s best to use warm water for cleaning.
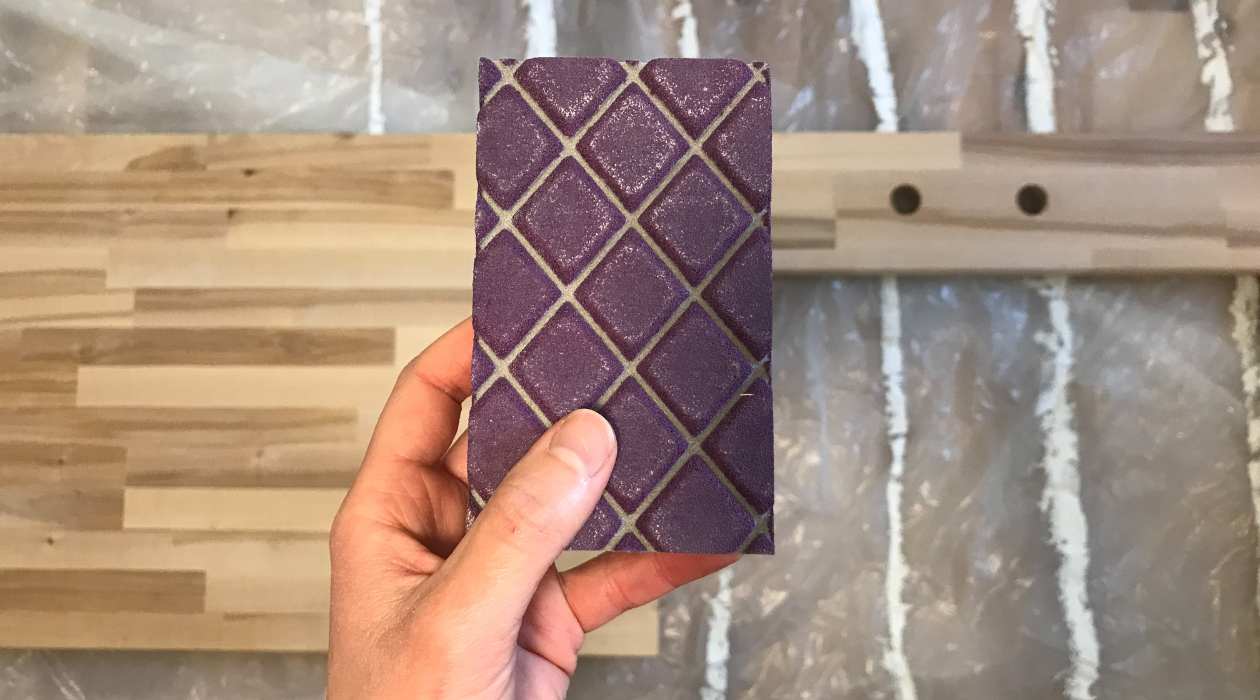
- Scrub brush or sponge: Choose a soft-bristled brush or non-abrasive sponge to avoid scratching the surface of the countertop.
- White vinegar: Vinegar acts as a natural disinfectant and helps remove stubborn stains and odors.
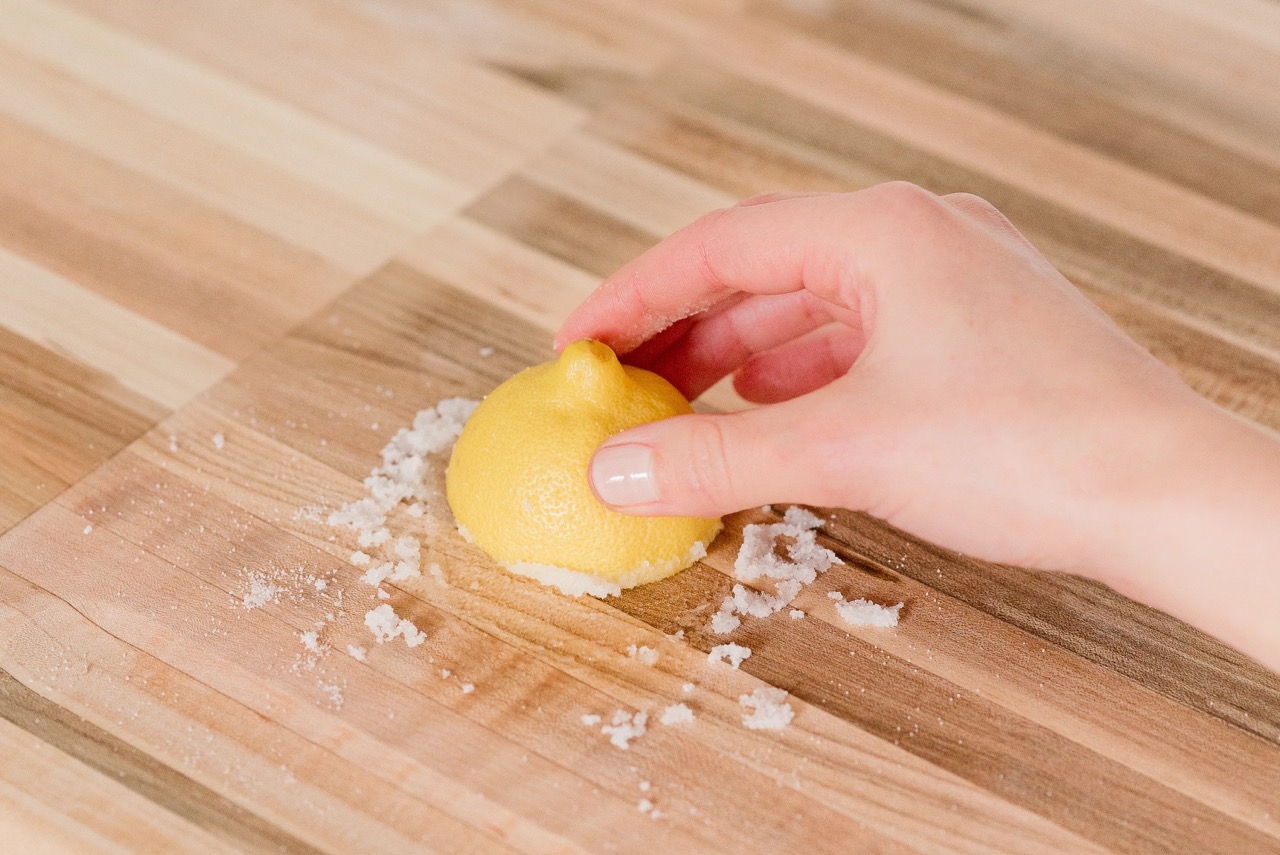
- Lemon juice: Lemon juice is a natural bleaching agent that can help remove stains and brighten the wood.
- Mineral oil or food-grade cutting board oil: Applying oil regularly helps nourish the wood and maintain its natural luster.
- Lint-free cloth or paper towels: These are essential for drying the countertop after cleaning or applying oil.
- Baking soda: Baking soda is a gentle abrasive that can be used to remove tough stains or odors.
It’s important to note that harsh chemicals, abrasive cleaners, and bleach should never be used on butcher block countertops. These can strip the wood of its natural oils, leaving it vulnerable to damage and discoloration.
Now that you have gathered all the necessary materials, it’s time to learn how to clean your butcher block countertops effectively and safely. Follow our step-by-step guide in the next section to ensure proper cleaning and maintenance of your countertops.
Step-by-Step Guide to Clean Butcher Block Countertops
Cleaning your butcher block countertops is a simple process that can be done using common household items. Follow these steps to ensure a thorough and effective cleaning:
- Clear the countertops: Remove any utensils, appliances, or debris from the surface of the countertops. This will make it easier to access and clean the entire surface.
- Prepare your cleaning solution: In a bowl or bucket, mix a small amount of mild dish soap with warm water. The ratio should be approximately 1 tablespoon of soap per gallon of water. Avoid using excessive soap, as it can leave a residue on the wood.
- Dip your sponge or brush into the soapy water: Make sure the sponge or brush is well soaked but not dripping. Gently scrub the surface of the countertops, paying extra attention to any stains or sticky residue.
- Rinse with warm water: After scrubbing, rinse the countertops thoroughly with warm water to remove any soap residue. You can use a clean sponge or cloth to assist in the rinsing process.
- Remove stubborn stains: For tougher stains, you can create a paste by mixing equal parts baking soda and water. Apply the paste to the stain and gently scrub it using a soft-bristled brush. Rinse with warm water once the stain is removed.
- Disinfect with vinegar solution: To disinfect the countertops, mix equal parts white vinegar and warm water in a spray bottle. Lightly mist the surface of the countertops and let the solution sit for a few minutes. Then, wipe it clean with a damp cloth.
- Dry thoroughly: Using a lint-free cloth or paper towels, dry the butcher block countertops thoroughly to prevent moisture from seeping into the wood. Ensure that the surface is completely dry before moving on to the next step.
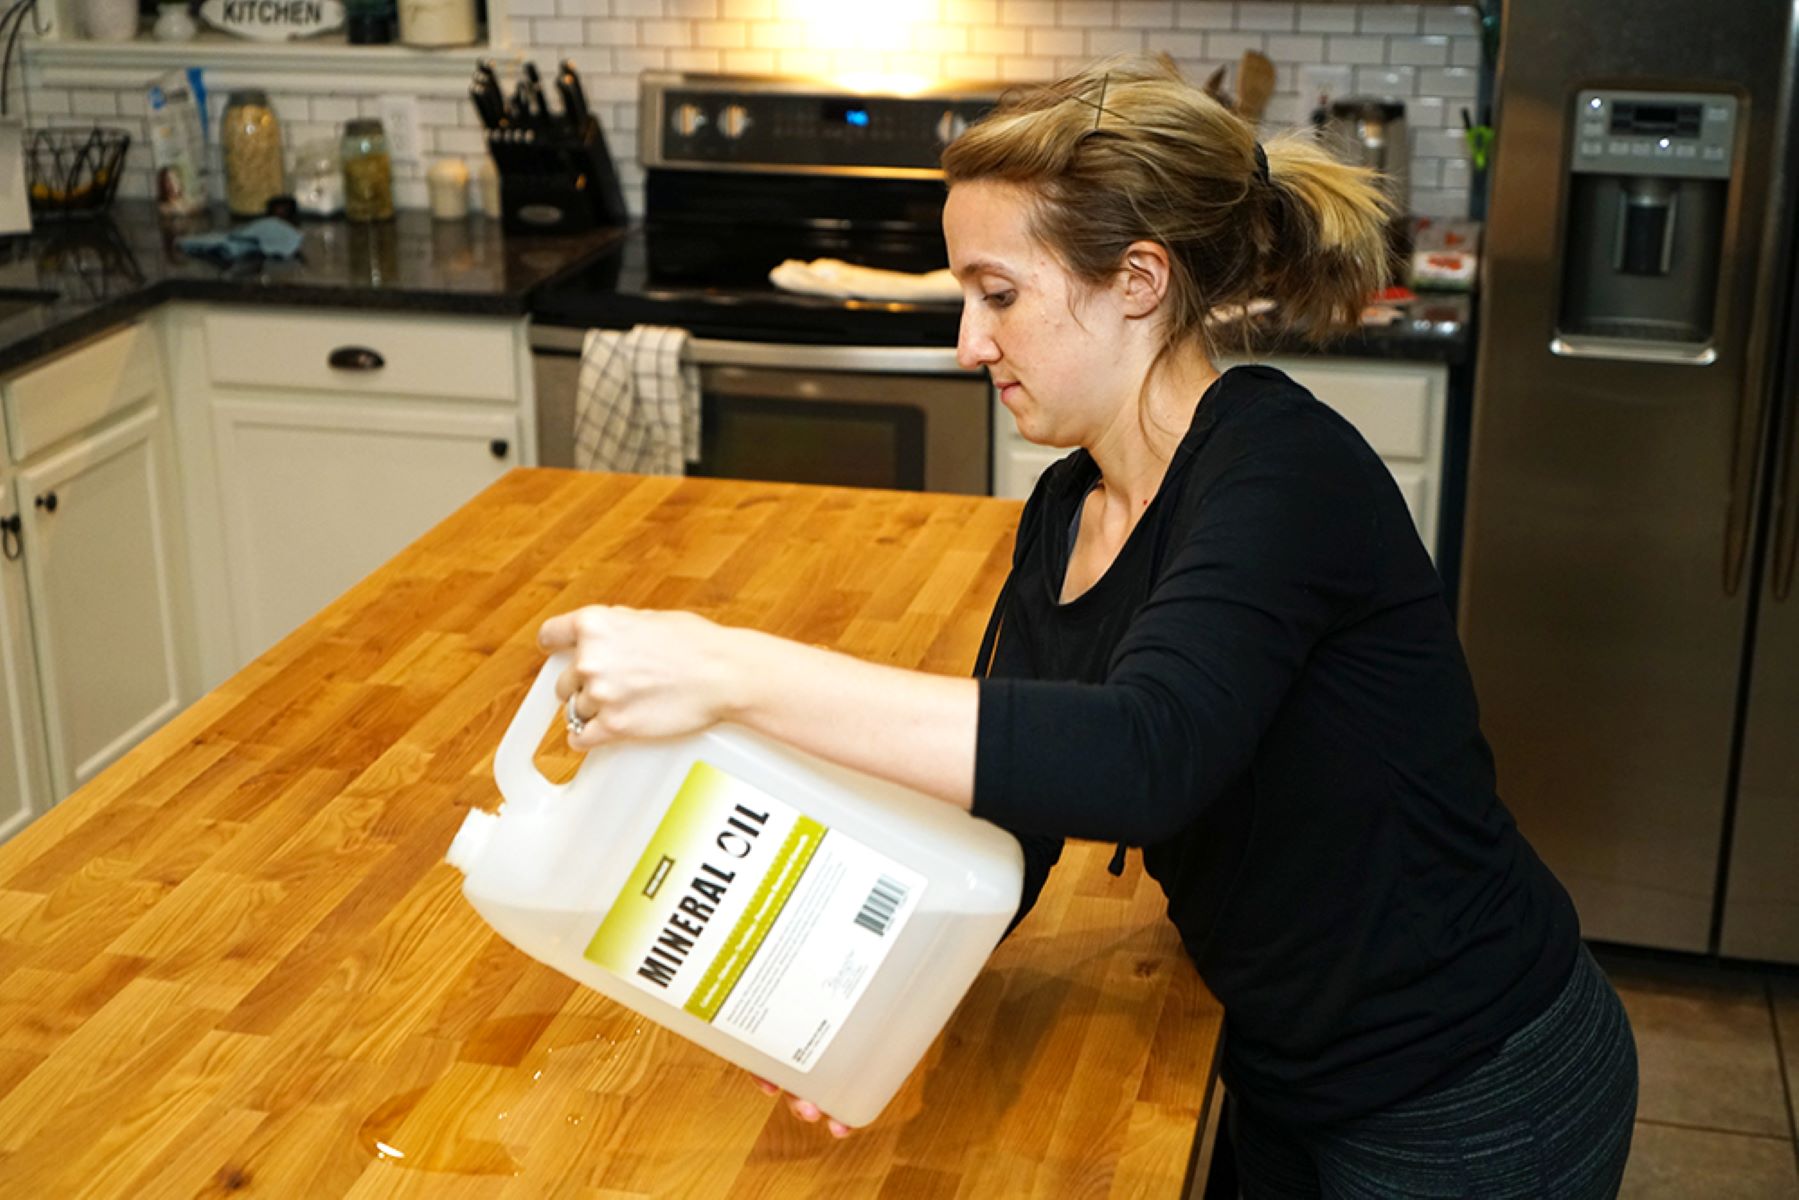
- Apply mineral oil or cutting board oil: Once the countertops are dry, apply a thin layer of mineral oil or food-grade cutting board oil using a clean cloth. Rub the oil into the wood in a circular motion, covering the entire surface. Allow the oil to penetrate the wood for at least 15 minutes, then wipe away any excess oil with a clean cloth.
It’s recommended to clean your butcher block countertops at least once a week, or more frequently if you use them heavily. Regular cleaning and oiling will help maintain their appearance, prevent stains, and keep them in excellent condition for years to come.
Now that you know how to clean your countertops, let’s explore some preventive measures to keep them looking their best and avoid stains.
To prevent stains on butcher block countertops, regularly apply a food-safe mineral oil or beeswax to create a protective barrier. Wipe up spills immediately and avoid placing hot or wet items directly on the surface.Preventing Stains on Butcher Block Countertops
Keeping your butcher block countertops free from stains requires a proactive approach and some preventive measures. Here are some tips to help you prevent stains and maintain the pristine condition of your countertops:
- Seal the wood: Applying a sealant to your butcher block countertops creates a protective barrier that helps repel liquids and prevent stains. There are various food-safe sealants available specifically designed for wood countertops. Follow the manufacturer’s instructions to apply the sealant properly and reapply it as needed.
- Use cutting boards and trivets: To avoid direct contact with hot pots and pans or sharp utensils, always use cutting boards and trivets on your butcher block countertops. This not only protects the wood from damage but also prevents stains from food and grease.
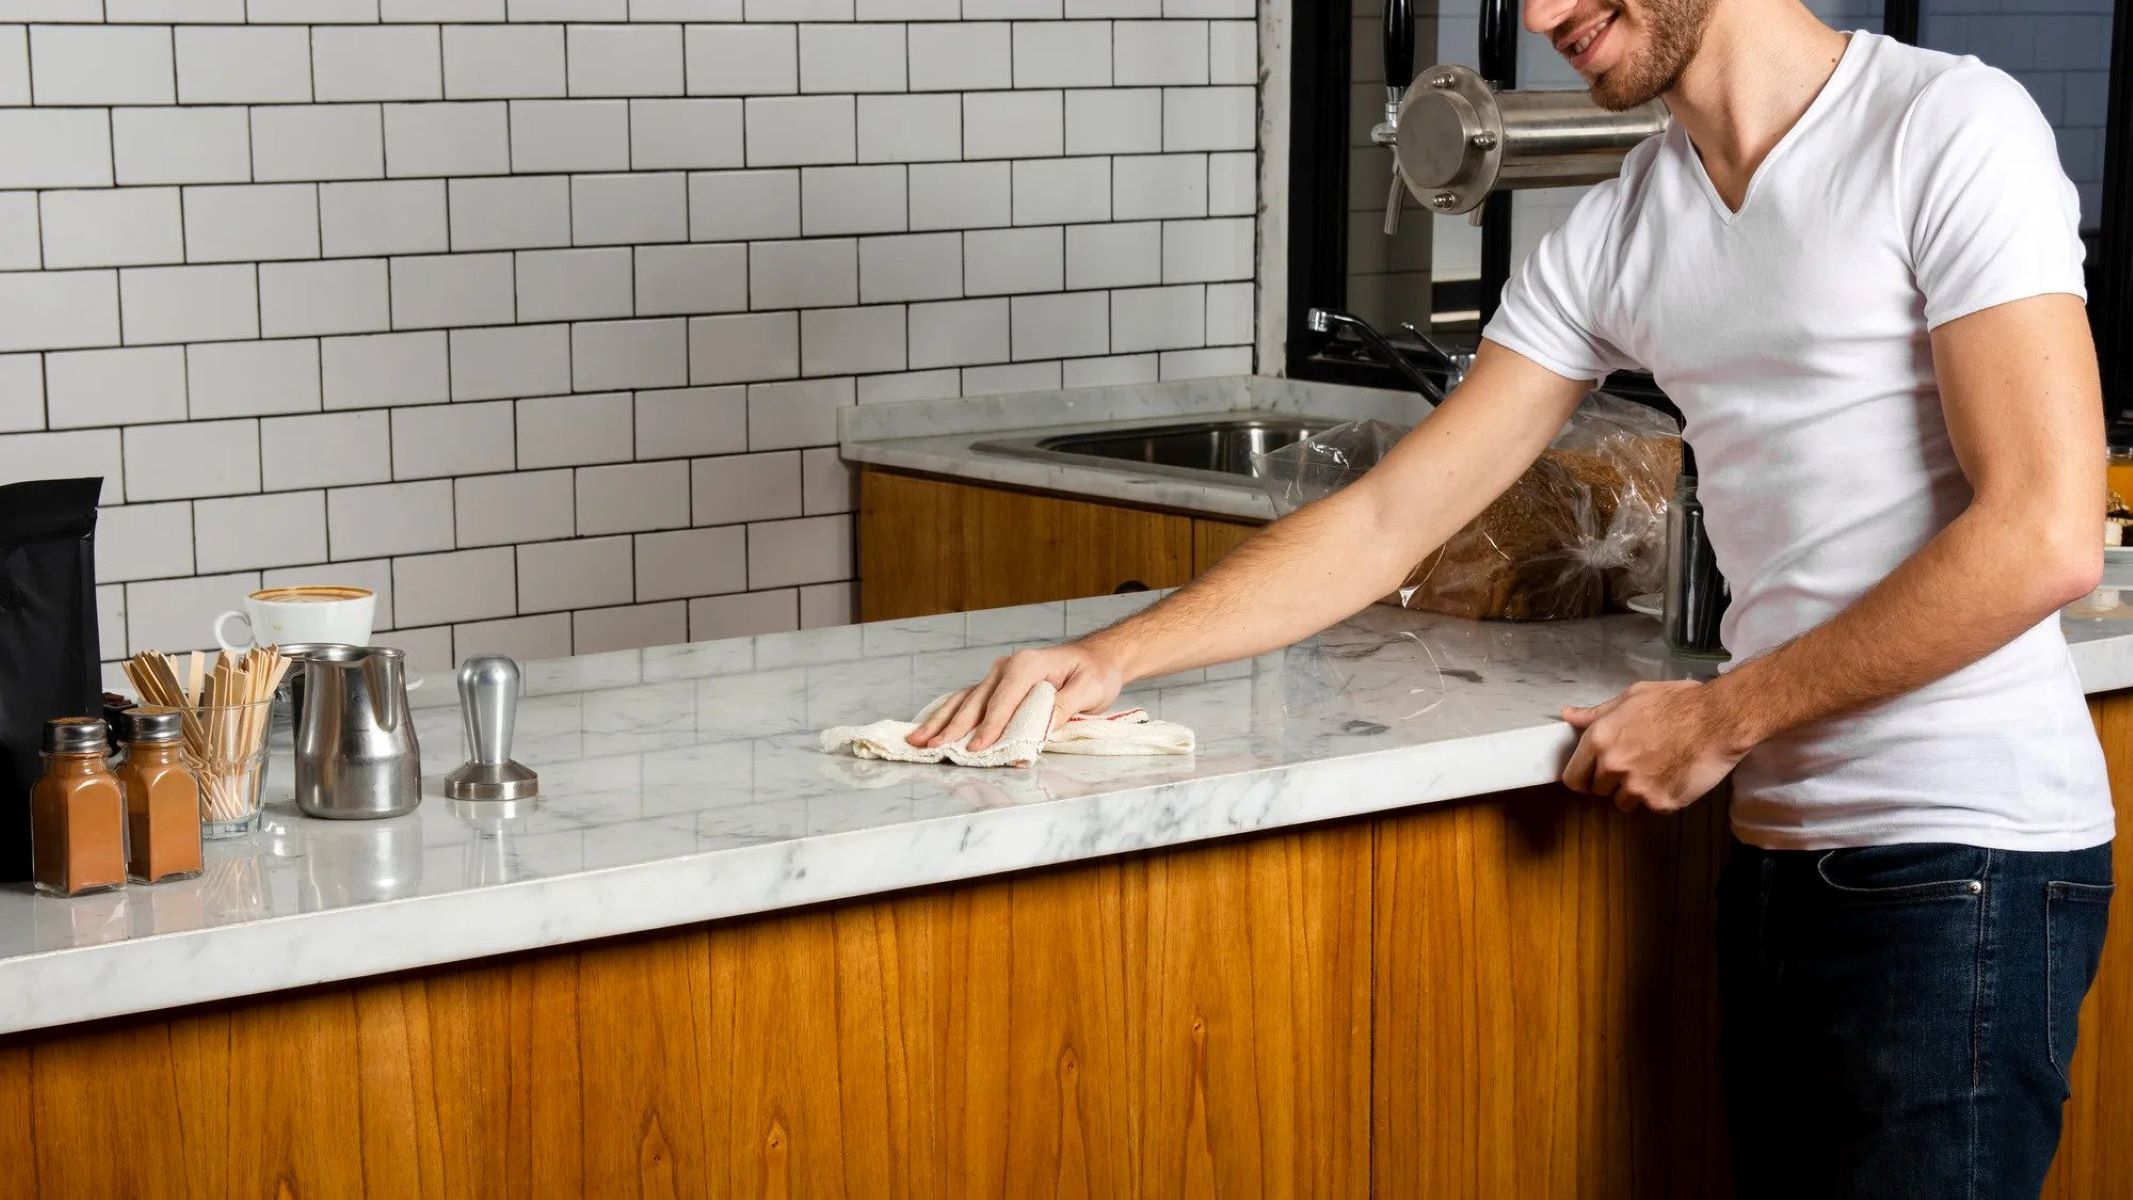
- Wipe up spills immediately: Accidents happen, but it’s important to wipe up any spills or liquids immediately to prevent them from seeping into the wood. Even harmless substances like water can cause damage if left unattended for too long.
- Avoid prolonged exposure to heat: Excessive heat can cause the wood to expand and potentially warp or crack. Always use hot pads or trivets when placing hot pots, pans, or dishes onto your butcher block countertops.
- Utilize cutting board maintenance: If you frequently chop or prep food directly on your butcher block countertops, regular maintenance of your cutting boards is essential. Keep them clean, oiled, and free from debris to prevent cross-contamination and potential staining of the countertop.
- Be mindful of acidic substances: Acidic substances like citrus juice, vinegar, or tomato sauce can cause discoloration or etching on the surface of the wood. Wipe up any spills immediately and avoid leaving acidic foods or liquids in contact with the countertop for an extended period.
- Keep the countertops dry: Moisture is the enemy of wooden surfaces. After cleaning or using the countertops, ensure they are thoroughly dried to prevent water damage or warping of the wood.
By implementing these preventive measures and practicing regular cleaning and maintenance, you can keep your butcher block countertops in top condition, preventing stains and maintaining their natural beauty for years to come.
Now that you have learned how to prevent stains, let’s explore some additional tips and tricks for proper maintenance of your butcher block countertops.
Read more: How To Sand Butcher Block Countertops
Additional Tips and Tricks for Proper Maintenance
Proper maintenance is key to keeping your butcher block countertops looking their best and prolonging their lifespan. Here are some additional tips and tricks to help you maintain and care for your countertops:
- Regularly oil your countertops: Applying a thin layer of food-grade mineral oil or cutting board oil is essential to keep the wood nourished and protected. It helps prevent drying, cracking, and splitting. Aim to oil your countertops every 4-6 weeks or as needed, depending on usage.
- Remove deep stains with lemon juice: For deep stains that don’t come off with regular cleaning, squeeze fresh lemon juice onto the affected area and let it sit for a few minutes. The acidity of the lemon juice can help bleach the stain and lighten the wood. Rinse thoroughly and repeat if necessary.
- Avoid harsh cleaning products: Steer clear of harsh chemicals, abrasive cleaners, and bleach when cleaning your butcher block countertops. These can damage the wood and strip away its natural oils, compromising its integrity.
- Don’t chop directly on the surface: While butcher block countertops are sturdy, it’s best to use cutting boards when chopping or cutting ingredients. This will prevent scratches and reduce the risk of bacterial contamination.
- Regularly inspect and repair: Keep an eye out for any signs of damage or wear on your countertops. Cracks, warping, or loose joints should be addressed promptly to prevent further damage. Seek professional help if necessary.
- Avoid prolonged exposure to sunlight: Direct sunlight can cause the wood to fade and discolor over time. Consider using window treatments or UV protection films to minimize the exposure of your butcher block countertops to sunlight.
- Use coasters and placemats: To protect your countertops from water rings or heat damage caused by beverages or hot dishes, always use coasters and placemats. This simple habit can go a long way in preserving the condition of your countertops.
- Regularly clean and maintain your kitchen tools: Keep your cutting boards, knives, and other kitchen tools clean and well-maintained. This prevents cross-contamination and reduces the risk of transferring stains or bacteria onto your countertops.
By following these additional tips and tricks, you can ensure the longevity and beauty of your butcher block countertops. Remember, proper maintenance and regular cleaning are essential for keeping your countertops in excellent condition for years to come.
Now that you have all the information needed to care for your butcher block countertops, it’s time to put this knowledge into practice and enjoy a clean, stylish, and functional kitchen workspace.
Conclusion
Cleaning and maintaining your butcher block countertops doesn’t have to be a daunting task. By following the step-by-step guide and implementing the preventive measures, tips, and tricks we’ve discussed, you can keep your countertops looking their best and prevent stains.
Regular cleaning with a mild dish soap and warm water, along with occasional disinfecting with vinegar, will help remove bacteria and stains from your countertops. Remember to dry them thoroughly after each cleaning to prevent moisture damage.
Applying mineral oil or food-grade cutting board oil will nourish the wood and protect it from drying out. This simple step will keep your countertops looking rich, vibrant, and well-maintained.
Preventing stains on your butcher block countertops is all about taking proactive measures. Using cutting boards and trivets, wiping up spills immediately, and avoiding prolonged exposure to heat or acidic substances are habits that will contribute to the longevity of your countertops.
Regular inspections and prompt repairs, as well as careful maintenance of your kitchen tools, are also crucial for maintaining the quality and integrity of your countertops.
By following these guidelines and incorporating proper cleaning and maintenance into your routine, you can enjoy the beauty and functionality of your butcher block countertops for many years to come. A well-cared-for countertop not only enhances the aesthetics of your kitchen but also provides a clean and inviting space for culinary adventures.
So, get started with the cleaning process, gather the necessary materials, and make it a regular part of your kitchen maintenance routine. Your butcher block countertops will thank you with their enduring beauty and durability.
Frequently Asked Questions about How To Clean Butcher Block Countertops: To Prevent Stains
Was this page helpful?
At Storables.com, we guarantee accurate and reliable information. Our content, validated by Expert Board Contributors, is crafted following stringent Editorial Policies. We're committed to providing you with well-researched, expert-backed insights for all your informational needs.

0 thoughts on “How To Clean Butcher Block Countertops: To Prevent Stains”