Home>Articles>How To Hide Seams In Butcher Block Countertops
Articles
How To Hide Seams In Butcher Block Countertops
Modified: May 6, 2024
Learn effective methods for hiding seams in butcher block countertops in this informative article. Discover expert tips and tricks to achieve a flawless appearance.
(Many of the links in this article redirect to a specific reviewed product. Your purchase of these products through affiliate links helps to generate commission for Storables.com, at no extra cost. Learn more)
Introduction
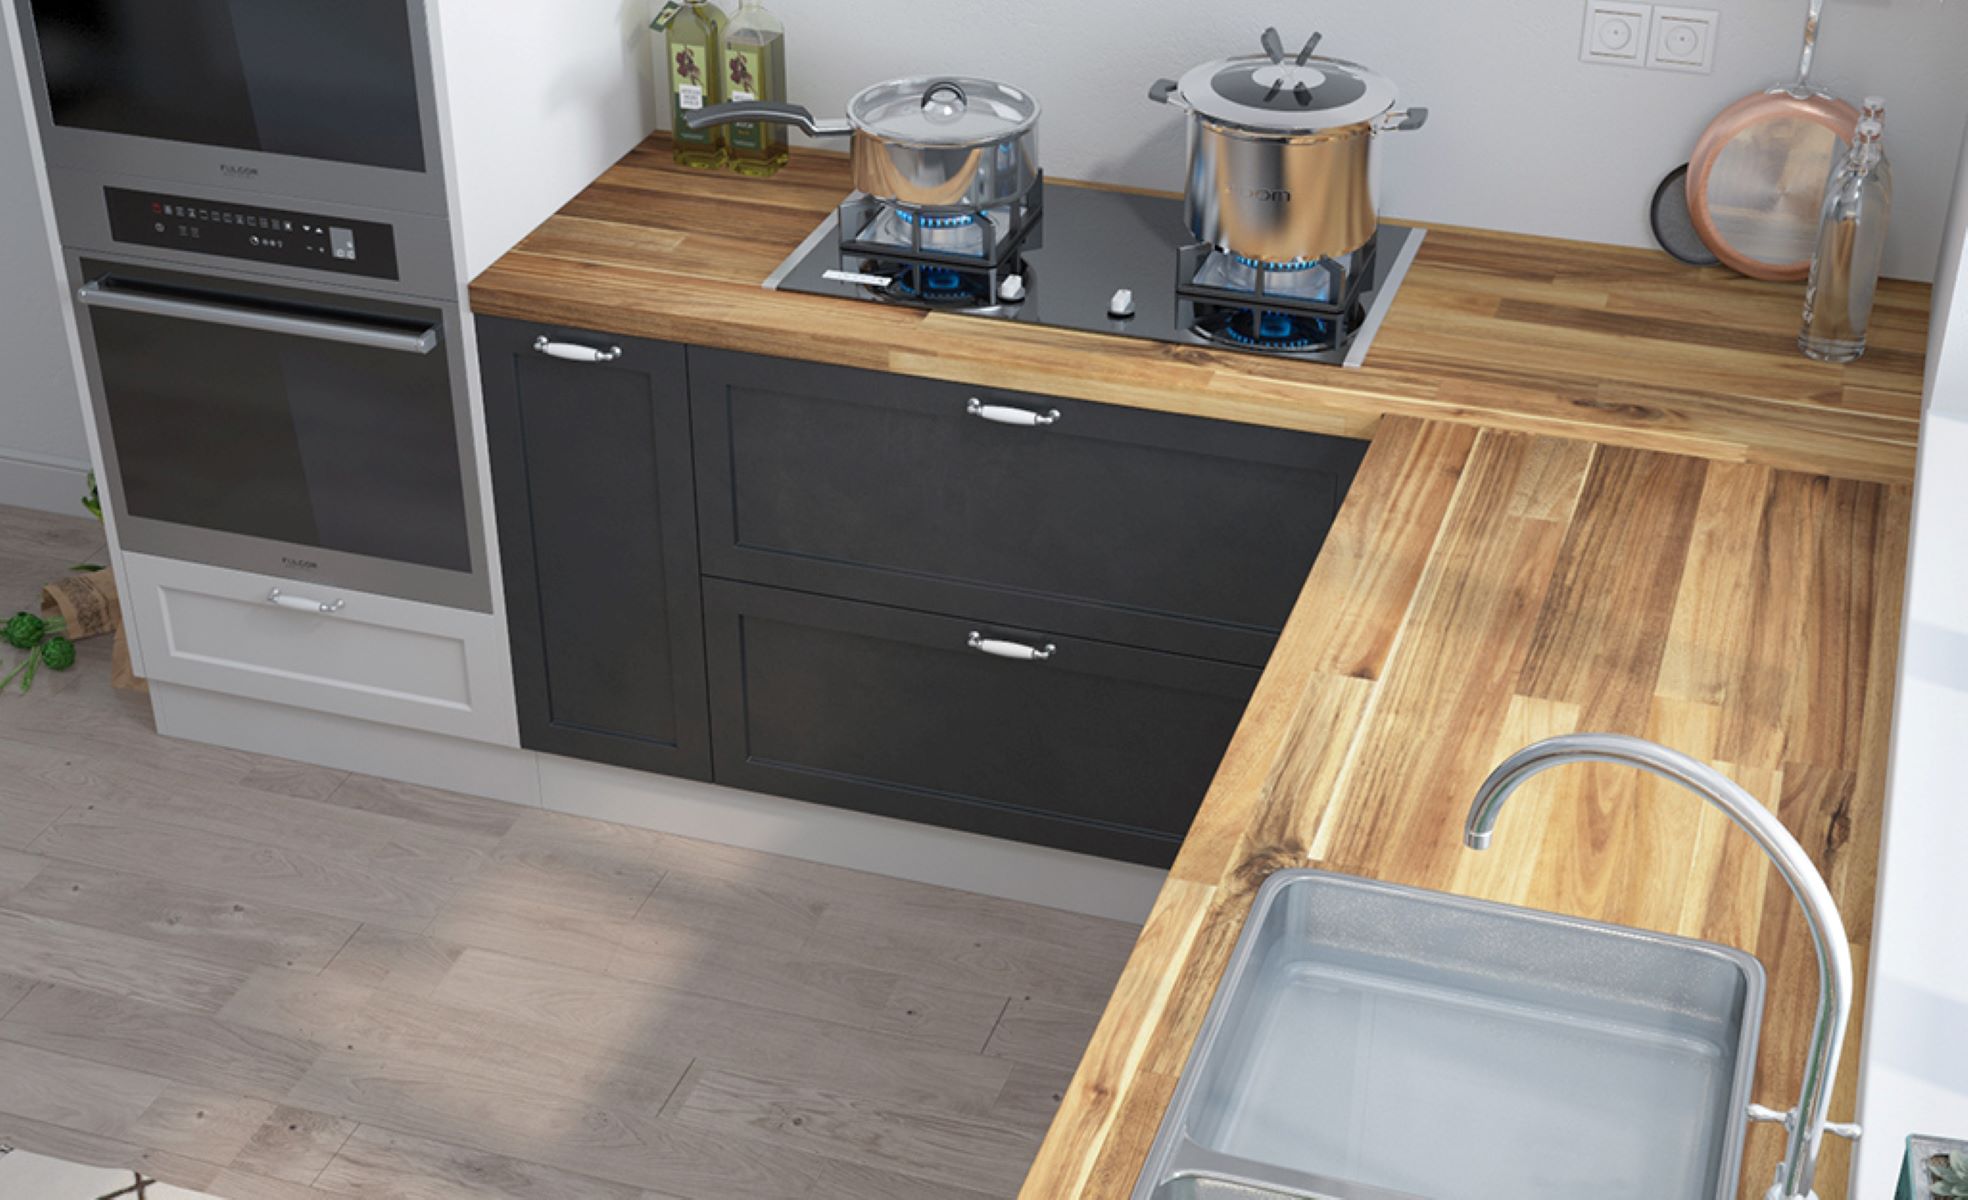
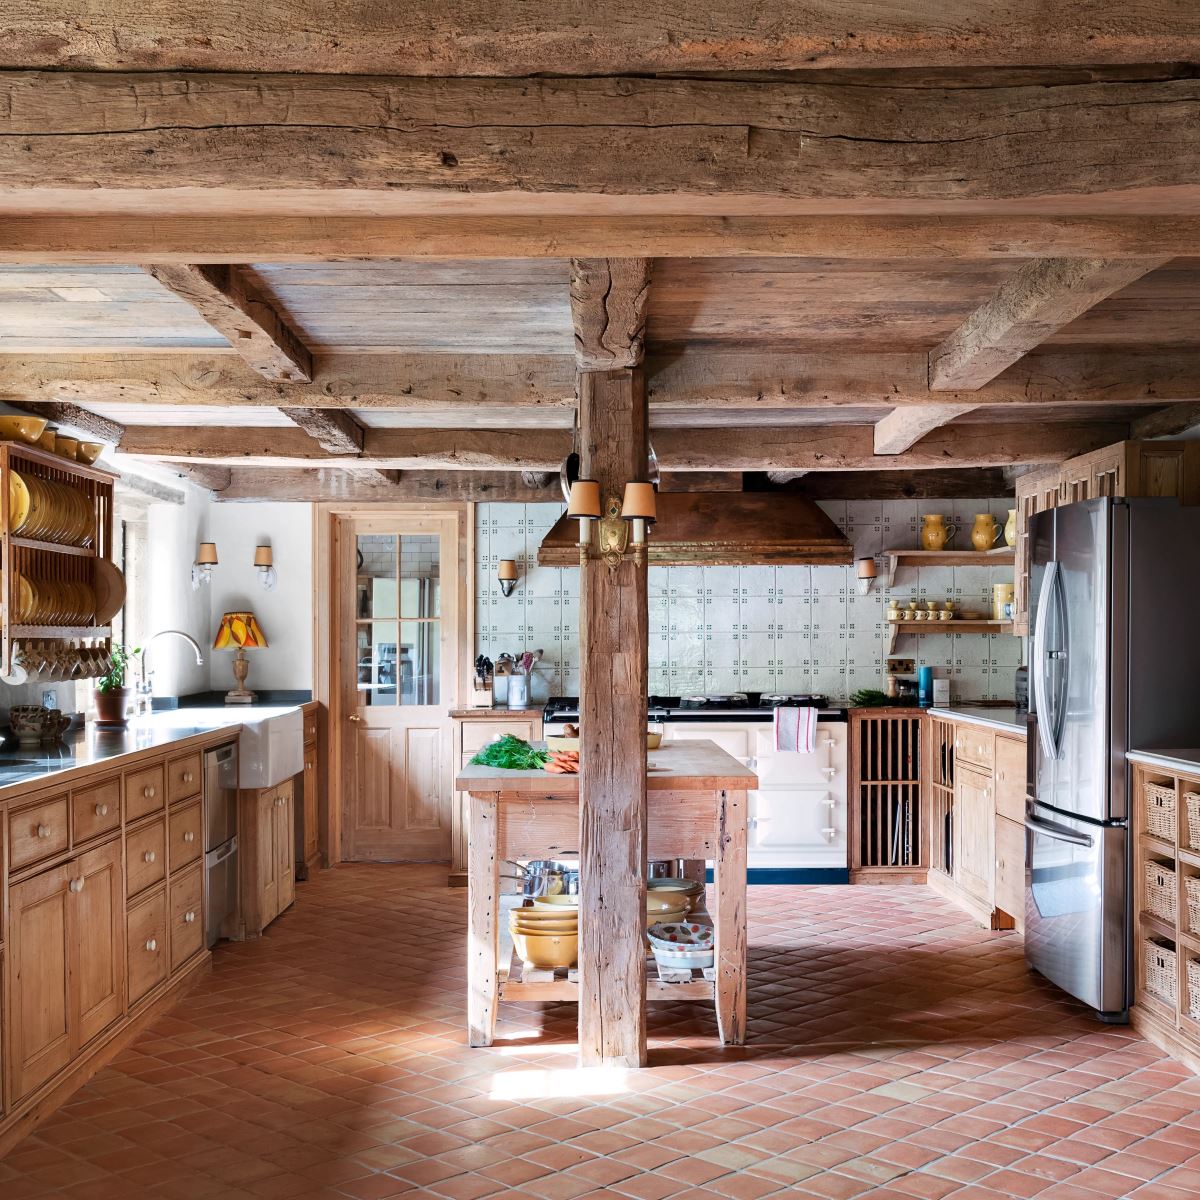
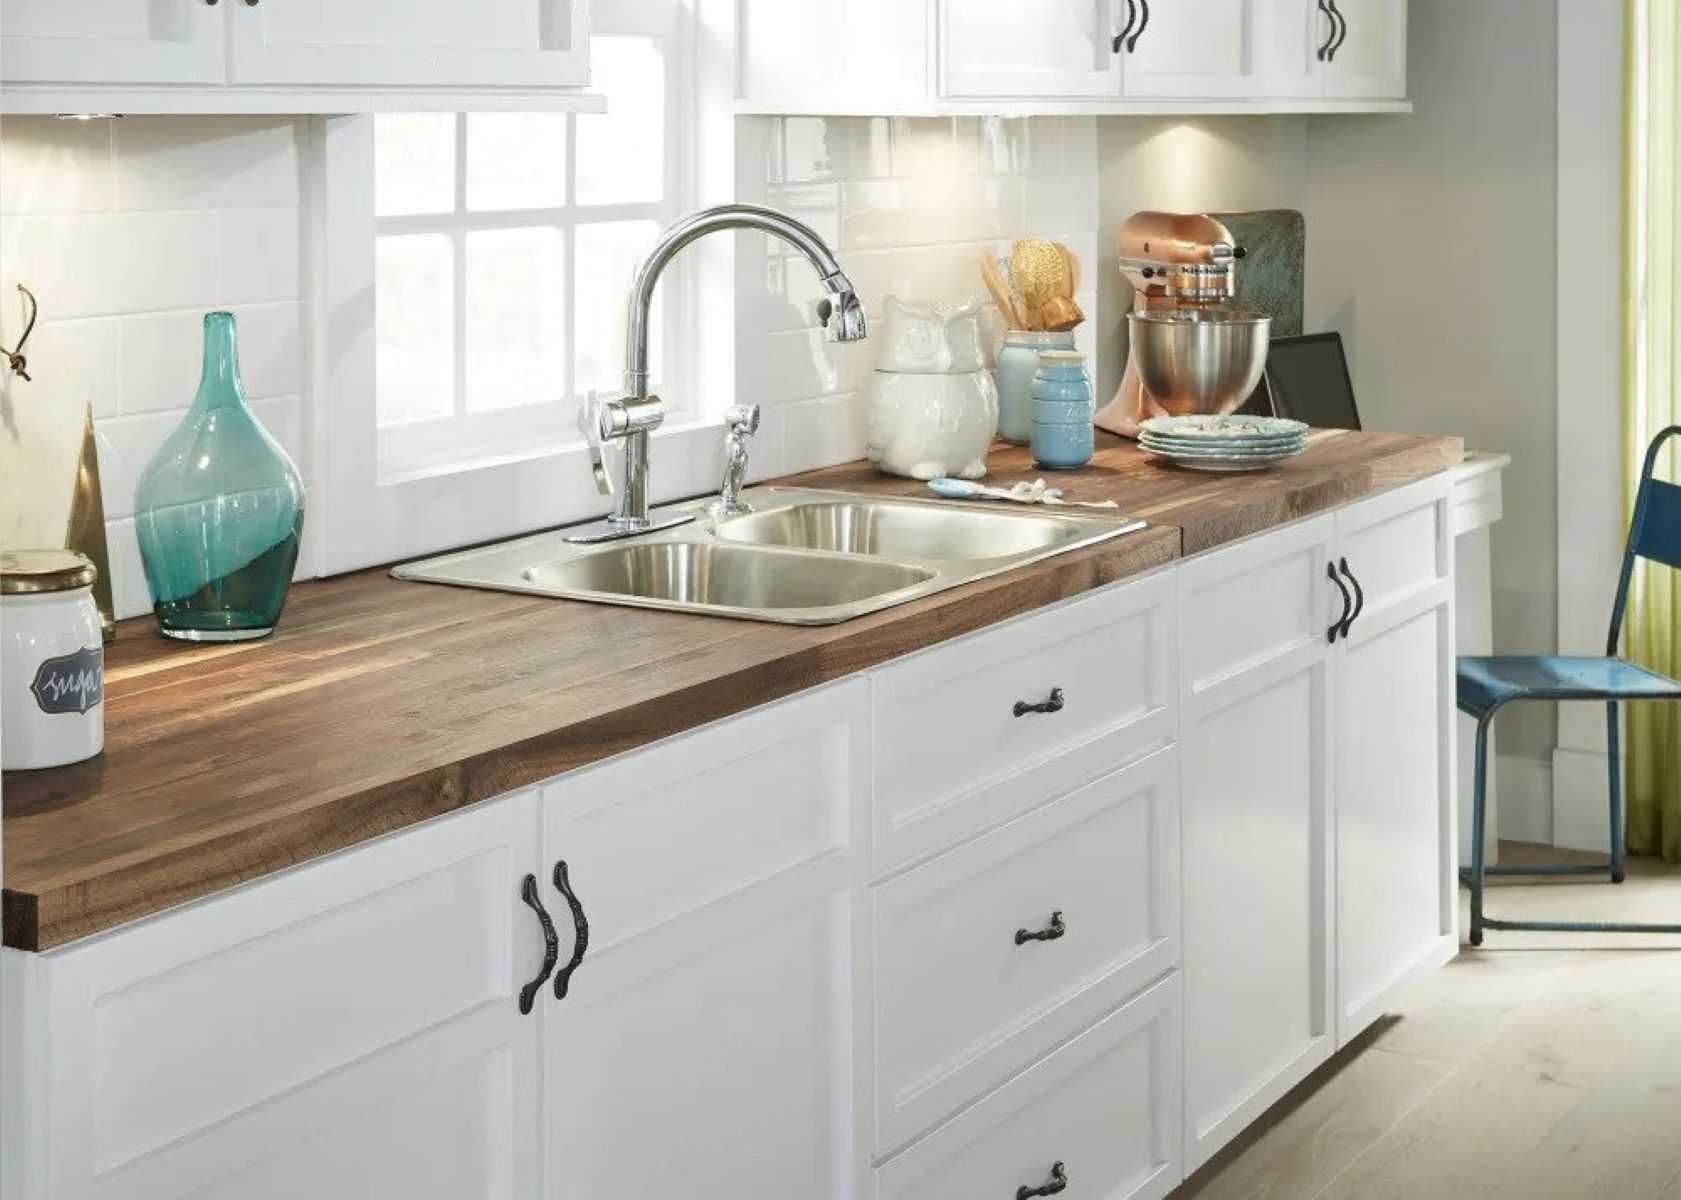
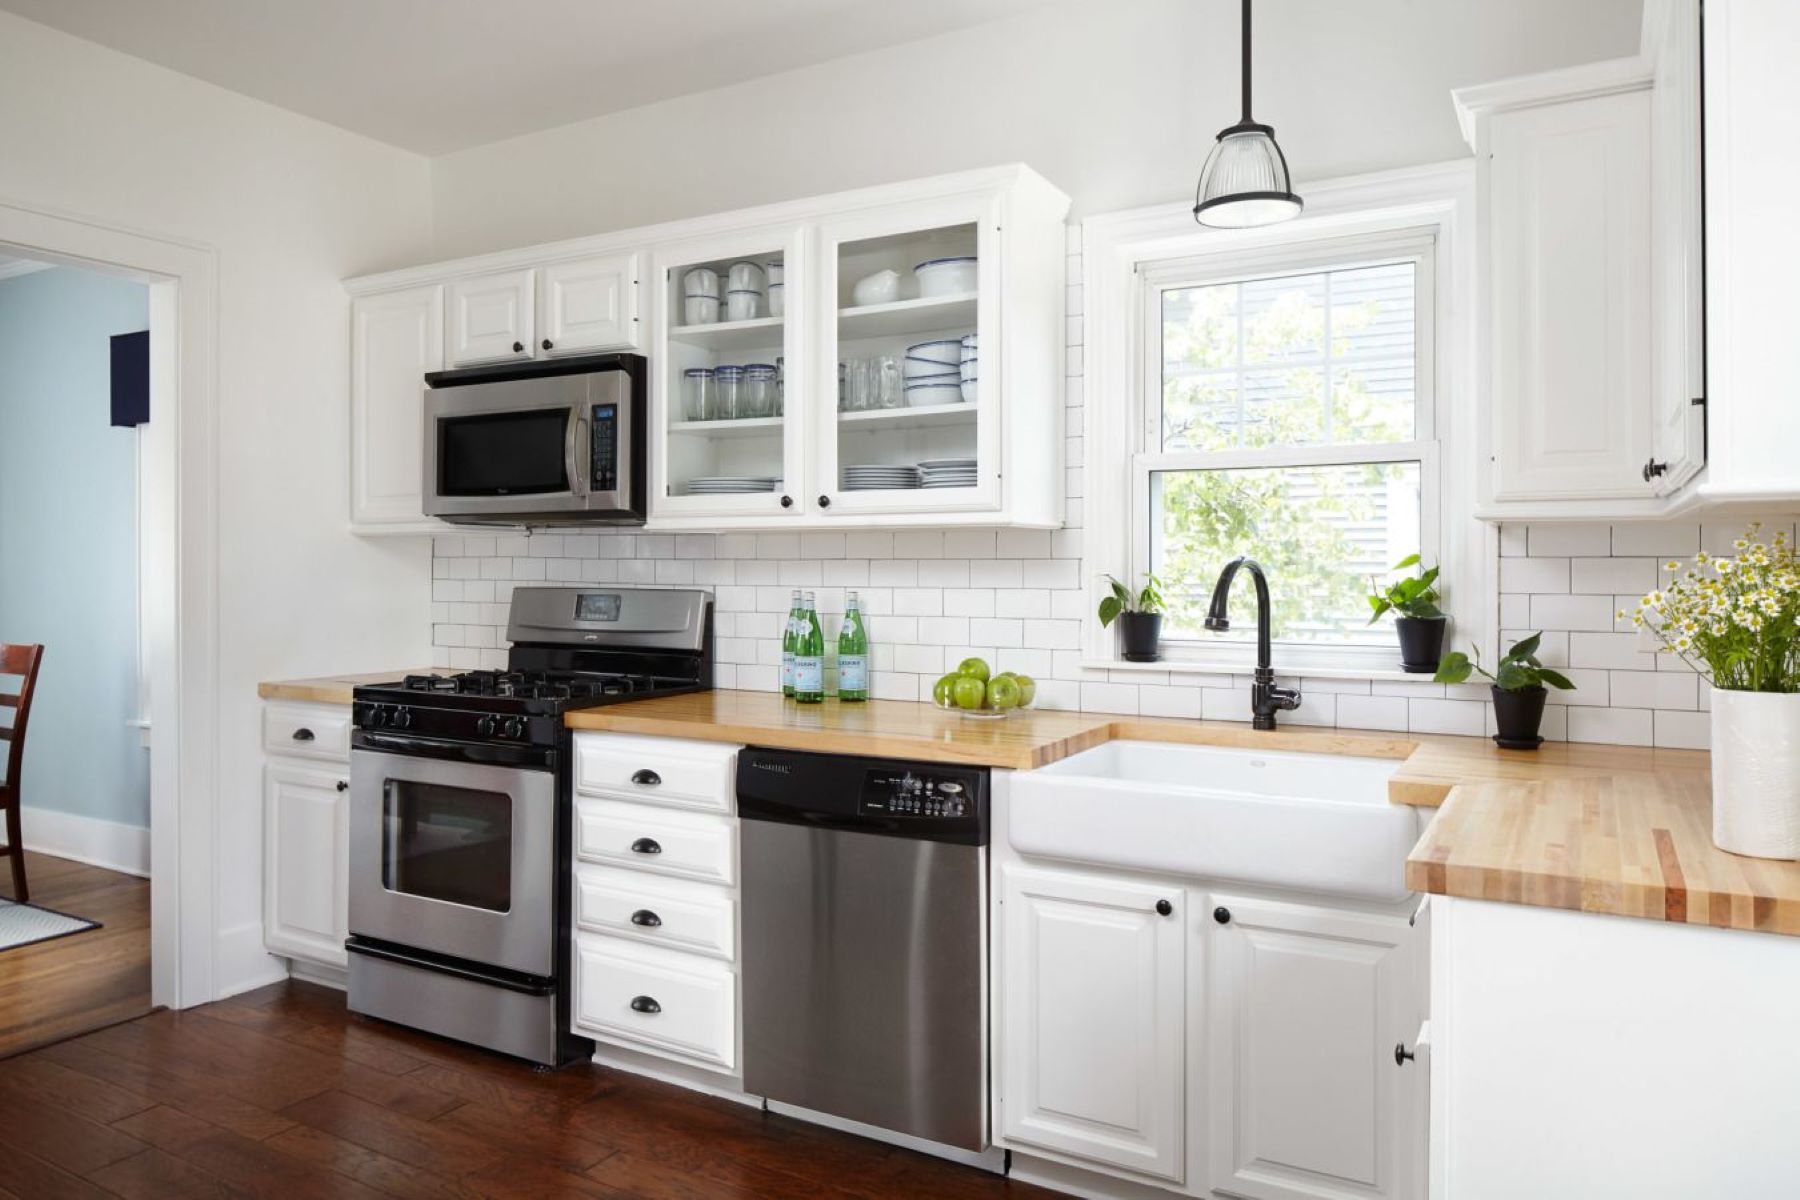
Butcher block countertops are a popular choice for kitchens due to their natural beauty and durability. However, one common issue that arises with these countertops is the visibility of seams where multiple butcher block pieces are joined together. These seams can detract from the overall aesthetic appeal of the countertop and may even affect its functionality.
Luckily, there are effective methods to hide these seams and achieve a seamless look on your butcher block countertops. In this article, we will guide you through step-by-step instructions on how to hide seams in butcher block countertops, ensuring a flawless finish that enhances the beauty of your kitchen.
Before we begin, it’s essential to gather the necessary supplies to complete this project successfully. Let’s take a look at what you’ll need:
Key Takeaways:
- Achieve a flawless, seamless look for your butcher block countertops by properly preparing the surface, applying wood filler, and blending the seams with matching stain or finish. The result is a professional, integrated kitchen design.
- Enhance the beauty and durability of your kitchen with hidden seams in butcher block countertops. Follow step-by-step instructions to create a polished, protected, and long-lasting focal point for your kitchen.
Read more: How Durable Is Butcher Block Countertops
Supplies Needed
Before you begin hiding the seams in your butcher block countertops, make sure you have the following supplies on hand:
- Wood filler
- Putty knife
- Sandpaper (medium and fine grit)
- Stain or finish that matches your butcher block
- Brush or rag for applying stain or finish
- Painter’s tape
- Disposable gloves
- Dust mask
- Lint-free cloths
These supplies are readily available at most home improvement stores or online. It’s important to choose a wood filler and stain or finish that closely matches the color and grain pattern of your butcher block countertops for a seamless final result.
Now that you have all the necessary supplies, let’s move on to the step-by-step process of hiding the seams in your butcher block countertops.
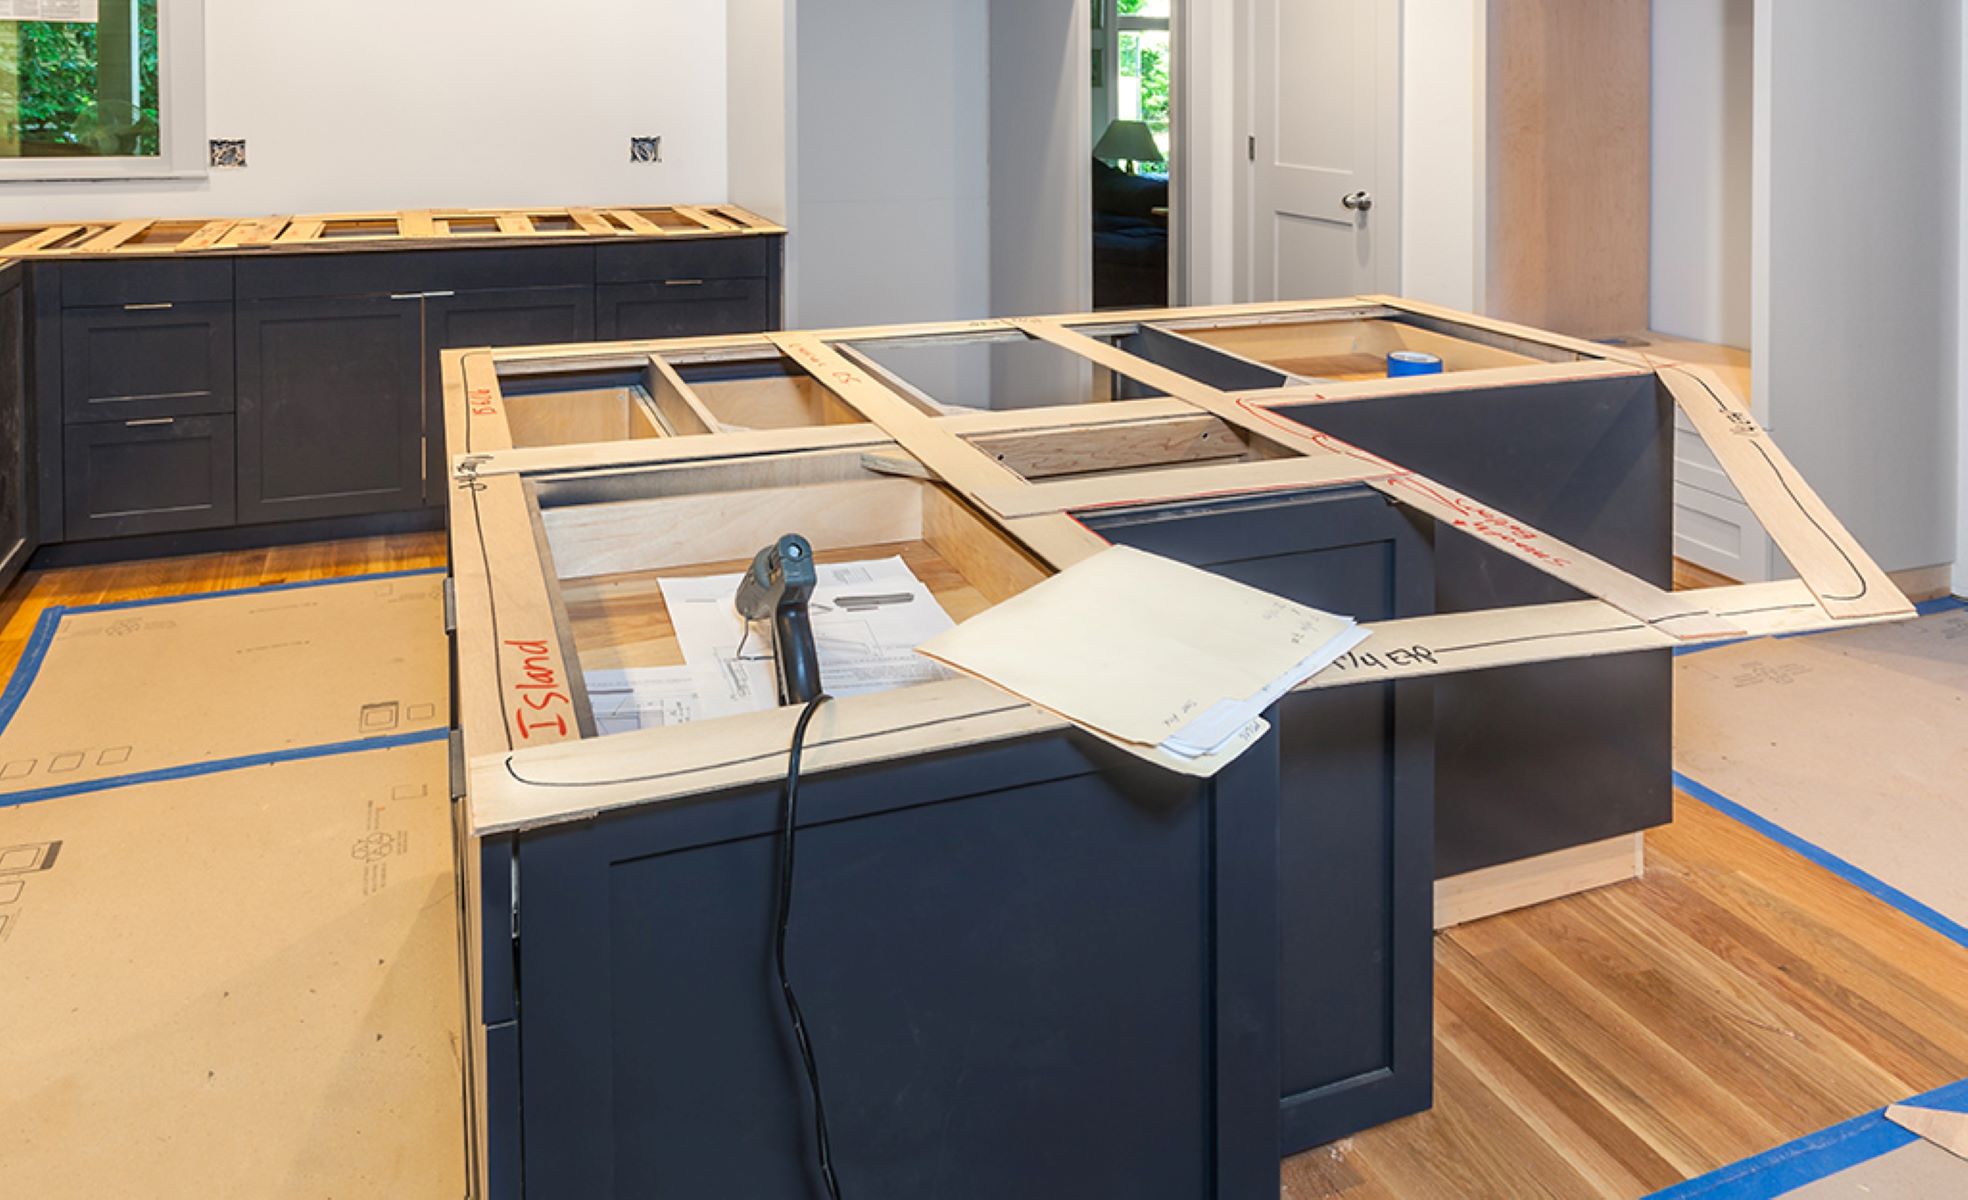
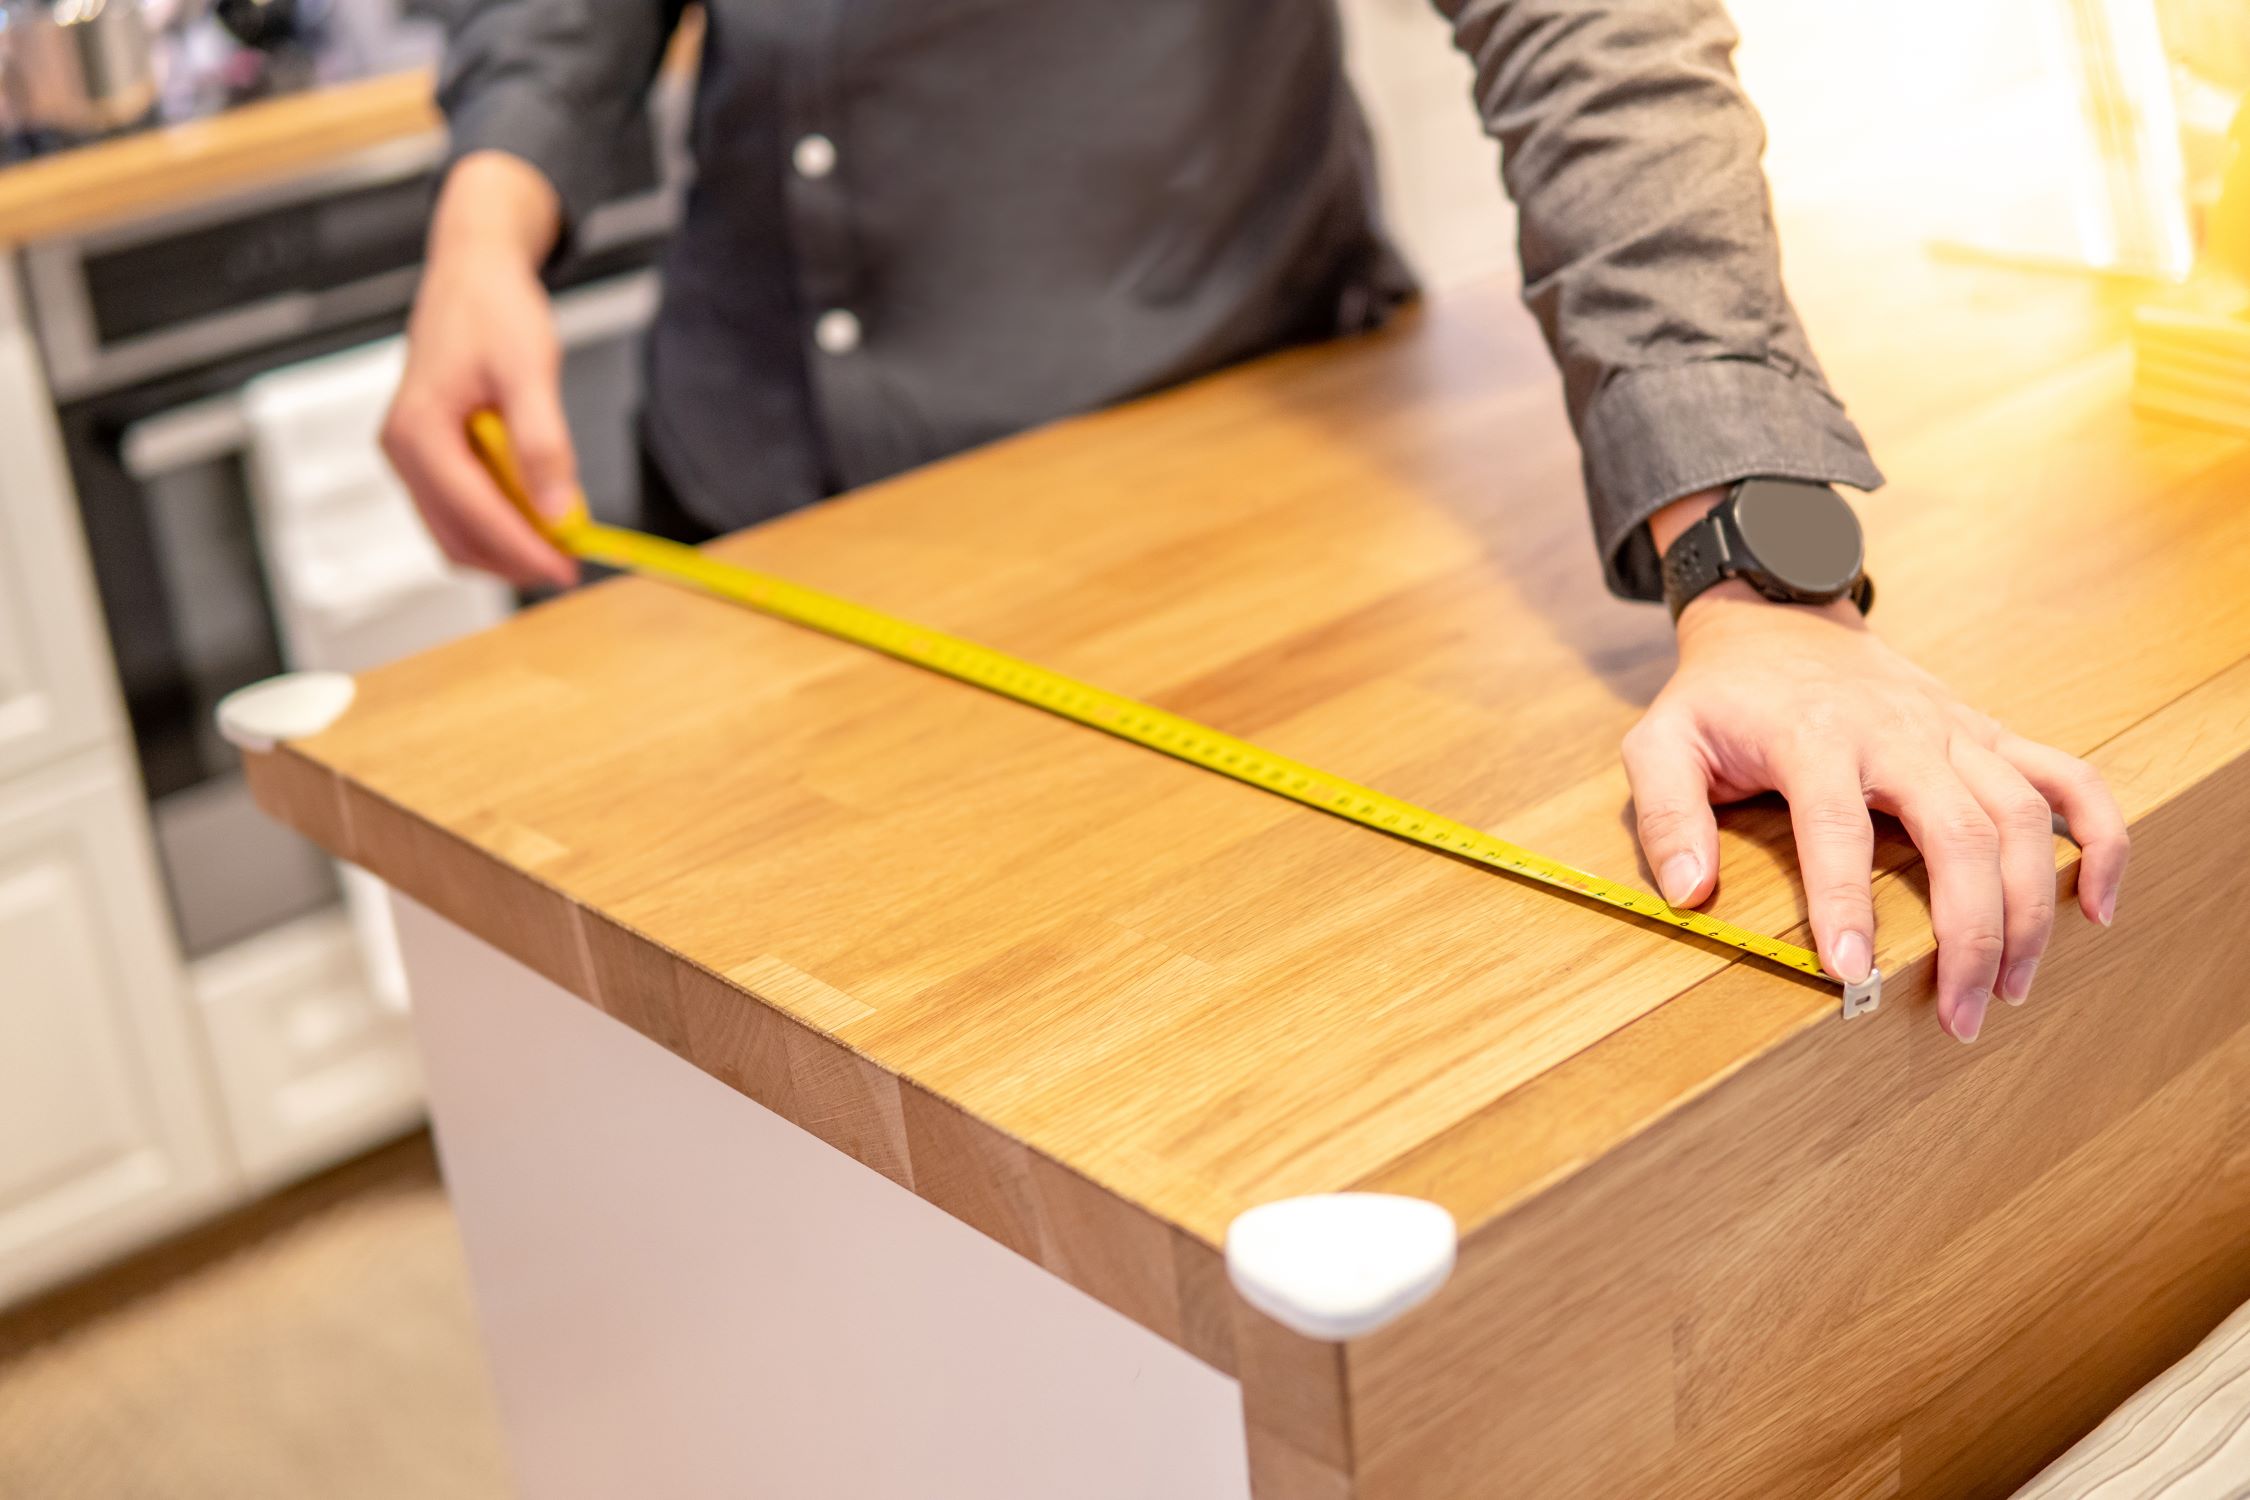
Step 1: Preparing the Butcher Block Countertops
Before you can hide the seams in your butcher block countertops, it’s essential to properly prepare the surface. Follow these steps to ensure the best results:
- Clean the countertops: Start by thoroughly cleaning the countertops with a mild soap and warm water solution. Remove any dust, debris, or grease from the surface. Allow the countertops to dry completely before proceeding.
- Inspect the seams: Carefully examine the seams between the butcher block pieces. Look for any gaps, unevenness, or loose sections. If you notice any issues, address them before moving forward. Use a putty knife to remove any loose or excess filler.
- Mask off the area: To protect the surrounding countertops or cabinets, use painter’s tape to mask off the area around the seams. This will prevent any accidental damage or staining during the process.
By properly preparing the butcher block countertops, you’ll create a clean and level surface to work with, ensuring a seamless result in the end.
Step 2: Applying Wood Filler
Once you have prepared the butcher block countertops, the next step is to fill in the seams using wood filler. Follow these instructions to apply the wood filler properly:
- Choose the right wood filler: Select a wood filler that matches the color and grain pattern of your butcher block countertops. This will help camouflage the seams and achieve a seamless appearance.
- Apply the wood filler: Using a putty knife, apply the wood filler to the seams. Make sure to fill in any gaps or uneven areas. Press the wood filler firmly into the seams to ensure a secure bond. Smooth out the surface of the wood filler with the putty knife, creating a level and flush finish.
- Remove excess filler: After applying the wood filler, use a damp cloth or sponge to wipe away any excess filler from the surrounding areas. It’s important to remove any smudges or spills before the wood filler dries.
Allow the wood filler to dry completely according to the manufacturer’s instructions. The drying time may vary depending on the brand and type of wood filler used.
Applying wood filler is a crucial step in hiding the seams of your butcher block countertops. It helps to create a smooth and consistent surface for further refinishing.
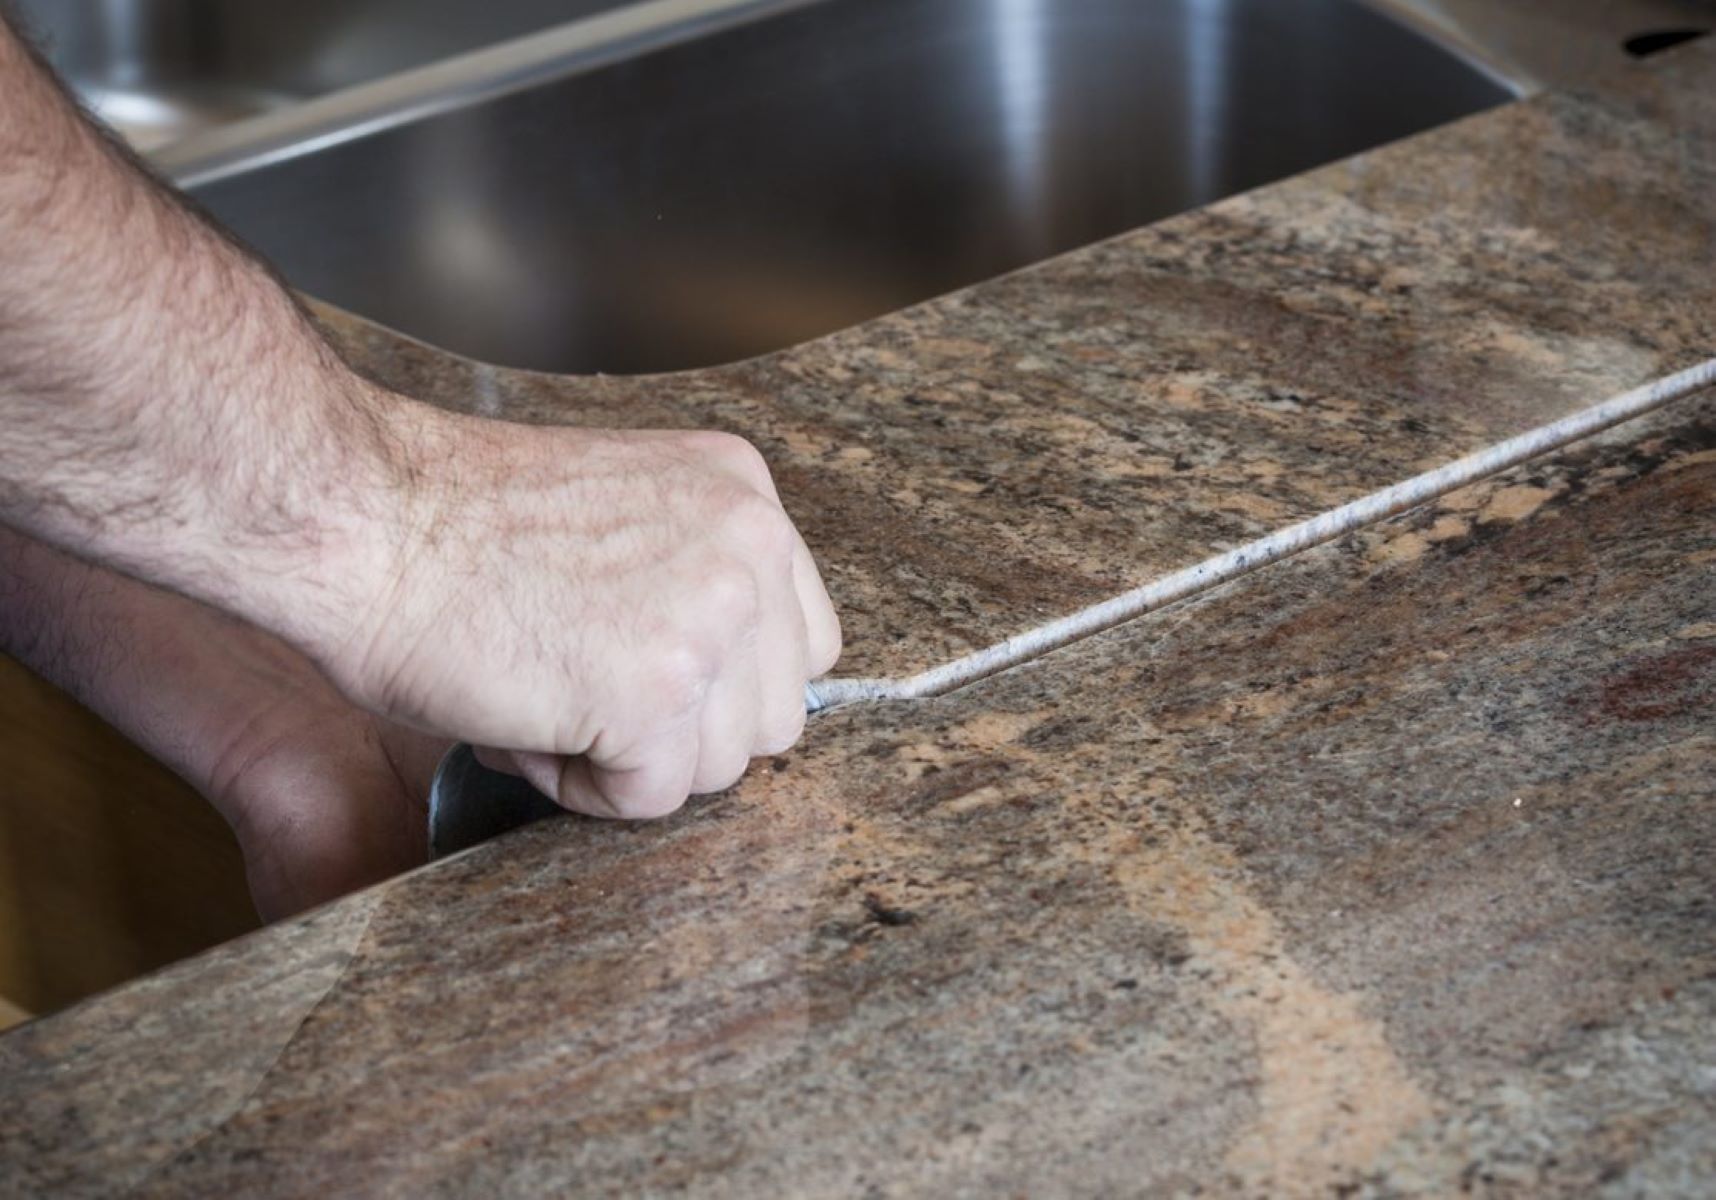
Apply a wood filler that matches the color of the butcher block to fill in any visible seams. Sand the filled areas smooth before applying a food-safe finish.
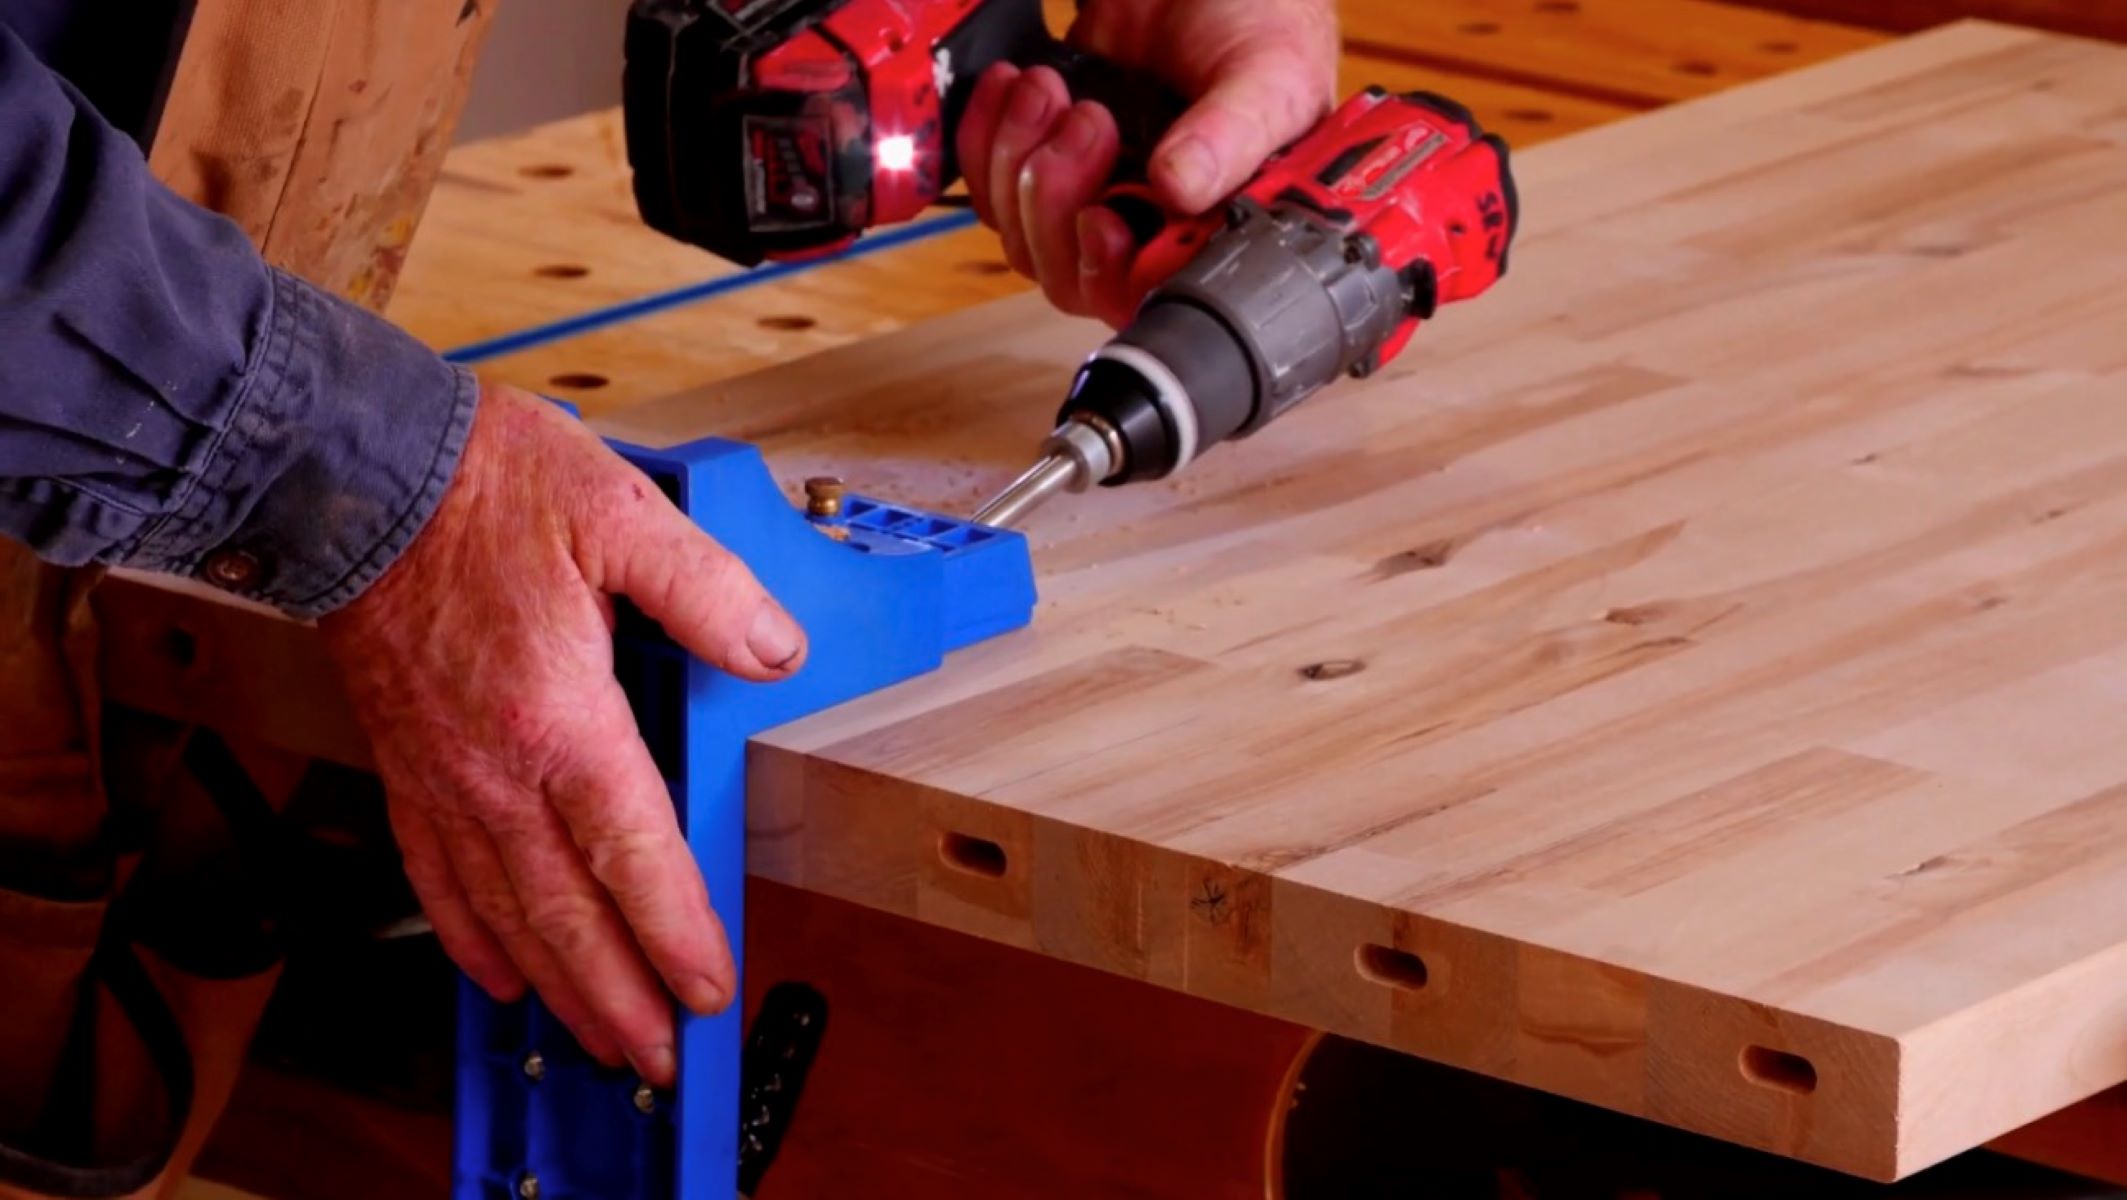
Step 3: Sanding the Seams
Once the wood filler has dried, it’s time to sand the seams to achieve a seamless finished look. Follow these steps to sand the seams properly:
- Start with medium-grit sandpaper: Begin by using medium-grit sandpaper (around 120 to 150-grit) to sand the filled seams. Sand in a gentle circular motion, focusing on the filled areas. The goal is to smooth out any rough edges or unevenness.
- Blend the edges: As you sand, gradually blend the edges of the seam with the surrounding butcher block surface. Be careful not to sand too aggressively, as this can remove excessive material and create unevenness.
- Switch to fine-grit sandpaper: Once the seams are smooth and blended, switch to a finer-grit sandpaper (around 220 to 320-grit). This will help create a smoother finish and prepare the surface for staining or finishing.
- Sand in the direction of the grain: Always sand in the direction of the wood grain to achieve the best results. This helps maintain the natural appearance of the butcher block countertops and prevents any noticeable sanding marks.
- Remove sanding dust: After sanding, wipe away any sanding dust with a clean, dry cloth. It’s important to remove all dust particles before moving on to the next step.
Sanding the seams is a crucial step in ensuring a flawless, seamless finish for your butcher block countertops. It helps to create a uniform surface and prepares the countertops for further refinishing.
Read more: How To Sand Butcher Block Countertops
Step 4: Blending the Seams with Stain or Finish
Once you have sanded the seams of your butcher block countertops, it’s time to blend them with the rest of the surface using stain or finish. Follow these steps to achieve a cohesive and seamless look:
- Select a matching stain or finish: Choose a stain or finish that closely matches the color and tone of your butcher block countertops. This will help to seamlessly blend the filled seams with the rest of the surface.
- Apply the stain or finish: Use a brush or a clean rag to apply the stain or finish to the entire surface of the countertops, including the filled seams. Apply in thin, even coats, following the manufacturer’s instructions. Make sure to cover the entire area evenly to achieve a consistent finish.
- Allow drying and assess the result: Let the stain or finish dry completely according to the recommended drying time. Once dry, assess the result to see if any touch-ups are needed. If necessary, apply additional coats to achieve the desired blending and seamless appearance.
Blending the seams with stain or finish is a crucial step in achieving a cohesive and seamless look for your butcher block countertops. It helps to create a unified color and texture across the entire surface, effectively hiding any visible seams.
Step 5: Final Sanding and Finishing Touches
After blending the seams with stain or finish, the final step is to perform a final sanding and add finishing touches to your butcher block countertops. Follow these steps to complete the process:
- Perform a final sanding: Use fine-grit sandpaper (around 320 to 400-grit) to perform a final sanding on the entire surface of the countertops, including the filled seams. Sand in the direction of the wood grain, focusing on creating a smooth and even finish.
- Remove sanding dust: Wipe away any sanding dust with a clean, dry cloth or tack cloth. Removing all dust particles is essential to achieve a clean and flawless final result.
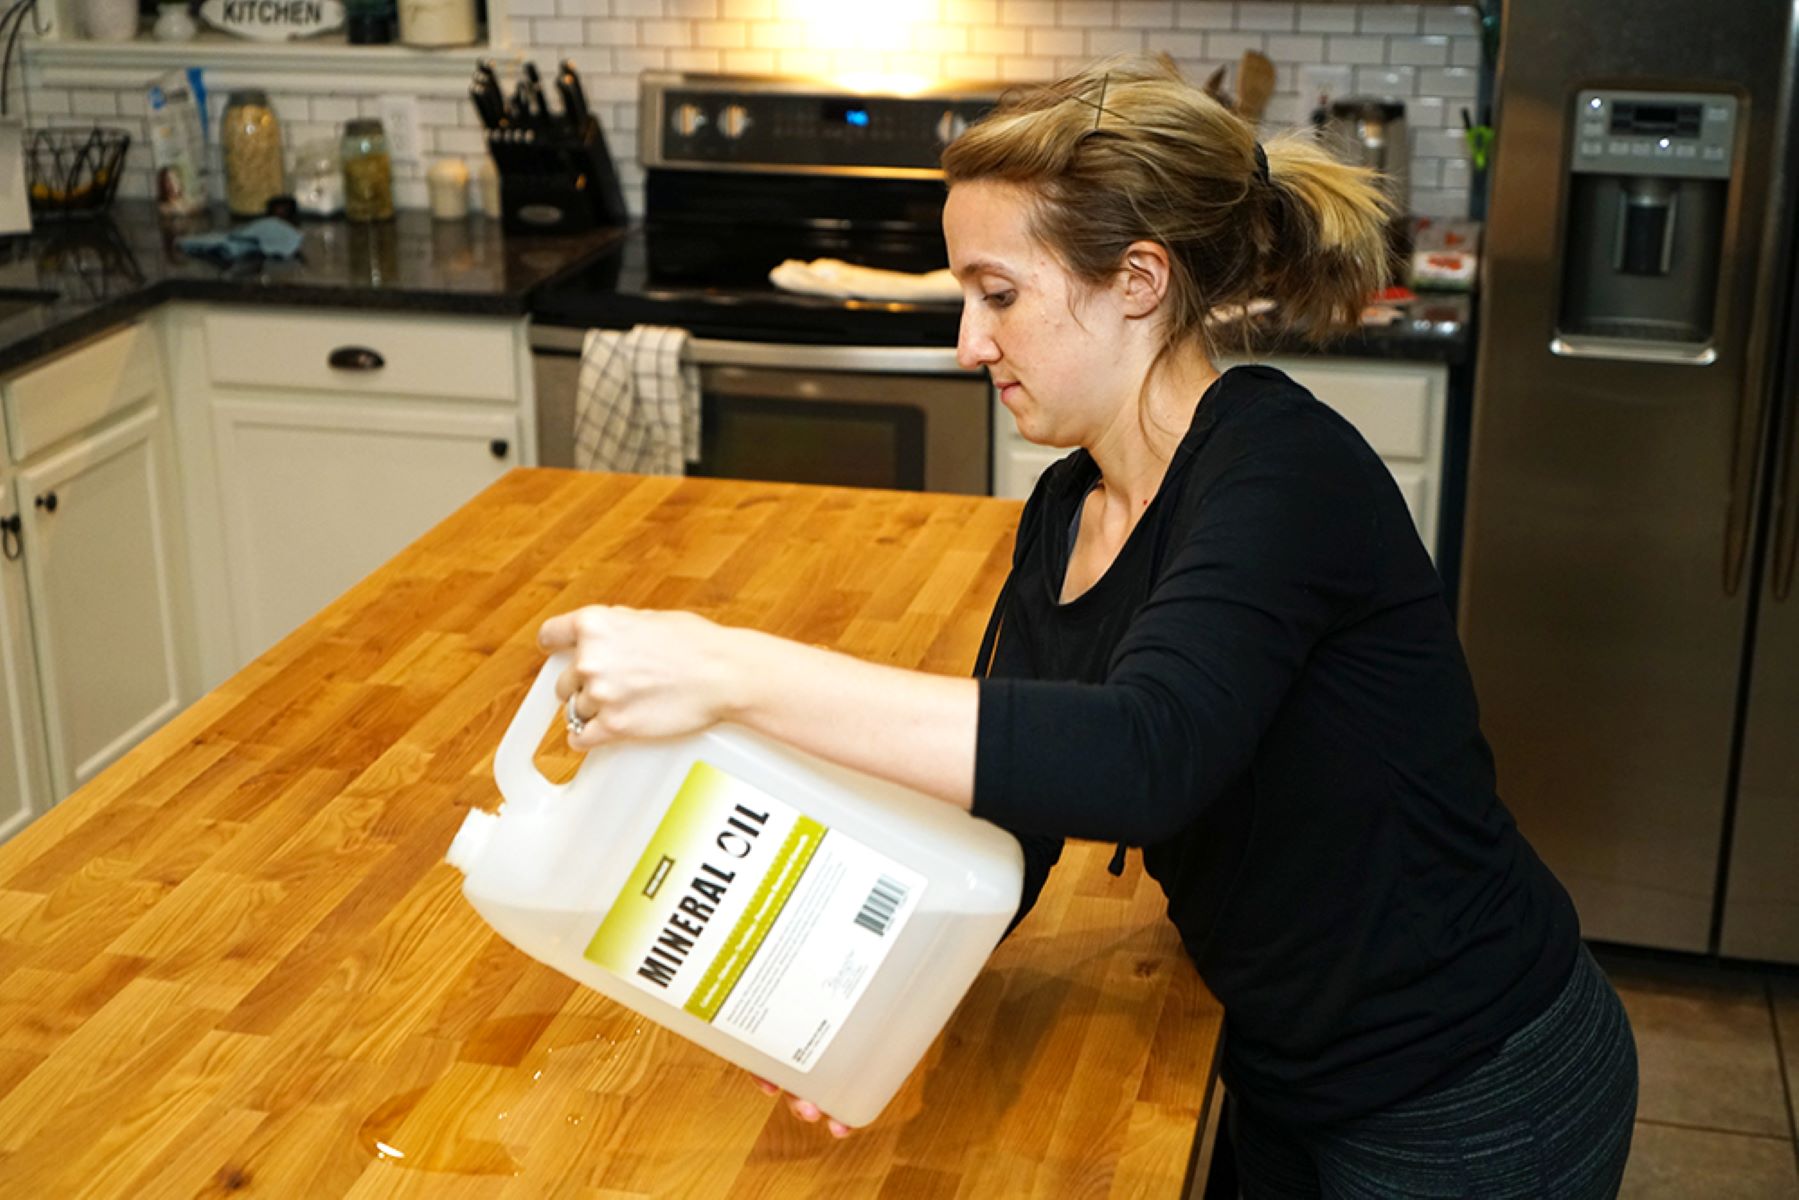
- Apply a protective finish: To protect the butcher block countertops and enhance their durability, apply a protective finish such as food-grade mineral oil or a butcher block conditioner. Follow the manufacturer’s instructions for application and drying time.
- Buff the surface: Once the protective finish has dried, use a lint-free cloth to lightly buff the surface of the countertops. This will help to further smooth out any imperfections and achieve a beautiful, polished look.
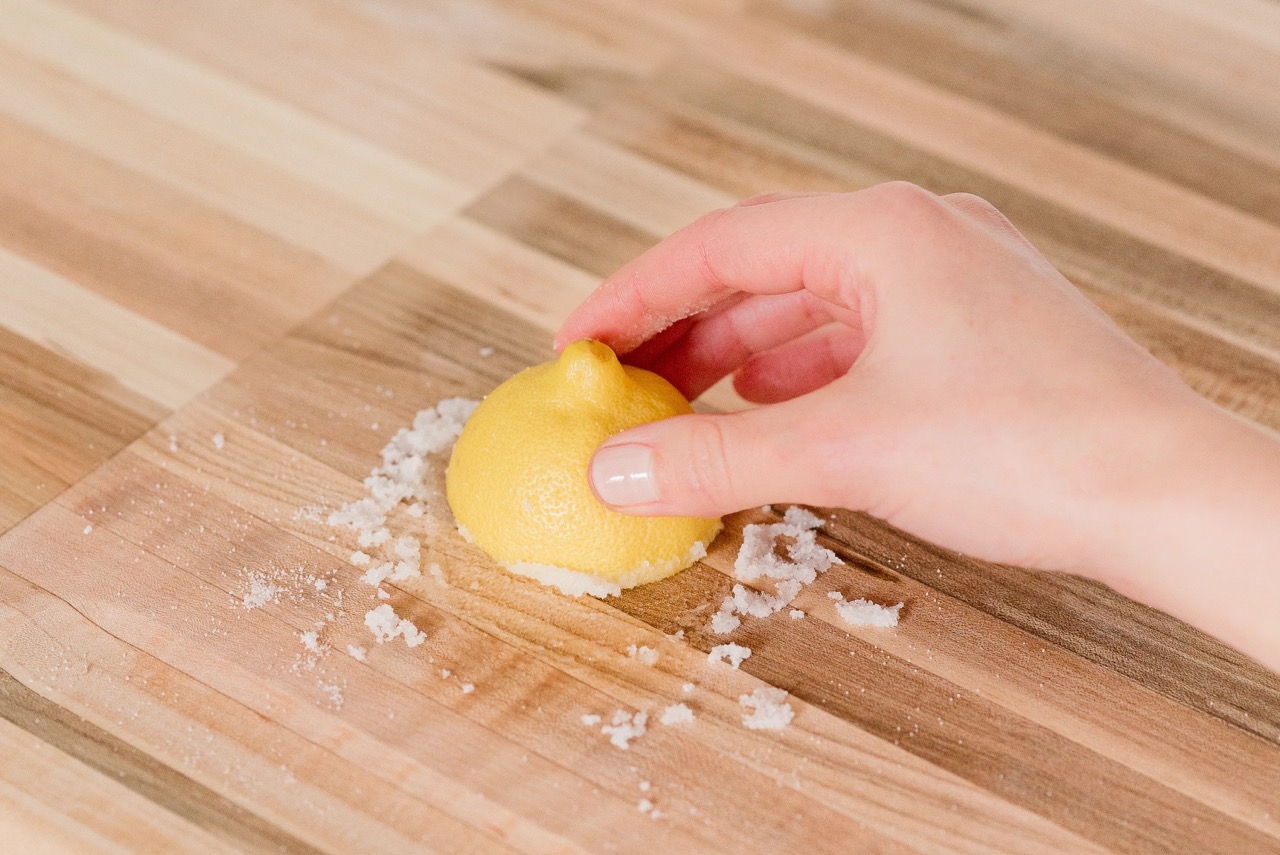
- Clean and maintain: Regularly clean and maintain your butcher block countertops by wiping them with a damp cloth and mild soap. Avoid using harsh chemicals or abrasive scrubbers that can damage the finish.
Performing a final sanding and adding finishing touches ensures that your butcher block countertops are smooth, protected, and ready to be showcased in your kitchen. This step provides the finishing touches that complete the seamless appearance.
Conclusion
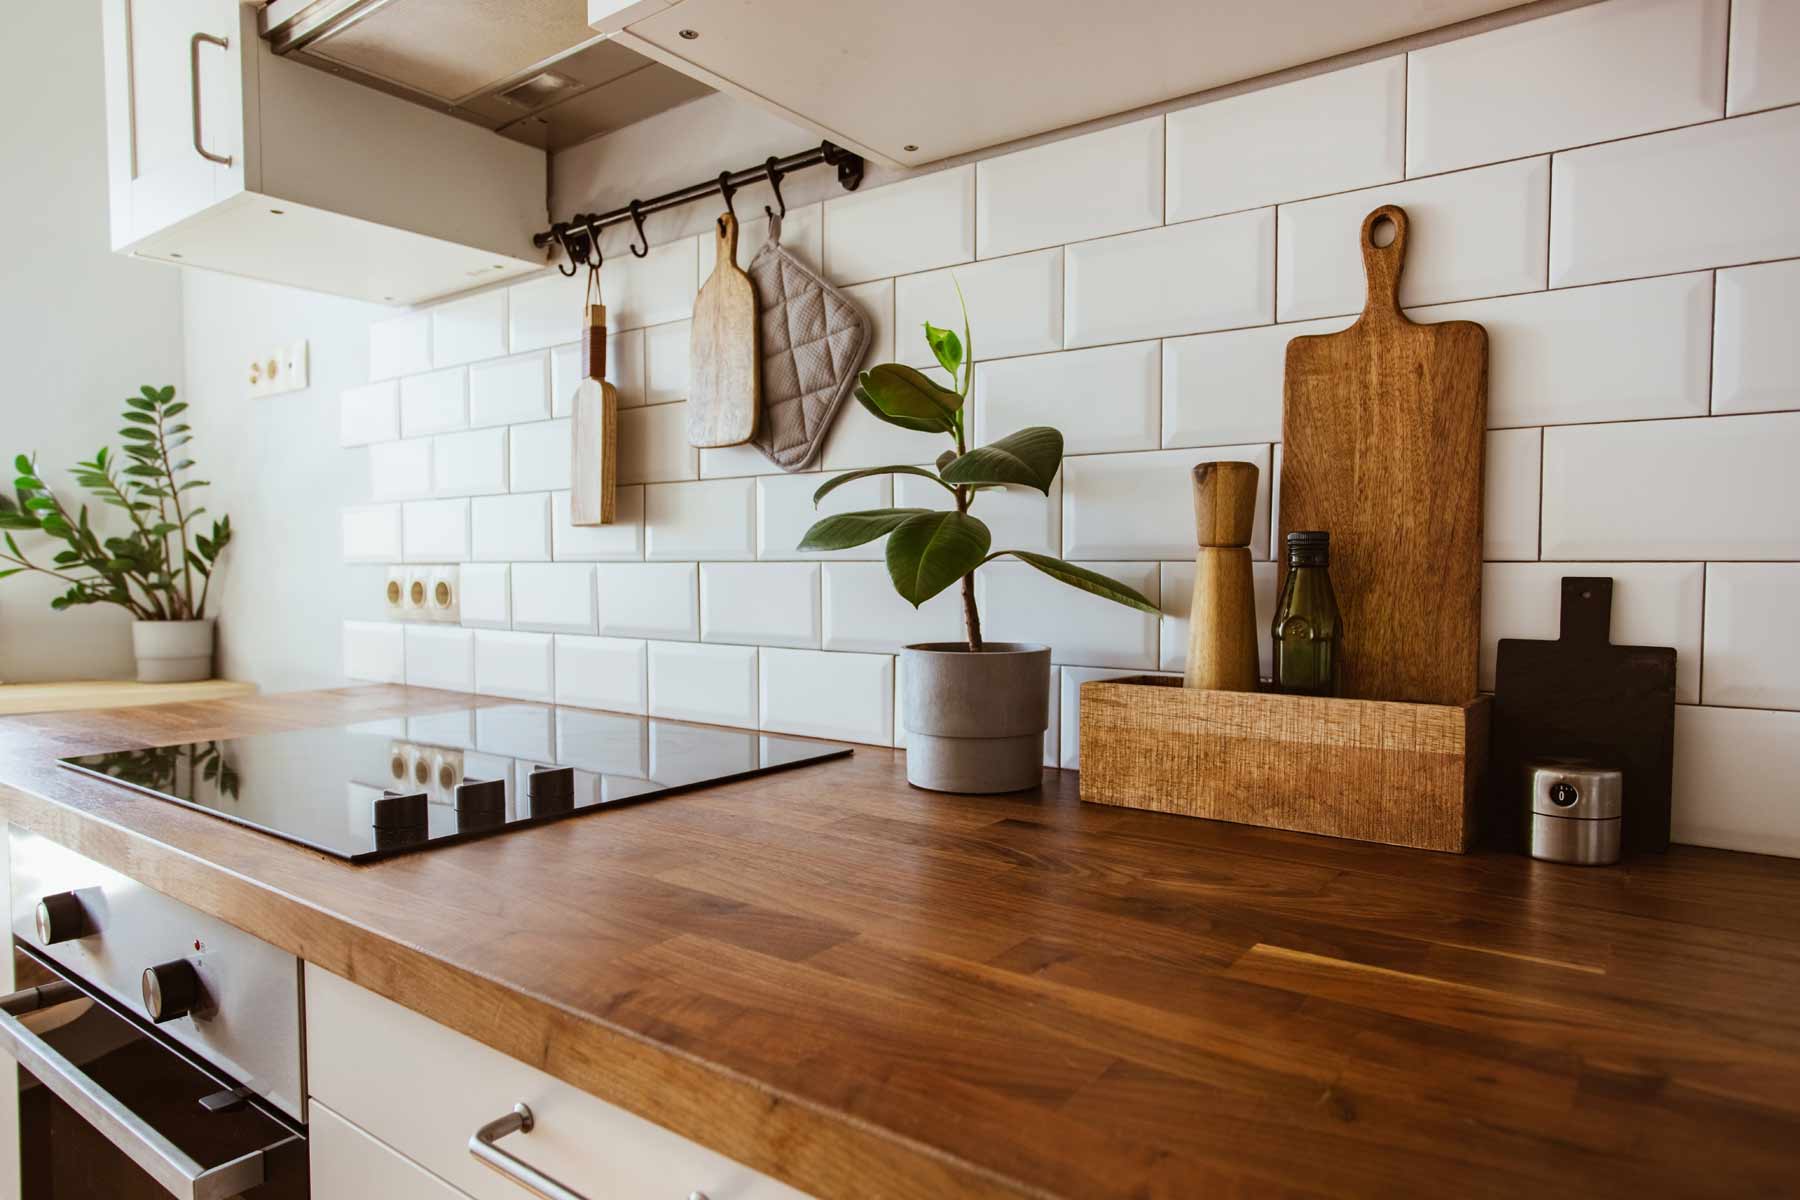
Hiding seams in butcher block countertops is an important step in achieving a flawless and seamless look in your kitchen. With the right supplies and proper techniques, you can successfully hide the seams and enhance the beauty of your butcher block countertops.
By following the step-by-step process outlined in this article, you can prepare the countertops, apply wood filler, sand the seams, blend them with stain or finish, and add final touches to create a seamless finish. The result will be a professional-looking countertop that seamlessly integrates into your kitchen design.
Remember to choose high-quality materials, such as a wood filler that matches the color and grain of your countertops, and a stain or finish that enhances their natural beauty. Take your time during each step, ensuring thorough drying and proper preparation, to achieve the best possible outcome.
Once the seams are hidden and the finishing touches are added, your butcher block countertops will not only look beautiful but also be protected, adding durability and longevity to their lifespan. Enjoy the seamless and elegant appearance of your hidden seams, and relish in the warmth and charm that butcher block countertops bring to your kitchen.
With proper care and maintenance, your butcher block countertops will continue to be a stunning focal point in your kitchen for years to come.
Excited about enhancing your space and skills further? If so, our latest features are just what you're looking for! Dive into our comprehensive guide on woodworking, where seasoned artisans share insights and tricks for creating stunning pieces. Additionally, if optimizing kitchen space is on your mind, don't miss expert advice on kitchen design that ensures everything is right where you need it. Ready to transform your home and workshop into well-oiled machines? Check out these must-read articles!
Frequently Asked Questions about How To Hide Seams In Butcher Block Countertops
Was this page helpful?
At Storables.com, we guarantee accurate and reliable information. Our content, validated by Expert Board Contributors, is crafted following stringent Editorial Policies. We're committed to providing you with well-researched, expert-backed insights for all your informational needs.
0 thoughts on “How To Hide Seams In Butcher Block Countertops”