Articles
How To Cut Butcher Block For Sink
Modified: January 19, 2024
Learn the proper technique for cutting butcher block to install a sink. Explore our articles for step-by-step instructions and helpful tips to get the job done right.
(Many of the links in this article redirect to a specific reviewed product. Your purchase of these products through affiliate links helps to generate commission for Storables.com, at no extra cost. Learn more)
Introduction
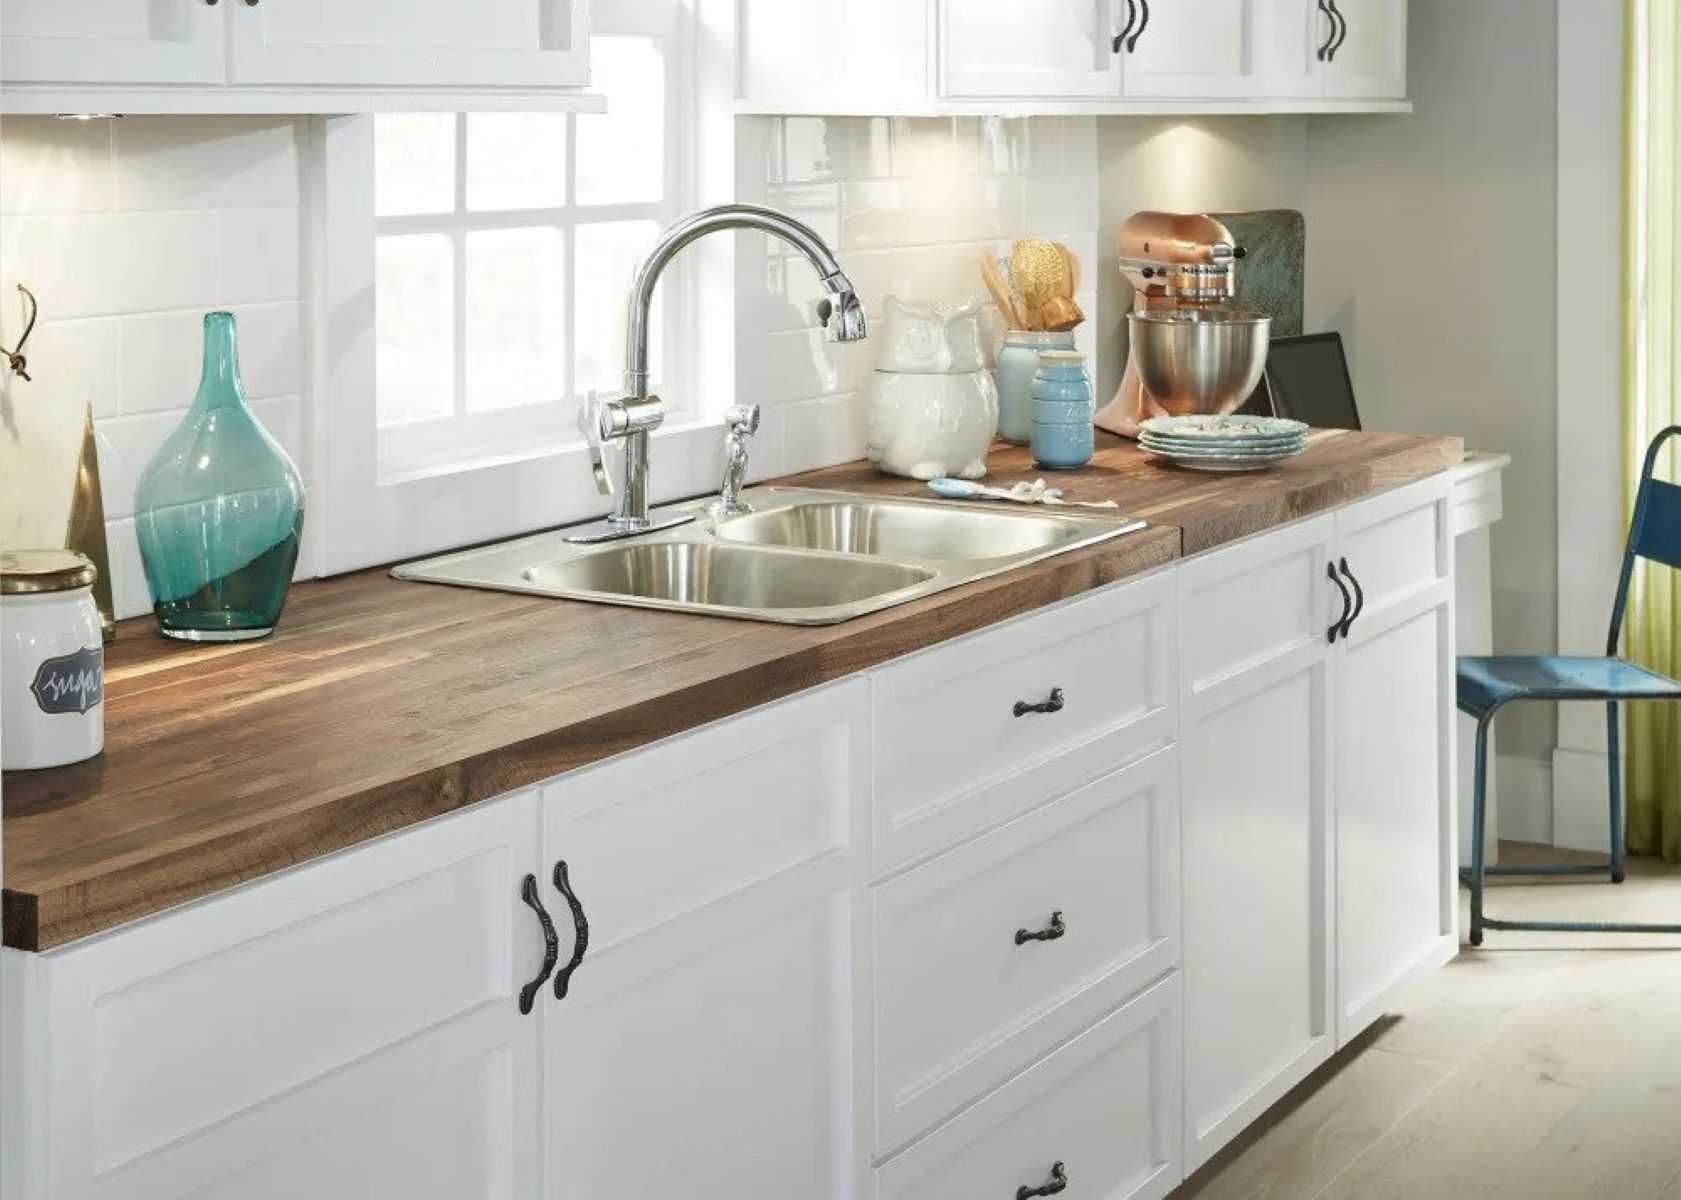
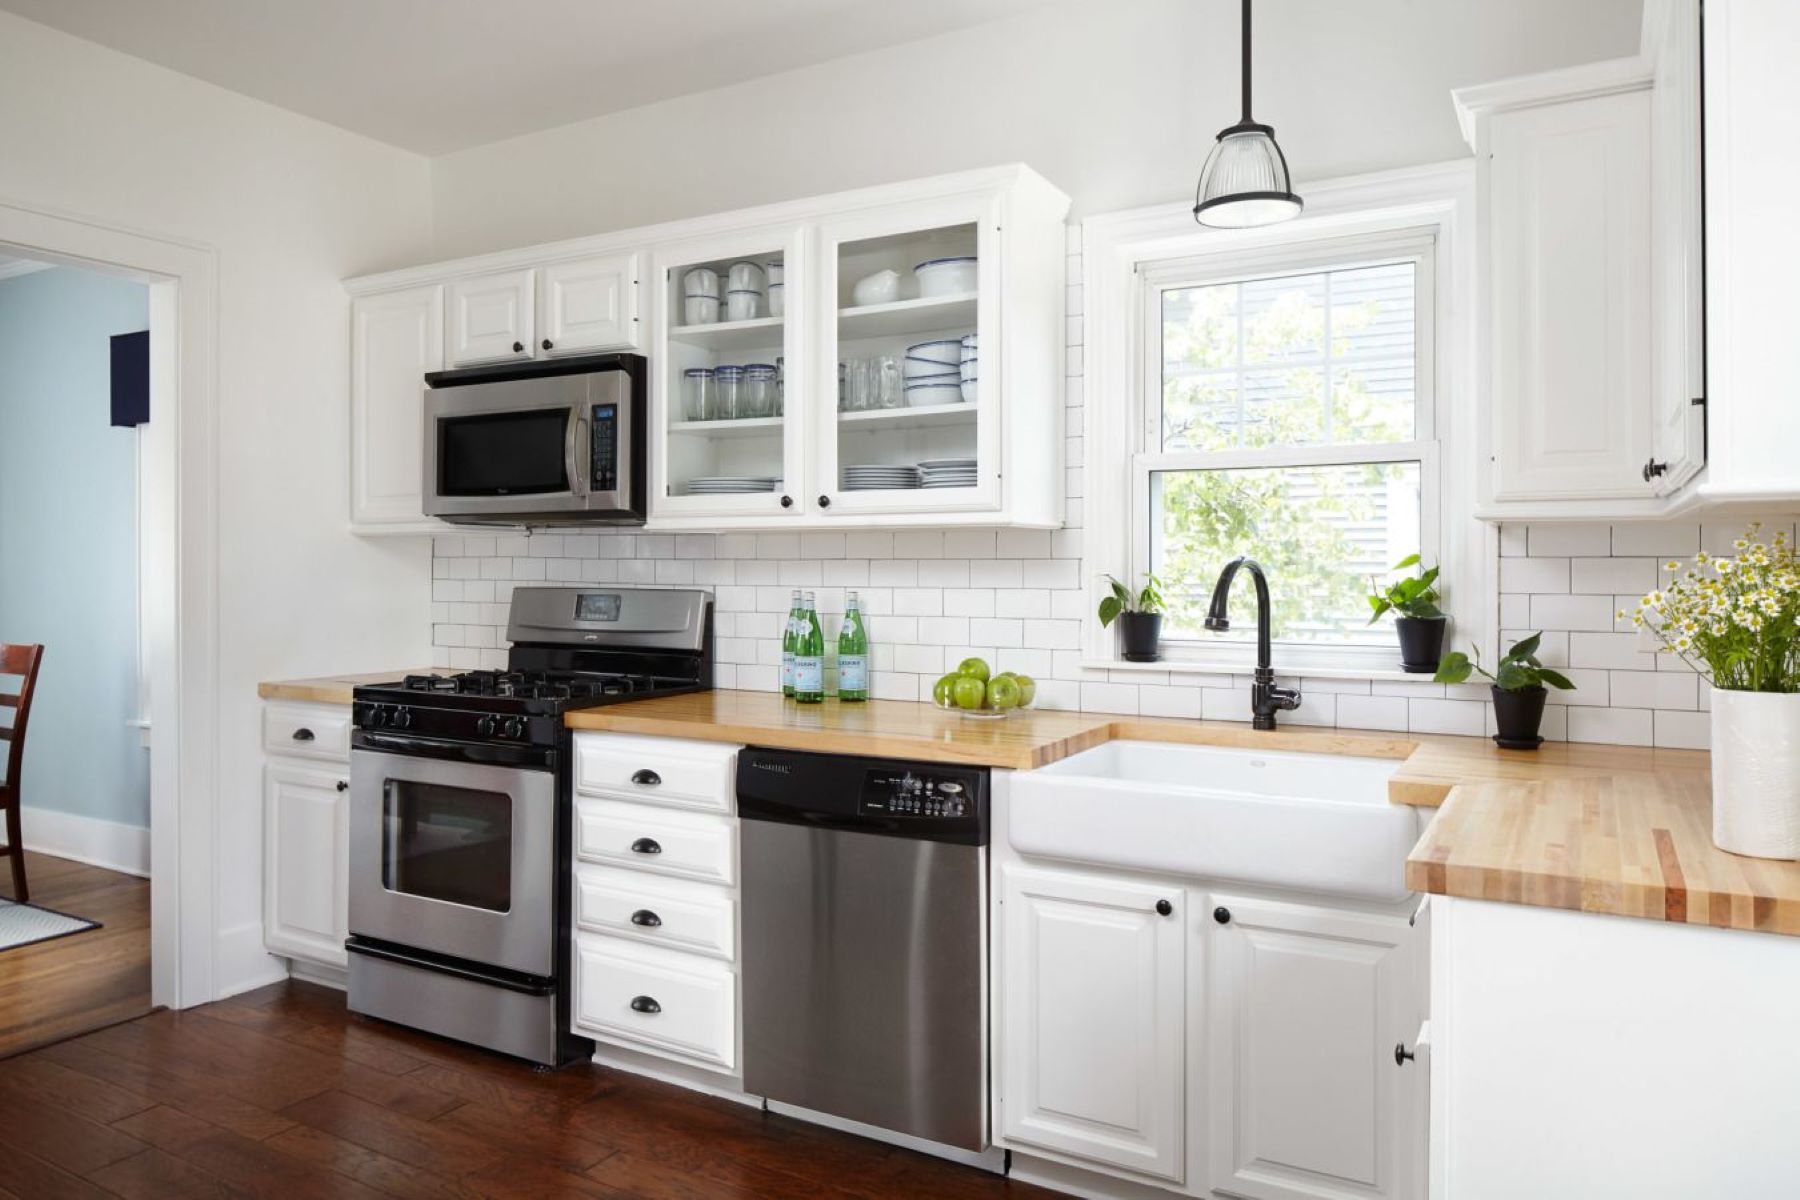
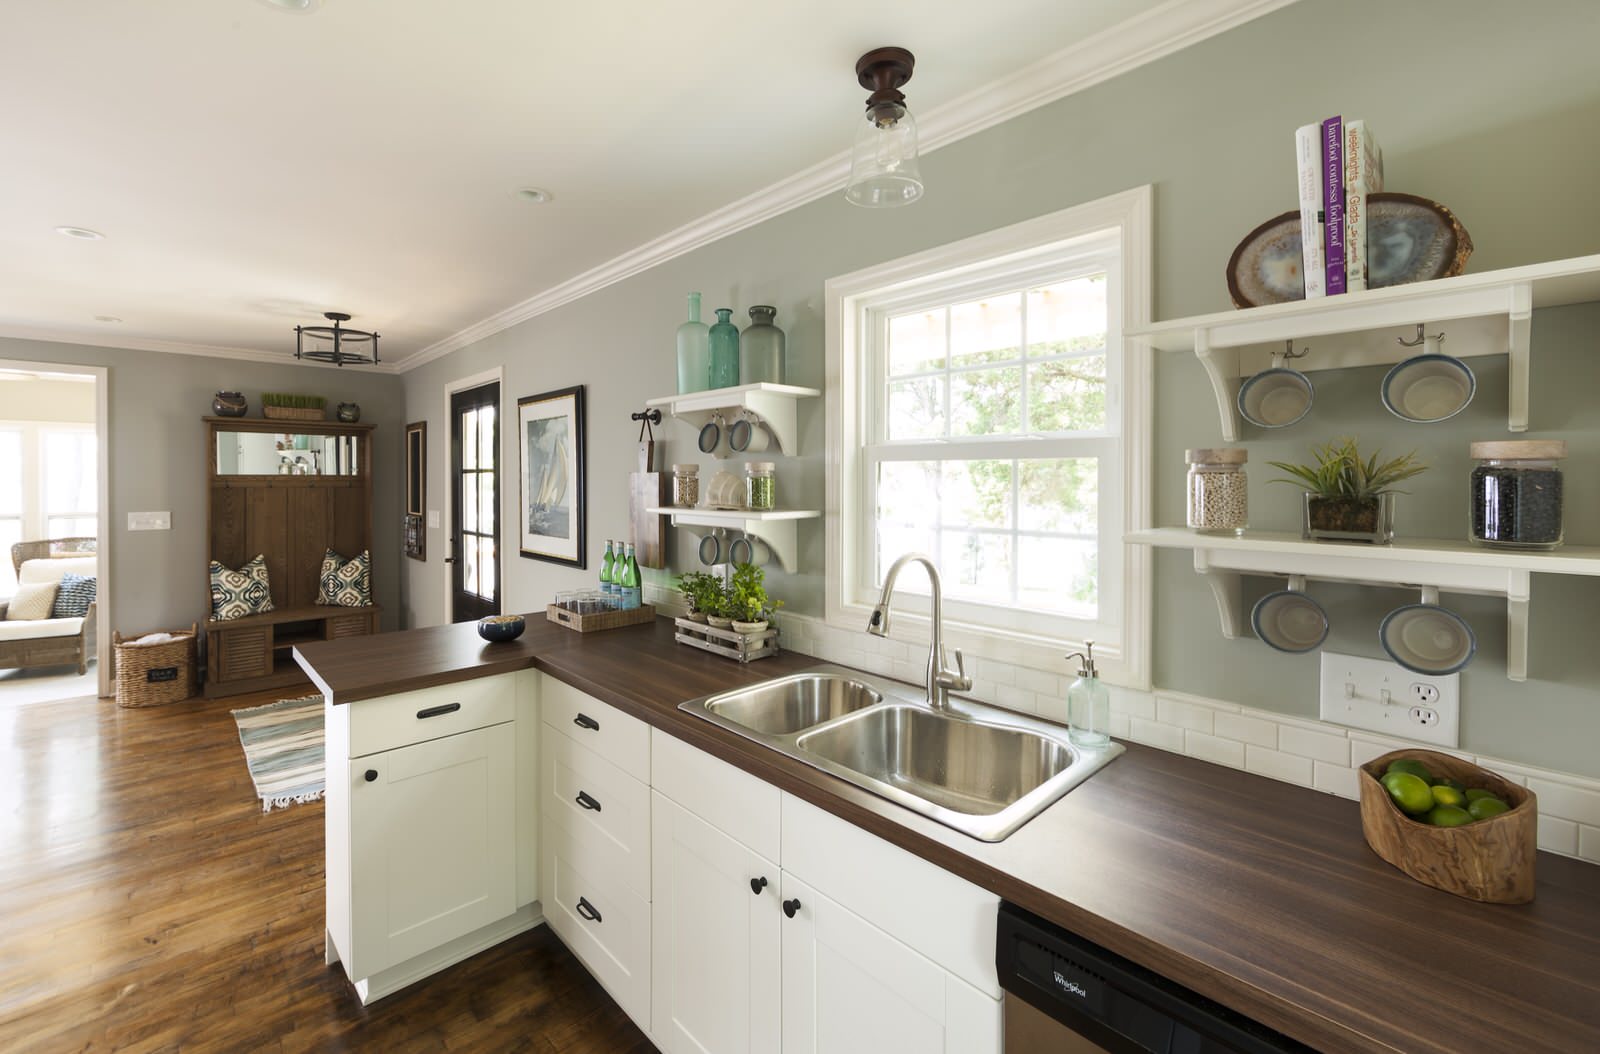
Welcome to our guide on how to cut butcher block for a sink installation! Butcher block countertops are a popular choice for kitchens due to their durability and timeless appeal. Whether you’re renovating your kitchen or building a new one, cutting a butcher block for a sink can be a challenging task.
In this article, we will walk you through the step-by-step process of measuring, marking, and cutting the butcher block to accommodate a sink. We’ll also provide some tips and tricks to ensure a successful and professional-looking installation. So, let’s get started!
Before we dive into the process, it’s essential to gather a few tools and materials that will make the job easier and more efficient. Here’s what you’ll need:
- Measuring tape
- Sink template
- Suggested Cutting Tools:
- Circular saw
- Router with a straight-cutting bit
- Jigsaw
- Safety goggles
- Clamps
- Sanding block
- Wood conditioner
- Drill
- Screws
Once you have all the necessary tools and materials ready, it’s time to start the process of cutting the butcher block for your sink installation. This can be a complex task, but by following the steps outlined in this guide, you’ll be able to tackle it with confidence and precision.
Key Takeaways:
- Accurately measuring the sink dimensions, marking the cutting line, and choosing the right cutting tool are crucial for a successful butcher block sink installation. Take your time and prioritize safety for a professional-looking result.
- Properly preparing the butcher block, making controlled cuts, and securing the sink during installation are essential steps. Finish off with a food-safe finish for long-lasting protection and a beautiful addition to your kitchen.
Read more: How Durable Is Butcher Block Countertops
Step 1: Measure the Sink Dimensions
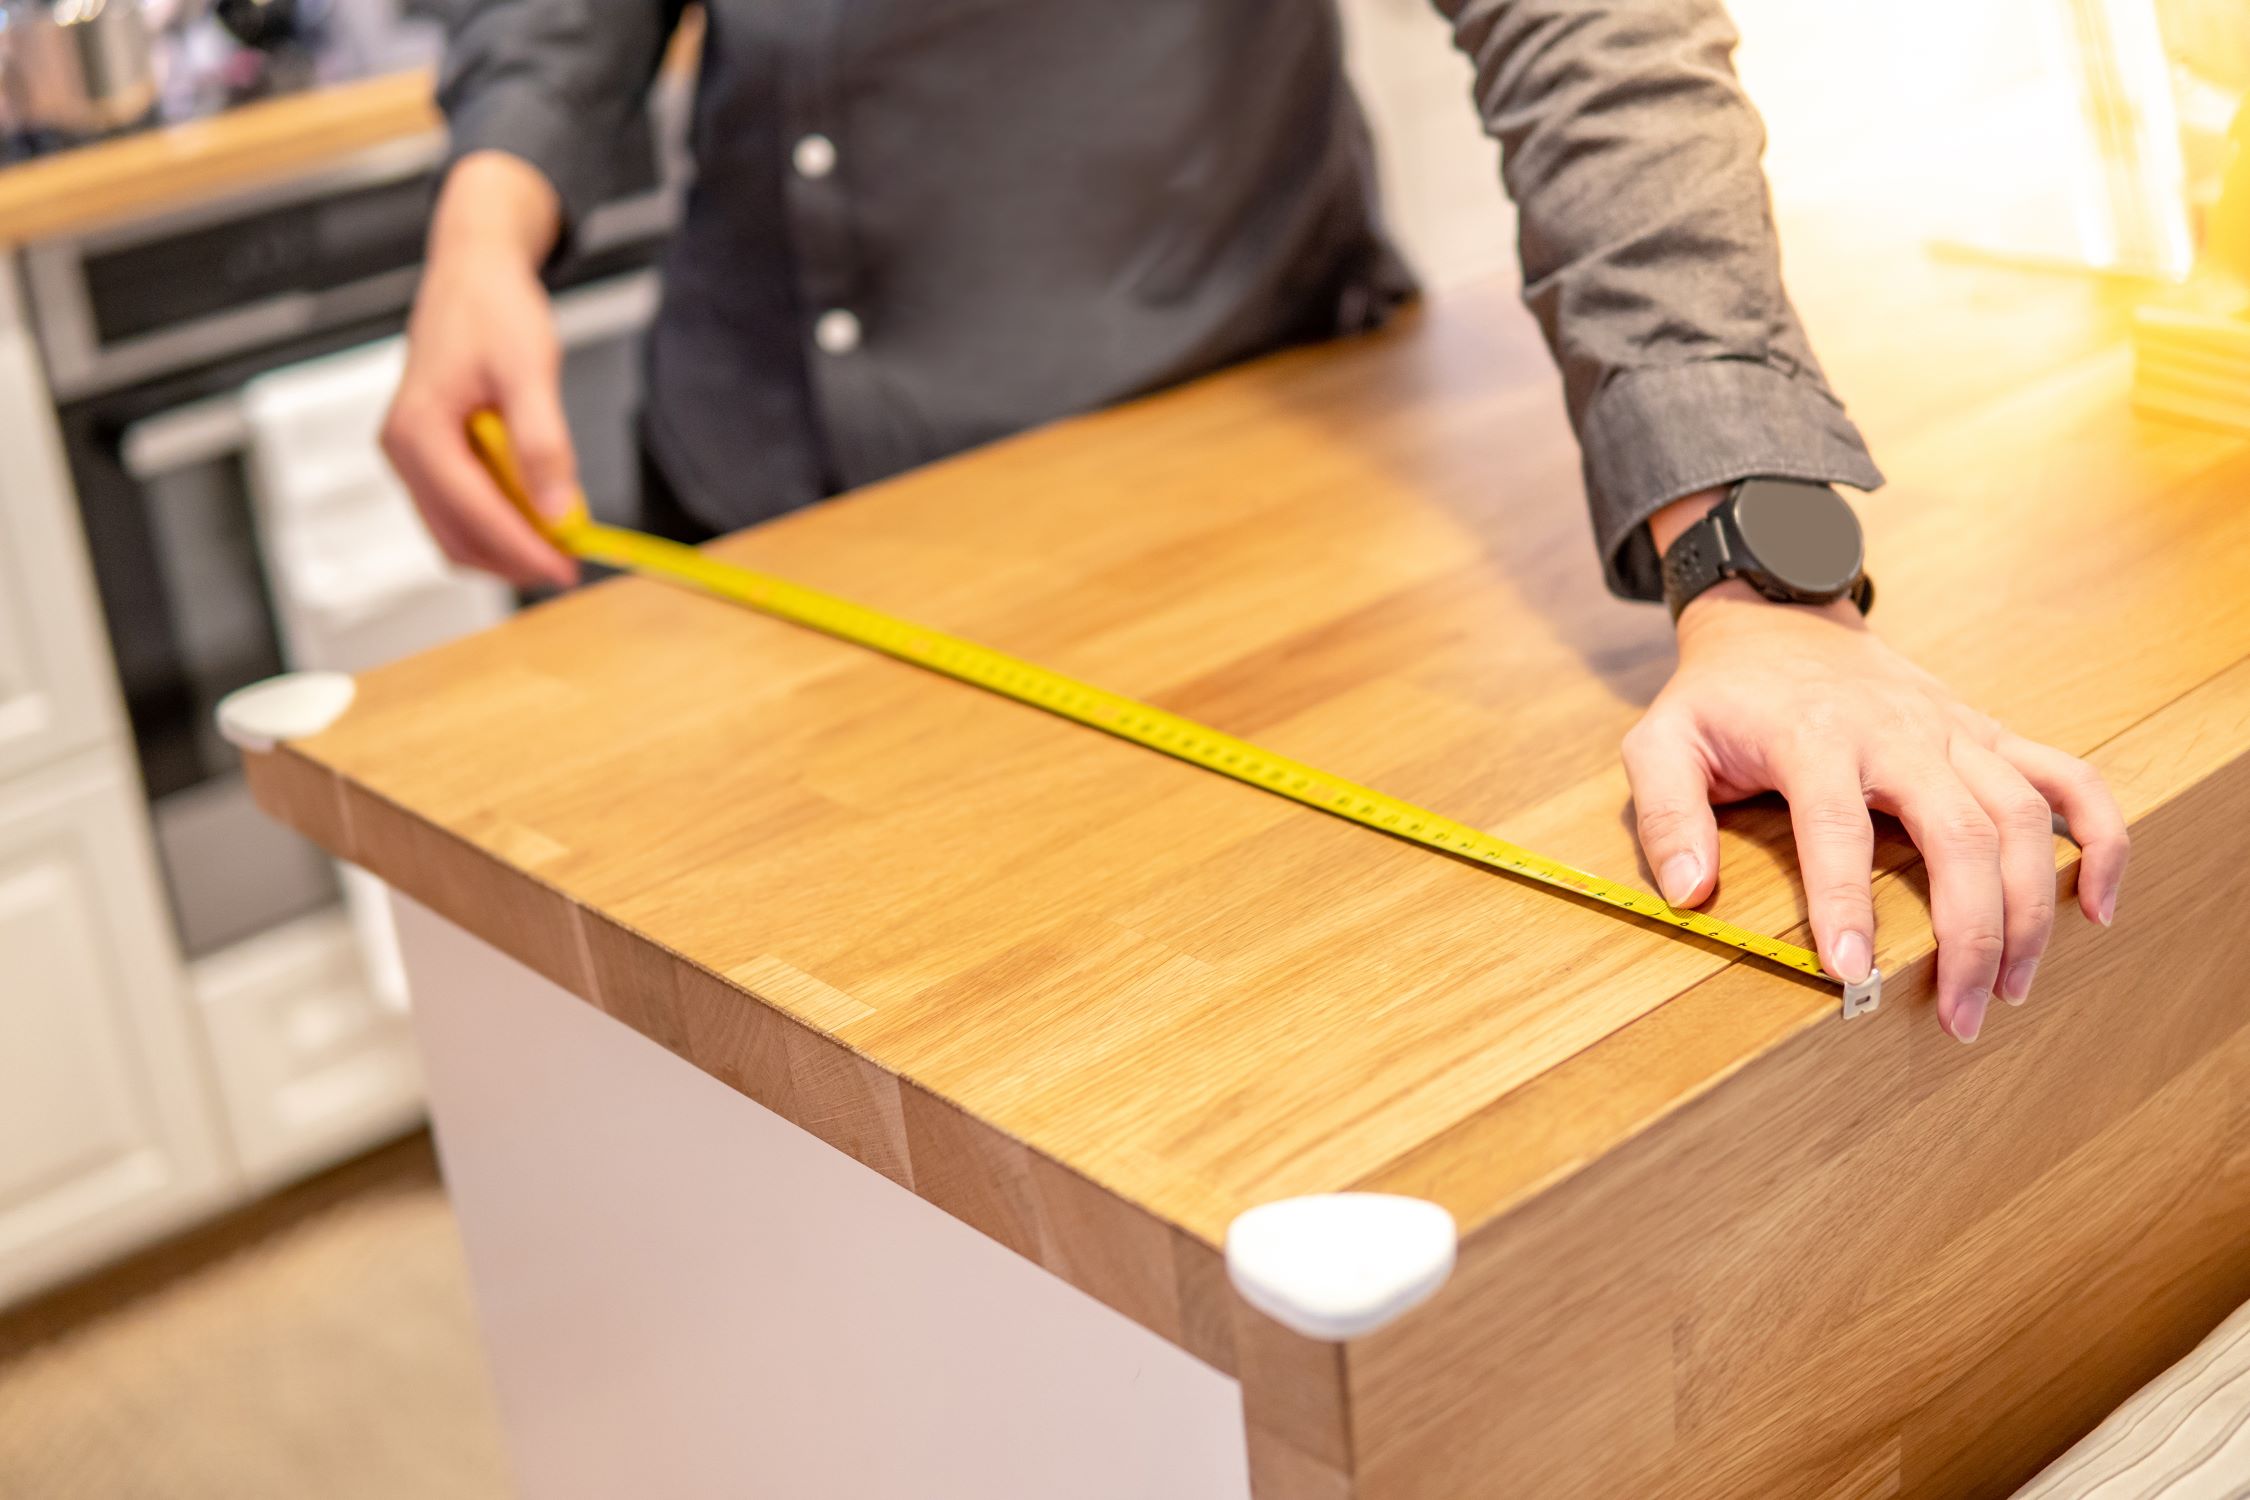
The first step in cutting a butcher block for a sink installation is to accurately measure the dimensions of the sink. This will ensure that the opening in the butcher block is the perfect size to accommodate the sink.
Start by placing a measuring tape on the edge of the sink and measure the length and width of the sink bowl. Take precise measurements and note them down.
Next, measure the distance between the edges of the sink flange. This will give you an idea of how much space you need to leave around the sink bowl for a proper fit.
It’s also important to measure the depth of the sink, as this will affect how deep you need to cut into the butcher block. Measure from the top of the sink to the bottom to get an accurate depth measurement.
Once you have all the dimensions recorded, you can use these measurements to create a template. Many sink manufacturers provide templates that you can use for accurate cutting. Alternatively, you can create your own template by tracing the shape and dimensions of the sink onto a piece of cardboard or paper.
Using the template, mark out the sink’s shape and dimensions on the surface of the butcher block. This will serve as a guide for cutting later on.
Remember to leave some extra space around the marked area to account for the width of the cutting blade or router bit. This extra space will ensure a precise fit for the sink without any obstructions.
With the sink dimensions measured and marked, you’re now ready to move on to the next step: marking the cutting line on the butcher block.
Step 2: Mark the Cutting Line
After measuring the sink dimensions, the next step is to mark the cutting line on the butcher block. This will serve as a guide to ensure accurate and precise cuts.
To mark the cutting line, place the sink template or the traced outline of the sink on the butcher block. Align it according to the measurements taken earlier, ensuring that it is centered and positioned correctly.
Once the template is in place, use a pencil or a marker to trace around the edges of the template onto the butcher block. Take your time to ensure that the lines are straight and clear, as they will dictate where you make your cuts.
While marking the cutting line, it’s essential to consider the type of sink you are installing. For undermount sinks, you’ll want to mark the cutting line on the underside of the butcher block to ensure a clean and seamless installation. For top-mounted or drop-in sinks, mark the cutting line on the top surface of the butcher block.
Additionally, if your sink has a faucet or other accessories, mark their positions on the butcher block as well. This will help you determine the appropriate cutouts for these fixtures.
Double-check your markings to ensure accuracy and alignment with the sink dimensions. Once you are satisfied with the marked cutting line, you can proceed to the next step of preparing the butcher block for cutting.
It’s worth mentioning that during this step, safety goggles should be worn to protect your eyes from any debris that may be generated during the cutting process. Safety should always be a top priority when working with power tools.
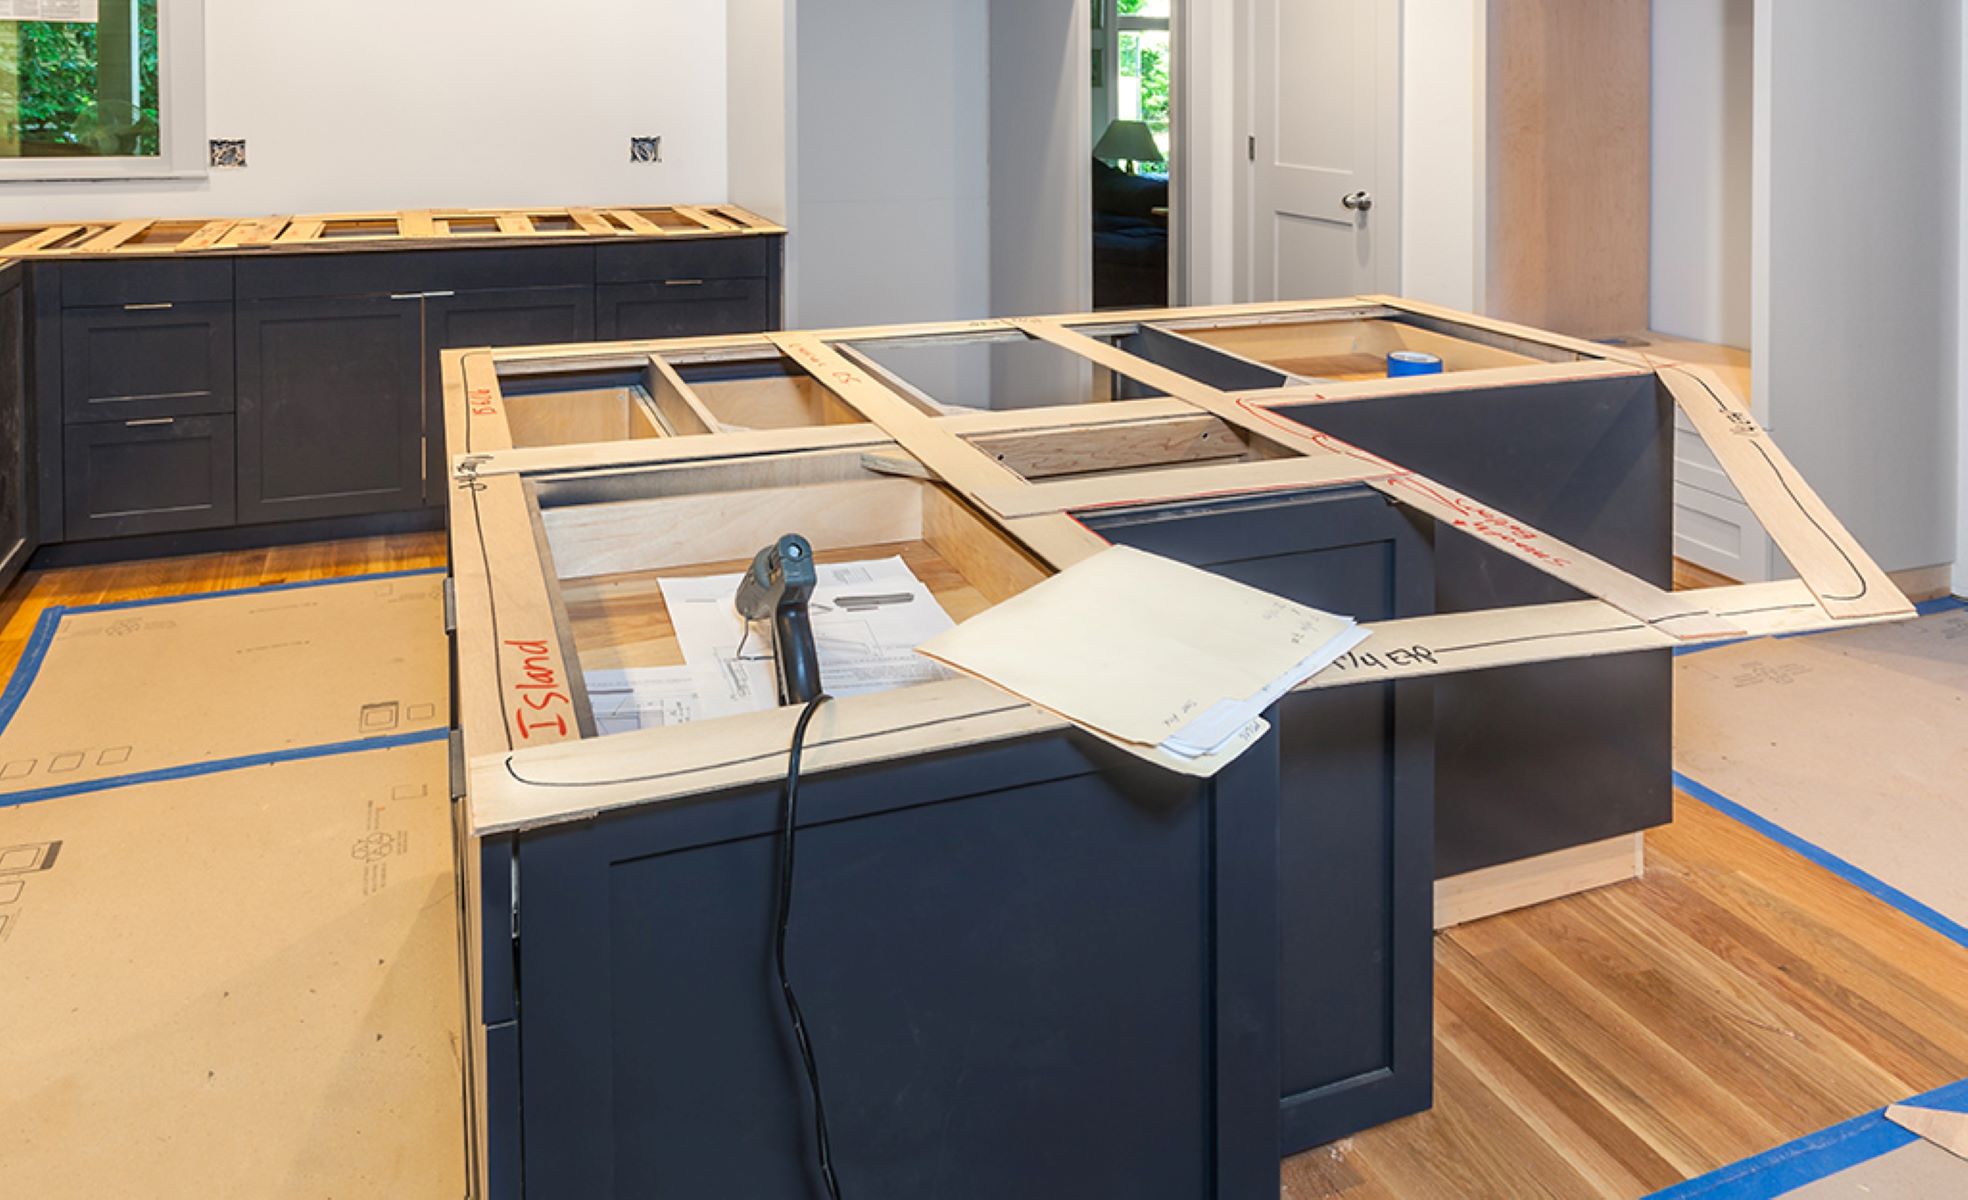
Step 3: Prepare the Butcher Block
Before cutting the butcher block, it’s important to properly prepare it to ensure clean and smooth cuts. This step involves securing the butcher block and protecting its surface.
First, secure the butcher block by clamping it down to a sturdy work surface. This will prevent the block from moving or shifting while you’re cutting, ensuring stability and accuracy.
Next, protect the surface of the butcher block by applying masking tape along the marked cutting line. This will help minimize any potential splintering or chipping that may occur during the cutting process. The tape will act as a barrier, keeping the edges of the butcher block intact and preventing any damage to the finished surface.
Furthermore, consider using a sacrificial board underneath the butcher block to prevent tear-out. This can be a scrap piece of wood that acts as a support for your cuts, reducing the risk of splintering or chipping on the underside of the butcher block.
Once the butcher block is secured and protected, you can proceed to the next step of cutting the butcher block according to the marked cutting line.
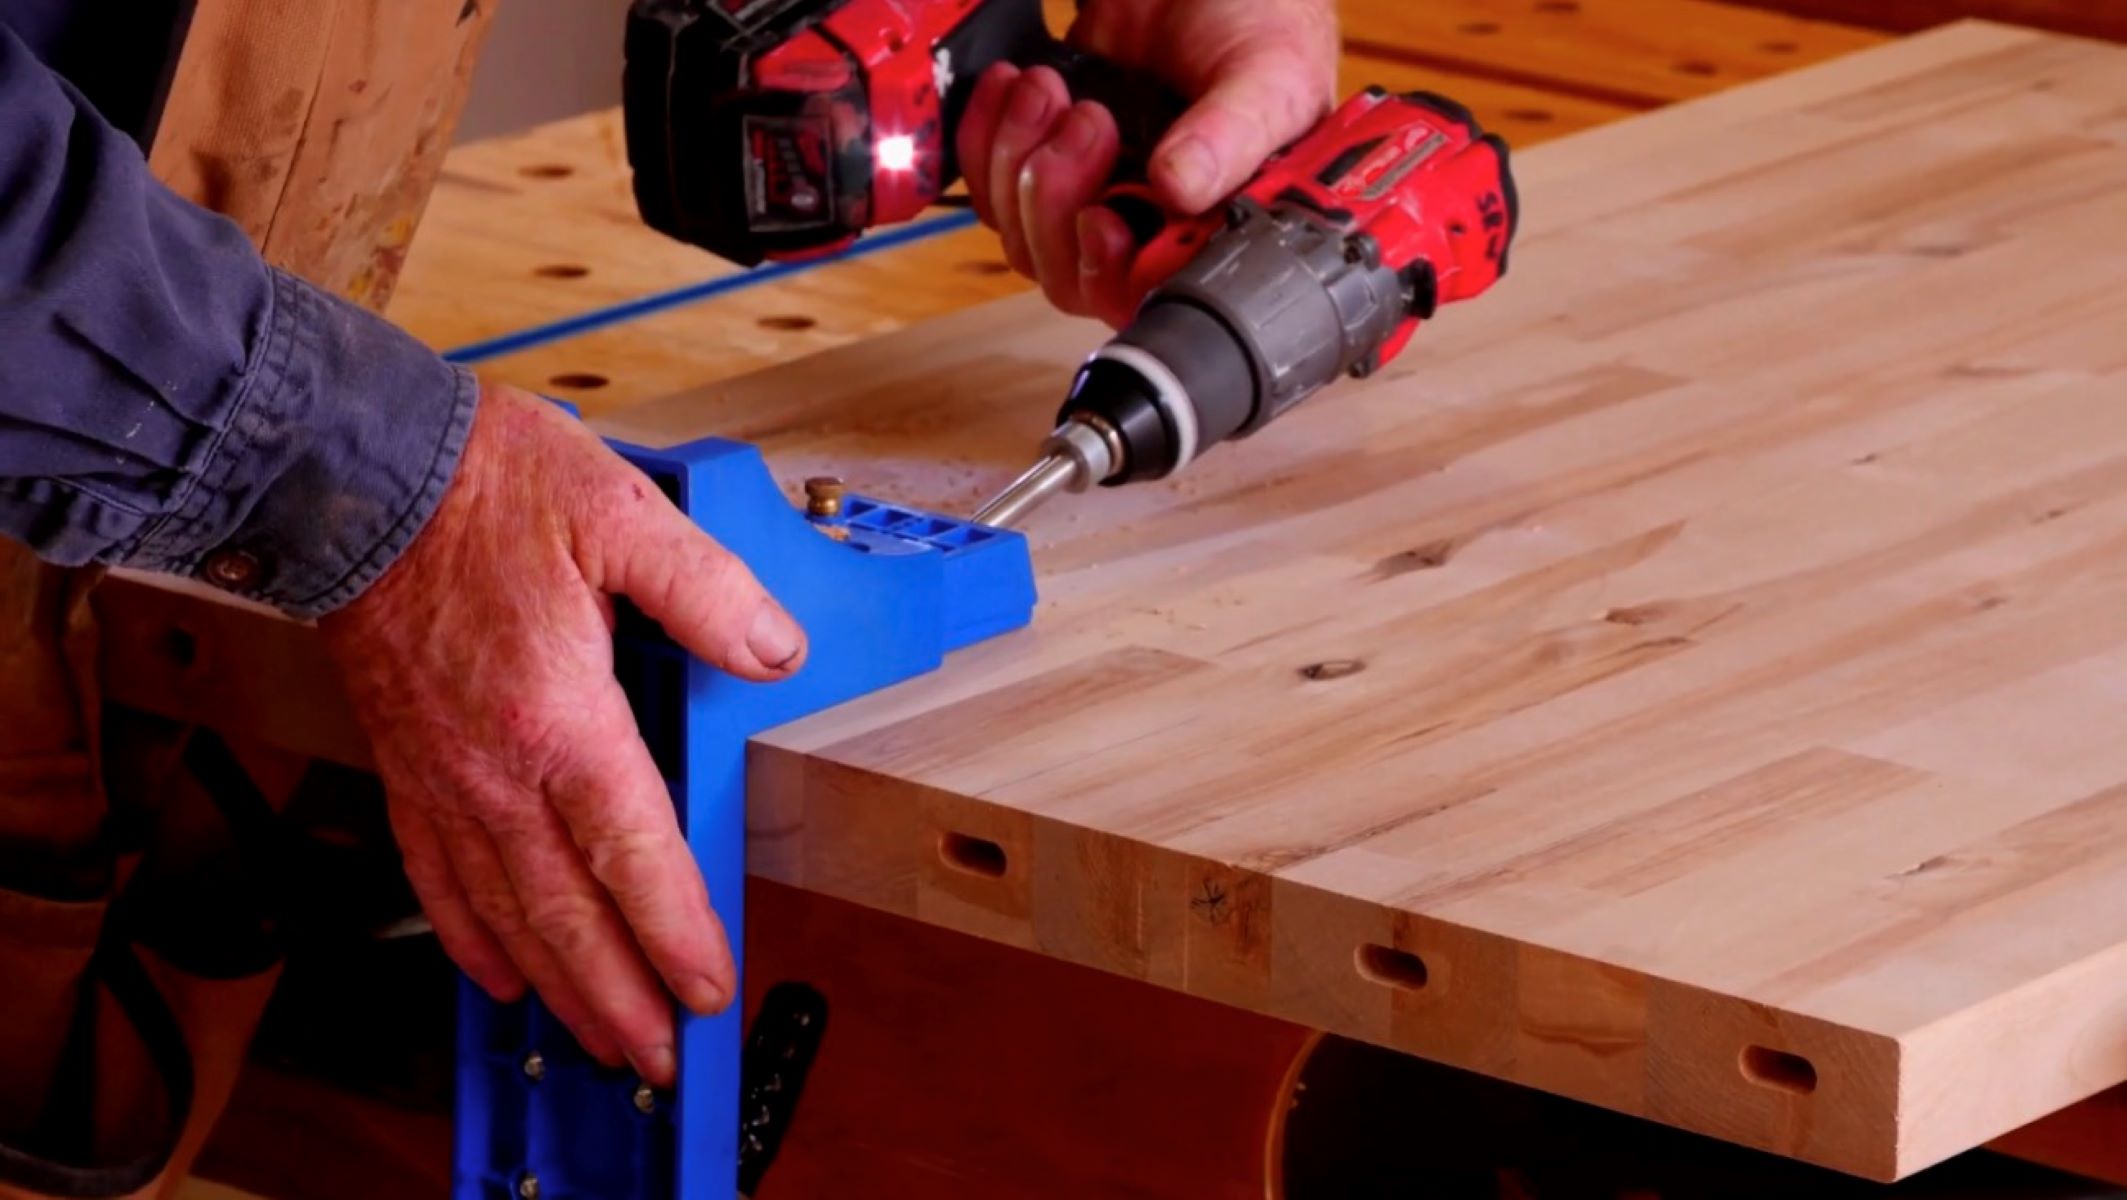
It’s worth noting that if your butcher block has pre-drilled holes for sink installation, ensure that they align with the marked cutout on the butcher block. If needed, use a drill and screws to attach the sink securely to the butcher block before making the cuts.
Preparing the butcher block before cutting is crucial, as it helps create a stable and protected surface for precise cuts. By taking the time to properly prepare the butcher block, you’ll achieve cleaner and more professional-looking results.
When cutting a butcher block for a sink, measure and mark the cut lines carefully. Use a straight edge as a guide for your saw to ensure a clean and precise cut. Sand the edges smooth after cutting.
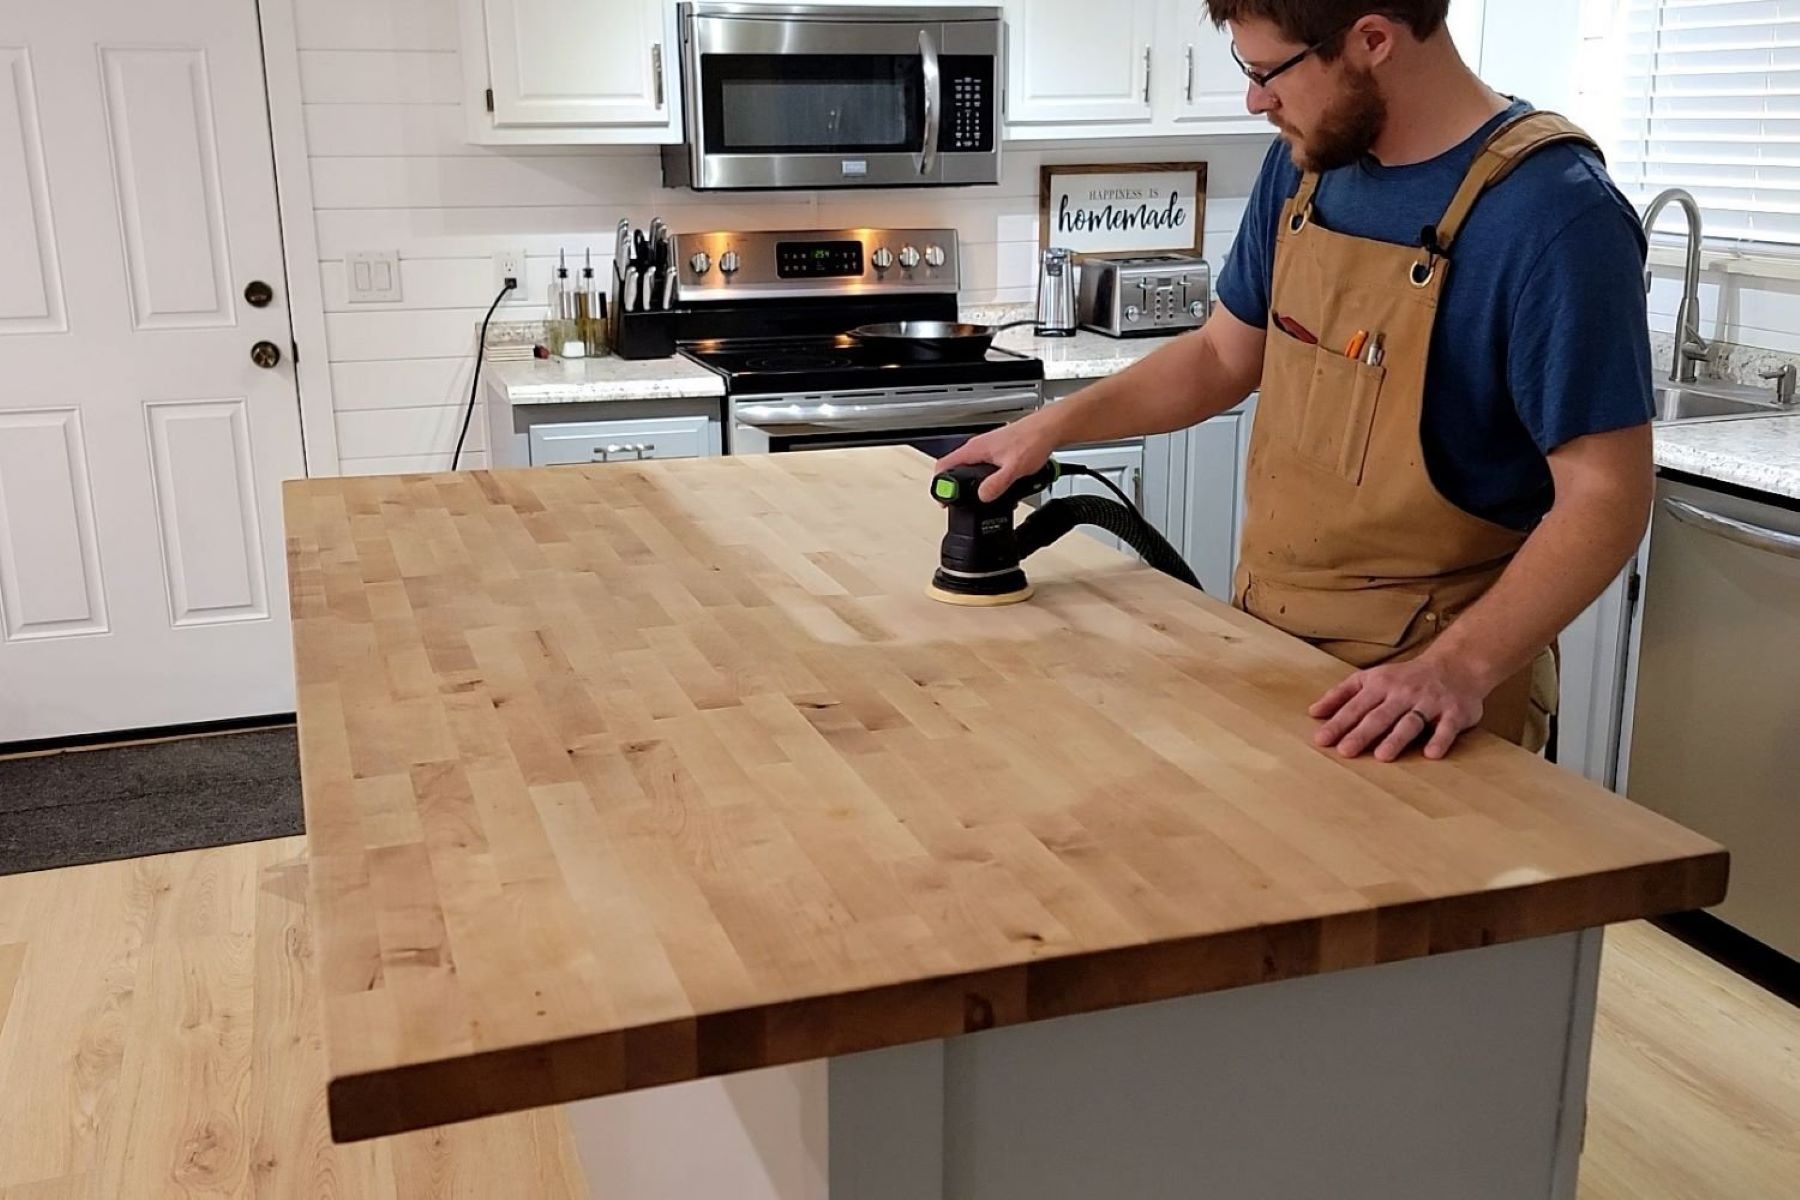
Step 4: Cut the Butcher Block
Now that the butcher block is properly prepared, it’s time to make the necessary cuts along the marked cutting line.
Depending on the tools you have available and your comfort level with using them, there are a few different options for cutting the butcher block:
- Circular Saw: If you have a circular saw, use a fine-toothed blade suitable for cutting wood. Set the blade depth to slightly deeper than the thickness of the butcher block. With a steady hand, follow the marked cutting line, making slow and controlled cuts. Be mindful of the blade position and always prioritize safety.
- Router with a Straight-Cutting Bit: A router is a versatile tool that can create precise and clean cuts. Attach a straight-cutting bit to the router and adjust the depth to match the thickness of the butcher block. Guide the router along the marked cutting line using a straight edge or a template guide to ensure a consistent and accurate cut.
- Jigsaw: A jigsaw is another option for cutting the butcher block. Use a fine-toothed blade suitable for woodcutting. Start by drilling a pilot hole inside the marked cutting line, then insert the jigsaw blade into the hole. Carefully follow the cutting line, maintaining steady control of the jigsaw for smooth and accurate cuts.
Whichever tool you use, remember to go slow and steady, allowing the blade to do the work and avoiding excessive force. Take breaks if needed to prevent overheating of the tool or material.
Once you’ve made the cuts, remove any excess material within the marked cutting line. Use a chisel or a router to clean up the edges and create a smooth and even surface for the sink to sit on.
After the cuts are complete, remove the masking tape and clean the surface of the butcher block. Use a sanding block or sandpaper to smooth out any rough edges and ensure a polished finish.
With the butcher block cut to accommodate the sink, you’re now ready to move on to the final step: installing the sink into the butcher block.
Read more: What Grit Sandpaper For Butcher Block
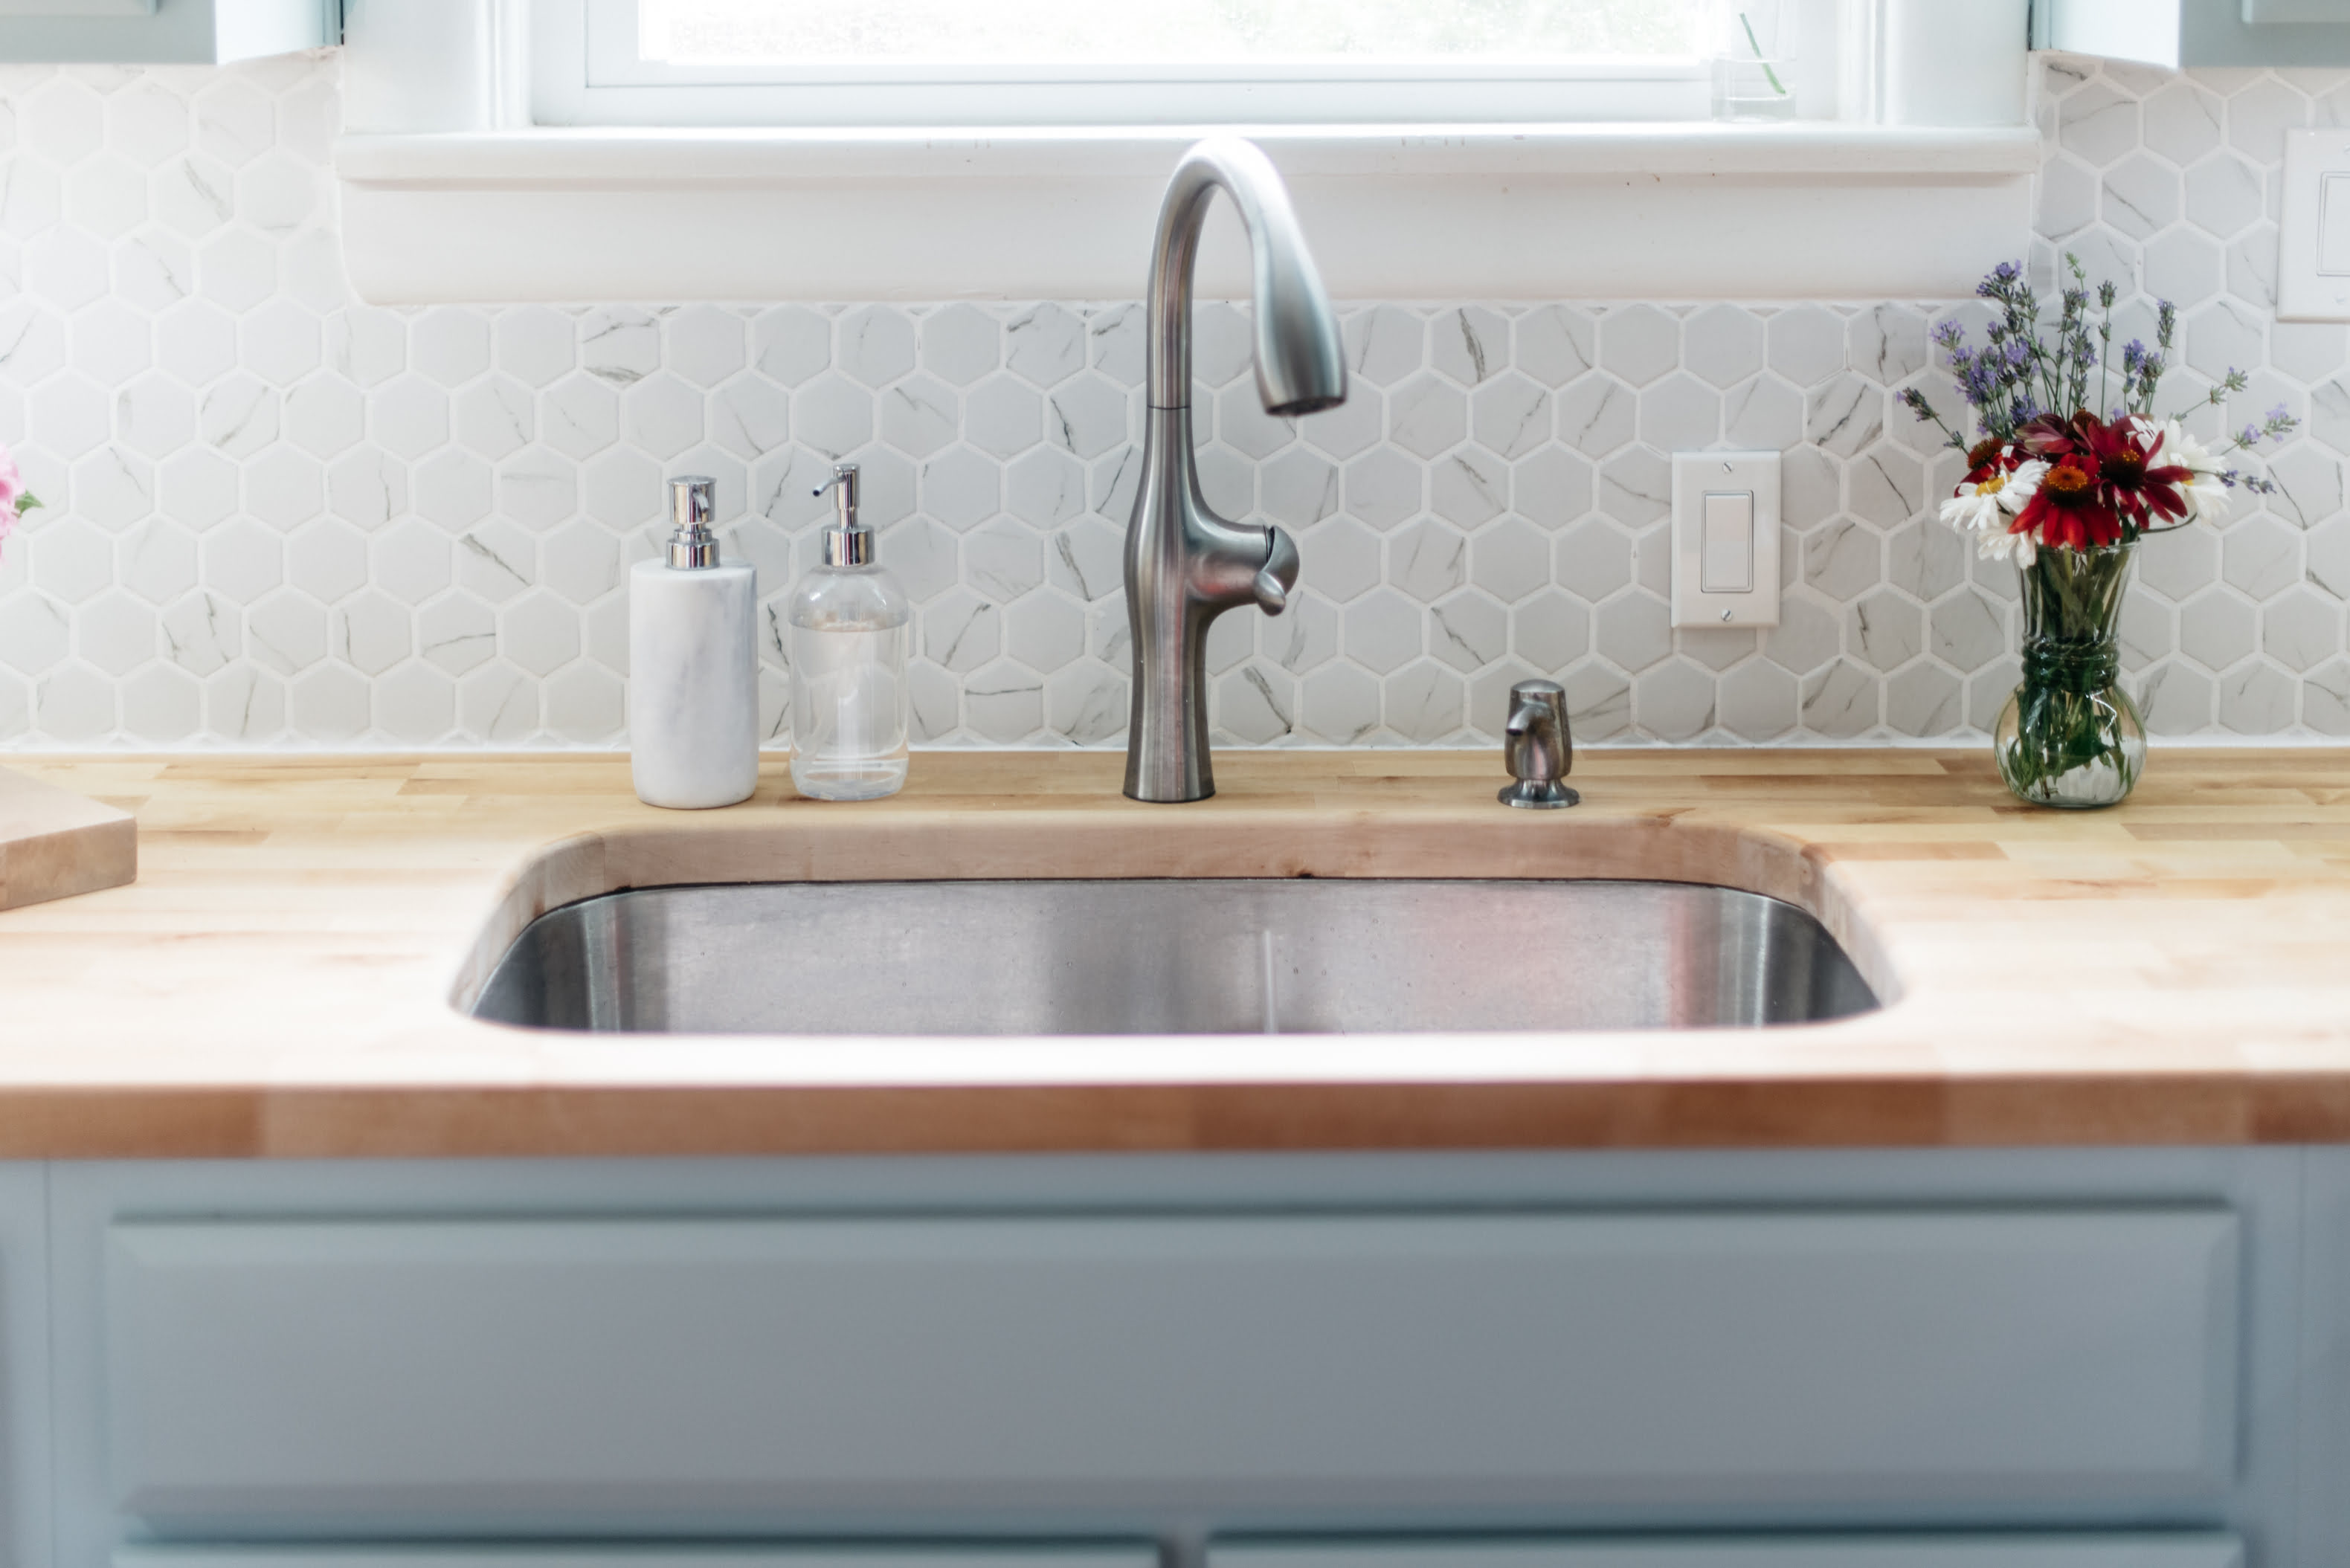
Step 5: Install the Sink
With the butcher block cut and prepared, it’s time to install the sink. Proper installation ensures a secure and functional sink that fits seamlessly into the butcher block countertop.
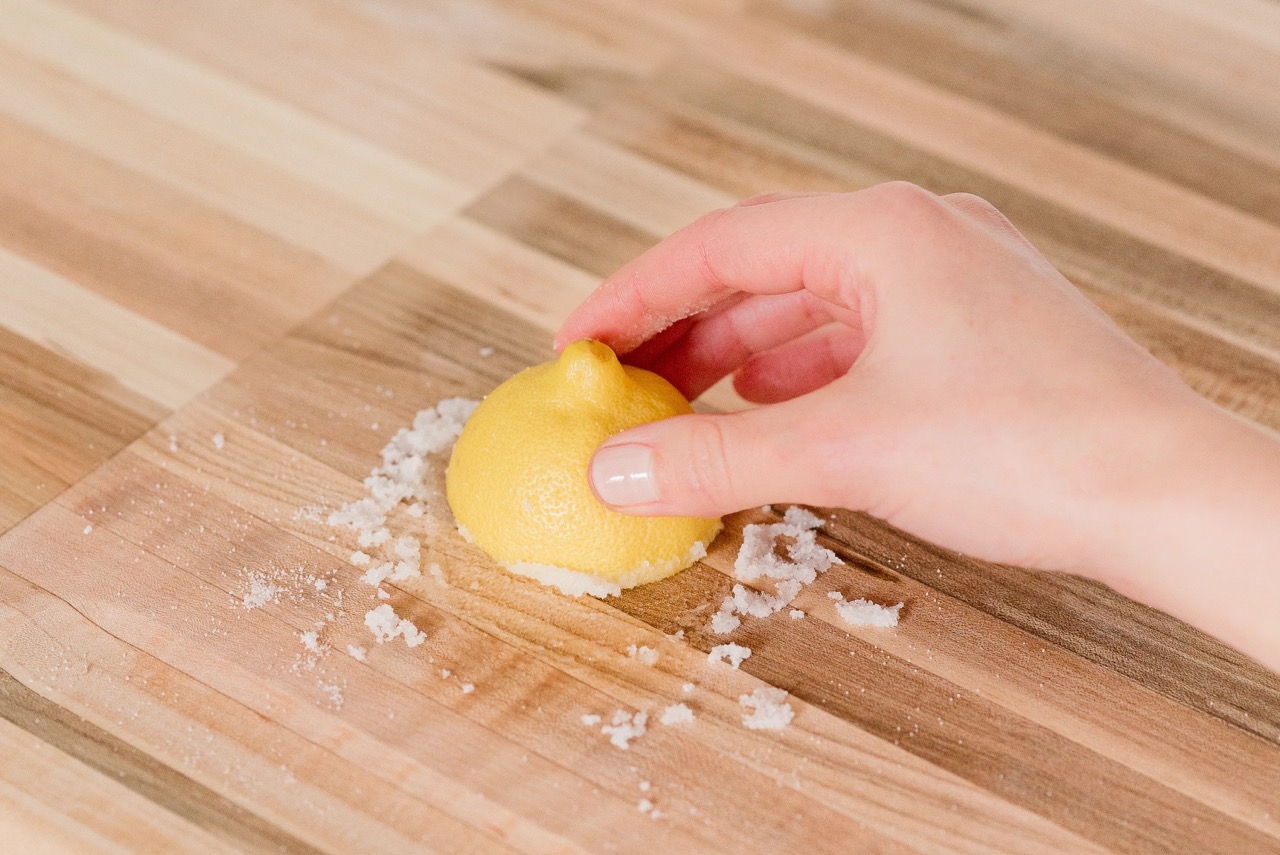
Before installing the sink, apply a wood conditioner to the exposed edges of the butcher block. This will help protect and seal the wood, preventing any potential water damage.
Next, carefully lower the sink into the cutout on the butcher block, ensuring that it aligns with the marked cutting line and any pre-drilled holes. Double-check the positioning to make sure it fits snugly and sits evenly on the countertop.
If your sink has mounting brackets or clips, follow the manufacturer’s instructions to secure them in place. Use a drill to attach the brackets or clips to the underside of the butcher block, ensuring that they provide sufficient support to hold the sink firmly.
Once the sink is securely fastened, connect the plumbing according to the manufacturer’s guidelines. This typically involves attaching the drain assembly, faucet, and any other accessories.
Test the sink by running water and checking for any leaks. Make any necessary adjustments to ensure proper drainage and a watertight connection.
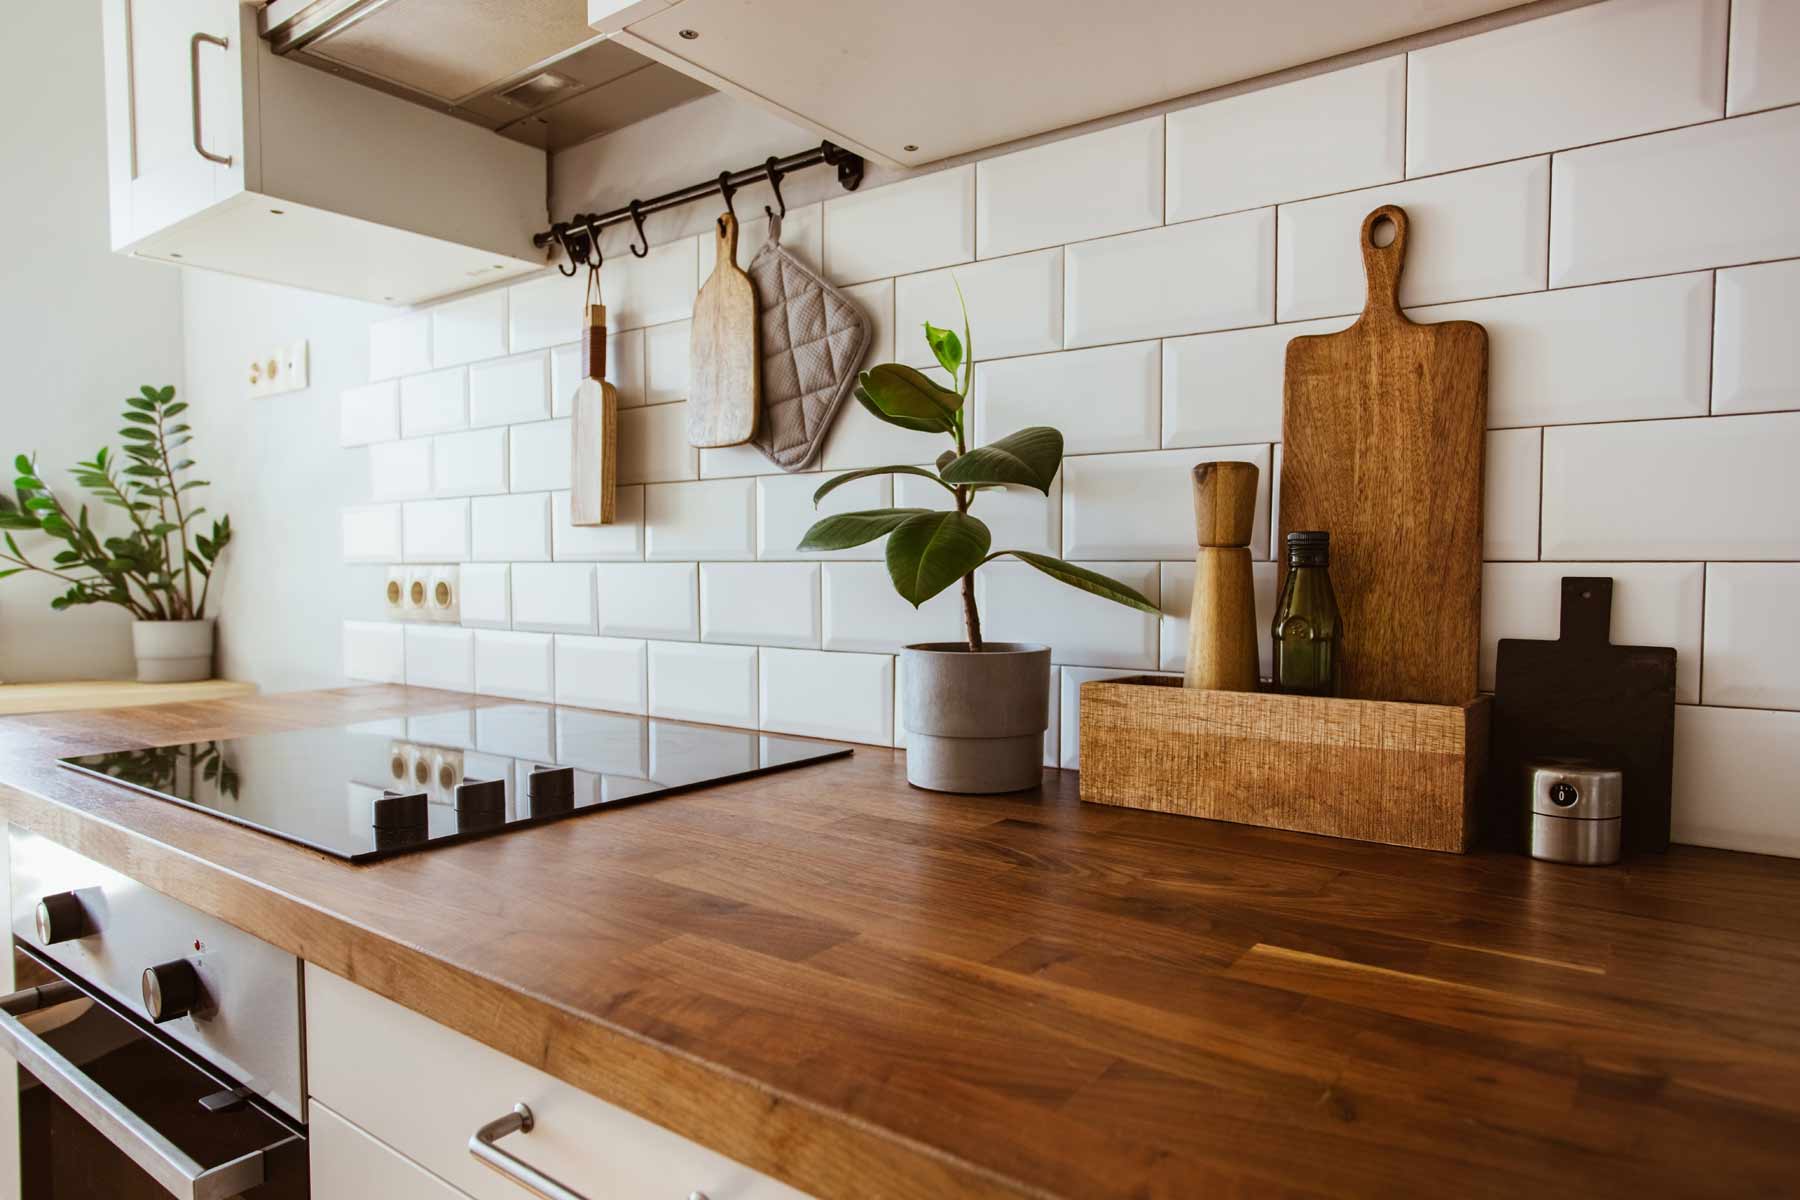
After the sink is installed and functioning correctly, give the entire butcher block a final wipe-down to remove any dust or debris. Apply a food-safe finish or sealer to the butcher block, following the manufacturer’s instructions.
Allow the finish to dry completely before using the sink or applying any weight on the countertop. This will ensure that the finish sets properly and provides long-lasting protection to the butcher block.
Congratulations! You have successfully cut and installed a sink into a butcher block countertop. Take a step back and admire your handiwork, knowing that you’ve achieved a beautiful and functional addition to your kitchen.
Remember to regularly clean and maintain the butcher block and sink to keep them in pristine condition. With proper care, your newly installed sink and butcher block countertop will continue to enhance the aesthetics and functionality of your kitchen for years to come.
Conclusion
Cutting a butcher block for a sink installation requires careful measurements, precise cuts, and attention to detail. By following the step-by-step process outlined in this guide, you can successfully achieve a professional-looking result that enhances the functionality and visual appeal of your kitchen.
Remember to start by measuring the sink dimensions accurately, ensuring a proper fit within the butcher block. Take your time during the marking process, using templates and guides to create clear cutting lines.
Prepare the butcher block by securing it and protecting its surface to minimize any potential damage during the cutting process. Choose the appropriate cutting tool for your needs, such as a circular saw, router, or jigsaw, and make controlled cuts along the marked lines.
Once the cuts are complete, clean and smooth out the edges, ensuring a seamless fit for the sink. Install the sink securely, following the manufacturer’s guidelines and testing for any leaks.
Finish off the project by cleaning the countertop, applying a food-safe finish or sealer to the butcher block, and allowing it to dry thoroughly before using the sink or applying any weight.
With proper maintenance and care, your newly installed sink and butcher block countertop will provide you with a durable and beautiful addition to your kitchen for years to come.
Thank you for joining us on this journey of learning how to cut butcher block for a sink. We hope you found this guide helpful and that it has given you the confidence to tackle this project with ease.
Happy remodeling!
Frequently Asked Questions about How To Cut Butcher Block For Sink
Was this page helpful?
At Storables.com, we guarantee accurate and reliable information. Our content, validated by Expert Board Contributors, is crafted following stringent Editorial Policies. We're committed to providing you with well-researched, expert-backed insights for all your informational needs.


0 thoughts on “How To Cut Butcher Block For Sink”