Articles
How Do You Install Butcher Block Countertops
Modified: August 28, 2024
Looking to install butcher block countertops? Check out our informative articles for step-by-step instructions and expert tips to help you complete the job successfully.
(Many of the links in this article redirect to a specific reviewed product. Your purchase of these products through affiliate links helps to generate commission for Storables.com, at no extra cost. Learn more)
Introduction
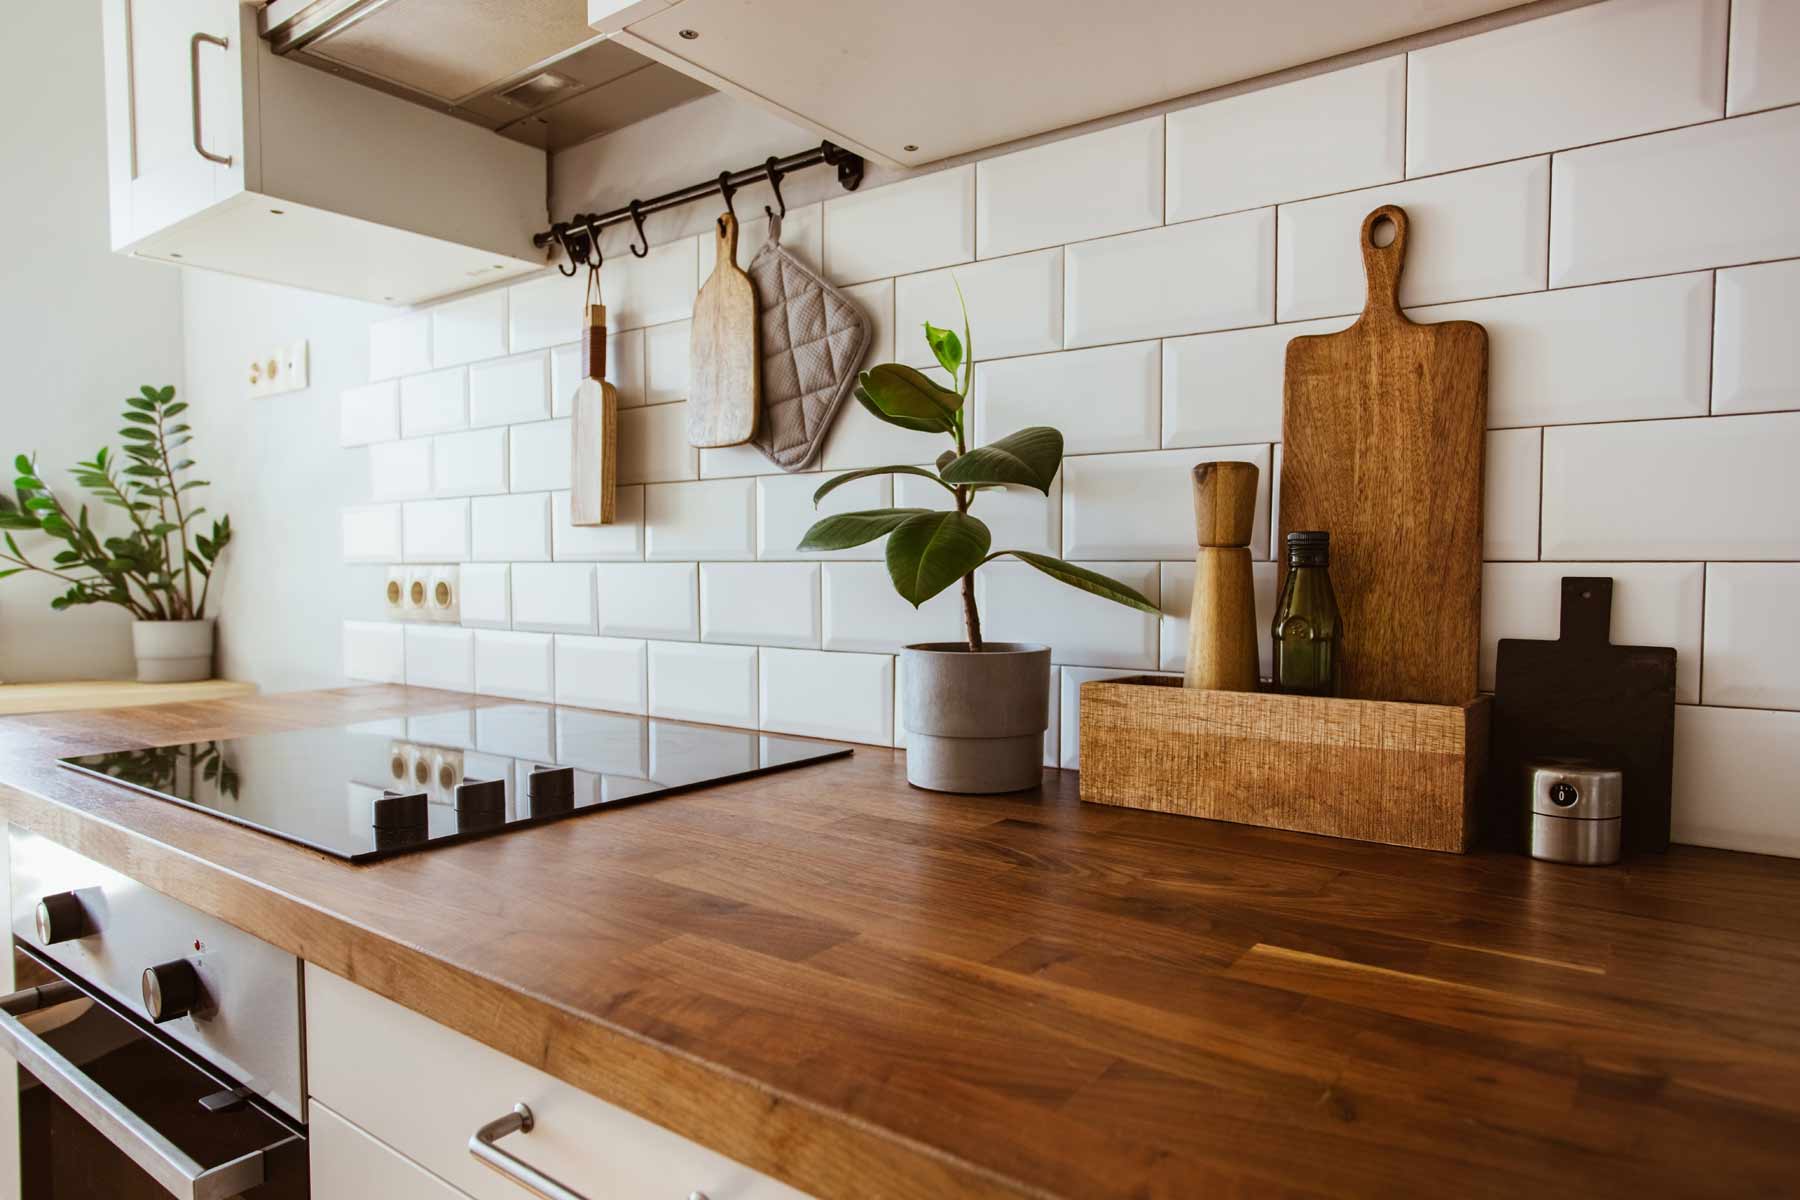
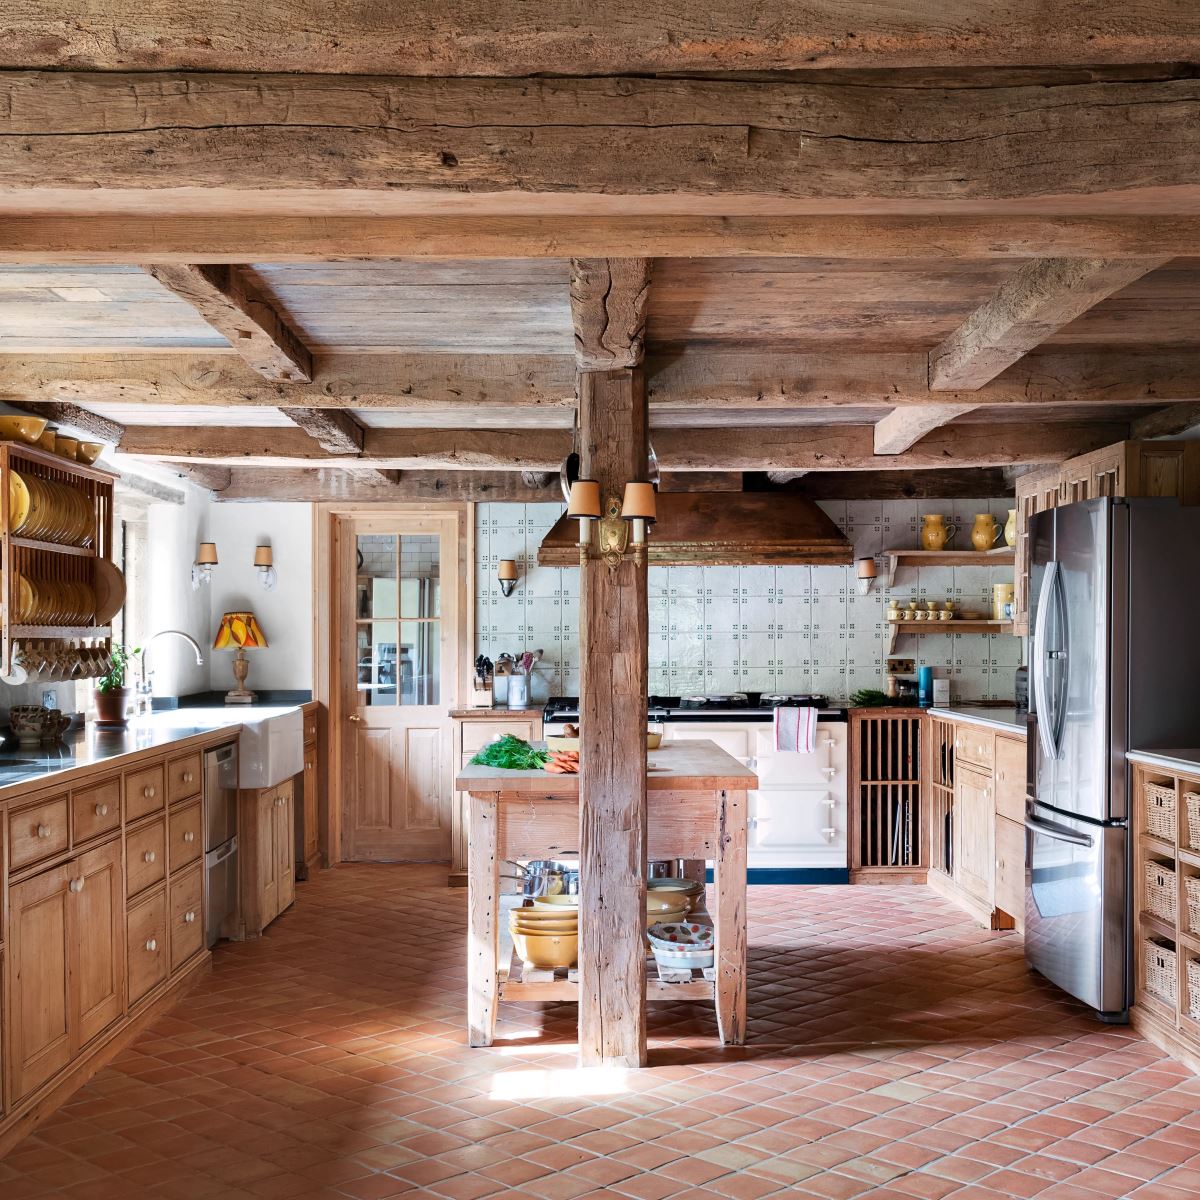
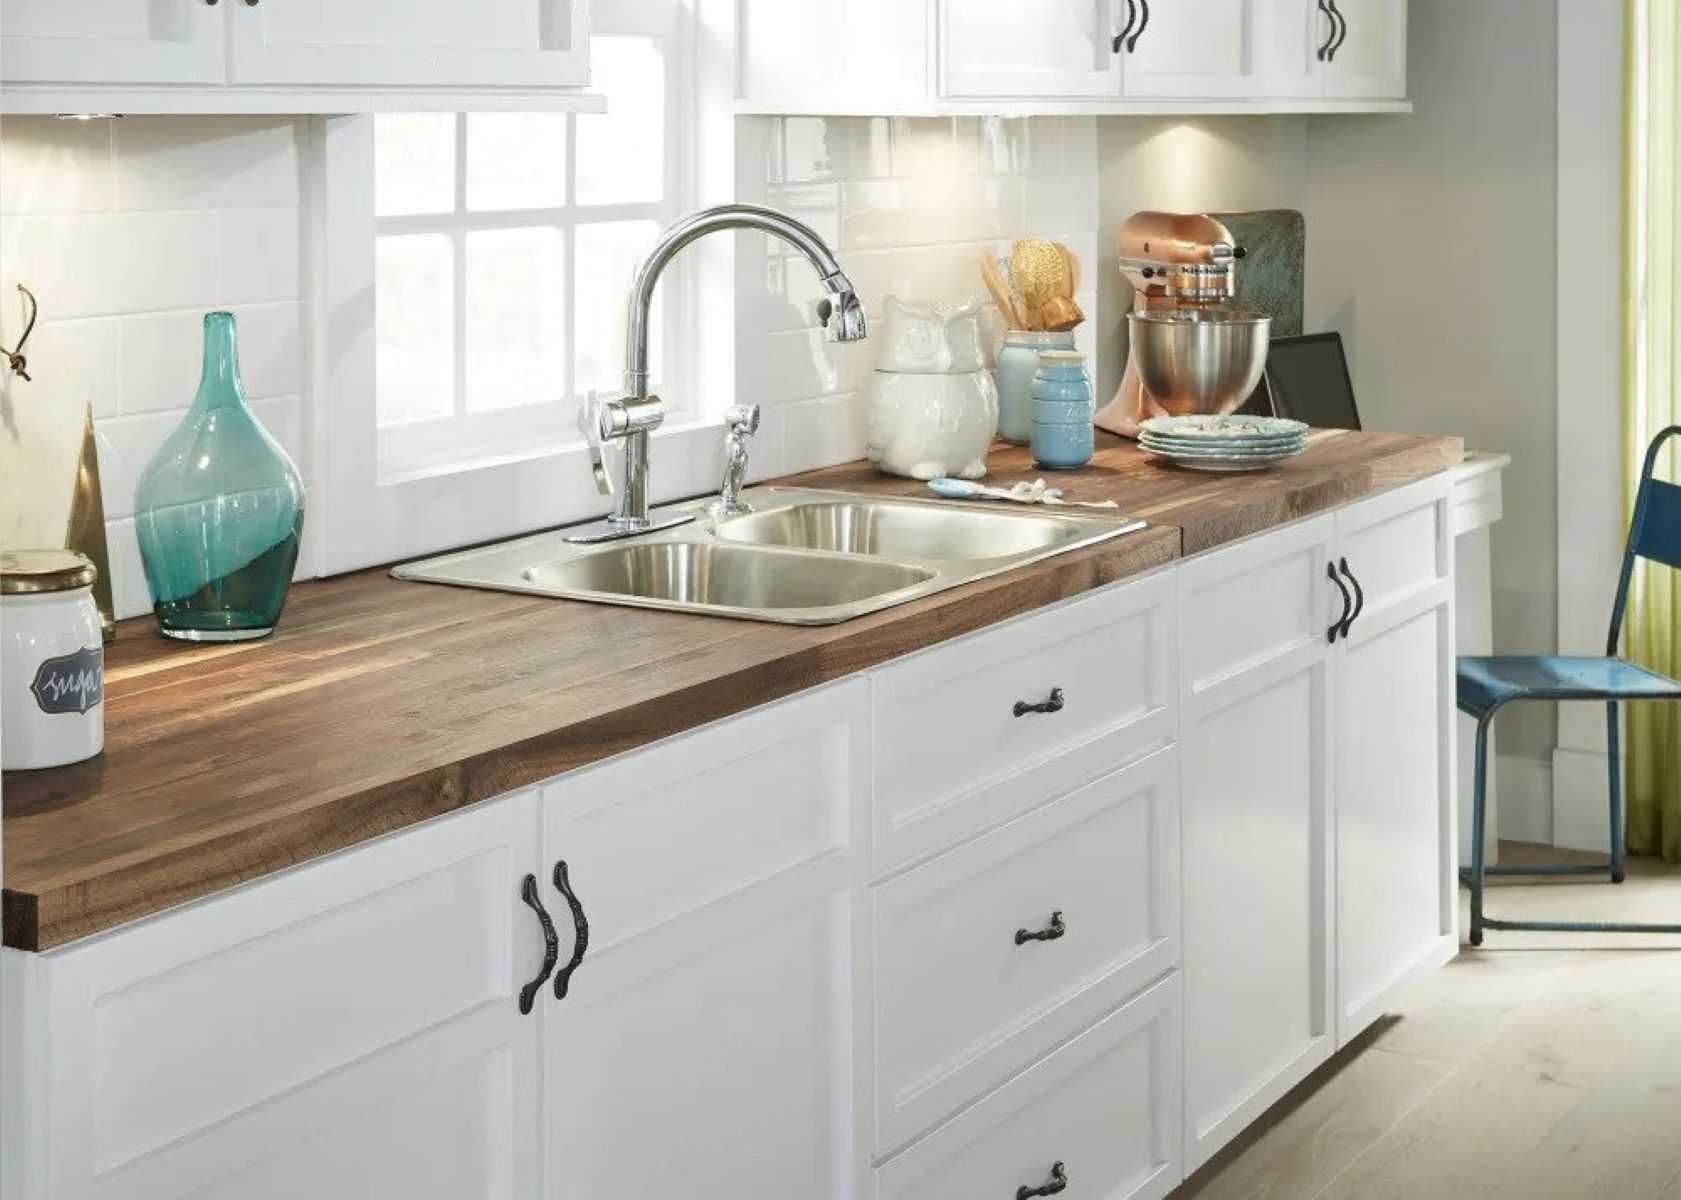
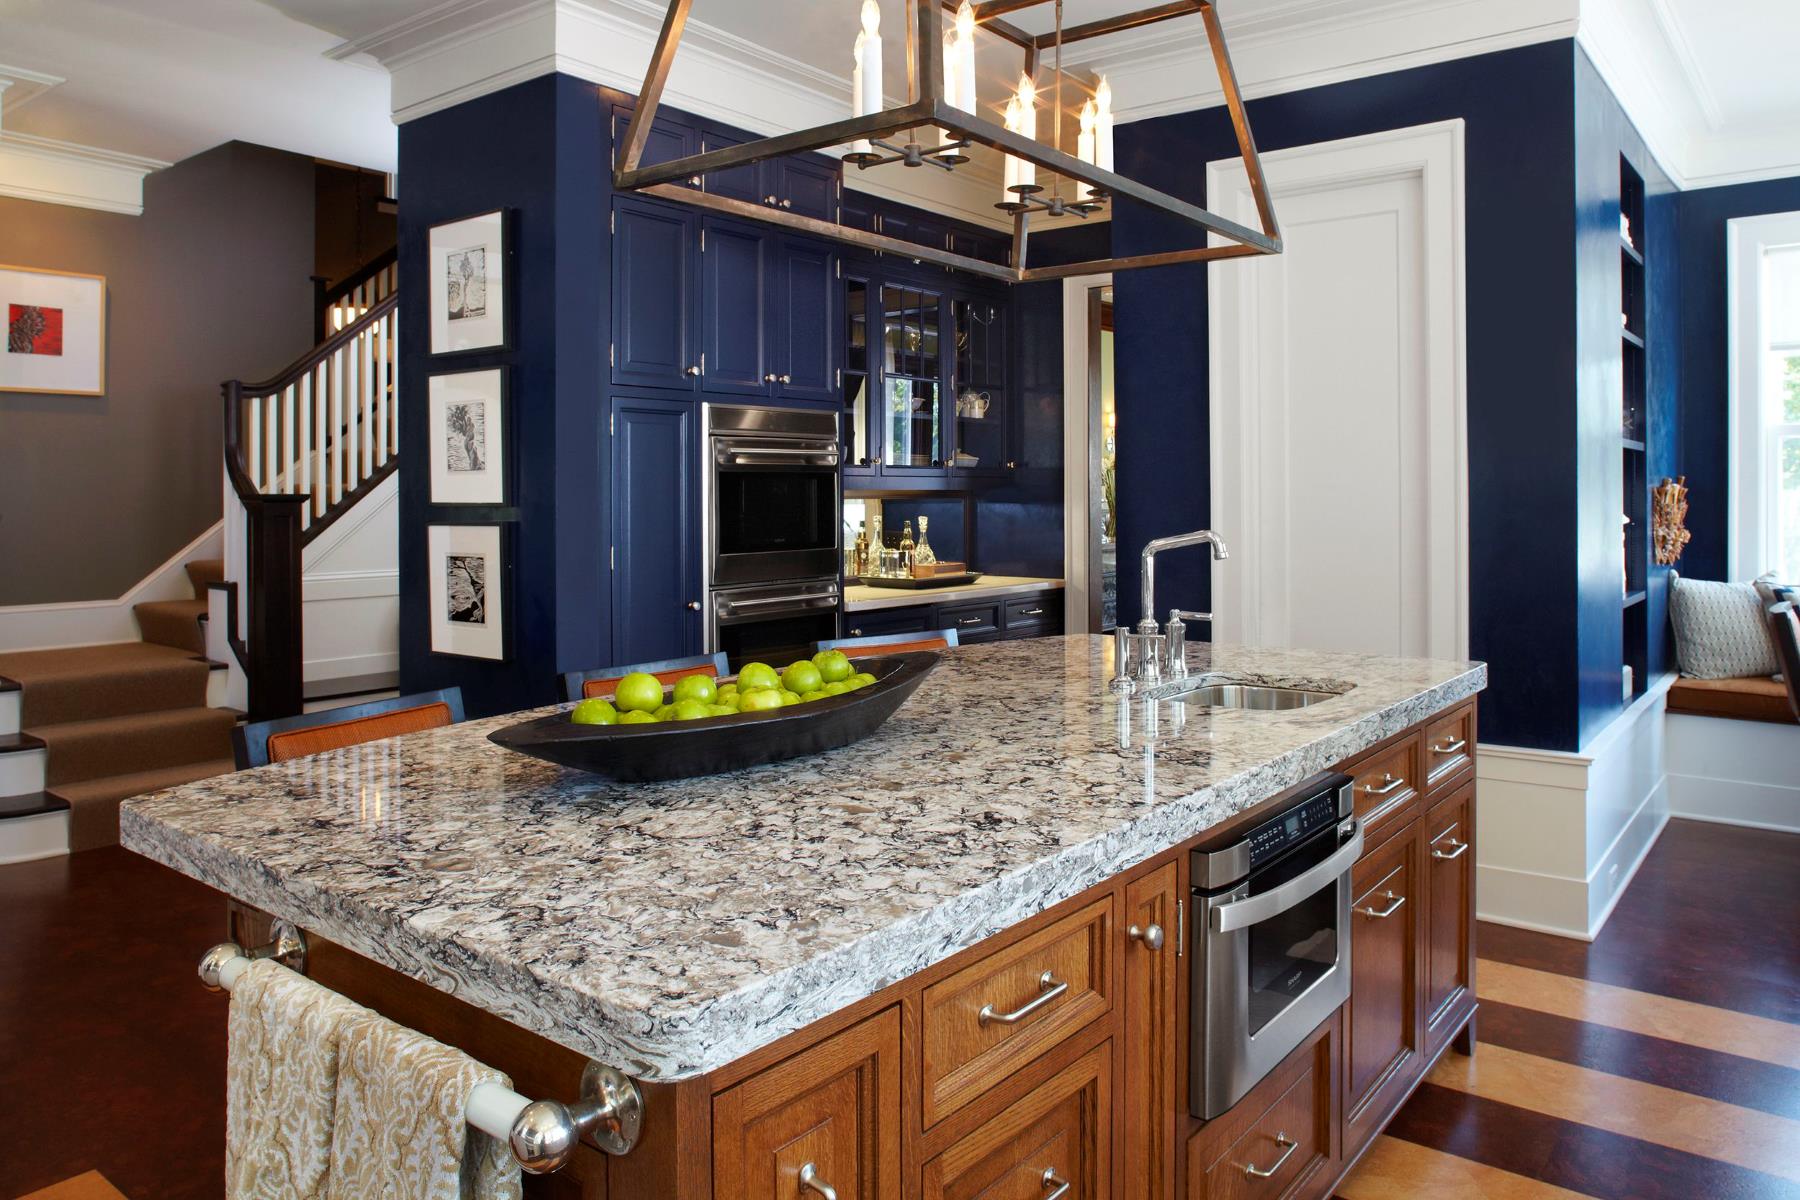
Butcher block countertops add warmth, durability, and charm to any kitchen. Whether you’re remodeling your kitchen or simply looking to upgrade your countertops, installing butcher block countertops can be a great choice. Not only are they a beautiful addition to your kitchen, but they also provide a functional surface for meal preparation.
In this article, we will guide you through the process of installing butcher block countertops. From choosing the right materials to sealing and maintaining them, we will provide you with the essential steps to ensure a successful installation. So, let’s get started!
Key Takeaways:
- Choose the perfect butcher block countertops by considering wood type, grain style, thickness, finish options, and budget to complement your kitchen and meet your practical needs.
- Ensure a successful installation by preparing the workspace, measuring and cutting accurately, sanding and finishing meticulously, and sealing and maintaining properly for long-lasting beauty and functionality.
Read more: How Durable Is Butcher Block Countertops
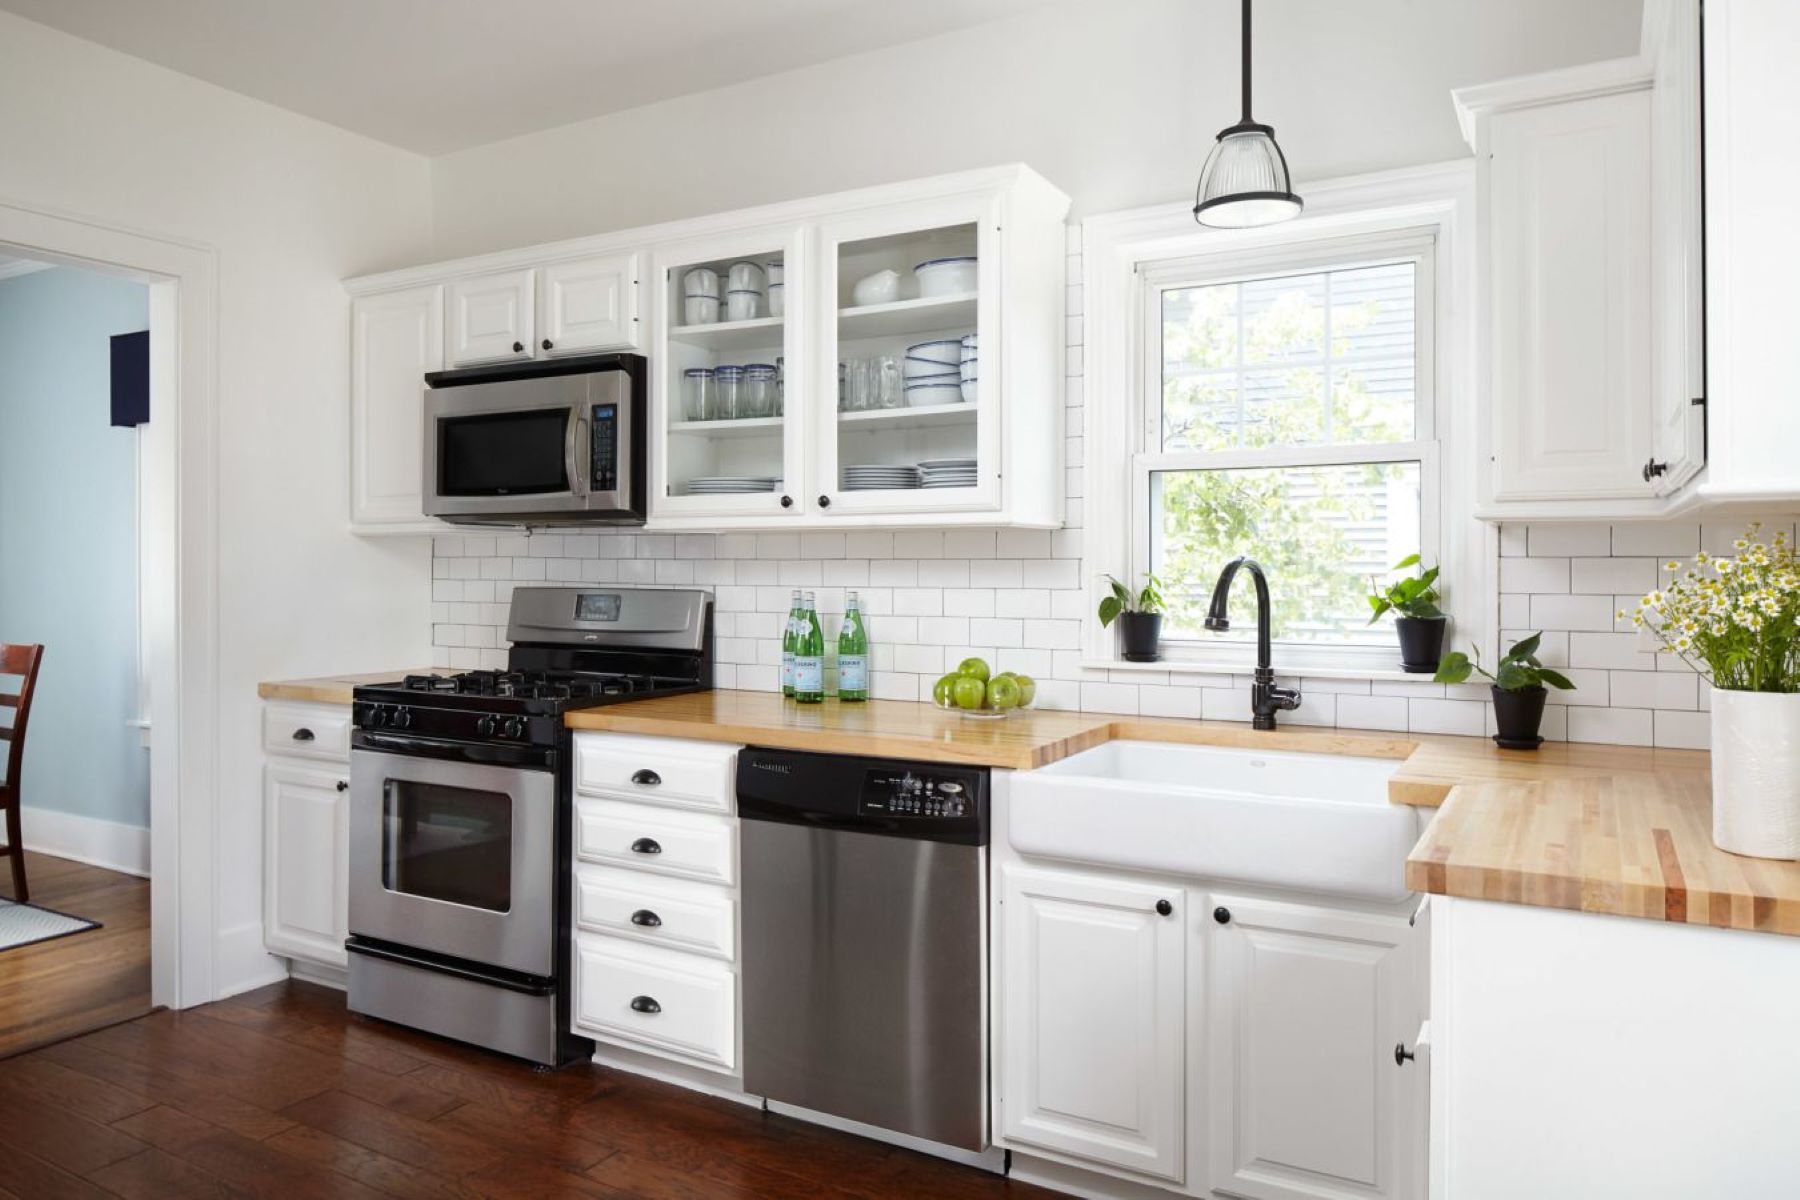
Choosing the Right Butcher Block Countertops
When it comes to choosing butcher block countertops, there are several factors to consider. Here are some key points to keep in mind:
- Wood Type: The type of wood you choose for your butcher block countertops will greatly impact their appearance and durability. Popular choices include maple, oak, cherry, and walnut. Each wood type has its own unique characteristics, so make sure to choose one that fits your style and the overall aesthetic of your kitchen.
- Grain and Edge Style: Butcher block countertops come in different grain styles, such as edge grain, face grain, and end grain. Each style has its own benefits, so consider how you will be using the countertops. Edge grain is the most common and economical choice, while end grain offers superior durability and is ideal for heavy chopping and cutting.
- Thickness: The thickness of the countertops can vary and is usually a matter of personal preference. Thicker countertops provide a more substantial and luxurious look, while thinner ones are lighter and easier to handle during installation.
- Finish Options: Butcher block countertops can be left unfinished for a rustic look, or they can be finished with a food-safe sealer to protect the wood from stains and moisture. Consider the level of maintenance you are willing to put in and choose a finish that suits your needs.
- Budget: Finally, consider your budget when choosing the right butcher block countertops. Wood type, thickness, and finish options can all affect the overall cost. Determine how much you are willing to spend and look for options that fit within your budget.
By considering these factors, you can choose the perfect butcher block countertops that not only complement your kitchen but also meet your practical needs.
Tools and Materials Needed
Before you start installing butcher block countertops, gather all the necessary tools and materials. Here’s a list of what you’ll need:
- Butcher block countertops
- Tape measure
- Pencil
- Circular saw or table saw
- Sander
- 220-grit sandpaper
- Router
- Wood glue
- Clamps
- Drill/driver
- Screws
- Countertop sealant
- Lint-free cloths
- Level
- Putty knife
- Mineral oil or food-grade cutting board oil
Ensuring that you have all the necessary tools and materials will make the installation process much smoother and efficient. Take the time to gather everything before you begin to avoid any unnecessary delays or interruptions.
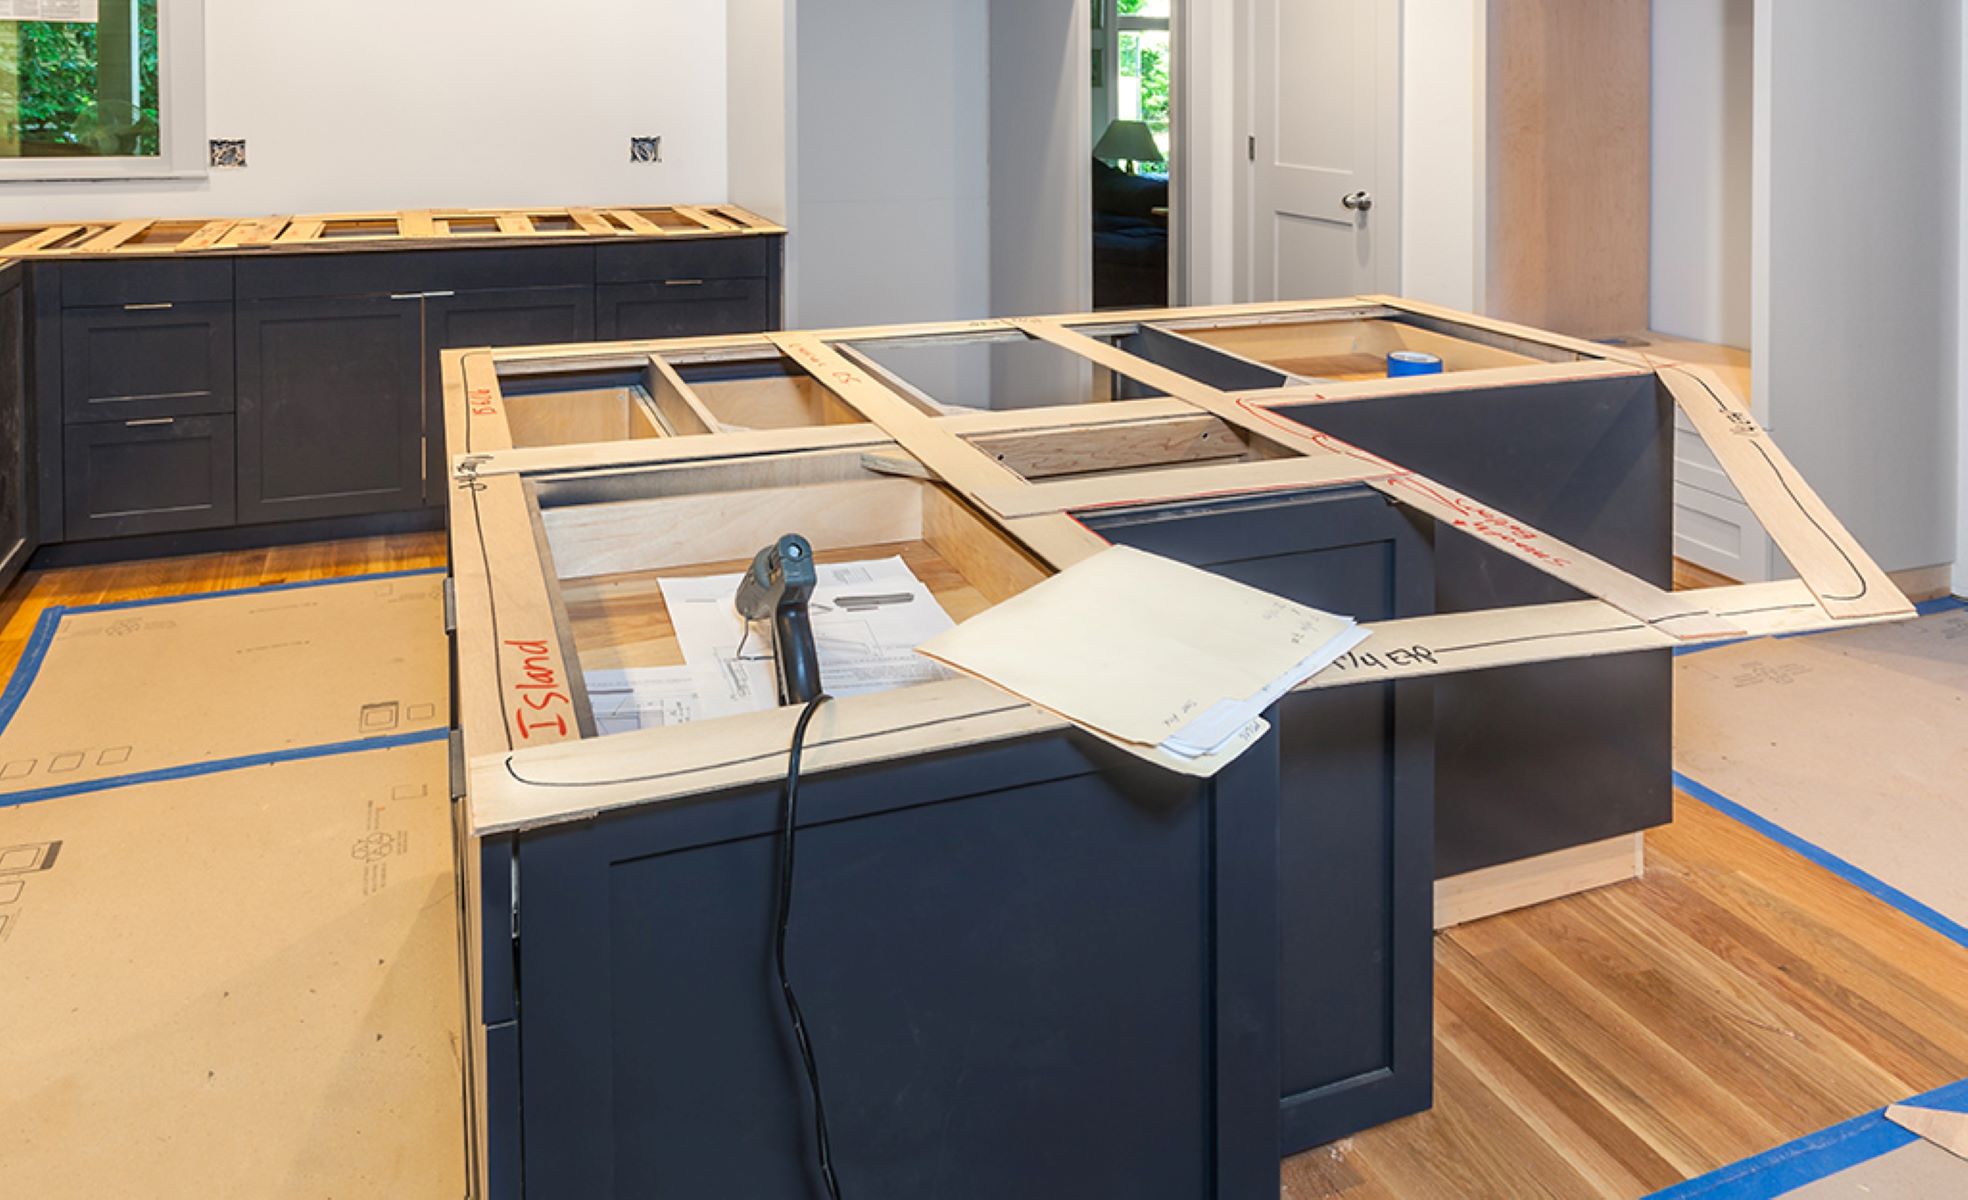
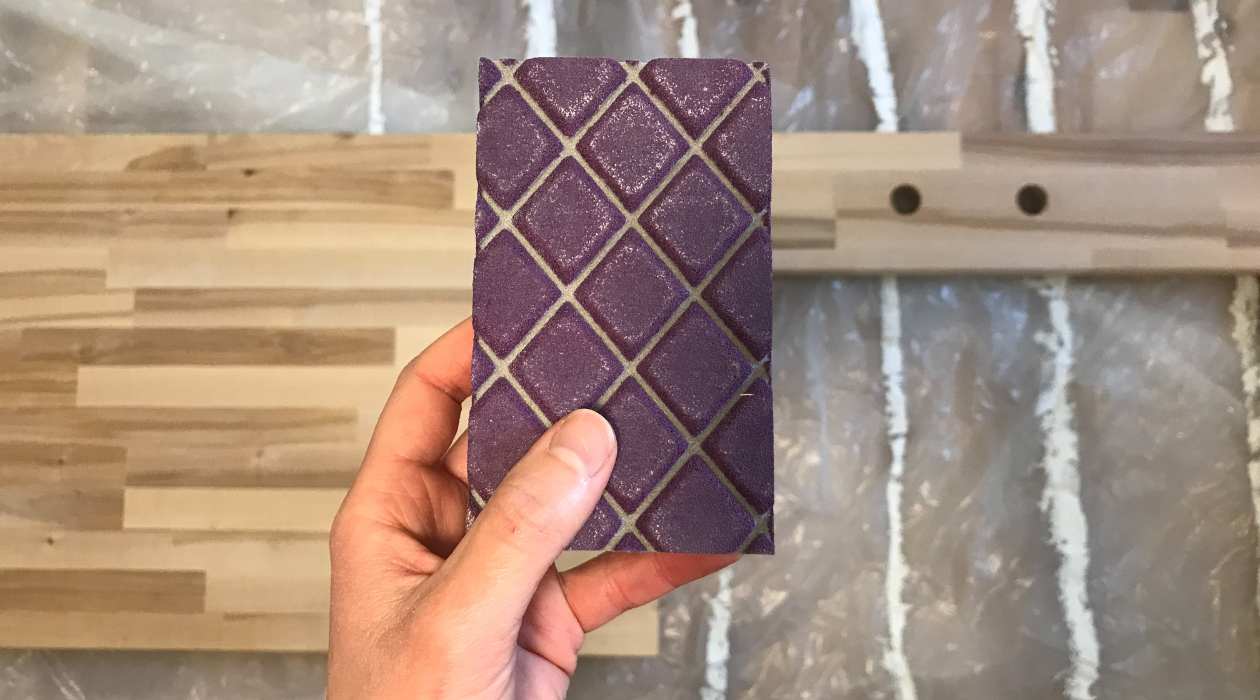
Preparing the Workspace
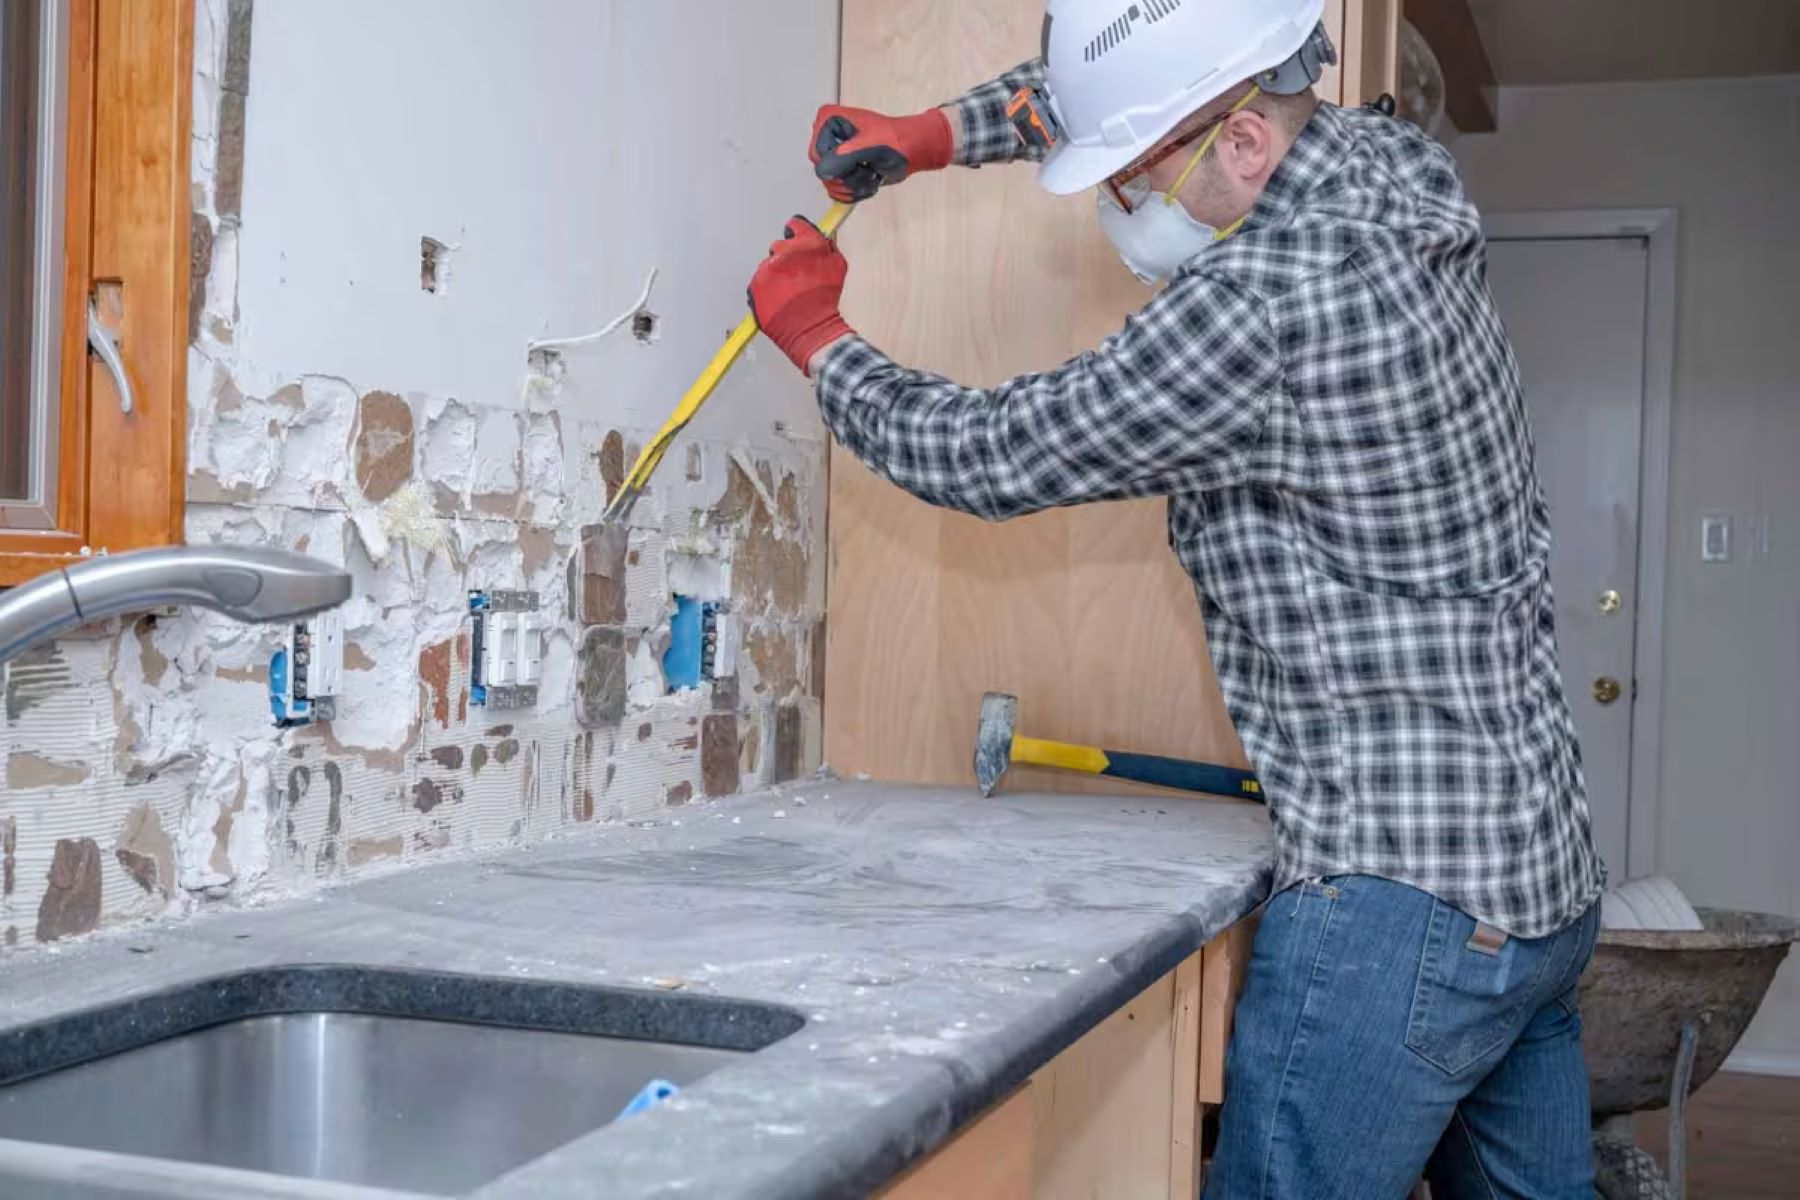
Before you can install the butcher block countertops, it’s important to prepare the workspace to ensure a successful installation. Follow these steps:
- Remove the existing countertops: If you have existing countertops, remove them carefully to create a clean surface. Disconnect any plumbing fixtures attached to the countertops and set them aside.
- Clean the cabinets: Thoroughly clean the cabinets and the area where the countertops will be installed. Remove any debris or dirt to create a clean and smooth surface.
- Measure the cabinets: Measure the dimensions of your cabinets to determine the size of the butcher block countertops you’ll need. Take precise measurements to ensure a proper fit.
- Mark the countertop placement: Use a pencil and a tape measure to mark the exact placement of the countertops on the cabinets. Double-check the measurements and make any necessary adjustments.
- Make any necessary modifications: If your cabinets require modifications to accommodate the countertops (such as cutting notches for sinks or appliances), use a circular saw or table saw to make the necessary cuts.
- Ensure a level surface: Check that the cabinets are level using a level tool. Adjust the cabinets as needed to create a level surface for the countertops.
By properly preparing the workspace, you’ll create a solid foundation for the installation of the butcher block countertops. This will help ensure a precise fit and a professional-looking result.
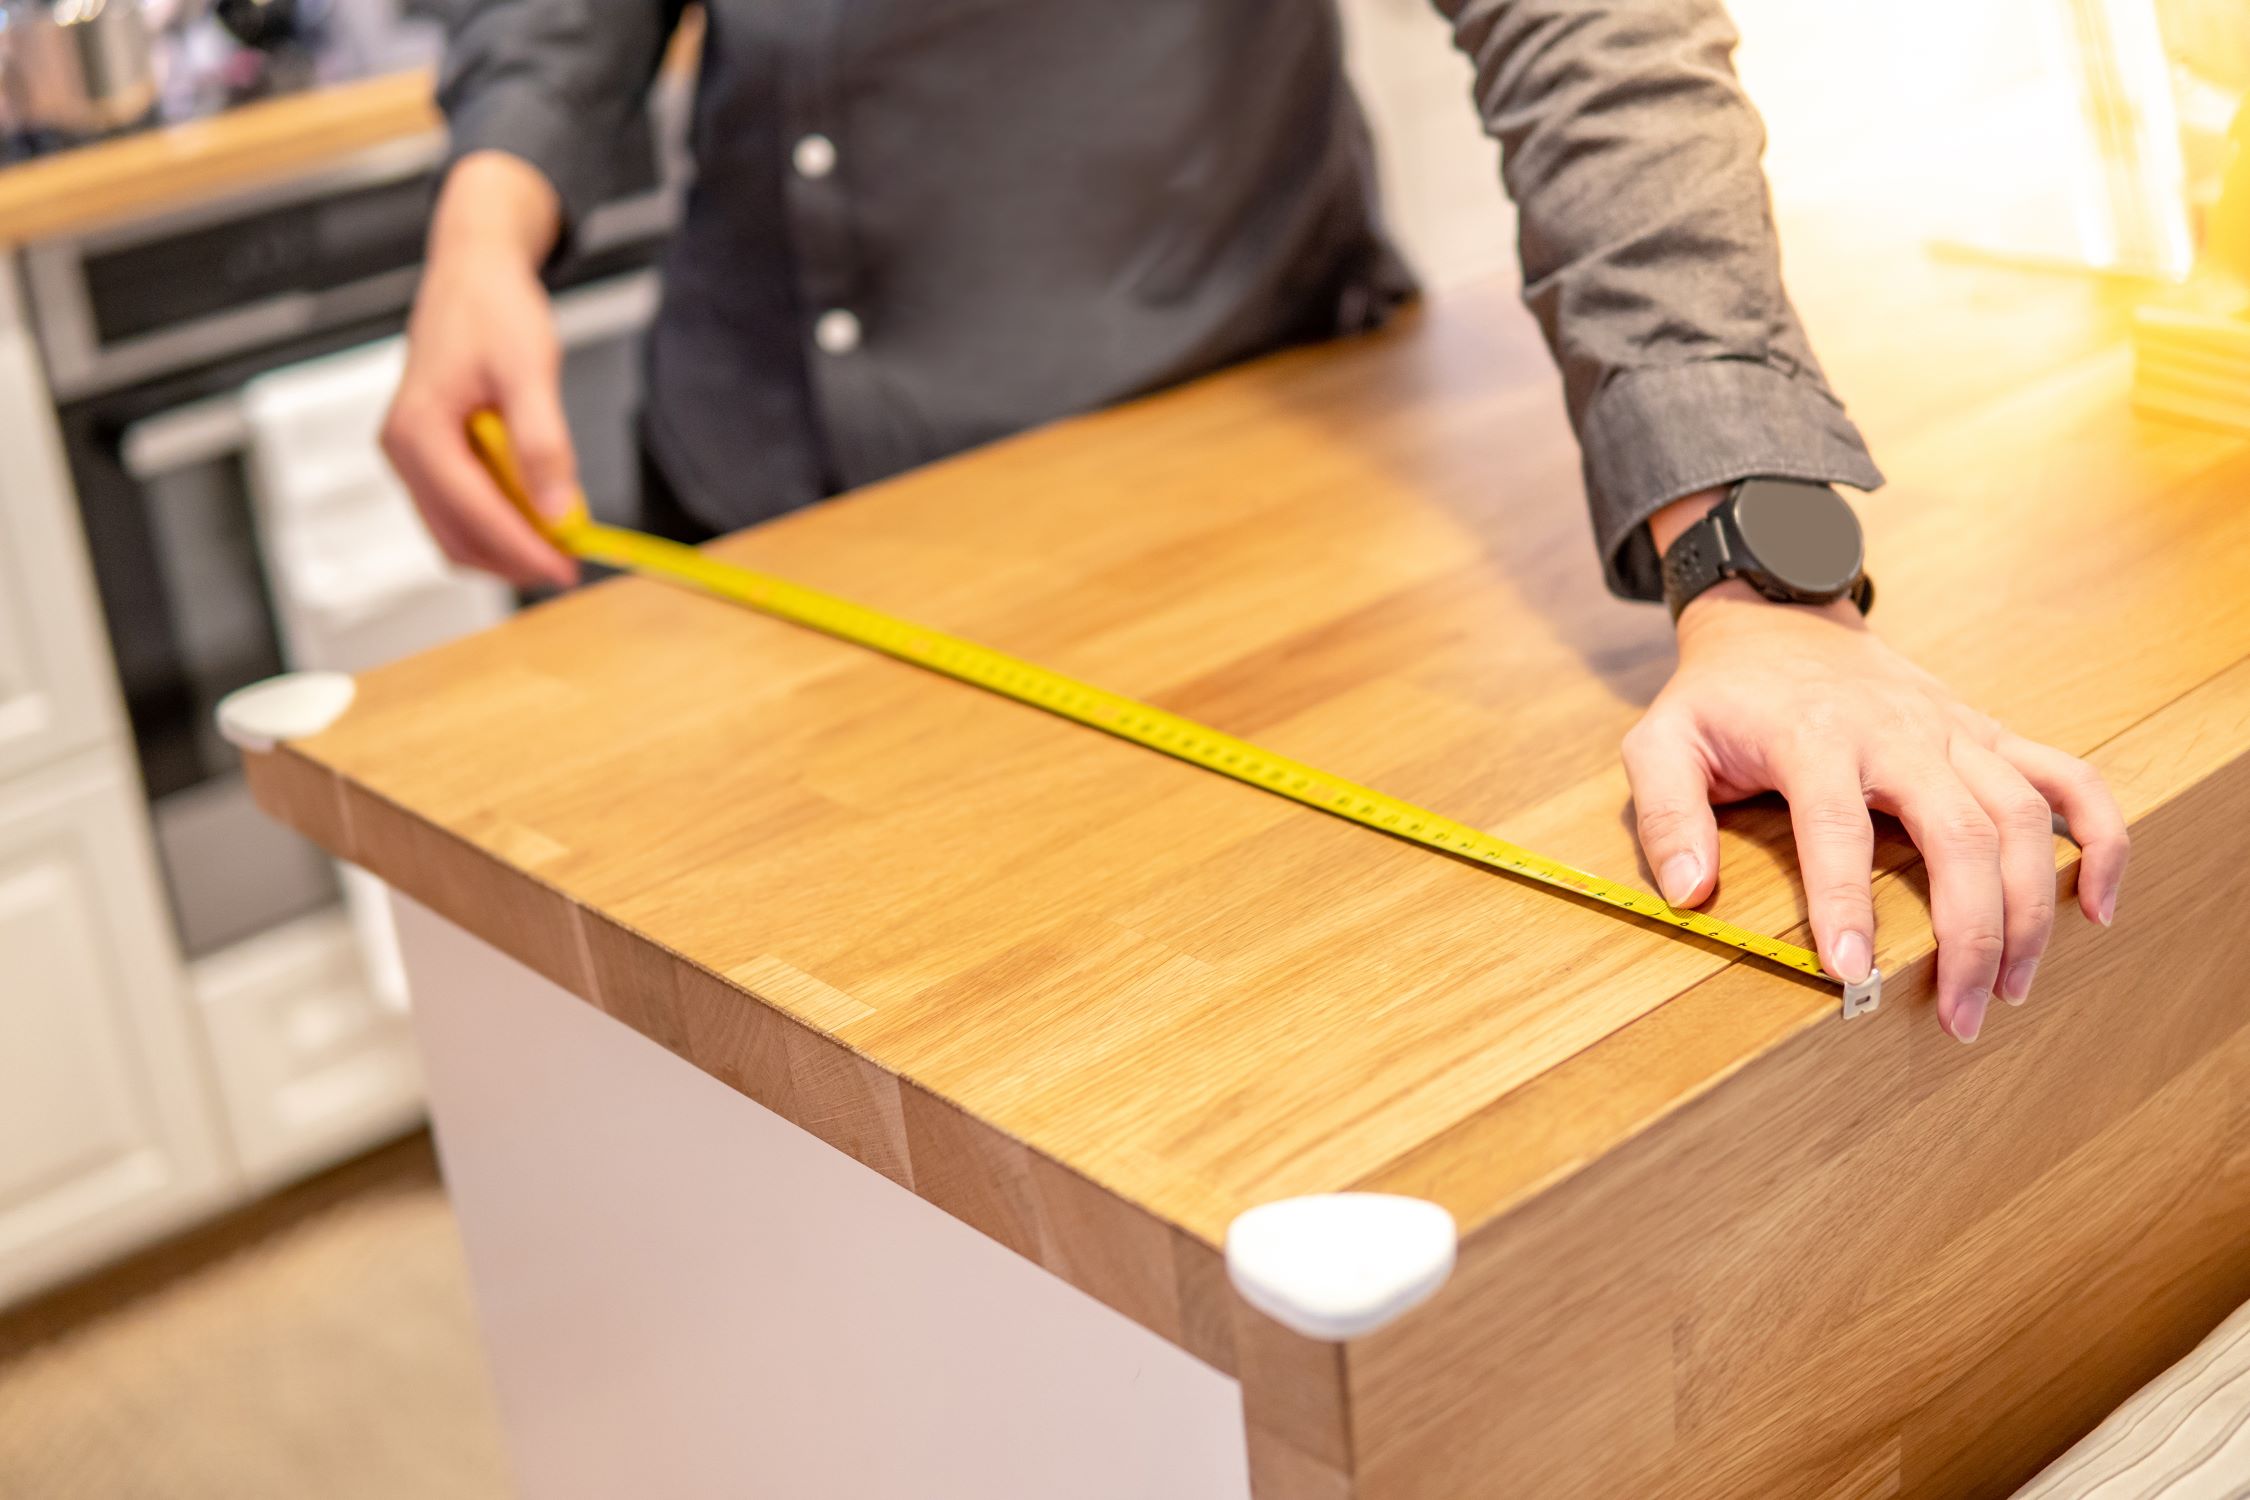
Measuring and Cutting the Butcher Block Countertops
Now that your workspace is prepared, it’s time to measure and cut the butcher block countertops to fit your cabinets. Follow these steps:
- Measure the countertops: Use a tape measure to carefully measure the dimensions of your cabinets. Take into account any modifications, such as sink cutouts or appliance spaces.
- Transfer measurements to the countertops: Mark the measurements on the butcher block countertops using a pencil. Double-check the markings to ensure accuracy.
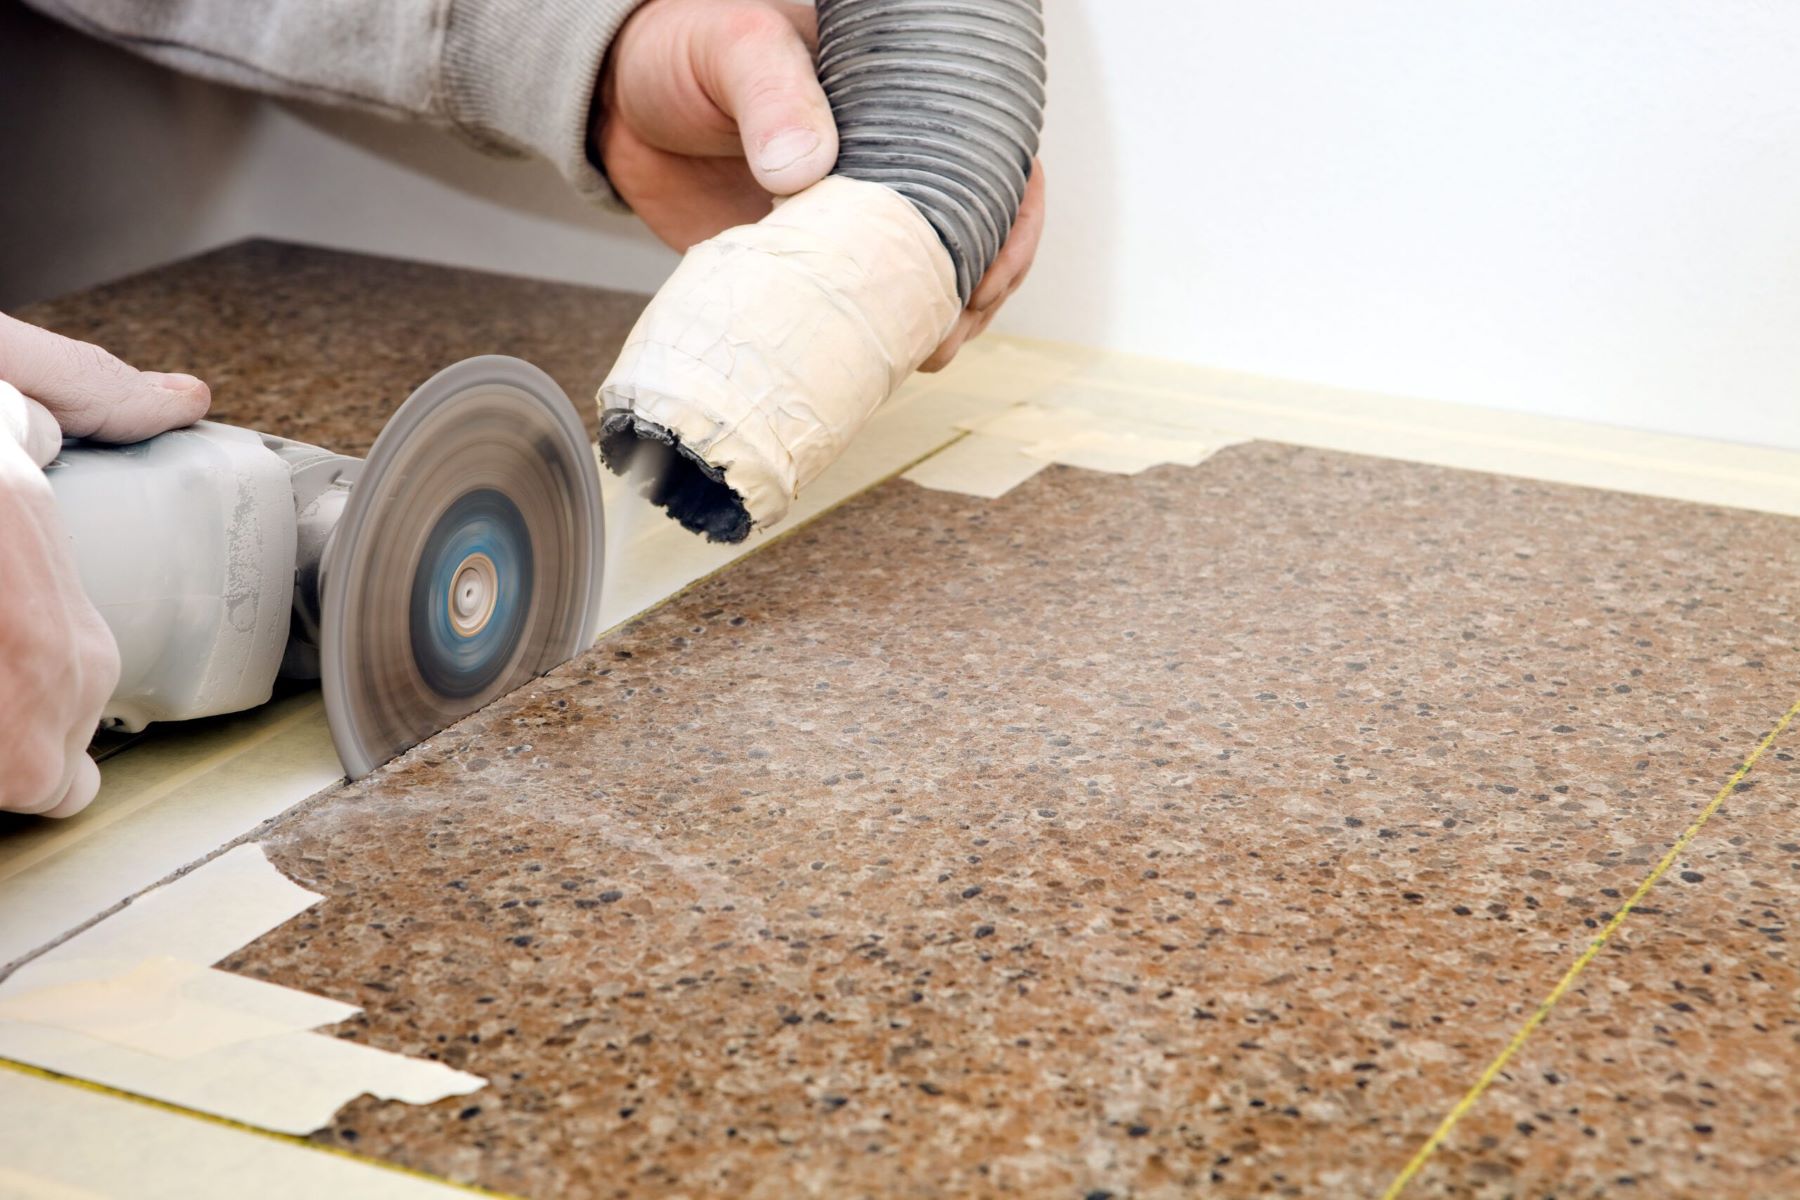
- Cut the countertops: Use a circular saw or table saw to cut the countertops along the marked lines. Make sure to wear safety goggles and follow the manufacturer’s instructions for operating the saw.
- Smooth the edges: After cutting the countertops, use a sander with 220-grit sandpaper to smooth out the rough edges. Sand in the direction of the wood grain for a uniform finish.
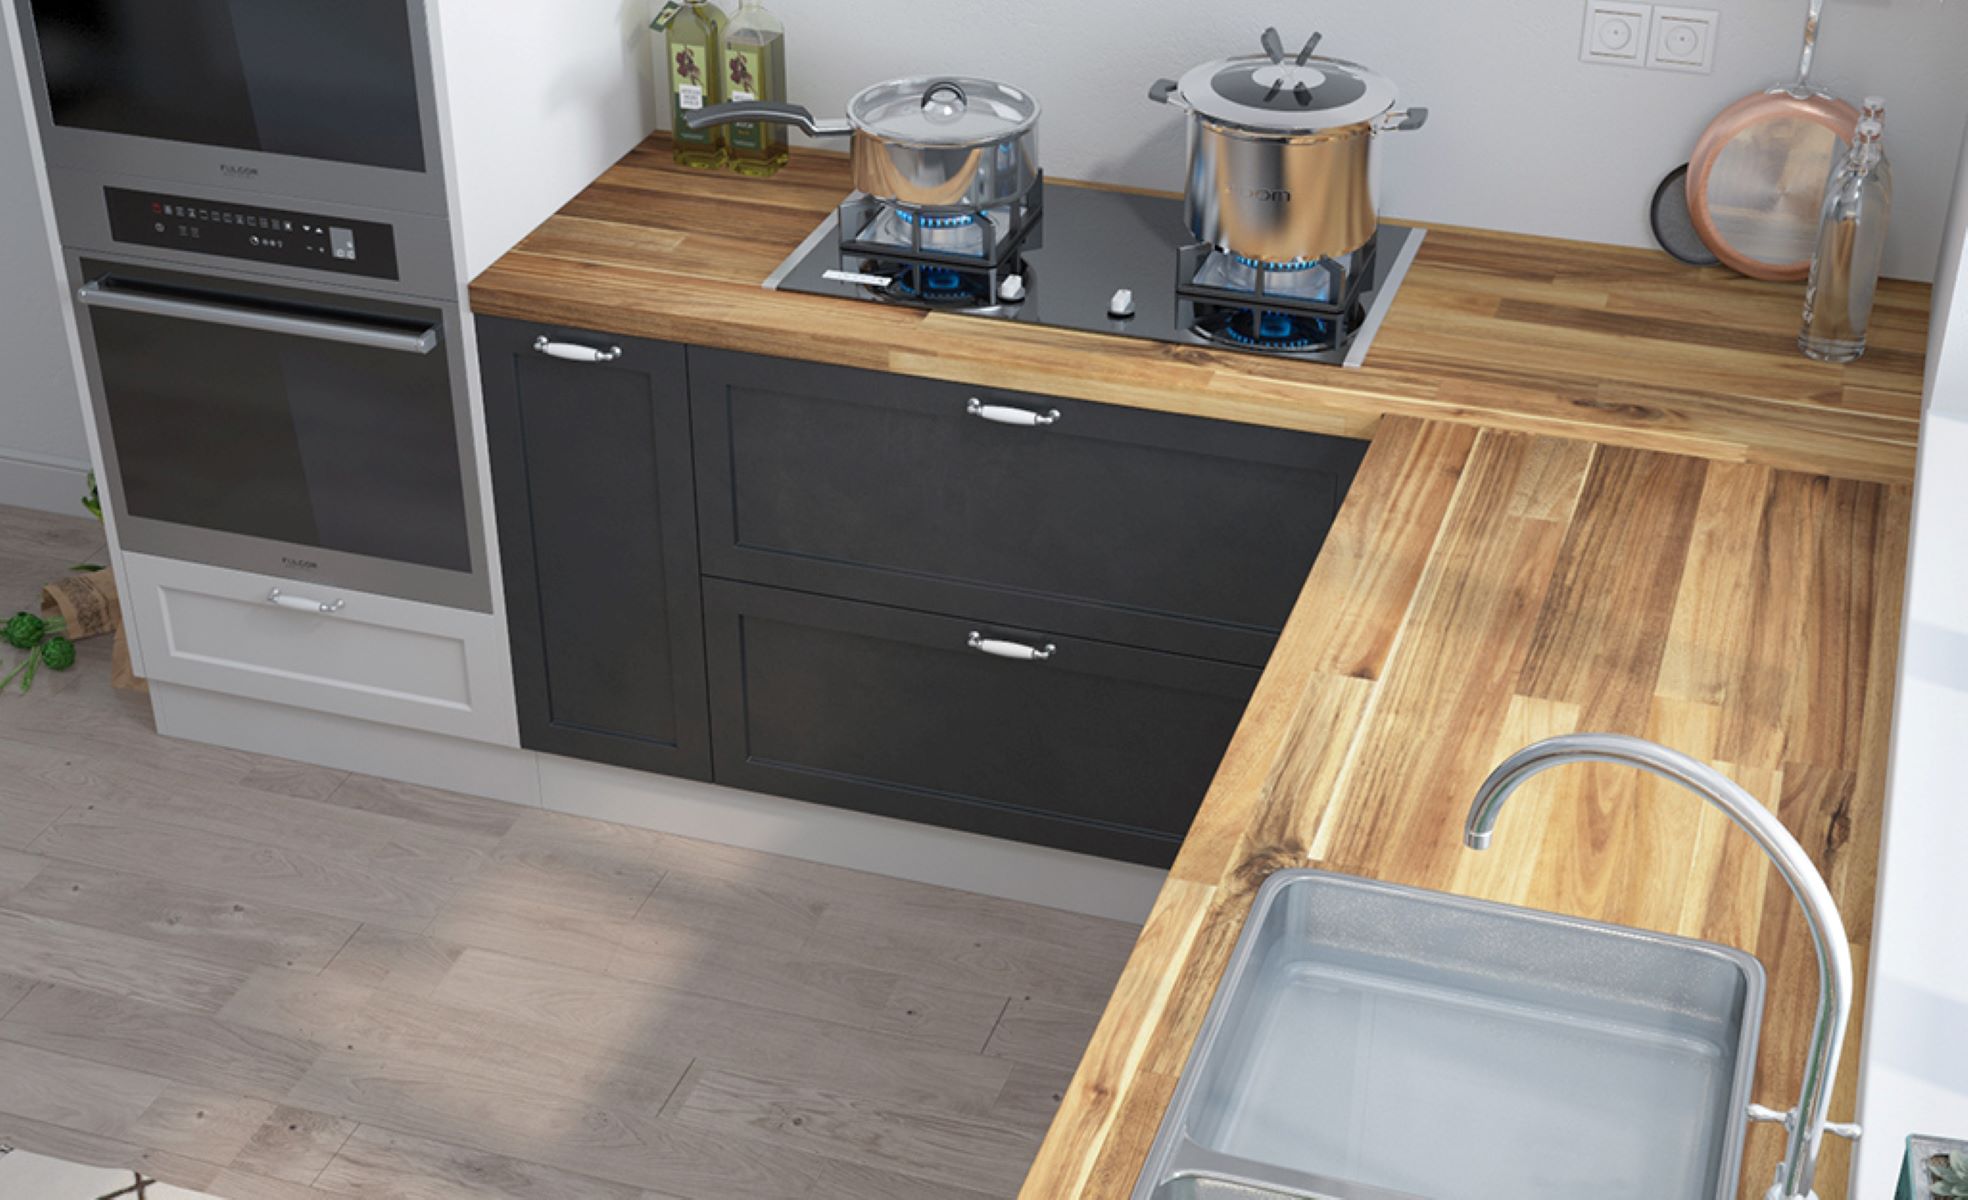
- Create any necessary openings: If your countertops require openings for sinks, cooktops, or other appliances, use a router to cut out the desired shapes. Take your time and make precise cuts to ensure a proper fit.
- Dry fit the countertops: Once the countertops are cut and sanded, dry fit them onto the cabinets to check for any gaps or adjustments that may be needed.
Accuracy is key when measuring and cutting the butcher block countertops. Take your time and double-check your measurements to ensure a perfect fit. Remember, it’s always better to measure twice and cut once!
When installing butcher block countertops, be sure to properly seal the wood with a food-safe finish to protect it from moisture and stains. Sand the surface smooth and apply several coats for best results.
Read more: How To Sand Butcher Block Countertops
Sanding and Finishing the Butcher Block Countertops
After cutting the butcher block countertops to size, it’s important to sand and finish them to enhance their appearance and protect the wood. Follow these steps to achieve a smooth and beautiful finish:
- Sand the countertops: Start by sanding the countertops with a 220-grit sandpaper. Sand in the direction of the wood grain to avoid scratches. Smooth out any rough spots or imperfections until the surface feels even and smooth to the touch.
- Remove dust: Use a clean, lint-free cloth to wipe away any dust or debris generated from sanding. Make sure the surface is clean and free of any particles before proceeding.
- Apply the finish: Choose a food-safe sealant or finish suitable for butcher block countertops. Apply the finish evenly using a brush or cloth, following the manufacturer’s instructions. Allow the finish to dry completely before proceeding.
- Sand again (optional): If desired, lightly sand the countertops again with a fine-grit sandpaper (such as 320-grit) to achieve an ultra-smooth finish. Be gentle and go with the wood grain to avoid damaging the surface.
- Apply additional coats (optional): Depending on the type of finish you have chosen, you may need to apply multiple coats for optimal protection. Follow the manufacturer’s instructions regarding drying times and the number of recommended coats.
Sanding and finishing the butcher block countertops not only enhances their appearance but also helps protect the wood from stains and moisture. Take your time during this step to achieve a smooth and durable finish that will withstand the rigors of everyday use in your kitchen.
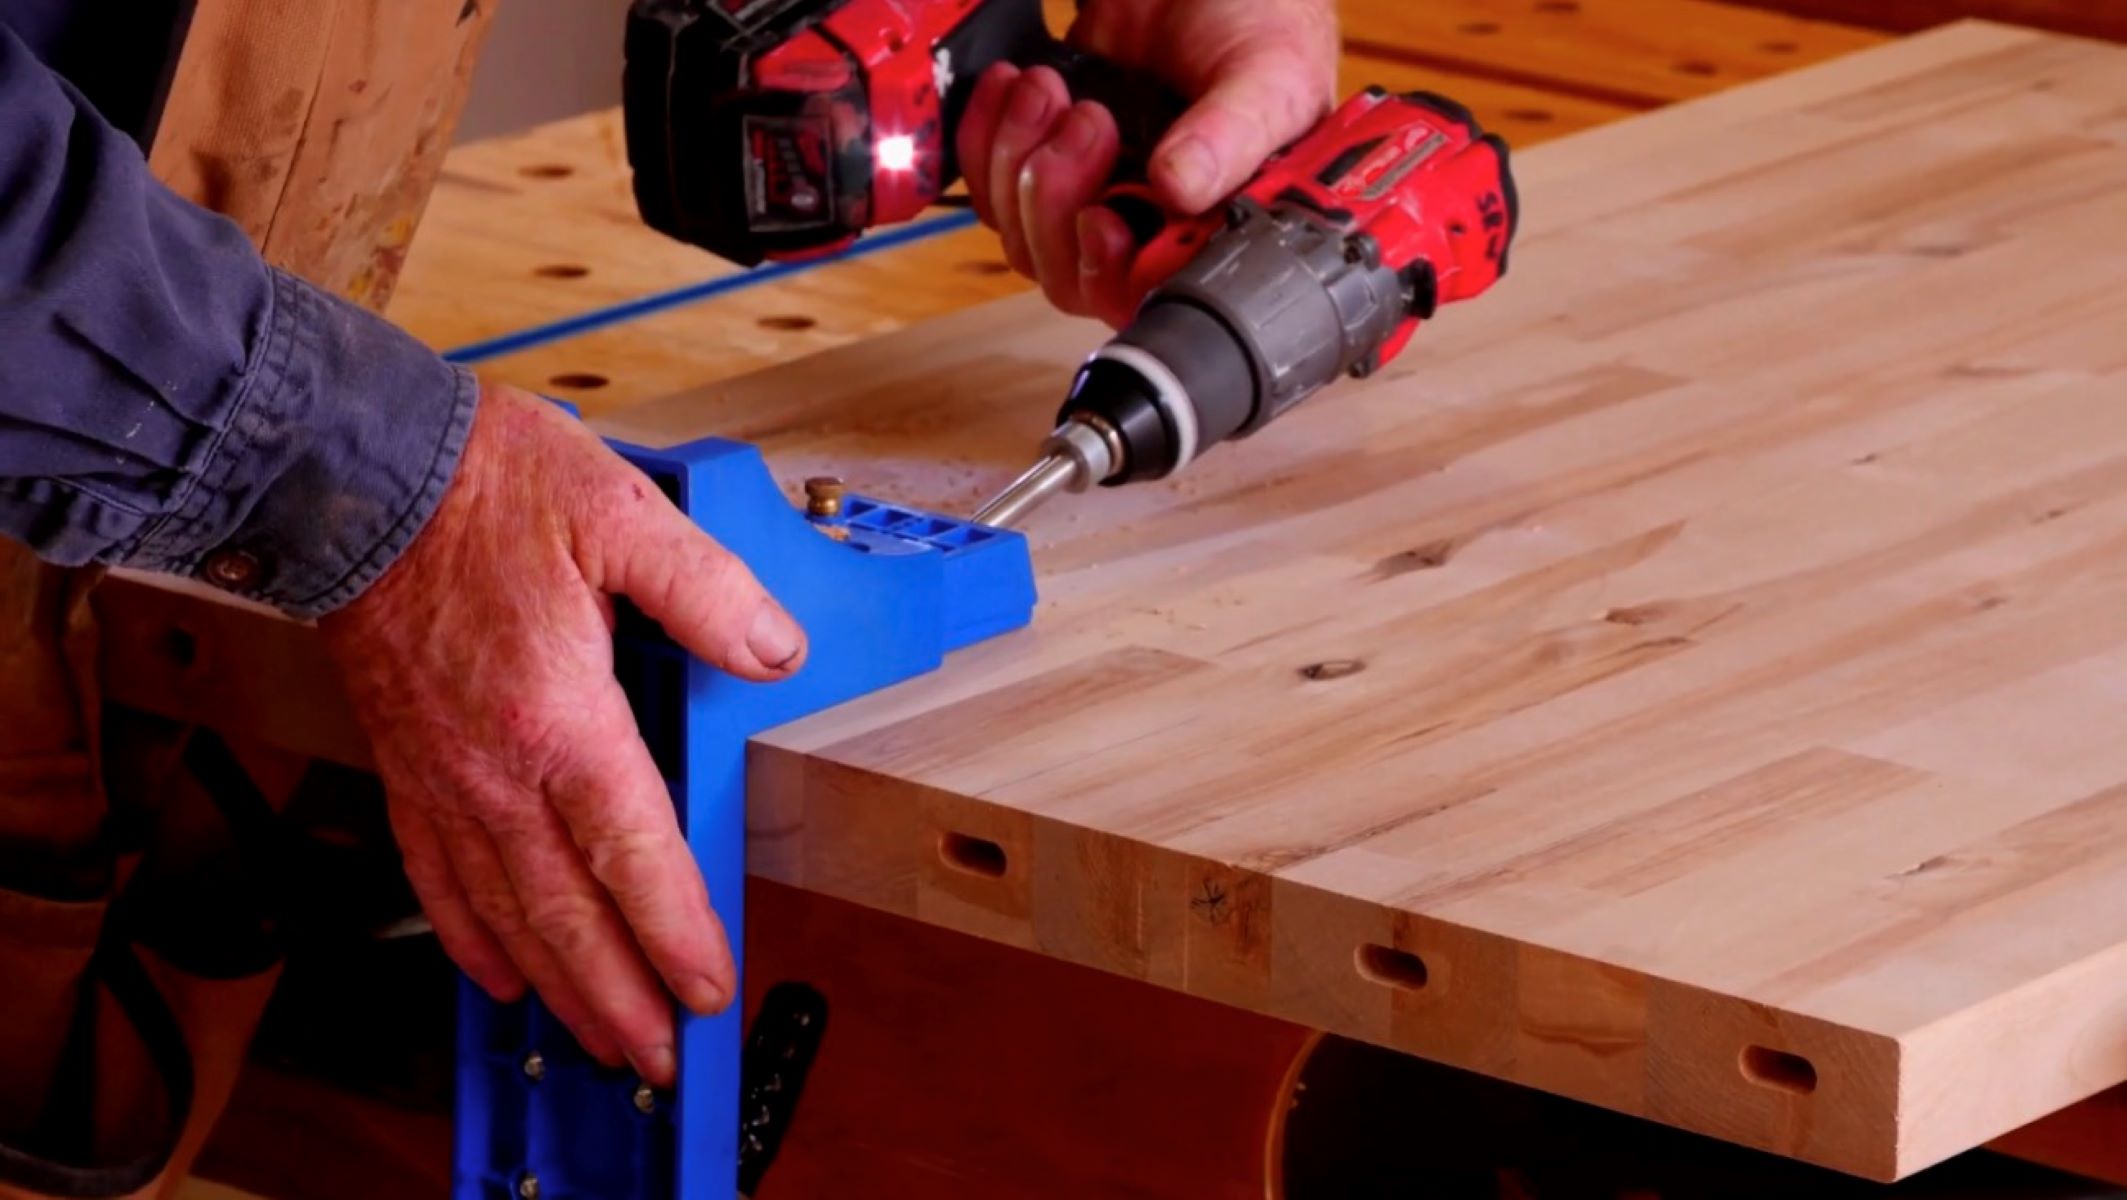
Installing the Butcher Block Countertops
Now that the butcher block countertops are cut, sanded, and finished, it’s time to install them onto your cabinets. Follow these steps to ensure a secure and stable installation:
- Apply wood glue: Apply a thin layer of wood glue to the top surface of the cabinets. This will help create a strong bond between the cabinets and the countertops.
- Carefully place the countertops: With the help of a friend or family member, carefully lift the butcher block countertops and place them onto the cabinets. Make sure they are positioned correctly according to the markings you made earlier.
- Secure with clamps: Use clamps to apply pressure and hold the countertops firmly in place. Space the clamps evenly along the edges and allow the glue to dry according to the manufacturer’s instructions (usually overnight).
- Drill pilot holes: Once the glue is dry, use a drill/driver to drill pilot holes through the countertops and into the cabinets. This will ensure a secure and stable installation.
- Fasten with screws: Insert screws into the pilot holes and tighten them using the drill/driver. Take care not to overtighten, as this may cause the wood to split. Secure the countertops with enough screws to provide stability.
- Check for level: Use a level tool to check if the countertops are perfectly level. If needed, make adjustments by adding shims between the cabinets and the countertops to achieve a level surface.
Proper installation is crucial to ensure the longevity and stability of your butcher block countertops. Take your time during this step and double-check your measurements and levelness to achieve a professional and seamless installation.
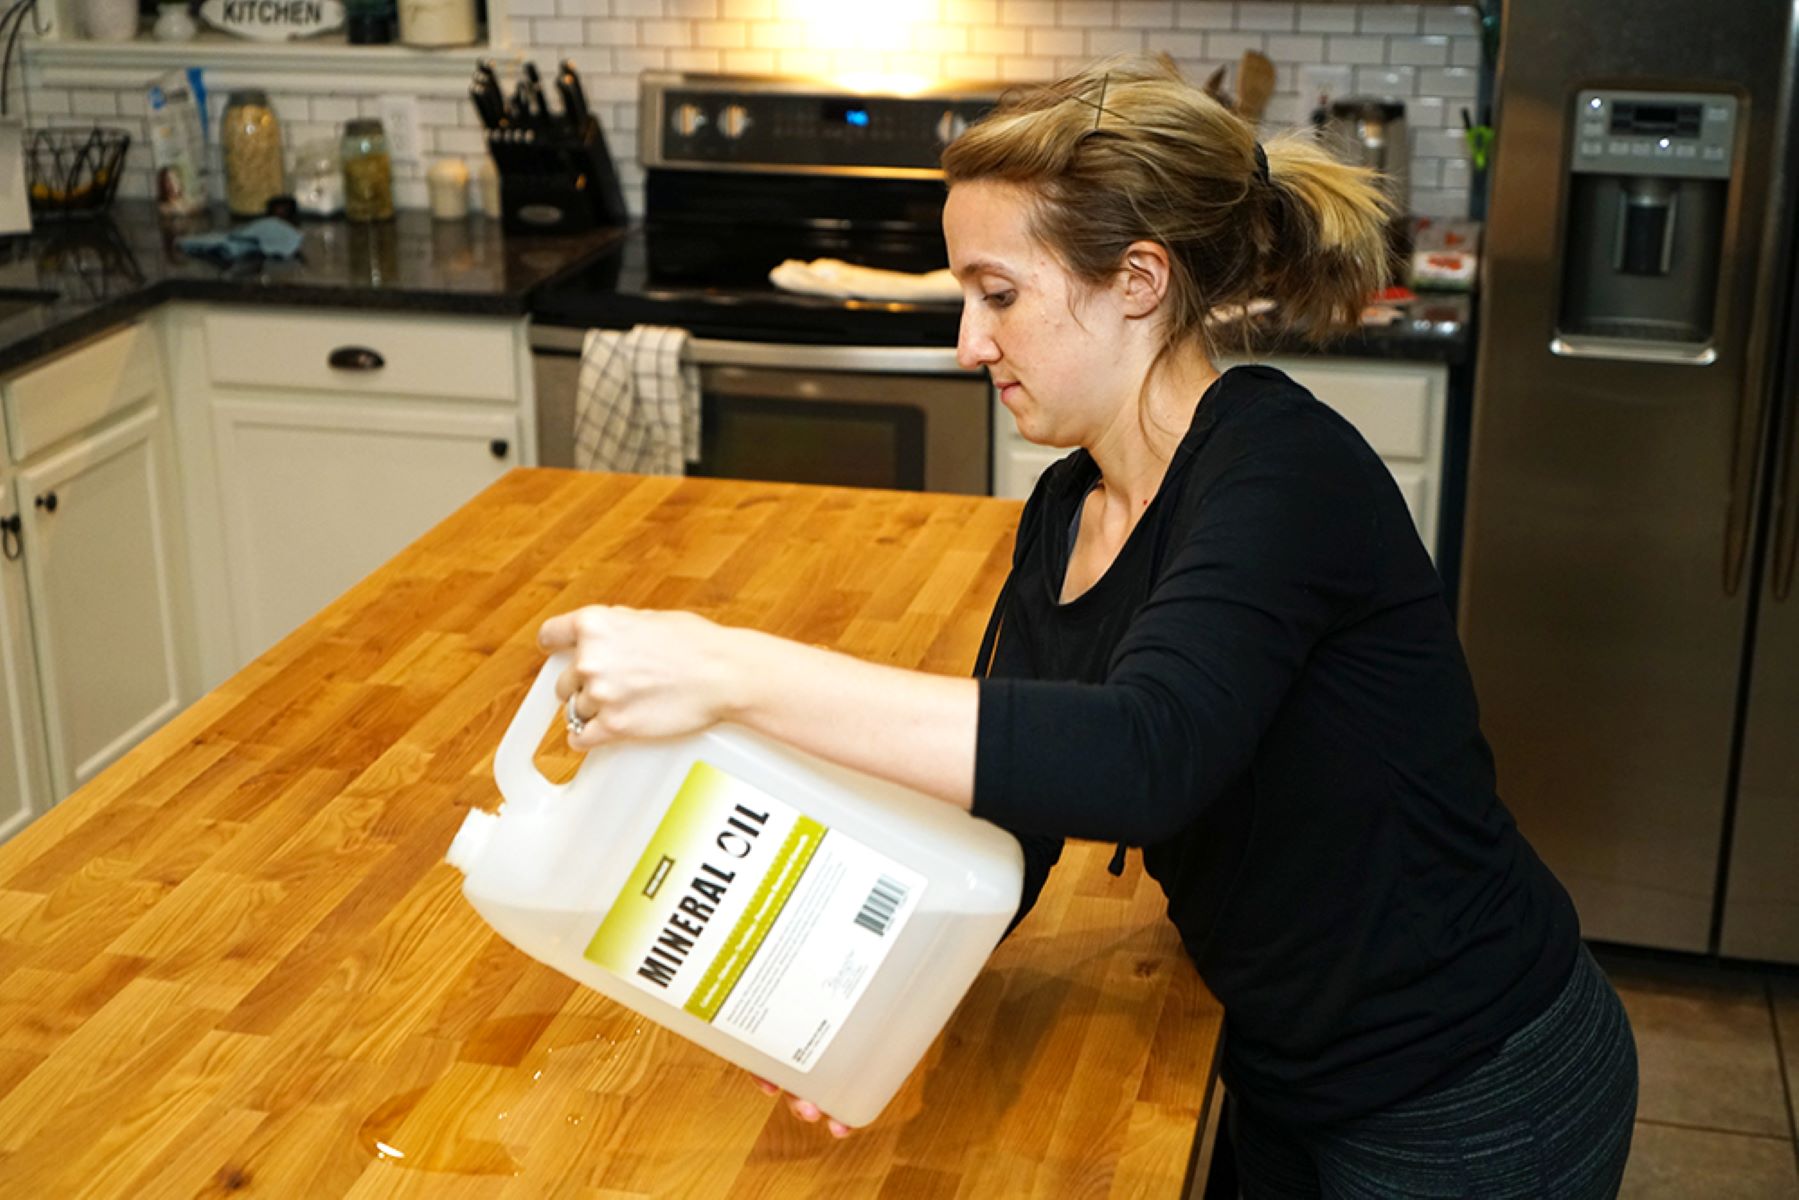
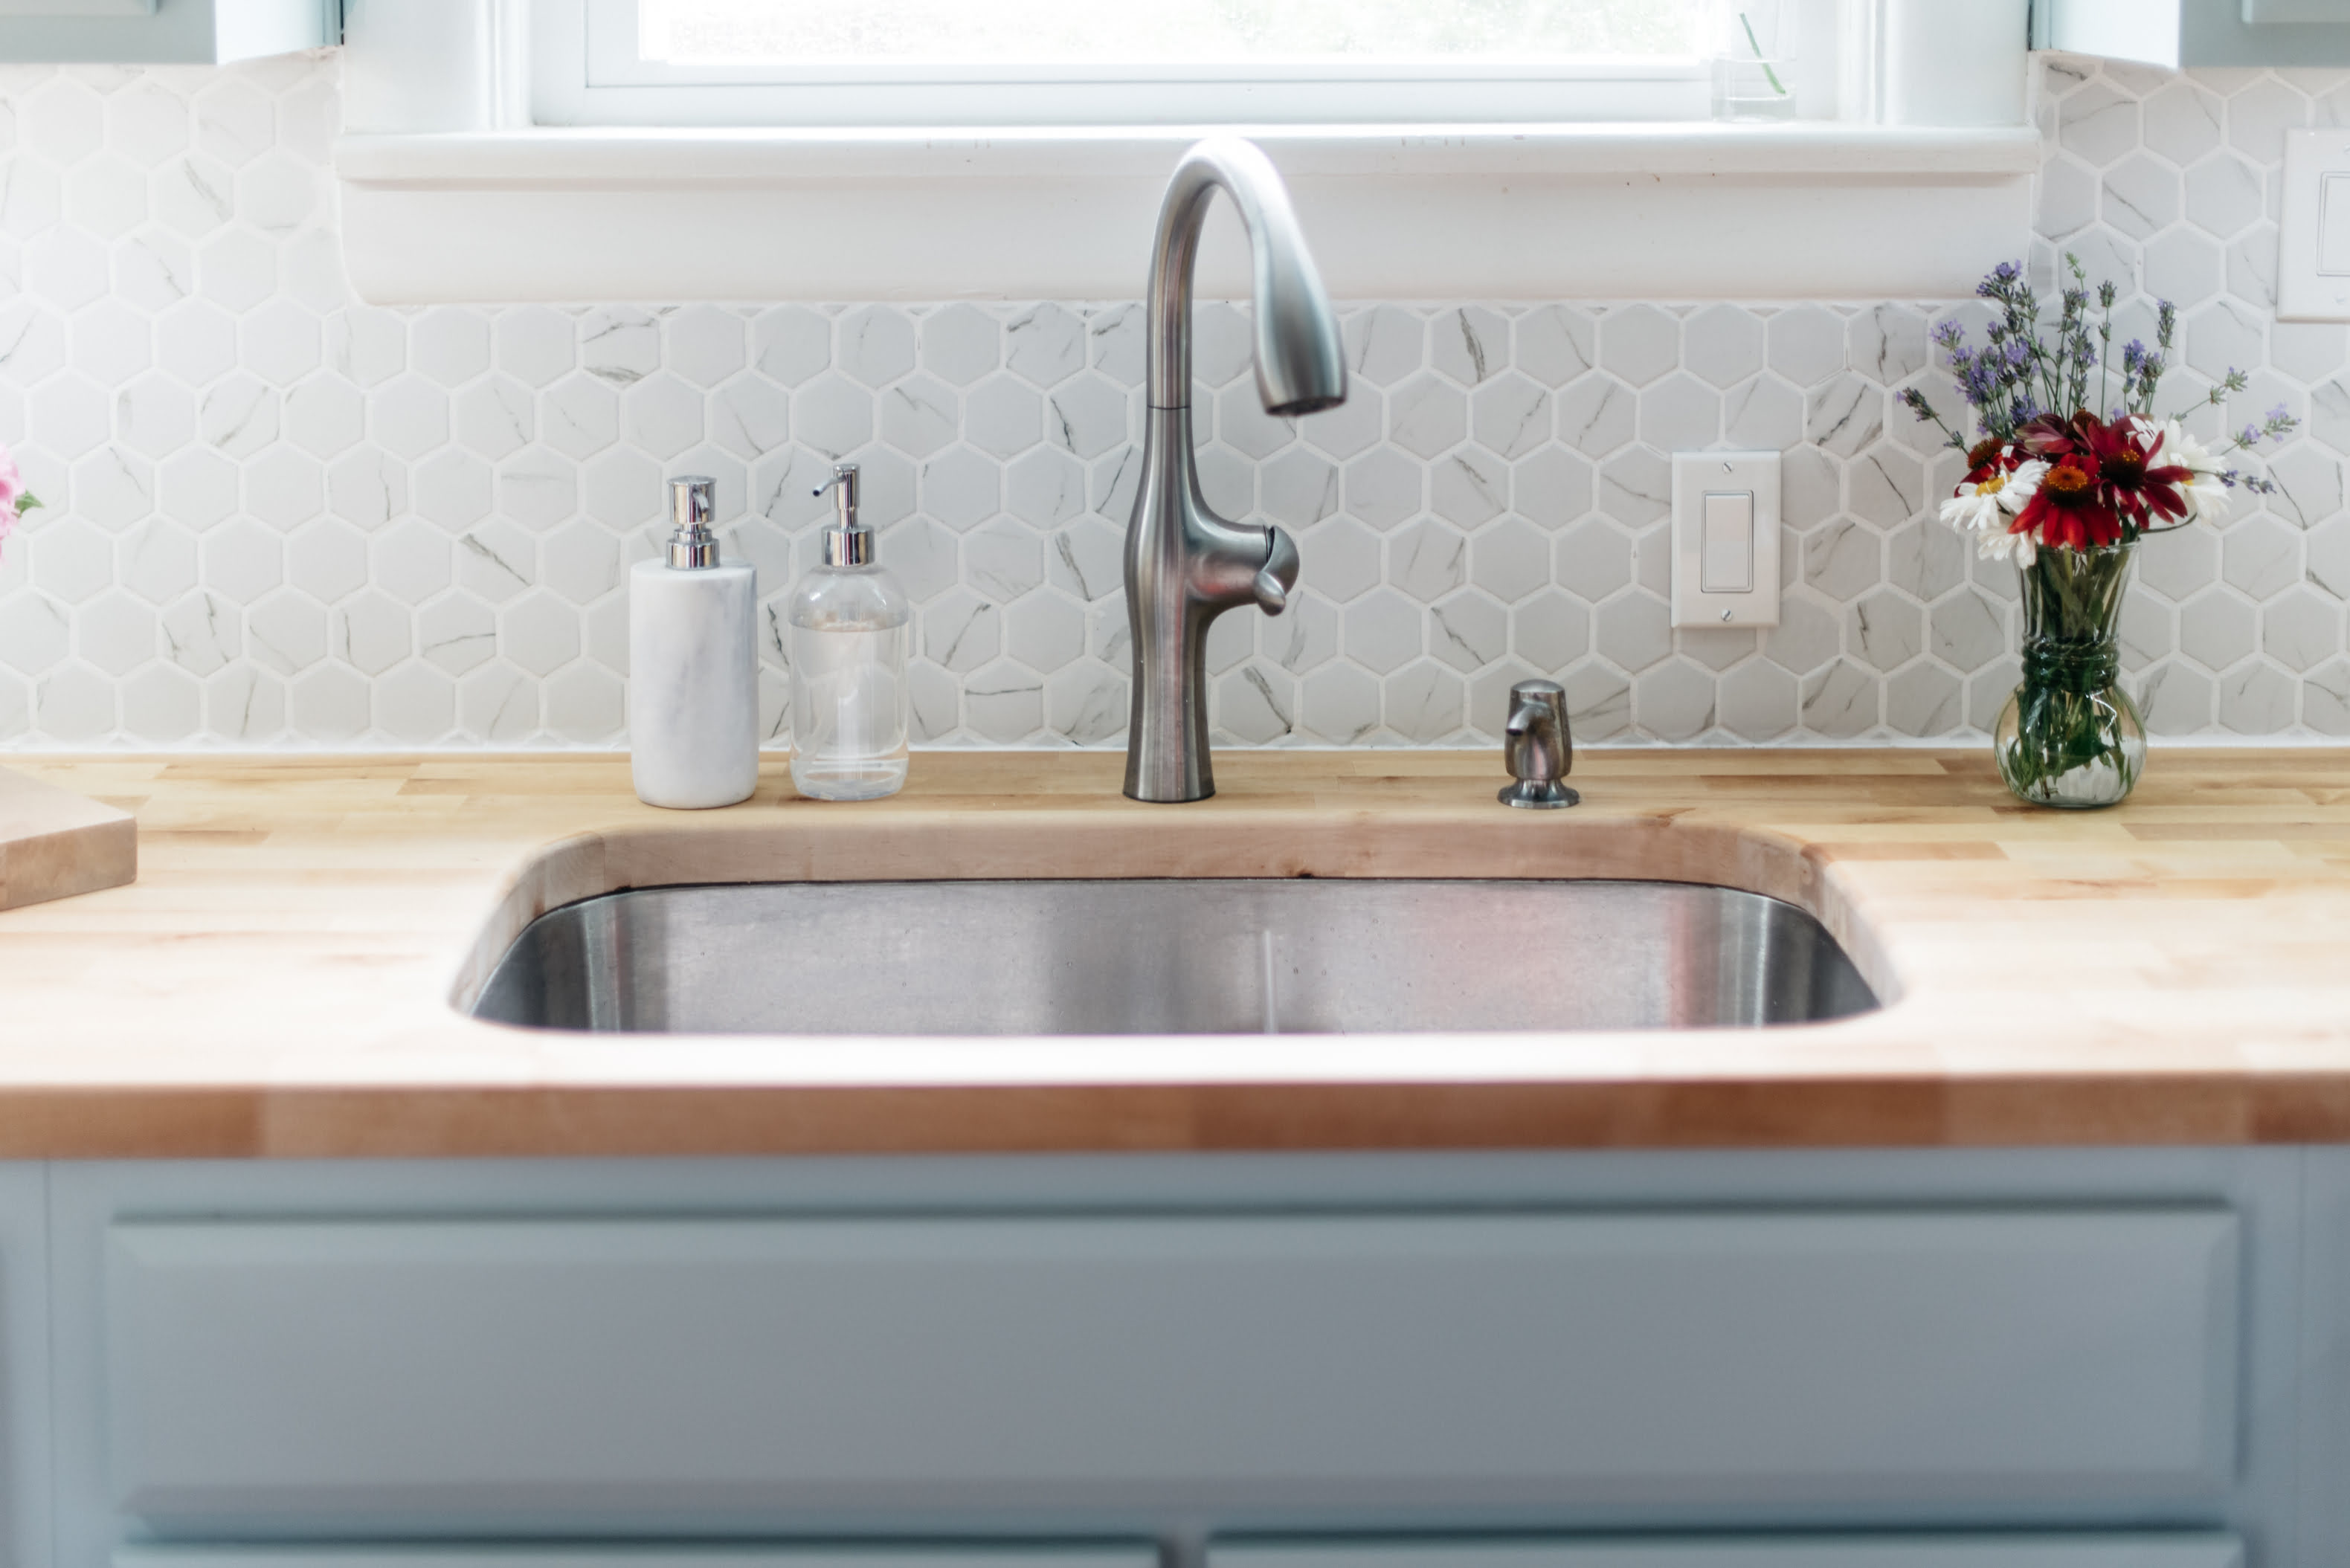
Sealing and Maintaining the Butcher Block Countertops
Once the butcher block countertops are installed, it’s important to seal and maintain them properly to keep them looking their best and prolong their lifespan. Follow these guidelines for sealing and maintaining your countertops:
- Seal the countertops: Apply a food-safe countertop sealant or oil to protect the wood from stains and moisture. Follow the manufacturer’s instructions for application and drying times. Repeat this process periodically, as recommended by the manufacturer, to maintain the seal and protect the wood.
- Protect from heat and moisture: Avoid placing hot pans or pots directly on the countertops, as this can cause damage. Use trivets or hot pads to protect the surface. Additionally, wipe up any spills immediately to prevent moisture from seeping into the wood.
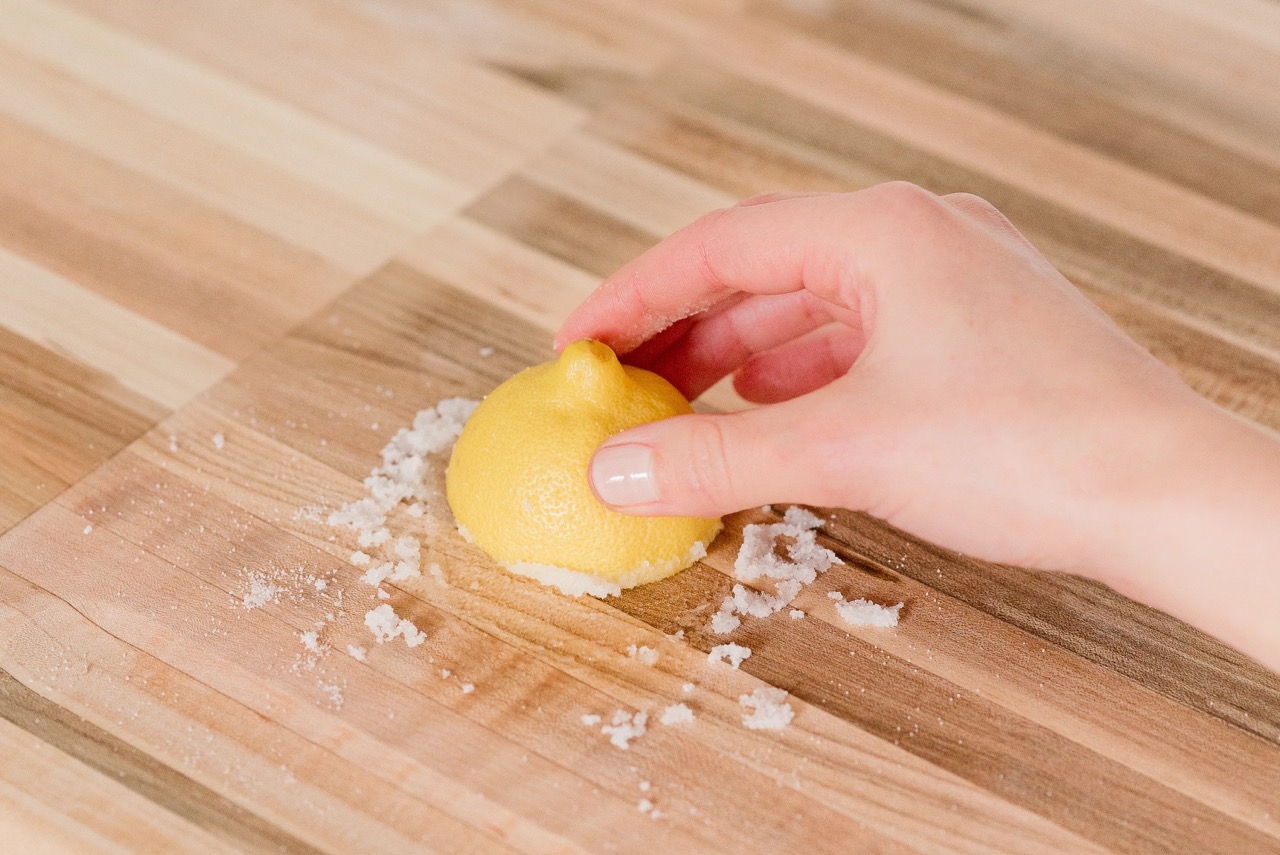
- Regular cleaning: Clean the countertops regularly with a mild soap and warm water solution. Avoid using harsh chemicals or abrasive cleaners that can damage the finish. Dry the surface thoroughly after cleaning to prevent moisture buildup.
- Prevent scratches: Use cutting boards or chopping blocks when cutting or chopping food. This will help prevent scratches and maintain the surface of the countertops. Avoid dragging heavy or sharp objects across the surface.
- Reapply oil as needed: Over time, the wood may start to appear dry or dull. To restore its luster, periodically apply a food-grade cutting board oil or mineral oil. Follow the manufacturer’s instructions for application.
- Repair any damage: If your countertops sustain any scratches or stains, you can sand them out using a fine-grit sandpaper. Be sure to reapply the sealant or oil afterward to maintain the protective barrier.
By sealing and properly maintaining your butcher block countertops, you can enjoy their natural beauty and functionality for years to come. Regular care and maintenance will help protect the wood and keep it looking its best.
Conclusion
Installing butcher block countertops can be a rewarding and worthwhile project that adds both style and functionality to your kitchen. By choosing the right materials, measuring accurately, and following the proper installation process, you can achieve a beautiful and durable result.
Remember to take your time during each step, from preparing the workspace to sealing and maintaining the countertops. Attention to detail is key to ensuring a successful installation and preserving the lifespan of your butcher block countertops.
With proper care and maintenance, your countertops will continue to bring warmth and charm to your kitchen for years to come. Regular sealing, protection from heat and moisture, and gentle cleaning will help keep them looking their best.
So, if you’re ready to embark on a kitchen renovation or upgrade, consider the timeless beauty and versatility of butcher block countertops. With the right tools, materials, and a bit of patience, you can enjoy a stunning and functional workspace that will be the heart of your home.
Frequently Asked Questions about How Do You Install Butcher Block Countertops
Was this page helpful?
At Storables.com, we guarantee accurate and reliable information. Our content, validated by Expert Board Contributors, is crafted following stringent Editorial Policies. We're committed to providing you with well-researched, expert-backed insights for all your informational needs.
0 thoughts on “How Do You Install Butcher Block Countertops”