Home>Articles>How To Join Butcher Block Countertops Together
Articles
How To Join Butcher Block Countertops Together
Modified: August 28, 2024
Learn how to join butcher block countertops together in this informative articles. Get step-by-step instructions and handy tips for a seamless installation.
(Many of the links in this article redirect to a specific reviewed product. Your purchase of these products through affiliate links helps to generate commission for Storables.com, at no extra cost. Learn more)
Introduction
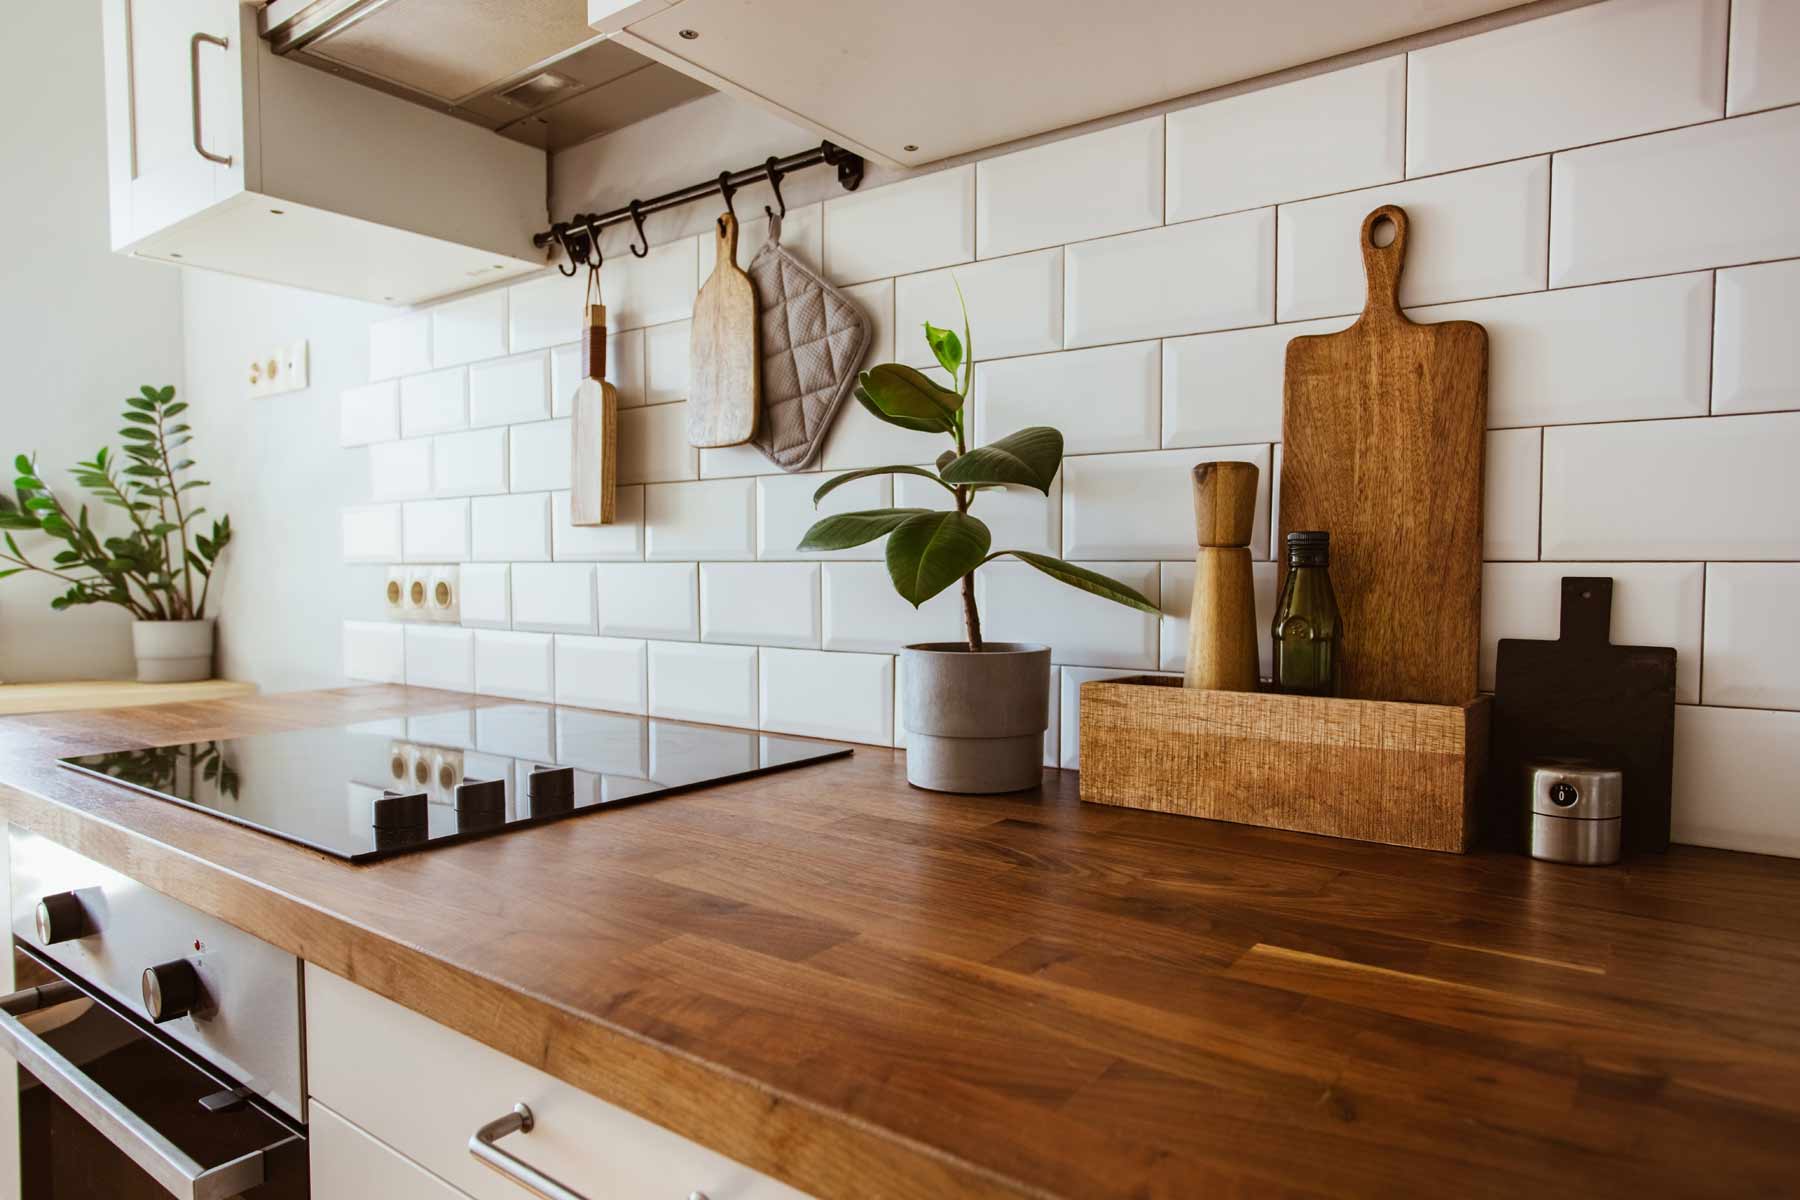
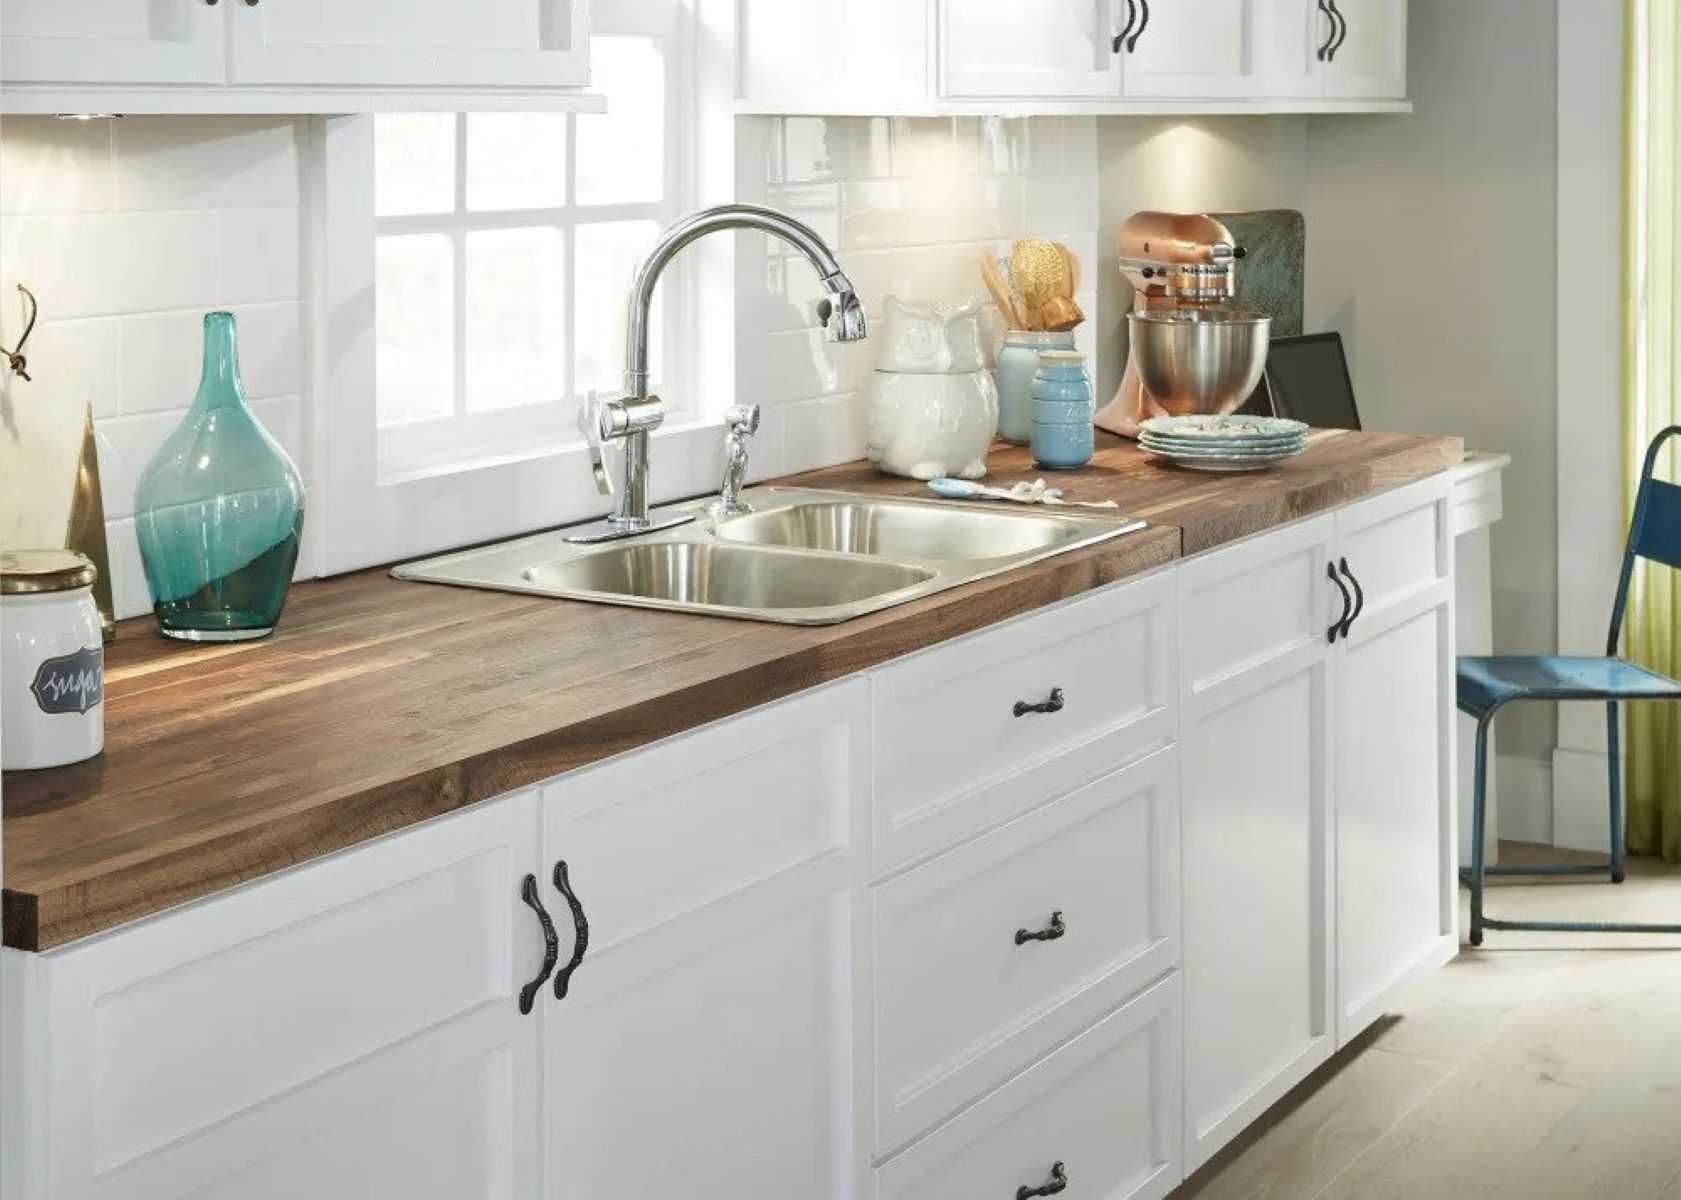
Butcher block countertops are a popular choice for kitchens due to their durability and unique aesthetic appeal. However, when dealing with larger countertops or custom installations, it may be necessary to join multiple butcher block pieces together. Joining butcher block countertops together requires precise techniques and the right tools to ensure a seamless and secure connection.
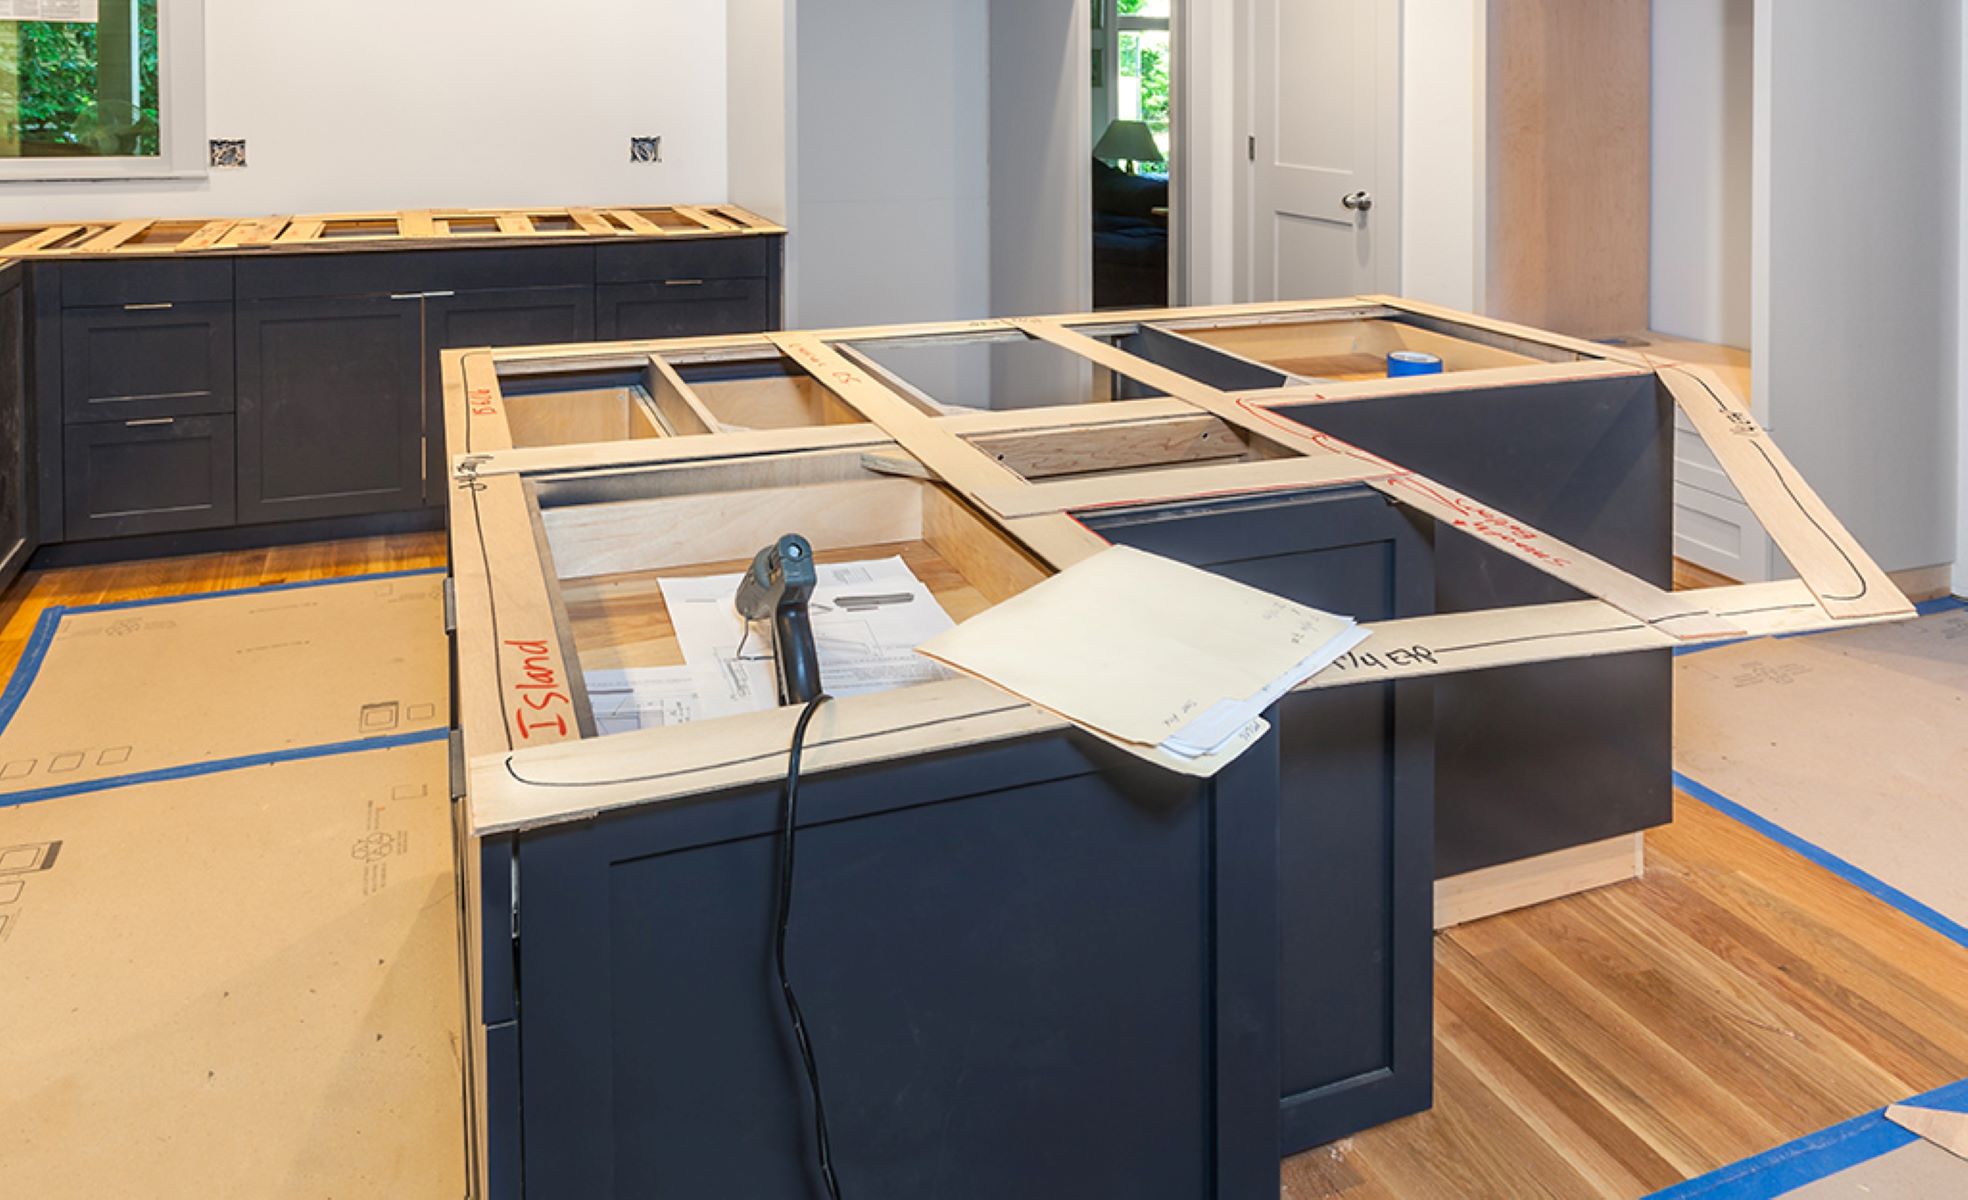
In this article, we will guide you through the step-by-step process of how to join butcher block countertops together. Whether you are a seasoned DIY enthusiast or a novice handyman, following these instructions will help you achieve a professional-looking countertop installation.
Before we dive into the details, it is important to gather all the necessary tools and materials to make the joining process smooth and efficient. Let’s take a look at what you will need.
Key Takeaways:
- Joining butcher block countertops requires meticulous preparation, precise wood glue application, and strategic clamping to achieve a seamless and durable connection. Attention to detail and patience are essential for a successful installation.
- Reinforcing the joined countertops with countertop connectors and meticulously sanding and finishing the surface are crucial steps in creating a polished and visually appealing final product. The process empowers DIY enthusiasts to customize their kitchen space with confidence.
Read more: How Durable Is Butcher Block Countertops
Tools and Materials Needed
Before you begin joining your butcher block countertops together, make sure you have the following tools and materials ready:
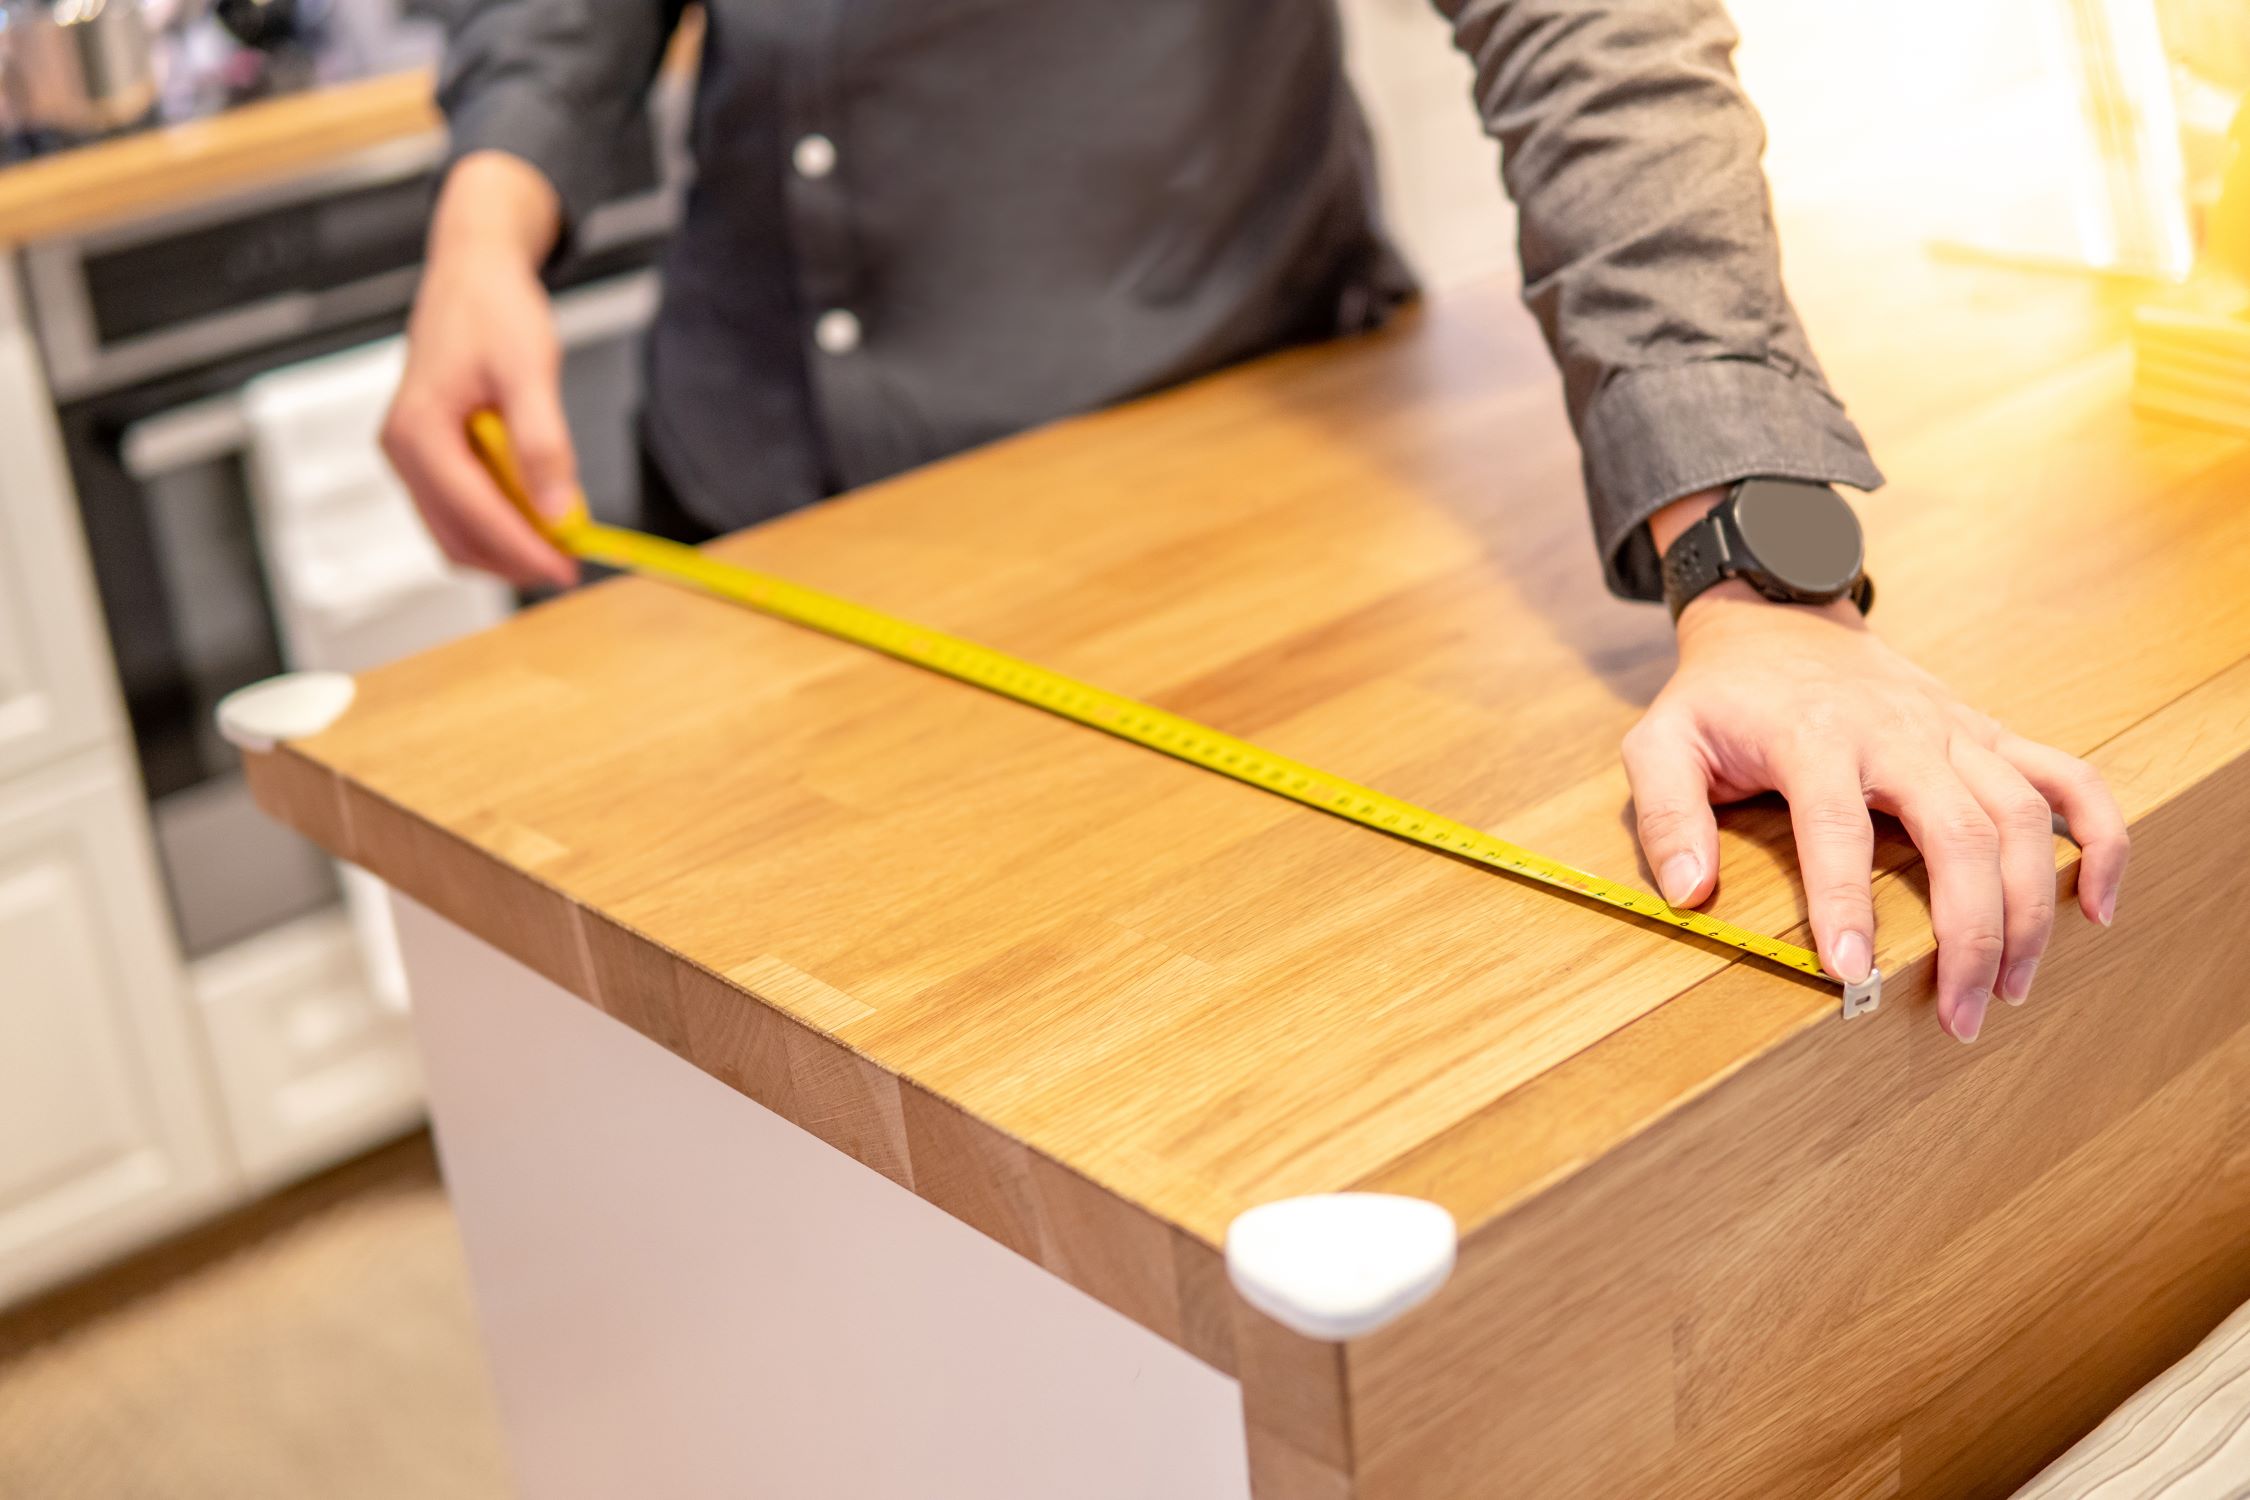
1. Butcher block countertops: Ensure you have the sufficient amount of butcher block pieces to create your desired countertop layout. Measure and cut them to the desired lengths if necessary.
2. Wood glue: Look for a high-quality wood glue that is specifically designed for bonding butcher block surfaces. This will provide a strong and durable connection between the countertops.
3. Clamps: You will need a sufficient number of clamps to hold the countertop pieces in place during the joining process. Choose clamps that are long enough to span the width of the countertops and provide even pressure.
4. Countertop connectors: To reinforce the joined countertops, invest in countertop connectors. These connectors are typically made of metal and are designed to provide additional strength and stability to the joint.
5. Sander: A sander will be essential for smoothing out the joined countertop surface, ensuring a seamless appearance. Choose a random orbital sander for the best results.
6. Sandpaper: For sanding the countertops, you will need various grits of sandpaper, ranging from rough to fine. Start with a coarse grit to remove any imperfections or uneven surfaces and gradually work your way to a fine grit for a smooth finish.
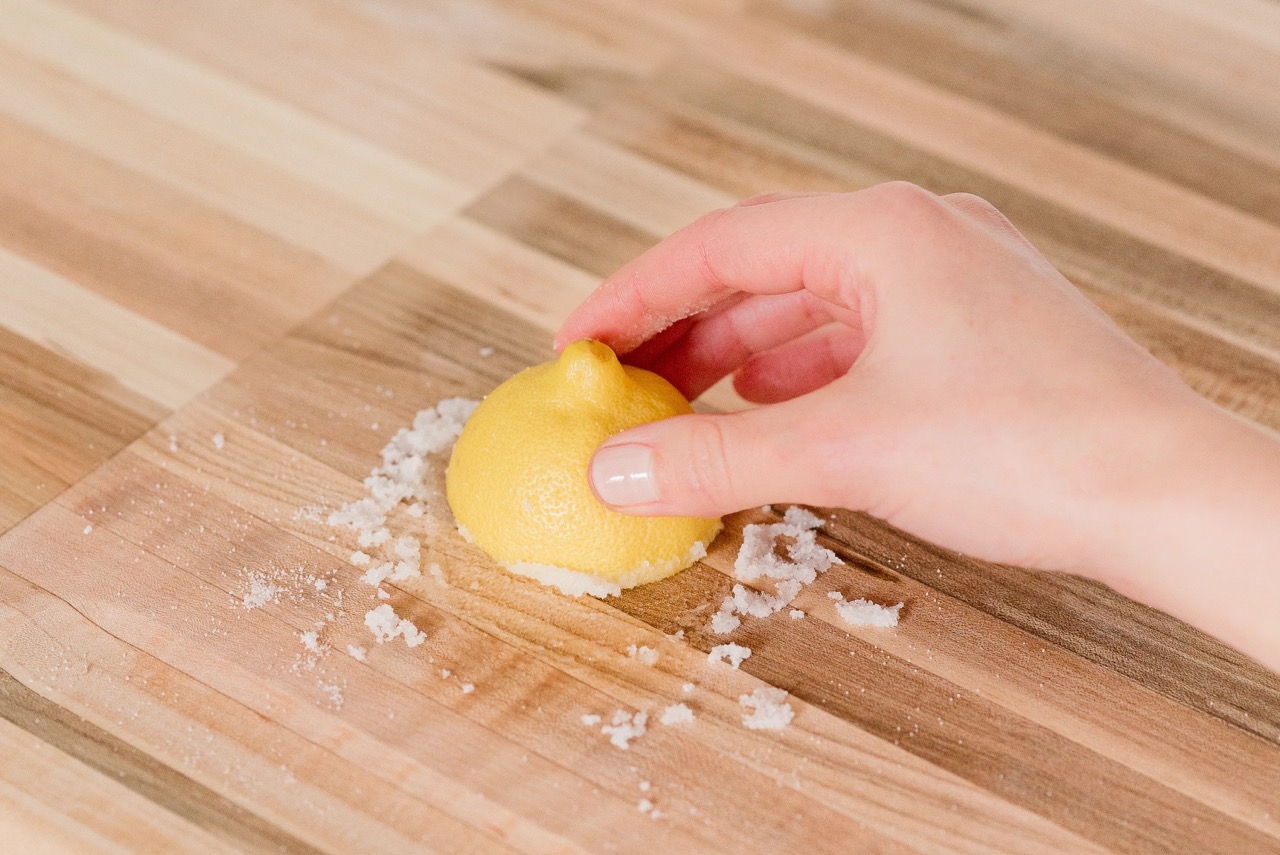
7. Finishing oil: To protect the butcher block and enhance its natural beauty, apply a food-safe finishing oil. This will help seal the wood and make it more resistant to stains and water damage.
8. Safety equipment: Don’t forget to prioritize safety. Wear safety glasses and gloves to protect yourself during the countertop joining process.
Now that you have all the necessary tools and materials ready, we can move on to the step-by-step process of joining your butcher block countertops together.
Step 1: Preparing the Countertop Surfaces
Before joining the butcher block countertops together, it is crucial to ensure that the surfaces are clean, flat, and free from any debris or imperfections. Follow these steps to prepare the countertop surfaces:
1. Start by laying out the countertop pieces in their desired configuration. Make sure the edges fit together snugly without gaps.
2. Use a straightedge, such as a level or a long piece of wood, to check if the countertop edges are level and even. If any areas are uneven, use a belt sander to carefully remove excess material until the edges align perfectly.
3. Once the edges are level, use a router with a straight bit to create a groove along the connecting edges of the countertop pieces. The groove should be deep enough to accommodate the width of the countertop connectors.
4. After routing the grooves, use a vacuum or a brush to clean up any sawdust or debris from the countertop surfaces. It is crucial to have a clean and smooth surface for the glue and connectors to adhere properly.
5. Finally, perform a dry fit by placing the countertop pieces together and inserting the countertop connectors into the grooves. Ensure that the connectors fit securely and that the countertop surfaces align perfectly. Make any necessary adjustments before proceeding to the next step.
By properly preparing the countertop surfaces, you are setting the foundation for a strong and seamless joint. Taking the time to ensure the edges are level and the surfaces are clean will greatly improve the quality of the final result.
Once you have prepared the countertops, it’s time to move on to the next step: applying wood glue to join the pieces together.
Step 2: Applying Wood Glue
Applying wood glue is a crucial step in joining butcher block countertops together. The glue will create a strong bond between the countertop pieces, ensuring a secure and long-lasting joint. Here’s how to apply wood glue properly:
1. Start by applying a generous amount of wood glue to one of the grooved edges of the countertop piece. Use a brush or a small roller to spread the glue evenly, ensuring full coverage.
2. Repeat the glue application process on the corresponding groove of the adjacent countertop piece. Make sure both edges are evenly coated with glue.
3. Once the glue is applied, carefully bring the two countertop pieces together, aligning the edges and the grooves. Apply gentle pressure to ensure a tight fit.
4. Use clamps to hold the countertop pieces securely in place. Place the clamps along the length of the joined edges, applying even pressure to distribute the glue evenly.
5. Check for any excess glue that may squeeze out from the joint. Wipe it off immediately with a damp cloth or sponge to prevent it from drying and interfering with the final finish.
6. Allow the glue to dry completely according to the manufacturer’s instructions. This typically takes several hours or overnight.
Applying an ample amount of glue and ensuring complete coverage will help create a strong and secure bond between the countertop pieces. It is important to work quickly but with precision to prevent the glue from drying before joining the pieces together.
Once the wood glue is applied and the countertop pieces are clamped together, you can proceed to the next step: clamping the countertops to hold them in place during the drying process.
Step 3: Clamping the Countertops
Clamping the countertops is a crucial step in ensuring a tight and secure joint. The clamps will hold the countertop pieces together while the wood glue dries, creating a strong and stable connection. Follow these steps to properly clamp the countertops:
1. Begin by positioning the clamps along the joined edges of the countertop pieces. Make sure the clamps are evenly spaced and provide sufficient pressure to hold the pieces together.
2. Place small pieces of scrap wood or protective pads between the clamps and the countertops to prevent any damage to the wood surface.
3. Tighten the clamps gradually and evenly, applying enough pressure to close any gaps between the countertop pieces. Adjust the clamps as needed to ensure a tight and flush joint.
4. Double-check the alignment of the countertop pieces to ensure they are level and even. Make any necessary adjustments before proceeding.
5. Once the clamps are tightened, inspect the joint from different angles to ensure there are no visible gaps. If gaps are present, release the clamps, reapply glue to the joint, and clamp the countertops again.
6. Leave the clamps in place as per the wood glue manufacturer’s instructions. The drying time will vary depending on the specific glue used, but it is typically recommended to leave the clamps on for at least 24 hours.
Properly clamping the countertops is essential to achieve a strong and seamless joint. Take care to evenly distribute the clamping pressure and regularly inspect the joint to ensure a tight fit. This step is crucial for a successful countertop joining process.
Once the clamps are in place, you can move on to the next step: removing any excess glue from the joint.
When joining butcher block countertops together, use a food-safe wood glue and clamps to ensure a strong and seamless bond. Sand the edges for a smooth finish.
Read more: How To Sand Butcher Block Countertops
Step 4: Removing Excess Glue
Removing excess glue after clamping the countertops is an important step to ensure a clean and professional finish. If left unaddressed, dried glue can interfere with the final appearance of the joined countertops. Follow these steps to remove any excess glue efficiently:
1. Wait for the wood glue to fully dry and cure as per the manufacturer’s instructions. It is crucial not to rush this step, as premature removal of glue can result in a weak joint.
2. Once the glue is completely dry, use a sharp chisel or a scraper to carefully remove any visible excess glue on the joint. Be cautious not to damage the wood surfaces while scraping away the dried glue.
3. Alternatively, you can use a damp cloth or sponge to soften the excess glue. Gently rub the glue with the damp cloth, applying slight pressure until the glue starts to loosen. Wipe away the softened glue with a dry cloth, repeating the process as necessary.
4. Take extra care when removing excess glue near the joint or any exposed wood surfaces. Scratches or dents on the wood can be difficult to repair, so proceed with caution to maintain the integrity of the countertop surfaces.
5. It’s important to note that some wood glues can be removed easily with water, while others may require a solvent. Refer to the specific instructions provided with the wood glue to determine the best method for removing excess glue.
6. Once all excess glue is removed, inspect the joint and the surrounding areas carefully. Ensure there are no visible remnants of glue or uneven spots on the countertop surface.
Removing excess glue is a crucial step in achieving a clean and professional-looking joint. By taking the time to remove any dried glue, you will ensure a smooth and seamless finish for your joined countertops.
Once the excess glue is removed, you can move on to the next step: reinforcing the joined countertops with countertop connectors.
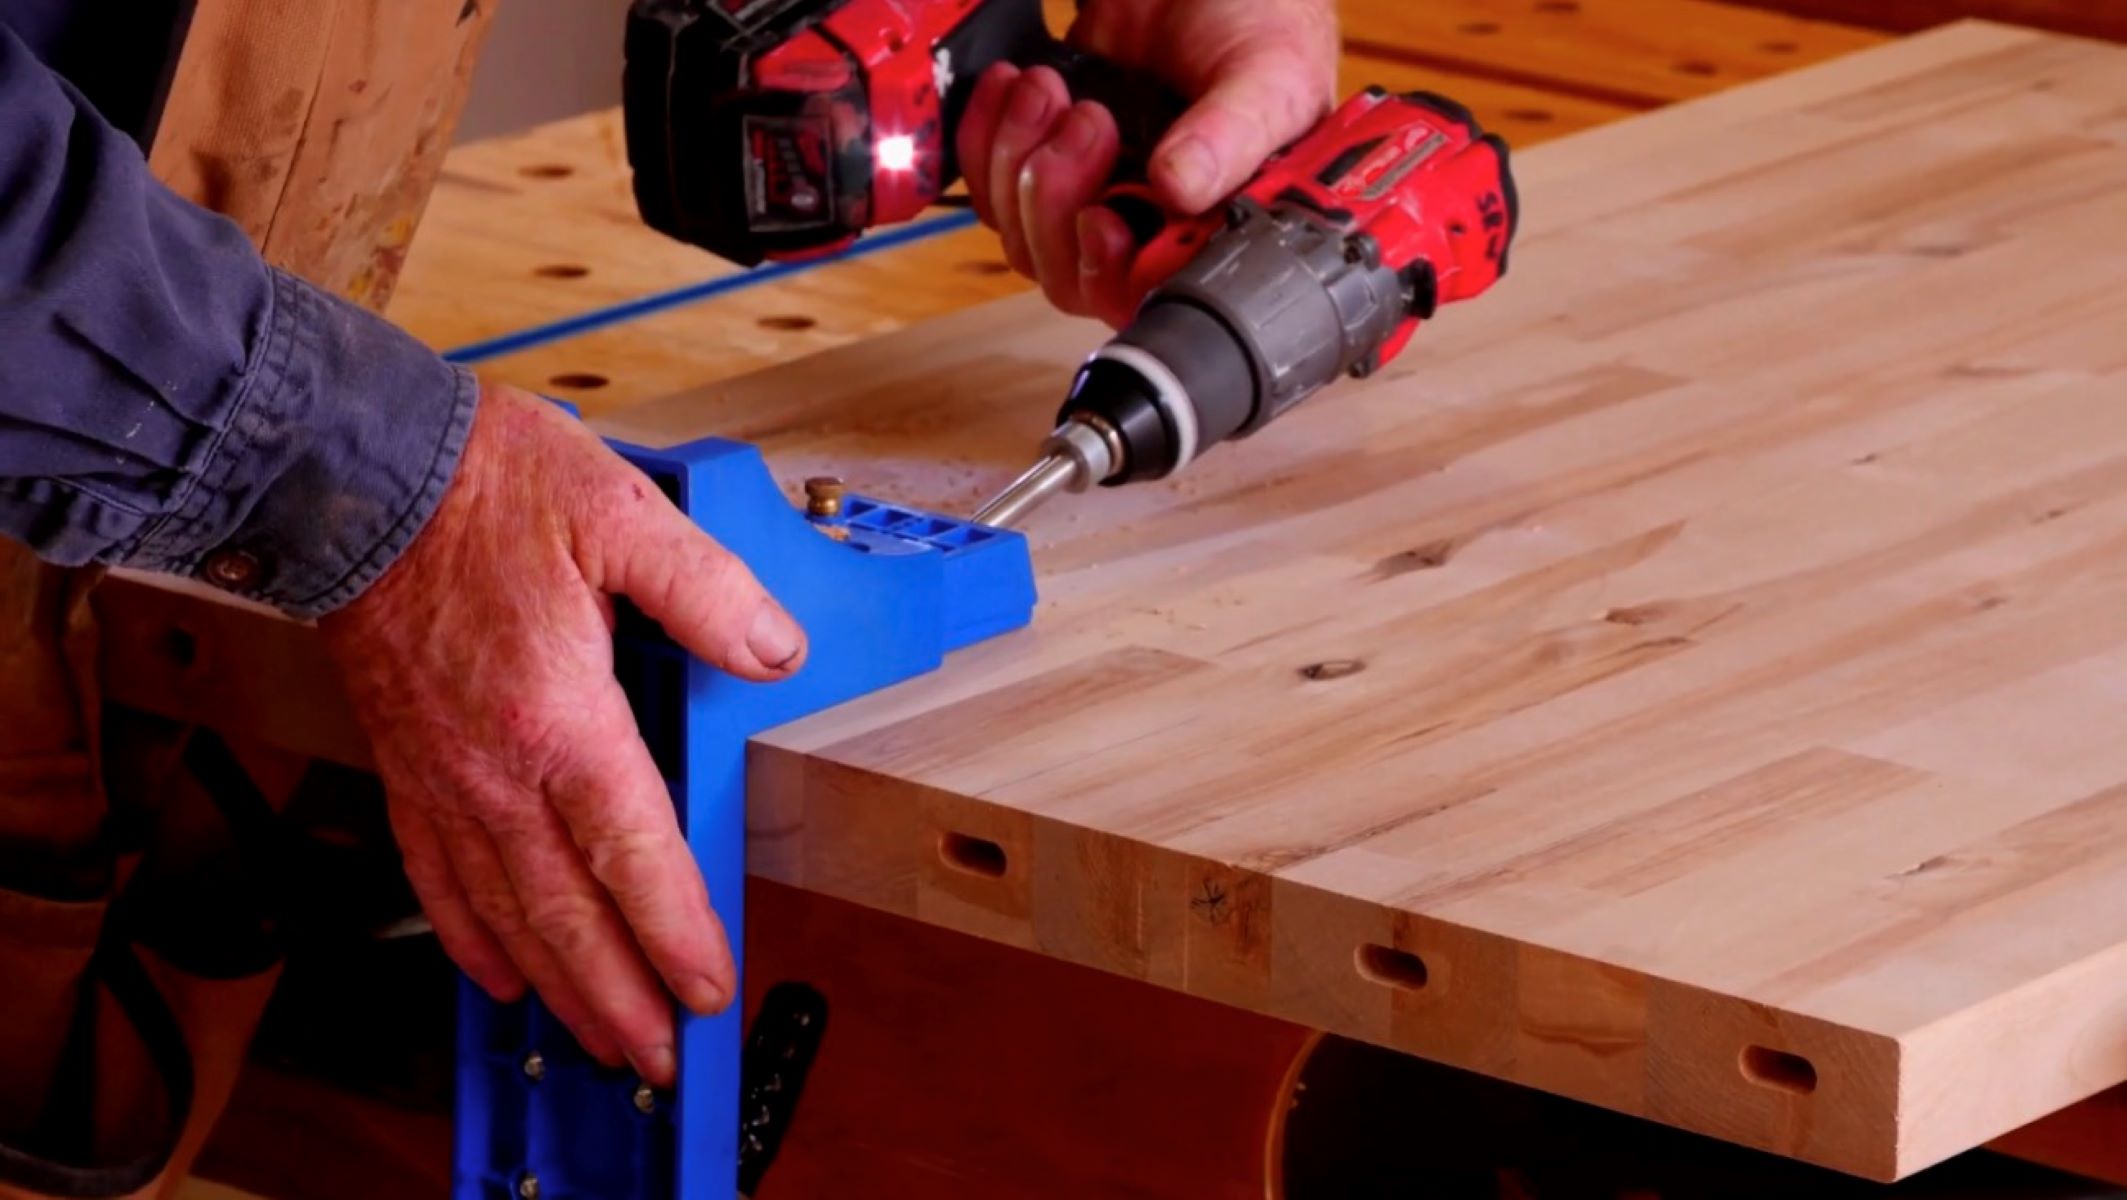
Step 5: Reinforcing with Countertop Connectors
Reinforcing the joined countertops with countertop connectors adds extra stability and strength to the joint. These connectors help ensure that the countertops remain securely joined over time, even with heavy use. Follow these steps to properly reinforce the joined countertops with countertop connectors:
1. Start by selecting the appropriate countertop connectors for your specific countertop joining method. There are various types of connectors available, such as metal brackets, bolts, or specialized interlocking systems.
2. Place the connectors in the pre-routed grooves on the underside of the joined countertop pieces. Ensure the connectors align with each other and can be securely fastened.
3. Depending on the type of countertop connector being used, follow the manufacturer’s instructions for installation. This may involve inserting bolts through the connectors and tightening them with a wrench or using screws to secure the connectors in place.
4. Use a screwdriver or drill to fasten the countertop connectors firmly to the countertop pieces. Make sure the connectors are flush with the underside of the countertops to prevent any uneven surfaces.
5. Install additional countertop connectors evenly along the length of the joined countertops, spacing them according to the manufacturer’s recommendations. This will provide sufficient reinforcement to prevent any shifting or separation of the countertop pieces.
6. Double-check the alignment and levelness of the countertops once the connectors are installed. Make any necessary adjustments to ensure a seamless and even surface.
Reinforcing the joined countertops with countertop connectors is an important step in creating a durable and secure joint. These connectors provide additional support and stability, ensuring that the joined countertops remain intact over time.
Once the countertop connectors are installed, you can proceed to the final step: sanding and finishing the joined countertops to achieve a polished look.
Step 6: Sanding and Finishing the Joined Countertops
Sanding and finishing the joined countertops is the final step in the process of creating a seamless and aesthetically pleasing look. This step will help smooth out any imperfections, blend the joint, and protect the wood surface. Follow these steps to achieve a polished finish for your joined countertops:
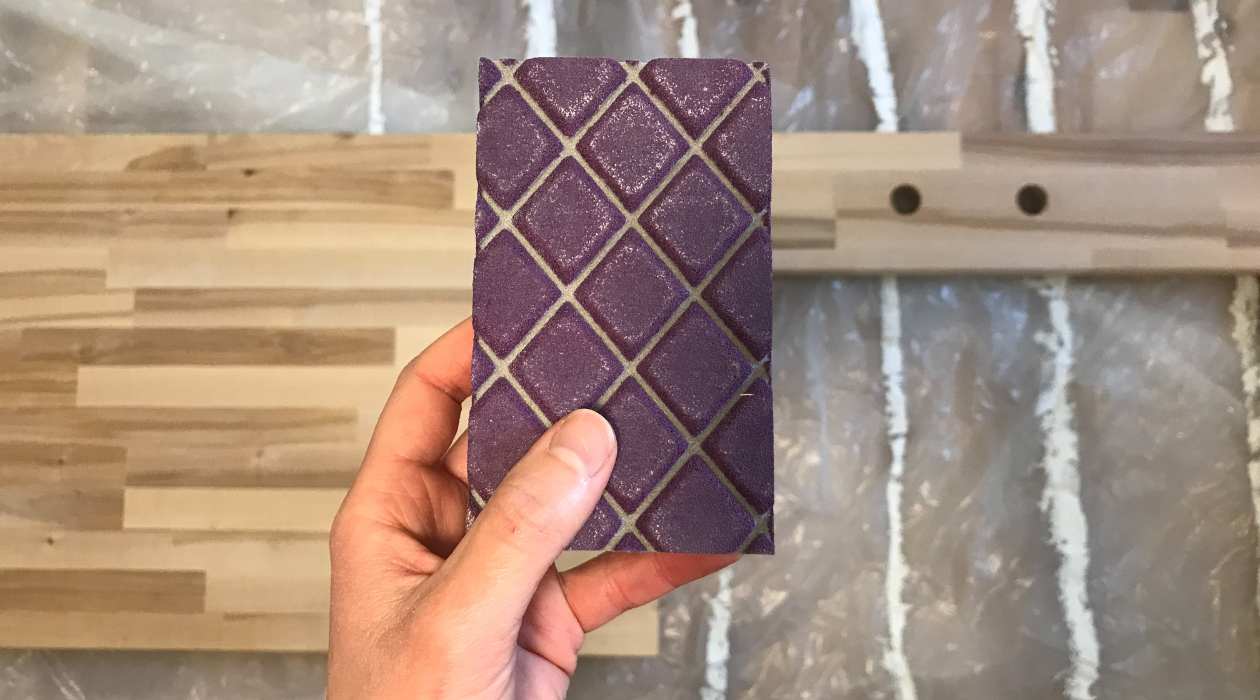
1. Start by using a random orbital sander with coarse grit sandpaper to sand the entire surface of the joined countertops. This will help remove any visible glue residue, smooth out rough edges, and level any uneven areas.
2. Gradually switch to finer grit sandpaper as you go, working your way up to a medium or fine grit to achieve a smooth finish. Be sure to sand the joint area thoroughly to seamlessly blend the joint with the rest of the countertop surface.
3. Pay special attention to the edges and corners of the joined countertops to ensure a consistent and uniform appearance. Take your time to achieve a smooth and flawless finish.
4. Once the sanding process is complete, use a clean, damp cloth to remove any dust or debris from the countertop surface.
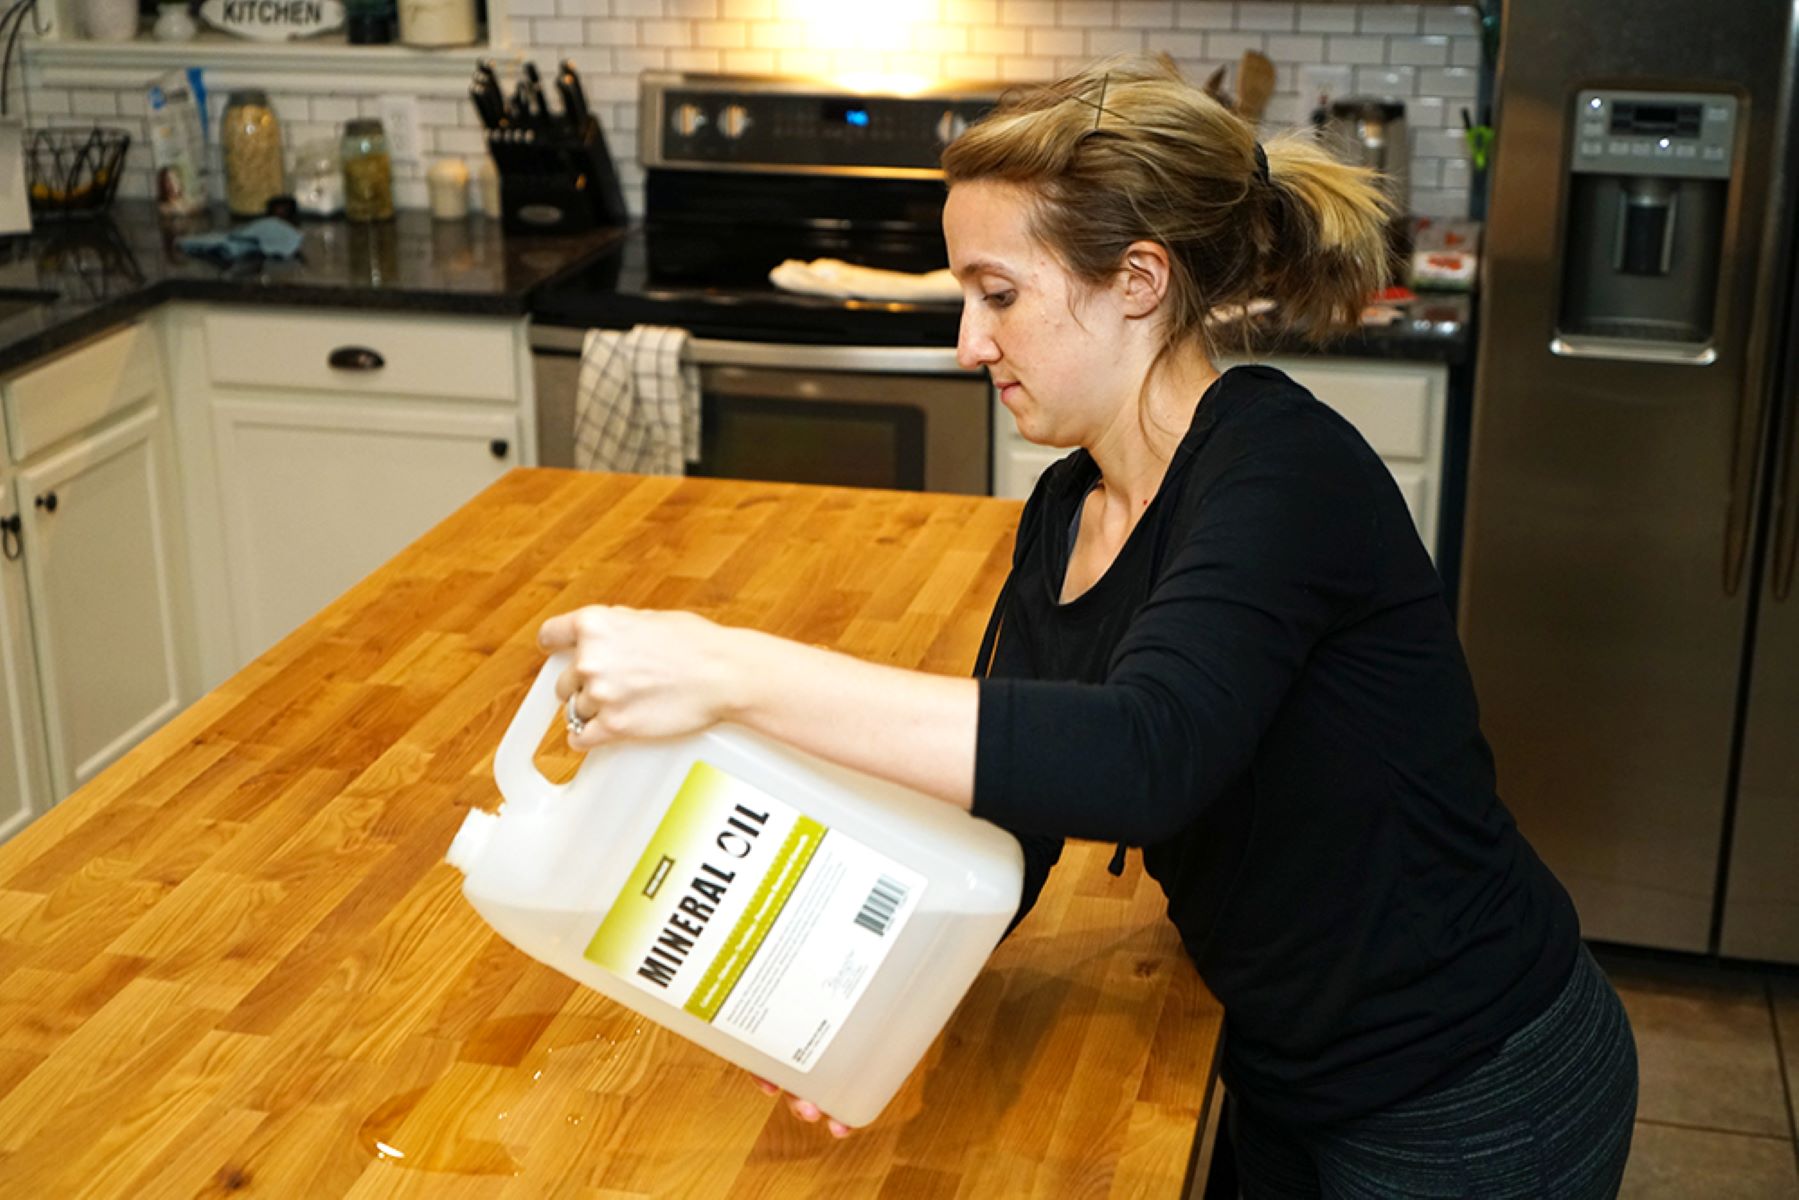
5. Apply a food-safe finishing oil to protect and enhance the natural beauty of the wood. Follow the manufacturer’s instructions for the specific oil you are using.
6. Use a brush or a lint-free cloth to evenly apply the finishing oil to the entire surface of the joined countertops. Allow the oil to penetrate the wood according to the recommended drying time.
7. After the initial coat of finishing oil has dried, lightly sand the countertops once again with a fine grit sandpaper. This will smooth out any raised grain caused by the oil application.
8. Apply a second coat of finishing oil and repeat the sanding process if desired. Multiple coats will provide a more durable and long-lasting finish.
9. Allow the final coat of finishing oil to fully cure as per the manufacturer’s instructions before using the countertops for regular activities.
Sanding and finishing the joined countertops will not only improve their appearance but also provide protection against stains and water damage. Taking the time to properly sand and finish the countertops will result in a stunning and durable final product.
With the completion of this step, your butcher block countertops are now ready to be enjoyed in your kitchen or any other space you have installed them in.
Conclusion
Congratulations! You have successfully learned how to join butcher block countertops together. By following the step-by-step process outlined in this article, you can create a seamless and professional-looking countertop installation.
Throughout the process, you have learned the importance of preparing the countertop surfaces, applying wood glue, clamping the countertops, removing excess glue, reinforcing with countertop connectors, and finally, sanding and finishing the joined countertops. Each step plays a vital role in ensuring a secure, visually appealing, and durable joint.
Remember to gather all the necessary tools and materials before starting, and take your time to complete each step with precision. The key to a successful countertop joining process is attention to detail and patience.
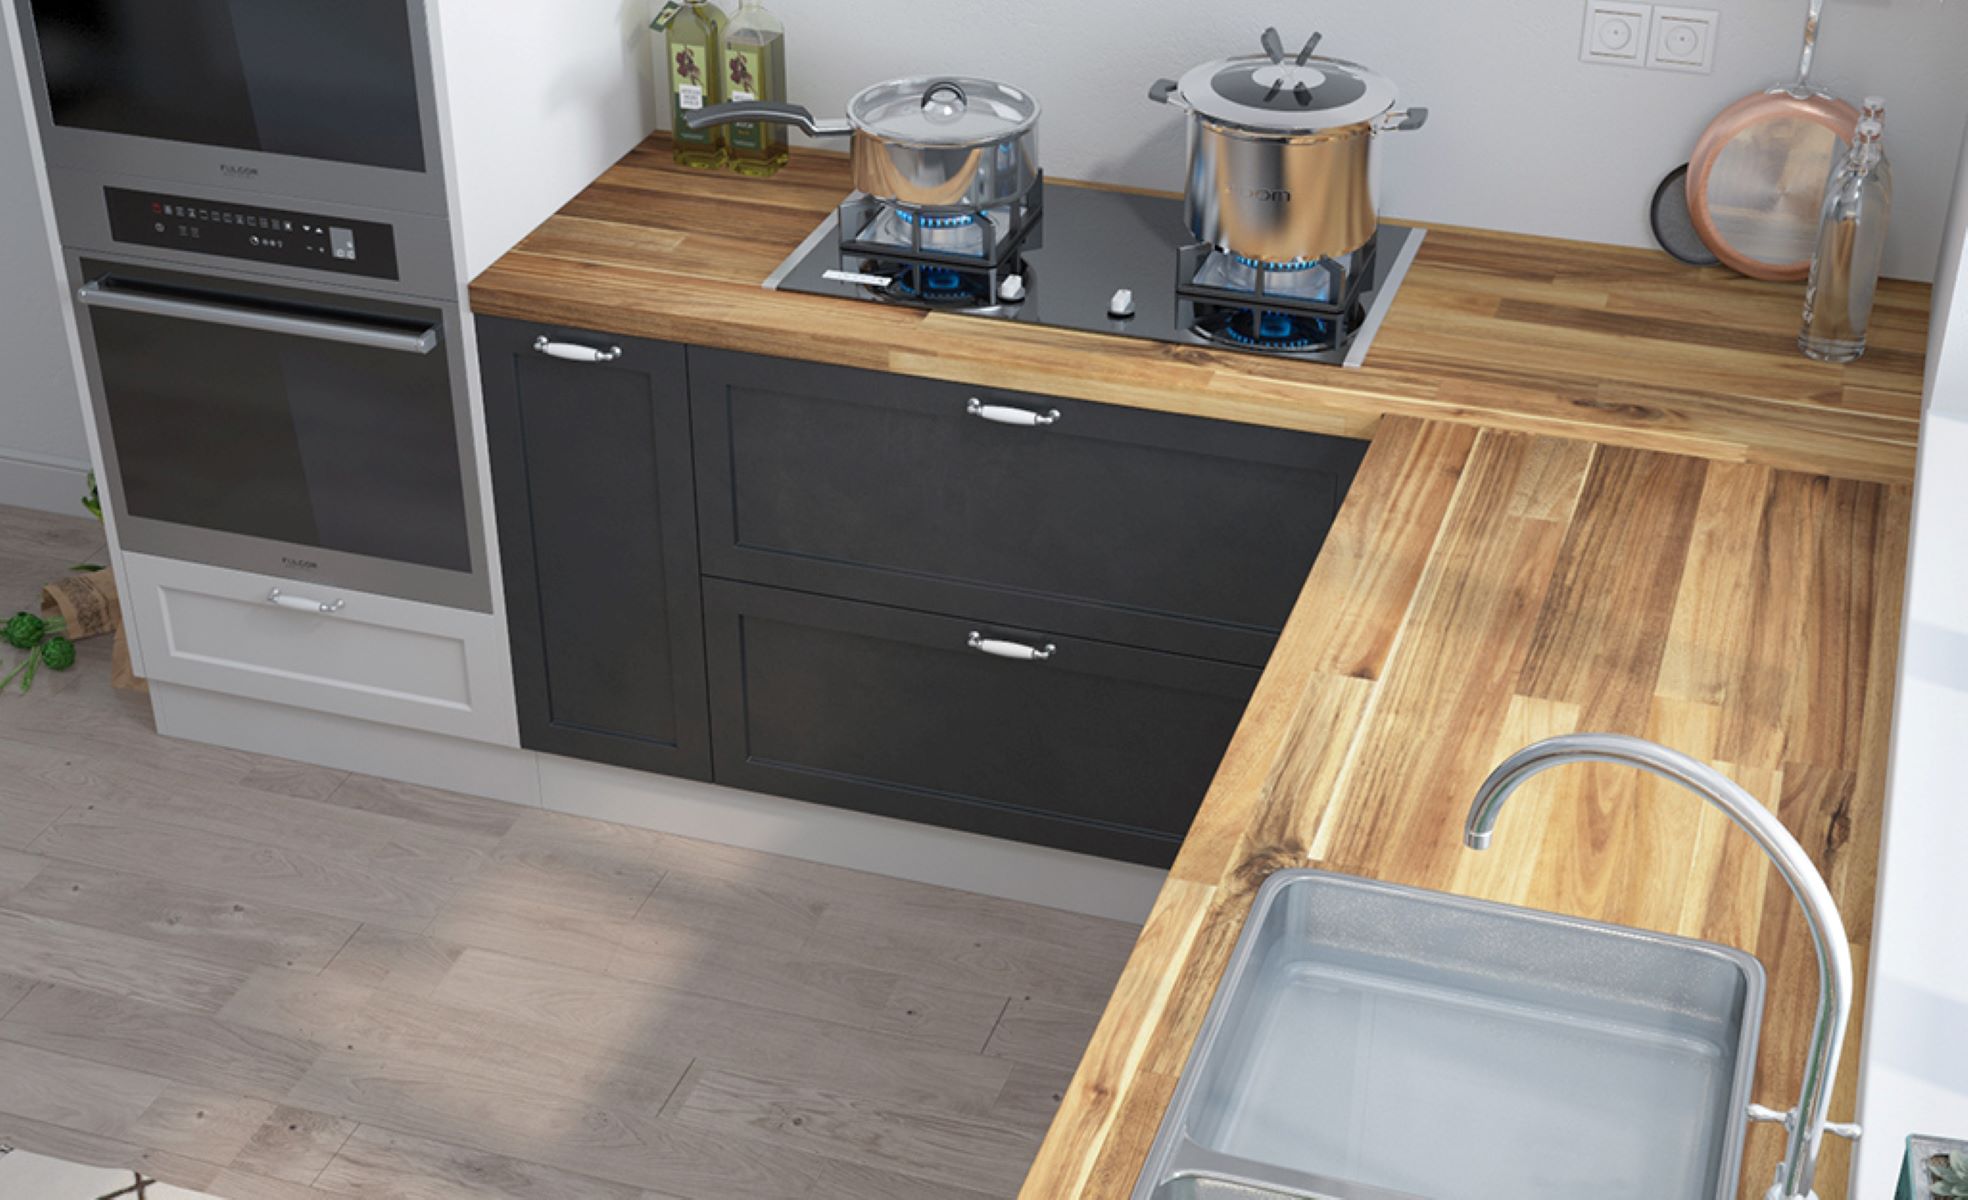
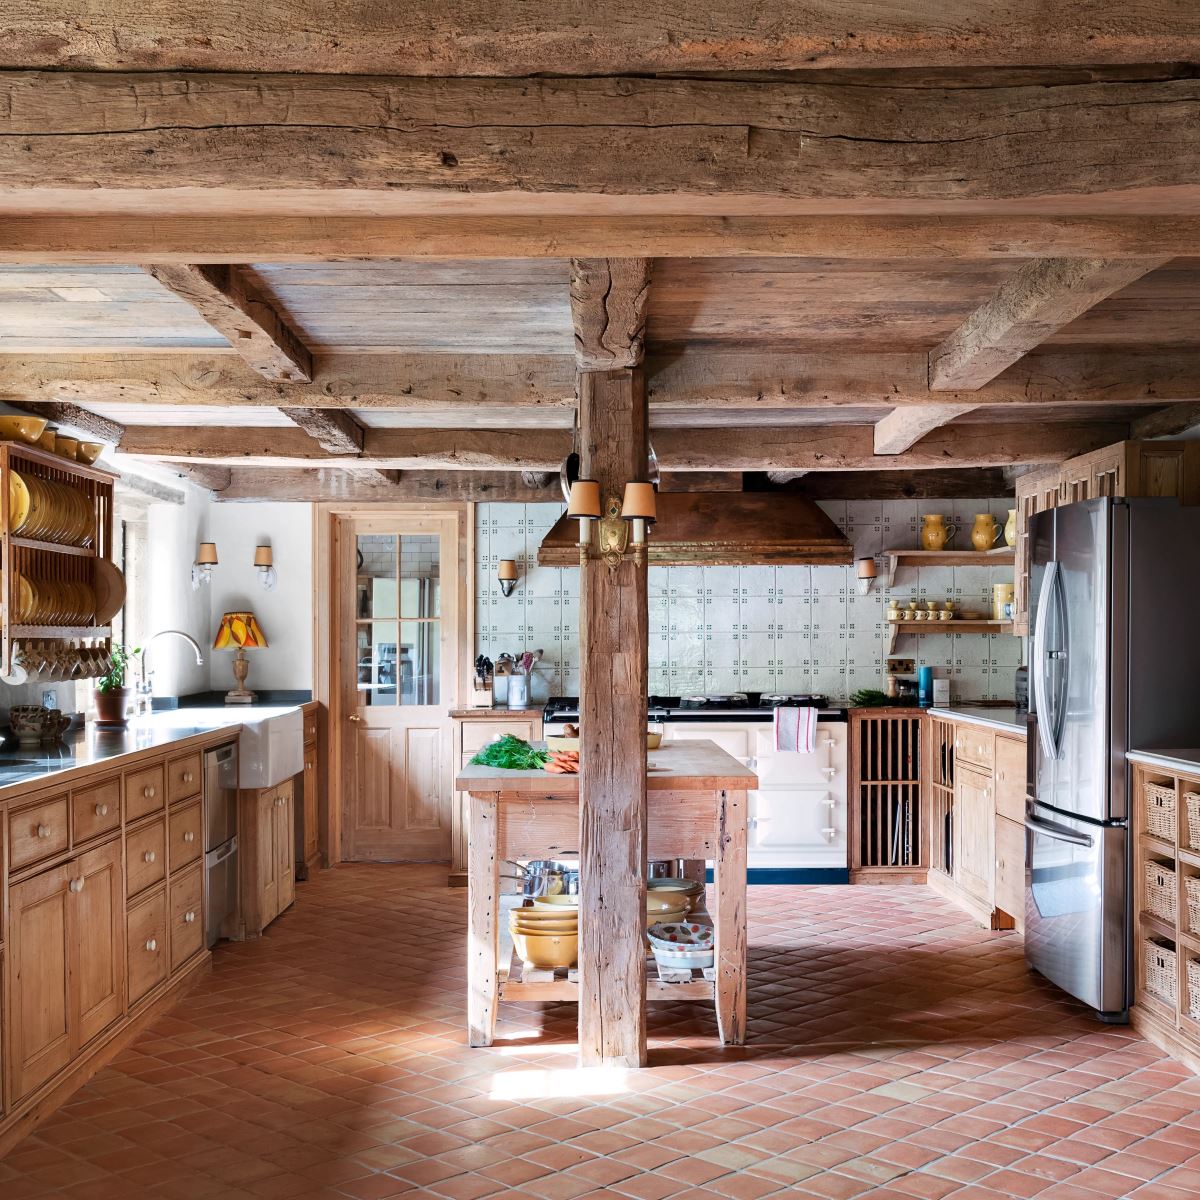
By joining multiple butcher block pieces together, you can create a customized countertop that fits your specific space and design preferences. Butcher block countertops not only provide a durable and functional surface for your kitchen, but they also bring a warm and natural aesthetic that enhances the overall look and feel of the space.
Now that you are equipped with the knowledge and skills to join butcher block countertops together, feel empowered to take on your next DIY project. Whether it’s a kitchen renovation or a custom countertop creation, you can confidently tackle the job and achieve stunning results.
Always prioritize safety when working with tools and materials, and seek professional guidance if needed. Remember, practice makes perfect, so don’t be discouraged if your first attempt isn’t flawless. With time and experience, you will master the art of joining butcher block countertops together.
Enjoy the satisfaction of creating a beautiful and functional countertop that will be the centerpiece of your kitchen or any other area where you choose to install it. Embrace the natural beauty of wood and the craftsmanship in your work. Happy countertop joining!
Frequently Asked Questions about How To Join Butcher Block Countertops Together
Was this page helpful?
At Storables.com, we guarantee accurate and reliable information. Our content, validated by Expert Board Contributors, is crafted following stringent Editorial Policies. We're committed to providing you with well-researched, expert-backed insights for all your informational needs.


0 thoughts on “How To Join Butcher Block Countertops Together”