Articles
How To Do Clawfoot Tub Plumbing
Modified: August 27, 2024
Learn the essential steps and tips for proper clawfoot tub plumbing in our informative articles. Expert advice to tackle your plumbing project with confidence.
(Many of the links in this article redirect to a specific reviewed product. Your purchase of these products through affiliate links helps to generate commission for Storables.com, at no extra cost. Learn more)
Introduction
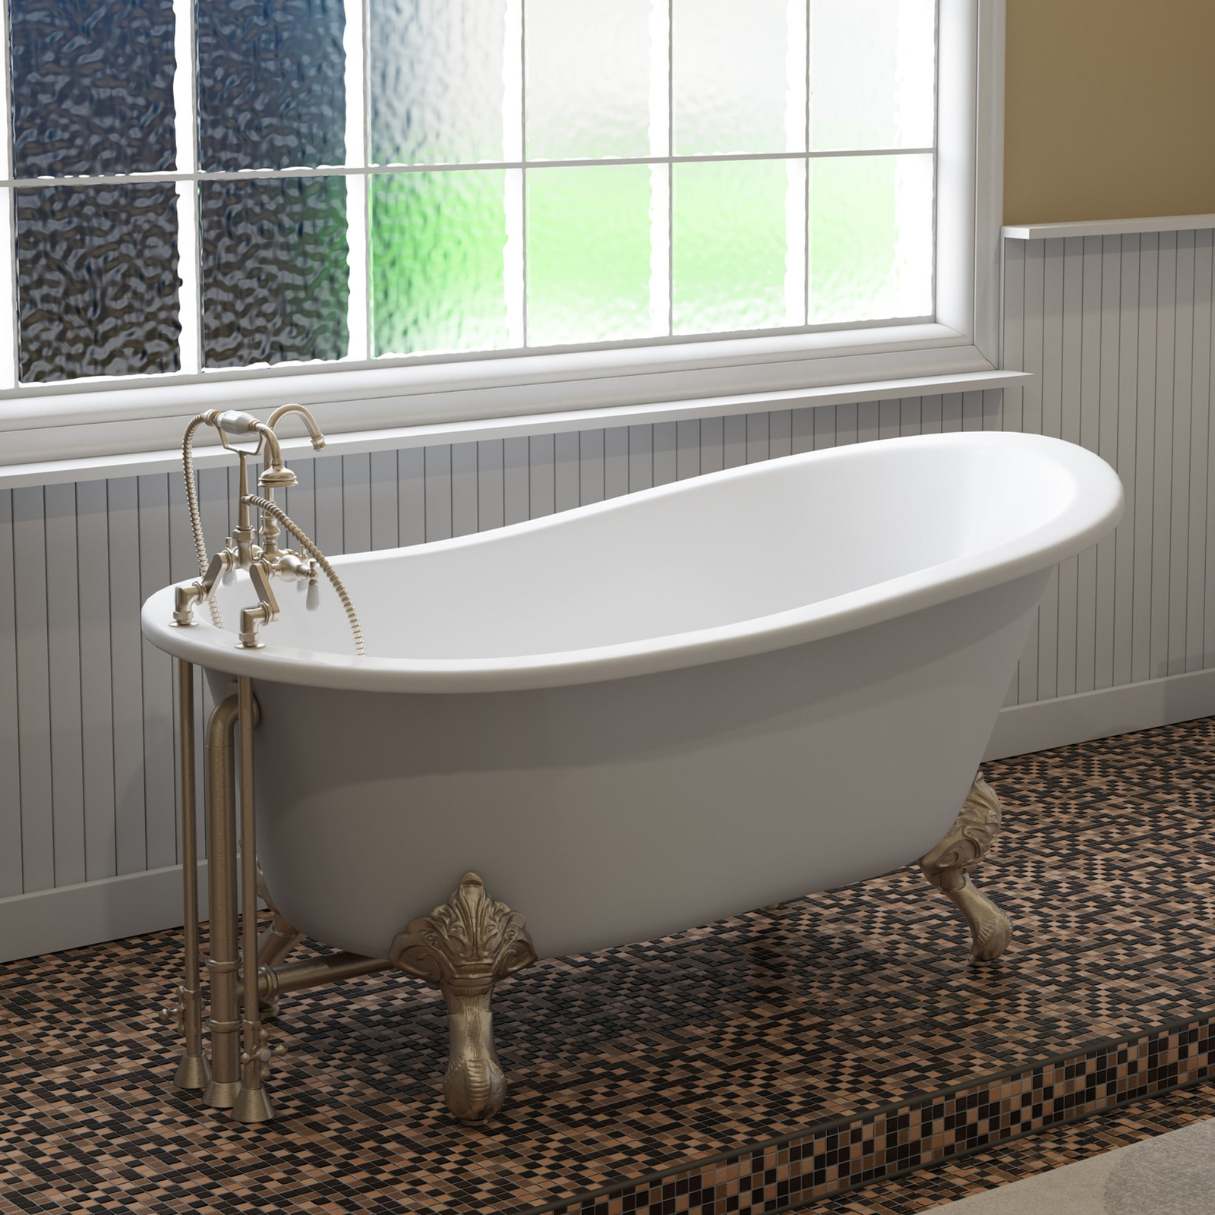
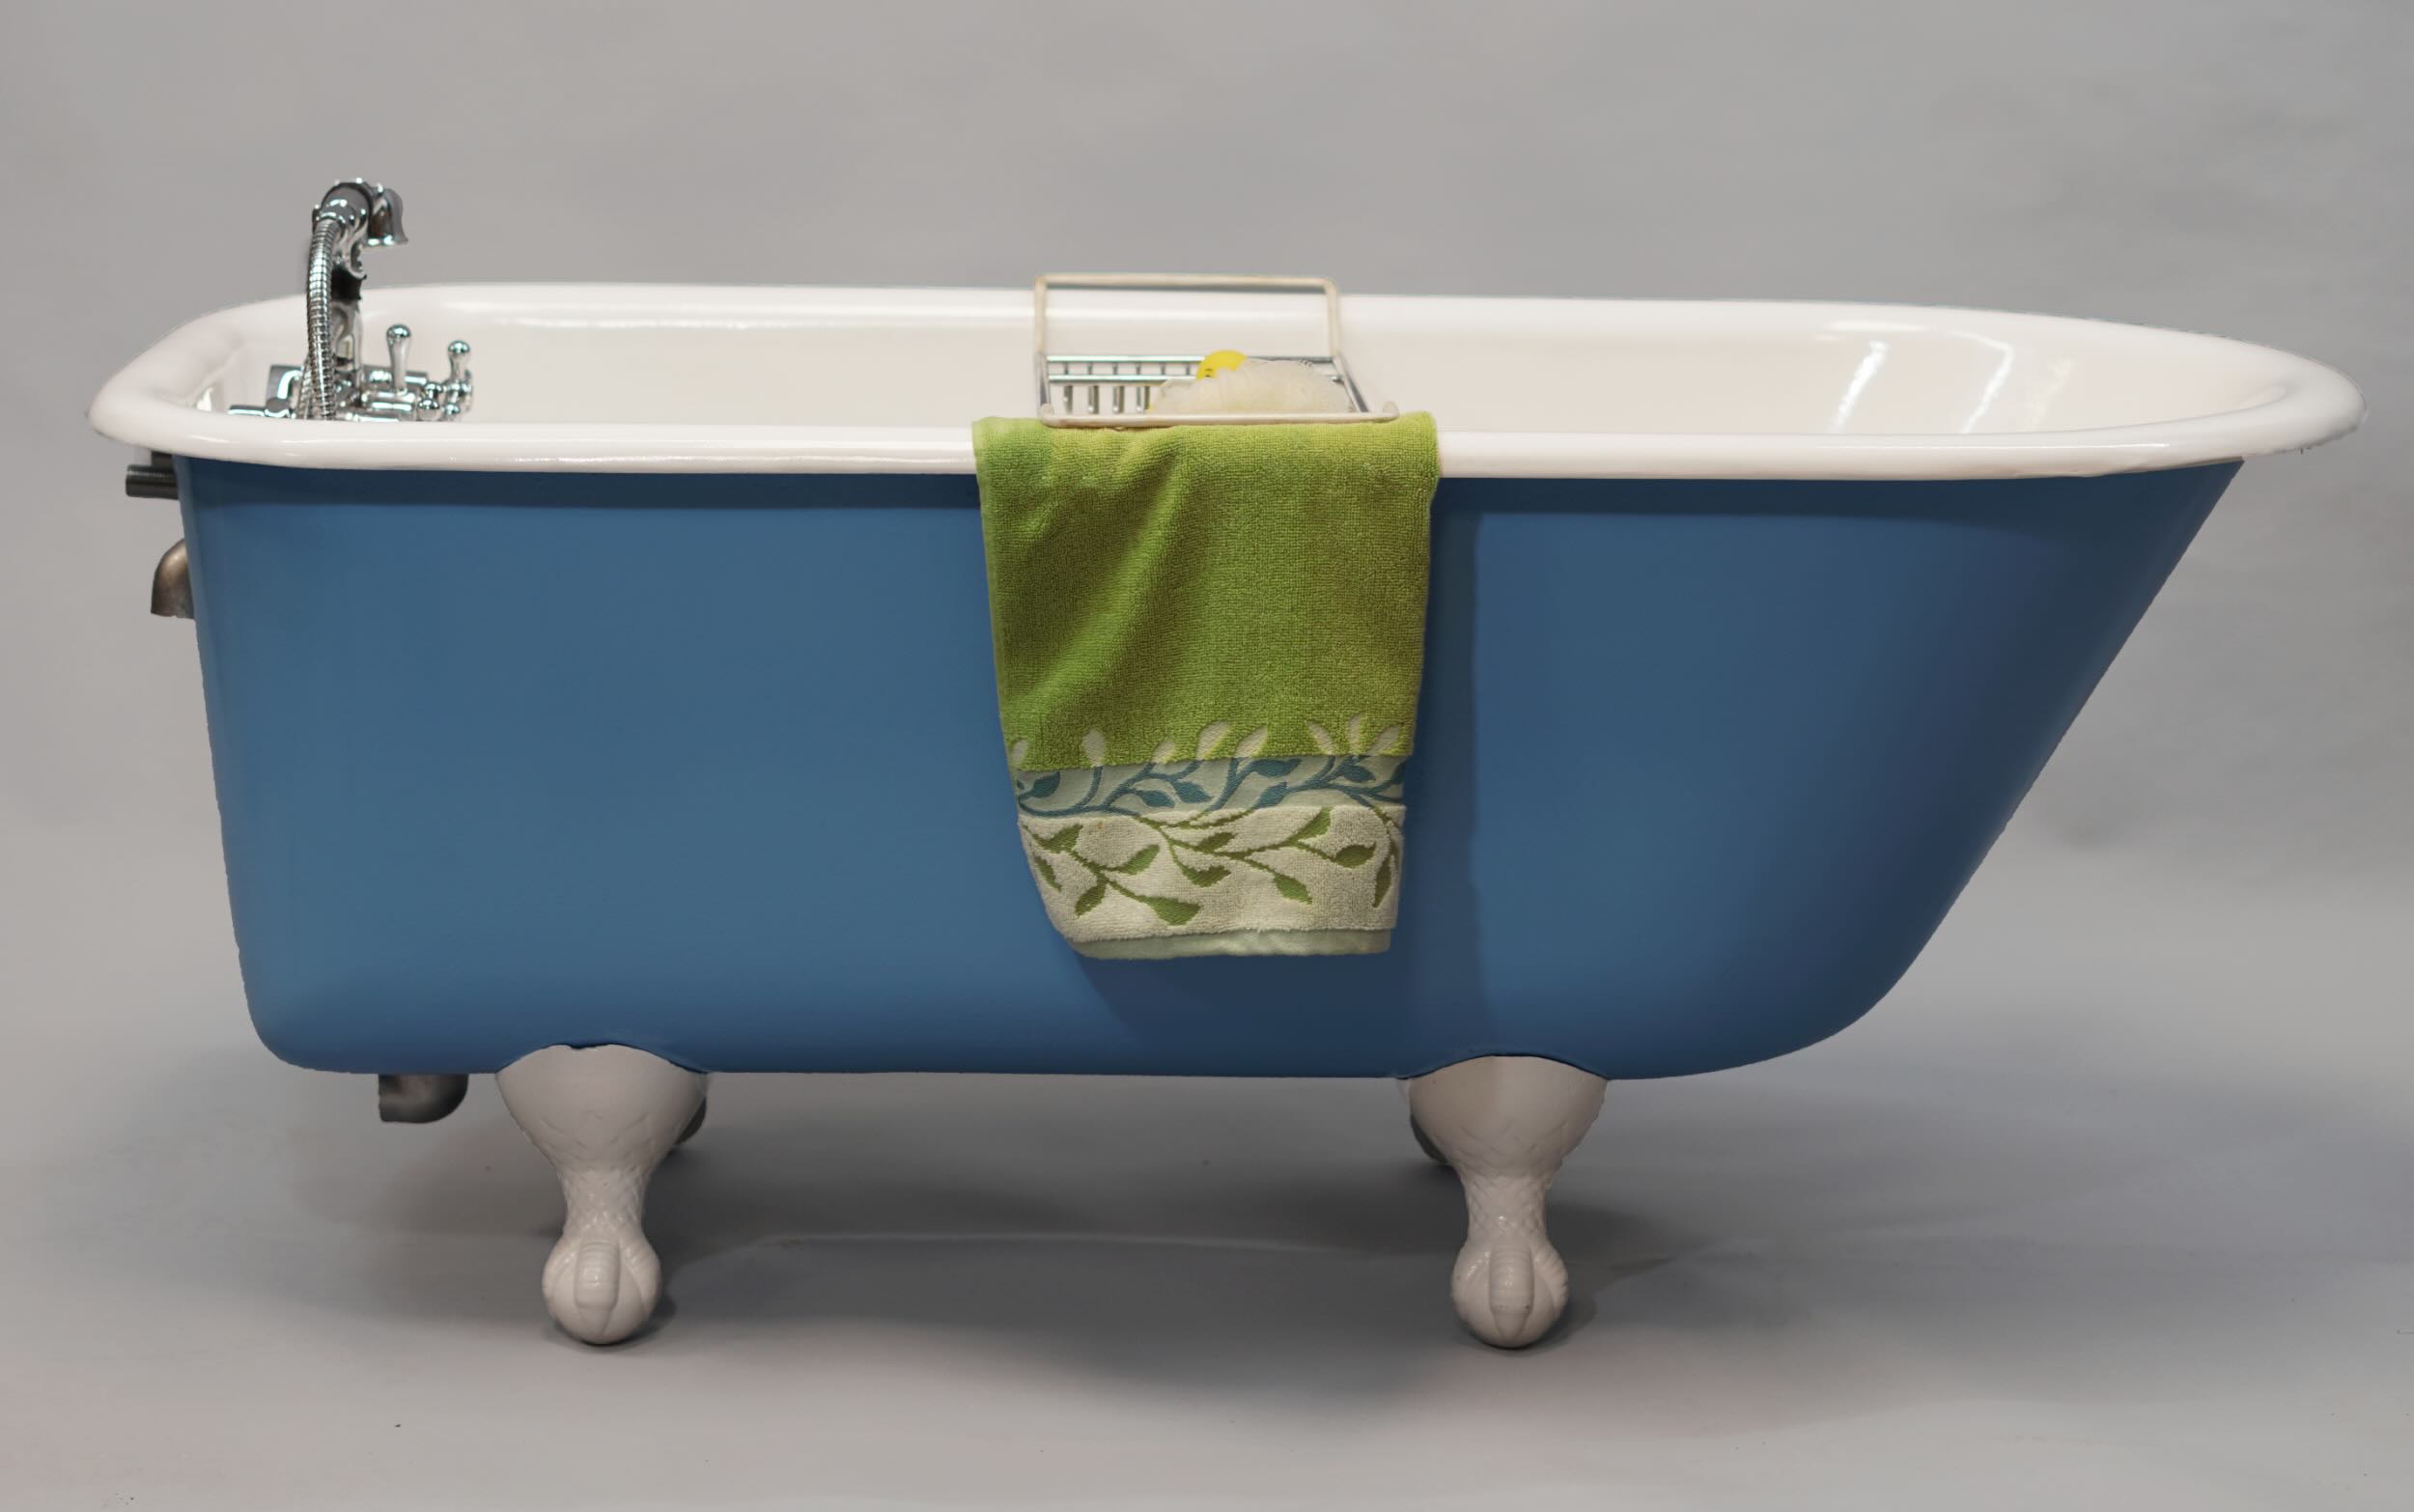
Clawfoot tubs are a timeless and elegant addition to any bathroom. With their vintage charm and luxurious design, they can transform a mundane bathroom into a luxurious retreat. However, before you can fully enjoy your clawfoot tub, it’s crucial to ensure that the plumbing is properly installed. Understanding how to do clawfoot tub plumbing is not only essential for functionality but also for the overall aesthetics of your bathroom.
In this comprehensive guide, we will take you through the step-by-step process of installing clawfoot tub plumbing. Whether you’re a seasoned DIY enthusiast or a beginner, we will provide you with all the knowledge and guidance you need to successfully complete this project.
Before we dive into the actual installation process, let’s first understand the basics of clawfoot tub plumbing. These glamorous tubs have distinctive features that set them apart from standard built-in bathtubs. Unlike traditional tubs, clawfoot tubs are freestanding and don’t require any surrounding walls for support. This means that the plumbing for a clawfoot tub is typically exposed, adding to the aesthetic appeal of the tub.
Clawfoot tub plumbing typically consists of several components, including the drainpipe, faucet, and water supply lines. The drainpipe is responsible for carrying away the used water, while the faucet controls the flow and temperature of the water. The water supply lines connect the tub to the water source and ensure a steady supply of water.
Now that we have a basic understanding of clawfoot tub plumbing, let’s get into the tools and materials you’ll need for this project.
Key Takeaways:
- Understanding the components and installation process of clawfoot tub plumbing is essential for a successful DIY project. Proper preparation, installation, and testing ensure a functional and aesthetically pleasing addition to your bathroom.
- Carefully selecting the right tools and materials, along with meticulous attention to detail during installation, can result in a luxurious and timeless clawfoot tub experience. Regular maintenance and prompt troubleshooting will help maintain the efficiency and longevity of the plumbing system.
Read also: 14 Best Clawfoot Tub Faucet for 2025
Understanding Clawfoot Tub Plumbing
Before you embark on the installation process, it’s important to have a clear understanding of clawfoot tub plumbing. This will not only help you tackle the installation with confidence but also ensure that you have all the necessary tools and materials ready.
As we mentioned earlier, clawfoot tubs are freestanding and don’t require any surrounding walls for support. This means that the plumbing for a clawfoot tub is typically exposed, giving it a distinctive and vintage look.
The drainpipe is a critical component of clawfoot tub plumbing. It is responsible for carrying away the used water from the tub. Clawfoot tubs often have an exposed drainpipe, which can be a decorative feature in itself. The drainpipe should be properly installed and connected to the main plumbing system to ensure efficient drainage.
The next component of clawfoot tub plumbing is the faucet. The faucet not only controls the flow and temperature of the water but also adds to the overall aesthetic appeal of the tub. Clawfoot tub faucets are available in a variety of styles, including traditional, modern, and vintage designs. Before purchasing a faucet, make sure it is compatible with your tub and plumbing system.
Water supply lines are another crucial element of clawfoot tub plumbing. These lines connect the tub to the water source, allowing for a steady supply of water. Traditional clawfoot tubs usually have exposed supply lines, enhancing the vintage look of the tub. It’s important to ensure that the supply lines are securely attached and properly connected to the main water supply.
Some clawfoot tubs also come with additional features such as a showerhead or a handheld shower attachment. These elements require their own plumbing connections and should be installed according to the manufacturer’s instructions.
By understanding the various components of clawfoot tub plumbing, you’ll be better equipped to plan and execute the installation process. Now that we have a clear understanding of clawfoot tub plumbing, let’s move on to the tools and materials you’ll need for this project.
Tools and Materials Needed
Before you begin the installation of your clawfoot tub plumbing, you’ll need to gather the necessary tools and materials. Having everything prepared in advance will save you time and ensure that the installation process goes smoothly. Here’s a list of the tools and materials you’ll need:
Tools:
- Adjustable wrench
- Pipe wrench
- Hacksaw
- Teflon tape
- Plumber’s putty
- Tubing cutter
- Plunger
- Level
- Screwdriver
- Measuring tape
Materials:
- Clawfoot tub
- Drainpipe assembly
- Faucet with appropriate fittings
- Water supply lines
- Flange and gaskets
- PVC or copper piping (if necessary)
- Plumber’s putty or silicone sealant
- Teflon tape
- Drain trap
It’s important to note that the specific tools and materials required may vary depending on your particular clawfoot tub and plumbing setup. Make sure to check the manufacturer’s instructions and consult with a professional if needed.
Once you have gathered all the necessary tools and materials, you’re ready to move on to the installation process. In the following steps, we’ll guide you through each stage of the clawfoot tub plumbing installation, from preparing the area to testing and troubleshooting. So let’s get started!
Step 1: Preparing the Area
Before you start the installation process for your clawfoot tub plumbing, it’s important to properly prepare the area where the tub will be installed. This step will ensure a smooth and successful installation. Here’s how to prepare the area:
1. Measure and Mark: Begin by measuring the space where you plan to install the clawfoot tub. Ensure that there is enough room for the tub to fit comfortably, leaving sufficient space for access and movement. Use a measuring tape to determine the dimensions, and mark the placement of the tub on the floor with a pencil or masking tape.
2. Clear the Area: Clear any obstacles or debris from the installation area. Remove any existing flooring or materials that may hinder the installation process. This will provide a clean and open space to work with.
3. Level the Floor: Check the levelness of the floor where the tub will be placed. Use a level tool to ensure that the floor is even and flat. If the floor is uneven, consider using shims or leveling compounds to create a stable and level surface for the tub.
4. Install a Drain Flange: If your clawfoot tub requires a drain flange, follow the manufacturer’s instructions to install it. The drain flange will provide a secure connection between the tub and the drainpipe.
5. Install the Trap Assembly: The trap assembly is responsible for preventing sewer gases from entering your bathroom. Install the trap according to the manufacturer’s instructions, ensuring that it is securely connected to the drain flange.
6. Seal Gaps and Openings: Inspect the area around the drain flange and trap assembly for any gaps or openings. Use plumber’s putty or silicone sealant to seal these gaps and create a watertight seal.
By properly preparing the area before the installation, you’ll lay the foundation for a successful clawfoot tub plumbing project. The next step is to install the drainpipe, which we’ll cover in detail in the following section.
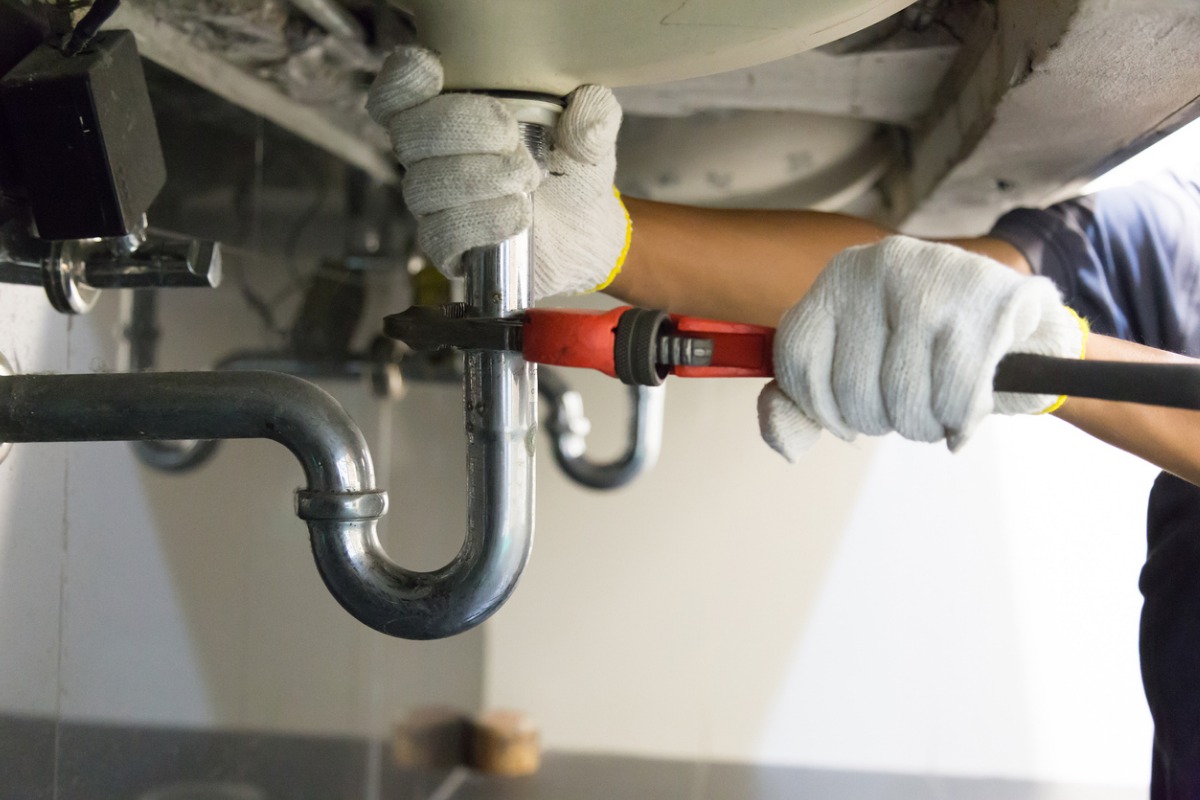
Step 2: Installing the Drainpipe
Installing the drainpipe for your clawfoot tub is an essential step in the plumbing process. The drainpipe is responsible for carrying away the used water from the tub. Follow these steps to properly install the drainpipe:
1. Position the Drain Assembly: Place the drain assembly into the drain hole of the tub. Make sure it fits securely and aligns properly with the drainpipe below. Use a wrench to tighten the drain assembly if necessary.
2. Connect the Drainpipe: Attach the drainpipe to the drain assembly. Depending on your specific tub and plumbing setup, you may use PVC or copper piping for this connection. Follow the manufacturer’s instructions and ensure a secure and watertight connection.
3. Apply Teflon Tape: Before connecting the drainpipe to the main plumbing system, wrap Teflon tape around the threaded ends of the pipe. This will help create a tight seal and prevent leaks. Wrap the tape in a clockwise direction to ensure that it doesn’t unravel during the connection process.
4. Connect to the Main Plumbing System: Once the drainpipe is properly connected to the drain assembly, carefully guide it towards the main plumbing system. Align the drainpipe with the existing pipe and use a wrench to tighten the connection. Make sure the connection is secure and leak-free.
5. Test for Leaks: With the drainpipe installed, it’s important to test for any leaks. Fill the tub with water and let it drain completely. Check for any water leakage around the drainpipe or connections. If you notice any leaks, tighten the connections as needed or apply plumber’s putty or silicone sealant to create a watertight seal.
By following these steps, you can successfully install the drainpipe for your clawfoot tub plumbing. The next step is to connect the faucet, which we’ll discuss in detail in the following section.
When installing a clawfoot tub, make sure to properly measure and position the drain and supply lines to ensure a secure and functional plumbing setup. It’s important to use the correct fittings and materials to prevent leaks and ensure proper water flow.
Step 3: Connecting the Faucet
Connecting the faucet to your clawfoot tub is a crucial step in the plumbing process. The faucet not only controls the flow and temperature of the water but also adds to the overall aesthetic appeal of the tub. Follow these steps to properly connect the faucet:
1. Determine the Faucet Placement: Before you begin, decide on the placement of your faucet. The location will depend on your personal preference and the design of your clawfoot tub. Mark the position where the faucet will be installed on the rim of the tub.
2. Drill Faucet Holes: If your tub does not have pre-drilled faucet holes, you’ll need to drill them. Use a drill with the appropriate size drill bit and carefully create the holes according to the manufacturer’s instructions. Be sure to measure and mark the exact placement of the holes beforehand.
3. Install the Flange and Gaskets: Place the flange and gaskets onto the faucet and insert them into the holes on the tub. Ensure that they fit securely and align properly with the holes. Use a wrench to tighten the flange and gaskets if necessary.
4. Connect the Water Lines: Connect the water supply lines to the corresponding hot and cold water inlets of the faucet. Use Teflon tape on the threaded ends of the water lines to create a tight seal. Tighten the connections with a wrench, but be careful not to overtighten.
5. Test for Leaks: Once the faucet is installed and the water lines are connected, it’s important to test for any leaks. Turn on the water supply and check for any water leakage around the faucet and connections. If you notice any leaks, tighten the connections or apply plumber’s putty or silicone sealant to create a watertight seal.
By following these steps, you can successfully connect the faucet for your clawfoot tub plumbing. The next step is to attach the water supply lines, which we’ll discuss in detail in the following section.
Step 4: Attaching the Water Supply Lines
Attaching the water supply lines is a crucial step in completing the plumbing for your clawfoot tub. The water supply lines connect the tub to the main water supply, ensuring a steady flow of water. Follow these steps to properly attach the water supply lines:
1. Determine the Water Line Placement: Before you begin, determine the placement of the water supply lines. This will depend on the design of your clawfoot tub and your preference. Mark the position where the water lines will be attached to the tub.
2. Connect the Water Lines: Attach one end of the water supply lines to the inlets on the clawfoot tub. Ensure that the lines fit securely and align properly with the inlets. Use Teflon tape on the threaded ends of the water lines to create a tight seal. Tighten the connections with a wrench, but be careful not to overtighten.
3. Measure and Cut the Water Lines: Measure the distance between the water supply line inlets on the tub and the main water supply. Use a tubing cutter to cut the water supply lines to the appropriate length. Make sure to leave a little extra length for flexibility and ease of installation.
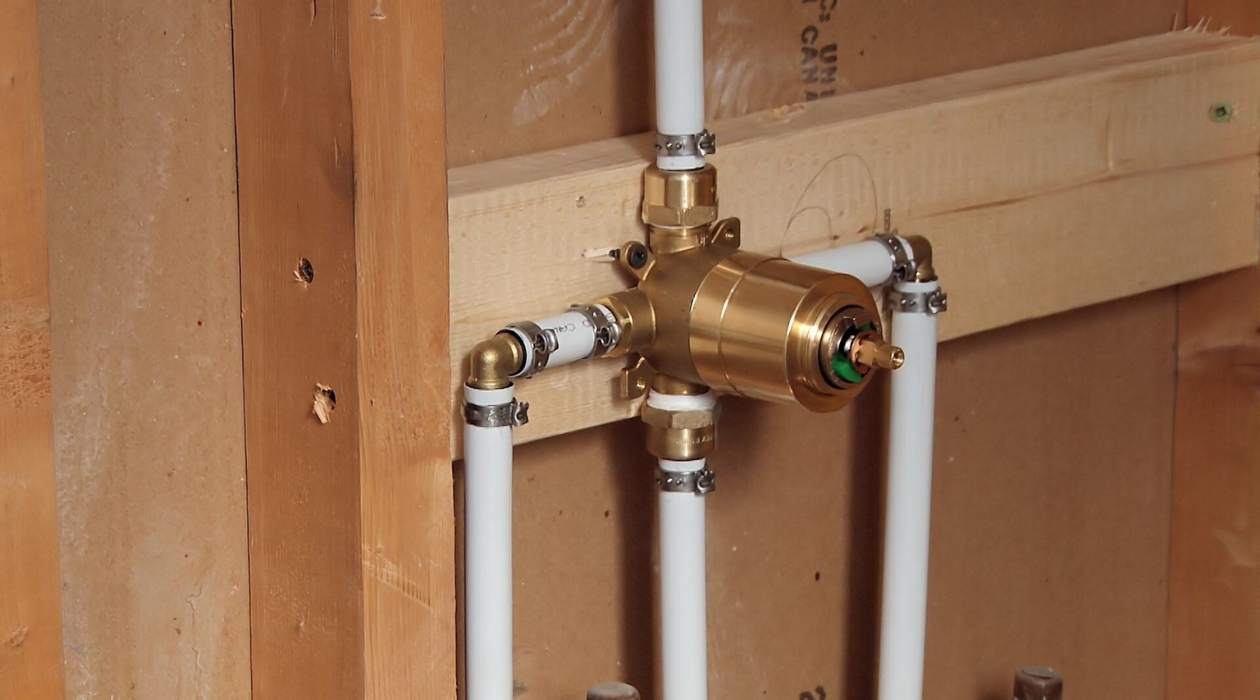
4. Connect to the Main Water Supply: Attach the other end of the water supply lines to the main water supply. This can be a pipe coming out of the wall or a valve specifically installed for the tub. Use Teflon tape on the threaded ends of the water lines to create a tight seal. Tighten the connections with a wrench, making sure they are secure and leak-free.
5. Test for Leaks: Once the water supply lines are attached, it’s important to test for any leaks. Turn on the water supply and check for any water leakage around the connections. If you notice any leaks, tighten the connections or apply plumber’s putty or silicone sealant to create a watertight seal.
By following these steps, you can successfully attach the water supply lines for your clawfoot tub plumbing. The next step is to test and troubleshoot the system, which we’ll cover in detail in the following section.
Step 5: Testing and Troubleshooting
After completing the installation of your clawfoot tub plumbing, it’s important to test the system and address any potential issues. Testing and troubleshooting will ensure that your plumbing is functioning properly and prevent any future problems. Follow these steps to test and troubleshoot your clawfoot tub plumbing:
1. Fill the Tub: Start by filling the tub with water. Check the water flow and make sure it fills the tub evenly. Observe the drain and ensure that the water is draining properly. If you notice any slow drainage or blockages, you may need to inspect and clean the drain assembly or adjust the drainpipe connections.
2. Check for Leaks: While the tub is being filled, carefully inspect all the connections, including the drainpipe, faucet, and water supply lines. Look for any signs of leaks or drips. If you notice any leaks, tighten the connections or apply plumber’s putty or silicone sealant to create a watertight seal.
3. Test the Faucet: Once the tub is filled, test the functionality of the faucet. Turn it on and off to check the flow and temperature control. Ensure that the faucet is working properly and there are no issues with water pressure or temperature regulation. If there are any problems, you may need to adjust the faucet mechanisms or consult a professional plumber for assistance.
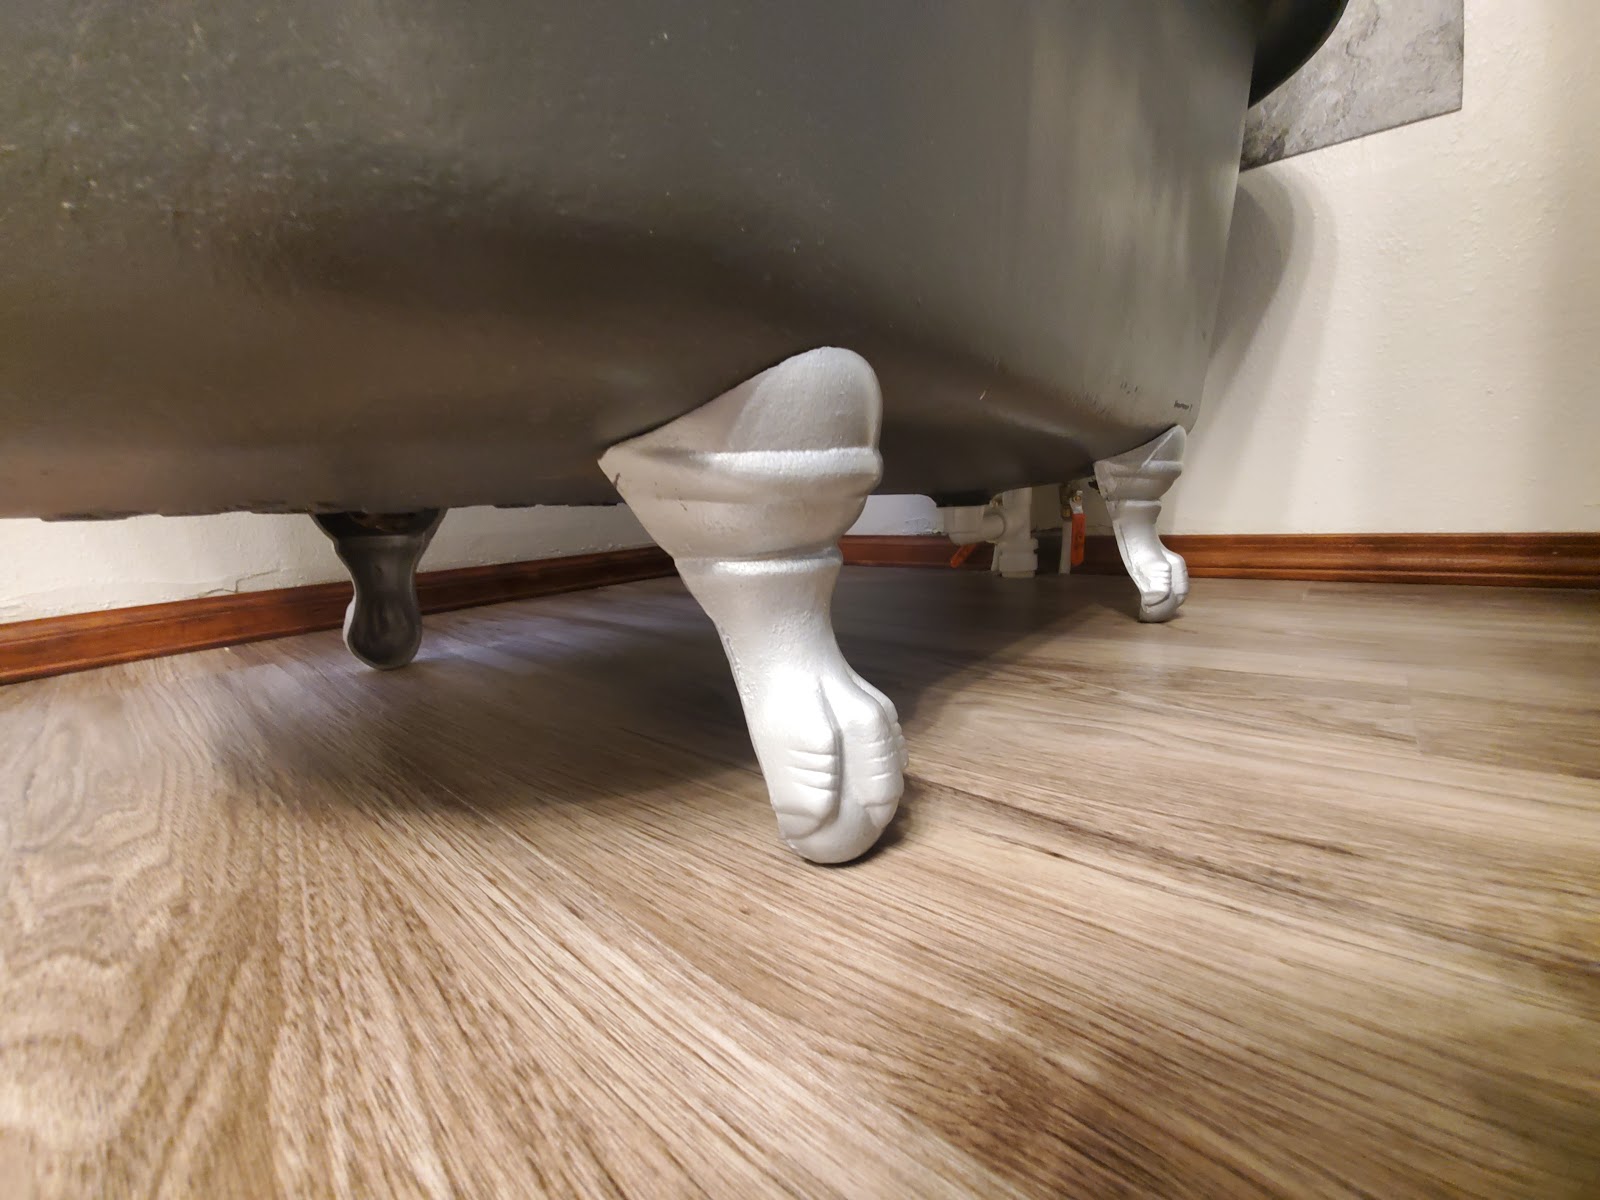
4. Inspect for Stability: While using the tub, check for any signs of instability or movement. Ensure that the clawfoot tub is securely in place and doesn’t shift or wobble. If you notice any instability, you may need to reinforce the tub with additional support or adjust the placement of the feet. Consult the manufacturer’s instructions or a professional for guidance.
5. Troubleshoot Any Issues: If you encounter any problems during the testing phase, such as leaks, drainage issues, or malfunctioning faucet, take the time to troubleshoot and address them. Refer to the manufacturer’s instructions or consult a professional plumber for specific guidance on troubleshooting and resolving the issue.
By testing and troubleshooting your clawfoot tub plumbing, you can ensure that everything is functioning properly and enjoy your tub to its fullest potential. With careful observation and prompt action, you can address any issues and maintain a reliable and efficient plumbing system for years to come.
With the successful completion of these steps, you have now successfully installed and tested the plumbing for your clawfoot tub. Enjoy the luxurious and timeless charm of your clawfoot tub and take pride in having completed this DIY project.
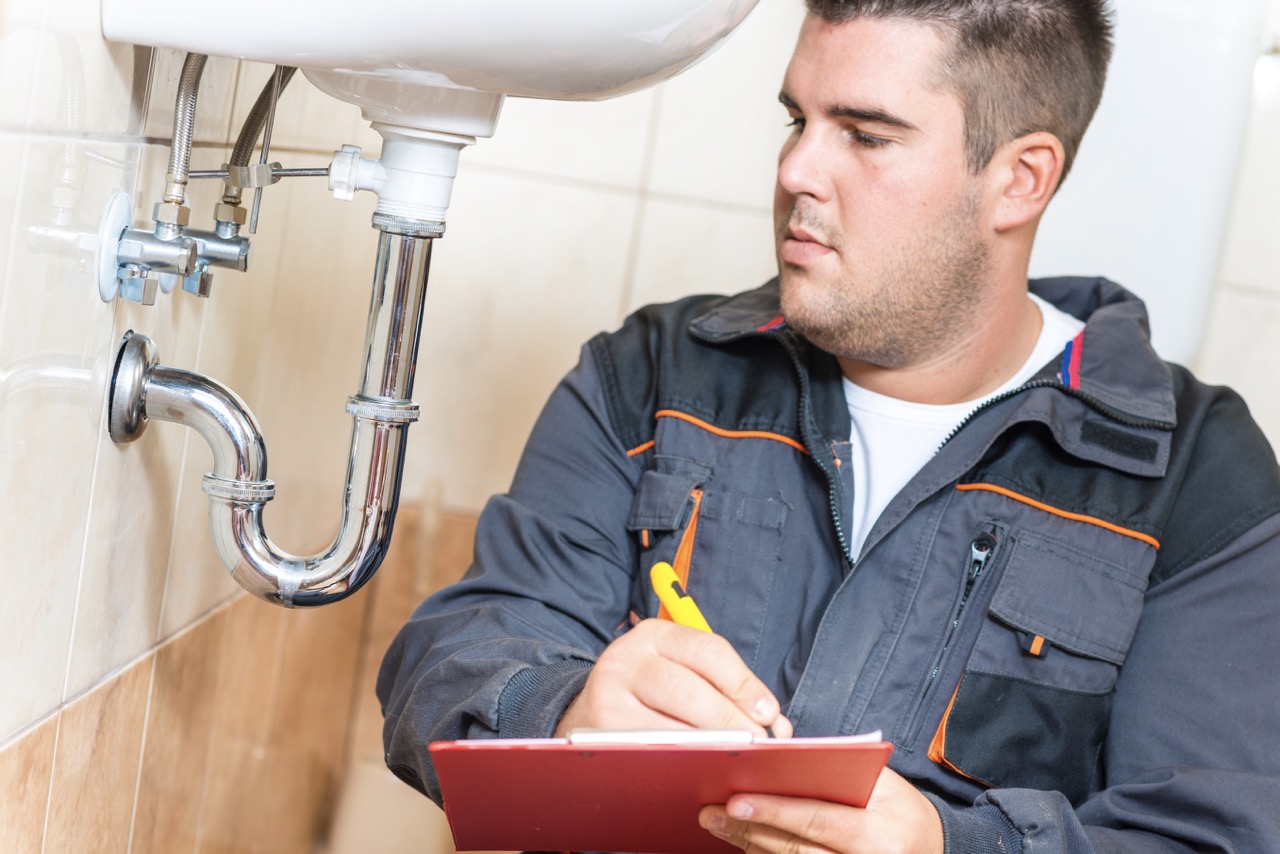
Remember, if you ever feel uncertain or encounter complex plumbing issues, it’s always best to seek professional help for guidance and assistance.
Conclusion
Installing plumbing for a clawfoot tub can seem like a daunting task, but with the right knowledge and guidance, it can be a rewarding DIY project. By following the steps outlined in this comprehensive guide, you can successfully complete the installation and enjoy the luxurious experience of bathing in a clawfoot tub.
Throughout the installation process, we covered important aspects such as understanding clawfoot tub plumbing, preparing the area, installing the drainpipe, connecting the faucet, attaching the water supply lines, and testing and troubleshooting the system. Each step plays a crucial role in ensuring the functionality and aesthetic appeal of your tub.
Remember to gather all the necessary tools and materials before starting the installation. Take your time to properly measure, mark, and prepare the area where the tub will be placed. Carefully install the drainpipe, making sure to create a secure and leak-free connection. Connect the faucet and water supply lines, testing for any leaks or issues. Finally, thoroughly test the system and troubleshoot any problems that arise.
It is important to note that while this guide provides a comprehensive overview of clawfoot tub plumbing, each plumbing setup may have its unique requirements. Always refer to the manufacturer’s instructions and seek professional assistance if needed.
By successfully completing the installation of your clawfoot tub plumbing, you’ve not only added a touch of elegance and luxury to your bathroom but also accomplished a rewarding DIY project. Enjoy the relaxing and rejuvenating experience that your clawfoot tub offers, knowing that you have contributed to its installation.
Remember to regularly maintain and inspect your clawfoot tub plumbing to ensure its longevity and efficient operation. Promptly address any issues, such as leaks or drainage problems, to prevent further damage.
Congratulations on completing the installation of your clawfoot tub plumbing. Sit back, relax, and indulge in the vintage charm and comfort that your clawfoot tub brings to your bathroom.
Frequently Asked Questions about How To Do Clawfoot Tub Plumbing
Was this page helpful?
At Storables.com, we guarantee accurate and reliable information. Our content, validated by Expert Board Contributors, is crafted following stringent Editorial Policies. We're committed to providing you with well-researched, expert-backed insights for all your informational needs.

0 thoughts on “How To Do Clawfoot Tub Plumbing”