Home>Furniture & Design>Bathroom Accessories>How To Restore Old Clawfoot Bathtub
Bathroom Accessories
How To Restore Old Clawfoot Bathtub
Modified: March 2, 2024
Learn how to restore an old clawfoot bathtub and enhance your bathroom with the right accessories. Transform your bathroom with our expert tips.
(Many of the links in this article redirect to a specific reviewed product. Your purchase of these products through affiliate links helps to generate commission for Storables.com, at no extra cost. Learn more)
Introduction
Restoring an old clawfoot bathtub can breathe new life into your bathroom and add a touch of vintage charm to your home. Whether you've uncovered a hidden gem in your attic or stumbled upon a weathered beauty at a flea market, bringing an old clawfoot bathtub back to its former glory can be a rewarding and transformative project.
Over time, these iconic fixtures can lose their luster and develop signs of wear and tear, such as chipped enamel, rust spots, or a dull finish. However, with the right tools, materials, and a bit of elbow grease, you can revitalize your clawfoot bathtub and make it the centerpiece of your bathroom once again.
In this comprehensive guide, we'll walk you through the step-by-step process of restoring an old clawfoot bathtub. From cleaning and repairing any damage to refinishing the surface and reinstalling the bathtub, we'll cover everything you need to know to embark on this rejuvenating journey. So, roll up your sleeves, gather your supplies, and let's embark on the rewarding endeavor of restoring your old clawfoot bathtub to its former glory.
Key Takeaways:
- Transform your old clawfoot bathtub into a stunning centerpiece by cleaning, repairing, refinishing, and reinstalling it. Embrace the rewarding journey of restoring vintage charm to your bathroom with dedication and craftsmanship.
- Revitalize your old clawfoot bathtub to evoke timeless elegance and enduring charm. Preserve history, honor craftsmanship, and create a luxurious retreat for relaxation and rejuvenation in your home.
Read more: How To Restore Old Mirrors
Step 1: Clean the Bathtub
Before diving into the restoration process, it's crucial to start with a thorough cleaning of the bathtub. Over the years, dirt, grime, and mineral deposits can accumulate on the surface, obscuring the original beauty of the tub. Here's a detailed guide on how to effectively clean an old clawfoot bathtub:
Gather Your Supplies
- Rubber gloves
- Mild abrasive cleaner or baking soda
- White vinegar
- Soft-bristled brush or sponge
- Clean rags or towels
- Bucket
- Water
Preparing the Bathtub
-
Start by removing any debris or loose particles from the bathtub's surface. Use a soft brush or sponge to gently scrub away any dirt or residue.
-
Next, prepare a cleaning solution by mixing a mild abrasive cleaner or baking soda with water to form a paste. Apply the paste to the surface of the bathtub, focusing on areas with stubborn stains or discoloration.
Removing Stains and Deposits
-
For mineral deposits or rust stains, soak a clean rag or towel in white vinegar and lay it over the affected areas. Allow the vinegar-soaked cloth to sit on the stains for a few hours to help dissolve the mineral buildup.
-
After the soaking period, gently scrub the affected areas with a soft-bristled brush or sponge to lift away the loosened deposits. Rinse the bathtub thoroughly with water to remove any remaining residue.
Read more: How Much Does A Clawfoot Bathtub Weigh
Final Rinse and Drying
-
Once the cleaning process is complete, rinse the bathtub with clean water to remove any traces of cleaning agents or vinegar.
-
Use a dry, clean towel to wipe down the bathtub, ensuring that the surface is completely dry before proceeding to the next steps of the restoration process.
By meticulously cleaning the bathtub, you'll create a clean and receptive canvas for the subsequent repair and refinishing steps. This initial cleaning stage sets the foundation for the overall restoration process, allowing you to uncover the true potential of your old clawfoot bathtub.
Step 2: Repair any Damage
After thoroughly cleaning the bathtub, the next crucial step in the restoration process is to address any visible damage or imperfections. Over time, old clawfoot bathtubs can develop chips, cracks, or areas of worn enamel, detracting from their original beauty. By carefully repairing these issues, you can ensure that your bathtub not only looks stunning but also functions effectively for years to come.
Assessing the Damage
Begin by conducting a detailed assessment of the bathtub's surface to identify any areas in need of repair. Look for chips, cracks, or worn spots in the enamel that may have developed over the years. It's essential to address these imperfections before proceeding with the refinishing process to achieve a smooth and flawless final result.
Repairing Chips and Cracks
For small chips or cracks in the enamel, consider using a high-quality porcelain repair kit. These kits typically contain specialized epoxy or filler designed to seamlessly blend with the bathtub's surface. Follow the manufacturer's instructions to carefully fill in the damaged areas, ensuring a smooth and even application.
Read more: How To Restore An Old Picnic Basket
Addressing Worn Enamel
In cases where the enamel has worn away in certain spots, it's essential to build up these areas to match the surrounding surface. Utilize a durable enamel repair compound to carefully layer and smooth out the worn sections, gradually building them up to the same level as the rest of the bathtub. This meticulous process will help restore the bathtub's original contours and ensure a uniform finish.
Smoothing and Sanding
Once the repair materials have cured, gently sand the repaired areas to achieve a seamless transition between the original enamel and the repair compounds. Use fine-grit sandpaper to carefully smooth out any unevenness, ensuring that the surface is uniform and ready for the refinishing stage.
Final Inspection
After completing the repair process, conduct a thorough inspection of the bathtub to ensure that all damaged areas have been effectively addressed. Run your fingers over the repaired sections to check for smoothness and uniformity, making any necessary touch-ups to achieve a flawless surface.
By meticulously repairing any damage, you'll set the stage for the next crucial phase of the restoration process: refinishing the surface to bring back the bathtub's timeless allure. With the imperfections addressed, your old clawfoot bathtub will soon be ready to undergo its stunning transformation.
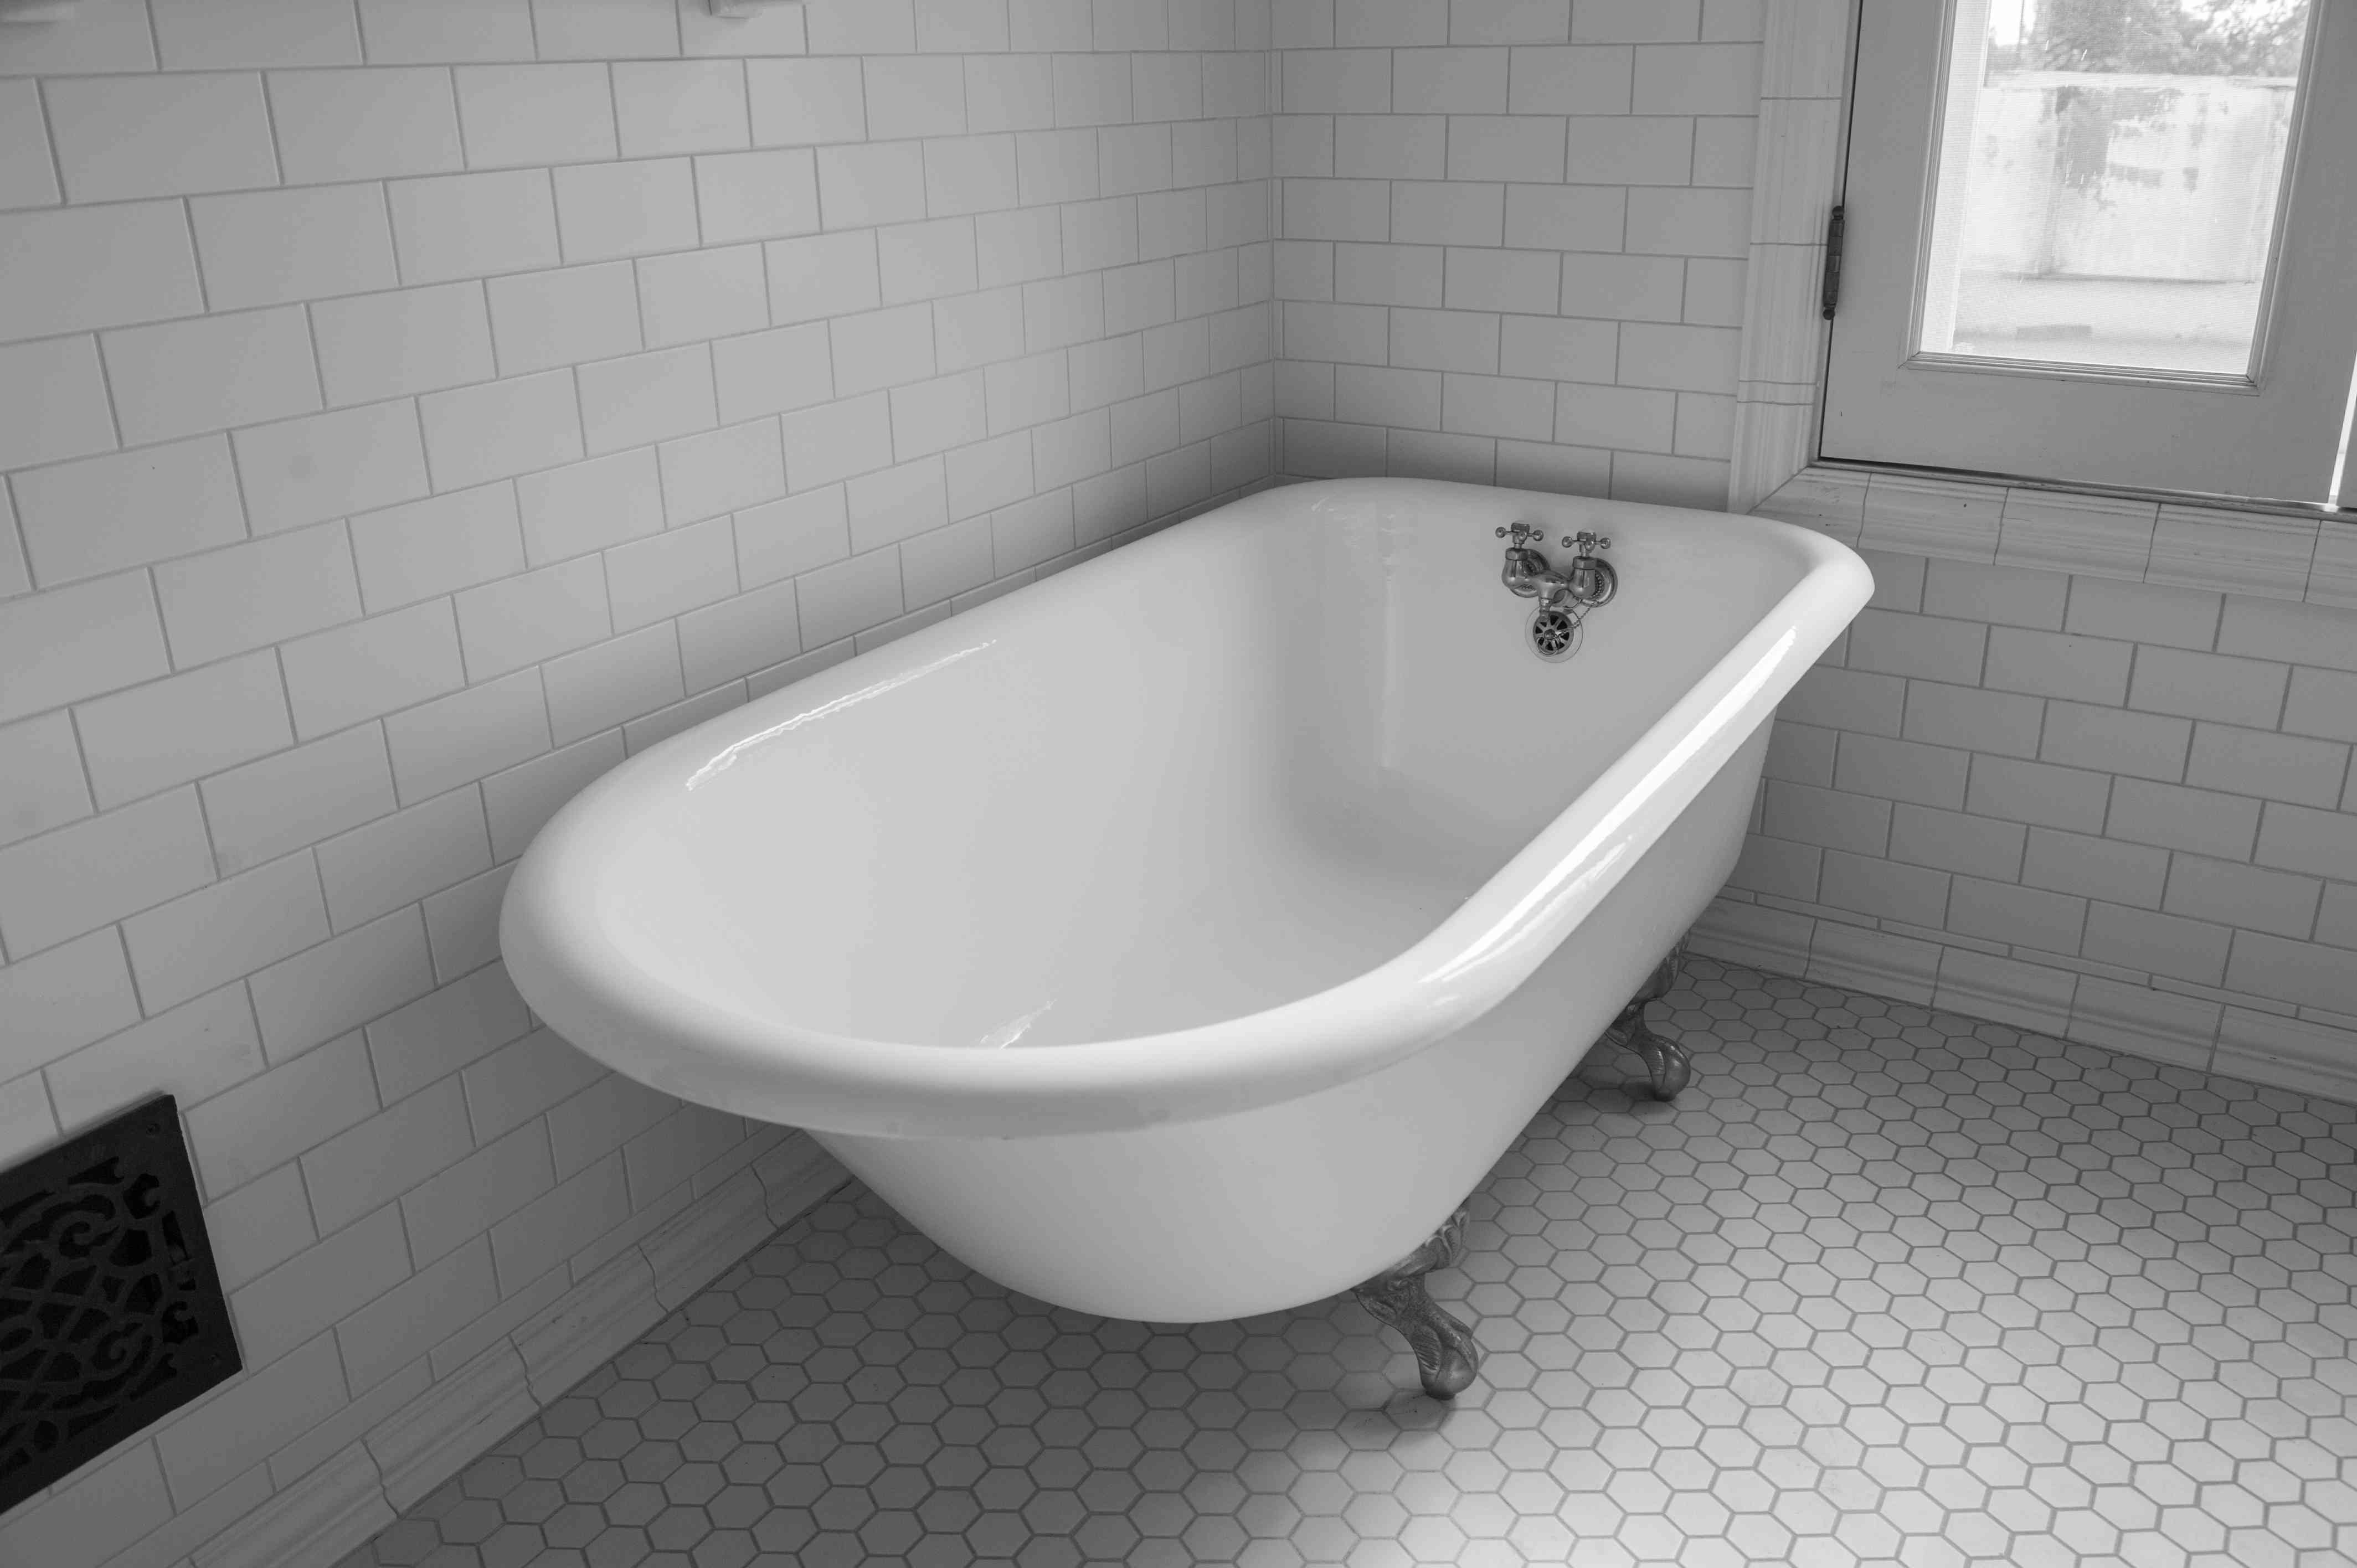
Step 3: Refinish the Surface
With the cleaning and repair stages completed, the next pivotal step in restoring an old clawfoot bathtub is to refinish the surface, breathing new life into its worn and weathered appearance. Refinishing not only enhances the aesthetic appeal of the bathtub but also provides a protective barrier, ensuring its longevity and durability for years to come.
Read more: How To Update An Old Bathtub
Preparing the Surface
Before commencing the refinishing process, it's imperative to thoroughly prepare the bathtub's surface. Begin by carefully masking off the areas surrounding the bathtub to protect them from overspray during the refinishing application. Cover the floor and walls with drop cloths or plastic sheeting to prevent any inadvertent damage.
Applying the Primer
The first step in the refinishing process involves applying a high-quality bonding primer specifically designed for use on porcelain or enamel surfaces. This specialized primer creates a strong foundation for the subsequent layers of refinishing materials, ensuring optimal adhesion and long-lasting results. Follow the manufacturer's instructions to apply the primer evenly and allow it to cure thoroughly before proceeding.
Refinishing the Surface
Once the primer has dried, it's time to apply the refinishing coating to the bathtub's surface. Choose a premium refinishing kit formulated for use on clawfoot bathtubs, typically consisting of an enamel coating that delivers a durable, glossy finish. Utilize a high-volume, low-pressure (HVLP) spray gun to apply the refinishing material evenly, ensuring smooth and uniform coverage across the entire surface.
Curing and Drying
After the refinishing material has been applied, allow the bathtub to cure and dry according to the manufacturer's recommendations. This curing period is crucial for the coating to harden and form a resilient finish that can withstand daily use and maintain its luster over time. Ensure proper ventilation in the area to facilitate the drying process and prevent any potential issues with fumes or odors.
Read more: How To Remove An Old Bathtub Spout
Final Touches
Once the refinishing material has fully cured, carefully remove the masking materials and inspect the bathtub's surface for any imperfections. If necessary, lightly buff the surface with a fine-grit polishing compound to achieve a flawless, mirror-like finish. With the refinishing process complete, your old clawfoot bathtub will emerge with a renewed radiance, ready to take center stage in your bathroom once again.
By meticulously following these steps to refinish the surface, you'll transform your old clawfoot bathtub into a stunning focal point, exuding timeless elegance and charm. With its revitalized appearance and enhanced durability, your refurbished bathtub will serve as a captivating centerpiece, enriching the ambiance of your bathroom for years to come.
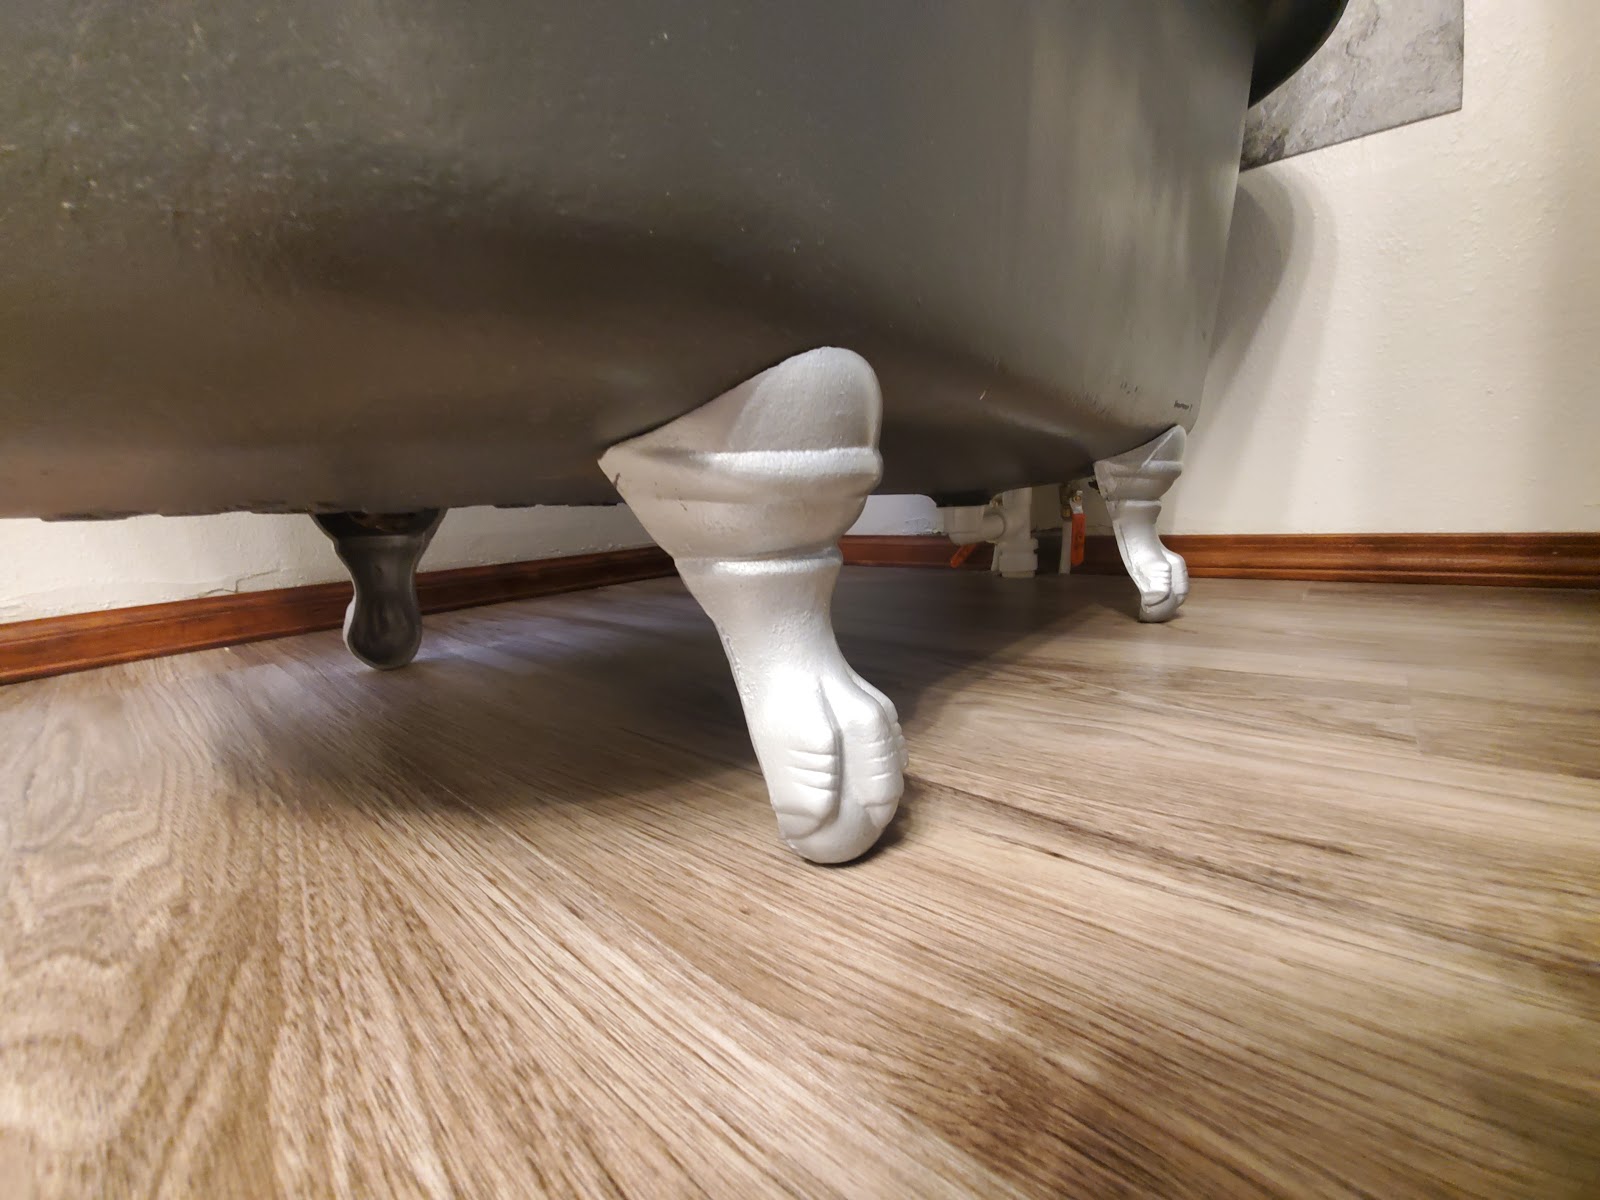
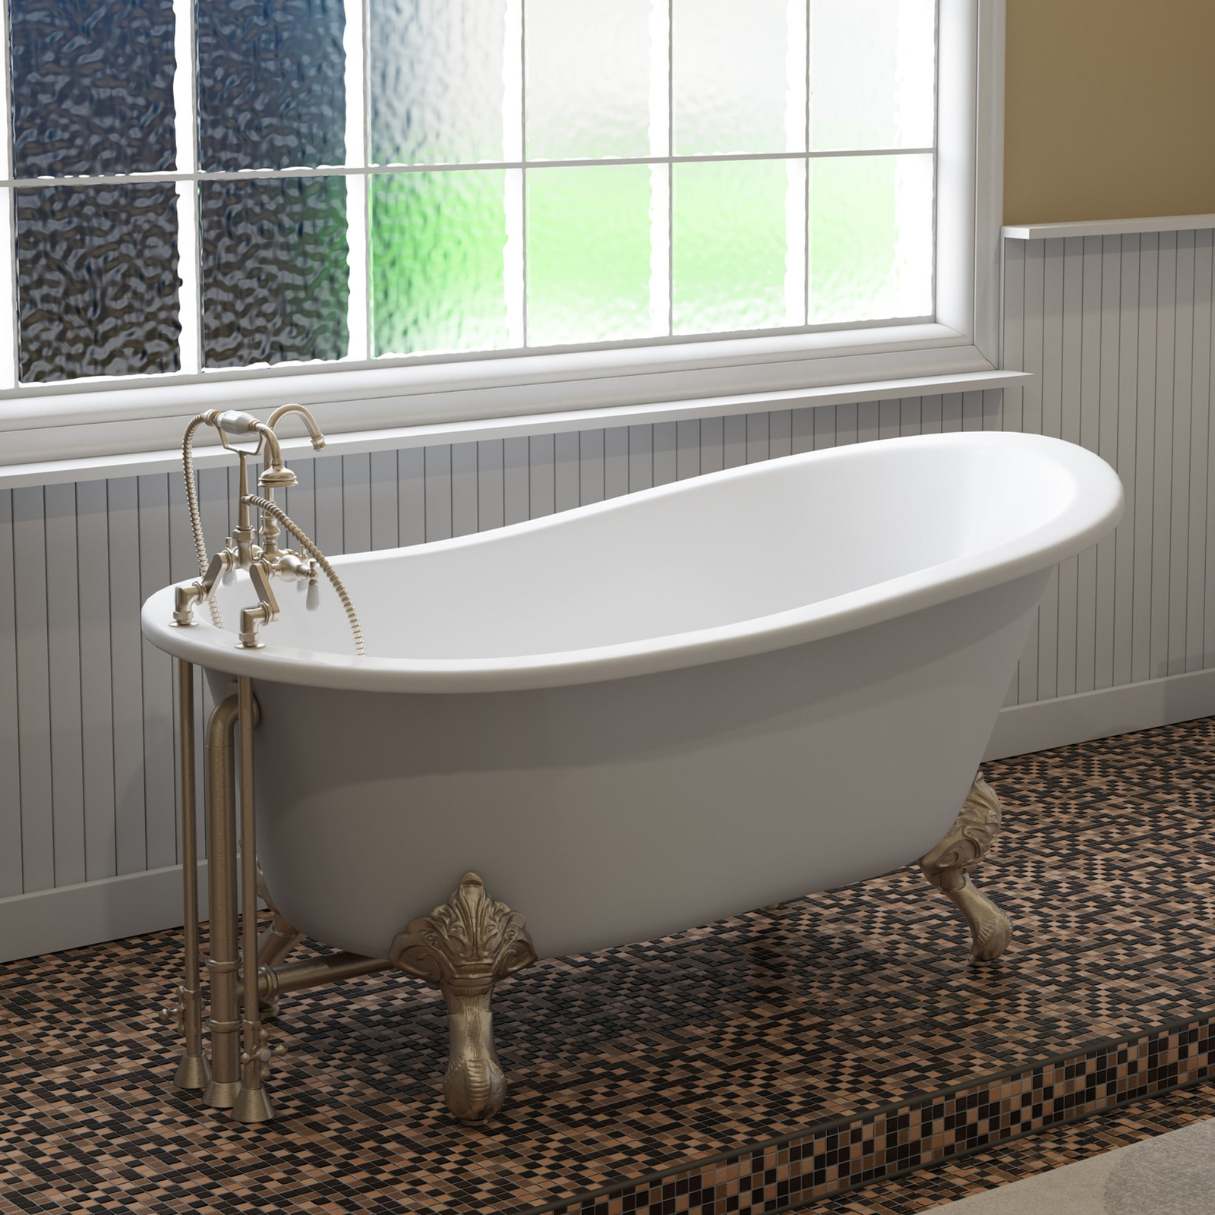
Step 4: Reinstall the Bathtub
Reinstalling the freshly restored clawfoot bathtub is the culminating step in the comprehensive process of rejuvenating this iconic fixture. The careful reinstallation ensures that the bathtub is securely positioned and seamlessly integrated into your bathroom, ready to showcase its timeless allure. Here's a detailed guide on how to effectively reinstall the bathtub:
Assessing the Installation Area
Before reinstalling the bathtub, carefully assess the installation area to ensure that it can accommodate the dimensions and weight of the fixture. Verify that the floor can support the bathtub's load and consider any necessary adjustments to the plumbing and drainage connections.
Positioning the Bathtub
With the assistance of a partner or professional, carefully position the clawfoot bathtub in its designated location. Ensure that the bathtub aligns with the plumbing fixtures and drain, allowing for a seamless connection to the existing water supply and waste disposal system.
Read more: How To Remove Old Caulking From Bathtub
Securing the Bathtub
Once the bathtub is in place, secure it to the floor using appropriate fasteners or brackets. Ensure that the bathtub is level and stable, making any necessary adjustments to achieve a secure and balanced installation.
Connecting the Plumbing
Carefully connect the bathtub's plumbing fixtures, including the faucet, showerhead, and drain, ensuring a watertight and functional assembly. Verify that all connections are secure and free from leaks, conducting a thorough inspection to guarantee the integrity of the plumbing system.
Sealing and Finishing Touches
Apply a high-quality silicone sealant around the perimeter of the bathtub to create a waterproof barrier and prevent water damage. This crucial step ensures that the bathtub is effectively sealed and ready for use, safeguarding the surrounding area from potential leaks.
Final Inspection
Conduct a comprehensive inspection of the reinstalled bathtub, verifying that all connections are secure, and the fixture is level and stable. Test the functionality of the plumbing fixtures and ensure that the bathtub is ready to grace your bathroom with its revitalized presence.
By meticulously following these steps to reinstall the bathtub, you'll complete the transformative journey of restoring your old clawfoot bathtub to its former glory. With its renewed radiance and functional integrity, the reinstalled bathtub will stand as a captivating centerpiece, infusing your bathroom with vintage charm and enduring elegance.
Read more: How To Remove An Old Cast Iron Bathtub
Conclusion
Embarking on the journey to restore an old clawfoot bathtub is a labor of love that yields remarkable results. Through meticulous cleaning, careful repair, expert refinishing, and precise reinstallation, you have breathed new life into a timeless fixture, transforming it from a weathered relic into a captivating centerpiece for your bathroom.
As you stand back and admire the revitalized bathtub, you can take pride in the dedication and craftsmanship that went into this restoration project. The restored clawfoot bathtub now exudes a timeless elegance, evoking the charm of bygone eras while seamlessly blending with modern aesthetics. Its glossy finish reflects the care and attention invested in every step of the restoration process, showcasing a lustrous surface that beckons relaxation and indulgence.
Beyond its aesthetic allure, the refurbished bathtub stands as a testament to the enduring craftsmanship of yesteryear. Its sturdy construction and enduring charm serve as a reminder of the timeless quality that transcends trends and fads. With its renewed radiance and functional integrity, the clawfoot bathtub now stands ready to enrich your daily routine, offering a luxurious retreat for moments of relaxation and rejuvenation.
As you revel in the transformative impact of the restored clawfoot bathtub, you also embrace the satisfaction of preserving a piece of history. By breathing new life into this iconic fixture, you have honored its legacy and ensured that it will continue to captivate and inspire for years to come. The revitalized bathtub now holds the potential to become a cherished focal point, infusing your bathroom with character, elegance, and a touch of vintage allure.
In conclusion, the restoration of an old clawfoot bathtub transcends a mere refurbishment; it is a celebration of timeless craftsmanship, enduring beauty, and the art of preservation. With its renewed radiance and enduring charm, the restored bathtub stands as a testament to your dedication and passion for revitalizing a piece of history. As it takes its place in your home, it not only enriches your living space but also becomes a cherished symbol of heritage and timeless elegance.
Frequently Asked Questions about How To Restore Old Clawfoot Bathtub
Was this page helpful?
At Storables.com, we guarantee accurate and reliable information. Our content, validated by Expert Board Contributors, is crafted following stringent Editorial Policies. We're committed to providing you with well-researched, expert-backed insights for all your informational needs.


0 thoughts on “How To Restore Old Clawfoot Bathtub”