Articles
How To Extend Gutters Away From House
Modified: October 18, 2024
Learn how to extend gutters away from your house with these helpful articles on gutter installation, maintenance, and repairs.
(Many of the links in this article redirect to a specific reviewed product. Your purchase of these products through affiliate links helps to generate commission for Storables.com, at no extra cost. Learn more)
Introduction
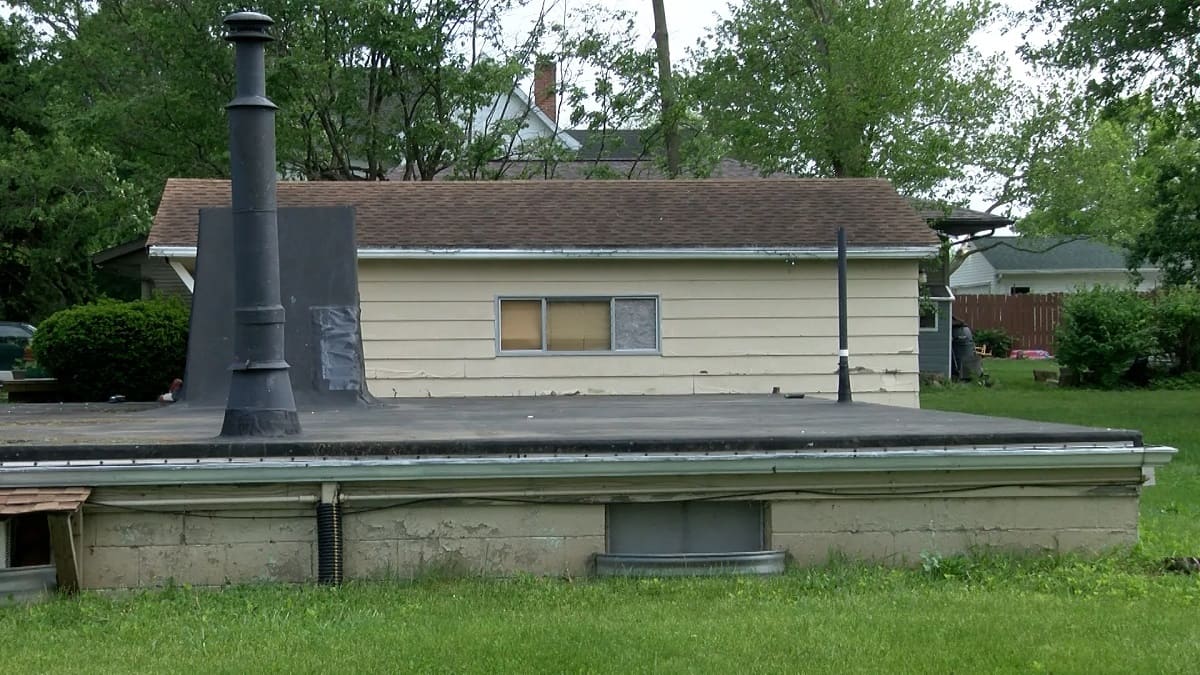
Gutters are an essential component of any home’s drainage system, as they help to protect the foundation, landscaping, and exterior of the house from water damage. However, in some cases, the standard length of gutters may not effectively direct water away from the house, leading to pooling or flooding in certain areas.
If you find that your gutters are not adequately extending the water away from your home, you may need to consider extending them. By extending your gutters, you can ensure that rainwater is properly redirected and prevent potential damage to your home.
In this article, we will provide you with a step-by-step guide on how to extend your gutters away from your house. We will cover the tools and materials needed, as well as the necessary steps to successfully complete the project. With this guide, you can tackle the gutter extension process with confidence and improve the functionality of your home’s drainage system.
Key Takeaways:
- Protect your home from water damage by extending gutters away from the house. Assess, measure, and install with confidence using this step-by-step guide for a seamless and effective gutter extension project.
- Safeguard your property from water-related issues with a well-executed gutter extension. From preparation to testing, ensure optimal water flow and drainage away from your home for long-term protection and peace of mind.
Read more: How Far Away From House Should Gutters Drain
Tools and Materials Needed
Before you begin extending your gutters, it’s important to gather all the necessary tools and materials. Here is a list of what you will need:
- Measuring tape
- Hacksaw or tin snips
- Drill
- Screws
- Gutter brackets
- Gutter sealant
- Downspout extension
Make sure to have these tools and materials readily available before starting the project. This will help streamline the process and ensure that you have everything you need to extend your gutters effectively.
Step 1: Assess the Current Gutter System
Before you begin extending your gutters, it’s essential to assess the current gutter system in place. Take a close look at your existing gutters and downspouts to determine their condition and functionality.
Check for any signs of damage, such as cracks, rust, or leaks. If there are any concerns, it may be necessary to repair or replace the damaged sections before proceeding with the extension.
Next, evaluate the slope of your gutters to ensure that they are effectively directing water towards the downspouts. If you notice any areas where water pools or fails to flow properly, adjustments may be needed to improve the drainage.
It’s also important to consider the placement of your current downspouts. Evaluate whether they are positioned in areas where water flows away from the house or if they need to be extended further.
By assessing the current gutter system, you will gain a clear understanding of its condition and identify any areas that require attention before extending the gutters.
Step 2: Determine the Ideal Extension Length
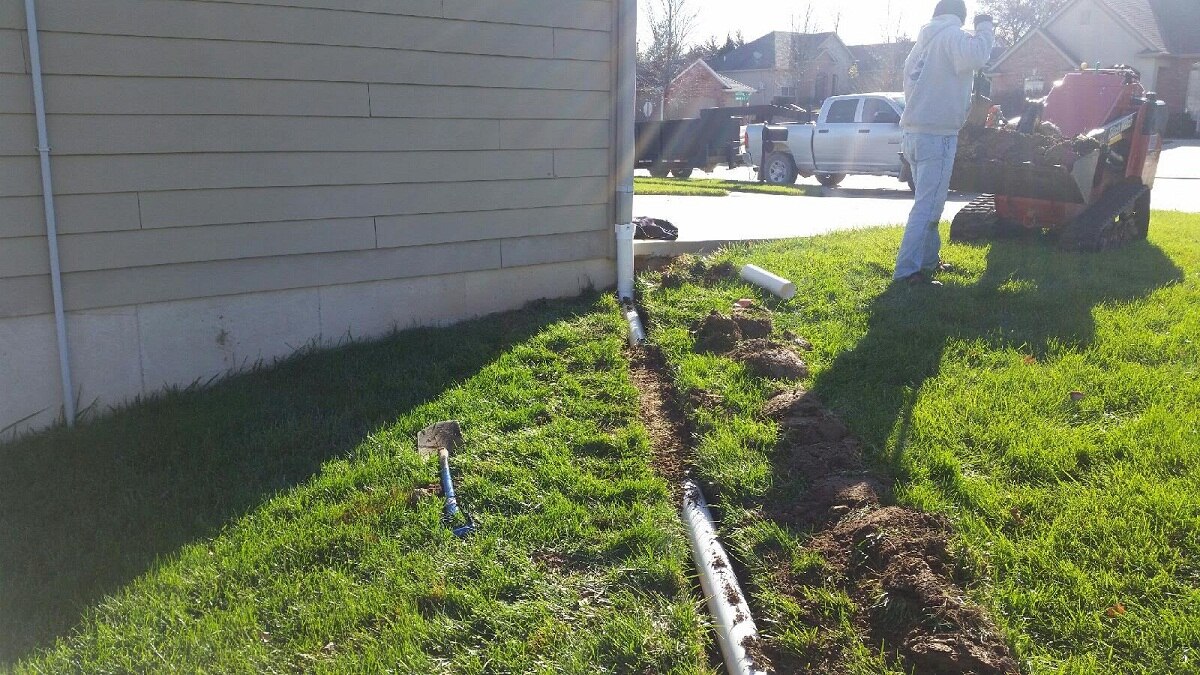
Once you have assessed your current gutter system, the next step is to determine the ideal length for the gutter extension. This will depend on various factors, including the slope of your property, the distance from the house to the desired drainage point, and any obstacles that need to be considered.
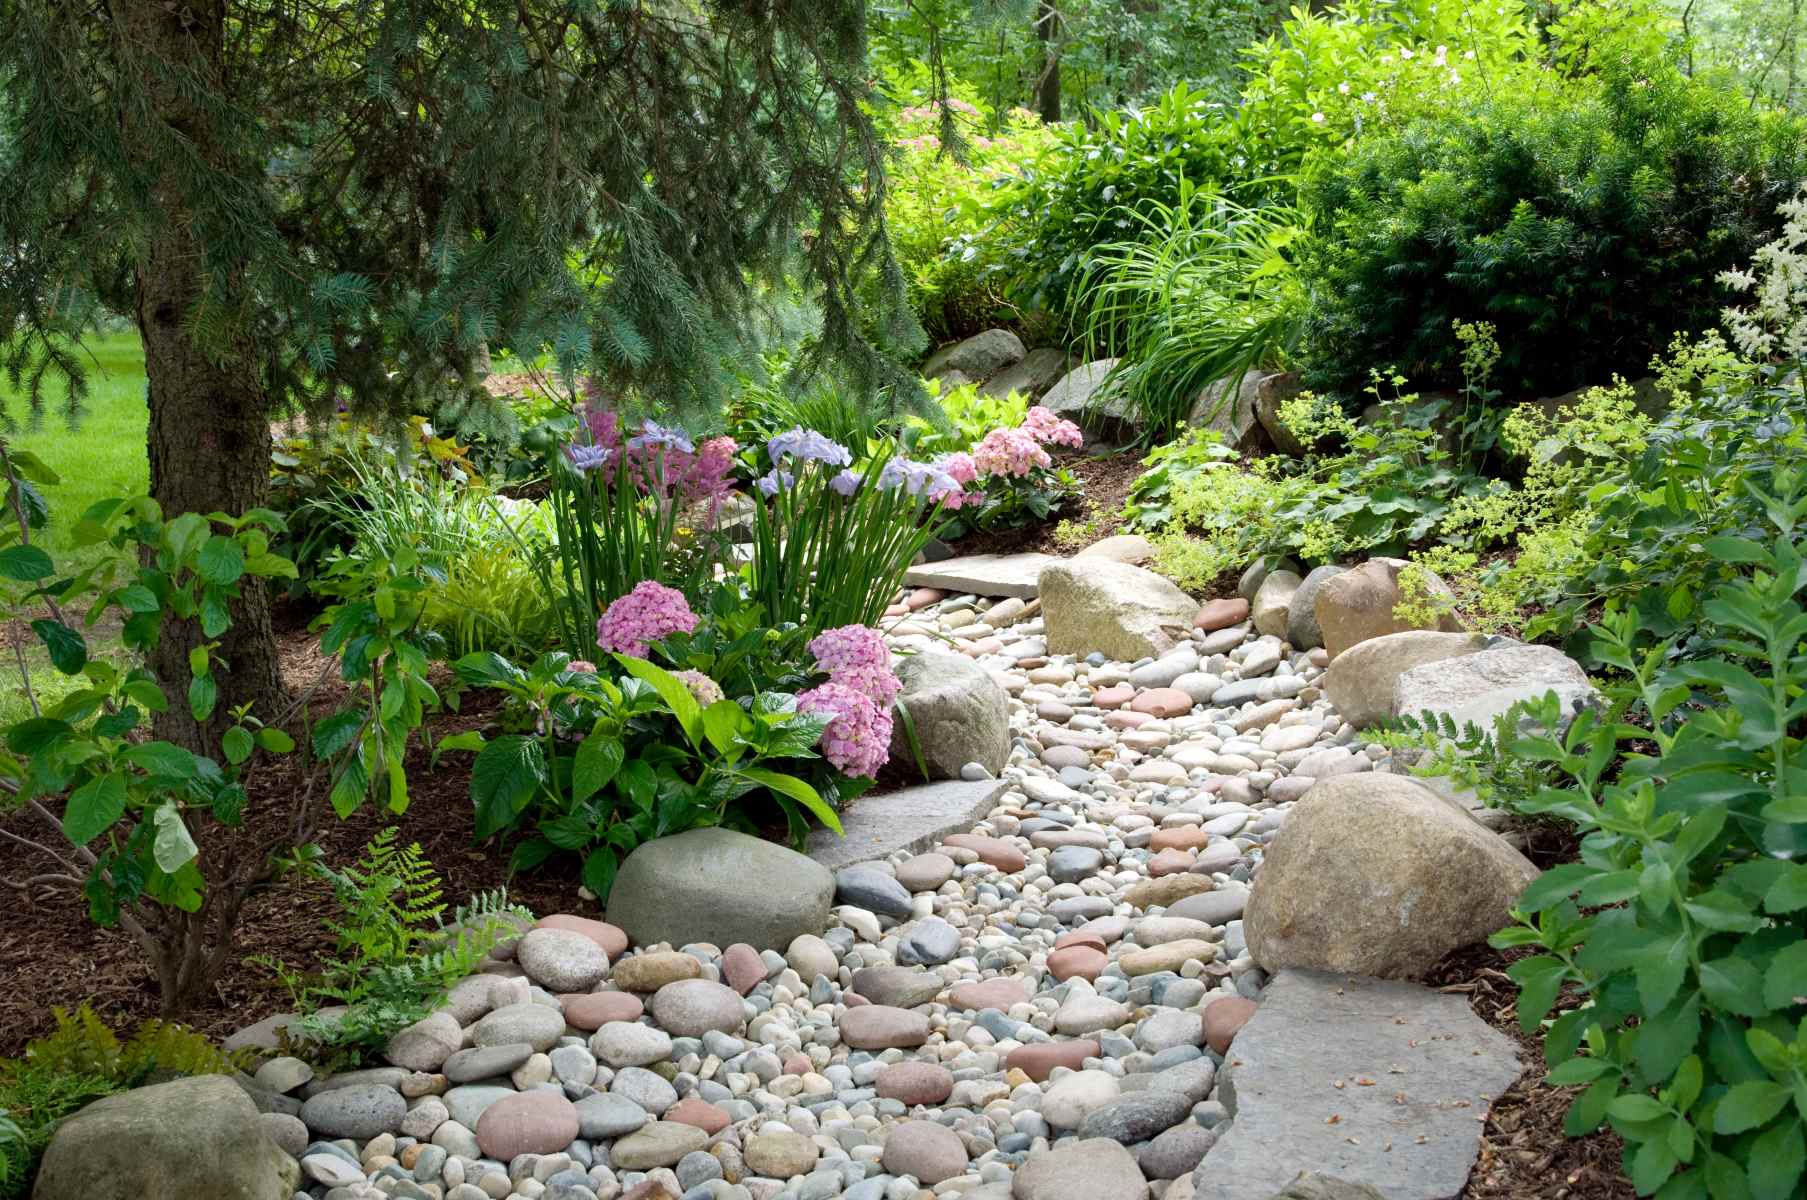
Start by measuring the distance from the end of your existing gutter to where you want the extension to end. This could be a designated drainage area, a garden bed, or a specific spot away from the foundation of your house.
Consider the slope of your property and ensure that the extension is long enough to direct the water flow in the desired direction. It’s generally recommended to allow for a slight downward slope to facilitate proper drainage.
Take into account any obstacles, such as trees, structures, or landscaping features, that may affect the path of the extension. You may need to plan for additional components, such as elbows or flexible extensions, to navigate around these obstacles.
Once you have determined the ideal extension length, it is advisable to add a few extra inches to allow for adjustments and secure connections.
By accurately measuring and determining the ideal length for your gutter extension, you can ensure that it effectively channels water away from your house and towards the desired drainage point.
Step 3: Purchase Extension Components
With the ideal extension length determined, it’s time to purchase the necessary components for extending your gutters. Head to your local home improvement store or search online for the items you will need.
Here is a list of the common gutter extension components you may need to purchase:
- Gutter sections: Determine the length and type of gutter sections needed to extend your existing gutters. Choose a material that matches your current gutters for a seamless look.
- Downspout extension: If you need to extend your downspouts to reach the desired drainage area, purchase downspout extensions that are compatible with your existing downspout system.
- Gutter brackets: Depending on the length of your gutter extension, you may need additional gutter brackets to provide adequate support and prevent sagging.
- Sealant: To ensure a watertight connection between the existing gutters and the extension components, purchase gutter sealant. This will help prevent any leaks or water seepage.
- Fasteners: Check if you need any additional screws or fasteners to secure the gutters, downspouts, and extension components in place.
Make sure to double-check all the measurements and specifications before making your purchase to ensure that you have all the correct components needed for your specific gutter extension project.
By purchasing the necessary extension components, you will be well-prepared to move forward with the installation process and complete your gutter extension effectively.
Consider installing gutter extensions to direct water further away from your house. This can help prevent water damage to your foundation and basement.
Read more: How To Grade Drainage Away From The House
Step 4: Prepare the Gutter for Extension
Before installing the gutter extension, it’s essential to prepare your existing gutter system to ensure a smooth and secure connection. Follow these steps to prepare the gutter for extension:
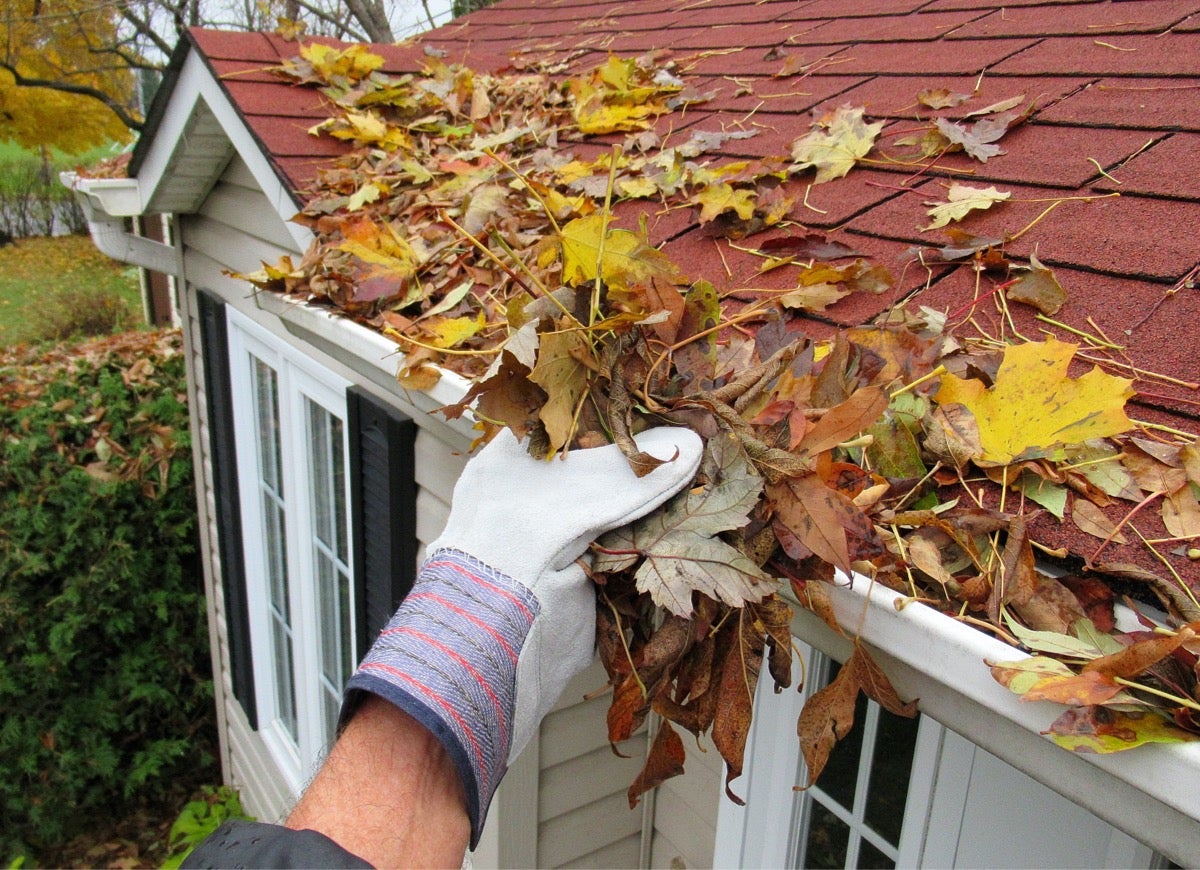
- Clean the gutter: Remove any debris, leaves, or other build-up from the gutter. Use a gutter scoop or a gloved hand to clear out the gutter channel.
- Inspect and repair: Check the gutter for any damage or leaks. Repair any cracks or gaps using gutter sealant or a patching kit designed for your gutter material.
- Measure and mark: Use a measuring tape to determine the length at which you will be connecting the extension. Mark this measurement on the gutter to ensure accuracy during the installation process.
- Cut the gutter: Using a hacksaw or tin snips, carefully cut the gutter at the marked measurement. Make sure to keep the cut clean and straight for a proper fit.
- Smooth the edges: Use a file or sandpaper to smooth any rough edges created by the cut. This will help prevent any injuries and provide a clean surface for connecting the extension.
By properly preparing the gutter for extension, you will ensure a secure and seamless connection between the existing gutter and the extension components.
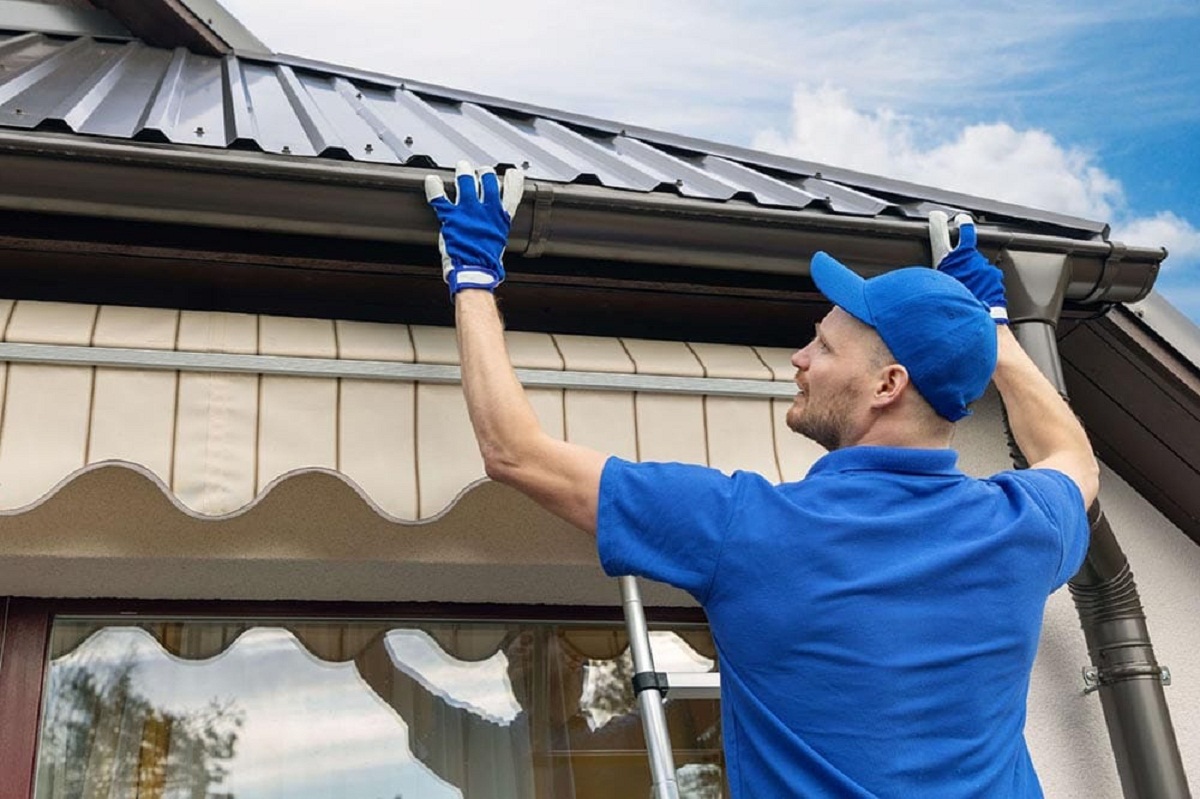
Step 5: Install the Gutter Extension
Now that you have prepared the existing gutter system, it’s time to install the gutter extension. Follow these steps to install the extension:
- Position the extension: Hold the gutter extension in place, aligning it with the cut end of the existing gutter. Make sure it extends towards the desired drainage area.
- Attach the extension: Use screws or fasteners to secure the extension to the existing gutter. Place the screws on both sides of the connection for added stability.
- Seal the connection: Apply gutter sealant to the connection point between the extension and the existing gutter. This will create a watertight seal and prevent any leakage.
- Secure the extension: Install gutter brackets or hangers along the length of the extension to provide additional support and prevent sagging. Place them at regular intervals, typically 24 to 36 inches apart.
- Connect multiple pieces: If your extension is made up of multiple pieces, follow the same steps to connect them securely. Apply sealant to the connecting joints to ensure a tight seal.
During the installation process, double-check the slope of the gutter extension to ensure proper water flow towards the desired drainage point. Adjust the position of the extension if needed.
By following these installation steps, you will successfully connect the gutter extension to your existing gutter system, allowing for efficient water drainage away from your home.
Step 6: Secure the Extension in Place
After installing the gutter extension, it is important to secure it properly to ensure stability and longevity. Follow these steps to secure the extension in place:
- Check for proper alignment: Ensure that the gutter extension is aligned correctly and positioned at the desired angle. Adjust the angle if necessary to promote proper water flow.
- Tighten screws or fasteners: Double-check all the screws or fasteners used to attach the extension to the existing gutter. Tighten them securely to prevent any loosening over time.
- Install additional brackets: If you notice any areas of the extension that are sagging or not adequately supported, install additional gutter brackets or hangers to provide extra stability. Place them at regular intervals along the length of the extension.
- Inspect for any gaps or leaks: Carefully inspect the connections between the extension and the existing gutter, as well as any connecting joints within the extension itself. Apply additional sealant if you notice any gaps or leaks to ensure a watertight seal.
- Test the stability: Gently run water through the gutter system to test the stability of the extension. Check for any signs of sagging, instability, or water leakage. Make any necessary adjustments or repairs as needed.
By taking the time to secure the gutter extension properly, you can ensure its longevity and effective performance in directing water away from your home.
Step 7: Test and Adjust
After securing the gutter extension, it’s important to test its functionality and make any necessary adjustments to ensure proper water flow. Follow these steps to test and adjust the gutter extension:
- Observe water flow: During a rain shower or with the help of a hose, observe the water flow through the gutter system. Check if the extension effectively directs water away from your house and towards the desired drainage area.
- Check for pooling or leakage: Walk around your property and inspect for any signs of water pooling or leakage. If you notice any issues, such as water overflowing from the gutter or collecting in certain spots, it may indicate a need for further adjustments.
- Adjust the slope: If the water is not flowing properly or is pooling in certain areas, you may need to adjust the slope of the gutter extension. Carefully reposition the extension to ensure a downward slope towards the drainage point.
- Consider additional components: If there are obstacles or uneven terrain along the extension route, you may need to incorporate additional components such as elbows or flexible extensions to navigate around them. Install these components as needed to promote proper water flow.
- Re-inspect and re-test: After making adjustments, re-inspect the gutter extension and re-test its functionality. Continue making necessary tweaks until you achieve optimal water flow and drainage away from your home.
By thoroughly testing and adjusting the gutter extension, you can ensure that it effectively directs water away from your home and prevents any potential water damage.
Read more: How To Create Drainage Away From The House
Conclusion
Extending your gutters away from your house is a valuable home improvement project that can help protect your property from water damage. By following the steps outlined in this guide, you can successfully extend your gutters and improve the functionality of your home’s drainage system.
From assessing your current gutter system to determining the ideal extension length, and from purchasing the necessary components to preparing and installing the extension, each step plays a crucial role in ensuring a well-executed gutter extension.
Remember to take the time to secure the extension properly and test its functionality, making any necessary adjustments to promote optimal water flow away from your house. By doing so, you can prevent water pooling, foundation damage, and other potential issues caused by improper drainage.
By extending your gutters away from your house, you not only protect your home but also safeguard your landscaping and foundation. The extra effort and investment will provide long-term benefits and peace of mind, knowing that your property is well-protected from water-related issues.
Always prioritize safety during the installation process. If you’re not comfortable working at heights or handling power tools, consider hiring a professional to ensure a safe and efficient installation.
With the knowledge and guidance provided in this article, you are now well-equipped to take on the task of extending your gutters away from your house. Enjoy the improved functionality and protection that a properly extended gutter system can provide for your home.
Frequently Asked Questions about How To Extend Gutters Away From House
Was this page helpful?
At Storables.com, we guarantee accurate and reliable information. Our content, validated by Expert Board Contributors, is crafted following stringent Editorial Policies. We're committed to providing you with well-researched, expert-backed insights for all your informational needs.


0 thoughts on “How To Extend Gutters Away From House”