Home>Home Maintenance>How To Create Drainage Away From The House
Home Maintenance
How To Create Drainage Away From The House
Modified: March 7, 2024
Learn the essential home maintenance tips to create effective drainage away from your house. Protect your property from water damage with these easy steps.
(Many of the links in this article redirect to a specific reviewed product. Your purchase of these products through affiliate links helps to generate commission for Storables.com, at no extra cost. Learn more)
Introduction
Welcome to the ultimate guide on how to create effective drainage away from your house. Proper drainage is essential for maintaining the structural integrity of your home and preventing water damage. When water is not properly directed away from the foundation of your house, it can seep into the ground, causing dampness, mold, and even foundation problems.
In this comprehensive article, we will walk you through the steps to assess your current drainage system, identify problem areas, and implement various techniques to redirect water effectively. Whether you are dealing with flooding during heavy rainfall or simply need to improve the overall drainage of your property, we have got you covered.
No matter the size or type of your home, having a well-designed drainage system is crucial. Neglecting this aspect can lead to costly repairs and compromise the safety and comfort of your living space. So, let’s dive in and explore the different methods and strategies to create efficient drainage away from your house.
Key Takeaways:
- Proper drainage away from your house is crucial to prevent water damage. Assess, clear obstructions, redirect downspouts, and maintain your drainage system to protect your home and create a healthy living environment.
- Implementing techniques such as French drains, rain gardens, and grading can effectively manage excess water runoff. Tailor solutions to your property’s unique needs for long-lasting protection against drainage issues.
Read more: How To Grade Drainage Away From The House
Assessing the Current Drainage System
Before you start making any changes to your drainage system, it’s essential to assess the current situation. This will help you identify areas that need improvement and determine the most suitable solutions for your specific needs.
Begin by examining your home’s exterior during a rainfall. Observe how the water flows around your property and pay close attention to areas where pooling or flooding occurs. These are clear indications of poor drainage.
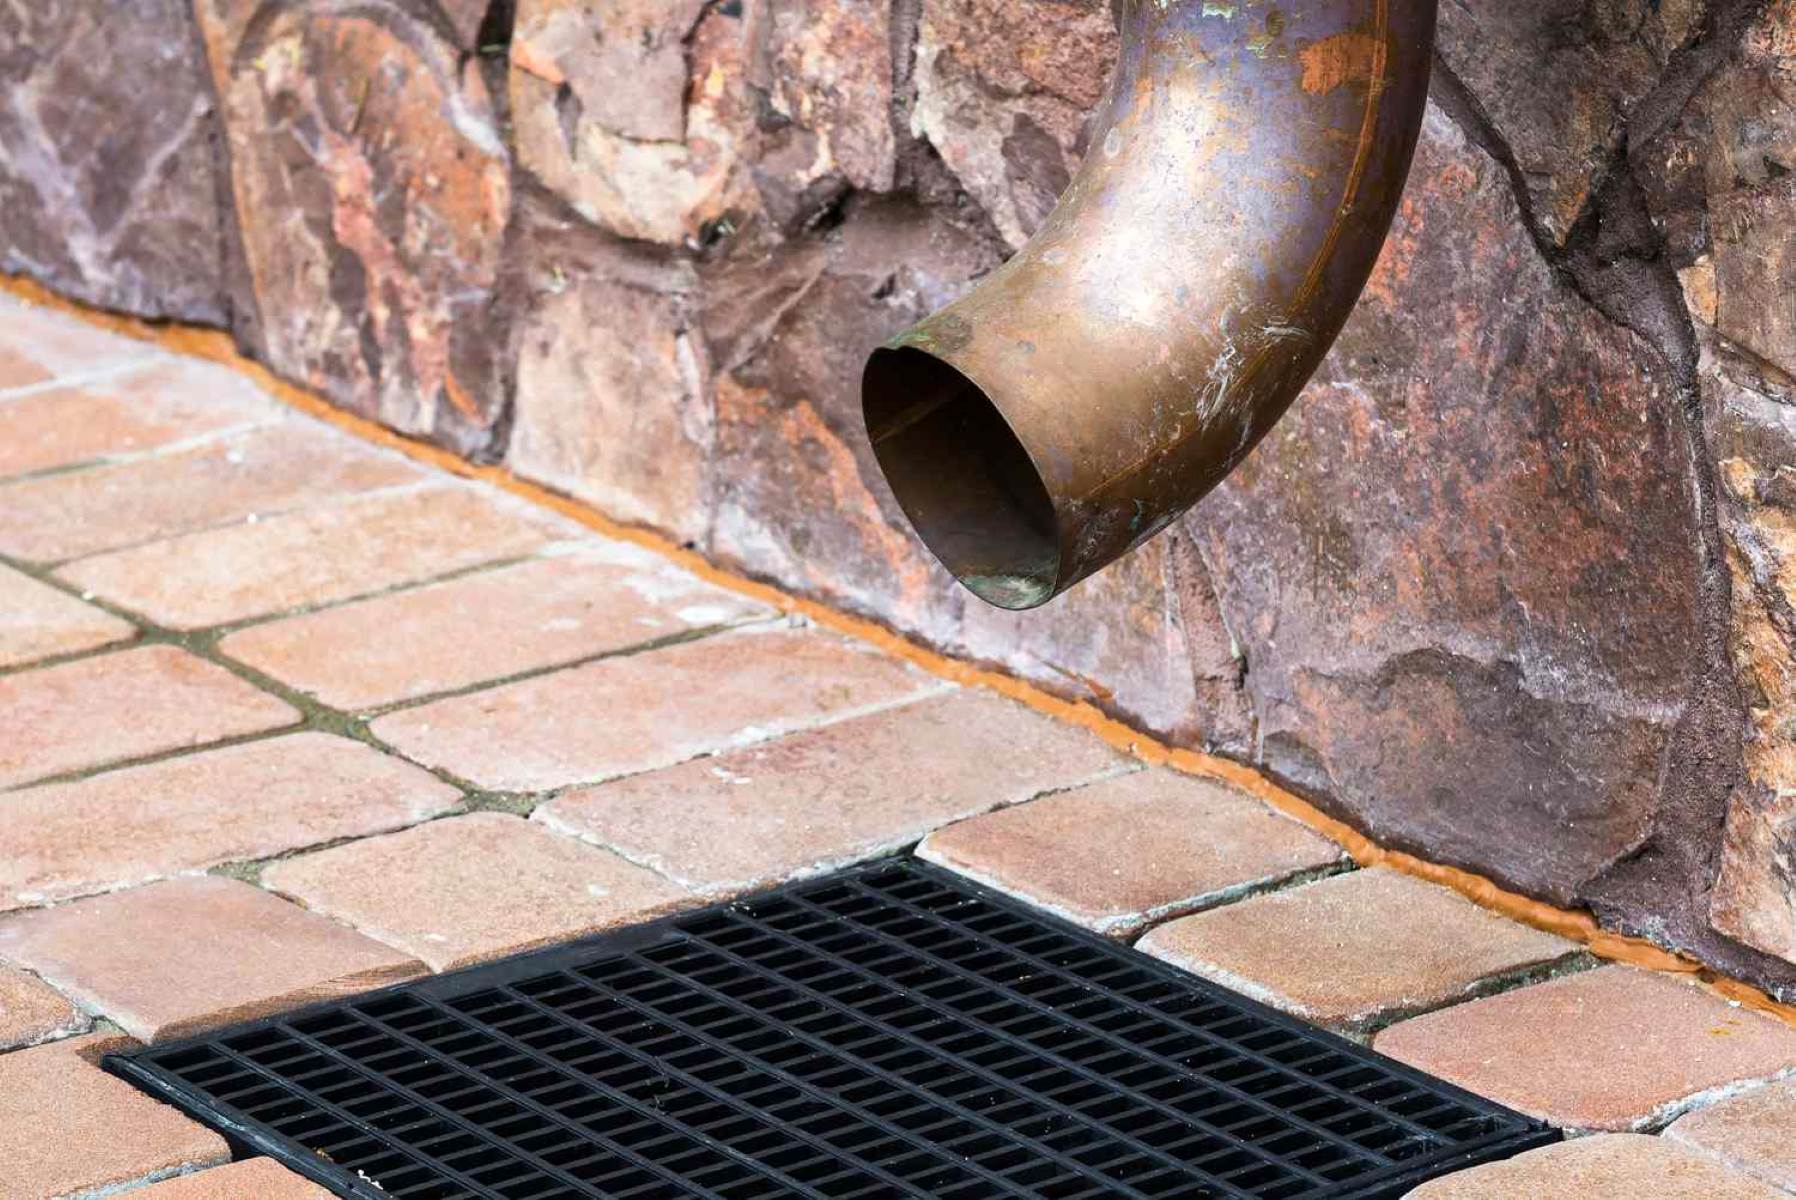
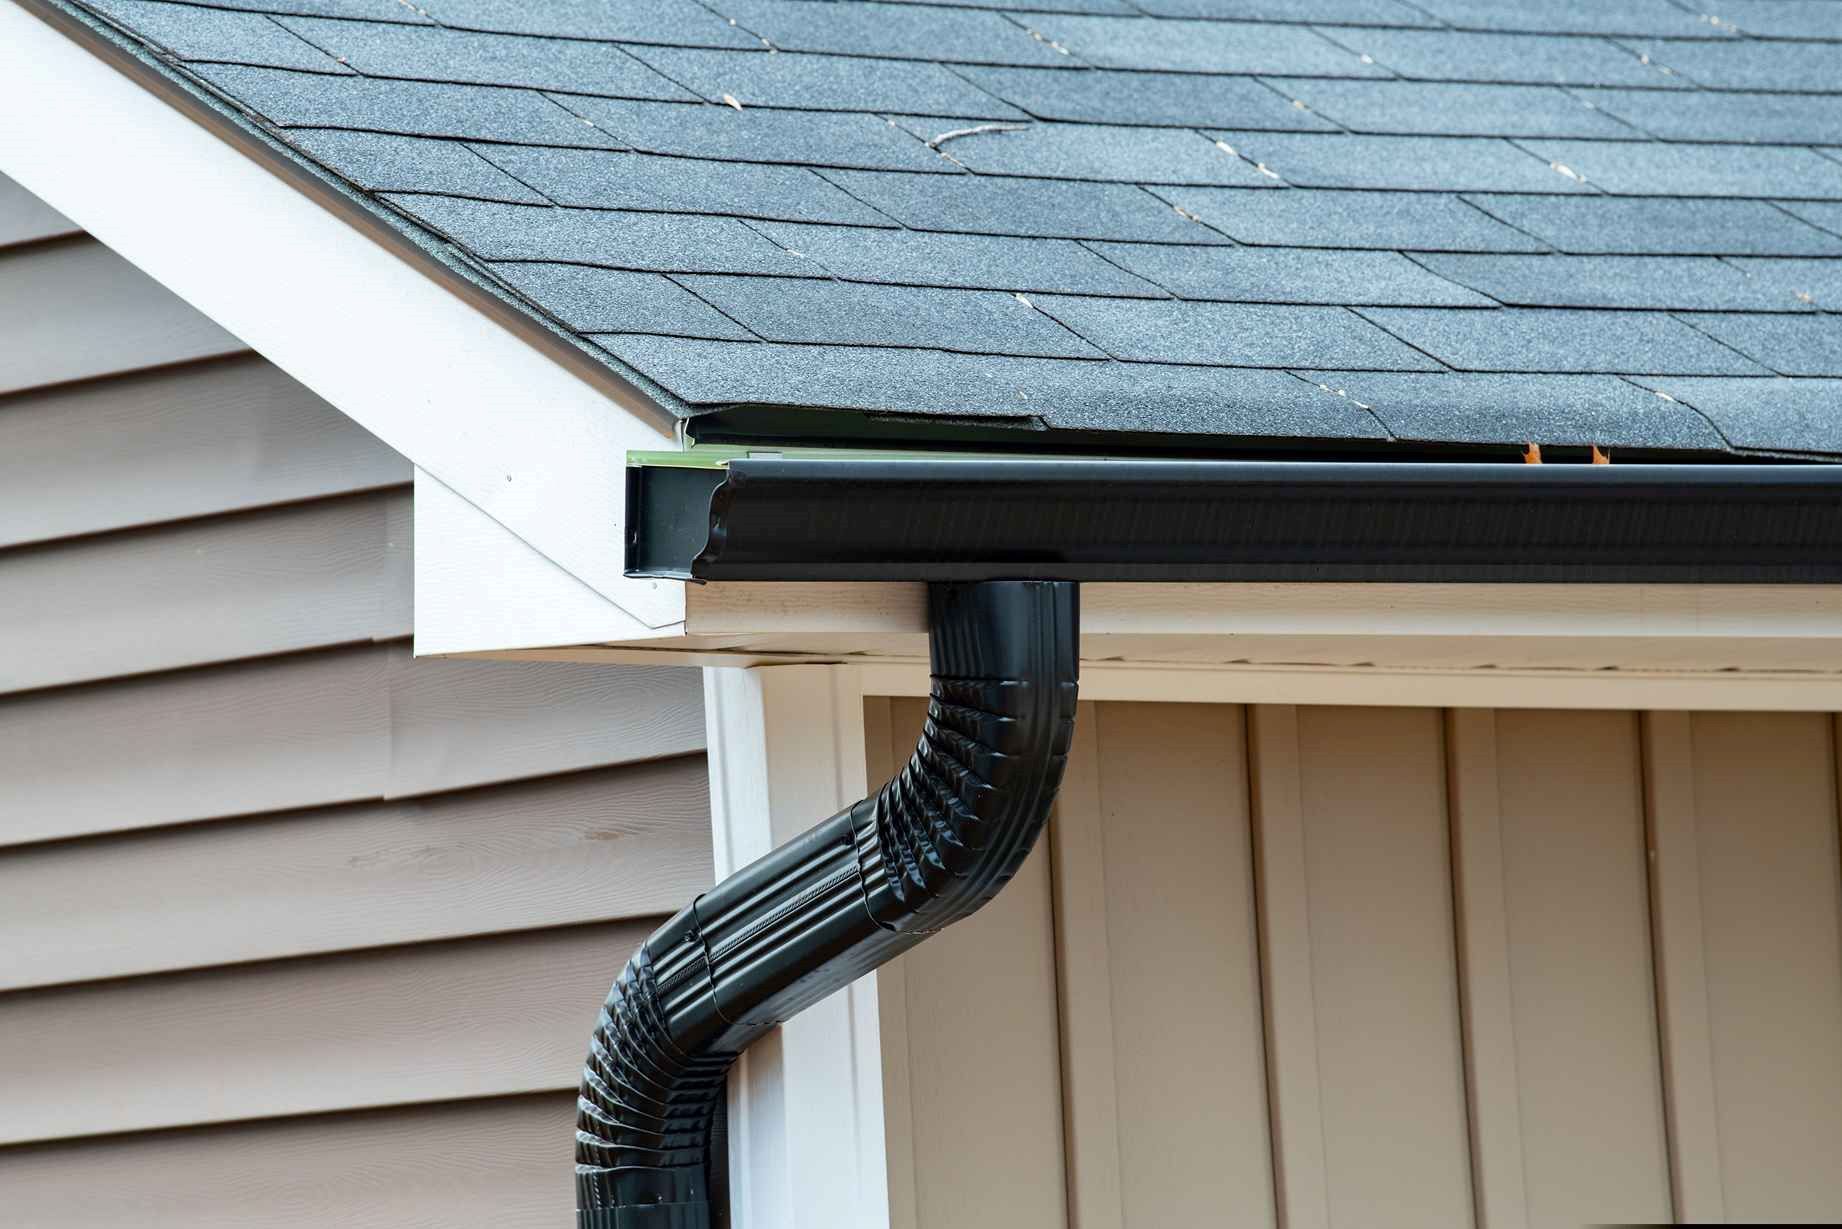
Next, inspect the gutters and downspouts. Check for any signs of damage, such as cracks, leaks, or sagging. Make sure the downspouts are redirecting water away from the foundation, and that there is no pooling or erosion at their base.
Walk around your yard and take note of any areas where water collects or fails to drain properly. This can include low-lying spots, uneven ground, or areas near the foundation where water tends to accumulate. These problem areas will need your attention for effective drainage.
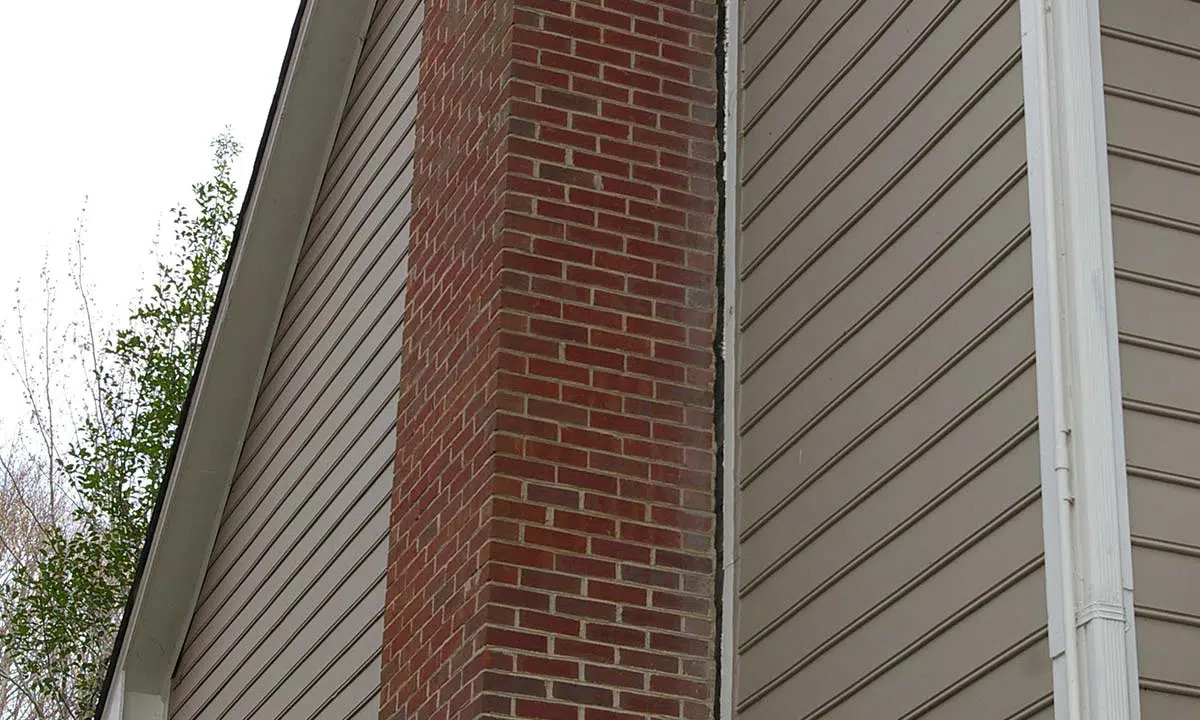
Another aspect to consider is the landscaping around your house. Look for any overgrown or dense vegetation that may impede water flow or obstruct drainage pathways. Tree roots can also cause damage to underground pipes or create blockages.
Finally, check the condition of any existing drainage systems you may have, such as French drains or dry wells. Ensure they are functioning correctly and not clogged with debris or sediment.
By thoroughly assessing your current drainage system, you will have a better understanding of the areas that require improvement. This knowledge will guide you in implementing the most effective solutions to achieve proper water drainage away from your home.
Identifying Problem Areas
Once you have assessed your current drainage system, it’s time to identify the specific problem areas that need your attention. These problem areas are typically characterized by water pooling, excessive moisture, erosion, or any signs of water damage.
Start by examining the foundation of your house. Look for any cracks, dampness, or mold growth. These could be indications of water seepage from poor drainage. Pay special attention to areas where the ground is sloping towards the foundation, as this can lead to water collecting around the base of the house.
Next, inspect your yard for areas that retain water or have poor drainage. Common problem areas include low-lying spots, depressions in the ground, or areas near the base of slopes where water tends to accumulate.
Observe the flow of water during rainfall or irrigation. Notice any areas where water is not being effectively redirected away from your house. This could be due to improperly positioned downspouts or inadequate grading.
Take note of any landscaping features that may be affecting drainage. For example, if you have large trees near your house, their roots could be obstructing the natural flow of water or causing damage to underground pipes.
Finally, consider the impact of neighboring properties on your drainage. If your house is located at the bottom of a slope, you may be receiving excess water runoff from higher elevations. Determine if there are any neighboring properties that may be contributing to your drainage issues.
By carefully identifying problem areas, you can target these specific locations for improvement. This will allow you to implement the most appropriate solutions and create effective drainage away from your house.
Clearing Obstructions
One of the first steps in improving your drainage system is to clear any obstructions that may be impeding the flow of water. These obstructions can include debris, leaves, dirt, or even the growth of vegetation.
Start by cleaning out your gutters and downspouts. Remove any leaves, twigs, or other debris that may have accumulated. Use a hose to flush out any remaining residue or clogs. This will ensure that water can flow freely through the gutters and downspouts, preventing overflow and potential damage to your home.
Next, inspect the area around your downspouts. Make sure they are not blocked by dirt or vegetation. Trim any overhanging branches or vines that may be obstructing the path of water. This will help to direct water away from your foundation and prevent pooling around the base of your house.
If you have any drainage channels or ditches in your yard, check for any obstructions that may be inhibiting the flow of water. Remove any debris or sediment that has accumulated and create a clear pathway for water to drain away from your property.
Additionally, take the time to remove any excessive mulch or soil that may have built up around the base of your house. This can contribute to water pooling and seepage into your foundation.
By clearing obstructions in your drainage system, you will improve the overall flow of water and prevent potential blockages. This simple step will significantly enhance the effectiveness of your drainage efforts and help protect your home from water damage.
Redirecting Downspouts
Redirecting downspouts is a crucial step in ensuring proper drainage away from your house. Downspouts are responsible for carrying water from your gutters and safely depositing it away from your foundation. When positioned correctly, downspouts can help prevent water from pooling around your house and causing potential damage.
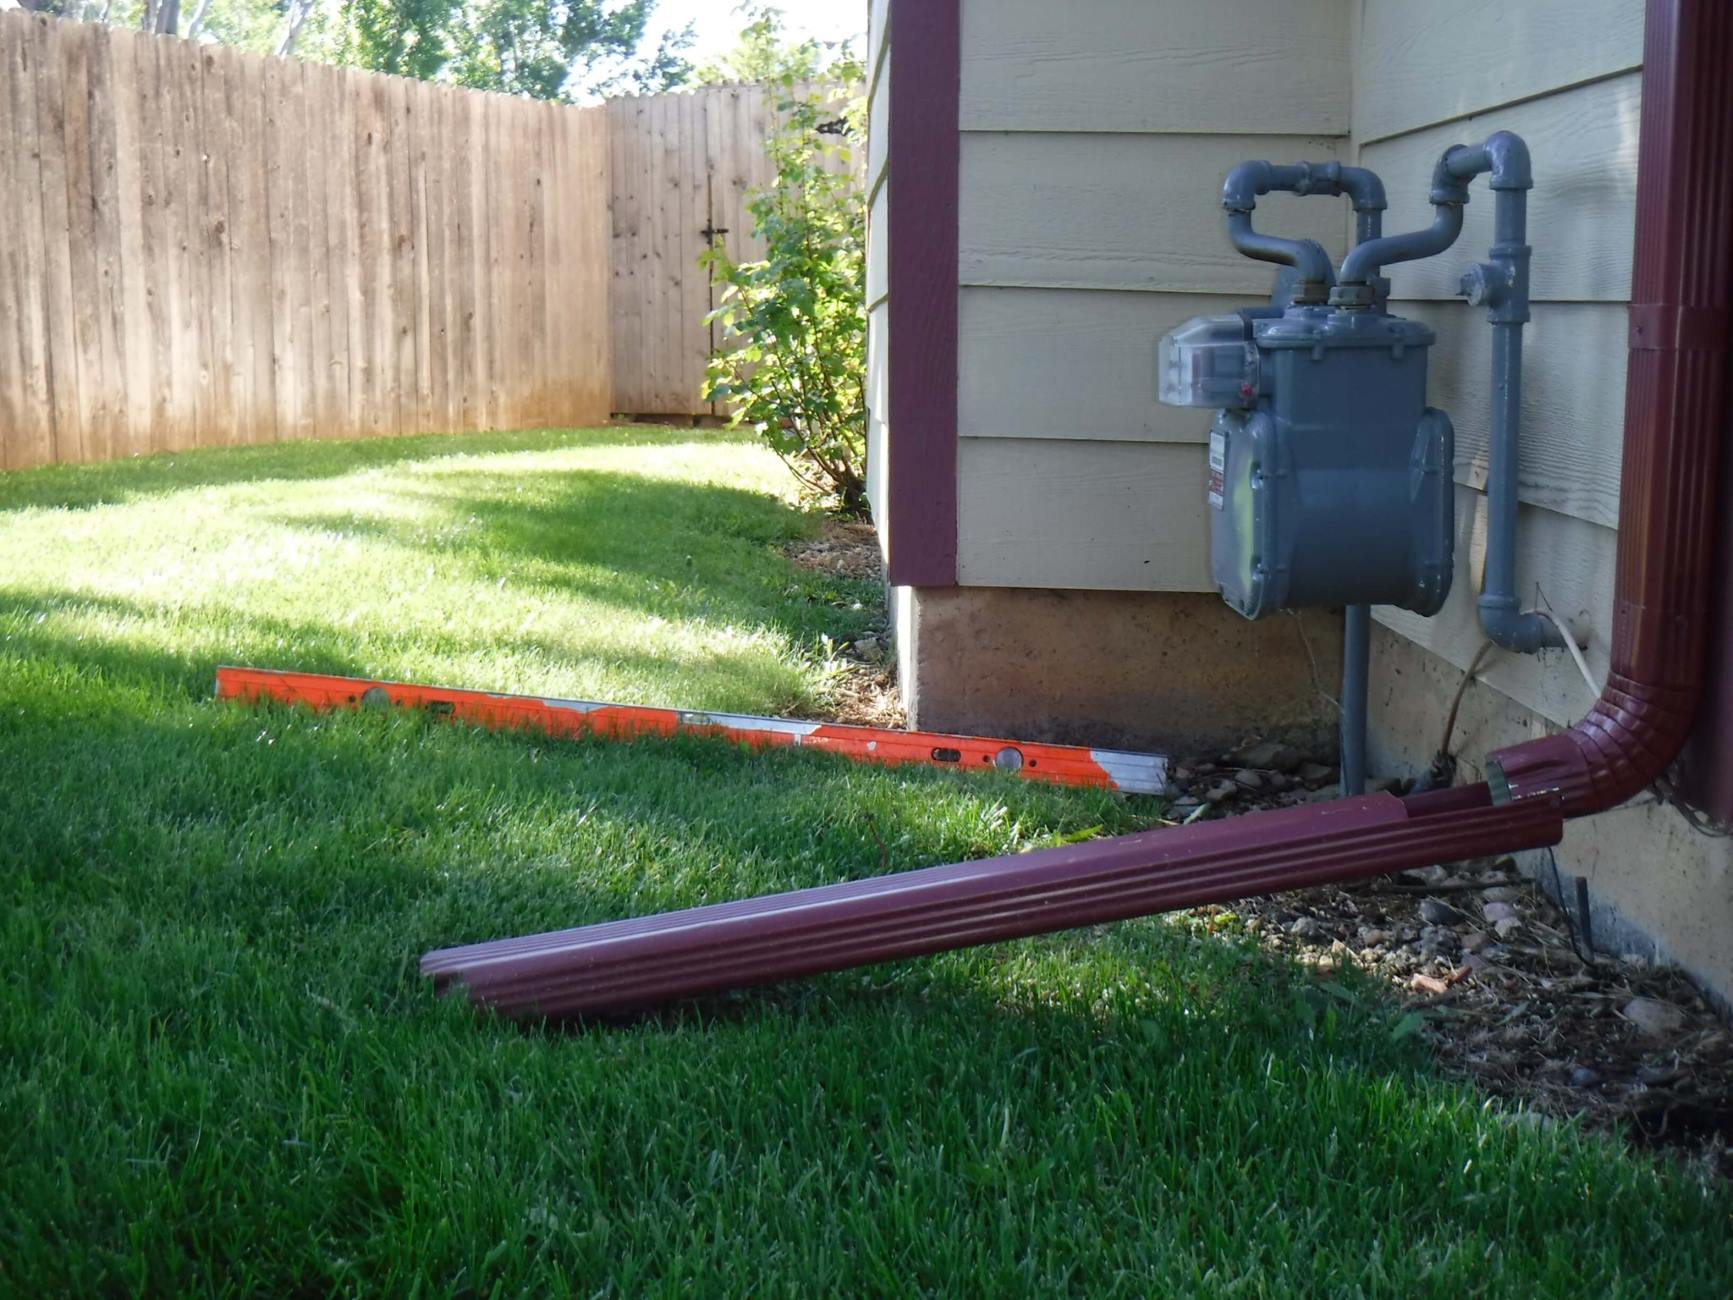
Start by evaluating the current placement of your downspouts. Ideally, they should direct water at least 5 feet away from the foundation. If your downspouts are discharging water too close to your house, it’s important to extend them or redirect the flow.
To redirect downspouts, you have several options. One method is to install downspout extensions. These extensions attach to the existing downspout and allow you to direct the water further away from your foundation. They can be easily adjusted to ensure that the water is properly discharged in an area that promotes effective drainage.
If you have landscaping features such as shrubs or flower beds near your downspouts, consider installing splash blocks or gravel trenches to further redirect and disperse the water. These features can help prevent erosion and ensure that water is distributed evenly throughout your yard.
Another effective technique is to create a rain barrel system. This involves placing a large barrel at the end of your downspout to collect rainwater. The collected water can then be used for irrigation purposes or gradually released into the surrounding soil through a perforated hose. This not only helps with drainage but also promotes water conservation.
Remember to regularly inspect and maintain your downspouts. Ensure that they are free from debris and that the angles and connections are secure. Regular maintenance will help to optimize the function of your downspouts and ensure proper water drainage away from your house.
By redirecting your downspouts, you can effectively control the flow of water and prevent it from pooling around your foundation. Taking this proactive approach will go a long way in protecting your home and maintaining a healthy and dry living environment.
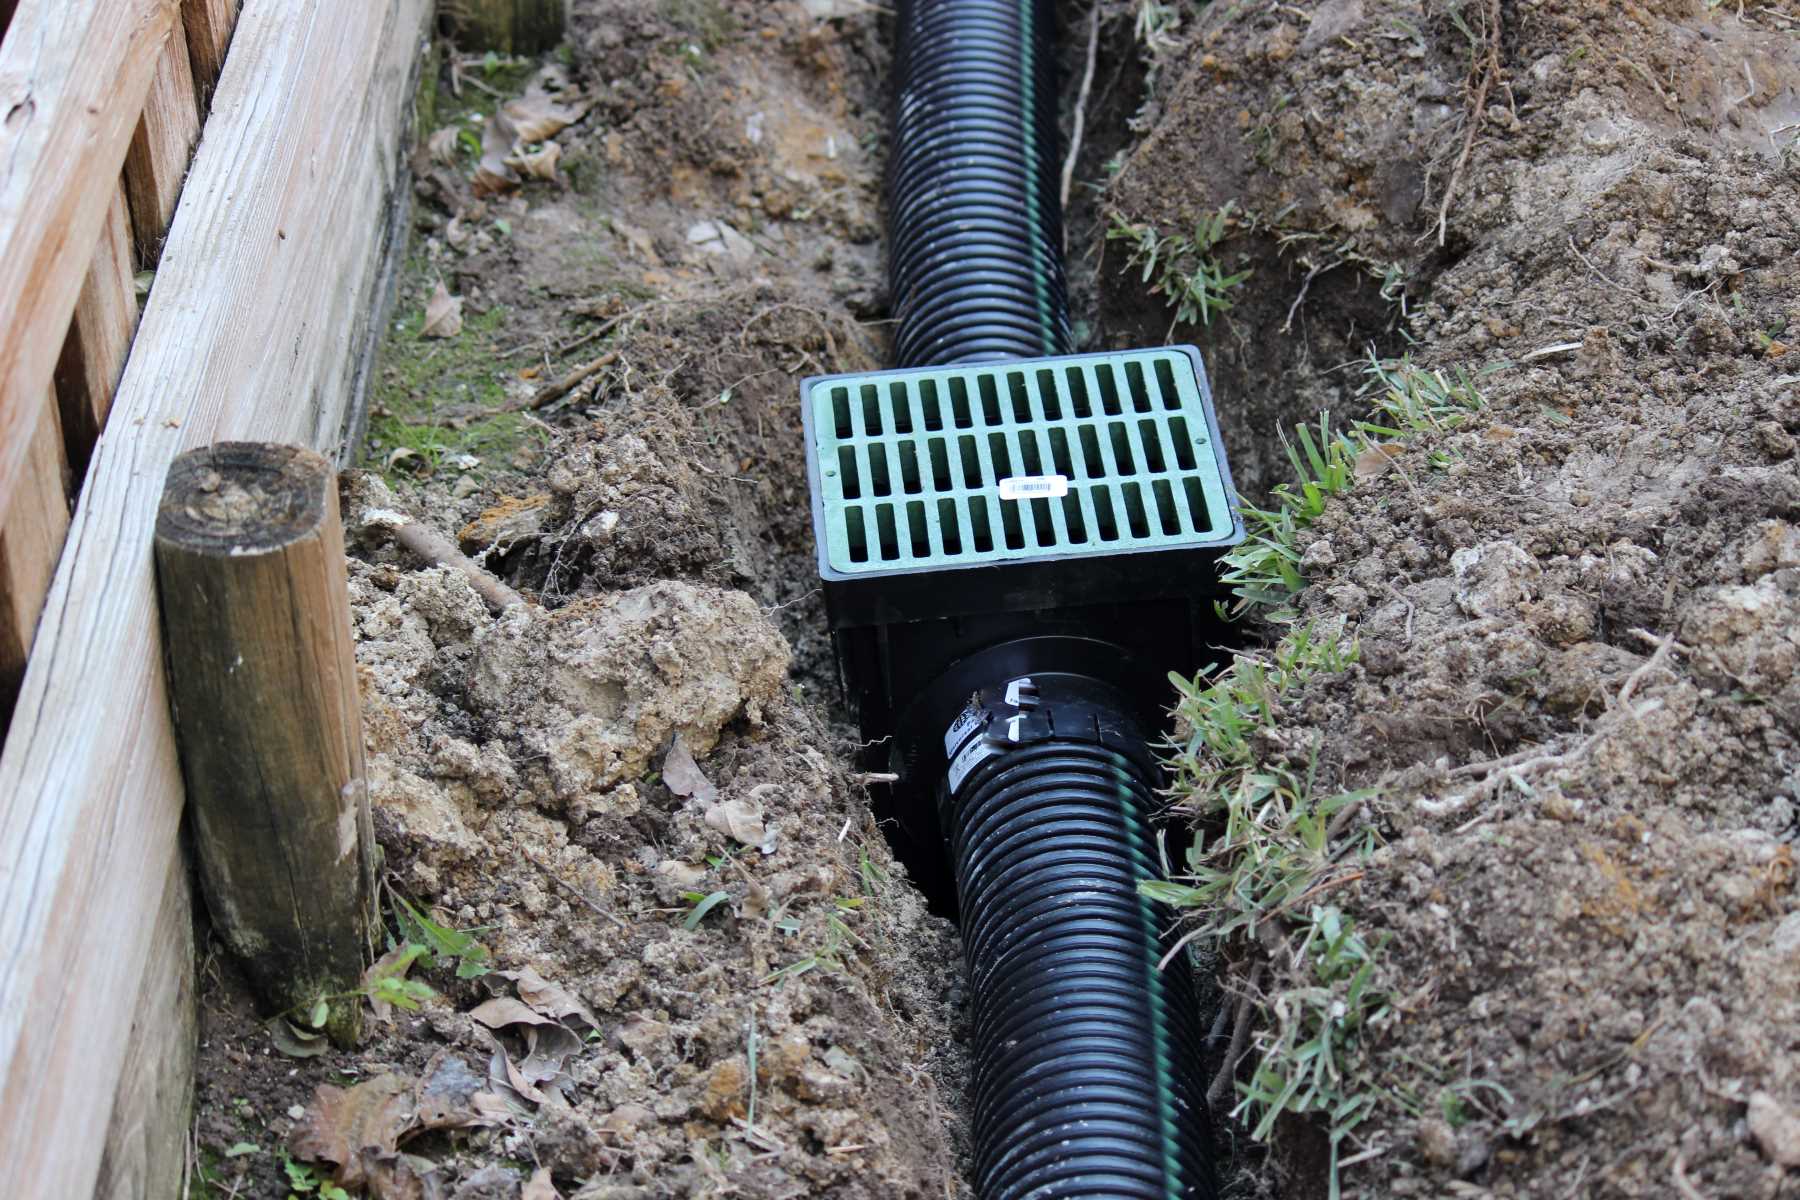
Installing French Drains
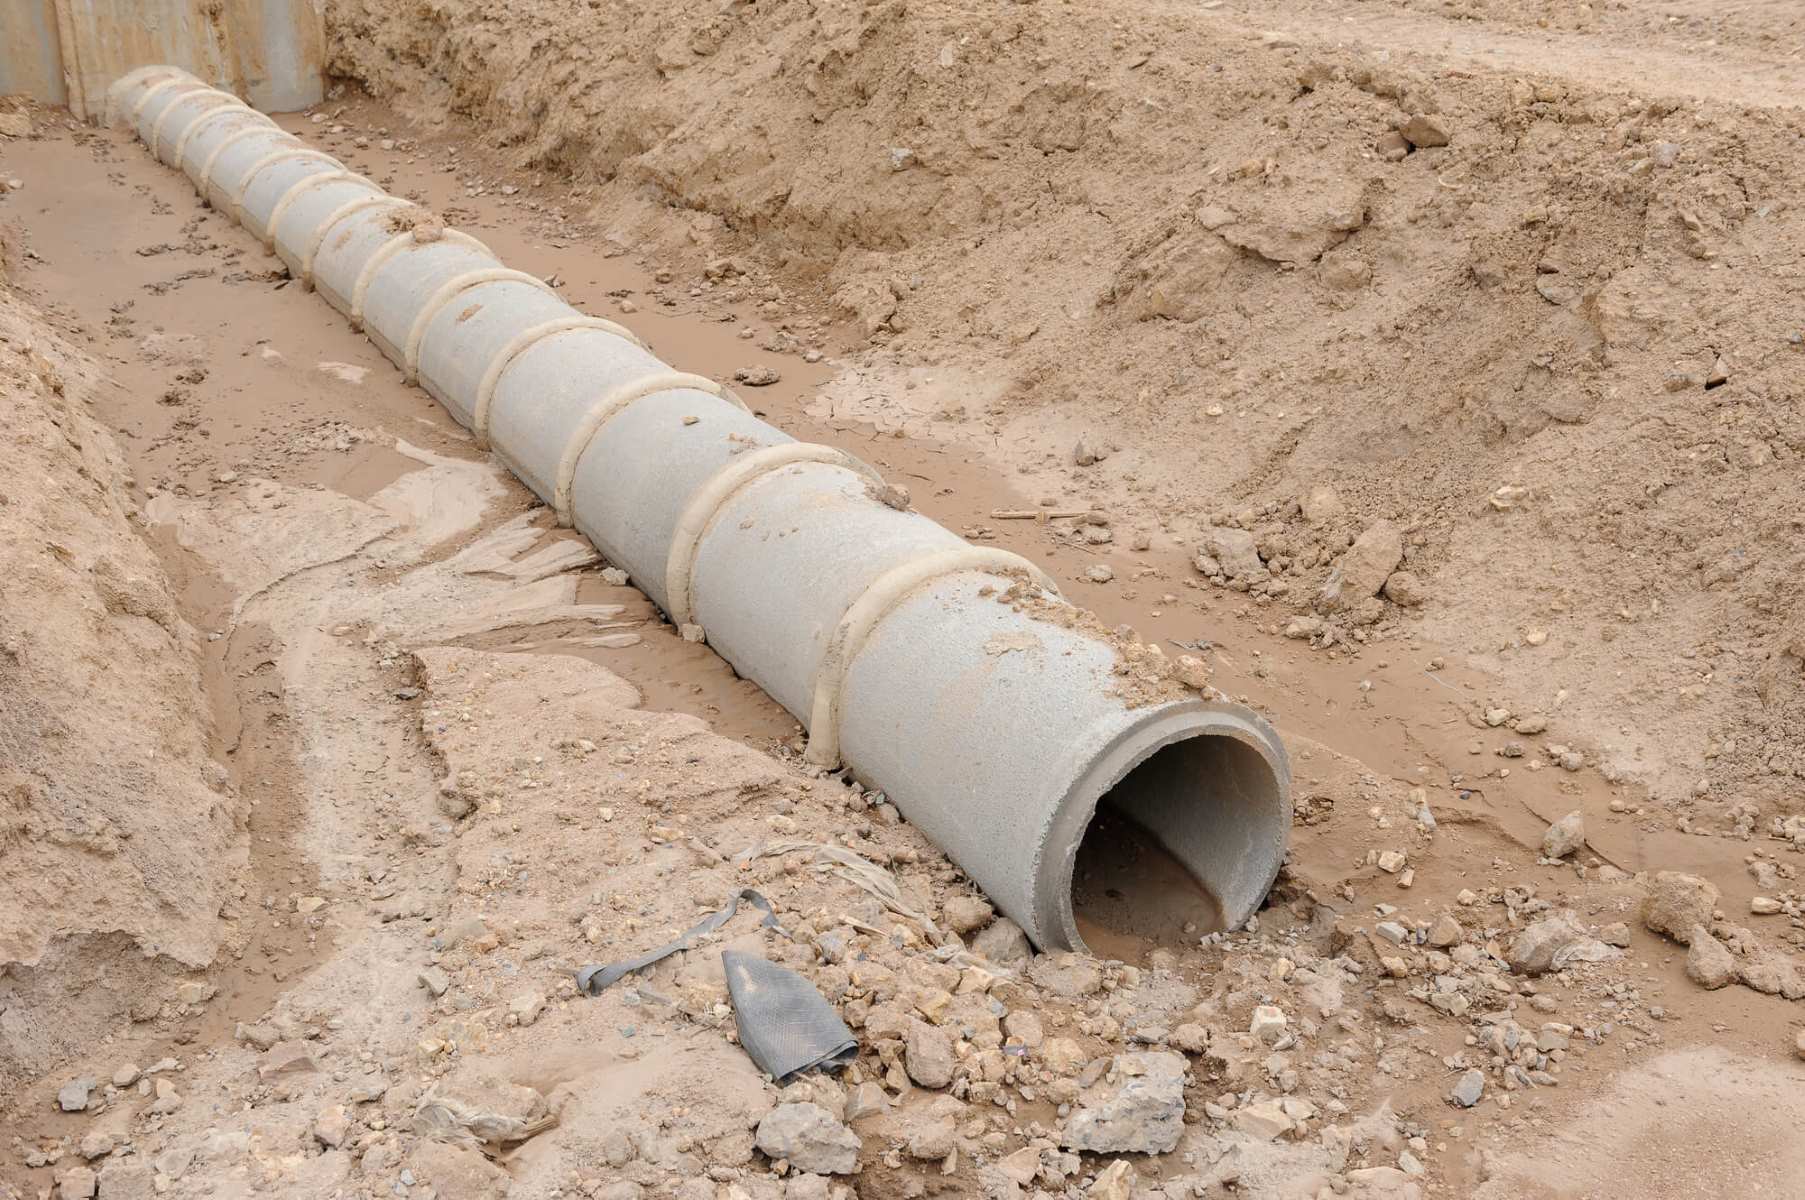
French drains are a highly effective drainage solution for redirecting water away from your house. They are particularly useful in areas with high water tables or heavy rainfall, as they help to channel water underground, preventing it from pooling on the surface.
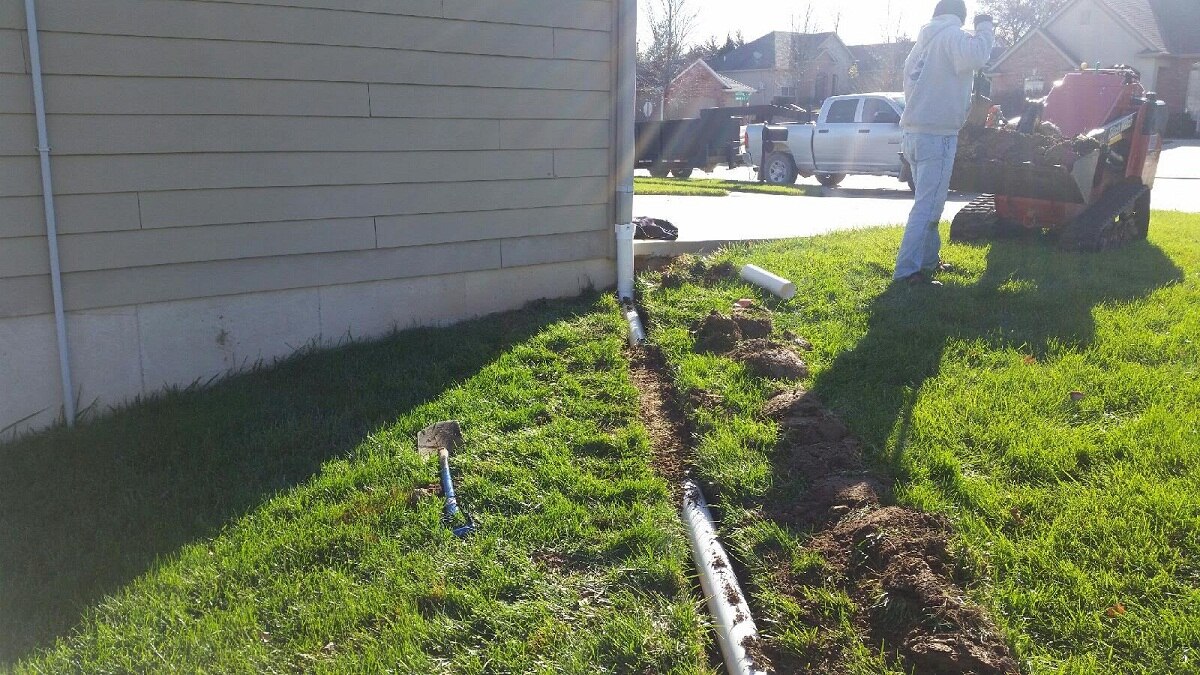
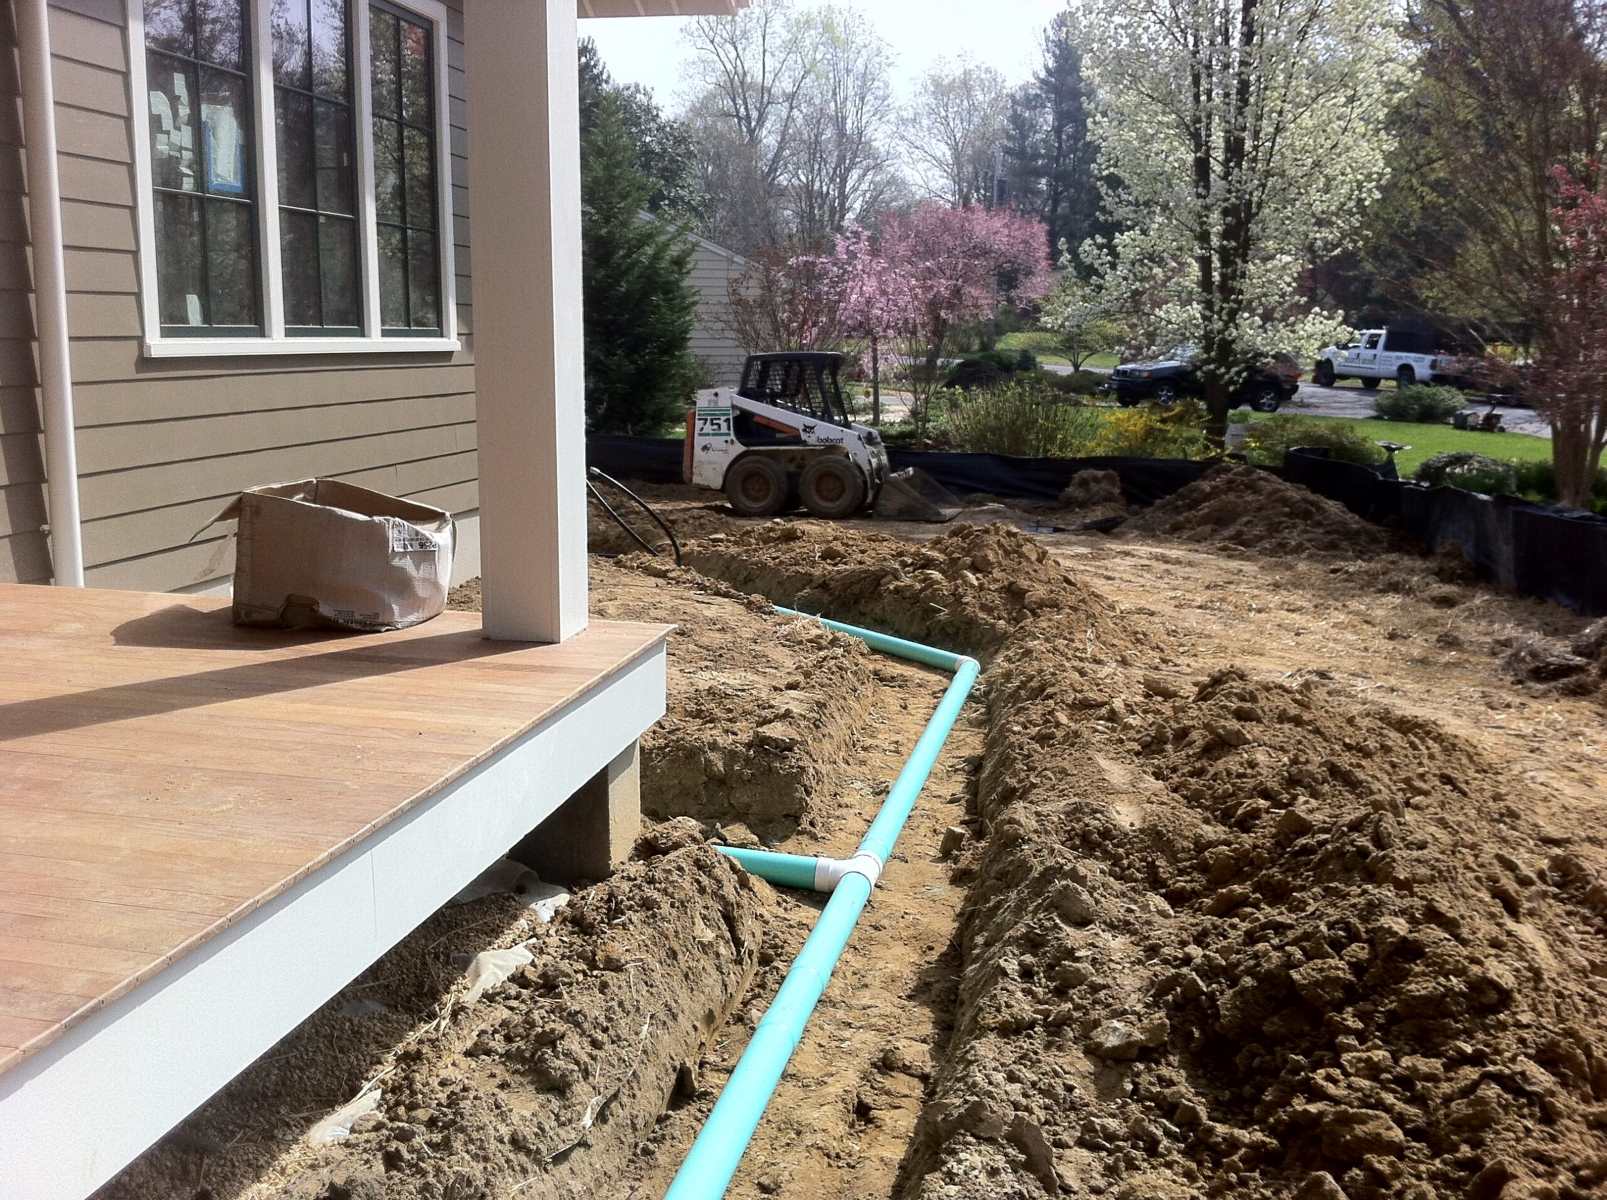
The installation of a French drain involves creating a trench in the ground and placing a perforated pipe inside. This pipe is surrounded by gravel or crushed stone, which allows water to easily flow into the drain and away from your home. The trench is then covered with soil and landscape fabric to prevent soil infiltration while still allowing water to enter the drain.
When deciding where to install a French drain, consider areas that experience excessive water accumulation, such as along the foundation of your house or in low-lying spots in your yard. You can also install French drains around outdoor structures, such as patios or sheds, to prevent water from seeping into their foundations.
Start by excavating a trench that slopes away from the problem area. The trench should be approximately 6 to 12 inches wide and deep enough to accommodate the pipe and gravel. Place a layer of gravel at the bottom of the trench to promote drainage. Then, position the perforated pipe in the center, making sure it has a downward slope to allow water to flow freely.
After placing the pipe, cover it with more gravel, ensuring that the entire pipe is surrounded. This will prevent debris from clogging the pipe and maintain its efficiency. Finally, cover the gravel with landscape fabric before backfilling the trench with soil.
French drains can be connected to a sump pump if necessary, which will pump the collected water away from your property. This is especially useful in areas with high water tables or in basements prone to flooding.
Installing French drains requires careful planning and consideration of your specific drainage needs. It is recommended to consult with a professional or do thorough research to ensure proper installation and maximize their effectiveness.
By installing French drains, you can effectively divert water away from your house, preventing potential water damage and creating a drier and healthier environment around your property.
Make sure the ground slopes away from the house to direct water away. Use downspout extensions and French drains to move water further from the foundation.
Building a Rain Garden
A rain garden is a beautiful and eco-friendly way to manage excess water runoff from your property. It is a shallow depression filled with native plants and soil that allows rainwater to be absorbed into the ground instead of flowing into storm drains. By building a rain garden, you can create a natural and effective drainage solution while enhancing the aesthetic appeal of your outdoor space.
When selecting a location for your rain garden, choose an area that receives a significant amount of water runoff, such as near downspouts or in low-lying parts of your yard. It’s important to ensure that the rain garden is positioned at least 10 feet away from the foundation of your house to prevent water seepage into the basement.
Start by digging a shallow basin in the selected area. The depth of the basin will depend on the size of your rain garden and the type of soil you have. Aim for a depth of around 4 to 6 inches. Slope the sides of the basin gently to help water flow into the garden and prevent erosion.
Next, add a layer of compost or organic matter to the bottom of the basin to enrich the soil and improve drainage. Mix this organic matter with the existing soil to create a healthy planting medium for your rain garden.
Select a variety of native plants that are adapted to your region’s climate and can tolerate both periods of heavy rainfall and dry spells. Choose plants with different heights and root depths to maximize water absorption and create an aesthetically pleasing garden.
Plant your selected vegetation in the rain garden, arranging taller plants towards the center and shorter plants towards the edges. Be sure to provide enough spacing between the plants to allow for proper growth and water infiltration.
After planting, cover the surface of the rain garden with a layer of mulch to conserve moisture, prevent weed growth, and protect the soil from erosion. Mulch can also help in retaining water during drier periods.
Once your rain garden is established, it will act as a natural sponge, absorbing excess water and reducing the risk of runoff and erosion on your property. It will also attract beneficial wildlife and provide habitat for pollinators.
Remember to maintain your rain garden by regularly monitoring the plants, removing weeds, and replenishing mulch as needed. With proper care, your rain garden will continue to serve as an effective drainage system and a beautiful addition to your outdoor space.
Creating Slopes and Grading
Creating proper slopes and grading is crucial for effective drainage away from your house. A well-designed slope ensures that water naturally flows away from your foundation and prevents water pooling or seepage.
Start by assessing the current grading of your yard. Look for areas where the ground slopes towards your house, as this can cause water to collect and potentially enter your foundation. These areas will need to be regraded and sloped away from your house.
If you notice low spots or depressions in your yard where water tends to accumulate, consider filling them in or leveling the surface to create a more uniform slope. This will help water to flow freely and prevent standing water that can lead to various drainage issues.
The ideal slope away from your house should be about 1 inch per foot for the first 10 feet. This gradual slope ensures that water is efficiently directed away from your foundation without causing erosion or runoff problems in other areas of your yard. Use a long level or a transit to measure the slope accurately.
When regrading your yard, it’s important to consider the natural contours of the land and work with them to create a harmonious and functional slope. Avoid drastic changes in the terrain, as this can disrupt the overall stability of the landscape. Instead, make subtle adjustments to ensure a smooth and seamless transition.
As you regrade the soil, take the opportunity to improve the quality and composition of the ground. Add organic matter, such as compost or topsoil, to enhance the soil’s ability to absorb and drain water. This will help create a healthy and fertile environment for your plants and vegetation.
In addition to regrading for optimal drainage, consider creating swales or shallow ditches along the contour lines of your property. These can help channel and direct the flow of water away from your house, preventing erosion and pooling in certain areas. Plant vegetation, such as grasses or native plants, along the swales to stabilize the soil and improve water absorption.
When implementing slopes and grading, keep in mind that it should be a continuous process. Regularly check and adjust the slopes as needed to ensure that water is effectively draining away from your house.
By creating proper slopes and grading, you can significantly improve the drainage of your yard and protect your home from potential water damage. It’s an essential step in maintaining a dry and healthy living space.
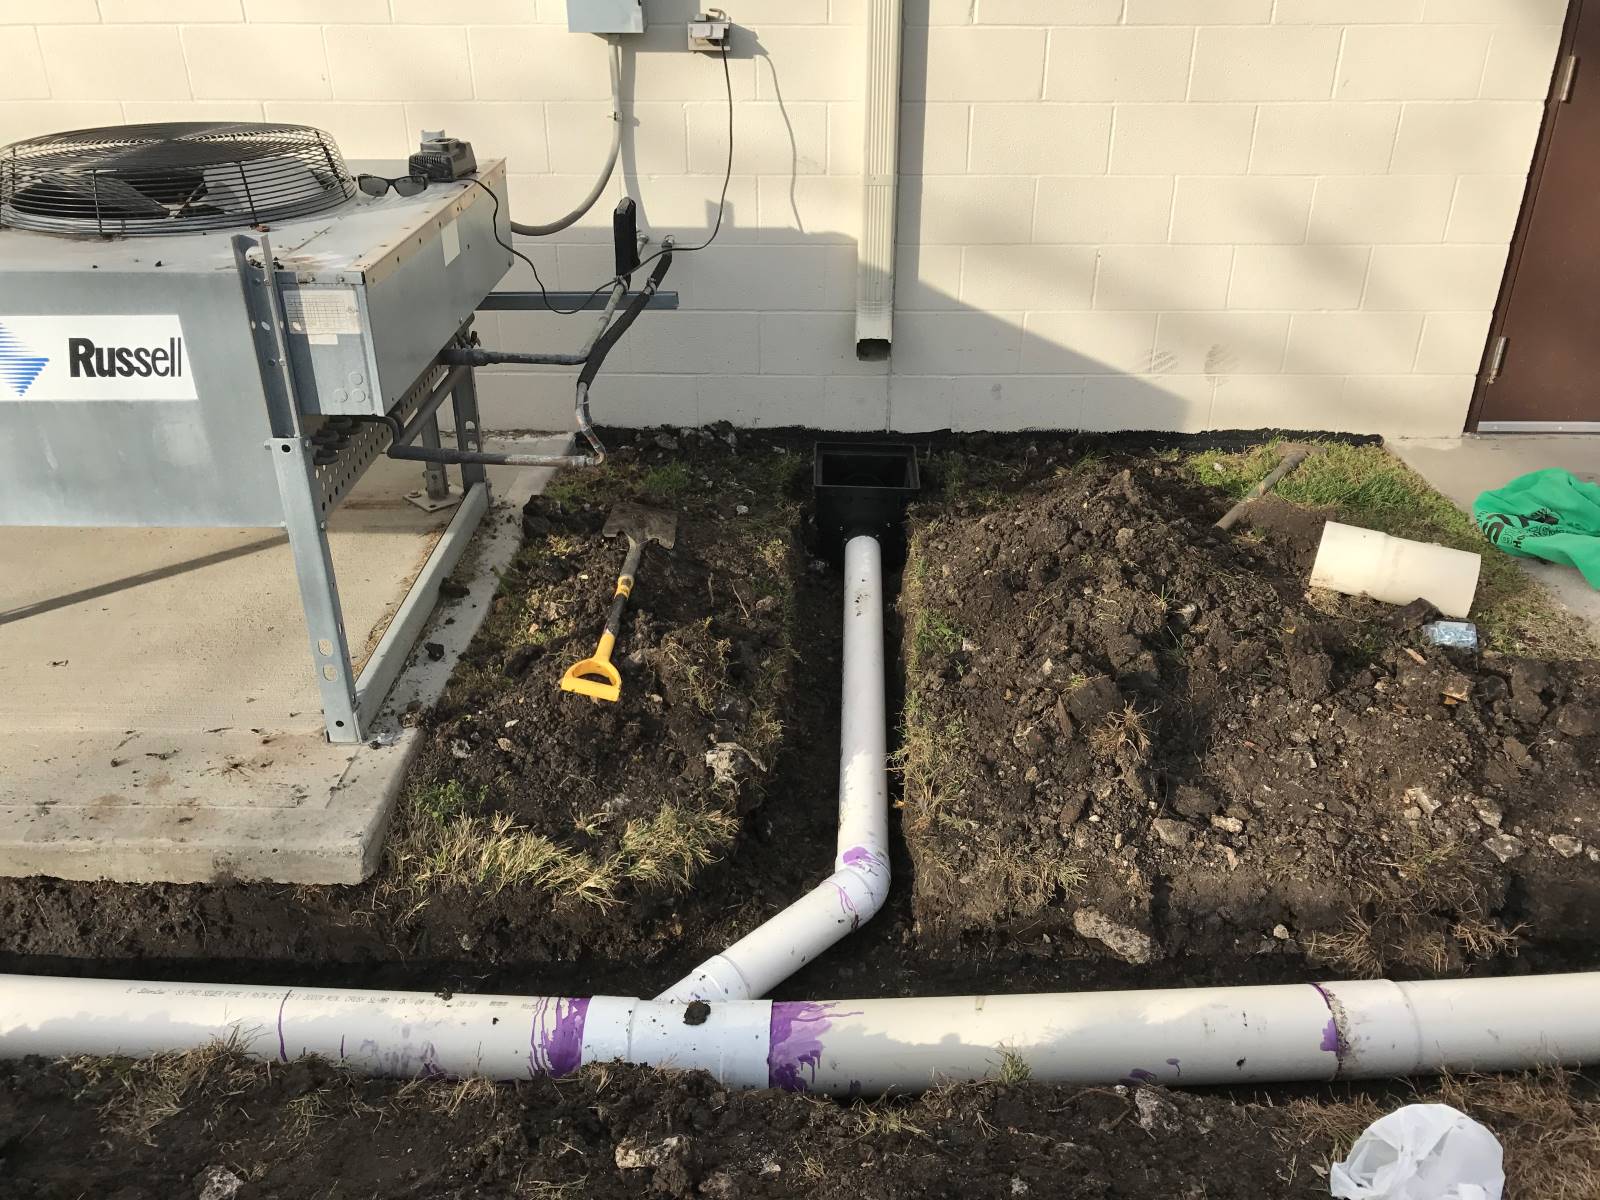
Using Dry Wells or Gravel Trenches
Dry wells and gravel trenches are effective drainage solutions that can help manage excess water on your property. They work by allowing water to infiltrate into the ground slowly, preventing water accumulation and redirecting it away from your house.
Dry wells are underground structures that collect and store water, allowing it to gradually percolate into the surrounding soil. They are typically made of perforated pipes or precast concrete structures surrounded by gravel or crushed stone. Dry wells can handle large volumes of water and are particularly useful in areas with heavy rainfall or poor soil drainage.
To install a dry well, start by digging a hole deep enough to accommodate the size of the dry well structure. Place the dry well in the hole, ensuring that it is level and secure. Surround the well with gravel or crushed stone, leaving enough space for water to flow into the well through the perforations. Cover the area with landscape fabric and backfill with soil.
Gravel trenches, on the other hand, are shallow channels filled with gravel or crushed stone that allow water to seep into the ground. They are effective in managing surface water runoff and reducing erosion. Gravel trenches are typically installed in areas that experience frequent pooling or excessive water flow.
To create a gravel trench, dig a trench that is wide and deep enough to accommodate the desired amount of gravel. The trench should slope away from your house to allow for proper water flow. Fill the trench with gravel or crushed stone, ensuring that the material is evenly distributed and compacted. You can cover the surface with landscape fabric to prevent soil infiltration while still allowing water to enter the trench.
Both dry wells and gravel trenches can be strategically positioned in problem areas to effectively collect and redirect water. Consider installing them near downspouts, at the base of slopes, or anywhere water tends to accumulate. These drainage features can complement other systems, such as French drains, and provide additional backup for effective water management.
Regular maintenance is crucial for the optimal performance of dry wells and gravel trenches. This includes inspecting and cleaning the structures regularly to remove any debris or sediment that may obstruct water flow. Proper maintenance will ensure that these drainage solutions continue to efficiently manage excess water on your property.
By utilizing dry wells and gravel trenches, you can effectively control water runoff, prevent water accumulation, and protect your home from potential water damage.
Maintaining the Drainage System
Maintaining your drainage system is essential to ensure its effectiveness and prevent potential issues from arising. Regular maintenance will help you identify and address any problems early on, providing you with a well-functioning drainage system that protects your home from water damage.
Here are some maintenance tasks to keep in mind:
Inspect and Clean Gutters: Regularly check your gutters for debris, such as leaves, twigs, and dirt. Clean out any obstructions to ensure proper water flow. Consider installing gutter guards to minimize debris accumulation and reduce the frequency of gutter cleaning.
Clear Downspouts: Check that the downspouts are clear of debris and properly channeling water away from your house. Use a hose to flush out any clogs or buildup and ensure that water is flowing freely.
Monitor and Maintain French Drains: Inspect your French drains for any signs of blockage or damage. Ensure that the perforated pipes are clear of debris and the surrounding gravel is not compacted. If necessary, flush out the pipes with water or use a drain snake to remove any potential clogs.
Check for Erosion: Regularly inspect your yard for signs of erosion, such as exposed roots or bare soil. Address any erosion issues promptly by adding soil or installing erosion control measures, such as retaining walls or landscape fabric.
Inspect Landscaping Elements: Check the condition of any landscaping features that may affect drainage, such as vegetation or mulch. Trim overgrown plants and remove any excessive mulch that could block water flow or create a barrier for proper drainage.
Monitor Grading and Slopes: Regularly assess the grading and slopes of your yard. Look for any signs of settling or changes that could impact the flow of water. Adjust slopes if necessary to maintain a proper gradient away from your house.
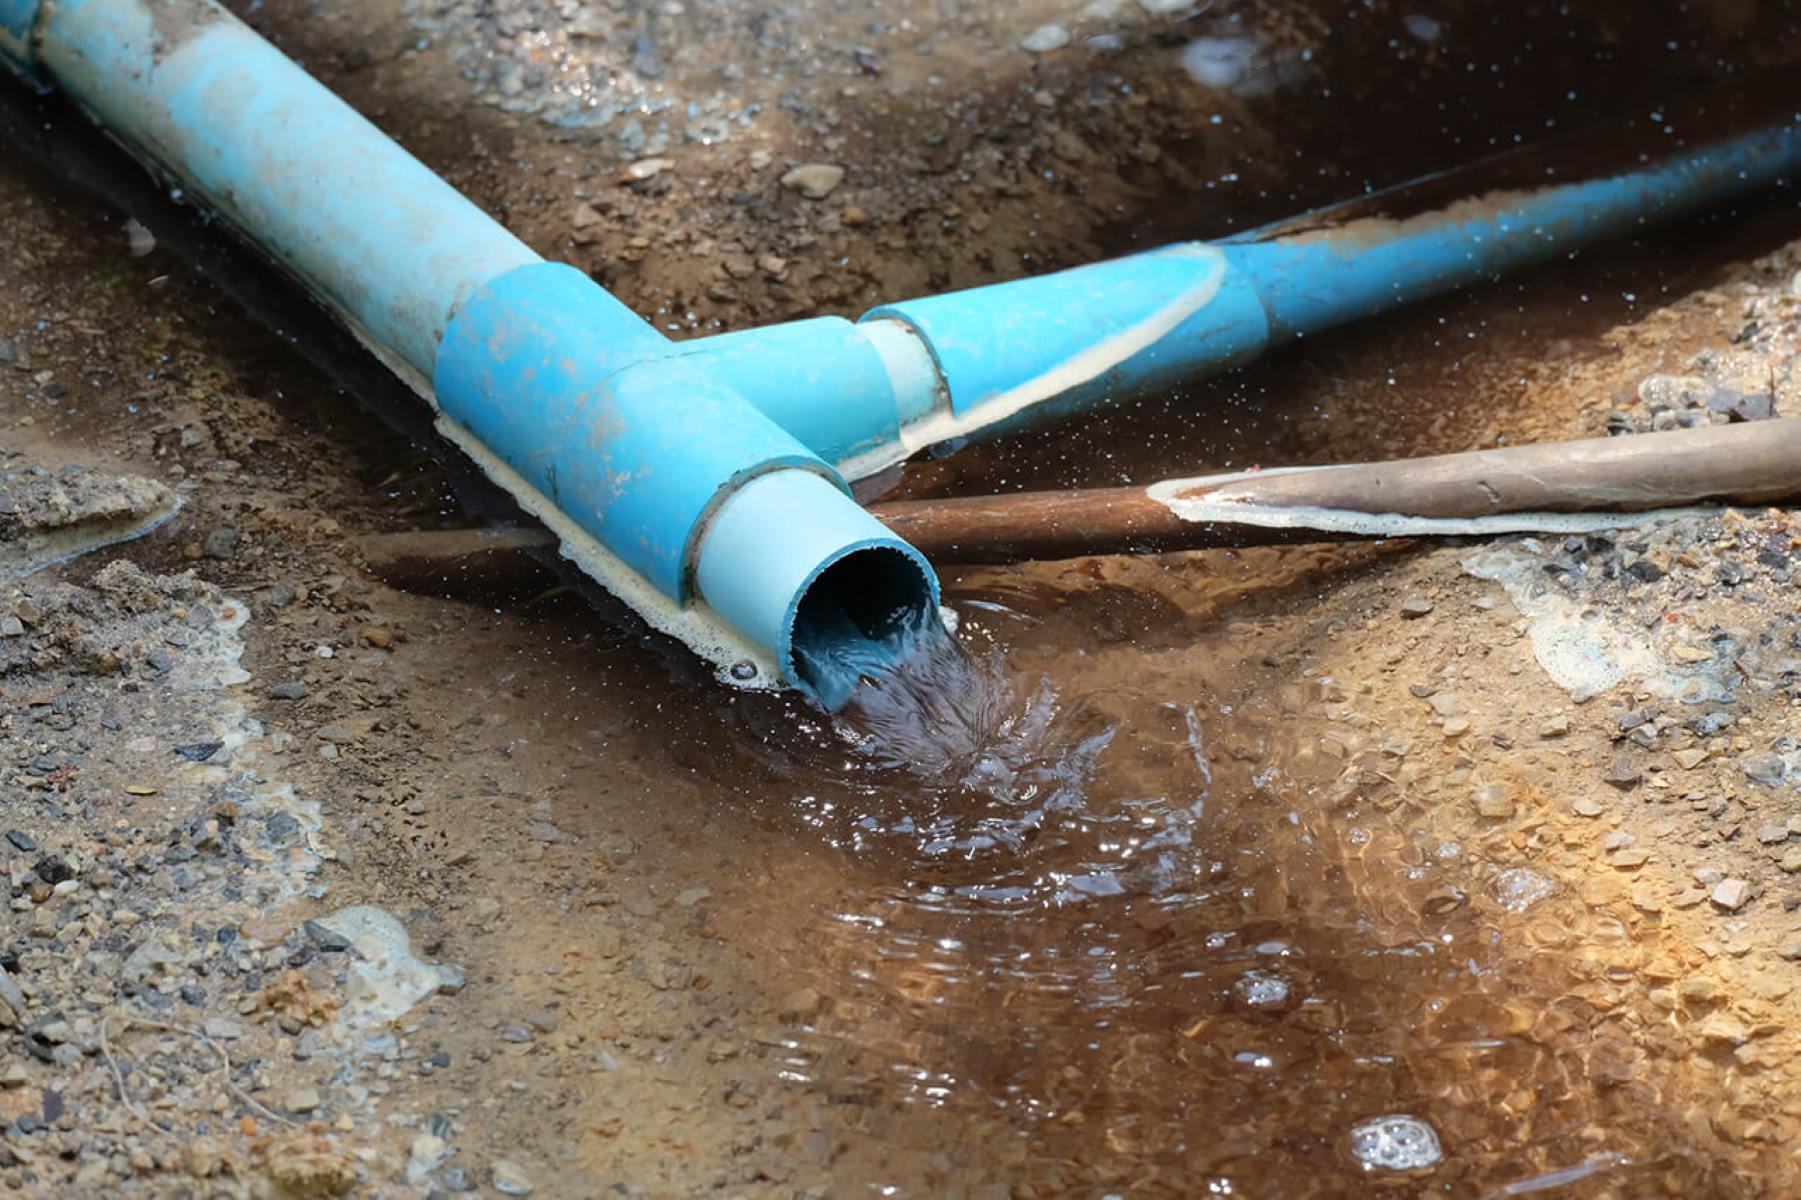
Address Plumbing Issues: Pay attention to any plumbing issues that may contribute to poor drainage, such as leaky pipes or malfunctioning fixtures. Repair any plumbing problems promptly to ensure efficient water flow and prevent water accumulation.
Keep Drains and Inlets Clear: If you have drainage channels or inlets on your property, make sure they are clear of debris and any potential blockages. Regularly clean them out to maintain proper water flow.
By consistently maintaining your drainage system, you can prevent costly repairs and ensure that excess water is effectively directed away from your home. Regular inspections and timely maintenance will help you identify and address any drainage issues before they escalate into bigger problems.
Conclusion
Creating effective drainage away from your house is crucial for maintaining the integrity of your home and preventing water damage. By implementing the right techniques, you can ensure that excess water is properly directed away from your foundation, reducing the risk of dampness, mold, erosion, and other drainage-related issues.
In this comprehensive guide, we have explored various methods for improving the drainage system around your house, including assessing the current system, identifying problem areas, clearing obstructions, redirecting downspouts, installing French drains, building rain gardens, creating slopes and grading, and utilizing dry wells or gravel trenches.
It’s important to remember that maintaining your drainage system is key to its long-term effectiveness. Regular inspections and proper maintenance will help you catch any potential issues early on and address them promptly.
Whether you live in an area prone to heavy rainfall or simply want to ensure that your home is protected from water damage, following the steps outlined in this guide will help you create an efficient and reliable drainage system.
Remember to consider the specific needs of your property, such as the topography, landscaping features, and the severity of drainage issues. By tailoring the solutions to your unique situation, you can achieve optimal results and provide long-lasting protection for your home.
By taking the time to assess, plan, and implement the appropriate drainage techniques, you can enjoy a dry and healthy living space while safeguarding the value and structural integrity of your home. Don’t let poor drainage cause unnecessary problems—take action today and create an effective drainage system that will serve you well for years to come.
Frequently Asked Questions about How To Create Drainage Away From The House
Was this page helpful?
At Storables.com, we guarantee accurate and reliable information. Our content, validated by Expert Board Contributors, is crafted following stringent Editorial Policies. We're committed to providing you with well-researched, expert-backed insights for all your informational needs.


0 thoughts on “How To Create Drainage Away From The House”