Articles
How To Put Up Gutters On A House
Modified: January 8, 2024
Learn how to put up gutters on your house with our informative articles. Increase your home's value and protect it from water damage.
(Many of the links in this article redirect to a specific reviewed product. Your purchase of these products through affiliate links helps to generate commission for Storables.com, at no extra cost. Learn more)
Introduction
When it comes to protecting your home from water damage, installing gutters is one of the most important steps you can take. Gutters play a crucial role in directing rainwater away from the roof and foundation, preventing costly issues such as leaks, rot, and erosion. By properly installing gutters on your house, you can ensure that rainwater is efficiently collected and channeled away from your property.
In this article, we will guide you through the process of putting up gutters on a house. Whether you are a seasoned DIY enthusiast or tackling this project for the first time, we will provide you with step-by-step instructions to help you achieve a successful gutter installation. So, grab your tools and let’s get started!
Key Takeaways:
- Proper planning and preparation are essential for successful gutter installation. Measure, gather materials, and prepare the house to ensure a smooth and efficient process.
- Testing and adjusting the gutter system post-installation is crucial. Simulate rainfall, check for leaks, and ensure proper water flow to protect your home effectively.
Read more: Where To Put Gutters On House
Tools and Materials Needed
Before you begin the gutter installation process, it’s important to gather all the necessary tools and materials. Here’s a list of what you’ll need:
- Gutter sections
- End caps
- Downspouts
- Gutter hangers
- Gutter screws or rivets
- Gutter brackets
- Gutter sealant
- Gutter guards (optional)
- Measuring tape
- Chalk line
- Hacksaw or tin snips
- Drill
- Screwdriver
- Ladder or scaffolding
- Safety goggles
- Gloves
- Caulk gun
- Gutter sealant
- Sealant applicator
It’s important to ensure that you have the correct size and type of gutters for your house. Measure the length of each section of the roofline where the gutter will be installed and choose the appropriate length of gutter sections. It’s also a good idea to purchase extra materials in case of any miscalculations or errors.
Remember to prioritize safety throughout the installation process. Use a sturdy ladder or scaffolding and always wear safety goggles and gloves when working with tools and materials. Now that you have all the necessary tools and materials, let’s move on to the next step: measuring and planning.
Step 1: Measure and Plan
The first step in installing gutters on your house is to measure and plan accordingly. This step is crucial to ensure that you have the correct length of gutter sections and determine the optimal placement for downspouts.
Start by measuring the length of each section of the roofline where the gutter will be installed. Use a measuring tape to accurately determine the dimensions. It’s important to take into account any corners or angles in the roofline, as these will require additional gutter sections and accessories.
Once you have the measurements, you can start planning the placement of downspouts. Downspouts are responsible for directing water from the gutters to the ground, preventing it from pooling around the foundation of your house. Determine the ideal locations for downspouts, taking into consideration the slope of the yard and any existing drainage systems in place.
Use a chalk line or string to mark the placement of the gutters along the roofline. This will serve as a guide during the installation process. Make sure to account for any necessary slope in the gutters to ensure proper water flow towards the downspouts.
Take your time during this step to ensure accurate measurements and a well-thought-out plan. Proper planning will save you time and effort later on and result in a more efficient gutter installation. Once you have measured and planned appropriately, you’re ready to move on to the next step: gathering all necessary materials.
Step 2: Gather all Necessary Materials
Now that you have measured and planned for your gutter installation, it’s time to gather all the necessary materials. Ensure that you have everything you need before you begin the installation process to avoid delays and interruptions.
Refer to the list of tools and materials needed in the previous section and double-check that you have all the required items. Make sure you have enough gutter sections to cover the measured length of the roofline, as well as end caps to close off the gutters at each end.
Downspouts are essential for directing water away from your home, so ensure you have the appropriate number of downspouts for your planned locations. Additionally, gather gutter hangers, screws or rivets, and gutter brackets to secure the gutters to the house.
It’s also a good idea to have gutter guard systems on hand if you choose to install them. Gutter guards help prevent leaves, debris, and other unwanted materials from clogging your gutters, reducing the need for frequent cleaning.
Before starting the installation, inspect all the materials to ensure they are in good condition and free from any defects or damage. This will ensure the durability and longevity of your gutter system.
Once you have gathered all the necessary materials, you’re ready to move on to the next step: preparing the house for gutter installation.
Step 3: Prepare the House
In order to ensure a smooth and successful gutter installation, it’s important to properly prepare the house beforehand. This step involves cleaning the roofline, making necessary repairs, and ensuring that the surface is ready for the installation of the gutters.
First, start by clearing any debris, such as leaves, branches, or dirt, from the roofline. Use a broom or a leaf blower to remove any loose materials. This will provide a clean surface for the gutters to be installed and help prevent any blockages or obstructions in the future.
Next, inspect the roofline for any signs of damage or deterioration. Look for loose shingles, cracks, or gaps that may need to be repaired before proceeding with the gutter installation. Fix any issues you come across to ensure the structural integrity of the roofline and prevent water damage.
If there are existing gutters on the house that need to be replaced, remove them carefully. Use a drill or a screwdriver to detach the gutter sections and downspouts from the house. Dispose of the old gutters responsibly.
Before installing the new gutters, it’s a good idea to apply a layer of gutter sealant along the roofline. This will provide an additional layer of protection against leaks and water damage. Use a caulk gun or a sealant applicator to apply the sealant evenly.
Finally, ensure that the fascia board, which will serve as the base for the gutters, is secure and in good condition. If needed, replace any damaged or rotten sections of the fascia board to provide a stable and sturdy foundation for the gutters.
With the house properly prepared, you’re ready to move on to the next step: installing the gutters.
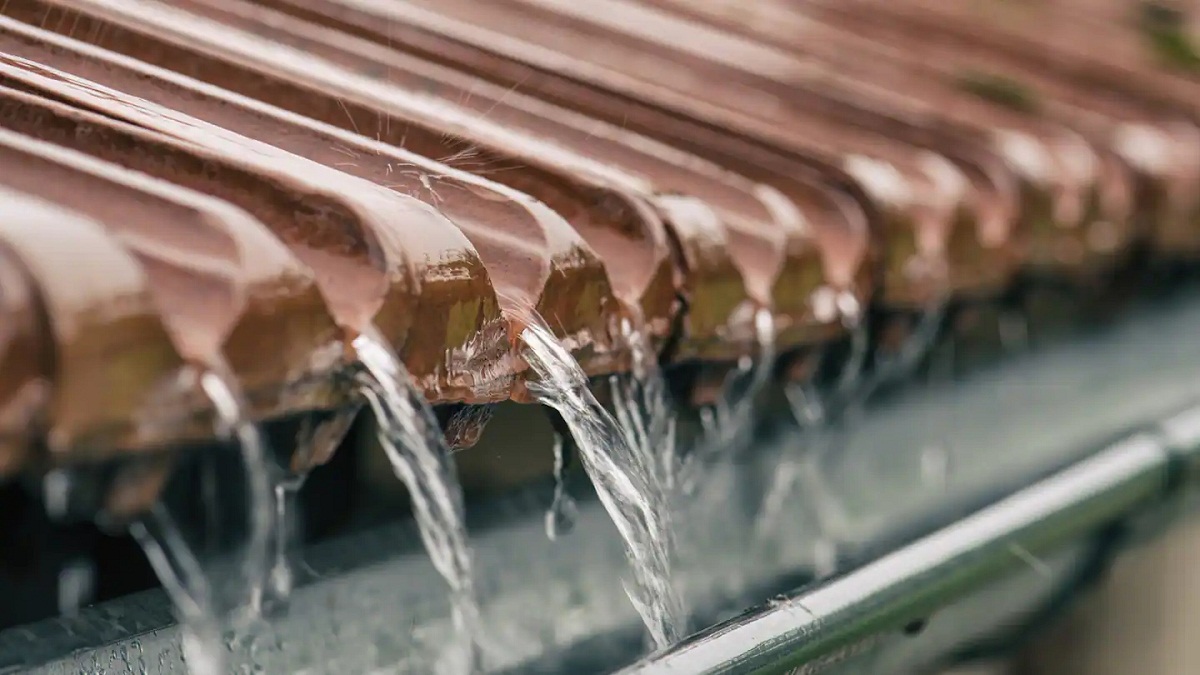
When putting up gutters on a house, make sure to properly slope them towards the downspouts to ensure proper drainage and prevent water from pooling.
Read more: How Are Gutters Attached To House
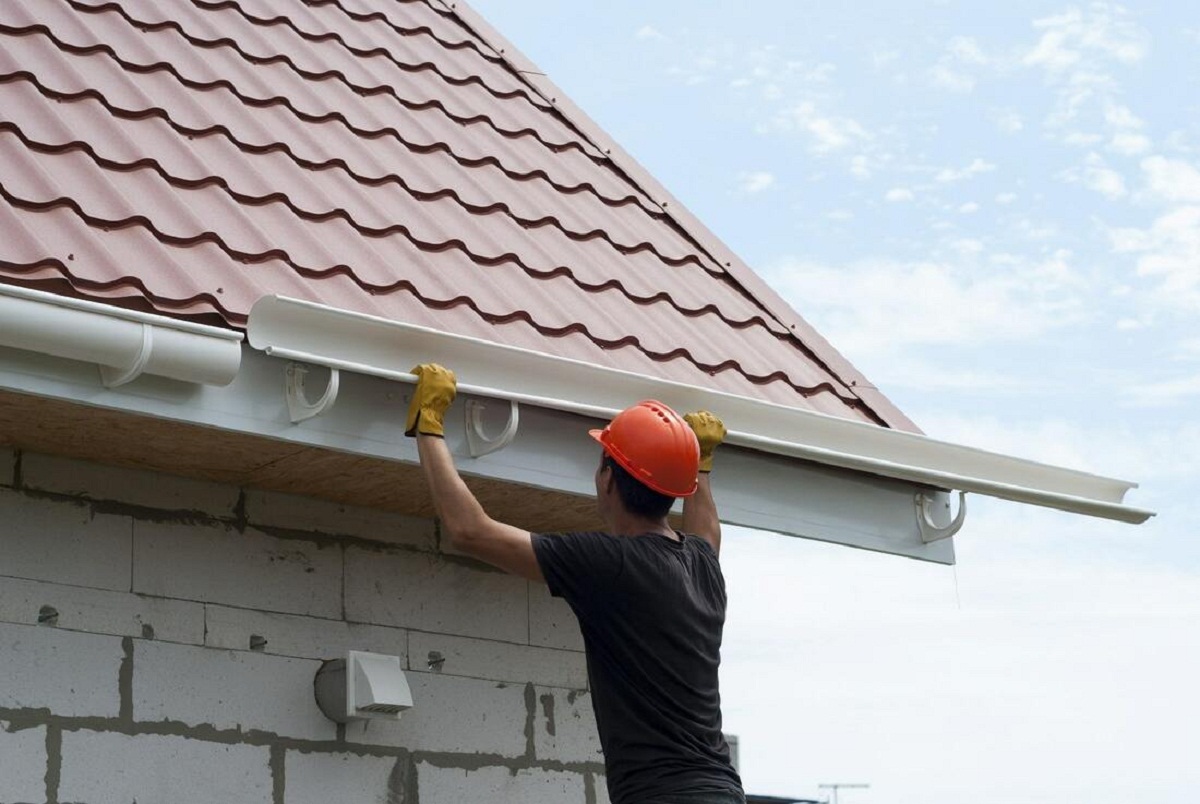
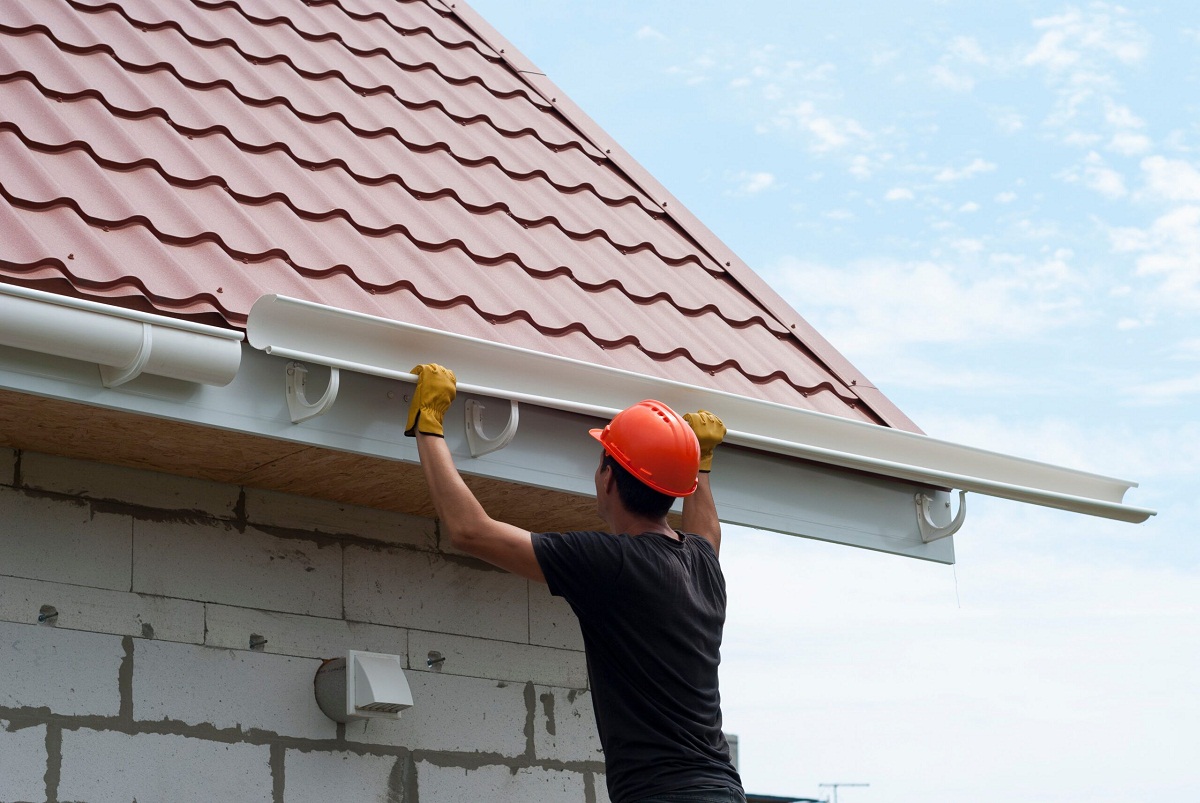
Step 4: Install the Gutters
Now that the house is prepared, it’s time to start installing the gutters. Follow these step-by-step instructions to ensure a proper and secure gutter installation:
- Start by positioning the first gutter section at one end of the roofline, aligning it with the chalk line or string you marked earlier.
- Secure the gutter section to the fascia board using gutter hangers. Place the hangers evenly along the length of the gutter, ensuring proper support.
- Attach the remaining gutter sections together using connectors or gutter screws/rivets. Make sure the sections fit tightly and securely.
- Continue installing the remaining gutter sections along the roofline, making sure each section is securely fastened to the hangers and aligned with the chalk line.
- Once all the gutter sections are installed, install the end caps on each end of the gutters to prevent water from escaping.
- Check the slope of the gutter system by pouring a small amount of water into one end. Ensure that the water flows smoothly towards the downspouts. Make any necessary adjustments to ensure proper drainage.
- Once you are satisfied with the gutter installation, go back and double-check all the hangers, screws, and connections for tightness and stability.
During the installation process, it’s important to work carefully and accurately. Measure each gutter section precisely and ensure that they are aligned properly with the chalk line.
Use a drill or a screwdriver to secure the gutter hangers and attach the gutter sections together. Make sure all connections are secure to prevent any leaks or separation in the future.
Take necessary safety precautions when working on a ladder or scaffolding, and have a helper available to assist you with holding and positioning the gutter sections.
With the gutters installed, you’re ready for the next step: attaching the downspouts.
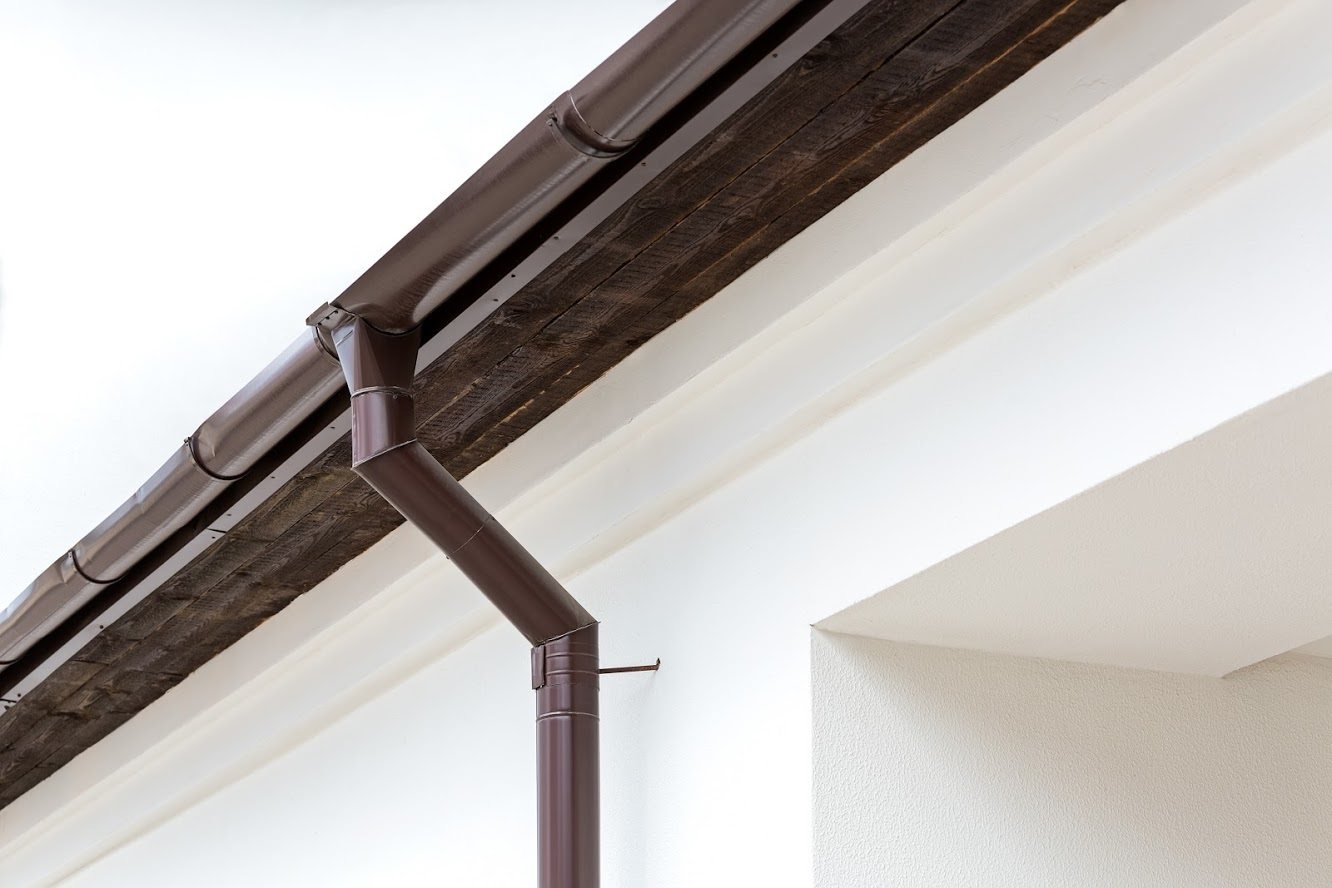
Step 5: Attach the Downspouts
Now that the gutters are in place, it’s time to install the downspouts. Downspouts are essential for directing water from the gutters down to the ground, away from your home’s foundation. Here’s how to attach the downspouts:
- Position the first downspout at the desired location on the gutter system. This is usually at a corner or the end of a gutter section.
- Using a pencil, mark the outline of the downspout on the gutter section, ensuring that it aligns with the bottom of the gutter.
- Using a hacksaw or tin snips, cut a hole in the gutter section along the marked outline. Be sure to wear safety goggles and use caution when cutting the metal.
- Insert the downspout outlet into the hole you just cut in the gutter section. Secure it in place using screws or rivets.
- Attach the downspout to the outlet using screws or a fitting designed for this purpose.
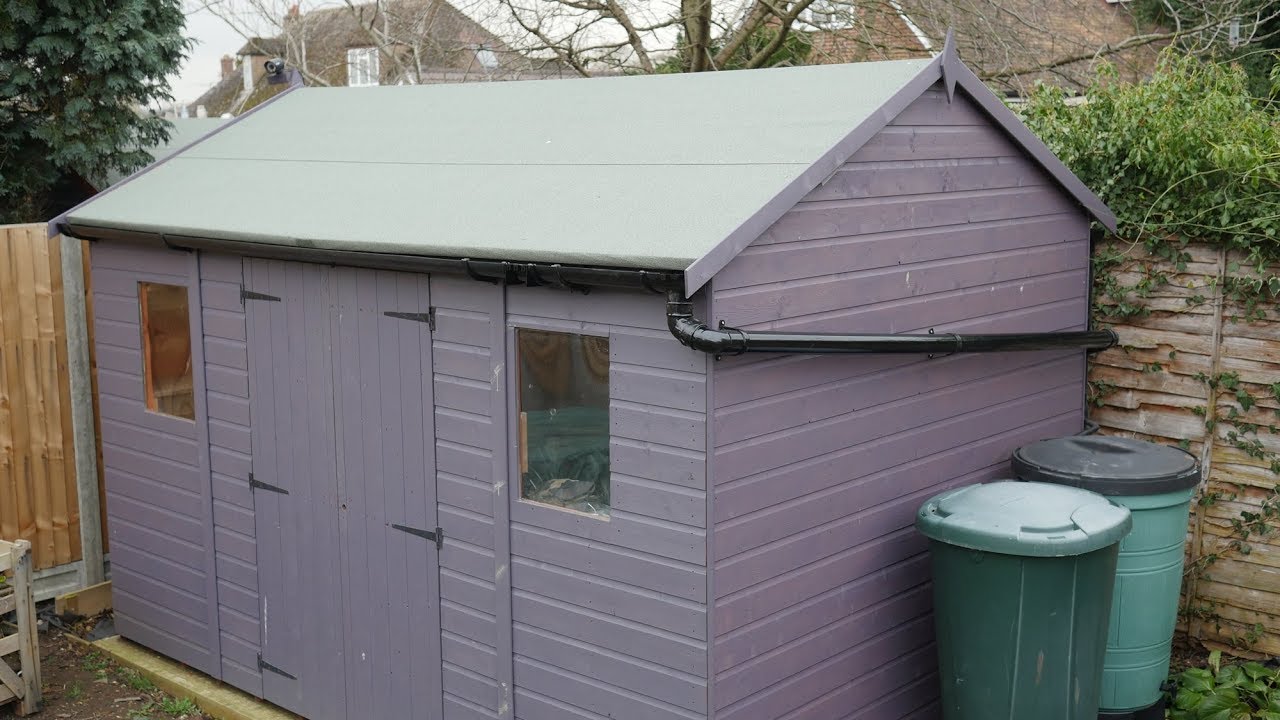
- Position the downspout vertically, extending it down to the ground. Ensure that it is secure and straight.
- If necessary, add extension pieces to the downspout to reach further down the wall or away from the house as needed.
- Attach a downspout elbow at the bottom of the downspout, directing the water away from the house’s foundation.
- Secure the downspout to the exterior wall using brackets or straps at regular intervals to provide stability and support.
Repeat these steps for each downspout in your gutter system. Ensure that each downspout is securely attached, properly aligned, and directed away from the foundation to prevent water damage to your home.
Once the downspouts are attached, you’re ready for the next step: testing and adjusting the gutter system.
Step 6: Test and Adjust
After completing the installation of the gutters and downspouts, it’s important to test and adjust the system to ensure optimal performance. This step will help you identify any issues or areas that may require further adjustment.
- With the gutter system in place, use a garden hose to simulate rainfall and check for proper water flow. Slowly run water along the roofline and observe how it flows through the gutters.
- Make sure there are no leaks, gaps, or overflow points along the gutters. If you notice any leaks or areas where water is not flowing properly, address them accordingly by applying additional sealant or adjusting the gutter sections if needed.
- Check the downspouts to ensure that water is flowing freely without any obstructions. Clear any debris that may have accumulated inside the downspouts or in the elbows.
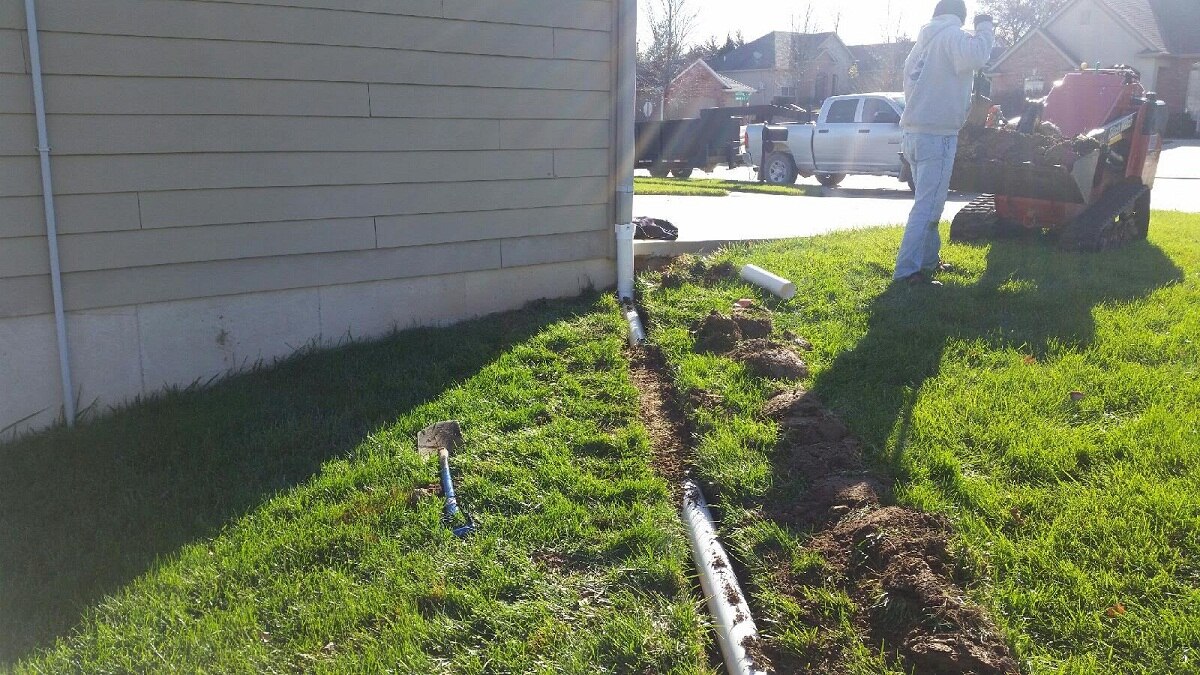
- Observe the water drainage from the downspouts. Ensure that it is diverted away from the house’s foundation to prevent water pooling around the property.
- If necessary, adjust the slope of the gutters to encourage proper water flow. Use a level to ensure that the gutters have a slight downward slope towards the downspouts.
- Inspect the surrounding areas for any signs of water damage or pooling. Address any areas that may require additional measures, such as redirecting the flow or adding additional drainage solutions.
- You may also consider installing gutter guards at this time to prevent leaves and debris from clogging the gutters.
Take the time to thoroughly test and adjust the gutter system before considering the installation process complete. This will ensure that your gutters are functioning properly and effectively protecting your home from water damage.
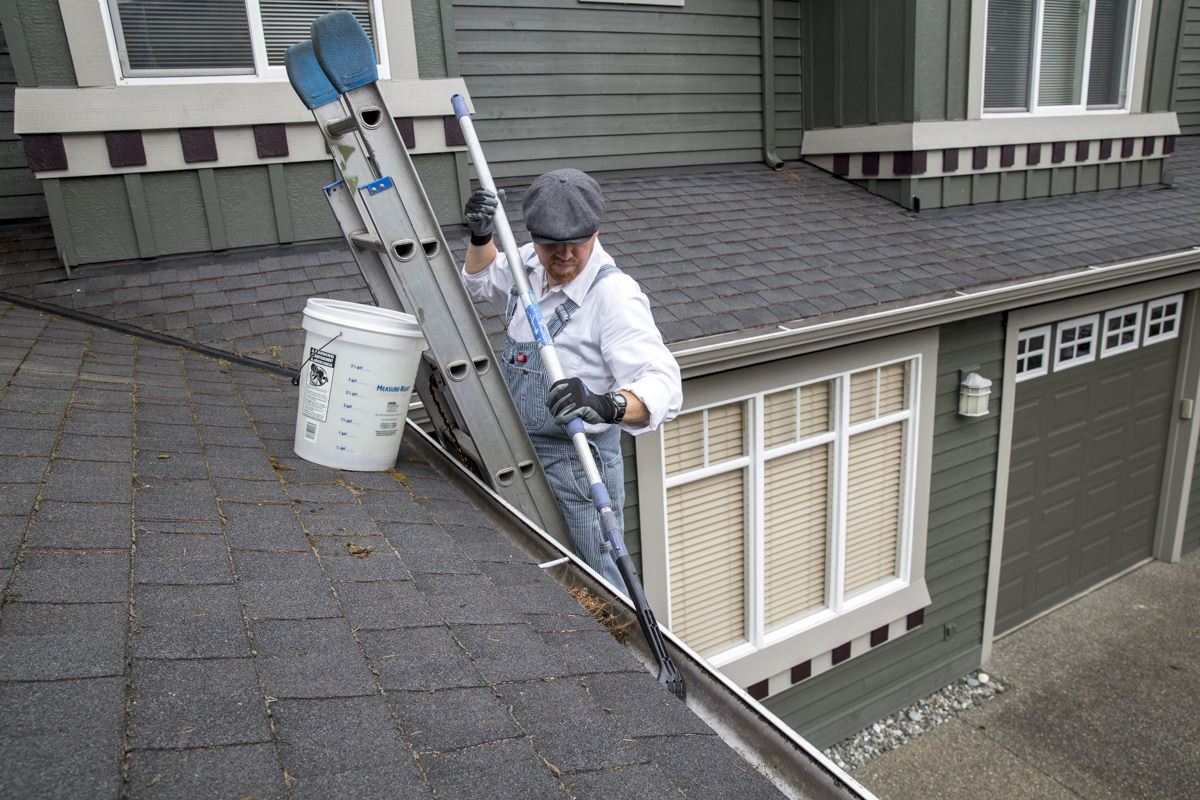
Remember to periodically inspect and maintain your gutters throughout the year to keep them in optimal condition. Regular cleaning, especially during the fall season, will help prevent clogs and ensure proper water flow.
With the gutters tested, adjusted, and functioning well, you have successfully completed the installation process!
Conclusion
Installing gutters on your house is a crucial step in protecting your home from water damage and maintaining its structural integrity. By following the step-by-step process outlined in this article, you can successfully put up gutters on your house and ensure proper water drainage away from your property.
Starting with measuring and planning, you determined the necessary materials and prepared the house for gutter installation. You then proceeded to install the gutters, securely attaching each section and aligning them properly. The next step involved attaching the downspouts, directing the water away from the house’s foundation. Finally, you tested and adjusted the system to ensure optimal performance.
Throughout the installation process, safety and attention to detail are of utmost importance. Taking measurements accurately, using the right tools, and following the correct installation techniques will result in a successful gutter system that effectively protects your home.
Remember to periodically inspect and maintain your gutters to prevent clogs and ensure continued functionality. Regular cleaning and checking for any damage or leaks will extend the lifespan of your gutter system.
By installing gutters on your house, you have taken a proactive step in safeguarding your home from water damage. Now, you can have peace of mind knowing that your property is protected, and you can enjoy a dry and secure living environment for years to come.
Frequently Asked Questions about How To Put Up Gutters On A House
Was this page helpful?
At Storables.com, we guarantee accurate and reliable information. Our content, validated by Expert Board Contributors, is crafted following stringent Editorial Policies. We're committed to providing you with well-researched, expert-backed insights for all your informational needs.


0 thoughts on “How To Put Up Gutters On A House”