Articles
How To Find A Break In Electric Dog Fence
Modified: January 6, 2024
Learn how to find a break in your electric dog fence with these informative articles. Discover effective techniques to keep your furry friend safe and secure.
(Many of the links in this article redirect to a specific reviewed product. Your purchase of these products through affiliate links helps to generate commission for Storables.com, at no extra cost. Learn more)
Introduction
Welcome to our comprehensive guide on how to find a break in an electric dog fence. Electric dog fences are designed to keep our furry friends safely contained within their boundaries. However, sometimes these fences can develop breaks or malfunctions, leading to a potential escape route for our beloved pets.
In this article, we will provide you with a step-by-step process to effectively locate and repair breaks in an electric dog fence. Whether you have a wire-based system or a wireless fence, our guide will help you identify the issue and take the necessary steps to fix it.
Having a reliable electric dog fence is paramount to ensure the safety and well-being of your furry companion. By understanding how to find and repair breaks in the fence, you can maintain a secure and contained space for your dog to roam freely without any concerns about escaping.
So, let’s get started and learn the essential techniques to locate and repair breaks in your electric dog fence.
Key Takeaways:
- Understanding the fundamentals of electric dog fences and assessing the landscape are crucial steps in effectively locating and repairing breaks in the fence wire. By following a systematic approach, you can ensure the safety and containment of your furry companion.
- Utilizing specialized tools such as wire break locators can simplify the process of pinpointing breaks in the electric dog fence wire, leading to more accurate and efficient repairs. By following the outlined steps and seeking professional assistance when needed, you can maintain a secure and reliable containment system for your beloved pet.
Read more: How To Train A Dog On An Electric Fence
Understanding Electric Dog Fences
Before we dive into the process of finding and repairing breaks in an electric dog fence, it’s crucial to have a solid understanding of how these fences work. Electric dog fences consist of a wire or wireless transmitter that creates a boundary for your dog. When your four-legged friend approaches the boundary, they receive a mild electric correction through a collar worn around their neck.
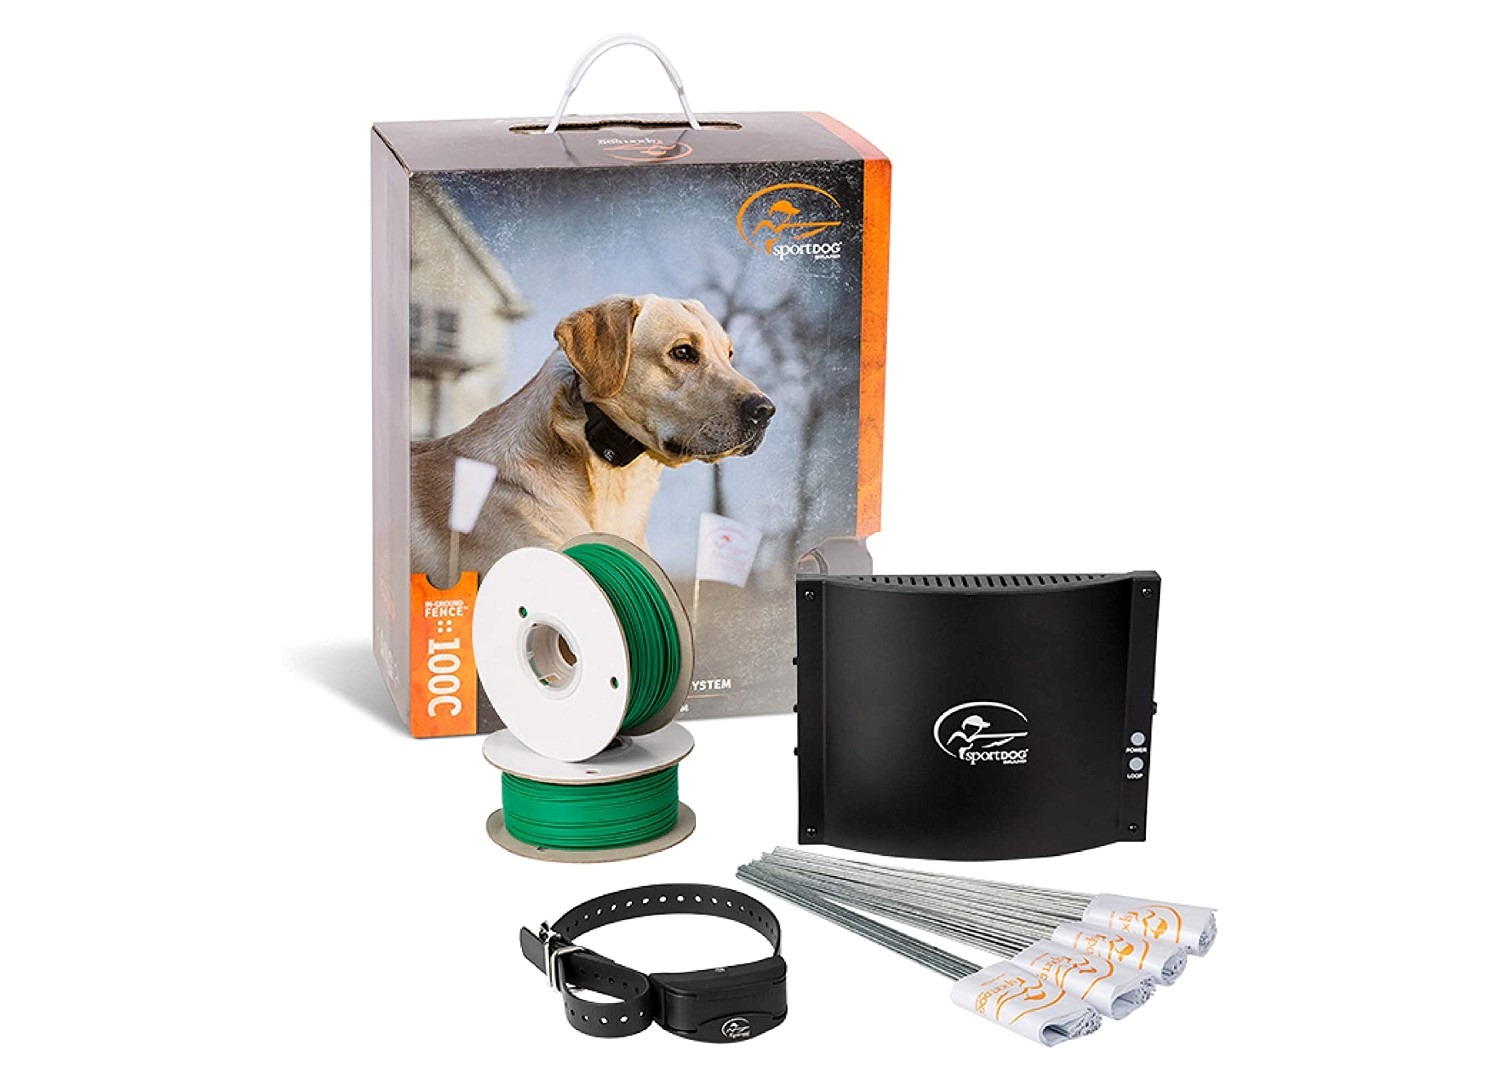
The wire-based electric dog fences typically consist of a buried wire that creates an invisible boundary. The wire is connected to a transmitter, which emits a signal to the dog’s collar. The collar picks up the signal and delivers an electric correction to deter the dog from crossing the boundary. On the other hand, wireless dog fences use a transmitter to create a circular boundary without the need for a physical wire.
To effectively find and repair breaks in the electric dog fence, it’s important to understand the components involved. Familiarize yourself with the transmitter unit, collar receiver, boundary wire, and any control panels or displays that come with the system. This knowledge will help you navigate through the troubleshooting process and identify any potential issues.
In addition, it’s essential to have a basic understanding of how the radio frequency signals work in different types of electric dog fences. For wire-based systems, the transmitter sends a continuous signal through the boundary wire. Any interruption or break in the wire can disrupt the signal and lead to a malfunction in the system. Wireless fences, on the other hand, emit a signal in a circular pattern, and breaks in the signal can occur due to interference or barriers.
By understanding the fundamentals of electric dog fences, you will be better equipped to diagnose and fix any breaks that may arise. Now that we have a solid foundation, let’s move on to the next step: assessing the landscape to identify potential breaks in the fence.
Assessing the Landscape
When it comes to finding breaks in an electric dog fence, the first step is to assess the landscape and identify potential areas where the fence may be compromised. This includes examining the physical environment and checking for any signs of damage or disturbances.
Start by visually inspecting the boundary wire, whether it’s buried underground or above the surface. Look for any visible breaks, cuts, or damage to the wire. Sometimes, the wire may get damaged due to landscaping activities or harsh weather conditions. If you notice any obvious breaks, mark the location for further investigation.
In addition to inspecting the wire, pay close attention to areas where the wire may be more susceptible to damage, such as near driveways, gates, or areas with heavy foot traffic. These high-risk zones are often prone to breaks and should be closely examined.
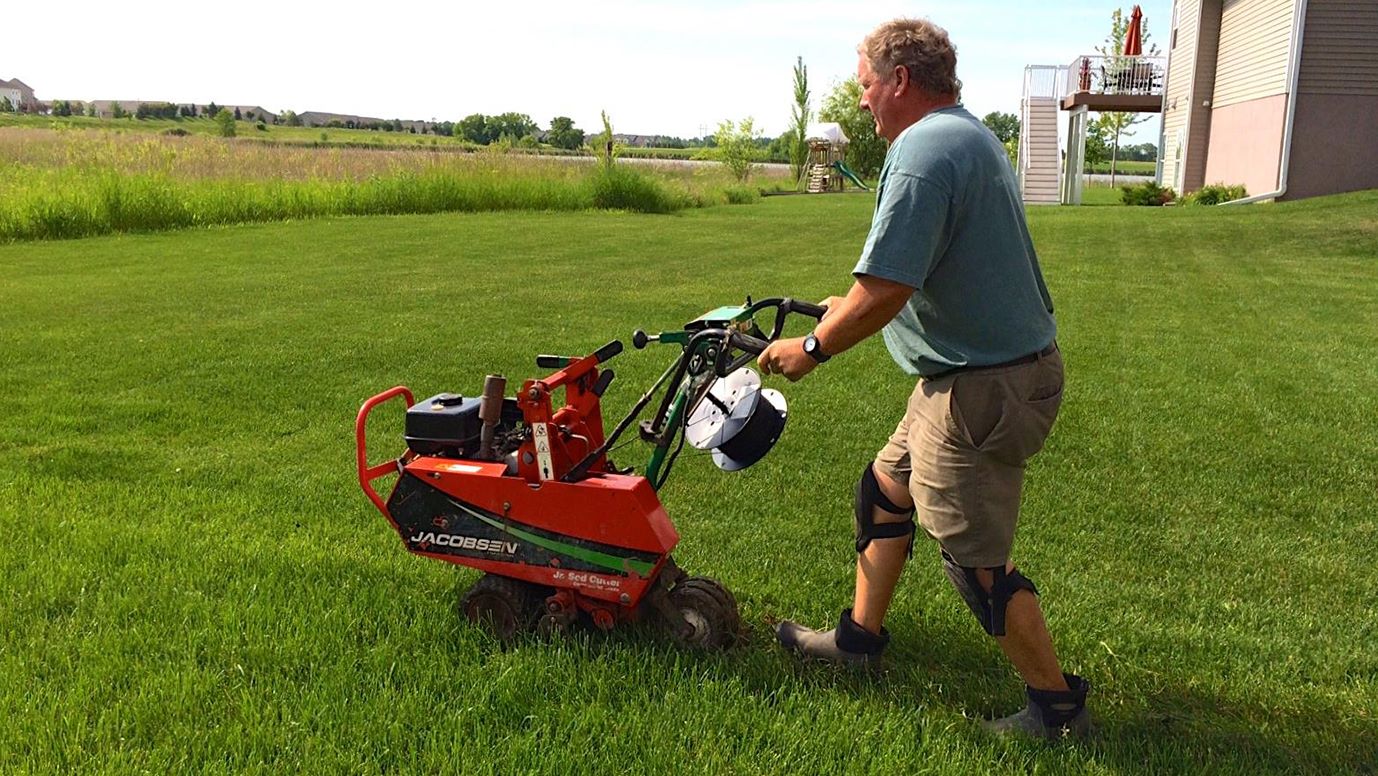
Next, consider any recent changes or construction work that may have taken place in the vicinity of the fence. Landscaping projects, digging, or installation of new structures can inadvertently damage the boundary wire. Take note of any such activities and inspect the corresponding areas for potential breaks.
It’s also essential to consider environmental factors that could impact the fence’s effectiveness. Areas with dense foliage, overgrown vegetation, or tall trees can interfere with the signal transmission and cause breaks or weak spots in the fence’s coverage. Walk around the perimeter and check for any areas where the signal may be obstructed.
Lastly, don’t forget to inspect the transmitter unit and check for any error messages or alarming indicators. The transmitter can provide valuable information if there are any issues with the overall system.
By meticulously assessing the landscape, you can narrow down potential areas of concern and have a clearer idea of where to focus your efforts in finding the break in your electric dog fence. In the next section, we will discuss effective techniques for locating existing breaks in the fence.
Locating Existing Breaks
Once you have assessed the landscape and identified potential areas where the electric dog fence may be compromised, the next step is to locate existing breaks in the fence. This involves a systematic approach to pinpoint the exact location of the break or interruption in the boundary wire.
The first method to try is a visual inspection of the wire. Carefully follow the path of the boundary wire and look for any visible signs of damage, such as cuts, breaks, or frayed sections. Use a flashlight if needed to examine the wire more closely, especially in dimly lit areas. Note any areas where you suspect a break.
If you are unable to locate a visible break, the next step is to use a wire continuity tester. These tools are designed to help identify breaks or interruptions in the wire by sending a signal through it. Start by disconnecting the boundary wire from the transmitter. Then, connect one end of the wire to the tester and hold the other end against the probe. If the tester indicates a break in the wire, it will not emit a signal or display a continuity reading. Move along the wire, repeating this process until you find an area where the continuity is interrupted, indicating a potential break.
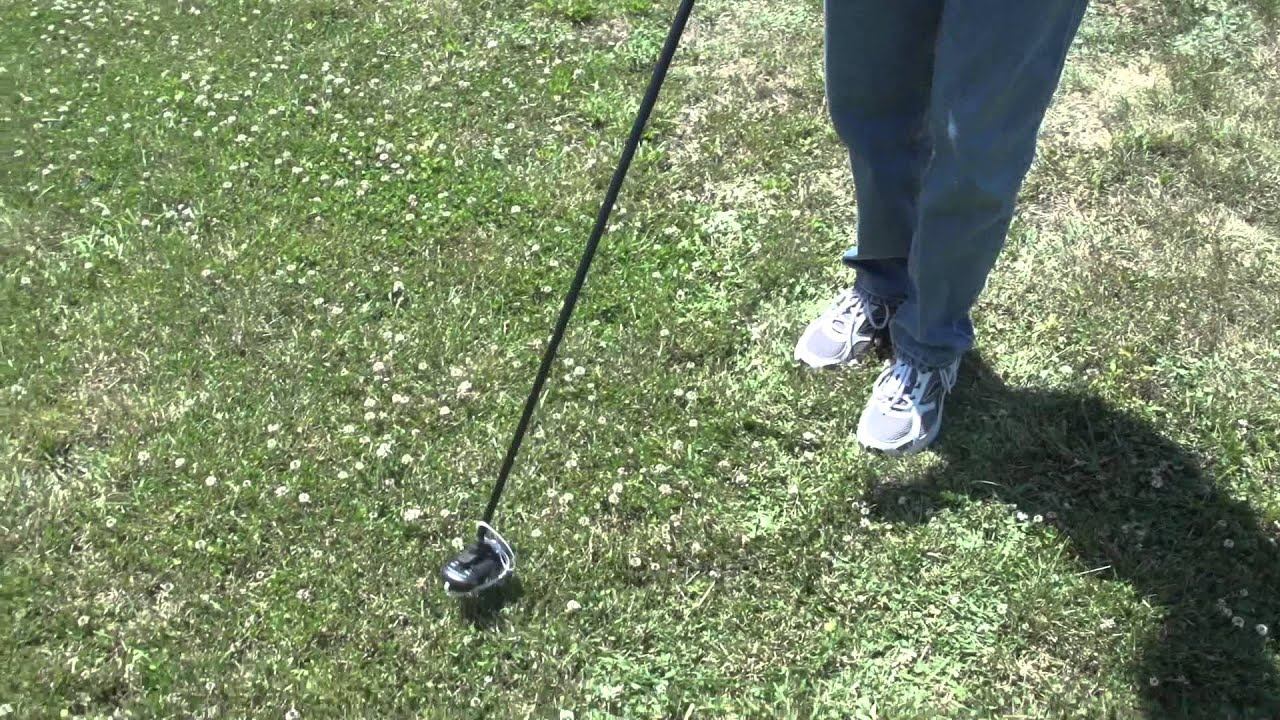
Another method to locate breaks is by using a wire tracer or tone generator. These devices are specifically designed to help trace the path of a wire, even if it’s buried underground. Connect the wire tracer to the boundary wire and slowly move it along the fence line. The device will emit a tone or signal that becomes stronger as it gets closer to a break or interruption in the wire. Follow the tone until you locate the precise spot where the break has occurred.
In some cases, breaks may be more challenging to locate, especially if the wire is extensively damaged or if there are multiple breaks. In such situations, it may be necessary to systematically dig up sections of the wire or even enlist the help of a professional electrician or fence repair specialist to accurately locate and repair the breaks.
Remember to document the exact locations of any breaks you find along the boundary wire. This information will be helpful during the repair process. Once you have successfully located existing breaks, it’s time to move on to the next step: testing the fence line to ensure optimal functionality.
When looking for a break in an electric dog fence, start by checking the boundary wire for any visible damage or breaks. Use a wire tester to locate the exact point of the break for easier repair.
Testing the Fence Line
After identifying and locating existing breaks in the electric dog fence, the next step is to test the fence line to ensure its proper functionality. Testing the fence line involves checking the signal transmission along the boundary wire to verify that it is working as intended.
Start by reconnecting the boundary wire to the transmitter. Ensure that all connections are secure and properly tightened. Once the wire is connected, turn on the transmitter and check for any error messages or indicators that may suggest a problem with the system.
With the transmitter powered on, put on the dog’s collar receiver and bring it to the boundary wire. Make sure the collar is properly positioned and snug on their neck. Walk towards the boundary wire, noting any response from the collar. The receiver should emit an audible warning tone or vibration as you approach the boundary line. This is an indication that the system is operational.
Carefully walk along the entire perimeter of the fence, checking for consistent signals from the collar receiver. If you notice any weak spots or areas where the signal is not being detected, it may suggest additional breaks or interference in those specific locations.
For wireless dog fences, test the signal strength across different areas within the containment zone. Pay attention to any areas where the signal appears to be weaker or inconsistent. These areas may require further investigation to ensure proper coverage and signal transmission.
If you encounter any issues during the testing phase, refer back to the documented locations of the identified breaks and focus your troubleshooting efforts on those specific areas. This will help you address any remaining breaks and restore the fence’s functionality.
Remember to double-check all settings and adjustments on the transmitter and collar receiver. Sometimes, incorrect settings or low battery levels can cause issues with the signal transmission. Ensure that the transmitter is properly calibrated and that the collar receiver is functioning correctly to avoid any false alarms or incorrect boundaries.
By thoroughly testing the fence line, you can ensure that the electric dog fence is operating as intended and that any remaining breaks are identified and addressed. In the next section, we will discuss a specialized tool that can assist in locating breaks in the fence wire more accurately: the wire break locator.
Read more: How Much Is An Electric Dog Fence
Using a Wire Break Locator
When it comes to finding breaks in an electric dog fence wire, using a wire break locator can be a valuable tool. A wire break locator is specifically designed to help locate breaks and interruptions in the boundary wire more accurately and efficiently.
A wire break locator works by sending a specialized signal through the boundary wire. The break locator unit generates a radio frequency signal that is passed through the wire. By using the locator receiver, you can track the signal and narrow down the exact location of the break.
To use a wire break locator, start by connecting the locator unit to the boundary wire. Follow the manufacturer’s instructions for proper setup and calibration. Once everything is connected, turn on the locator unit and start moving along the boundary wire.
As you move, the locator receiver will emit a beeping sound or provide a visual indication to signal the strength of the signal it is picking up. The signal will be strongest near the break and diminish as you move away from it.
Slowly and methodically move along the wire, paying close attention to the changes in signal strength. When you approach the area with the break, the signal strength will decrease significantly, indicating its proximity. Take note of this location as it indicates a potential break in the wire.
If the signal is noticeably weak or difficult to detect, it may suggest a larger or more complex break in the boundary wire. In such cases, it may be necessary to dig and expose the wire to accurately assess the extent of the damage.
Using a wire break locator can significantly simplify the process of locating breaks in the electric dog fence wire. It provides a more precise and targeted approach, allowing you to address the specific area where the break has occurred.
Remember to exercise caution and follow the safety guidelines provided by the manufacturer when using a wire break locator. Stay aware of any underground utilities or potential hazards before digging in case further assessment or repairs are required.
Now that we have covered using a wire break locator, it’s time to move on to the final step: digging and repairing the break in the electric dog fence wire.
Digging and Repairing the Break
Once you have successfully located the break in the electric dog fence wire, the next step is to dig and repair the break. This involves exposing the wire and fixing the damaged section to restore the integrity of the boundary.
Before starting the repair process, make sure you have the necessary tools and materials on hand. You will need a shovel or a trenching tool to dig along the path of the wire and a pair of wire strippers to remove the damaged section of wire.
Start by carefully digging along the path of the wire where the break is located. Be mindful not to damage any other utilities or underground structures in the process. Dig deep enough to expose the wire and give yourself enough space to work with during the repair.
Once the wire is exposed, use the wire strippers to remove the damaged section. Cut out the affected area, ensuring that you have a clean, straight cut. Remove any insulation or protective covering from the wire ends to expose the bare copper wire for the repair.
If the break is due to the wire being cut or severely damaged, it may be necessary to splice in a new section of wire. Use connectors or wire nuts to securely join the new segment of wire with the existing wire. Make sure the connections are tight and properly insulated to prevent any future issues.
If the break is a result of a loose connection or a minor interruption, you may be able to simply reconnect the wire firmly. Ensure that the wire ends make a solid, secure connection and use wire nuts or electrical tape to insulate the connection point.
After repairing the break, carefully backfill the area where you dug with soil and tamp it down to secure the wire in place. It’s important to ensure that the wire is buried at an appropriate depth and protected from potential damage or interference.
Once the repair is complete, carefully test the electric dog fence to ensure that the signal is properly transmitting along the boundary wire. Walk along the perimeter with the collar receiver and verify that the system is functioning as expected.
If the repair is successful, congratulate yourself on a job well done! Your furry friend can now enjoy their outdoor space within the safety of the electric dog fence.
Remember to document the location and details of any repairs made to the fence for future reference. This will help in troubleshooting and maintenance if any issues arise in the future.
Finalize the repair process by rechecking all connections and settings on the transmitter and collar receiver. Ensure everything is properly calibrated and adjusted for optimal performance.
Congratulations! You have successfully learned how to locate and repair breaks in an electric dog fence wire. By following the steps outlined in this guide, you can maintain a secure and contained space for your furry companion to enjoy without any worries of them escaping.
Remember, if you encounter any difficulties during the process or feel unsure about performing the repairs, don’t hesitate to seek professional assistance from an electrician or fence repair specialist.
With your electric dog fence back in full working order, you can provide a safe and secure environment for your beloved pet to explore and enjoy the great outdoors.
Conclusion
Ensuring the functionality of an electric dog fence is crucial for the safety and well-being of our furry friends. By understanding how to find and repair breaks in the fence, you can maintain a secure and contained space, preventing any potential escapes.
In this comprehensive guide, we have covered the essential steps to locate and repair breaks in an electric dog fence. We started by understanding the basics of electric dog fences and assessing the landscape to identify potential areas of concern. We then discussed techniques for locating existing breaks in the boundary wire, including visual inspections, wire continuity testers, and wire tracers.
Moreover, we explored the importance of testing the fence line to ensure optimal functionality. By walking along the perimeter and checking for consistent signals from the collar receiver, you can detect any weak spots or areas that require further examination.
Furthermore, we discussed the benefits of using a wire break locator, which can help pinpoint the exact location of breaks more accurately. By following the signal strength emitted by the locator receiver, you can narrow down the location of the break and save time during the repair process.
The final step in the process involved digging and repairing the break in the electric dog fence wire. By carefully digging along the wire, removing the damaged section, and making the necessary repairs, you can restore the integrity of the boundary and ensure that the system functions as intended.
With your electric dog fence repaired and back in working order, you can provide a safe and secure environment for your furry companion to enjoy the outdoors. Remember to document the location of any breaks and repairs for future reference, and regularly test and maintain your electric dog fence to prevent any potential issues.
If you encounter any difficulties or feel uncertain about performing the repairs yourself, do not hesitate to seek professional assistance. Electricians or fence repair specialists can provide the expertise and guidance needed to ensure your electric dog fence is in optimal condition.
By following the steps outlined in this guide, you can confidently find and repair breaks in an electric dog fence, keeping your pet safe and secure within their designated boundaries.
So, go ahead and enjoy peace of mind, knowing that your furry friend can play and explore safely while staying within the confines of the electric dog fence.
Frequently Asked Questions about How To Find A Break In Electric Dog Fence
Was this page helpful?
At Storables.com, we guarantee accurate and reliable information. Our content, validated by Expert Board Contributors, is crafted following stringent Editorial Policies. We're committed to providing you with well-researched, expert-backed insights for all your informational needs.


0 thoughts on “How To Find A Break In Electric Dog Fence”