Articles
How To Set Up Electric Dog Fence
Modified: February 23, 2024
Discover the steps to successfully set up an electric dog fence with our informative articles. Ensure the safety and security of your furry friend today!
(Many of the links in this article redirect to a specific reviewed product. Your purchase of these products through affiliate links helps to generate commission for Storables.com, at no extra cost. Learn more)
Introduction
Welcome to the comprehensive guide on how to set up an electric dog fence. If you want to provide a safe and secure environment for your furry friend, an electric dog fence can be a great solution. In this article, we will explore the benefits of electric dog fences, guide you in choosing the right one for your needs, and take you through the step-by-step process of installation.
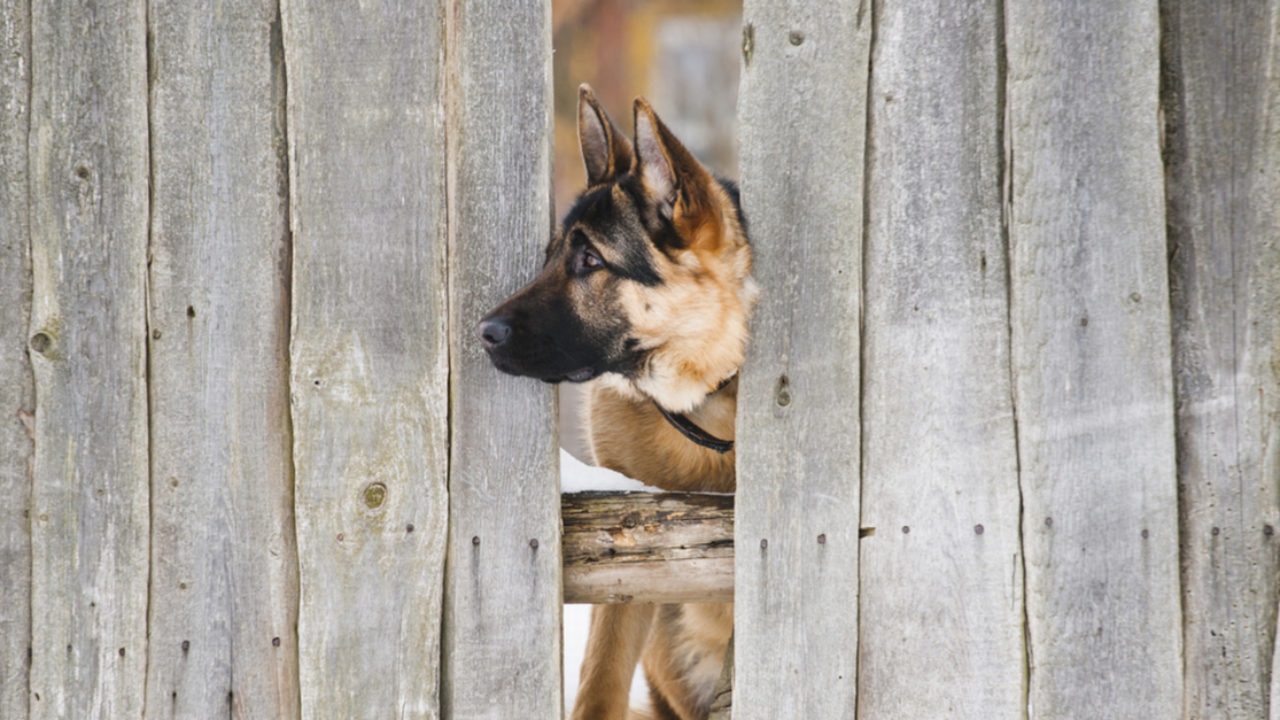
Electric dog fences have gained popularity in recent years as an effective alternative to traditional physical fences. They utilize a combination of a control unit and a boundary wire to create an invisible barrier that your dog will learn to recognize. With proper training, your dog will quickly understand the boundaries, allowing them the freedom to roam without the fear of wandering off or getting into any danger.
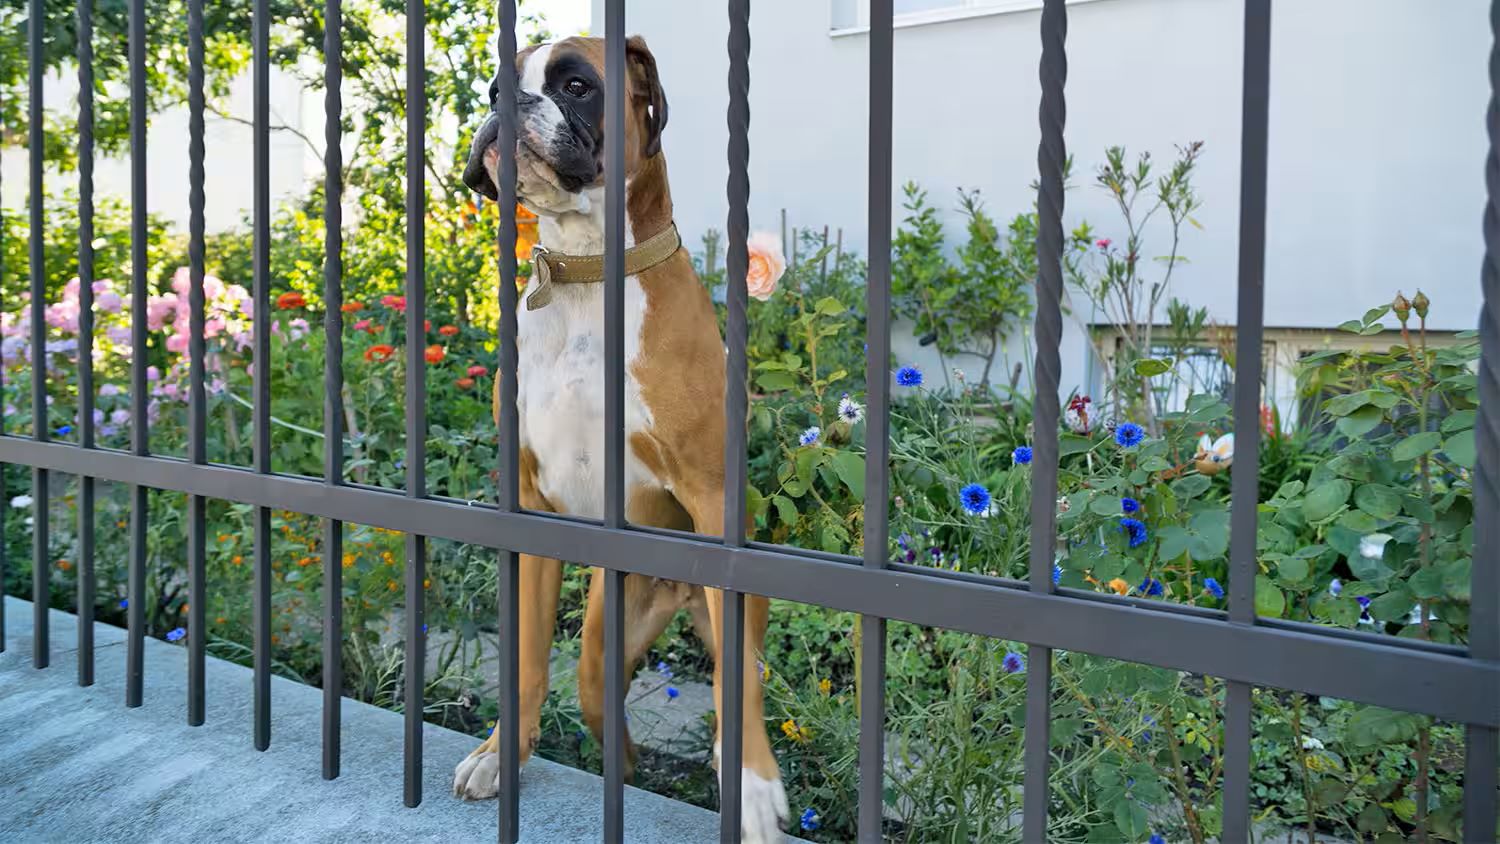
One of the major benefits of an electric dog fence is the aesthetic appeal. Unlike physical fences, which can obstruct the view and disrupt the landscape, electric dog fences are invisible and do not interfere with the visual appeal of your property. Additionally, electric dog fences are a cost-effective option compared to traditional fencing, making them a popular choice for dog owners.
When it comes to choosing the right electric dog fence, there are a few factors to consider. The size of your property, the breed and temperament of your dog, and your budget will play a role in determining the best fit. We will dive into these considerations and provide you with the information necessary to make an informed decision.
Once you have selected the appropriate electric dog fence for your needs, we will guide you through the step-by-step process of installation. From preparing the area for installation to testing and adjusting the fence, we will cover everything you need to know to ensure a successful setup.
Proper training is crucial when using an electric dog fence, and we will share tips and techniques to help you train your dog to use the fence effectively. Additionally, we will discuss how to maintain and troubleshoot common issues that may arise with an electric dog fence.
By the end of this article, you will have the knowledge and confidence to set up an electric dog fence, providing your furry friend with a safe and secure environment to enjoy their freedom. Let’s get started on this exciting journey!
Key Takeaways:
- Electric dog fences offer a cost-effective, unobtrusive, and flexible solution for pet owners, providing safety, security, and freedom for dogs to roam within designated boundaries.
- Proper installation, training, and maintenance are essential for the success of electric dog fences, ensuring a safe and secure environment for dogs while minimizing neighborhood disputes and providing peace of mind for pet owners.
Read more: How To Train A Dog On An Electric Fence
Benefits of Electric Dog Fences
Electric dog fences offer numerous benefits for both you and your furry friend. Here are some of the key advantages:
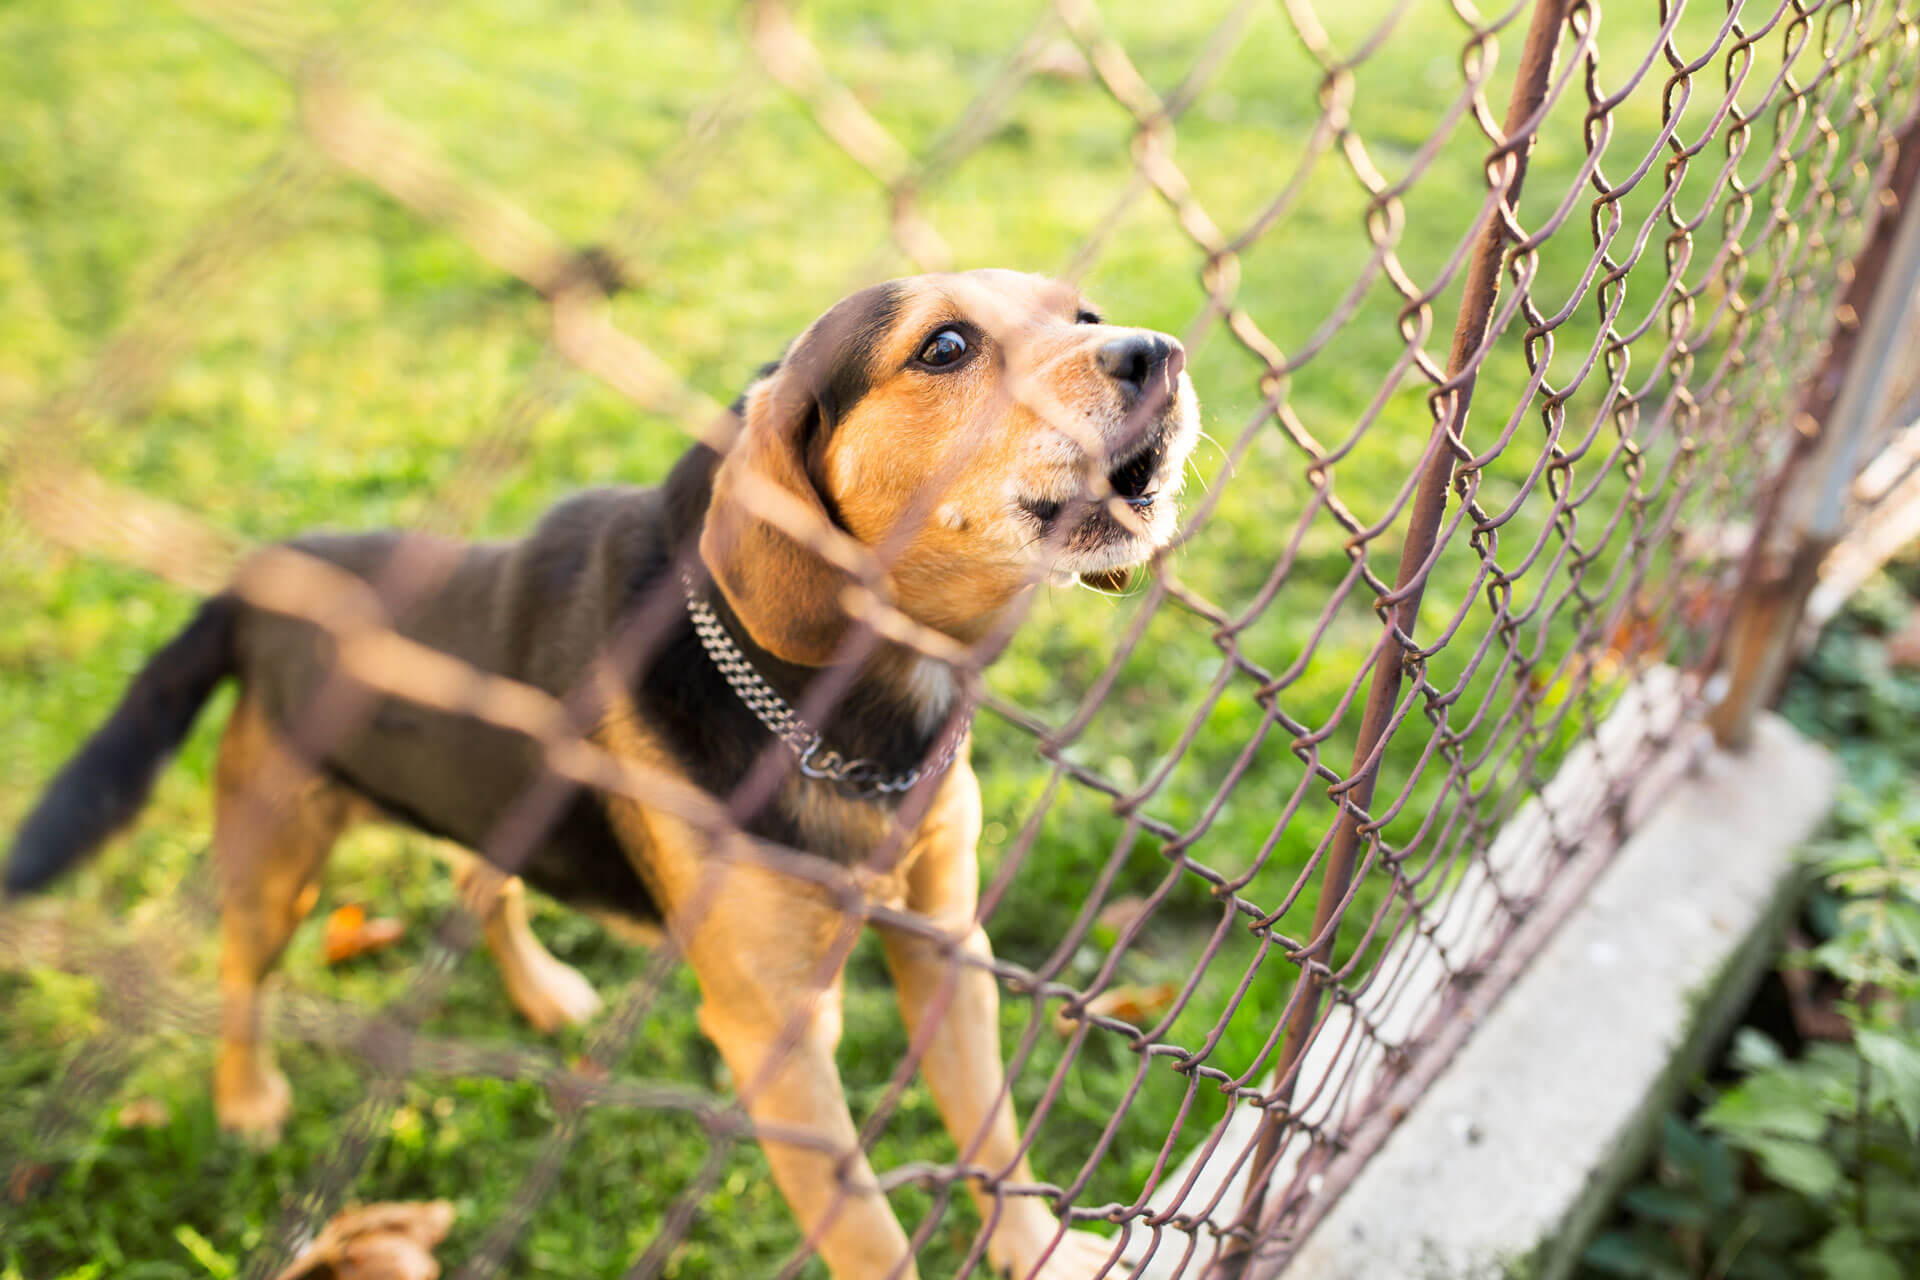
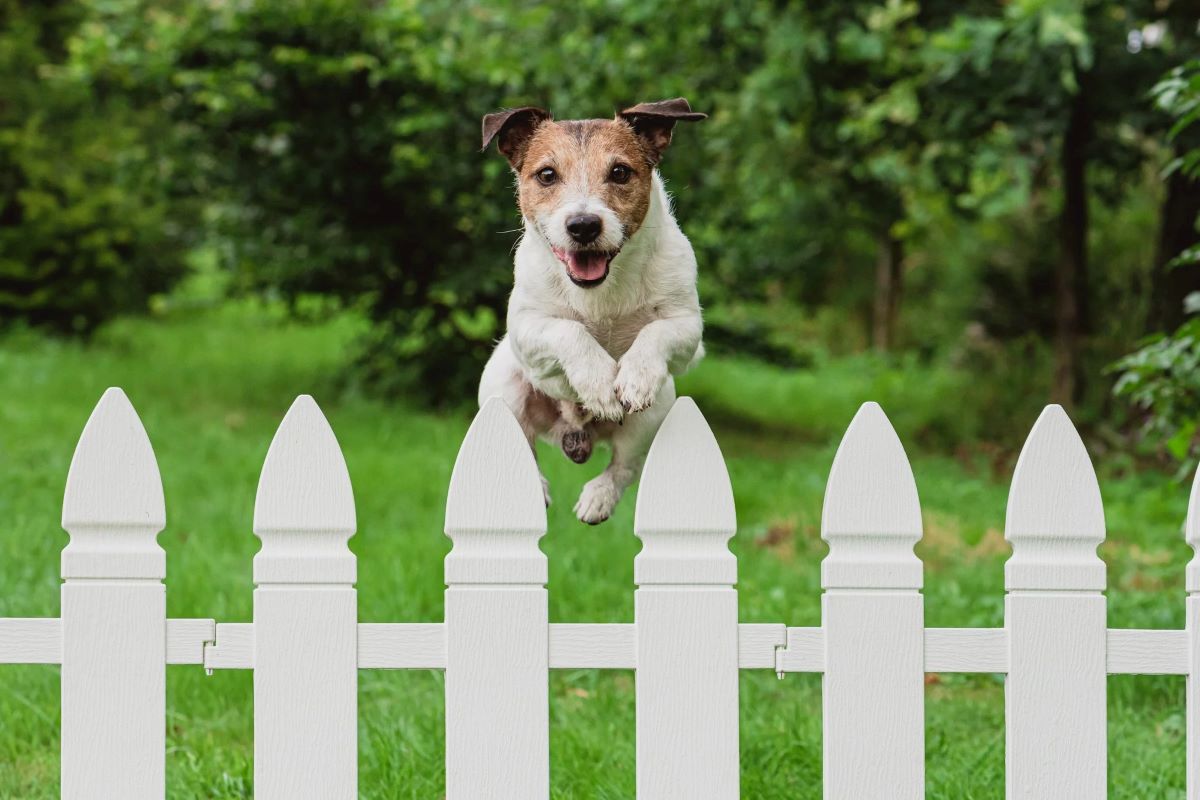
- Safety and Security: One of the primary benefits of an electric dog fence is the enhanced safety and security it provides. By setting up a clear boundary, you can prevent your dog from wandering off into busy streets or neighbor’s yards, reducing the risk of accidents or confrontations with other animals.
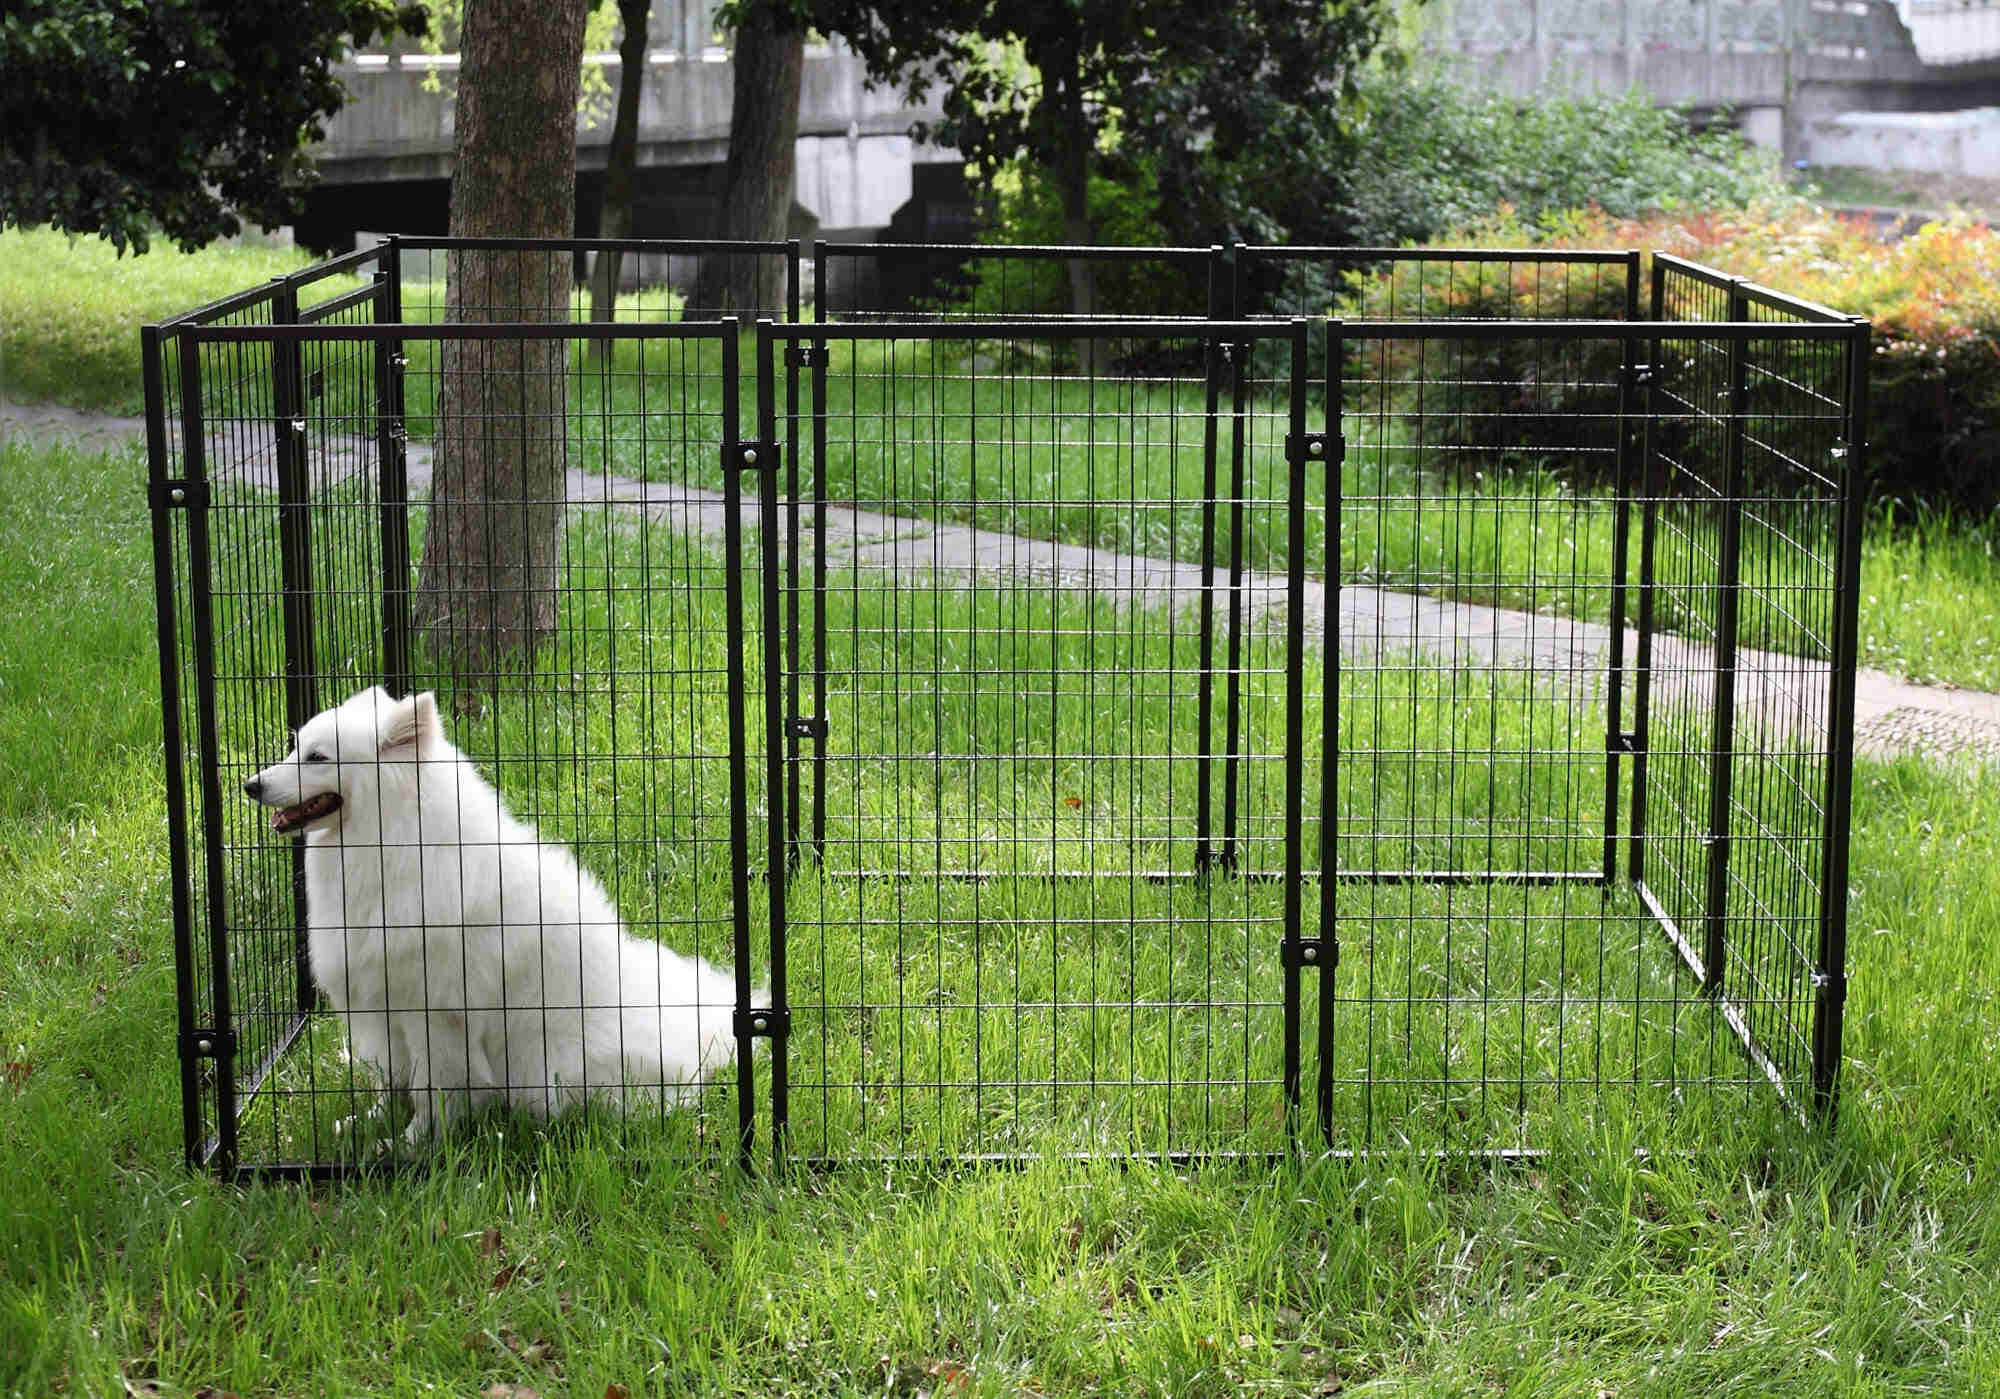
- Unobstructed Views: Unlike traditional physical fences, electric dog fences are invisible. They do not obstruct your view or the aesthetic appeal of your property. You can maintain the natural beauty of your landscape while still keeping your furry friend safely contained.
- Cost-effective: Electric dog fences are a cost-effective alternative to traditional fencing options. Installing a physical fence can be expensive, especially if you have a large area to cover. In contrast, electric dog fences are more affordable, making them a popular choice for dog owners on a budget.
- Flexibility: Electric dog fences provide you with the flexibility to customize the boundaries to fit your specific needs. This is particularly advantageous if you have an irregularly shaped yard or if you want to restrict access to certain areas like flower beds or swimming pools.
- Easy Installation: Setting up an electric dog fence is relatively easy and can be done as a DIY project. Most systems come with clear instructions and user-friendly components. You don’t need any special skills or tools to get started.
- Portability: If you move residences frequently or need a temporary solution, electric dog fences offer the advantage of portability. You can easily disassemble and reinstall the fence in your new location, saving you the hassle and cost of installing a new physical fence.
- Reduced neighborhood disputes: Electric dog fences can help prevent conflicts with neighbors. If your dog has a tendency to bark excessively or invade neighboring properties, an electric fence can help contain their behavior and preserve peace in the neighborhood.
- Peace of Mind: With an electric dog fence in place, you can have peace of mind knowing that your furry friend is safe and secure within the designated boundaries. It allows them the freedom to enjoy outdoor activities while minimizing their exposure to potential hazards.
Overall, electric dog fences offer a practical and efficient solution to keeping your dog safe while providing them with the space they need to play and explore. By considering these benefits, you can determine if an electric dog fence is the right choice for you and your furry companion.
Choosing the Right Electric Dog Fence
When it comes to choosing an electric dog fence, there are a few factors to consider to ensure you select the right one for your needs. Here are some key points to keep in mind:
- Size and Type of Property: The size and type of your property will determine the system you need. If you have a small yard, a basic system with a smaller coverage area may suffice. However, if you have a larger property or an irregularly-shaped yard, you may need a system with a larger coverage capacity and more flexible boundary options.
- Breed and Temperament of Your Dog: Different dog breeds have varying levels of energy and response to boundaries. Some breeds may need a stronger correction level, while others may require more training. Consider the temperament and size of your dog to ensure the system you choose is appropriate for them.
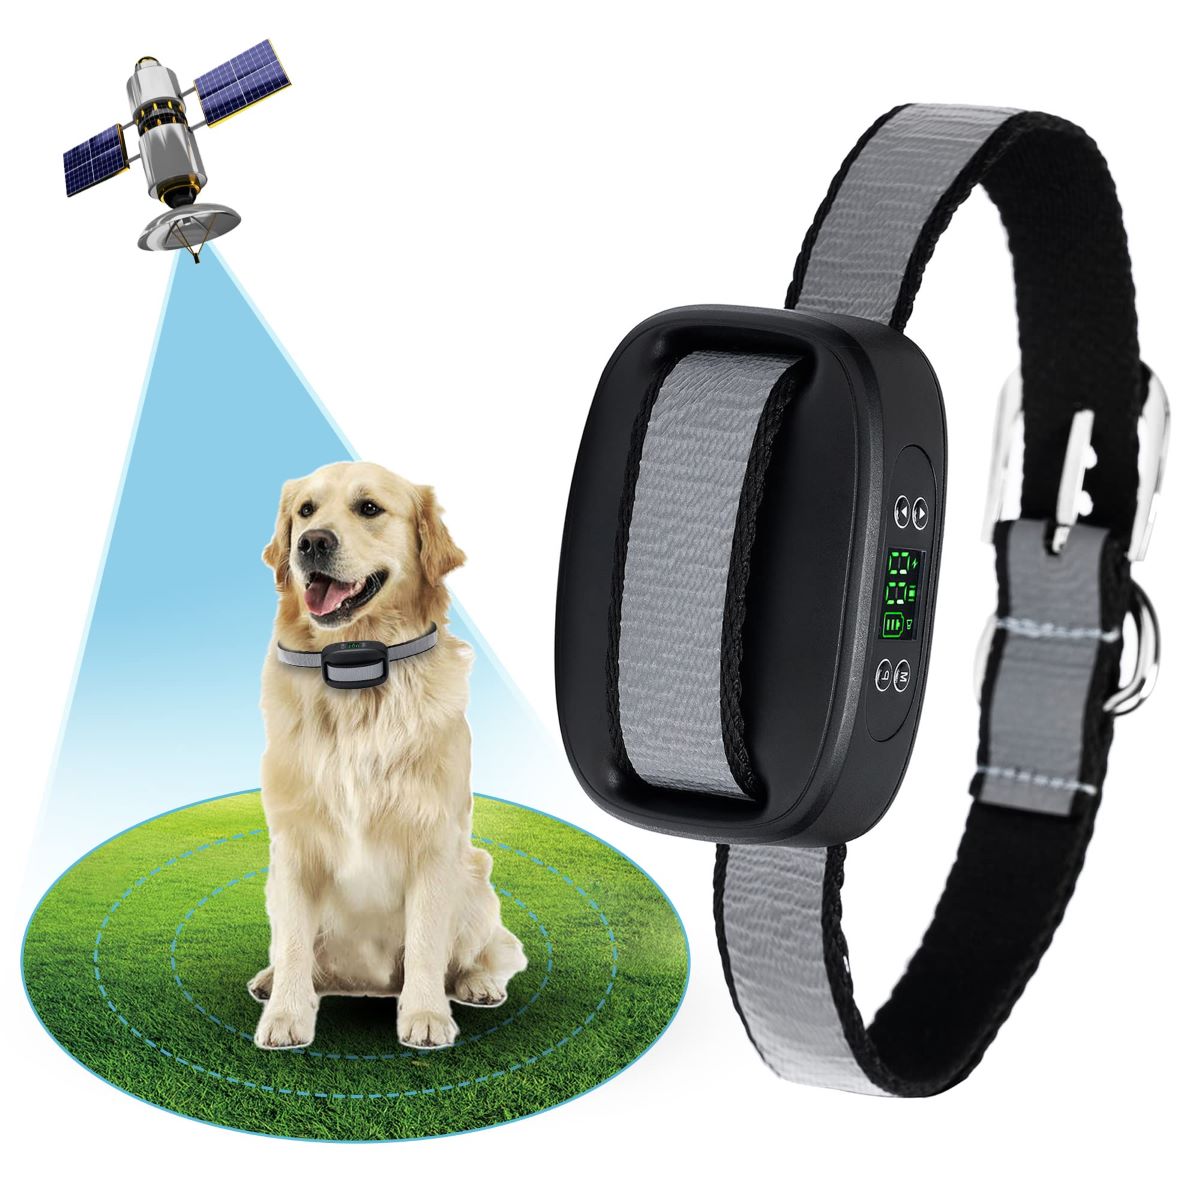
- Collar Features: The collar is a crucial component of an electric dog fence, as it delivers the correction signal when your dog approaches the boundary. Look for a collar that is waterproof, has adjustable correction levels, and fits comfortably on your dog. Some advanced collars may also offer additional features like anti-linger settings or rechargeable batteries.
- System Expandability: If you plan to add more dogs to your household in the future or want to expand the coverage area, consider an electric dog fence system that allows for easy expansion. This way, you won’t have to purchase an entirely new system if your needs change.
- Reviews and Ratings: Before making your final decision, read reviews and ratings of different electric dog fence systems. Look for feedback from other dog owners who have used the system to get an idea of its reliability, effectiveness, and customer support.
- Budget: Set a budget for your electric dog fence and look for options within that range. Keep in mind that while some systems may be more affordable initially, they may require additional costs for replacement batteries or other accessories in the long run. Consider the overall value and cost-effectiveness of the system.
It’s essential to choose an electric dog fence that meets the specific needs of your property and your dog. Taking the time to research, evaluate, and compare different options will help you make an informed decision that ensures the safety and well-being of your furry friend.
Prepare the Area for Installation
Before setting up your electric dog fence, it’s important to properly prepare the area to ensure a smooth and successful installation. Here are the steps to follow:
- Inspect the Landscape: Walk around your yard and carefully inspect the landscape. Look for any potential hazards or obstructions that could interfere with the installation or pose a risk to your dog. Remove any debris, sharp objects, or low-hanging branches that could come in contact with the boundary wire or the dog while using the fence.
- Locate Utilities: Determine the location of any underground utilities, such as gas lines, water pipes, or electrical cables. It’s crucial to avoid digging or installing the boundary wire near these utilities to prevent any damage or accidents. Contact your local utility companies if you are unsure about the location of underground lines.
- Measure the Boundary: Decide on the boundary area where you want to set up the electric dog fence. Use a tape measure or a long piece of string to mark the boundaries you wish to establish. This will give you a clear idea of the length of the boundary wire and help you plan the installation process.
- Clear Vegetation: Trim any overgrown grass, shrubs, or plants along the boundary line. Vegetation that comes in contact with the boundary wire can interfere with the signal transmission and may require additional maintenance in the future. Clearing the vegetation will ensure optimal performance of the fence.
- Check Accessibility: Ensure that the area where you plan to install the control unit has access to a power outlet. The control unit needs to be connected to a power source to function properly. If there is no nearby power outlet, consider installing an outdoor weatherproof electrical box or consult a professional electrician.
- Prepare for Burial: Depending on the type of electric dog fence system you have, you may need to bury the boundary wire. Use a garden edger or shovel to create a trench along the boundary line. The depth of the trench will depend on the manufacturer’s recommendations, but it is typically between 1-3 inches deep.
- Consult the User Manual: Always refer to the user manual provided by the manufacturer for specific instructions and guidelines on preparing the area for installation. Each electric dog fence system may have slight variations in the preparation process.
By adequately preparing the area before installation, you ensure a safe and effective setup for your electric dog fence. Taking the time to complete these steps will help prevent any potential issues during the installation process and ensure optimal performance of the fence once it’s up and running.
Installing the Dog Fence Control Unit
Once you have prepared the area for installation, it’s time to set up the control unit of your electric dog fence. The control unit is the brain of the system and is responsible for transmitting the signal to the boundary wire. Follow these steps to install the control unit:
- Select an Ideal Location: Choose a suitable location for the control unit. It should be placed in a dry and protected area, preferably indoors or in an outdoor weatherproof enclosure. Ensure that it is close enough to a power outlet for easy connection.
- Mount the Control Unit: Depending on the design of your control unit, you may need to mount it on a wall or place it on a sturdy surface. Use the appropriate tools and hardware to securely attach the control unit in the chosen location. Ensure that it is at a comfortable height for easy access and visibility.
- Connect the Power: Plug in the power cord of the control unit into a nearby power outlet. Ensure that the power source is stable and reliable to avoid any interruptions or fluctuations in the fence operation. Use surge protectors if necessary.
- Test the Control Unit: Once the control unit is powered on, check for any error codes or warning lights indicated by the manufacturer. Refer to the user manual to troubleshoot any issues. Testing the control unit before proceeding with the rest of the installation process is important to ensure it is functioning correctly.
- Follow Manufacturer’s Instructions: Consult the user manual provided by the manufacturer for specific instructions on connecting any accessories or additional components, such as lightning surge protectors or backup batteries. Follow the recommended guidelines to optimize the performance and longevity of the control unit.
- Secure Wiring: Organize and secure the wiring of the control unit. Use zip ties or cable clips to neatly fasten the wires and prevent them from tangling or getting damaged. This will not only provide a clean and organized appearance but also reduce the risk of accidental damage to the wires.
- Ensure Accessibility: Ensure that the control unit is easily accessible for future maintenance and adjustments. Avoid installing it in locations that are difficult to reach or hidden behind obstacles, as this may make it challenging to make necessary changes or troubleshoot any issues that may arise.
Installing the control unit is a crucial step in setting up your electric dog fence. By following these guidelines and the manufacturer’s instructions, you can ensure a successful installation, allowing you to move on to the next steps of installing the boundary wire and training your dog to use the fence effectively.
When setting up an electric dog fence, make sure to carefully plan the boundary area and test the system to ensure it is working properly before allowing your dog to roam freely.
Read more: How Much Is An Electric Dog Fence
Installing the Boundary Wire
Now that the control unit is installed, it’s time to lay down the boundary wire for your electric dog fence. The boundary wire creates an invisible perimeter that your dog will learn not to cross. Follow these steps to install the boundary wire:
- Plan the Route: Plan the route for the boundary wire, marking out the boundaries you want to establish. Take into consideration any existing physical fences or obstacles in your yard that may affect the placement of the wire.
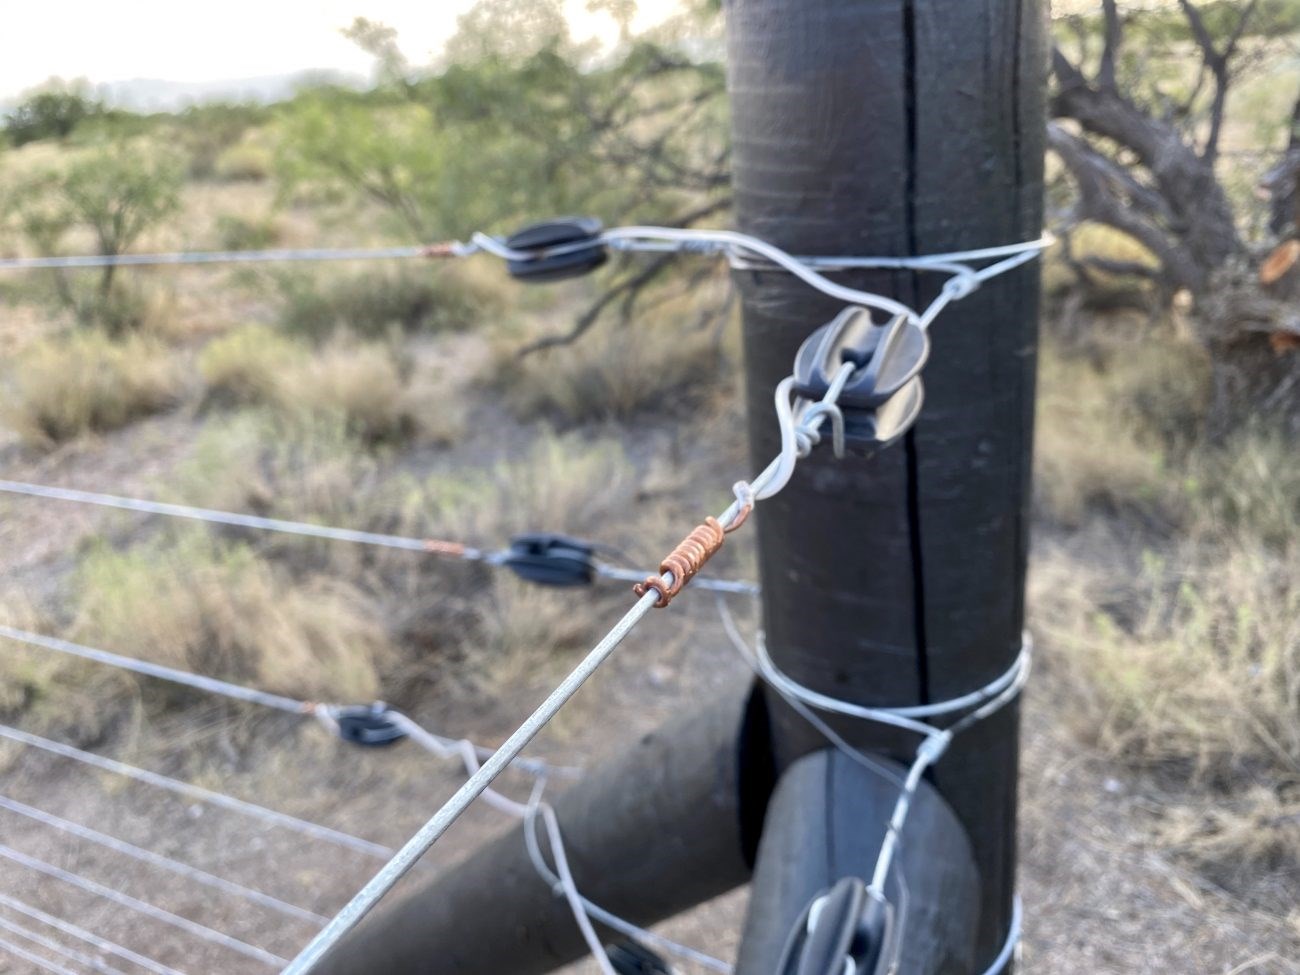
- Bury or Attach the Wire: Depending on the type of electric dog fence system you have, you may need to bury the boundary wire or secure it to existing structures. If burying, use a garden edger or shovel to create a trench along the planned route, following the manufacturer’s recommended depth. Gently place the wire in the trench and cover it with soil, ensuring that it is securely buried without any exposed sections. If attaching the wire, use the appropriate clips, staples, or hooks to affix it to existing fences, trees, or posts.
- Prevent Wire Breaks: Take precautions to prevent wire breaks or splits. Avoid sharp bends or kinks in the wire, as these can weaken the signal transmission. Use protective conduit or tubing for areas where the wire may be exposed to high foot traffic or potential damage from lawnmowers or other equipment.
- Crossing Points: If you need to create crossing points for driveways or pathways, follow the manufacturer’s instructions for properly connecting and insulating the wires. These crossings should be secure and well-insulated to maintain the integrity of the boundary.
- Connect the Wire to the Control Unit: Once the boundary wire is installed, locate the connection point on the control unit for the boundary wire. Follow the manufacturer’s instructions for properly connecting the wire to the appropriate terminals or connectors on the control unit.
- Test the Boundary: With the boundary wire installed and connected, perform a test to ensure that the wire is properly transmitting the signal. Walk along the perimeter with the dog collar, ensuring that you get the appropriate audible and visual cues when approaching the boundary. Adjust the signal range if necessary, following the manufacturer’s instructions.
- Properly Seal the Connections: It is important to protect the wire connections from moisture and environmental factors that could cause damage. Use waterproof sealant or electrical tape to securely seal the connections on both the control unit and at any splices or crossings to prevent water or dirt from causing corrosion or interference.
Installing the boundary wire is a crucial step in setting up your electric dog fence. Taking the time to carefully plan the route, properly bury or attach the wire, and test the boundary will ensure a reliable and effective fencing system for your dog’s safety and security.
Testing and Adjusting the Fence
Once you have installed the electric dog fence and laid down the boundary wire, it’s essential to test and adjust the fence to ensure it is working correctly and effectively. Follow these steps to test and make any necessary adjustments:
- Put on the Dog’s Collar: Attach the specialized collar to your dog’s neck according to the manufacturer’s instructions. Ensure that the collar is properly adjusted and comfortable for your dog.
- Set the Correct Correction Level: Most electric dog fence systems offer different correction levels, from low to high. Start with the lowest level and observe your dog’s reaction. Gradually increase the correction level if needed, but never exceed the recommended level for your dog’s size and temperament.
- Walk Toward the Boundary: Walk with your dog toward the boundary of the fence while holding the collar. Once the collar beeps or gives a warning signal, observe your dog’s reaction. Look for signs of hesitation or uneasiness that indicate they are starting to recognize the boundary.
- Observe the Correction Response: When your dog gets too close to the boundary, the collar will deliver a mild static correction. Observe how your dog reacts to this correction. Ideally, they should stop and retreat from the boundary. If your dog appears overly stressed or ignores the correction, consider adjusting the level or seeking professional guidance.
- Check for Signal Interference: Walk around the perimeter of the fence and check for any signal interference. Look for areas where the collar continues to beep or give a warning signal even when you are far away from the boundary wire. This may indicate signal interference, such as from nearby power lines or metal objects. Adjust the signal range or contact the manufacturer for guidance on how to mitigate signal interference.
- Make Necessary Adjustments: Based on your observation and testing, make any necessary adjustments to the fence. This may include adjusting the signal range, relocating or repositioning the control unit, or adding additional flags or visual markers to help your dog visually recognize the boundaries.
- Retrain as Needed: If your dog is not responding well to the fence or is continuously crossing the boundaries, additional training may be required. Enlist the help of a professional dog trainer to assist with retraining and reinforcing the concept of the electric dog fence. Consistent training and positive reinforcement will help your dog understand and respect the boundaries.
- Regularly Test and Inspect: It’s important to regularly test the electric dog fence and inspect the collar and wires for any signs of damage or malfunction. Check the battery level of the collar and replace it as needed to ensure continuous operation.
Testing and adjusting the electric dog fence will help ensure that your dog understands the boundaries and stays within the designated area. By observing your dog’s reactions, making necessary adjustments, and providing consistent training, you can create a safe and secure environment for your furry friend.
Training your Dog to Use the Electric Fence
Training your dog is a crucial part of successfully using an electric fence. By following proper training techniques, you can teach your dog to recognize and respect the boundaries of the fence. Here is a step-by-step guide to training your dog to use the electric fence:
- Introduce the Collar: Initially, let your dog become comfortable wearing the collar without any corrective stimuli. Allow them to get used to the sensation of wearing the collar and associate it with positive experiences, such as treats or playtime.
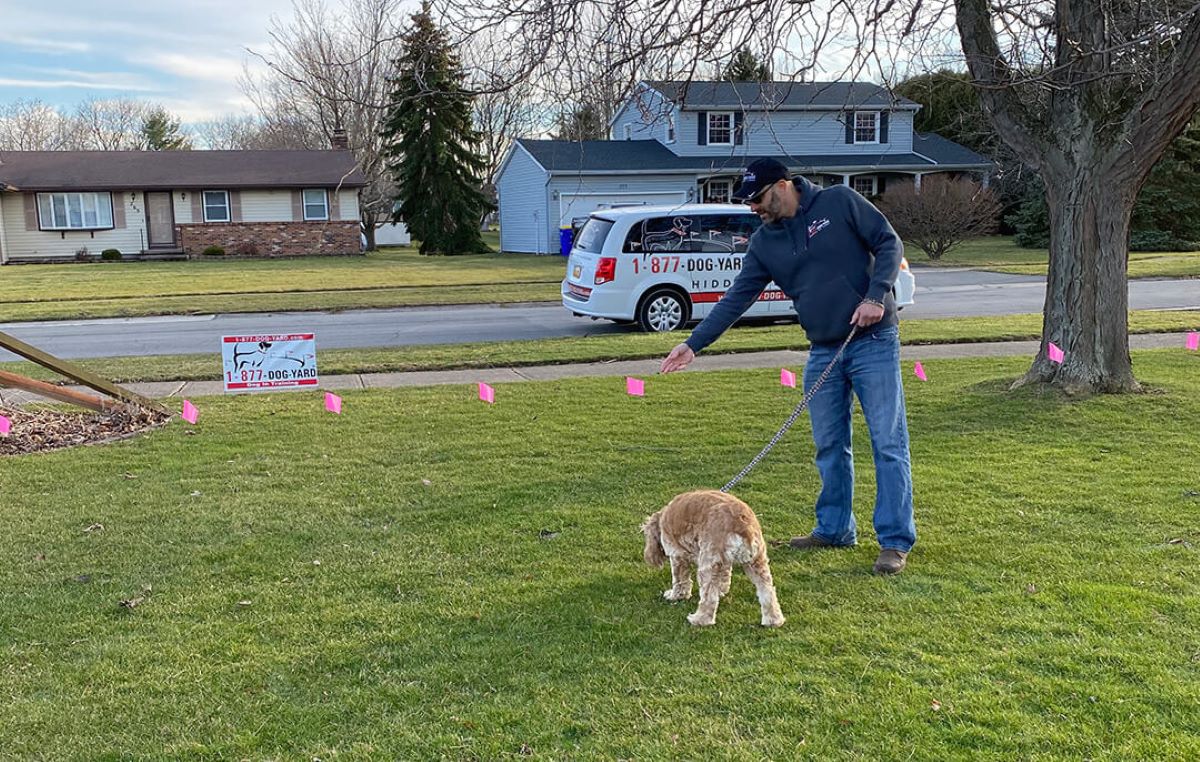
- Introduce the Boundary Flags: Place the boundary flags along the perimeter of the fence to create a visual cue for your dog. Take your dog on a leash around the boundary, allowing them to see and investigate the flags. Use positive reinforcement, such as treats and praise, to associate the flags with a positive experience.
- Teach the Warning Tone: Walk your dog towards the boundary while holding the leash. When the collar emits a warning tone, immediately give a verbal command, such as ‘stop’ or ‘no.’ Gently pull the dog away from the boundary back into the safe area. Repeat this process several times until your dog starts associating the warning tone with the command and the need to retreat.
- Use Visual and Verbal Cues: As your dog begins to understand the warning tone, start using only visual and verbal cues without pulling the leash. Walk towards the boundary, give the command, and guide your dog away from the flags. Praise and reward your dog for responding correctly.
- Introduce the Static Correction: After your dog consistently responds to the warning tone, it’s time to introduce the static correction. Walk your dog towards the boundary, and when they cross it, the collar will deliver a mild static correction. It’s important to remain calm and avoid any negative reactions or punishment. Your dog should associate the correction with their actions, not with you.
- Reinforce Boundary Training: Repeat the process of walking towards the boundary, giving verbal and visual cues, and allowing the collar to provide a static correction when your dog crosses the boundary. Be consistent and patient in your training sessions. Gradually increase distractions to ensure that your dog understands the boundaries, even in challenging situations.
- Supervise and Gradually Remove Flags: Gradually reduce the number of boundary flags over time as your dog becomes more adept at understanding the boundaries. However, continue to supervise your dog during the initial period to ensure they do not test the limits and reinforce their understanding of the fence.
- Positive Reinforcement: Throughout the training process, use positive reinforcement techniques such as treats, praise, and playtime to reward your dog for following the rules and respecting the boundaries. This will further reinforce their understanding and motivation to stay within the confines of the fence.
- Maintain Consistency: Consistency is key in training your dog to use the electric fence. Stick to your training routine, be patient, and continue reinforcing the boundaries and commands. Regular training sessions and consistent positive reinforcement will help ensure that your dog understands and respects the fence.
Remember, training your dog to use the electric fence will require time, patience, and consistency. By following these training steps and using positive reinforcement techniques, you can help your dog safely and confidently navigate within the boundaries of the electric fence.
Maintaining and Troubleshooting the Electric Dog Fence
Regular maintenance and troubleshooting are essential to ensure the proper functioning of your electric dog fence. By following these maintenance tips and troubleshooting techniques, you can address any issues that may arise and maintain a reliable and effective fencing system:
- Inspect the Boundary Wire: Regularly inspect the boundary wire for any signs of damage, such as cuts or breaks. Fix any issues immediately to maintain a continuous and reliable signal transmission.
- Check the Collar Battery: Monitor the battery level of the dog collar and replace it as needed. A low battery can weaken the correction signal, reducing the effectiveness of the fence.
- Update Control Unit Settings: If necessary, review and update the settings on the control unit. This can include adjusting the signal range, correction level, or other parameters according to your dog’s needs or any changes in your environment.
- Reinforce Training: Conduct regular training sessions to reinforce your dog’s understanding of the fence boundaries. This ongoing training will help correct any behavioral issues and ensure your dog continues to respect the fence.
- Keep Vegetation Clear: Regularly trim the vegetation around the boundary wire to prevent interference with the signal transmission. Overgrown plants or shrubs can reduce the effectiveness of the fence.
- Test the System: Periodically test the electric dog fence to ensure it is functioning properly. Walk along the boundary with the dog collar and confirm that the warning tone and static correction are working as intended.
- Address Signal Interference: If you notice signal interference or inconsistent performance, identify potential sources, such as nearby power lines or metal objects, and take steps to mitigate the interference. Relocate the control unit or add signal boosters if necessary.
- Seek Professional Help: If you encounter persistent issues or are unsure how to troubleshoot specific problems, don’t hesitate to seek professional assistance. Contact the manufacturer’s customer support or consult with a professional dog fence installer to diagnose and resolve any complex issues.
- Stay Alert to Environmental Changes: Be aware of any environmental changes that may affect the fence’s performance. For example, heavy rainfall or construction work near the boundary wire may require adjustments or additional maintenance.
- Regularly Inspect Components: Regularly inspect all components of the electric dog fence, including the control unit, boundary wire, flags, and collar, for any signs of wear and tear. Replace or repair any damaged parts promptly to maintain the effectiveness of the system.
Maintaining your electric dog fence and troubleshooting any issues promptly will help ensure the safety and security of your dog. By staying vigilant and addressing any maintenance or troubleshooting needs, you can enjoy peace of mind knowing that your furry friend is protected within the confines of the electric fence.
Read more: What Is The Best Electric Dog Fence
Conclusion
Setting up an electric dog fence can provide numerous benefits for both you and your furry friend. By creating an invisible boundary, these fences offer safety, security, and freedom for your dog to explore without the limitations of traditional physical fences. Throughout this comprehensive guide, we have explored the benefits of electric dog fences, discussed how to choose the right one for your needs, and provided step-by-step instructions on preparing the area, installing the control unit and boundary wire, training your dog, and maintaining the fence.
Electric dog fences offer a safe and effective alternative to traditional fencing options. They are cost-effective, easy to install, and provide unobstructed views of your property. The flexibility and portability of these fences make them ideal for various property sizes and types. With proper training and consistent maintenance, you can create a secure environment for your dog to enjoy their freedom while maintaining peace in your neighborhood.
Remember, the training process is vital to the success of the electric dog fence. Taking the time to properly introduce the collar, teach the boundaries, and reinforce training techniques will ensure your dog understands and respects the fence. Regular maintenance and troubleshooting are also essential to keep the fence in optimal condition and address any issues that may arise.
As a responsible dog owner, it is your duty to provide a safe and secure environment for your furry friend. By following the guidelines outlined in this guide, you can confidently set up and maintain an electric dog fence, allowing your dog to explore, play, and enjoy their outdoor space while keeping them within the designated boundaries.
Always refer to the specific instructions provided by the manufacturer of your electric dog fence system to ensure proper installation, training, and maintenance. If you encounter any difficulties or have unanswered questions, do not hesitate to reach out to customer support or consult with professionals in the field.
With the information provided in this guide, you are now equipped with the knowledge to set up and maintain an electric dog fence effectively. Provide your furry friend with the safety, security, and freedom they deserve while enjoying peace of mind as a dog owner.
Frequently Asked Questions about How To Set Up Electric Dog Fence
Was this page helpful?
At Storables.com, we guarantee accurate and reliable information. Our content, validated by Expert Board Contributors, is crafted following stringent Editorial Policies. We're committed to providing you with well-researched, expert-backed insights for all your informational needs.


0 thoughts on “How To Set Up Electric Dog Fence”