Articles
How To Build A Cheap Dog Fence
Modified: October 20, 2024
Discover helpful articles on how to build a cost-effective dog fence for your beloved furry friend. Learn tips and tricks to create a budget-friendly enclosure.
(Many of the links in this article redirect to a specific reviewed product. Your purchase of these products through affiliate links helps to generate commission for Storables.com, at no extra cost. Learn more)
Introduction
Building a dog fence is an essential step for pet owners looking to provide a safe space for their furry friends to roam freely. However, the cost of installing a professional dog fence can often be prohibitive. Luckily, there are several cost-effective alternatives that you can consider to build a cheap dog fence without compromising on quality or safety.
In this article, we will guide you through the process of building a cheap dog fence, from choosing the right materials to installing it in your desired area. By following these steps, you can create a secure and budget-friendly enclosure for your beloved pet.
Before we proceed, it’s important to note that the term “cheap” refers to cost-effectiveness and doesn’t compromise the durability and effectiveness of the dog fence. So, without further ado, let’s dive into the materials and steps required to build a cheap dog fence.
Key Takeaways:
- Building a cheap dog fence is achievable without sacrificing quality or safety. By following the step-by-step guide and considering your dog’s needs, you can create a secure and budget-friendly enclosure for your furry friend.
- With careful planning and the right materials, you can construct a cost-effective dog fence that provides your pet with a safe and spacious outdoor space. Regular maintenance will ensure the longevity of your budget-friendly pet enclosure.
Read more: How To Dog Proof A Fence
Materials Needed
Before you begin building your cheap dog fence, it’s important to gather all the necessary materials. Here’s a list of items you’ll need:
- Wire mesh or chicken wire
- Fence posts
- Nails or screws
- Post hole digger or shovel
- Hammer
- Level
- Tape measure
- Gates (optional)
- Zip ties or wire connectors
- Gate hinges and latch (if adding gates)
These materials can be easily found at your local hardware store or online at affordable prices. It’s important to choose sturdy materials that can withstand weather conditions and the strength of your dog.
Additionally, consider the size of your dog and the area you want to enclose. This will help determine the quantity of materials needed.
Once you have gathered all the necessary materials, you’re ready to move on to the next step – determining the area for your dog fence.
Step 1: Determine the Area
The first step in building a cheap dog fence is to determine the area where you want to create the enclosure for your dog. Consider the size of your dog and the amount of space they need to roam comfortably.
Take into account any existing structures or obstacles that may affect the layout of your dog fence. It’s important to plan the area carefully to ensure that your dog has enough room to move around while still maintaining a secure and contained space.
If you have a large backyard, you may want to designate a specific portion for your dog’s enclosure. This can be done by using existing boundaries such as hedges or trees, or by creating new boundaries using the fence panels you’ll be installing.
Once you have determined the area, mark the boundaries using stakes or spray paint. This will help you visualize the space and make it easier to measure and install the fence posts.
Remember to consider any local regulations or homeowner’s association guidelines that may affect the placement and size of your dog fence.
With the area determined and marked, you’re ready to move on to the next step – measuring and marking the boundary for your dog fence.
Step 2: Measure and Mark the Boundary
Once you have determined the area for your cheap dog fence, it’s time to measure and mark the boundaries. This step is crucial in ensuring that your fence is properly aligned and secure.
Start by measuring the length of each side of the boundary using a tape measure. This will help you determine the amount of wire mesh or chicken wire and fence posts you will need. Add a few extra feet to each measurement to account for corners and overlapping sections.
Next, use stakes or spray paint to mark the corners and intervals along the boundary line. These marks will serve as reference points when you start digging the fence post holes.
Make sure the boundary is straight and even. Use a level to ensure that the marks align horizontally and vertically. This will help you maintain a consistent and visually appealing fence line.
Take your time during this step to ensure accuracy in measuring and marking the boundary. A well-planned and properly measured boundary will make the installation process smoother and result in a more secure dog fence.
With the boundary measured and marked, you’re ready to move on to the next step – digging the fence post holes.
Step 3: Dig the Fence Post Holes
Now that you have measured and marked the boundary for your cheap dog fence, it’s time to dig the fence post holes. The fence posts will serve as the main support for your fence, so it’s important to dig the holes properly to ensure stability.
Start by using a post hole digger or shovel to dig a hole at each marked corner and interval along the boundary line. The depth of the holes will depend on the height of your fence. As a general rule, dig the holes at least one-third of the length of the fence post.
Make sure the holes are wide enough to accommodate the fence posts and provide sufficient space for concrete or gravel for added stability. A wider hole will help prevent the fence posts from shifting or leaning over time.
As you dig the holes, it’s important to remove any rocks, roots, or other debris from the soil. This will ensure a solid foundation for the fence posts and minimize the risk of sagging or instability.
Once you have dug all the fence post holes, use a level to check that they are all at the same height. Adjust the depth if necessary to achieve a level surface.
With the fence post holes dug and leveled, you’re ready to move on to the next step – setting the fence posts.
Read more: How To Build A Shed For Cheap
Step 4: Set the Fence Posts
Setting the fence posts is a critical step in building a sturdy and durable cheap dog fence. The fence posts will provide the main support for your fence panels, so it’s important to set them properly in the ground.
Start by placing a fence post into each of the dug holes. Make sure they are centered and level. You can use a level to ensure that each post is straight and upright.
Next, fill each hole with either quick-setting concrete or gravel. Quick-setting concrete offers the advantage of providing a strong and stable foundation for your fence posts in a relatively short amount of time. On the other hand, gravel provides good drainage and is a more budget-friendly option.
If you’re using quick-setting concrete, follow the instructions on the packaging to mix and pour it into the holes. Make sure the fence post is held firmly in place while the concrete sets.
If you’re using gravel, pour it into the hole and tamp it down with a shovel or a tamp tool. Ensure that the gravel is packed tightly around the fence post to provide stability.
Once the concrete has fully cured or the gravel is packed, check again to ensure that each fence post is level and upright. Make any necessary adjustments before moving on to the next step.
With the fence posts set securely, you’re ready to move on to the next step – attaching the fence panels.
Consider using PVC pipes and wire mesh to create a cost-effective dog fence. PVC pipes are affordable and easy to work with, while wire mesh provides a secure barrier for your pet. This combination can help you build a cheap and durable dog fence.
Step 5: Attach the Fence Panels
With the fence posts securely set, it’s time to attach the fence panels to create the enclosure for your cheap dog fence. The fence panels will provide the physical barrier and containment for your furry friend.
Start by unrolling the wire mesh or chicken wire along the length of the fence line. Make sure it is aligned with the fence posts and extends to the desired height of the fence.
Using nails or screws, attach the wire mesh or chicken wire to the fence posts. Space the nails or screws evenly along the top, bottom, and middle sections of the fence panel to ensure stability.
As you attach the fence panels, make sure they overlap slightly to prevent any gaps that your dog could squeeze through. Secure the overlapping sections using zip ties or wire connectors to create a seamless and secure enclosure.
If you’re opting for a more decorative fence, you can also consider attaching wooden or vinyl fence panels to the fence posts. These panels can be easily attached using nails or screws, providing a more visually appealing enclosure.
Continue attaching the fence panels to each fence post until the entire boundary is enclosed. Take care to maintain a consistent height and alignment throughout the fence to ensure a professional and cohesive look.
With the fence panels securely attached, you’re ready to move on to the next step – securing the fence panels.
Step 6: Secure the Fence Panels
Securing the fence panels is an important step to ensure the stability and effectiveness of your cheap dog fence. Properly securing the panels will prevent them from sagging, shifting, or being easily knocked down.
Start by reinforcing the attachment points between the fence panels and the fence posts. Use additional nails or screws to secure any loose areas or spots that may be more prone to movement.
Next, check the tension of the wire mesh or chicken wire. If there are any areas that feel loose, tighten them by using a pair of pliers or wire tightening tools. This will help maintain a taut and secure fence panel.
If you’re using wooden or vinyl fence panels, ensure that they are properly fastened to the fence posts. Use additional screws or brackets if needed to reinforce the attachment points.
Consider adding additional support to the fence panels by installing cross braces or stakes along longer sections. This will provide added stability and help prevent the fence panels from bowing or bending over time.
Inspect the entire fence for any gaps or openings that your dog may be able to squeeze through. If necessary, add additional wire mesh or chicken wire to cover these areas and strengthen the enclosure.
Lastly, walk along the entire length of the fence and give it a gentle shake to test its stability. Make any necessary adjustments or reinforcements to ensure that the fence panels are securely in place.
With the fence panels properly secured, you’re well on your way to completing your cheap dog fence. The next step, if desired, is to add gates for convenient access.
Step 7: Add Gates (if desired)
If you’d like to have convenient access to your cheap dog fence enclosure, adding gates is a great option. Gates provide an entry point for you and your dog while maintaining the security of the fence.
Start by selecting the type of gate you would like to install. There are various options available, including pre-made gates, DIY gates using fence panels, or even repurposing existing materials such as wooden pallets.
If you’re using pre-made gates, follow the manufacturer’s instructions for installation. Attach the gate hinges to the designated fence post and ensure that they are securely in place.
If you’re creating your own gate using fence panels, measure and cut the panels to fit the desired gate width. Attach hinges to both the gate and the fence post, ensuring that they are properly aligned and level.
Once the gate is attached, add a latch or lock for security. There are various latch options available, including simple gate hooks, padlocks, or even self-closing mechanisms for added convenience.
Test the gate to ensure that it opens and closes smoothly. Make any necessary adjustments to the hinges or latch to achieve a proper fit.
If you’d like to have multiple access points, consider adding additional gates at different locations along the fence line. This can be especially useful if you have a large yard or if you want to create separate sections within the enclosure.
With the gates installed and functioning properly, you can easily enter and exit your cheap dog fence enclosure with ease.
Now that the major construction is complete, it’s time for the finishing touches to add aesthetics and further reinforce the fence.
Read more: How To Build A Cheap Carport
Step 8: Finishing Touches
Now that your cheap dog fence is complete, it’s time to add some finishing touches to enhance its functionality, aesthetics, and durability.
Start by inspecting the entire fence and making any final adjustments to ensure that all components are secure and aligned properly. Check for any loose nails or screws and tighten them as needed.
Consider adding a protective coating or sealant to wooden or metal fence posts to protect them from weather elements and prolong their lifespan.
Additionally, you may want to add some visual barriers to the fence panels to provide privacy and prevent your dog from being overly stimulated by external distractions. This can be done by attaching landscaping fabric or outdoor-friendly fabric to the inside of the fence panels.
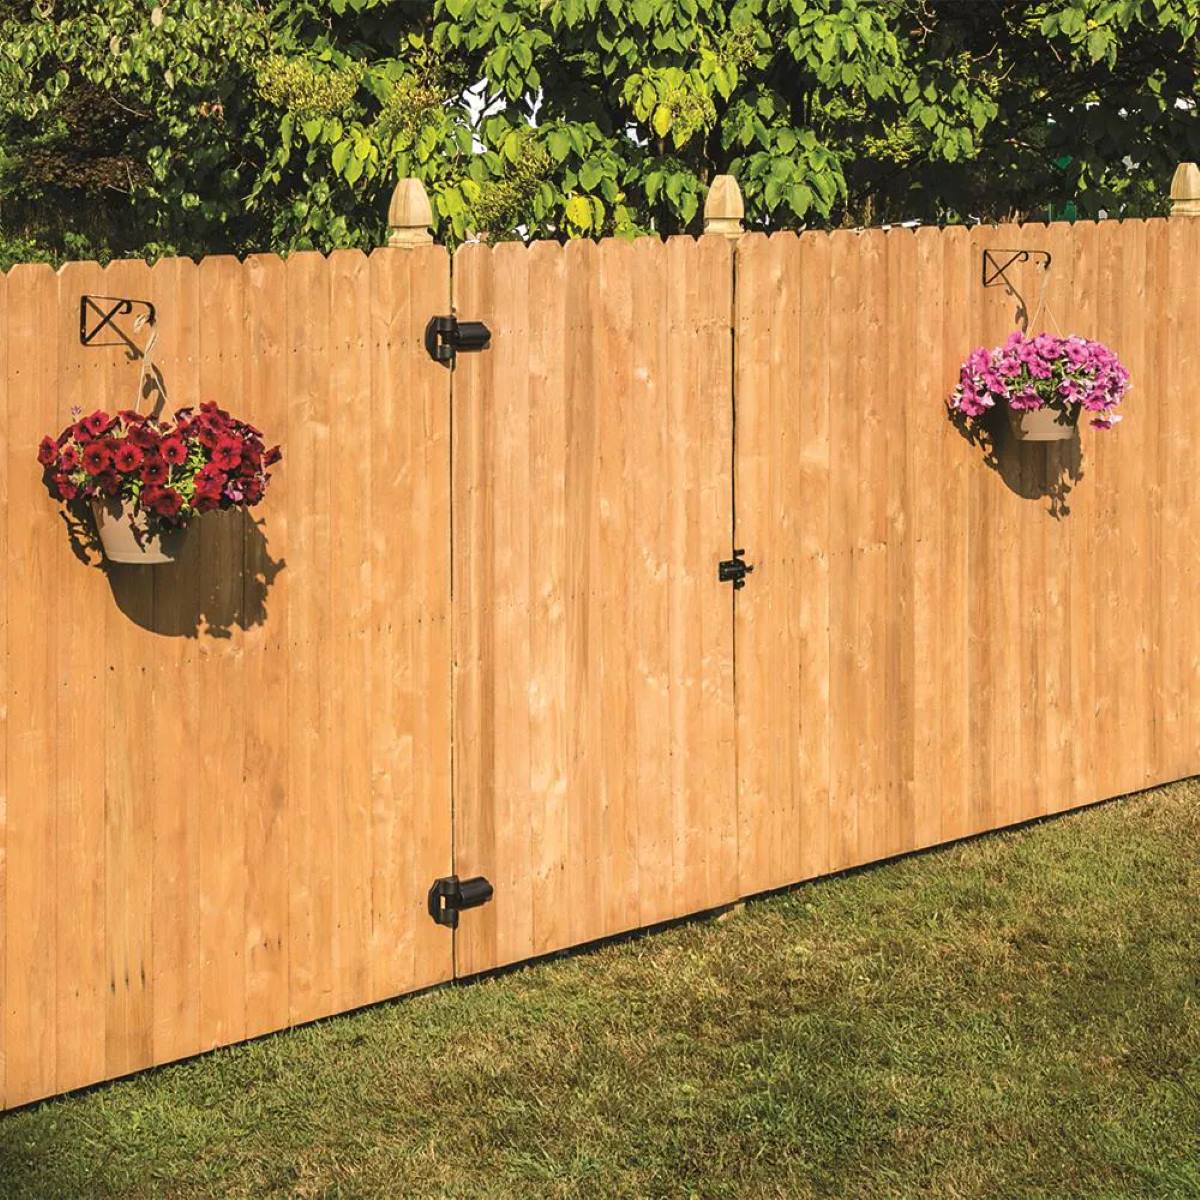
If desired, you can also add some decorative elements to personalize your dog fence. This can include attaching small planters or hanging baskets along the fence line, painting the fence panels with non-toxic outdoor paint, or even adding signage displaying your pet’s name.
Lastly, regularly inspect and maintain your cheap dog fence to ensure its longevity. Check for any signs of wear or damage, and promptly repair or replace any compromised sections.
Congratulations! You have successfully built a cheap dog fence that provides a secure and spacious enclosure for your furry friend. Now, you can enjoy peace of mind knowing that your pet can safely enjoy their outdoor space.
Remember to always supervise your dog while they are in the fence to ensure their safety and prevent any escapes.
With these finishing touches, your cheap dog fence is complete. Enjoy the benefits of a budget-friendly and reliable solution for keeping your pet safe and happy!
Happy fencing!
Conclusion
Building a cheap dog fence doesn’t mean compromising on quality or safety. With the right materials, careful planning, and following the steps outlined in this guide, you can create a secure and cost-effective enclosure for your beloved pet.
By determining the area, measuring and marking the boundaries, digging the fence post holes, setting the fence posts, attaching the fence panels, securing them properly, and adding gates if desired, you have successfully built your inexpensive dog fence.
Remember to consider the size of your dog, any local regulations, and homeowner’s association guidelines when planning and constructing your dog fence. Safety should always be a priority, ensuring that your furry friend is contained and protected within the enclosure.
Regular maintenance and inspections of your dog fence will help to prolong its lifespan and ensure that it remains secure and reliable. Keep an eye out for any signs of wear or damage, and make necessary repairs promptly to maintain the integrity of the fence.
Now, your dog can enjoy the freedom to roam and play safely within their very own designated space. You can have peace of mind knowing that your pet is protected and can enjoy the outdoors without the worry of them running off or getting into potential danger.
Building a cheap dog fence not only provides safety and security for your pet but also saves you money compared to professional installations. It’s a budget-friendly solution that doesn’t compromise on quality.
So, roll up your sleeves, gather the materials needed, and follow the steps outlined in this guide to create a cheap dog fence that will provide a safe, comfortable, and enjoyable environment for your furry companion.
Happy fence building!
Frequently Asked Questions about How To Build A Cheap Dog Fence
Was this page helpful?
At Storables.com, we guarantee accurate and reliable information. Our content, validated by Expert Board Contributors, is crafted following stringent Editorial Policies. We're committed to providing you with well-researched, expert-backed insights for all your informational needs.


0 thoughts on “How To Build A Cheap Dog Fence”