Articles
How To Fix Circuit Breakers
Modified: January 7, 2024
Learn how to fix circuit breakers with our informative articles. Get step-by-step instructions and tips to troubleshoot electrical issues.
(Many of the links in this article redirect to a specific reviewed product. Your purchase of these products through affiliate links helps to generate commission for Storables.com, at no extra cost. Learn more)
Introduction
Welcome to our comprehensive guide on fixing circuit breakers. Circuit breakers are an essential component of any electrical system, serving to protect your home or business from electrical overloads and short circuits. However, like any other electrical component, circuit breakers can experience problems and malfunctions over time. Understanding how to troubleshoot and fix circuit breaker issues can save you time and money by avoiding unnecessary electrical repairs.
In this article, we will delve into various aspects of circuit breakers, common problems that can occur, and steps you can take to fix them. Whether you are a DIY enthusiast or simply want to have a better understanding of your electrical system, this guide will provide you with valuable insights and step-by-step instructions to get your circuit breakers back in working order.
Before we dive into the troubleshooting and repair process, let’s take a moment to understand the basic functioning of circuit breakers.
A circuit breaker is an automatic device designed to protect electrical circuits from damage caused by excess current flow. It is essentially a switch that opens and closes to control the flow of electricity. When an electrical circuit experiences an overload or short circuit, the circuit breaker trips and interrupts the flow of electricity, preventing further damage to the circuit.
Now that we have a basic understanding of circuit breakers, let’s explore some of the common problems that can arise and how to fix them.
Key Takeaways:
- Understanding the basic functioning of circuit breakers and common problems like tripped breakers, faulty breakers, overloaded circuits, short circuits, and ground faults is essential for effective troubleshooting and repair.
- Prioritizing safety, following proper procedures, and seeking professional help when needed are crucial for successfully fixing circuit breaker issues and ensuring a safe and functional electrical system.
Read more: How To Test Breakers
Understanding Circuit Breakers
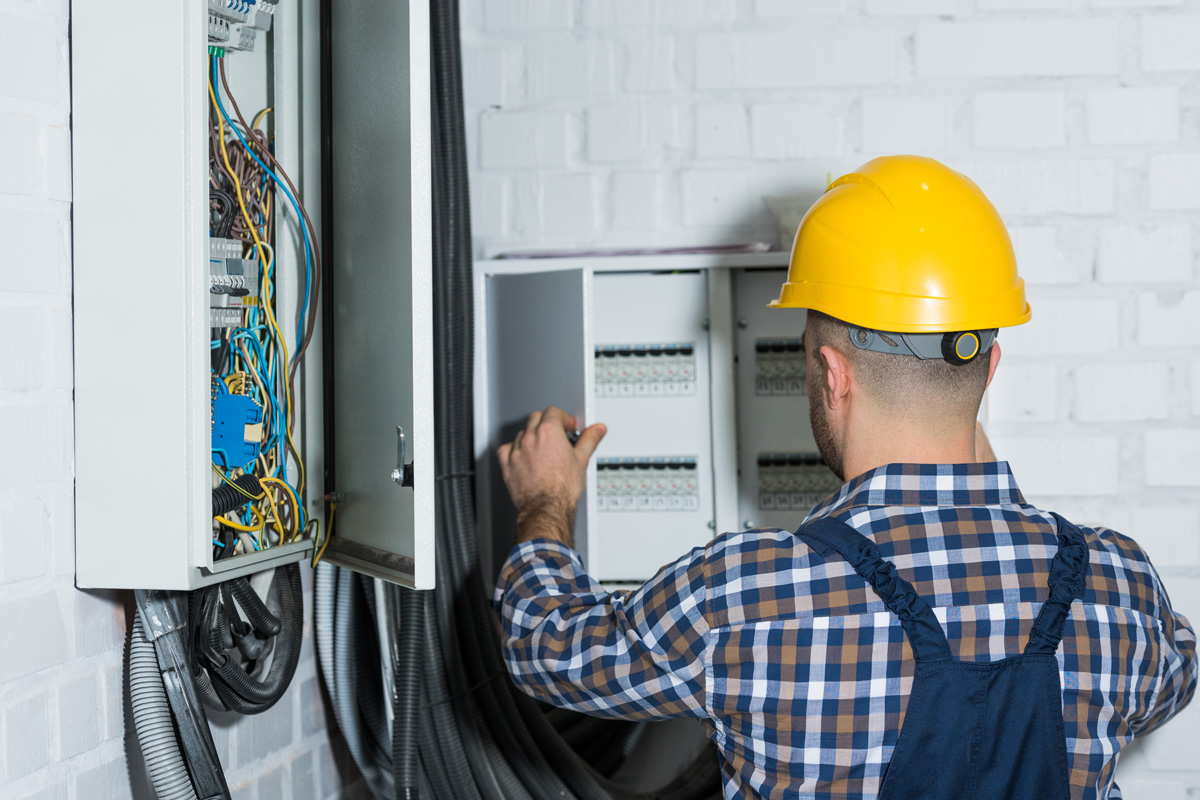
Before we delve into troubleshooting and fixing circuit breakers, it’s important to have a solid understanding of how they work. A circuit breaker is essentially a safety device that is installed in electrical panels or breaker boxes. Its primary function is to protect the electrical circuits in your home or workplace from overload and short circuits.
When an electrical circuit is overloaded or experiences a short circuit, excessive current flows through the wires. This can lead to overheating, which can cause damage to the electrical system, appliances, and even pose a fire hazard. Circuit breakers are designed to monitor the flow of current and, when necessary, interrupt it to prevent these issues.
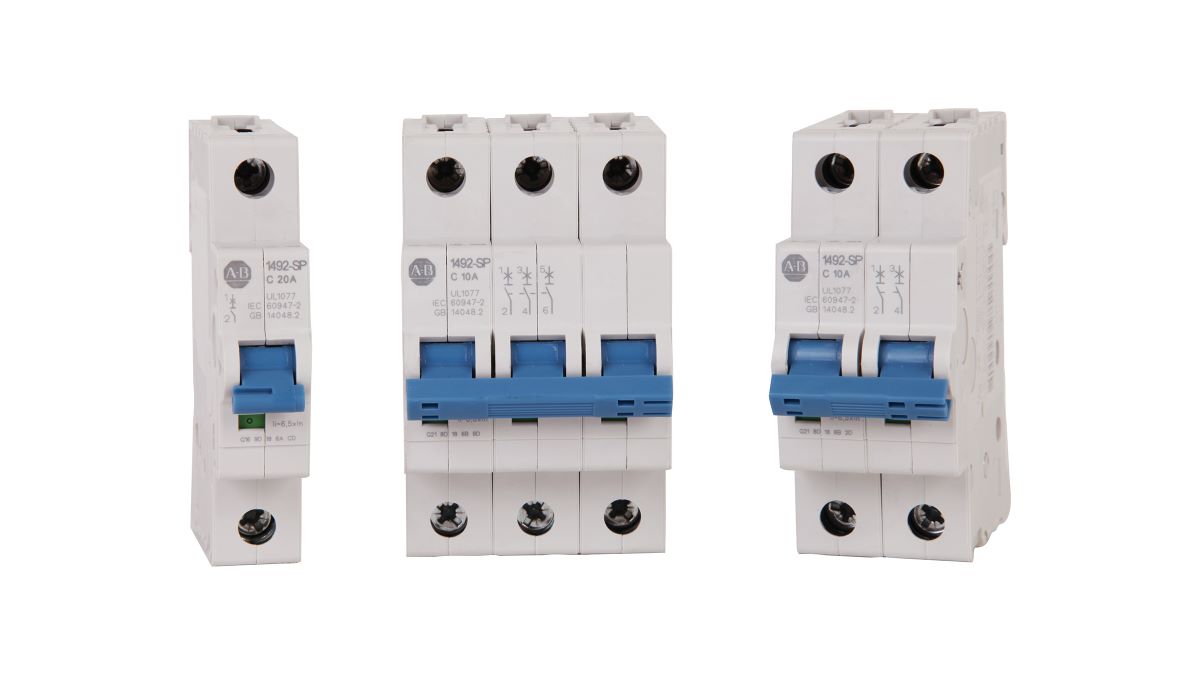
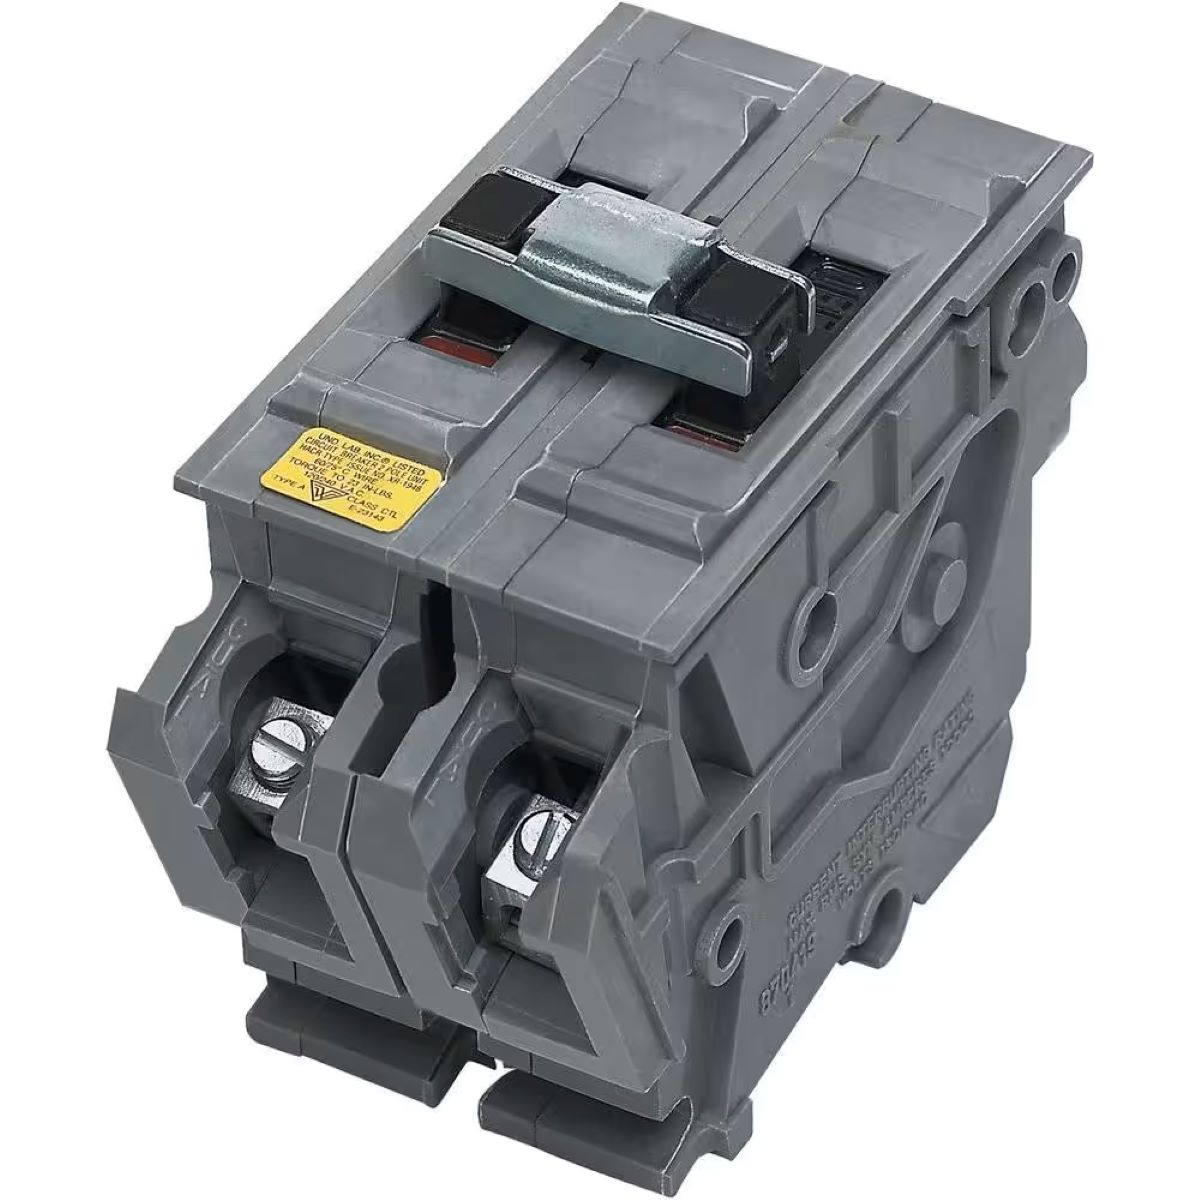
Circuit breakers consist of three main components: a switch, a sensing mechanism, and a tripping mechanism. The switch allows you to manually turn the circuit on or off. The sensing mechanism detects the amount of current flowing through the circuit. If it exceeds the rated capacity of the circuit breaker, the tripping mechanism is activated, and the circuit is automatically interrupted.
Each circuit breaker is designed with a specific amperage rating, which determines the maximum amount of current it can safely handle. Common amperage ratings for residential use include 15, 20, and 30 amps. The amperage rating is usually printed on the face of the circuit breaker for quick identification.
It’s important to note that circuit breakers are not foolproof. They can also suffer from wear and tear, faulty connections, or other issues that can cause them to malfunction. In such cases, it is necessary to troubleshoot and fix the circuit breaker or, if needed, replace it.
Now that we have a solid understanding of how circuit breakers work, let’s move on to some common problems that you might encounter and how to go about fixing them.
Common Problems with Circuit Breakers
While circuit breakers are designed to be reliable, they can still experience issues over time. Some of the most common problems with circuit breakers include:
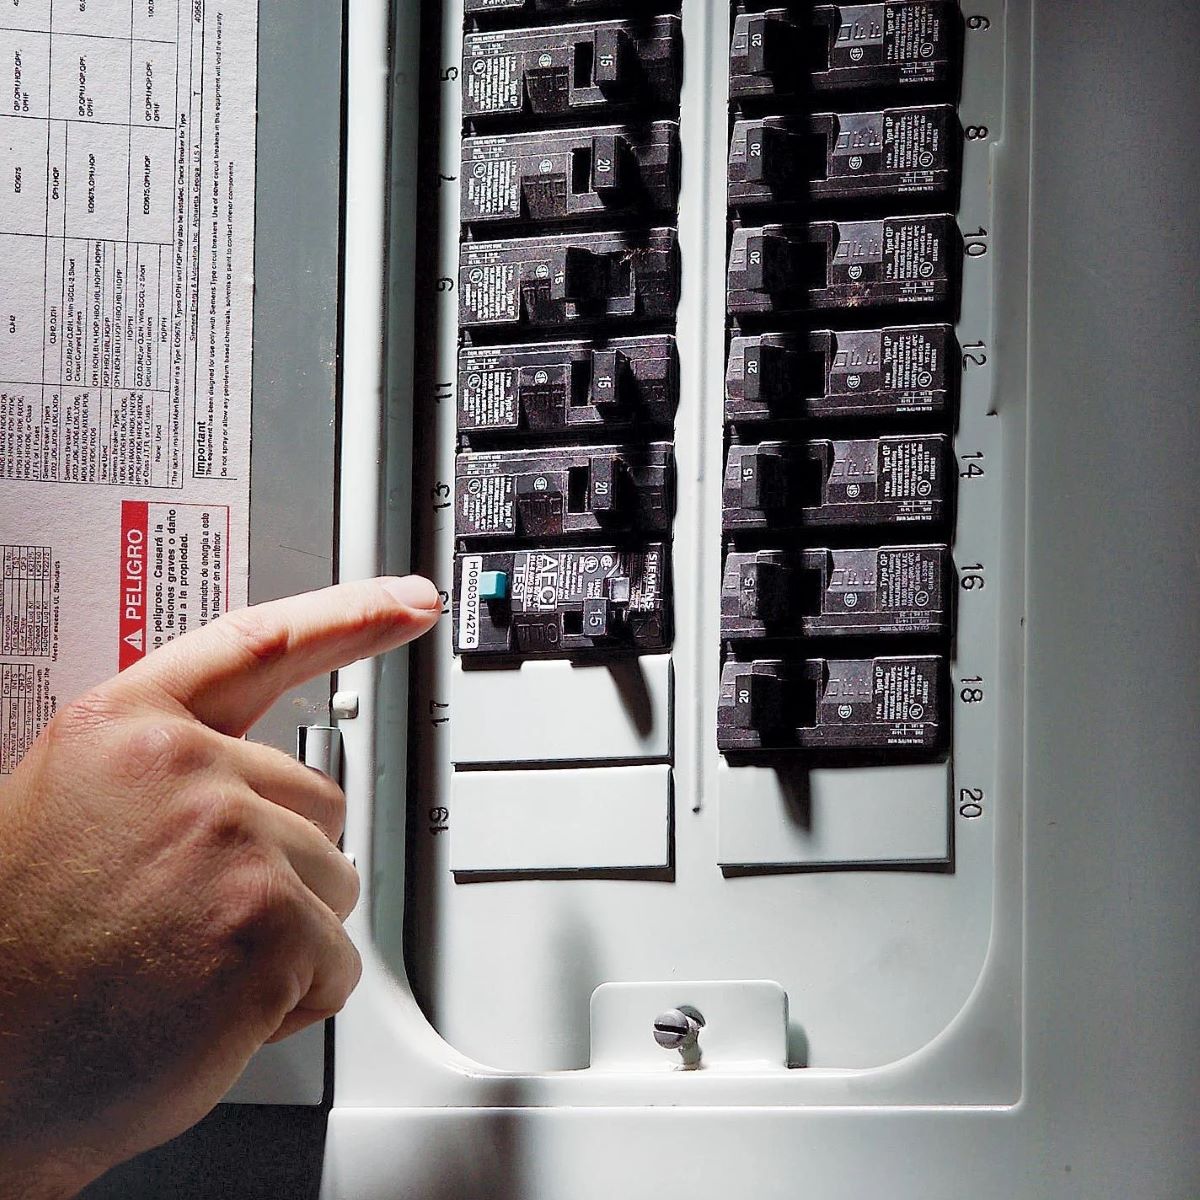
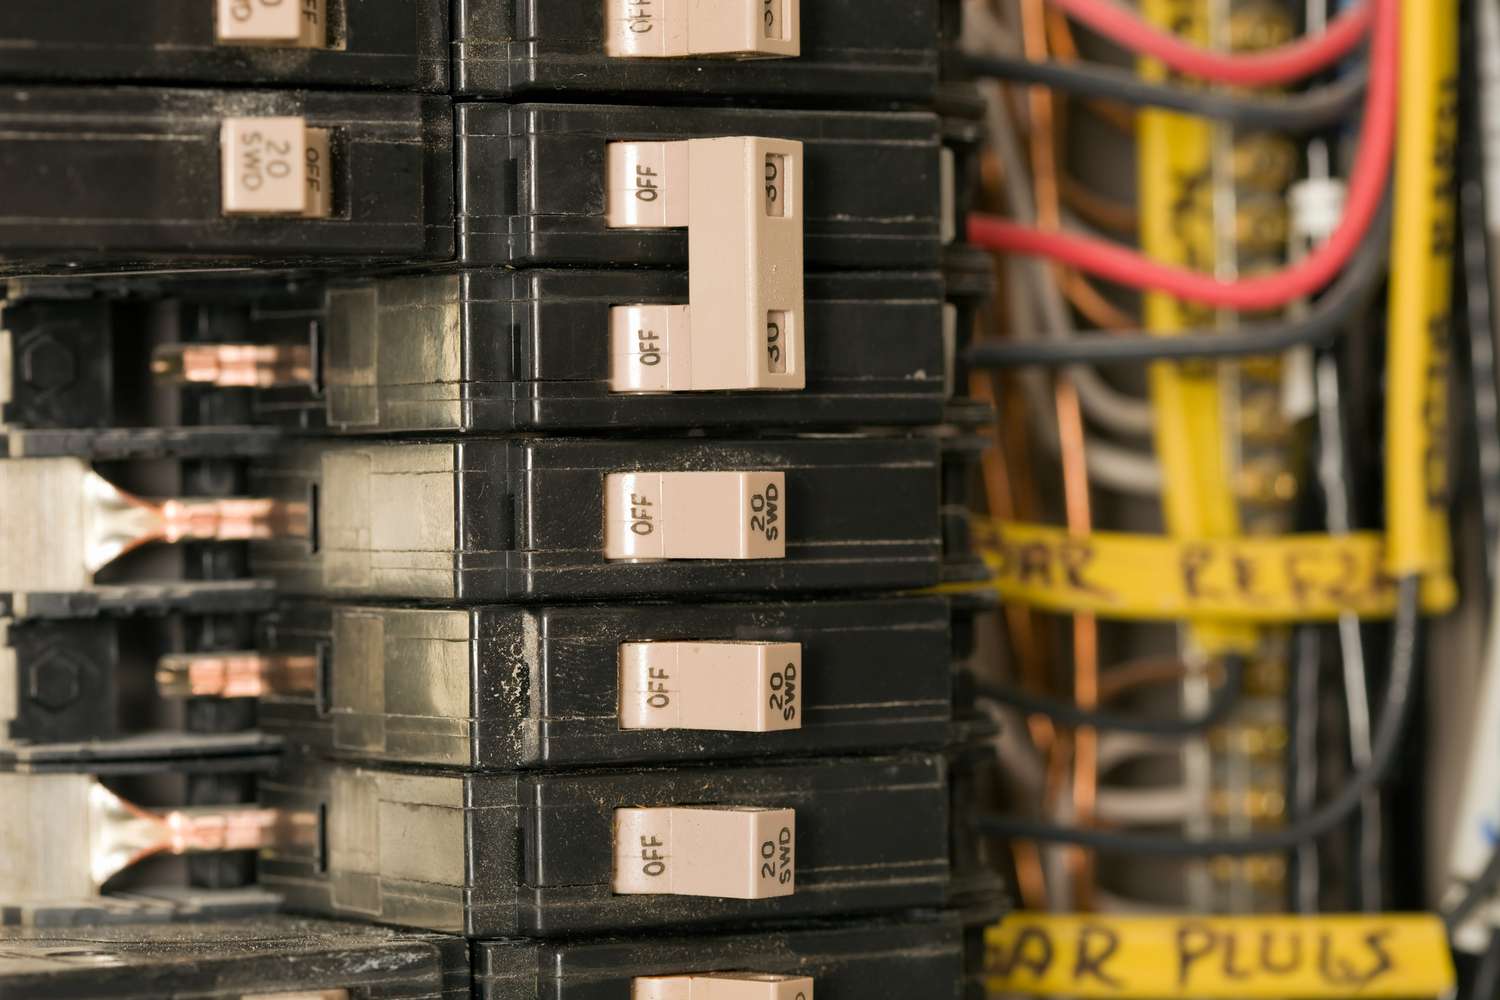
- Tripped circuit breakers: This is perhaps the most common issue faced by homeowners. A tripped circuit breaker is often indicated by a switch sitting between the “on” and “off” positions or in the middle. This typically occurs when the circuit is overloaded or if there is a short circuit. Resetting a tripped circuit breaker is usually a quick and simple fix.
- Faulty circuit breakers: Circuit breakers can become worn out or faulty over time, causing them to trip frequently or fail to trip when they should. This can be a safety hazard and should be addressed promptly. If you suspect a faulty circuit breaker, it may need to be replaced.
- Overloaded circuits: Overloading occurs when you have too many appliances or devices connected to a single circuit, surpassing its amperage rating. This can lead to frequent circuit breaker trips and potential damage to the electrical system. Balancing the load across multiple circuits or upgrading the circuit’s amperage can help alleviate this problem.
- Short circuits: A short circuit occurs when a hot wire comes into contact with a neutral wire or a ground wire. This results in a sudden surge of current, which can cause the circuit breaker to trip. Short circuits are potentially dangerous and require immediate attention to identify and resolve the issue.
- Ground faults: Ground faults occur when an exposed hot wire comes into contact with a grounded surface or a person. This can also cause the circuit breaker to trip and poses a serious safety risk. Proper grounding and the use of Ground Fault Circuit Interrupters (GFCIs) are essential for preventing ground faults.
By being aware of these common problems, you can quickly identify and address any issues with your circuit breakers. In the next section, we will discuss the tools and materials you will need for troubleshooting and fixing circuit breakers.
Tools and Materials Needed
Before you start troubleshooting and fixing circuit breakers, it’s important to gather the necessary tools and materials. Here is a list of items you will need:
- Screwdriver set: A set of screwdrivers, both flathead and Phillips, will be needed to remove the cover panel of the electrical panel or breaker box.
- Voltage tester: A voltage tester is a crucial tool for determining whether a circuit is live or not. It helps ensure your safety while working with electrical components.
- Multimeter: A multimeter is an essential tool for troubleshooting electrical circuits. It can measure voltage, current, and resistance, allowing you to identify issues with circuit breakers and other electrical components.
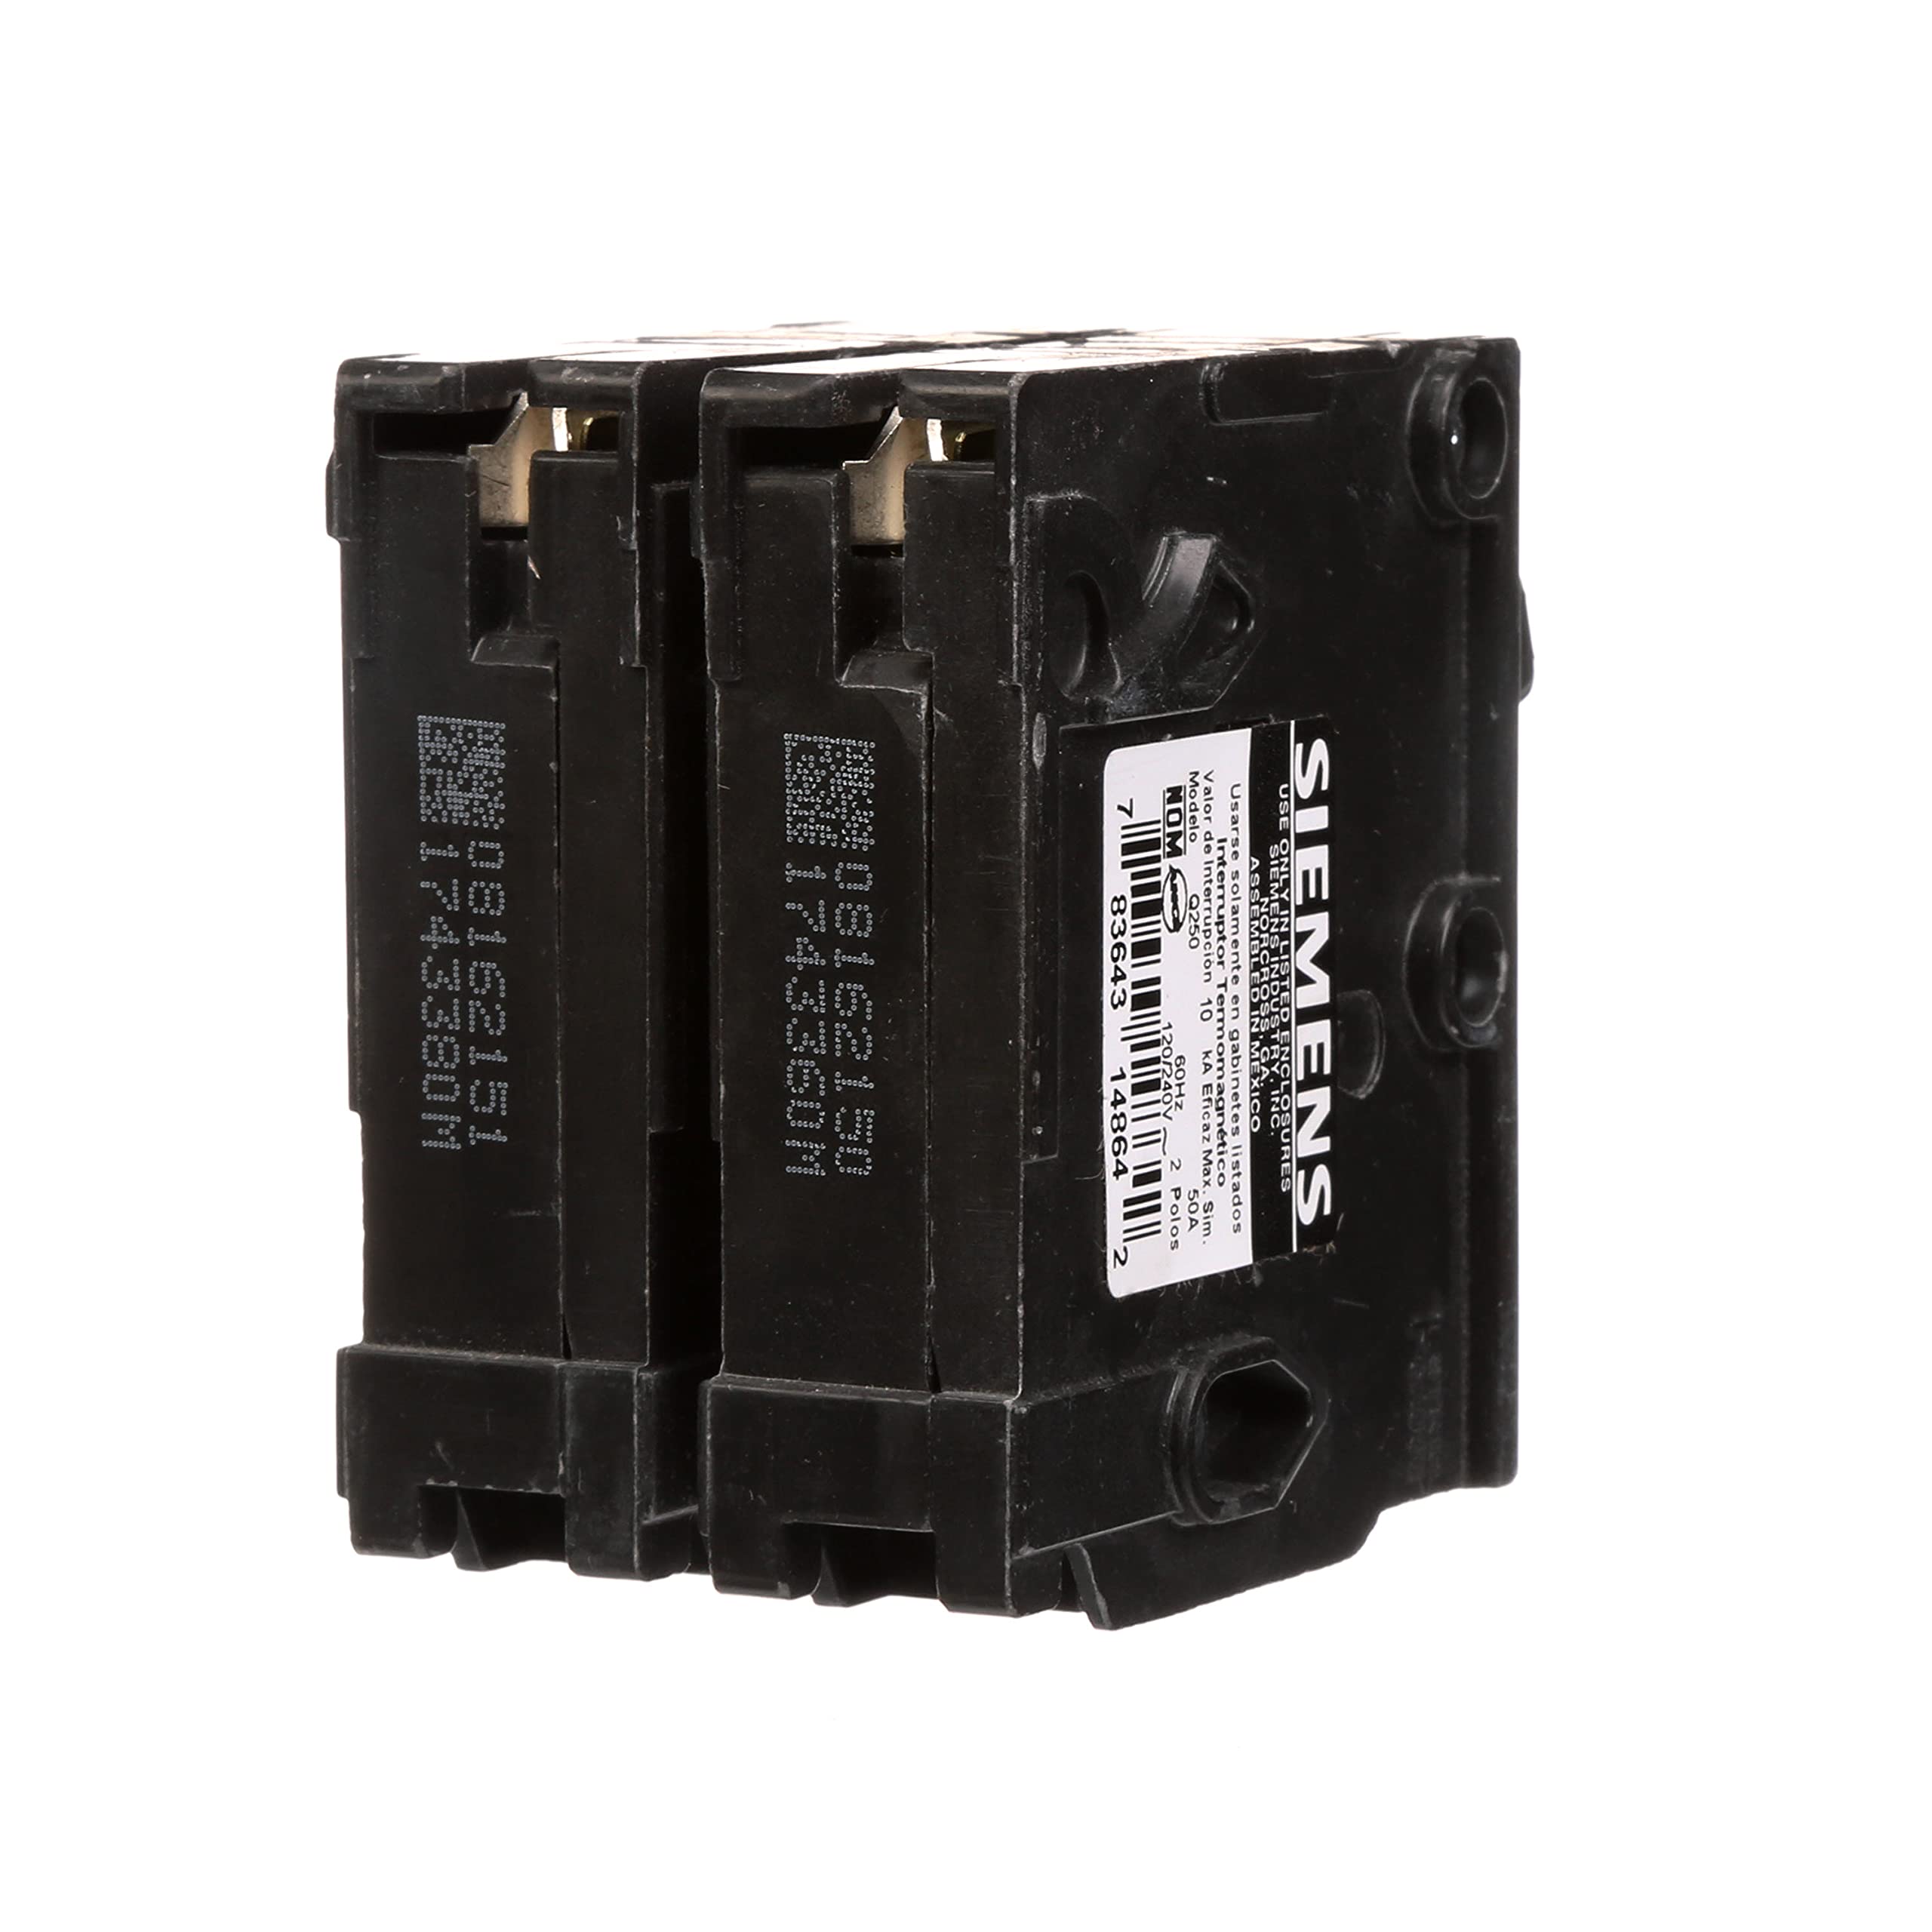
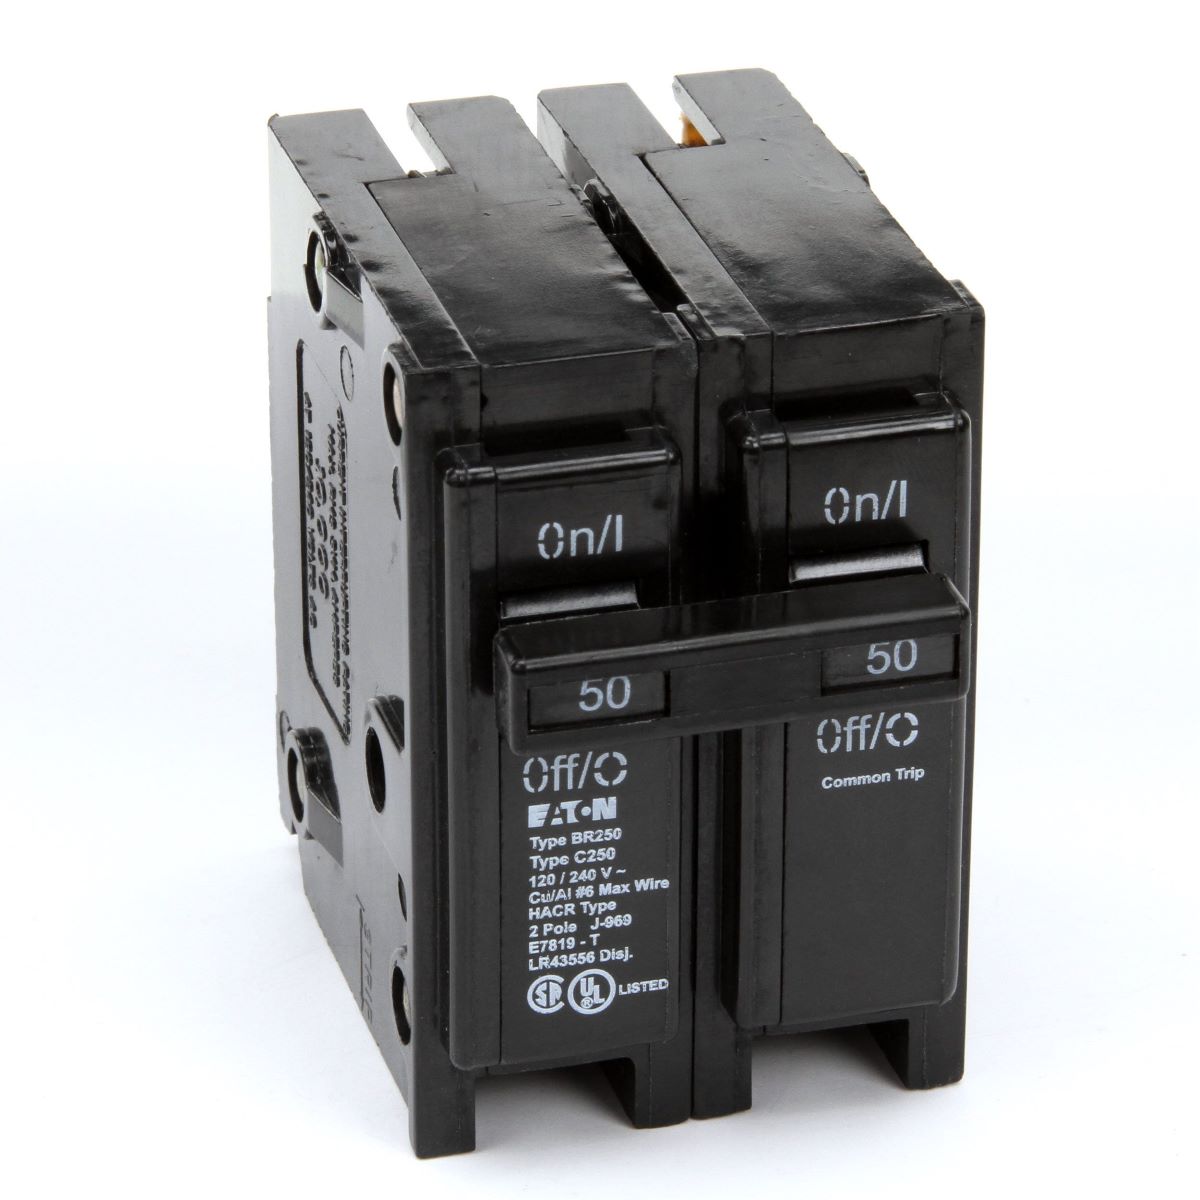
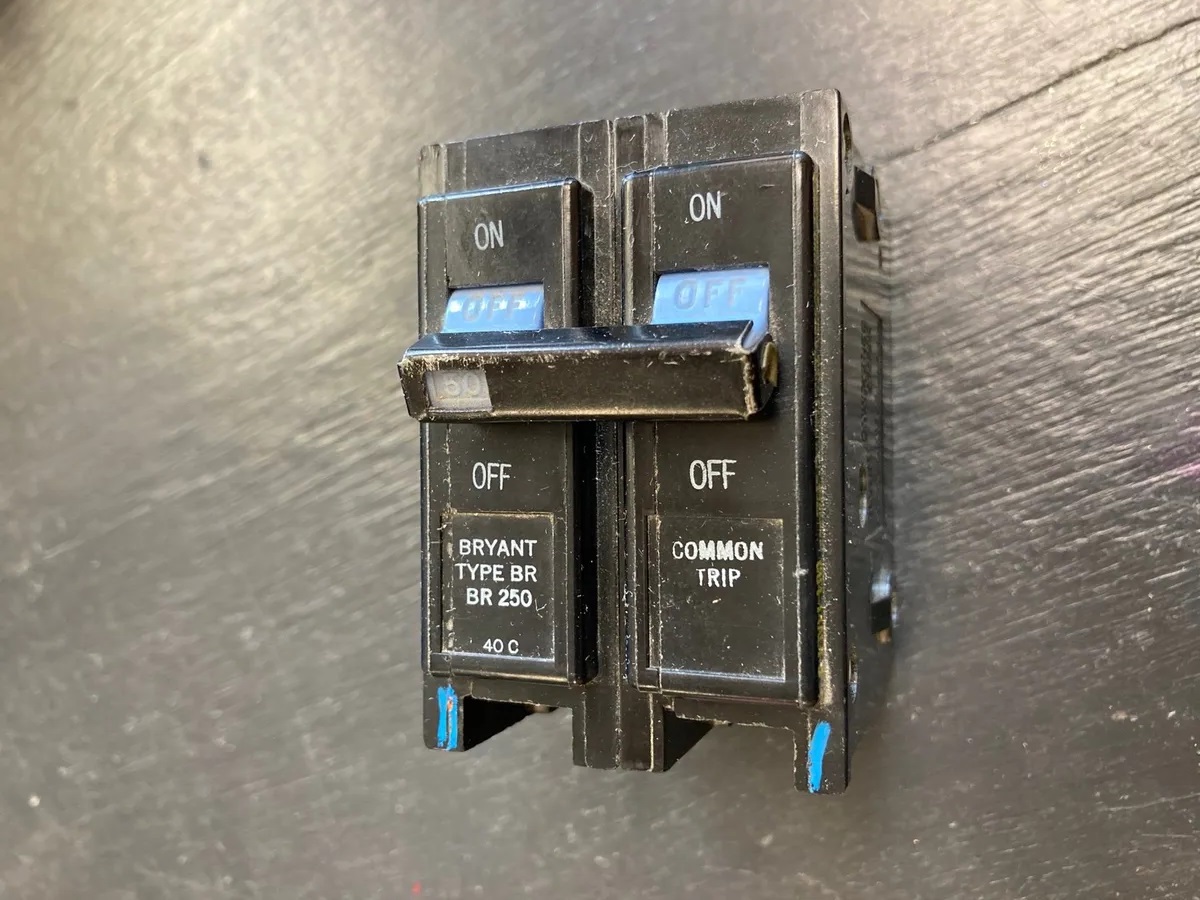
- Replacement circuit breaker: If you determine that a circuit breaker is faulty and needs to be replaced, you will need to have a compatible replacement on hand. Make sure to match the amperage rating and type of breaker.
- Wire strippers: Wire strippers are necessary for removing insulation from electrical wires during repairs or replacements.
- Electrical tape: Electrical tape is used to insulate and secure wire connections to prevent electrical shocks and short circuits.
- Wire nuts: Wire nuts are insulated caps used to securely connect and protect wire connections.
- Flashlight: A good quality flashlight is essential for providing adequate lighting when working in electrical panels or breaker boxes located in dimly lit areas.
- Safety equipment: Safety should always be a priority when working with electricity. Make sure to have safety goggles, insulated gloves, and non-conductive footwear to protect yourself from potential electrical hazards.
By having these tools and materials ready, you will be well-equipped to troubleshoot and fix common circuit breaker issues. In the next section, we will outline the step-by-step process to safely and effectively diagnose and rectify circuit breaker problems.
Step 1: Safety Precautions
Before you begin working on circuit breakers, it is crucial to prioritize safety. Dealing with electrical components can be hazardous if proper precautions are not taken. Here are some important safety measures to follow:
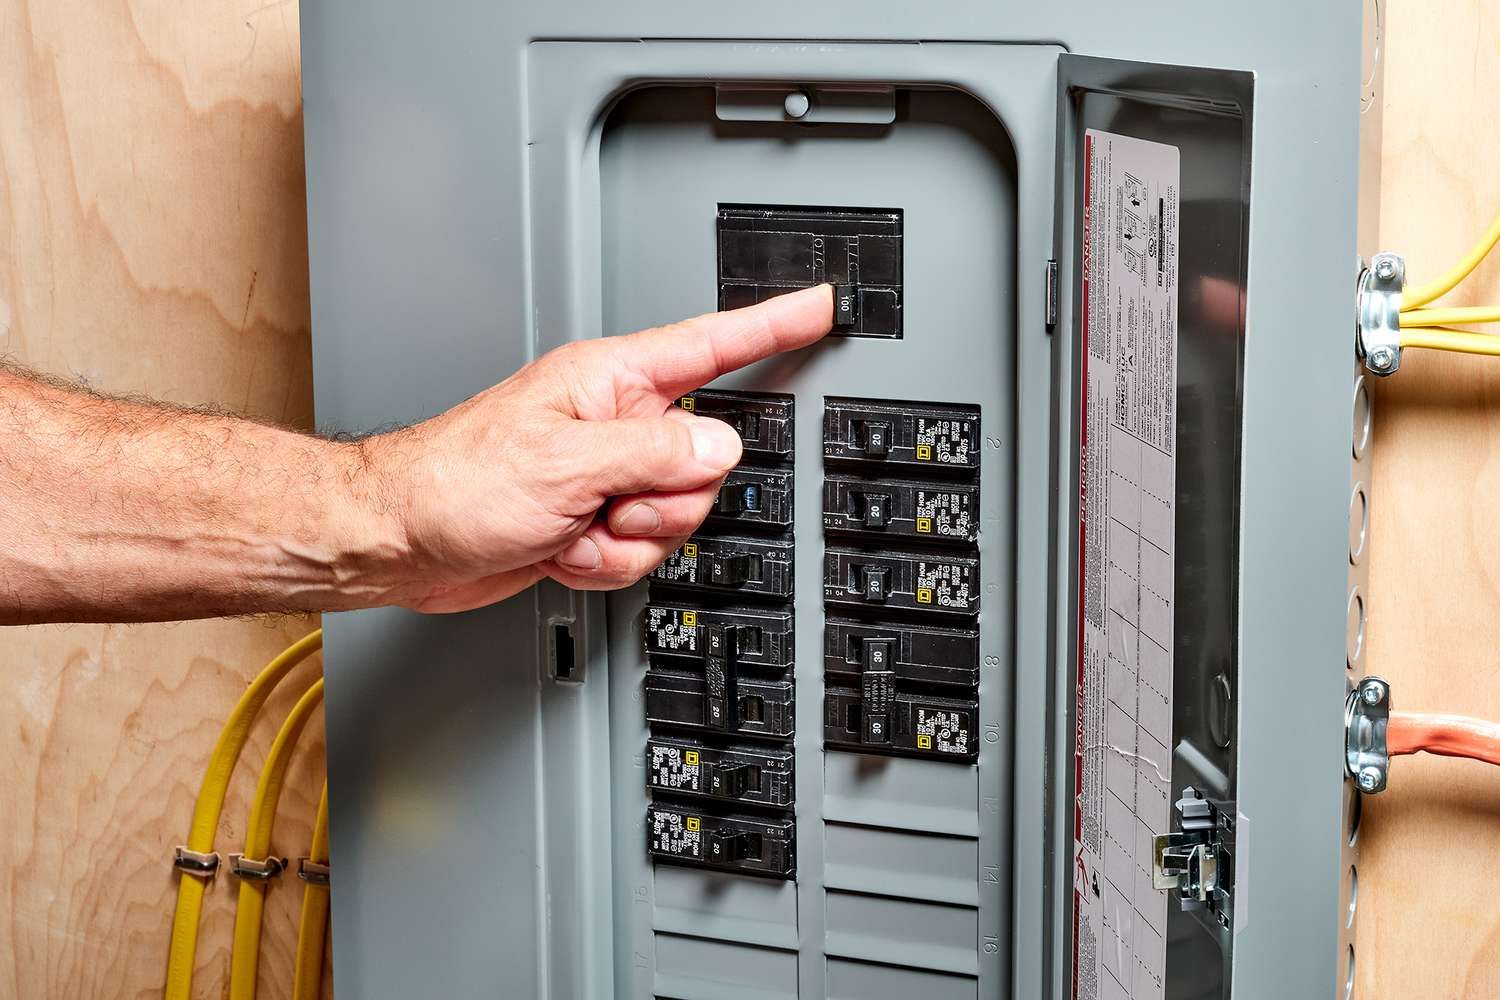
- Turn off the power: Before working on any electrical circuit, ensure that the power to the circuit is turned off. Locate the main electrical panel or breaker box and switch off the circuit breaker that corresponds to the circuit you will be working on. Double-check to ensure that the power is indeed off by using a voltage tester to test the circuit.
- Wear appropriate safety gear: Protect yourself by wearing safety goggles to shield your eyes from any potential hazards. Additionally, use insulated gloves and non-conductive footwear to minimize the risk of electrical shocks.
- Work in a well-lit area: Proper lighting is essential when working with electrical components. Ensure that the area around the electrical panel or breaker box is well-lit. If necessary, use a flashlight or portable work light to improve visibility.
- Avoid moisture: Keep all electrical components dry. Moisture can conduct electricity and increase the risk of electrical shocks. Ensure that your hands, tools, and work area are dry before starting any work.
- Handle circuit breakers with care: Do not touch the internal components of a circuit breaker while it is still connected to a live circuit. Even when switched off, circuit breakers may still have residual voltage. Only handle circuit breakers by their designated handles or screws.
- Follow proper procedures: Always follow the manufacturer’s instructions and guidelines when working on circuit breakers. If you are unsure about any step or procedure, consult a professional electrician.
- Keep children and pets away: Ensure that children and pets are kept away from the work area to prevent accidents or injuries.
By taking these safety precautions, you can significantly minimize the risks associated with working on circuit breakers. Once you have ensured a safe environment, you can proceed with diagnosing and fixing the issue. In the next step, we will discuss how to assess the problem with a circuit breaker.
Step 2: Assessing the Issue
After taking the necessary safety precautions, the next step is to assess the issue with the circuit breaker. By carefully evaluating the symptoms and conducting a thorough inspection, you can determine the root cause of the problem. Here’s how to assess the issue:
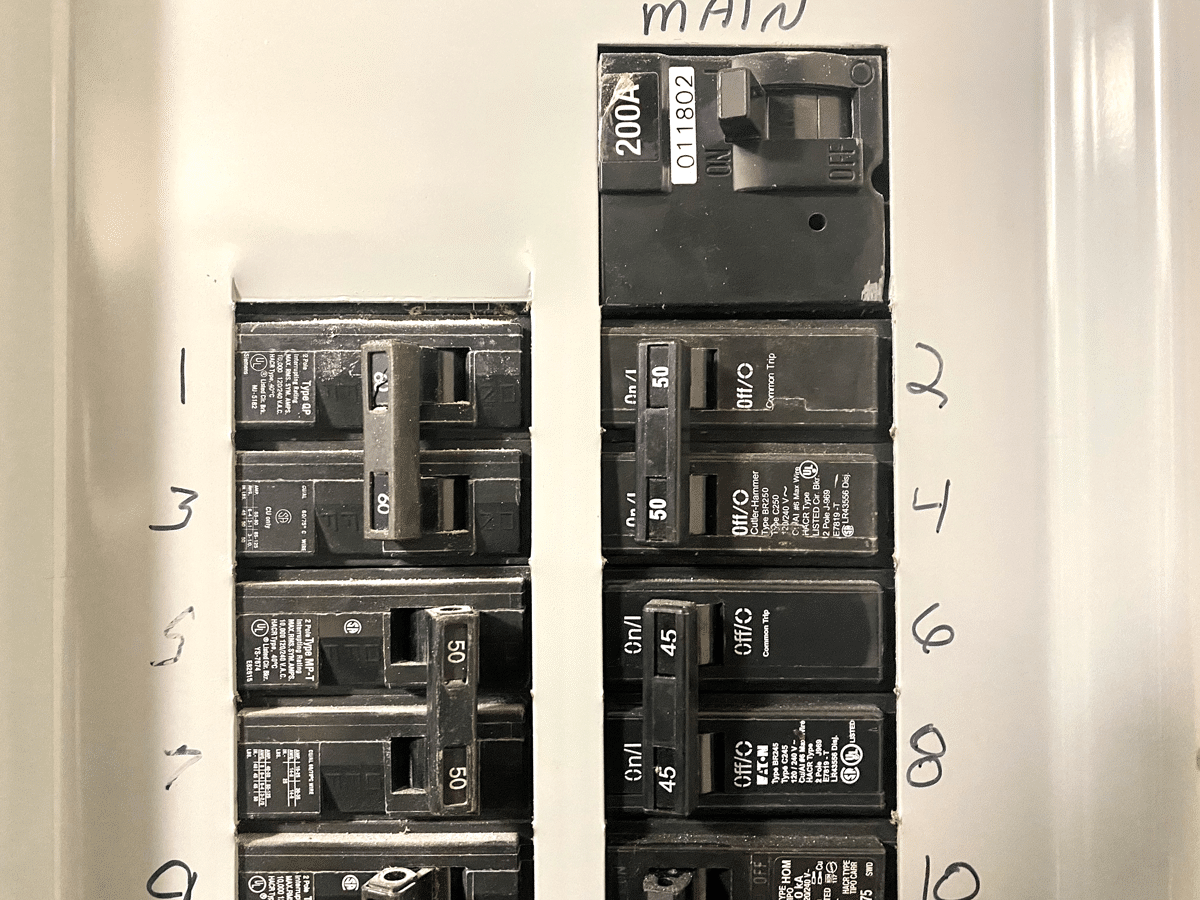
- Inspect the breaker panel: Open the cover panel of the electrical breaker box and visually inspect the circuit breakers. Look for any visible signs of damage, such as burnt marks, loose connections, or melted wires. Pay attention to any tripped breakers or breakers positioned differently from the others.
- Note the affected circuits: Identify the circuits that are experiencing the issue. This will help you narrow down the problem and focus your troubleshooting efforts.
- Check for tripped breakers: Look for any circuit breakers that have tripped. A tripped breaker is usually indicated by a switch sitting between the “on” and “off” positions or in the middle. If you find a tripped breaker, try resetting it to see if that resolves the issue.
- Test other electrical devices: Check if any electrical devices or appliances connected to the affected circuits are causing the problem. Sometimes, a faulty device can trip the circuit breaker or cause an overload. Disconnect or unplug these devices to see if the issue persists.
- Consult the circuit breaker’s documentation: If you are still unable to identify the cause of the issue, refer to the documentation or manual provided by the circuit breaker manufacturer. This may provide specific troubleshooting steps or help you understand potential problems with the breaker.
- Use a multimeter: If needed, use a multimeter to measure the voltage and continuity of the circuit. This can help you identify wiring issues or faulty connections that may be causing the problem.
- Document your findings: Take notes of your observations and findings during the assessment process. This will come in handy when troubleshooting or seeking professional help if necessary.
By carefully assessing the issue, you can gather valuable information that will guide your troubleshooting process. It will help you determine the appropriate course of action, whether it’s a simple reset or a more complex repair. In the next step, we will discuss how to reset a tripped circuit breaker.
If your circuit breaker keeps tripping, try unplugging some devices from the circuit to reduce the load. If the problem persists, it may be a sign of a faulty breaker that needs to be replaced.
Step 3: Resetting a Tripped Circuit Breaker
If you have identified a tripped circuit breaker as the cause of the issue, resetting it may solve the problem. Here’s how to reset a tripped circuit breaker:
- Locate the tripped breaker: Look for the circuit breaker that is in the tripped position. This is usually indicated by a switch that is positioned between the “on” and “off” positions or in the middle.
- Switch off the breaker: To reset the tripped breaker, first, switch it off. Push the switch all the way to the “off” position until you feel it firmly snap in place.
- Identify the reason for the trip: Before proceeding with resetting the breaker, it’s crucial to identify the reason for the trip. Overloaded circuits, short circuits, or faulty electrical devices can cause a breaker to trip. If you suspect a specific device or circuit to be the cause of the trip, disconnect or unplug it before resetting.
- Reset the breaker: After ensuring the cause of the trip has been addressed, you can proceed with resetting the breaker. Firmly push the switch to the “on” position until you hear or feel it snap into place.
- Test the circuit: After resetting the tripped breaker, test the circuit to see if the issue has been resolved. Turn on the devices or appliances connected to the circuit and check if they are working properly.
- If the breaker trips again: If the breaker trips again immediately after resetting, there may be an underlying issue that needs further investigation. In such cases, it is best to consult a professional electrician for a thorough inspection and repair.
Resetting a tripped circuit breaker is usually a simple and effective solution to restore power to a circuit. However, it’s important to ensure that the cause of the trip has been addressed. If the issue persists or if the breaker continues to trip frequently, it may indicate a larger problem that requires professional intervention.
In the next step, we will discuss how to replace a faulty circuit breaker if resetting doesn’t resolve the issue.
Step 4: Replacing a Faulty Circuit Breaker
If resetting the circuit breaker does not solve the issue or if you have identified a faulty breaker during the assessment, it may be necessary to replace the circuit breaker. Here’s how to replace a faulty circuit breaker:
- Turn off the power: Before replacing a circuit breaker, ensure that the power to the circuit and the electrical panel or breaker box is turned off. Switch off the specific circuit breaker and the main power source to be safe.
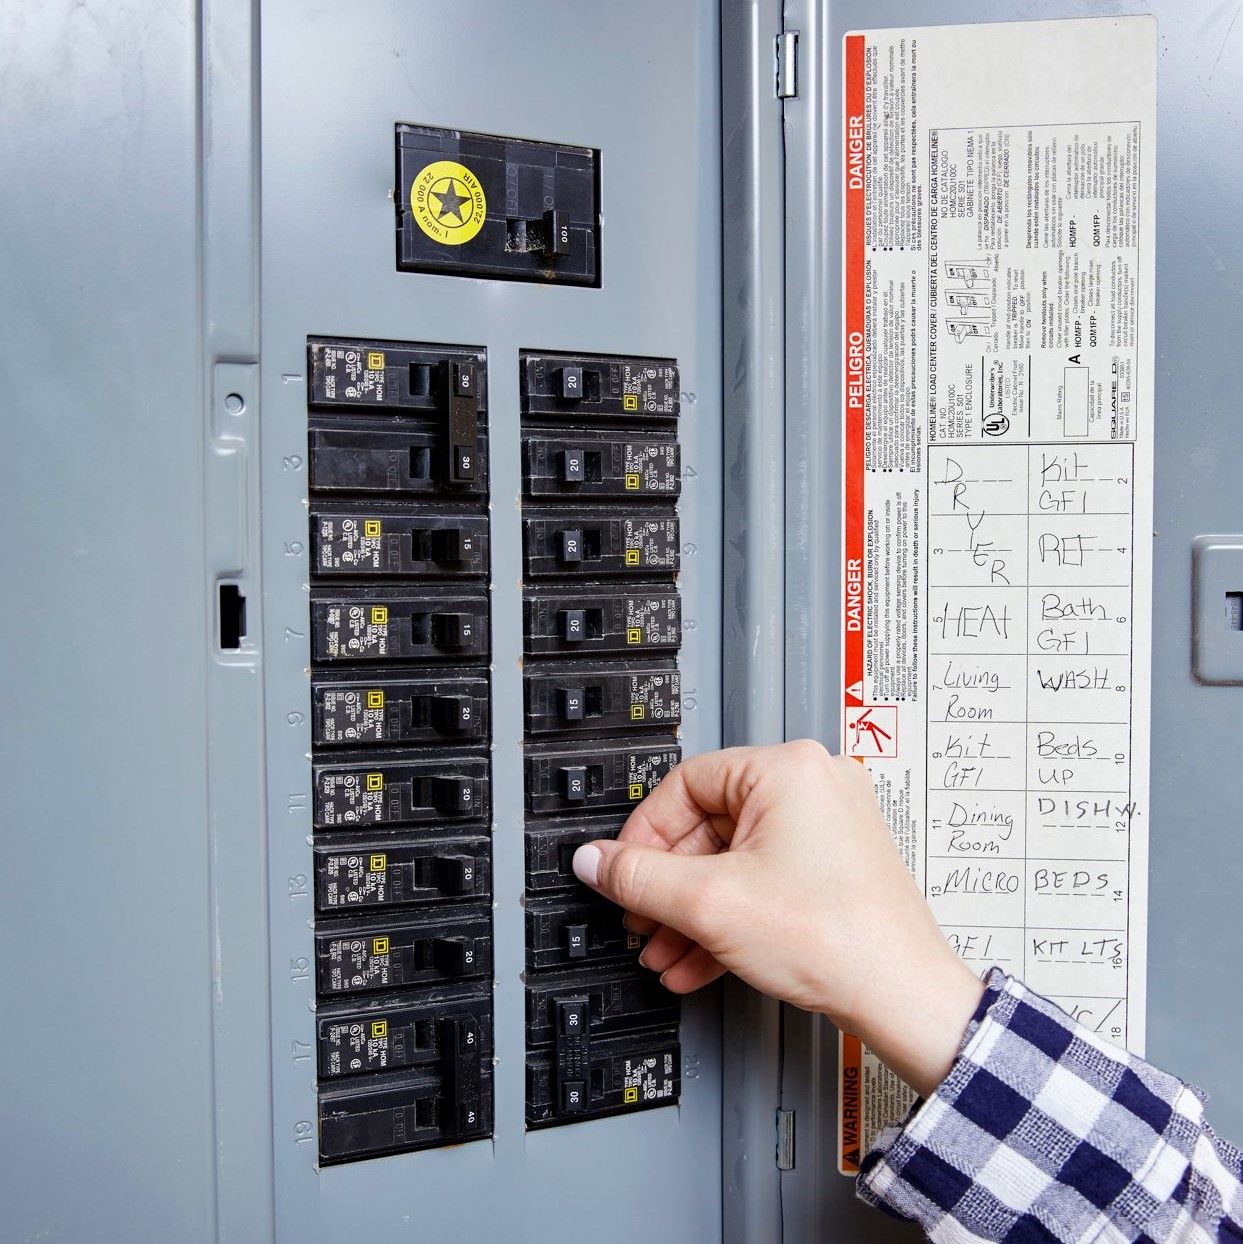
- Remove the cover panel: Use a screwdriver to remove the cover panel of the breaker box. Set the screws aside in a safe place for reinstallation later.
- Identify the faulty breaker: Locate the faulty circuit breaker that needs to be replaced. Note its position and any labeling or markings that identify it.
- Disconnect the wires: Carefully disconnect the wires connected to the faulty circuit breaker. If necessary, use wire nuts to secure any loose wire ends.
- Remove the faulty breaker: Using a screwdriver, loosen the screws that hold the faulty breaker in place. Gently pull the breaker out of its slot, taking care not to damage any surrounding wires or components.
- Install the new breaker: Take the replacement circuit breaker and align it with the empty slot in the breaker box. Insert it firmly until it is seated securely. Tighten the screws to hold the new breaker in place.
- Reconnect the wires: Reconnect the wires to the new circuit breaker. Ensure that they are properly secured and tightened. Double-check the connections to make sure they are secure.
- Replace the cover panel: Once the new breaker is installed and the wires are connected, replace the cover panel of the breaker box. Use the screwdriver to reattach the screws firmly.
- Restore power and test the circuit: Turn on the circuit breaker and the main power source. Test the circuit to ensure that it is functioning properly and that the issue has been resolved.
Replacing a faulty circuit breaker should only be done if you have experience and knowledge in working with electrical components. If you are unsure or uncomfortable with the process, it is best to consult a professional electrician for assistance.
In the next step, we will discuss how to test the circuit breaker to ensure it is working correctly.
Step 5: Testing the Circuit Breaker
After replacing a circuit breaker, it is important to test it to ensure that it is working correctly. Here’s how to test a circuit breaker:
- Turn off the power: Before testing the circuit breaker, ensure that the power to the circuit and the electrical panel or breaker box is turned off. Switch off the specific circuit breaker and the main power source to ensure your safety.
- Inspect the connections: Check the wire connections on the new circuit breaker to make sure they are properly secured. Tighten any loose connections if necessary.
- Reset the breaker: If the circuit breaker has a reset button, push it to the “reset” position. If it doesn’t have a reset button, switch it to the “on” position.
- Turn on the power: Restore power to the circuit and the main power source by turning on the circuit breaker and flipping the main switch.
- Test the circuit: With the power restored, test the circuit to ensure that it is functioning correctly. Turn on the devices or appliances connected to the circuit and check for any signs of issues such as flickering lights, overheating, or tripped breakers.
- Check for proper operation: Observe the operation of the circuit breaker. It should remain in the “on” position without unexpectedly tripping or causing any disruptions to the electrical flow. Listen for any unusual noises or buzzing sounds, which may indicate a loose connection or faulty breaker.
- Contact a professional if issues persist: If you encounter any problems or if the circuit breaker continues to trip or exhibit abnormalities, it is recommended to consult a professional electrician for further inspection and resolution.
Testing the circuit breaker after replacement is critical to ensure that it is functioning correctly and providing adequate protection to the electrical circuit. If you are unsure about how to test the circuit breaker or if you are not confident in your abilities, it is best to seek the assistance of a qualified electrician to perform the testing and ensure your safety.
In the final step, we will discuss troubleshooting other electrical issues that may be unrelated to the circuit breaker itself.
Read more: What Are Circuit Breakers
Step 6: Troubleshooting Other Electrical Issues
While circuit breakers are often the culprit behind electrical problems, there may be instances where the issue lies elsewhere within the electrical system. Here are some troubleshooting steps to follow if the problem persists or if it appears unrelated to the circuit breaker:
- Check other circuits: If you are experiencing issues with multiple circuits or if the problem extends beyond a single circuit, it may indicate a larger electrical issue. Check other circuit breakers and electrical connections to identify any common problems.
- Inspect wiring and connections: Examine the wiring and connections throughout your electrical system. Look for loose, frayed, or damaged wires, and ensure that all connections are secure and properly insulated.
- Look for signs of electrical overload: Overloaded circuits can cause issues such as flickering lights, tripped breakers, or overheating. Check for any signs of overload, such as too many devices or appliances connected to a single circuit, and redistribute the load if necessary.
- Consider the age of the electrical system: If you have an older electrical system, it may be more susceptible to problems. Over time, wiring can deteriorate, connections can become loose, and components can wear out. In such cases, it may be beneficial to consult a professional electrician for a thorough inspection and potential updates or upgrades.
- Consult a professional: If you are unable to identify or resolve the underlying electrical issue, it is best to seek the assistance of a professional electrician. They have the knowledge, skills, and tools to diagnose and resolve complex electrical problems safely and efficiently.
Troubleshooting electrical issues can be challenging, especially when the problem extends beyond the circuit breaker. It is important to prioritize your safety and seek professional help if you are unsure or uncomfortable with the troubleshooting process.
With this step-by-step guide, you are now equipped with the knowledge and understanding to troubleshoot and fix common problems with circuit breakers. Always remember to prioritize safety, follow the appropriate procedures, and seek professional assistance when needed. By taking the necessary precautions and addressing circuit breaker issues promptly, you can ensure the safety and functionality of your electrical system.
If you have any doubts or concerns during the troubleshooting process, it is best to consult a licensed electrician to avoid any potential risks or further damage to your electrical system.
Remember, when it comes to electrical repairs, safety should always be the top priority.
Stay safe and happy troubleshooting!
Conclusion
Fixing circuit breakers is a crucial skill for anyone responsible for electrical systems in their homes or workplaces. Understanding how circuit breakers work and knowing how to troubleshoot and rectify common issues can save time and money while ensuring the safety and functionality of your electrical system.
In this comprehensive guide, we have covered various aspects of circuit breakers, including their purpose, common problems, and step-by-step instructions for troubleshooting and fixing issues.
We started by understanding the basic functioning of circuit breakers and the importance of their role in protecting electrical circuits from overload and short circuits. We then explored common issues that can arise, such as tripped breakers, overloaded circuits, faulty breakers, short circuits, and ground faults.
We discussed the tools and materials needed for troubleshooting and repair, emphasizing the importance of safety equipment such as safety goggles, insulated gloves, and non-conductive footwear.
We provided step-by-step instructions for each stage of the process, including safety precautions, assessing the issue, resetting tripped breakers, replacing faulty breakers, testing the circuit, and troubleshooting other electrical issues.
Throughout the guide, we emphasized the importance of safety and recommended consulting a professional electrician if you are unsure or uncomfortable with any step of the process.
By following these instructions and taking the necessary safety precautions, you can troubleshoot and fix common circuit breaker problems effectively. However, if at any point you encounter a complex issue or do not feel confident in your abilities, it is always best to seek professional help.
Remember, electrical repairs require expertise and should never be taken lightly. Your safety should always be the top priority.
We hope this guide has provided you with the knowledge and confidence to tackle circuit breaker issues effectively. With proper understanding and proper maintenance, you can ensure a safe and functional electrical system in your home or workplace.
Stay safe, and may your electrical troubleshooting endeavors be successful!
Frequently Asked Questions about How To Fix Circuit Breakers
Was this page helpful?
At Storables.com, we guarantee accurate and reliable information. Our content, validated by Expert Board Contributors, is crafted following stringent Editorial Policies. We're committed to providing you with well-researched, expert-backed insights for all your informational needs.


0 thoughts on “How To Fix Circuit Breakers”