Articles
How To Test Breakers
Modified: January 7, 2024
Learn how to effectively test breakers with our informative articles. Improve your electrical knowledge and ensure the safety of your electrical systems.
(Many of the links in this article redirect to a specific reviewed product. Your purchase of these products through affiliate links helps to generate commission for Storables.com, at no extra cost. Learn more)
Introduction
When it comes to electrical safety, one of the most important components to consider is the circuit breaker. Circuit breakers are designed to protect electrical circuits from overloading, short circuits, and electrical faults. Over time, however, these breakers can become worn out or faulty, leading to potential hazards or disruptions in the electrical system.
Testing circuit breakers is crucial to ensure their proper functioning and to prevent any potential electrical accidents or equipment failures. In this article, we will explore the different types of circuit breakers, the tools needed for testing, safety precautions to follow, step-by-step guidelines for testing breakers, and common issues that may arise during the testing process.
Key Takeaways:
- Regularly testing circuit breakers with the right tools and safety precautions ensures a safe and reliable electrical system, preventing potential hazards and equipment failures.
- Understanding the types of circuit breakers and common issues during testing empowers you to troubleshoot effectively and seek professional help when needed, maintaining a secure electrical environment.
Read more: How To Check Breakers In Breaker Box
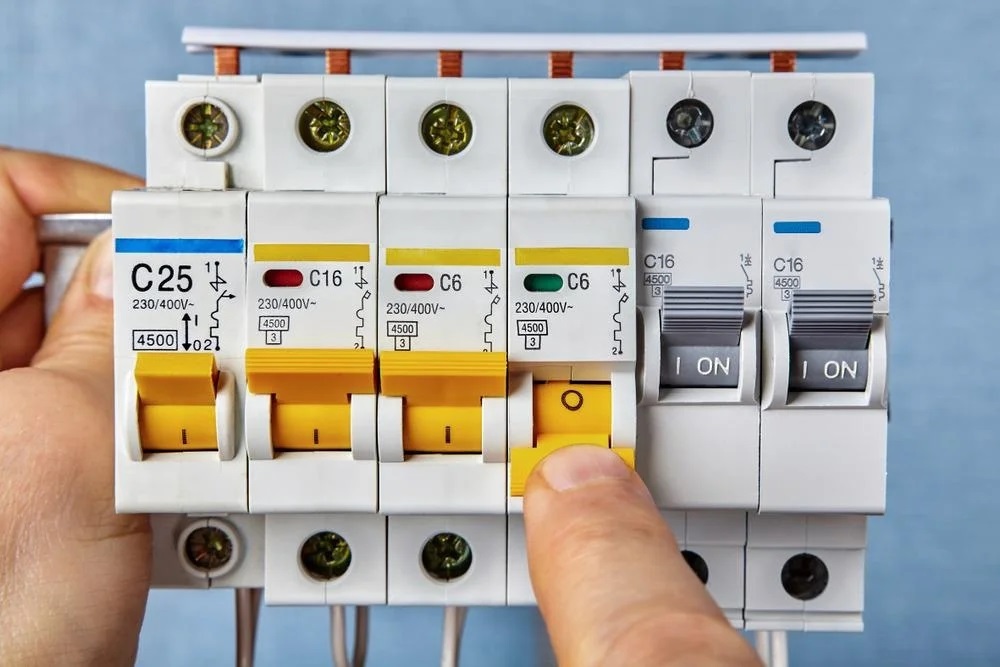
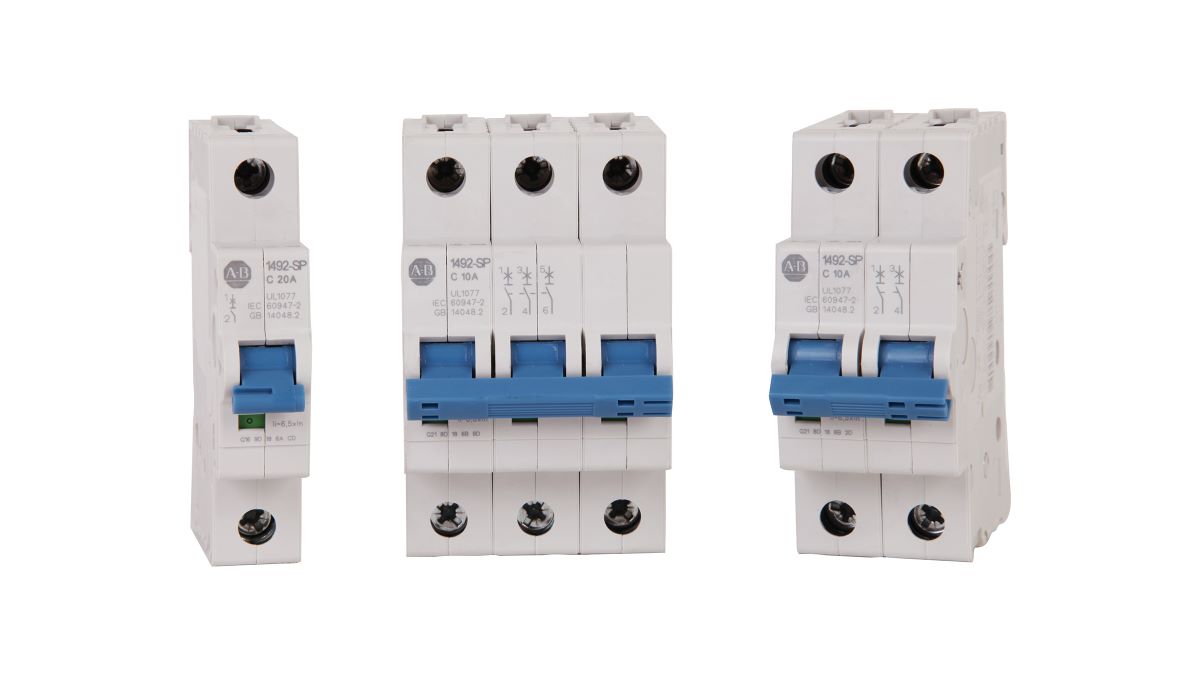
Types of Circuit Breakers
There are several types of circuit breakers available, each with its own unique characteristics and applications. Understanding the different types will help you determine the appropriate breaker for your electrical system and testing needs.
- Standard Circuit Breakers: Also known as thermal-magnetic circuit breakers, these are the most commonly used type. They provide protection against both overloads (excessive current flow) and short circuits.
- GFCI (Ground Fault Circuit Interrupter) Breakers: GFCI breakers are specifically designed to protect against electrical shocks. They quickly interrupt the circuit when they sense even a small difference in current between the hot and neutral wires, preventing potential electric shock hazards.
- AFCI (Arc Fault Circuit Interrupter) Breakers: AFCI breakers are designed to detect and prevent arc faults, which can cause electrical fires. They monitor the electrical waveform and immediately cut off the power if they detect any abnormal arcing.
- Main Breakers: These are large circuit breakers that provide protection to the entire electrical panel. They are typically located at the top of the panel and can be reset manually.
- Double-Pole Circuit Breakers: Double-pole breakers are used for applications that require higher voltage or larger current capacity. They consist of two switches connected together and protect both the hot and neutral wires.
- Miniature Circuit Breakers (MCBs): MCBs are commonly used in residential and commercial applications. They are compact in size and provide protection against overloads and short circuits.
Each type of circuit breaker serves a specific purpose and should be selected based on the specific requirements of your electrical system.
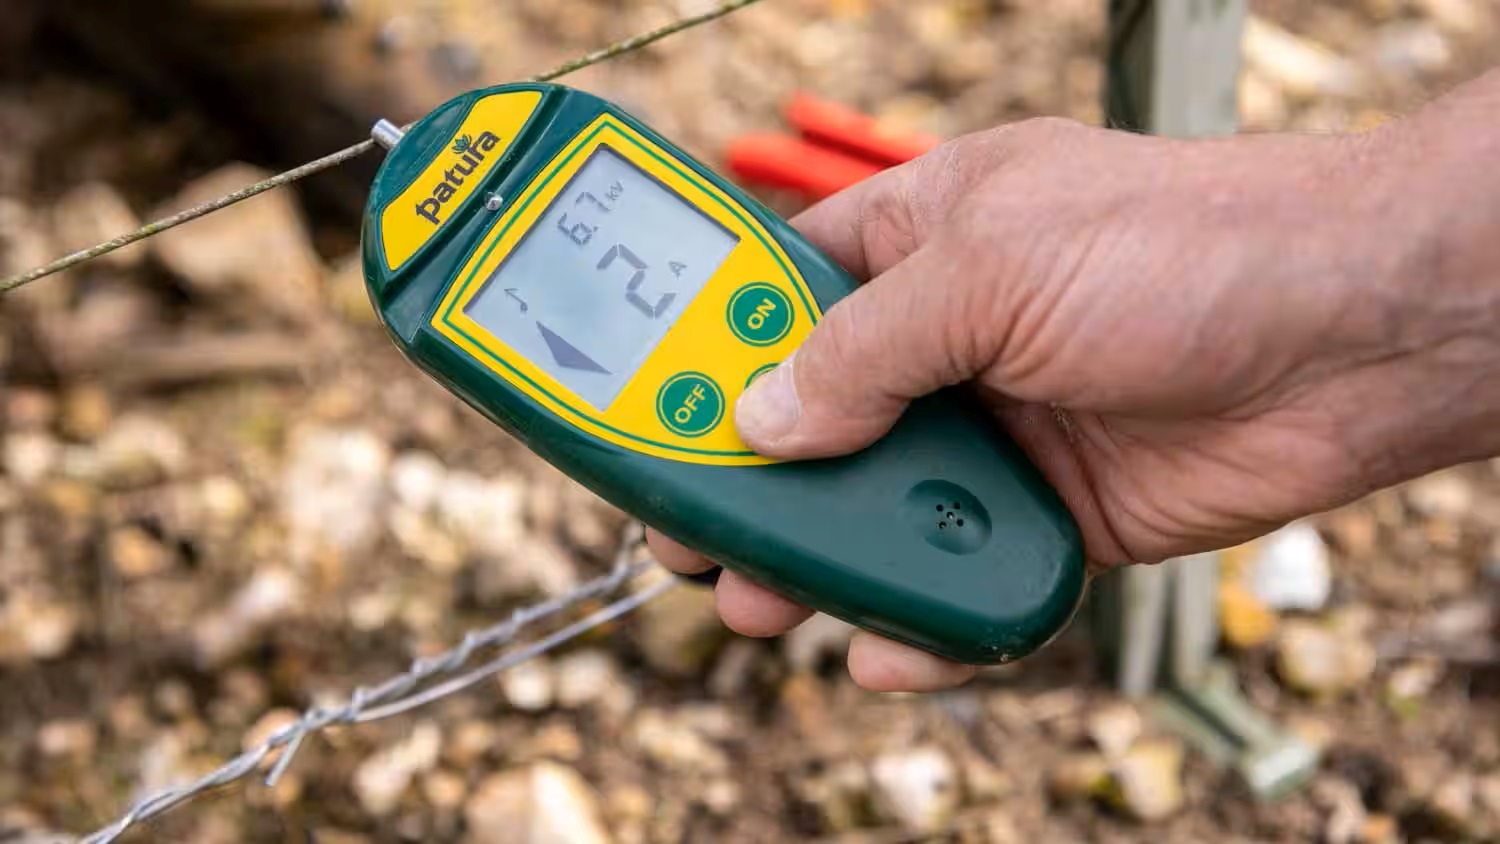
Tools Needed for Testing
Before you begin testing circuit breakers, it is essential to gather the necessary tools to ensure an accurate and efficient evaluation. Here are the tools commonly used for testing circuit breakers:
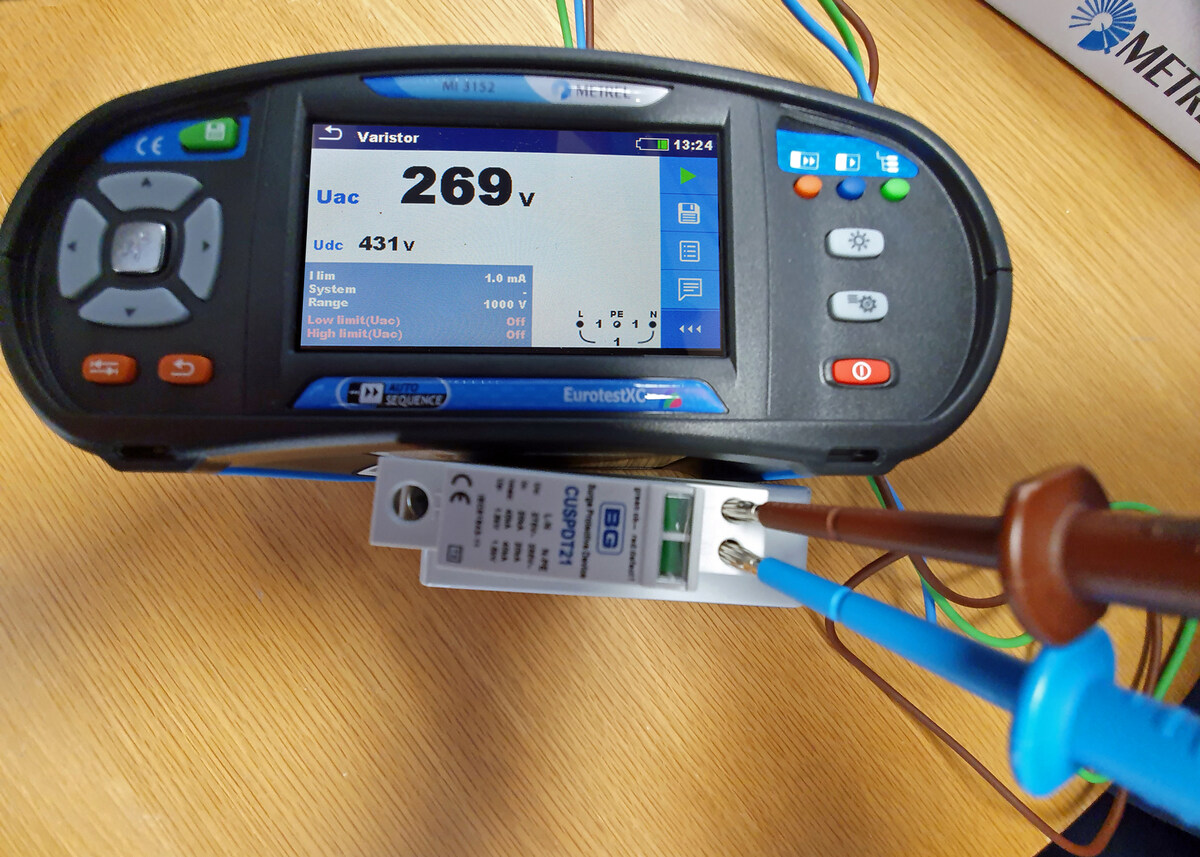
- Insulation Resistance Tester: This tool measures the insulation resistance of the circuit breaker to determine if there are any insulation problems or potential leakage currents.
- Contact Resistance Tester: The contact resistance tester is used to measure the resistance across the contacts of the breaker. It helps identify any loose connections, corroded contacts, or other issues that may affect the breaker’s performance.
- Current Injection Set: A current injection set allows you to simulate fault currents and test the response of the circuit breaker. It helps verify the breaker’s tripping and time delay characteristics.
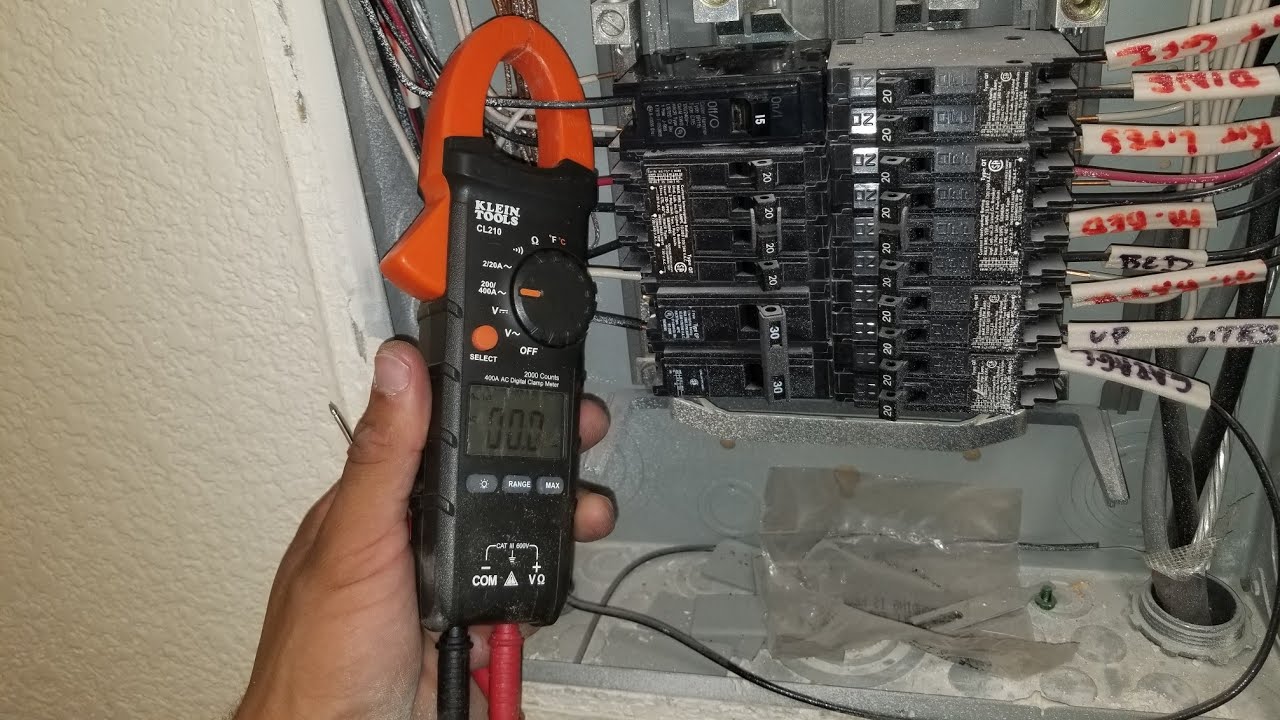
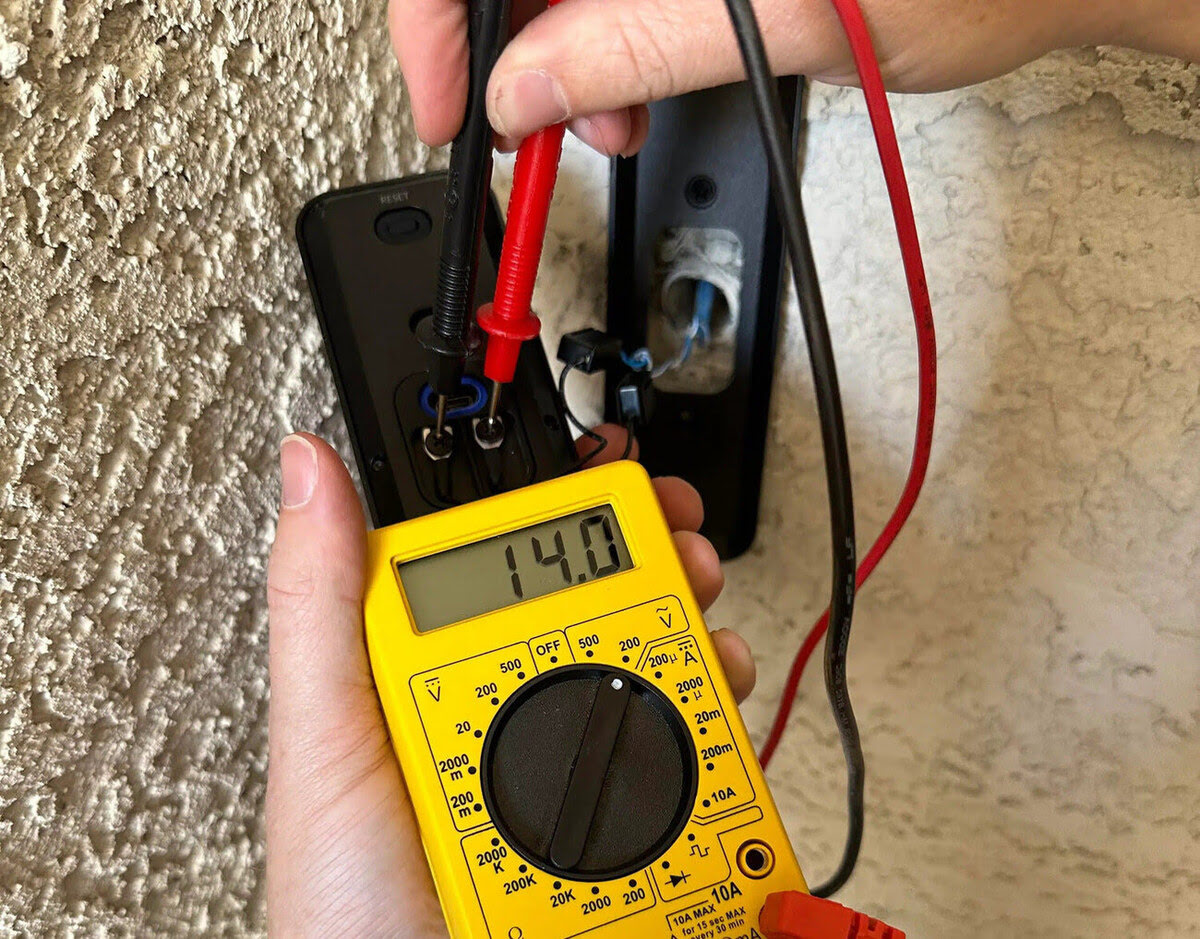
- Multi-meter: A multi-meter is a versatile tool that can measure voltage, current, and resistance. It is used to perform basic electrical measurements on the circuit breaker.
- Visual Inspection Tools: These include tools such as a flashlight, mirror, and magnifying glass. They are used to visually inspect the breaker for any signs of damage, loose connections, or visible defects.
- Protective Gear: Safety should always be a top priority when testing circuit breakers. Be sure to wear safety goggles, insulated gloves, and appropriate protective clothing to protect yourself from potential electrical hazards.
Having these tools readily available will enable you to conduct accurate and thorough tests on your circuit breakers, ensuring their reliable performance and minimizing the risk of electrical failures or accidents.
Safety Precautions
When testing circuit breakers, it is crucial to prioritize safety to prevent any potential accidents or injuries. Here are some important safety precautions to follow:
- Turn Off Power: Before starting any testing procedures, ensure that the power to the circuit breaker is turned off. This will minimize the risk of electric shock or short circuits.
- Use Proper Personal Protective Equipment (PPE): Wear safety goggles, insulated gloves, and appropriate protective clothing to protect yourself from potential electrical hazards.
- Inspect Circuit Breaker: Before testing, visually inspect the circuit breaker for any signs of damage, loose connections, or visible defects. If you notice any issues, refrain from testing and consult a professional electrician.
- Follow Manufacturer’s Guidelines: Always refer to the manufacturer’s manual and guidelines for proper testing procedures and specifications. This will ensure that you are following the correct steps and using the appropriate tools for testing.
- Avoid Overloading the Circuit: When conducting tests, avoid overloading the circuit breaker by exceeding its rated capacity. This can lead to overheating, damage, or even a potential fire hazard.
- Properly Ground Yourself: Before handling any electrical components, ensure that you are properly grounded to prevent any static electricity buildup. This can minimize the risk of accidental electrical discharge.
- Work in a Well-Ventilated Area: Testing circuit breakers may involve the release of gases or odors. Ensure that you are working in a well-ventilated area to prevent the accumulation of potentially harmful fumes.
- Seek Professional Help: If you are unsure about any aspect of circuit breaker testing or encounter any complex issues, it is always best to seek the assistance of a qualified electrician or technician.
By following these safety precautions, you can ensure a safe testing environment and minimize the risk of accidents or injuries during the circuit breaker testing process.
When testing breakers, always use a voltage tester to ensure the circuit is not live before proceeding. This will help prevent electrical accidents.
Step-by-Step Guide to Testing Breakers
Testing circuit breakers is a systematic process that involves multiple steps to ensure accurate results. Follow these step-by-step guidelines to properly test your circuit breakers:
- Step 1: Safety First
- Ensure that the power to the circuit breaker is turned off.
- Wear appropriate personal protective equipment (PPE), including safety goggles and insulated gloves.
- Inspect the circuit breaker for any signs of damage or visible defects.
- Step 2: Visual Inspection
- Use a flashlight, mirror, or magnifying glass to visually inspect the circuit breaker’s components, such as the contacts and terminals.
- Look for any signs of corrosion, loose connections, or physical damage.
- If you notice any issues, consult a professional electrician for further evaluation.
- Step 3: Insulation Resistance Testing
- Using an insulation resistance tester, measure the insulation resistance of the circuit breaker.
- Follow the manufacturer’s guidelines to set the appropriate test voltage and duration.
- Compare the measured insulation resistance value with the manufacturer’s specifications to ensure it is within an acceptable range.
- Step 4: Contact Resistance Testing
- Use a contact resistance tester to measure the resistance across the breaker’s contacts.
- Make sure the breaker is in the open position before conducting the test.
- Record the measured contact resistance and compare it with the manufacturer’s recommendations.
- If the contact resistance is higher than the specified limit, it may indicate loose connections or corroded contacts that require further inspection and maintenance.
- Step 5: Current Injection Testing
- Use a current injection set to simulate fault currents and test the circuit breaker’s tripping and time delay characteristics.
- Follow the manufacturer’s instructions for setting the appropriate current levels and timing parameters.
- Observe and record the breaker’s response to the simulated fault currents, ensuring that it trips within the specified time limits.
- If the breaker fails to trip or exhibits abnormal behavior, it may indicate a malfunction that requires further investigation or replacement.
- Step 6: Documentation
- Record all test results, including insulation resistance, contact resistance, and tripping characteristics.
- Note any abnormalities or issues observed during the testing process.
- Maintain a comprehensive record of all circuit breaker tests for future reference and maintenance purposes.
Following these step-by-step guidelines will help you accurately evaluate the performance and functionality of your circuit breakers, ensuring a safe electrical system.
Common Issues and Troubleshooting
During the testing process, you may come across certain common issues with circuit breakers. Understanding these issues and knowing how to troubleshoot them can help you address the problems effectively. Here are some common issues and possible troubleshooting steps:
- Tripping at Normal Loads:
- Check if the circuit breaker is appropriately sized for the load. If it is undersized, consider upgrading to a higher-rated breaker.
- Inspect for loose connections or damaged wiring that could cause excess current flow.
- If the issue persists, consult a licensed electrician for further investigation.
- Failure to Trip During Faults:
- Inspect the breaker’s trip mechanism for any signs of mechanical failure or misalignment.
- Check if the current injection set is producing the expected fault currents. Ensure that the proper settings and parameters are configured.
- If the breaker still fails to trip, it may be a sign of internal damage or malfunction. Replace the breaker or seek professional assistance.
- Continuously Tripping or “Nuisance Tripping”:
- Check if the circuit breaker is correctly rated for the load. Exceeding the breaker’s capacity can cause frequent tripping.
- Investigate for any ground fault or arc fault issues that may be triggering the breaker’s trip mechanism.
- Inspect the circuit for any short circuits or excessive current leakage that could be the cause of the nuisance tripping.
- Consider installing additional protection devices, such as GFCI or AFCI breakers, to prevent unwanted tripping.
- Damage or Corrosion:
- Inspect the circuit breaker for any signs of physical damage, such as cracks or breaks in the housing.
- Check for corrosion on the contacts or terminals. Clean or replace any corroded components as needed.
- Ensure that the breaker is properly installed and securely connected to avoid any loose connections.
- Inaccurate Test Results:
- Double-check that the testing equipment is calibrated and functioning correctly.
- Follow the manufacturer’s guidelines for proper use of the testing tools and procedures.
- Verify that the circuit breaker is correctly positioned and isolated during the testing process.
- If unsure about the test results, consult a professional electrician for a comprehensive evaluation.
If you encounter any issues beyond your expertise, it is always recommended to seek assistance from a qualified electrician or technician. Electrical systems require specialized knowledge and expertise to ensure safe and effective troubleshooting and repairs.
Conclusion
Testing circuit breakers is an essential part of maintaining a safe and reliable electrical system. Regularly evaluating the performance of your circuit breakers helps detect any potential issues, prevent electrical accidents, and ensure the uninterrupted flow of electricity. By following the step-by-step guidelines outlined in this article and adhering to the necessary safety precautions, you can effectively test your circuit breakers and address any common issues that may arise.
Remember, circuit breakers come in various types, each serving a specific purpose. It is crucial to select the appropriate breaker for your electrical system and testing needs. Equipping yourself with the necessary tools, such as insulation resistance testers, contact resistance testers, and current injection sets, will enable you to accurately evaluate the condition of your circuit breakers.
While testing circuit breakers can identify common issues such as tripping at normal loads, failure to trip during faults, and nuisance tripping, it is important to troubleshoot these issues promptly. This may involve inspecting for loose connections, addressing mechanical failures, checking for ground or arc faults, and ensuring proper breaker sizing.
If you encounter more complex issues or are unsure about the testing results, it is recommended to consult a licensed electrician or technician. They possess the expertise to handle intricate electrical problems, ensure comprehensive evaluations, and provide appropriate solutions.
By prioritizing safety, staying proactive in testing circuit breakers, and addressing any issues that arise, you can maintain a safe and efficient electrical system that meets the needs of your home or business.
Remember to regularly schedule maintenance and testing for your circuit breakers to prevent costly disruptions and safeguard against electrical hazards. Testing circuit breakers should be seen as an investment in the safety and reliability of your electrical system for years to come.
Frequently Asked Questions about How To Test Breakers
Was this page helpful?
At Storables.com, we guarantee accurate and reliable information. Our content, validated by Expert Board Contributors, is crafted following stringent Editorial Policies. We're committed to providing you with well-researched, expert-backed insights for all your informational needs.


0 thoughts on “How To Test Breakers”