
Articles
How To Replace Pushmatic Circuit Breakers
Modified: January 22, 2024
Learn how to replace pushmatic circuit breakers in this comprehensive guide. Read our articles for step-by-step instructions and helpful tips.
(Many of the links in this article redirect to a specific reviewed product. Your purchase of these products through affiliate links helps to generate commission for Storables.com, at no extra cost. Learn more)
Introduction
Welcome to our comprehensive guide on how to replace Pushmatic circuit breakers. If you’re experiencing electrical issues or have an outdated electrical system, replacing your circuit breakers can be a necessary and important task. Pushmatic circuit breakers were popular in the mid-20th century and were known for their durability and reliability. However, as electrical systems have evolved, these breakers may no longer meet safety standards and may be prone to tripping, causing inconvenience and potential hazards.
In this article, we will walk you through the process of replacing Pushmatic circuit breakers step-by-step. We will discuss the reasons why you may need to replace these breakers, the necessary tools and materials, safety precautions to take during the replacement process, and troubleshooting common issues you may encounter.
Before we dive into the details, it’s essential to understand the basics of Pushmatic circuit breakers and how they function within an electrical system.
Key Takeaways:
- Upgrade to modern circuit breakers to improve safety, functionality, and property value, ensuring compatibility with new technologies and reducing the risk of electrical hazards.
- Prioritize safety, follow step-by-step instructions, and test new breakers to ensure a successful replacement process and a well-functioning electrical system.
Read also: 15 Best Pushmatic Circuit Breakers for 2025
Understanding Pushmatic Circuit Breakers
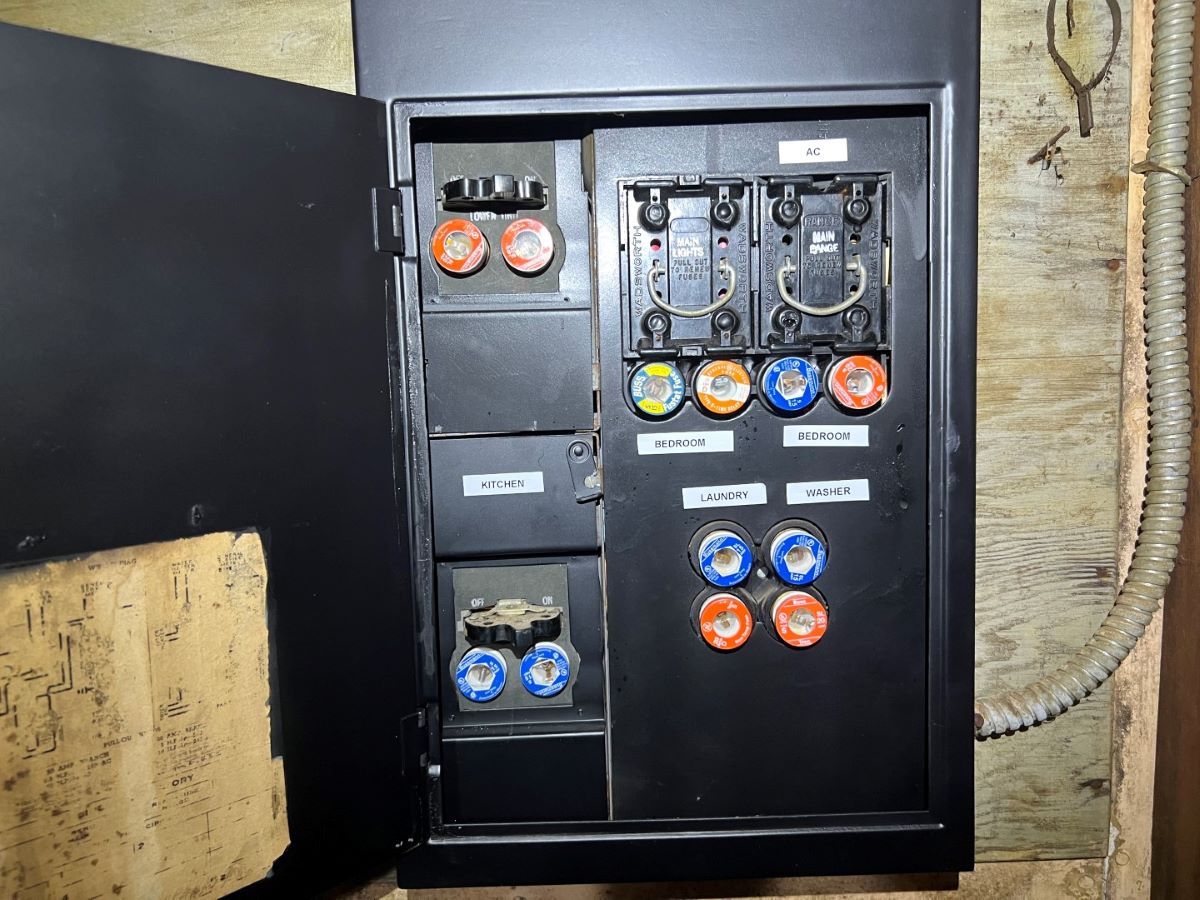
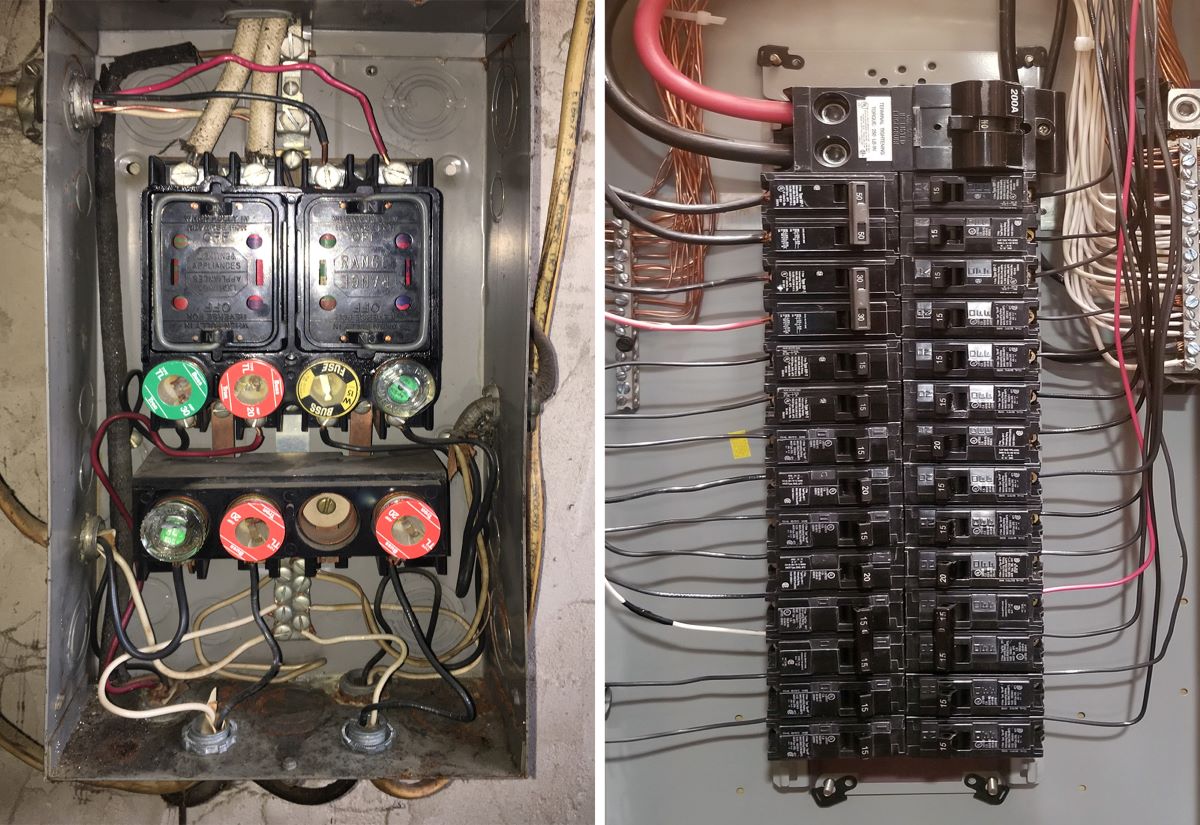
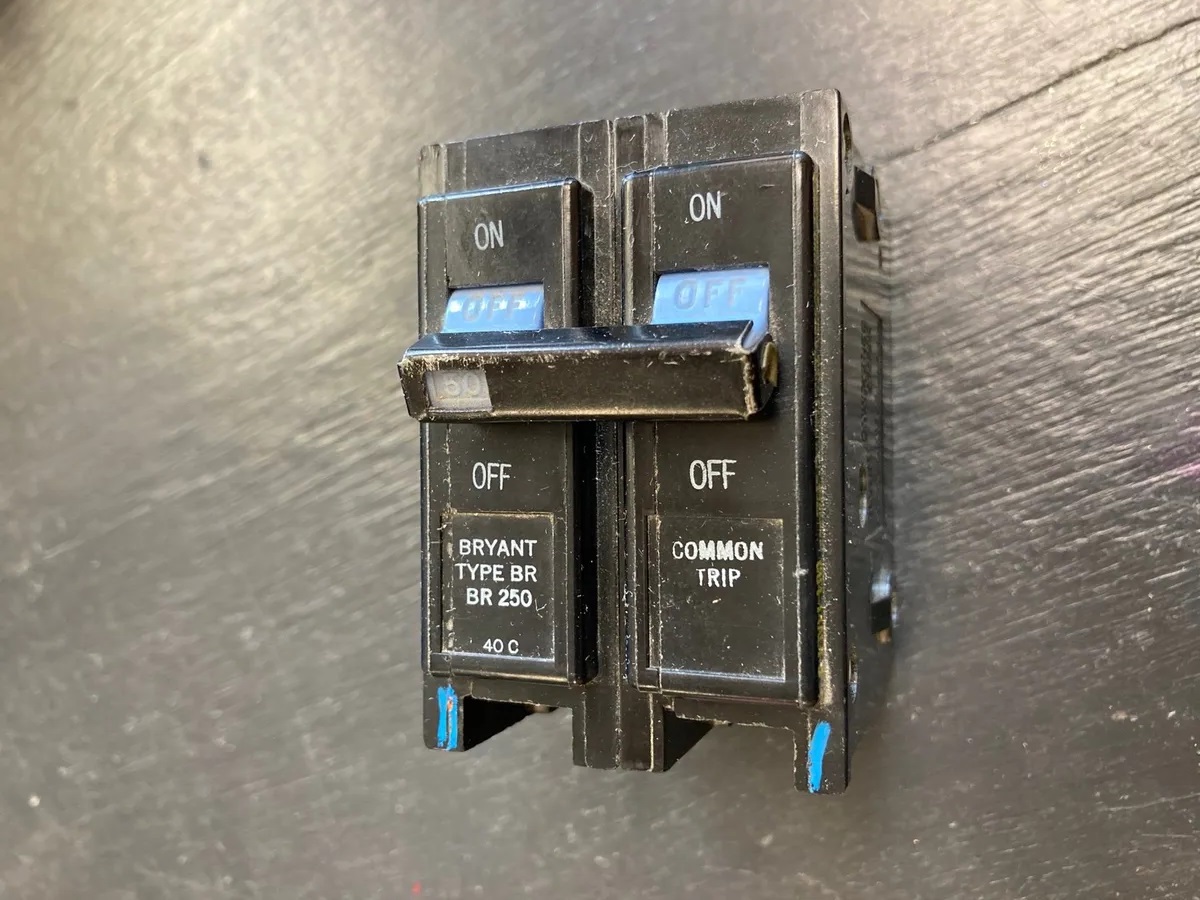
Pushmatic circuit breakers, also known as Pushmatic Bulldog circuit breakers, were widely used in residential electrical systems from the 1950s to the 1980s. These breakers feature a unique design in which they are mechanically pushed on and off as compared to modern circuit breakers that are operated by flipping a switch.
Pushmatic breakers consist of a handle that protrudes from the breaker box, which can be manually pushed to turn the circuit on or off. These breakers were popular due to their compact size, robust build quality, and the fact that they were one of the few options available at the time.
However, over the years, advancements in electrical technology and safety standards have made Pushmatic breakers outdated. One major drawback of Pushmatic breakers is that they can be challenging to reset after tripping. This can be attributed to the mechanism by which they are operated, as it requires users to fully turn off the breaker before turning it back on.
Additionally, Pushmatic breakers may not be able to handle the electrical demands of modern homes, which often have increased power needs due to the use of electronic devices and appliances. These breakers have a limited number of circuits and lower amp ratings compared to modern circuit breakers, which may lead to frequent tripping and an overloaded electrical system.
Furthermore, it can be challenging to find replacements parts for Pushmatic breakers, as they are no longer manufactured. This can be problematic if one of the breakers becomes faulty or needs to be replaced.
Given these limitations and potential safety concerns, many homeowners choose to upgrade their electrical systems by replacing Pushmatic circuit breakers with modern, more reliable options. In the following sections, we will guide you through the process of replacing Pushmatic breakers with safer and more efficient alternatives to enhance the functionality and safety of your electrical system.
Reasons to Replace Pushmatic Circuit Breakers
While Pushmatic circuit breakers served their purpose well in the past, there are several compelling reasons to consider replacing them in your electrical system today. Let’s explore some of the key reasons:
1. Obsolete Technology: Pushmatic breakers were designed several decades ago and do not meet current electrical code standards. They lack many features that modern circuit breakers possess, such as arc fault protection and ground fault circuit interruption (GFCI).
2. Limited Capacity: Pushmatic breakers have a limited number of circuits and lower amp ratings compared to modern breakers. This means they may not be able to handle the electrical demands of today’s homes, resulting in frequent tripping and potential overload of the electrical system.
3. Difficult Resetting: One major drawback of Pushmatic breakers is that they can be challenging to reset after tripping. To reset a Pushmatic breaker, you need to turn it fully off before turning it back on. This manual and unintuitive process can be inconvenient and time-consuming.
4. Obsolete Parts: Finding replacement parts for Pushmatic breakers can be challenging since they are no longer manufactured. This can be problematic if a breaker becomes faulty or needs to be replaced, potentially leaving you with an unreliable and potentially unsafe electrical system.
5. Improved Safety Features: Modern circuit breakers have advanced safety features that help protect your electrical system from overloads, short circuits, and electrical faults. These features provide an added layer of safety for you and your property, reducing the risk of electrical fires and accidents.
6. Compatibility with New Technologies: Pushmatic breakers lack compatibility with various new technologies, including smart home devices and renewable energy systems. Upgrading to modern circuit breakers ensures compatibility with these technologies and allows you to make the most of the advancements in electrical systems.
7. Increased Property Value: Upgrading your electrical system to modern standards can increase the value of your property. Potential buyers are often willing to pay a premium for homes with updated and reliable electrical systems.
By replacing Pushmatic circuit breakers with modern alternatives, you can improve the safety, functionality, and reliability of your electrical system. In the next section, we will discuss the tools and materials you will need for the replacement process.
Necessary Tools and Materials
Before you embark on the process of replacing Pushmatic circuit breakers, it’s essential to gather the necessary tools and materials. Having these items on hand will ensure a smooth and efficient replacement process. Here are the essential tools and materials you will need:
1. Safety Equipment: Always prioritize safety when working with electricity. Make sure you have safety goggles, insulated gloves, and non-conductive footwear to protect yourself from potential electrical hazards.
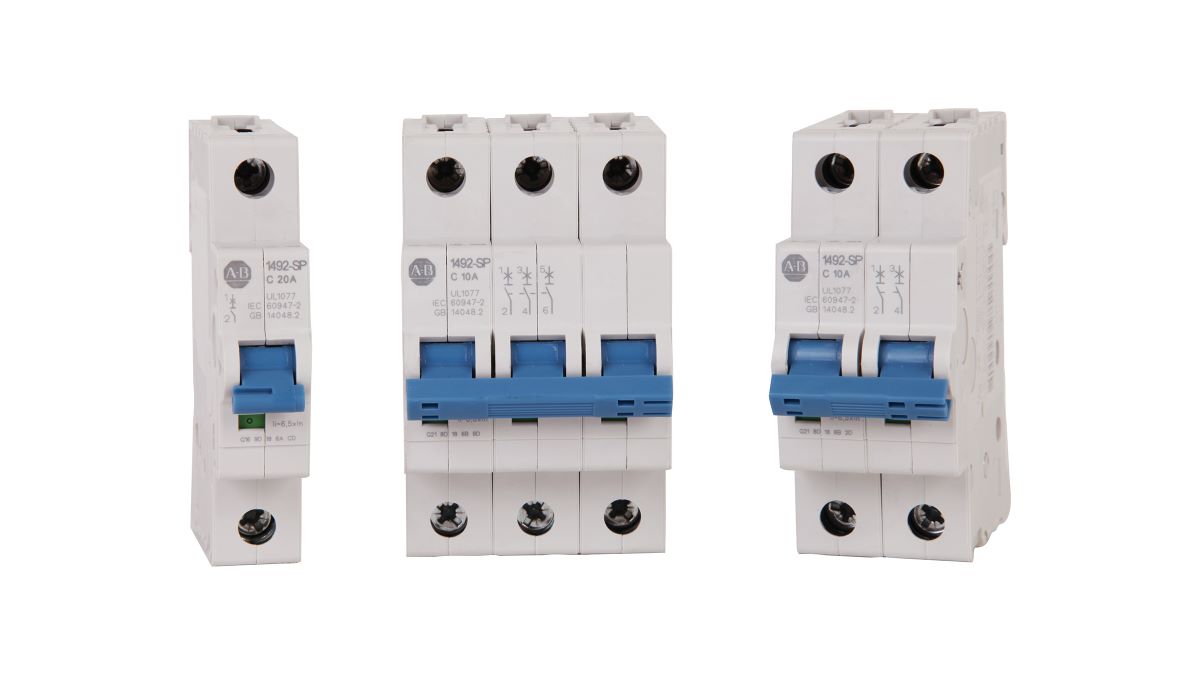
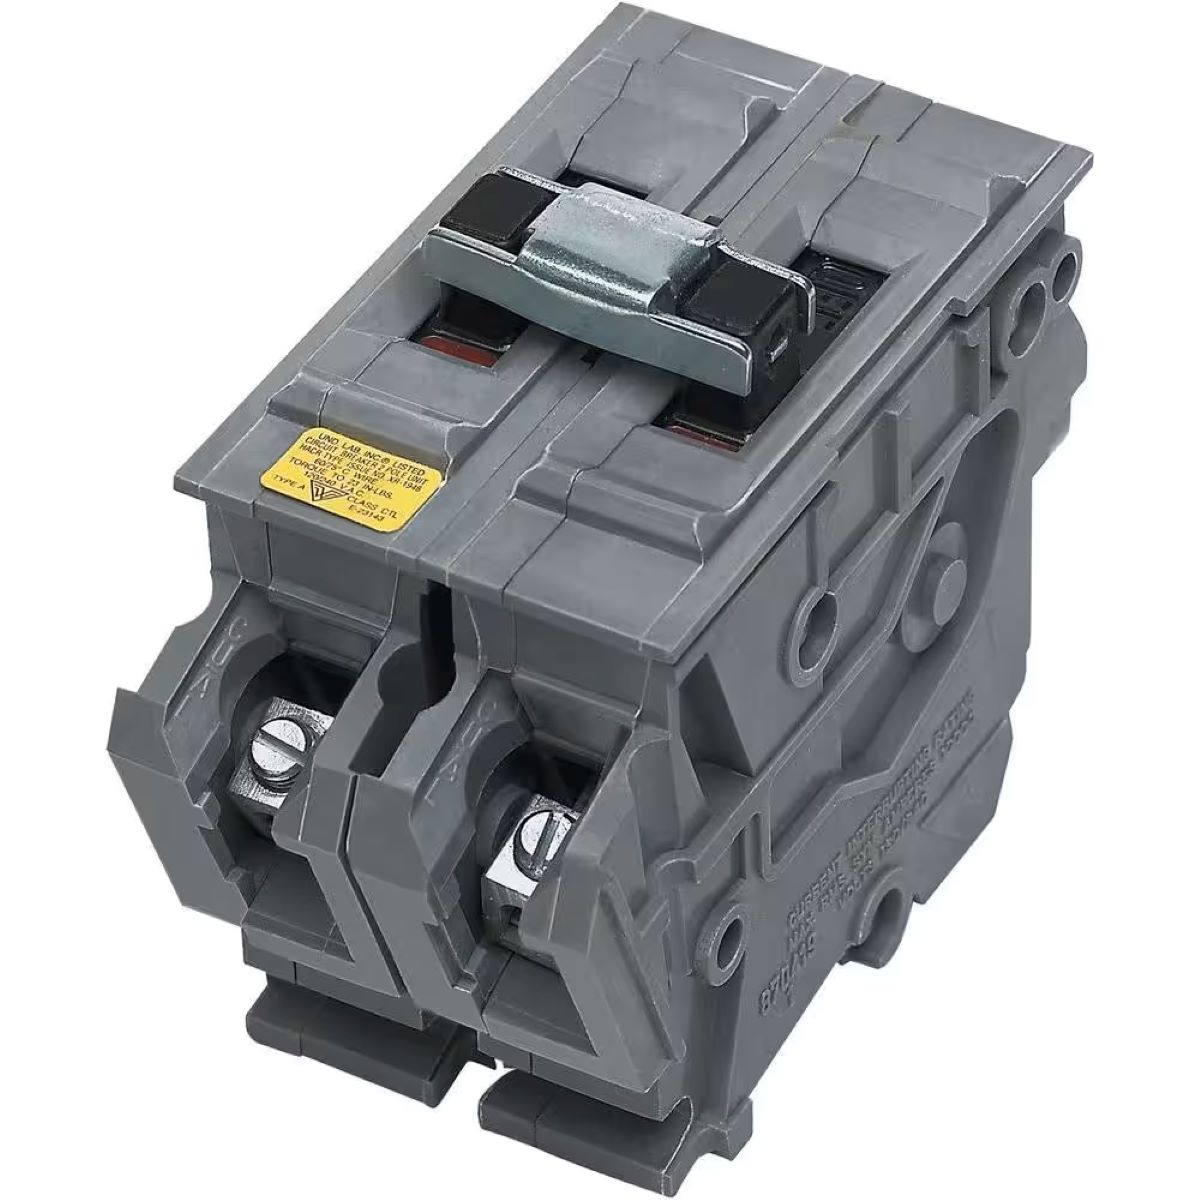
2. Circuit Breaker Replacement Kit: Purchase a circuit breaker replacement kit that is compatible with your electrical panel. This kit typically includes replacement breakers, bus bars, and any additional components necessary for the installation.
3. Screwdrivers: You will need a variety of screwdrivers, including flathead and Phillips head, to remove the cover of the electrical panel and the screws holding the Pushmatic breakers in place.
4. Needle-Nose Pliers: Needle-nose pliers are useful for gripping and manipulating small wires and components inside the electrical panel.
5. Wire Strippers: Wire strippers are necessary for removing the insulation from the wires connected to the Pushmatic breakers.
6. Voltage Tester: A voltage tester is essential for ensuring that the power is turned off to the circuit breakers before starting the replacement process. This helps prevent electrical shocks or other accidents.
7. Flashlight: A flashlight will come in handy for illuminating the inside of the electrical panel, especially if it is located in a dimly lit area.
8. Labeling Tags or Tape: Use labeling tags or tape to mark the wires and breakers during the replacement process. This makes it easier to identify the correct connections when installing the new circuit breakers.
9. Circuit Diagram: Obtain a circuit diagram or schematic of your electrical system. This will help you identify the specific breakers you need to replace and their corresponding circuits.
10. Owner’s Manual or Electrical Code Guidelines: Keep a copy of your electrical panel’s owner’s manual or refer to electrical code guidelines when working on your electrical system. This ensures that you follow the proper procedures and adhere to safety standards.
Make sure to gather all the necessary tools and materials before starting the replacement process. This will save you time and prevent any unnecessary delays. With the tools and materials in hand, you are well-prepared to begin replacing Pushmatic circuit breakers in the next section.
Step-by-Step Guide to Replacing Pushmatic Circuit Breakers
Replacing Pushmatic circuit breakers may seem like a complex task, but with the right tools, materials, and a systematic approach, you can successfully complete the process. Follow these step-by-step instructions to replace your Pushmatic circuit breakers:
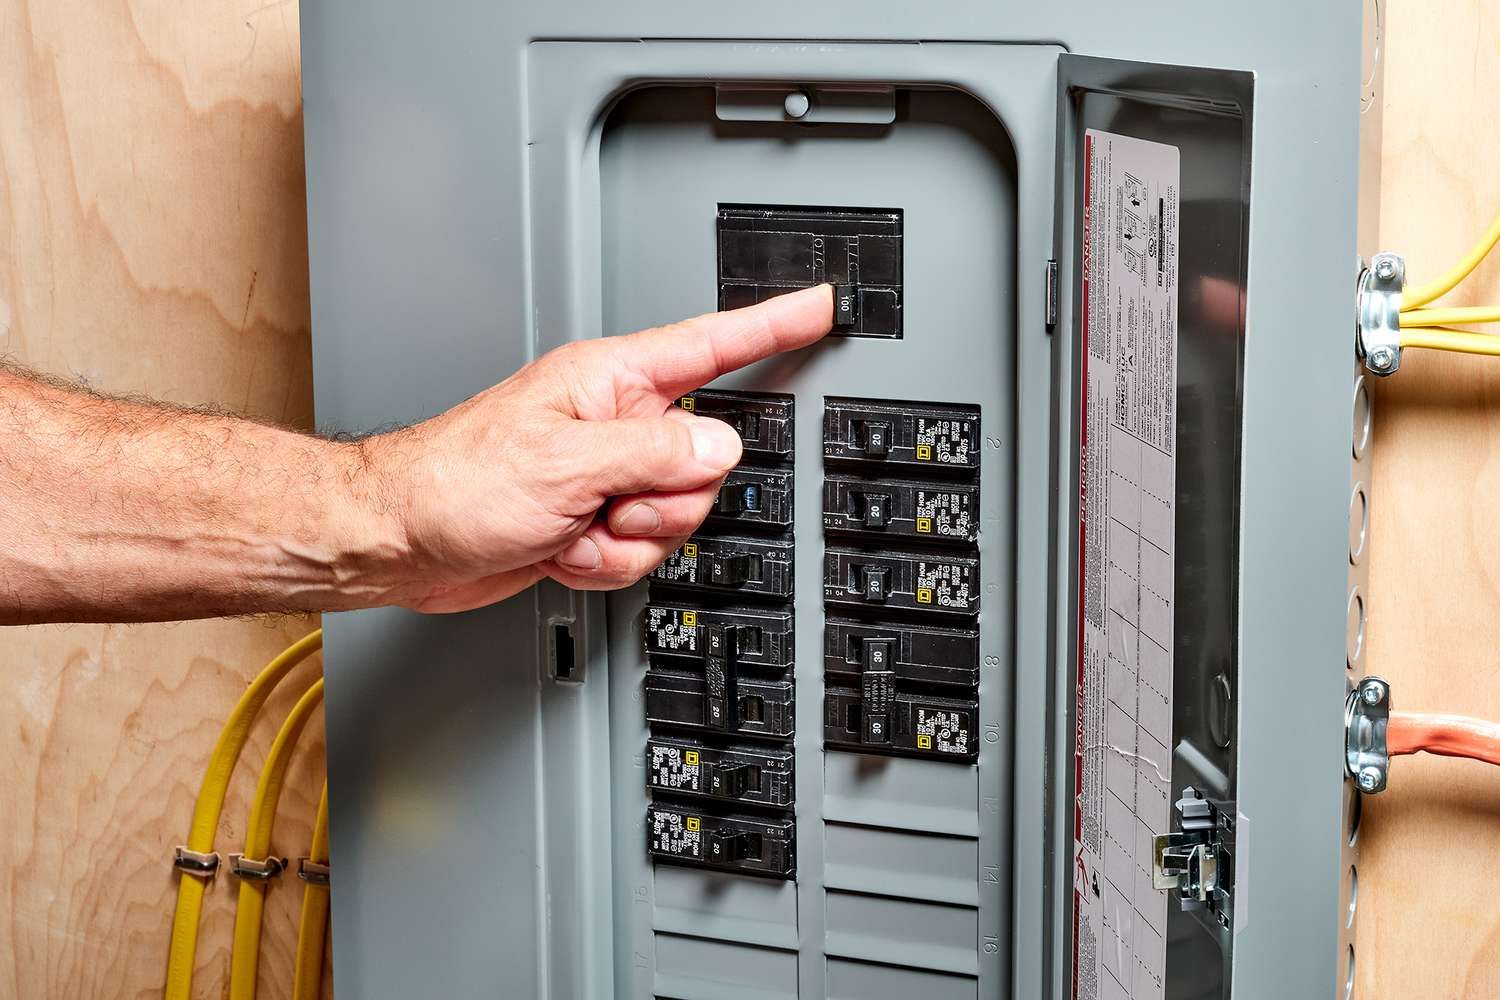
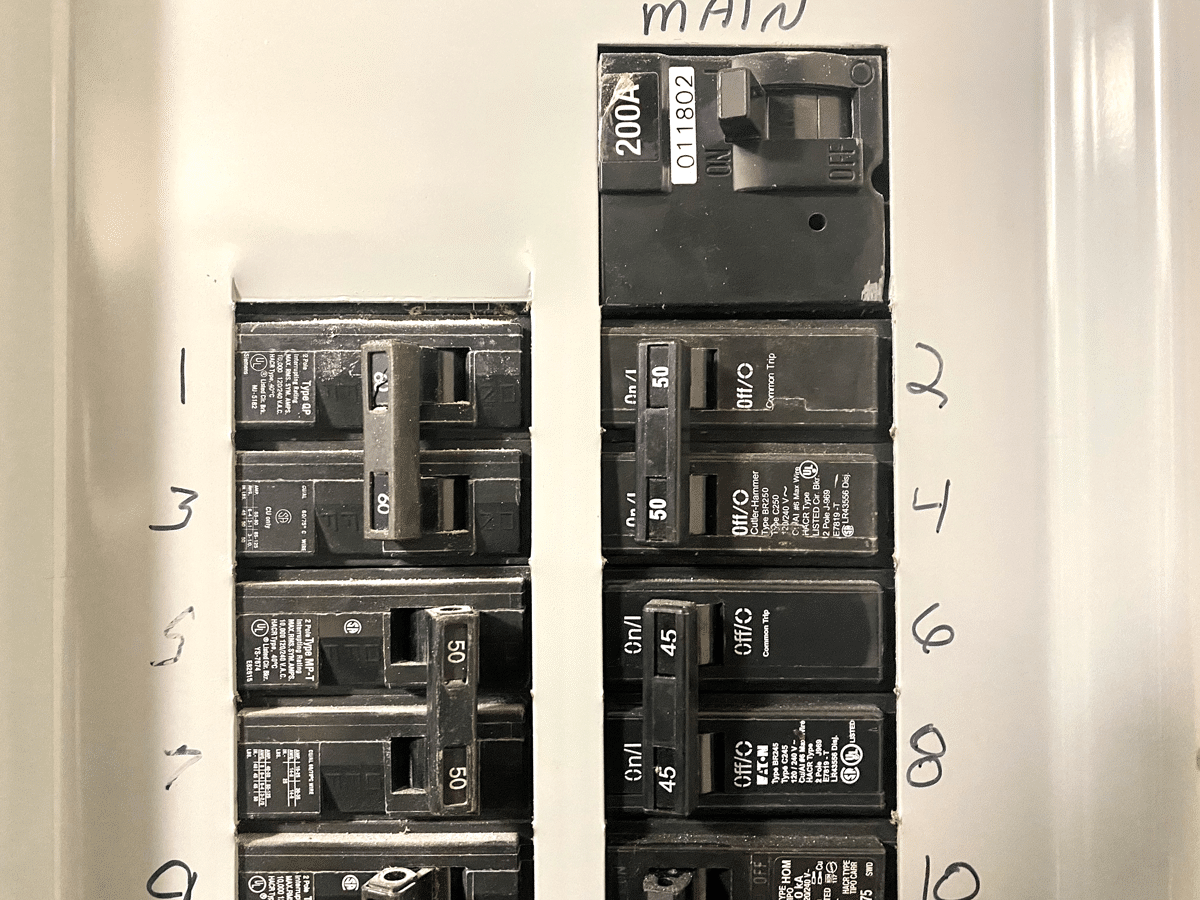
1. Turn Off the Power: Begin by turning off the power to your electrical panel. Locate the main circuit breaker and flip it to the “off” position. Double-check that the power is off by using a voltage tester on the wires connected to the breakers you intend to replace.
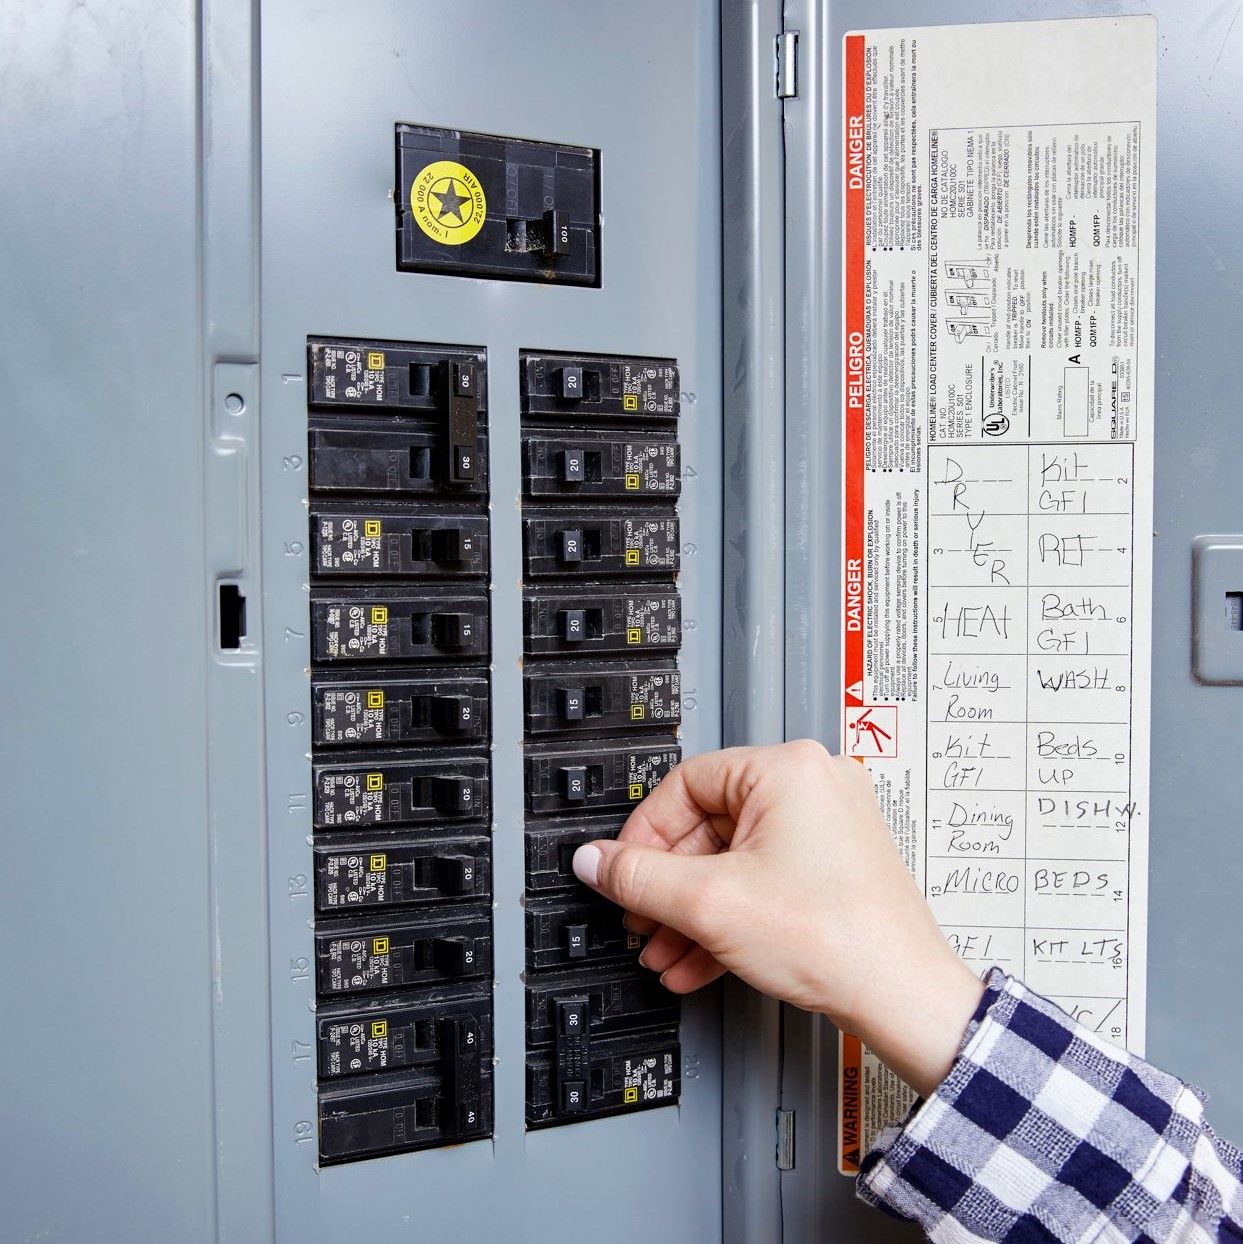
2. Remove the Panel Cover: Use a screwdriver to remove the screws that secure the panel cover in place. Carefully lift off the cover to expose the inner components of the electrical panel. Be cautious as there may be live electrical parts exposed.
3. Identify the Pushmatic Breakers: Take note of the specific Pushmatic breakers you need to replace. Refer to the circuit diagram or schematic to identify which breakers correspond to the circuits you want to address.
4. Disconnect the Load Wires: Carefully disconnect the load wires from the Pushmatic breakers. To do this, use a screwdriver to loosen the terminal screws that hold the wires in place. Take note of which wires correspond to which breakers to ensure proper reconnection later.
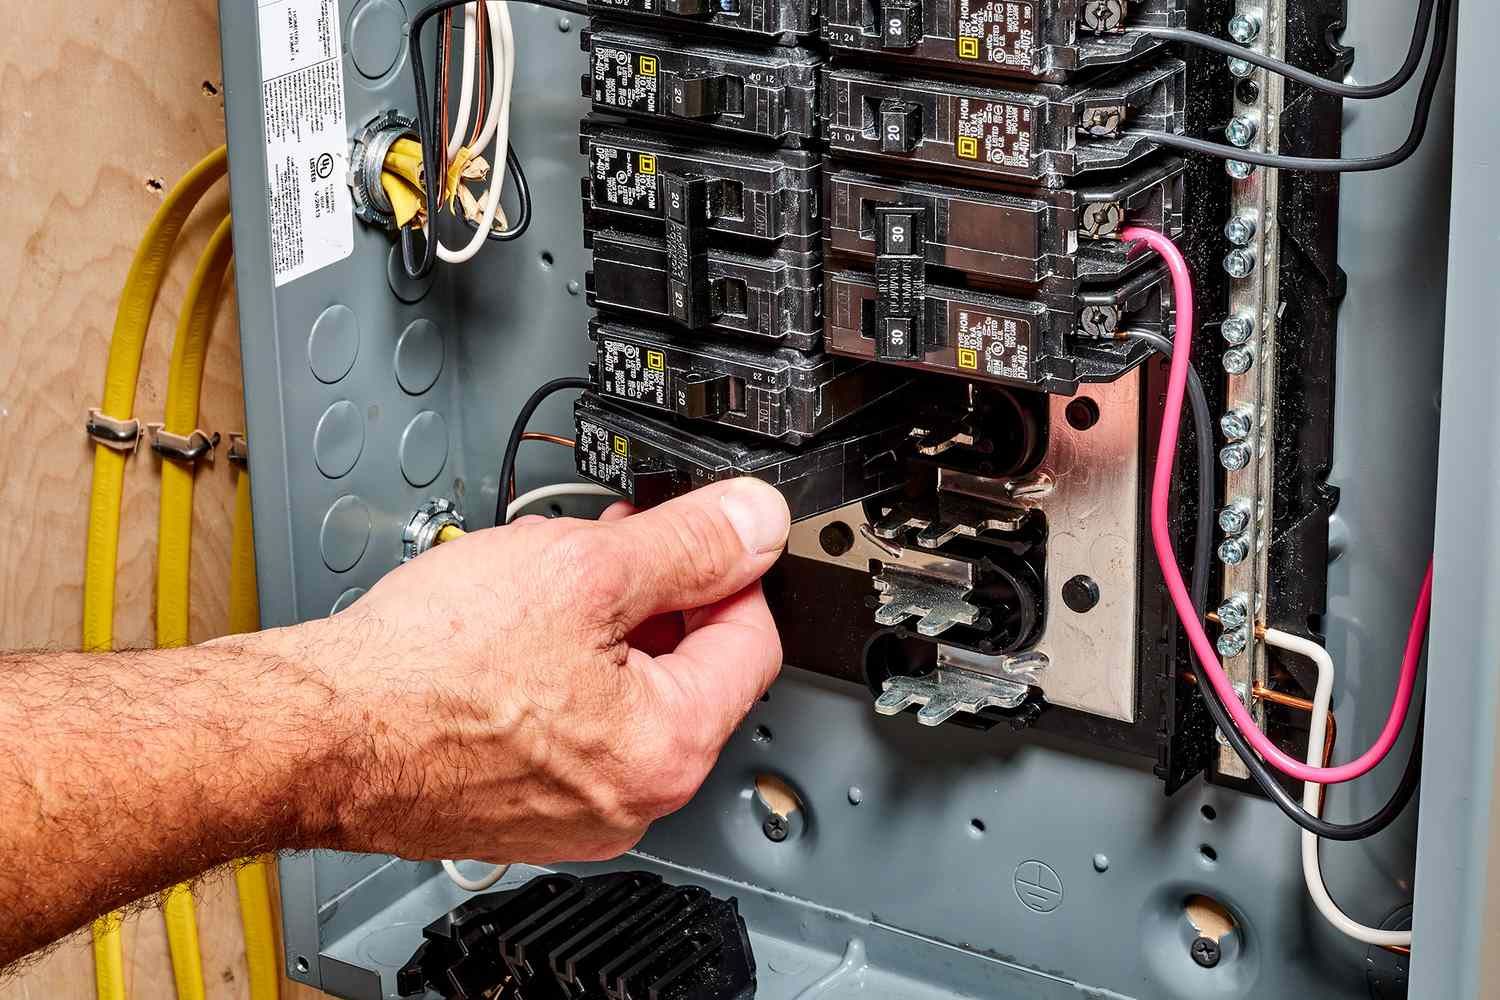
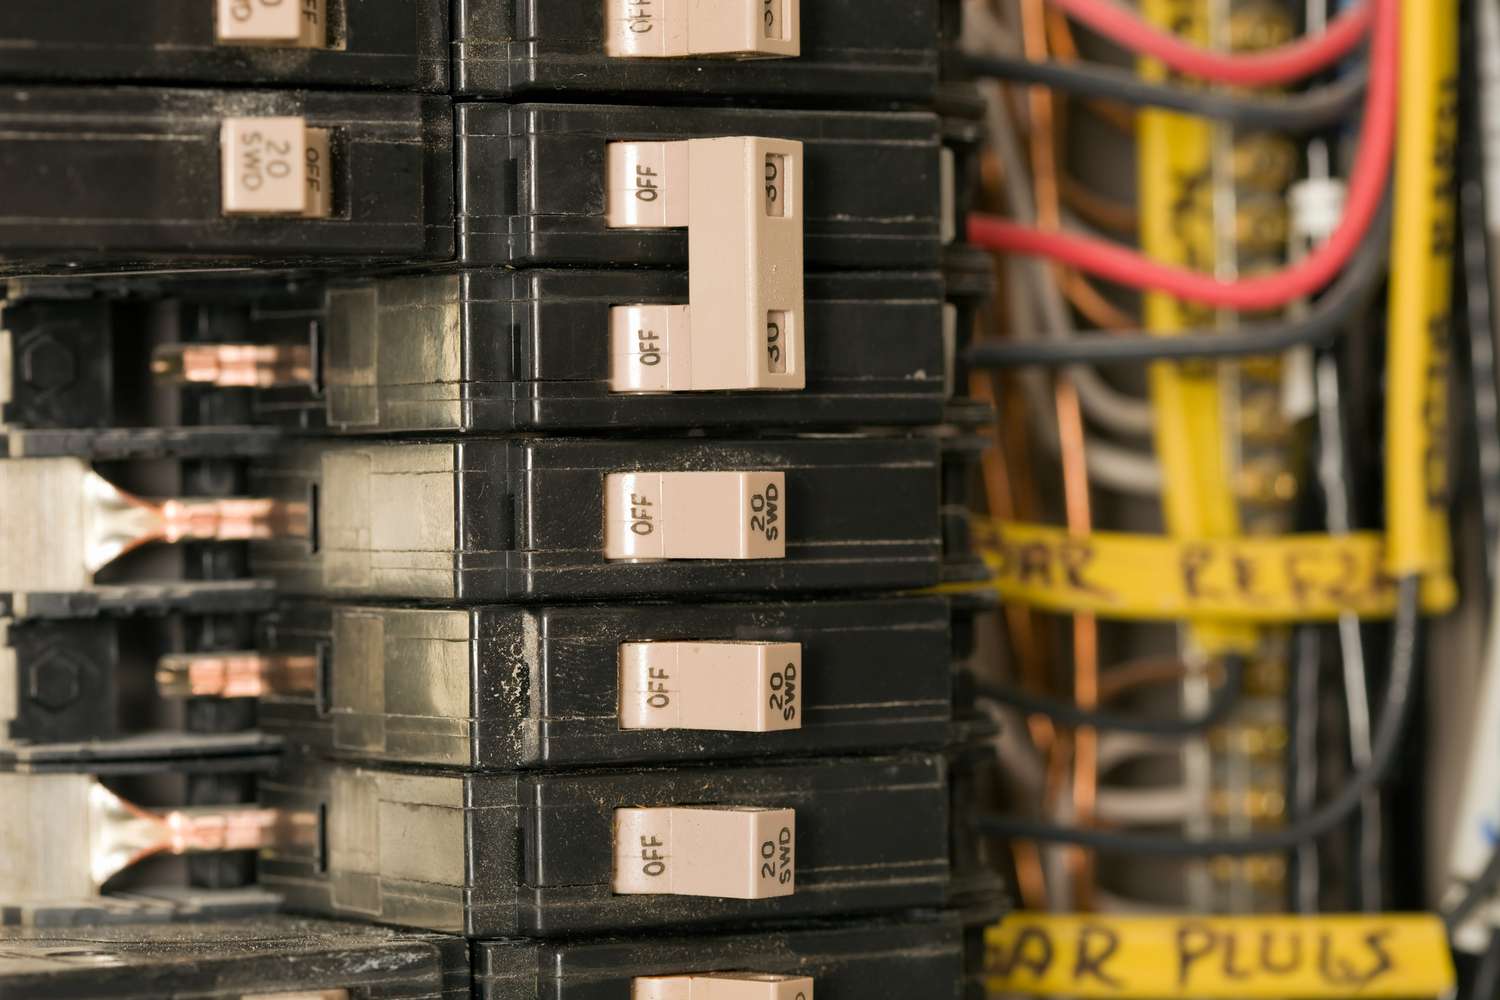
5. Remove the Pushmatic Breakers: Use a screwdriver to remove the screws that secure the Pushmatic breakers to the panel’s bus bars. Gently slide the breakers out of their slots and set them aside.
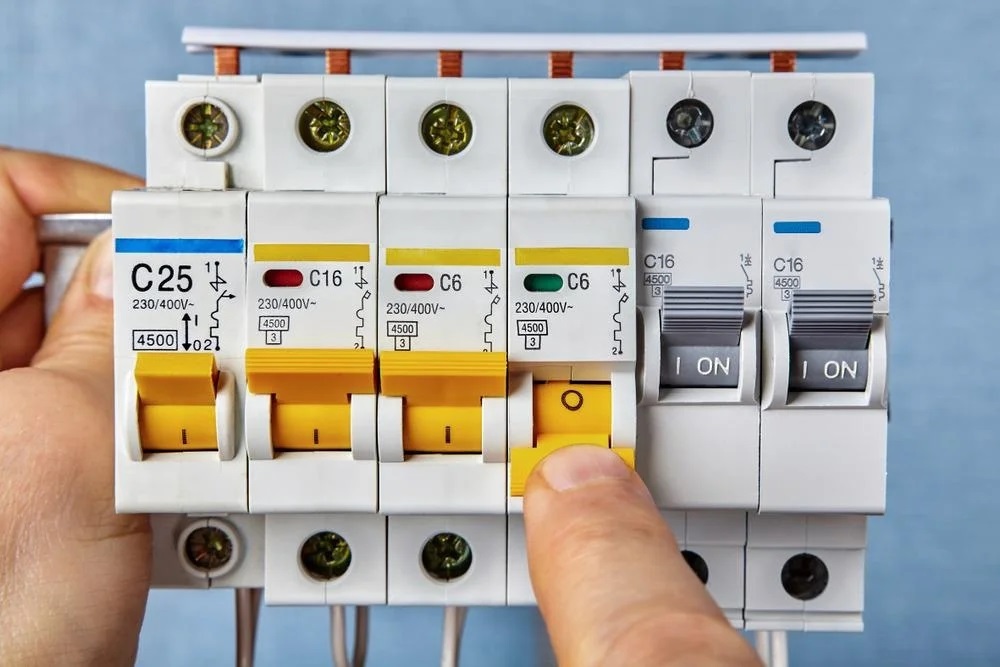
6. Install the New Breakers: Take the replacement circuit breakers from the circuit breaker replacement kit and align them with the slots on the bus bars. Firmly push the breakers into place until they lock into position. Make sure they are inserted correctly and securely.
7. Reconnect the Load Wires: Take the load wires that were disconnected in step 4 and reattach them to the appropriate positions on the new circuit breakers. Use a screwdriver to tighten the terminal screws firmly, ensuring a secure connection.
8. Double-Check Connections: Verify that all the load wires are properly connected and in their corresponding positions. Double-check for any loose connections that might pose a safety risk.
9. Replace the Panel Cover: Carefully place the panel cover back onto the electrical panel and secure it in place using the screws removed in step 2. Ensure that the cover is aligned properly and snugly.
10. Restore Power: Return to the main circuit breaker and flip it to the “on” position to restore power to the entire electrical panel. Check that the new circuit breakers are functioning correctly and that the connected circuits are operational.
By following these step-by-step instructions, you can successfully replace your Pushmatic circuit breakers and improve the safety and functionality of your electrical system. However, it is important to exercise caution and, if needed, consult a professional electrician for complex installations or if you are not comfortable performing the replacement yourself.
When replacing Pushmatic circuit breakers, always turn off the main power supply before starting. Use a voltage tester to ensure the circuit is not live before removing the old breaker.
Read more: What Replaces ITE Breakers
Safety Precautions
Working with electricity can be dangerous if not done properly, so it’s crucial to prioritize safety when replacing Pushmatic circuit breakers. Follow these safety precautions to minimize the risk of electric shock, injury, or damage:
1. Turn off the Power: Before starting any electrical work, ensure that the power to the electrical panel is turned off. Locate the main circuit breaker and switch it to the “off” position. Use a voltage tester to confirm that there is no power running to the panel or the specific breakers you will be replacing.
2. Use Safety Equipment: Always wear safety goggles, insulated gloves, and non-conductive footwear when working on electrical systems. These protective gear items will help shield you from potential electrical shocks or hazards.
3. Work in a Well-Lit Area: Ensure that the area surrounding the electrical panel is well-lit. Use a flashlight if necessary to have clear visibility of the wiring and components inside the panel. Adequate lighting can help prevent mistakes or accidents.
4. Label and Document: Use labeling tags or tape to mark the wires and breakers before disconnecting them. This will help you identify and reconnect them correctly when installing the new breakers. Additionally, take photos or make notes of the connections for future reference.
5. Avoid Overloading Circuits: Be mindful of the electrical load on each circuit and make sure not to overload them. Follow the amp ratings specified for the circuit breakers and distribute the load evenly across circuits. Overloading can lead to tripping, overheating, or potential electrical hazards.
6. Handle Breakers with Caution: Treat the old and new circuit breakers with care. Do not force or apply excessive pressure when inserting or removing them. Rough handling can damage the breakers or the bus bars, leading to improper functioning or safety hazards.
7. Do Not Touch Exposed Wires: Avoid touching exposed wires or metal parts inside the electrical panel. Even with the power turned off, there may still be residual electricity that can cause harm. Handle wires and components using insulated tools to minimize the risk of electrical shock.
8. Consult a Professional if Needed: If you have limited experience or are unsure about any aspect of the replacement process, it is advisable to seek assistance from a qualified electrician. They can ensure that the installation is done correctly and safely.
9. Follow Local Electrical Codes: Adhere to local electrical codes and regulations when working on your electrical system. These codes are in place to ensure safety and compliance with established standards. Familiarize yourself with the specific requirements in your area.
10. Perform Regular Maintenance: After installing the new breakers, regularly inspect and maintain your electrical system. Replace any damaged components or faulty breakers promptly to prevent accidents or malfunctions.
By following these safety precautions, you can reduce the risk of electrical accidents and ensure a safe working environment when replacing Pushmatic circuit breakers. Always prioritize safety above all else when dealing with electricity.
Testing the New Circuit Breakers
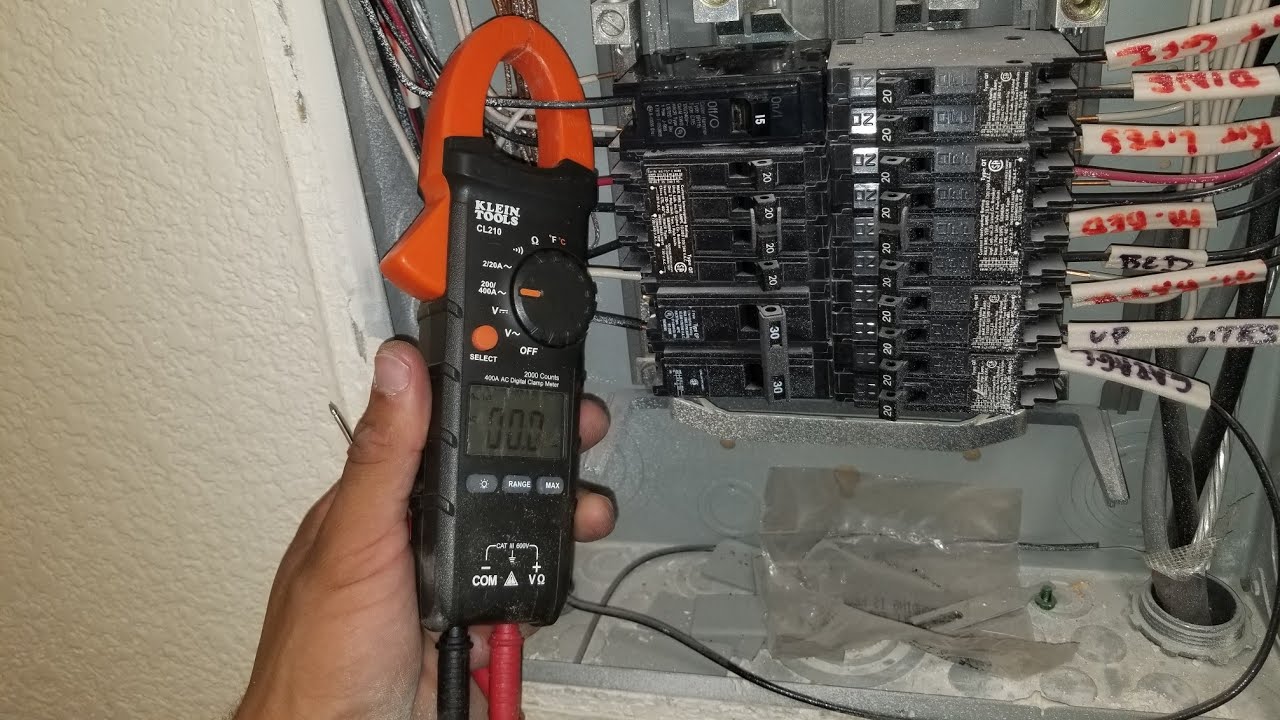
After replacing Pushmatic circuit breakers, it’s essential to test the new breakers to ensure they are functioning correctly and providing adequate protection to your electrical system. Follow these steps to test the new circuit breakers:
1. Turn On the Power: Toggle the main circuit breaker back to the “on” position to restore power to the electrical panel. This will energize the new circuit breakers.
2. Reset the Breakers: If any breakers tripped during the replacement process, reset them by pushing the respective handles to the “on” position. Observe if any breakers trip again immediately, as this might indicate a wiring issue or overload.
3. Test Each Circuit: Go through each circuit in your electrical panel and test its corresponding new circuit breaker. To do this, turn off the breaker by pushing the handle to the “off” position. Then, plug in a simple electrical device, such as a lamp or a small appliance, into an outlet on that circuit.
4. Turn On the Breaker: After connecting the test device, turn the circuit breaker back on by pushing the handle to the “on” position. The test device should receive power, indicating that the new circuit breaker is functioning correctly.
5. Verify Device Operation: Check if the test device is operating as expected. Ensure that the power supply to the device remains stable without any fluctuations. If the breaker trips or the device fails to work properly, there may be a wiring issue or compatibility problem.
6. Repeat for Each Circuit: Test each circuit and breaker in the panel using the same procedure described in steps 3-5. Make sure to test all relevant circuits to ensure the proper functioning of your electrical system.
7. Inspect for Electrical Issues: While testing, be vigilant for any signs of abnormal behavior, such as flickering lights or buzzing sounds. These can indicate potential electrical problems that need to be addressed by a professional electrician.
8. Document Test Results: Document the results of your testing, noting any breakers that trip or circuits that exhibit issues. This information will be helpful for troubleshooting and potential future maintenance or repairs.
Testing the new circuit breakers is essential to ensure the safety and reliability of your electrical system. If any problems or concerns arise during the testing process, it is advisable to consult a professional electrician for further inspection and resolution.
By following these test procedures, you can have confidence in the functionality of your new circuit breakers and the improved protection they provide for your electrical system.
Troubleshooting Common Issues
While replacing Pushmatic circuit breakers, you may encounter certain issues or challenges along the way. Here are some common problems that can occur during the replacement process, along with troubleshooting steps to help you resolve them:
1. Circuit Breaker Trips Immediately: If a new circuit breaker trips immediately after resetting it, it could indicate an underlying issue such as a wiring problem or an overloaded circuit. Check for loose connections, damaged wires, or any appliances or devices drawing excessive power on that circuit. If you can’t identify the cause, consult a professional electrician for further assistance.
2. Breaker Won’t Reset: If a new circuit breaker refuses to reset, it could be due to a faulty breaker or a wiring issue. Double-check that all connections are secure and that there are no loose or damaged wires. If the problem persists, consider replacing the breaker with a new one and ensure it’s properly installed according to the manufacturer’s instructions.
3. Inconsistent Power Supply: If you experience intermittent power supply or notice flickering lights after replacing the breakers, it may indicate loose connections or an insufficient electrical load capacity. Check that all connections are tight and secure, and ensure that the circuit is not overloaded. If the problem persists, consult an electrician to assess and address the issue.
4. Breaker Feels Hot: If a new circuit breaker feels unusually hot to the touch, it could indicate an overloaded circuit or a defective breaker. Double-check the circuit’s load capacity and ensure that it’s not exceeding the recommended limit. If the issue persists, consider replacing the breaker with a higher-rated one or consult a professional electrician for further inspection.
5. Other Circuit Issues: If you experience any additional circuit or electrical problems after replacing the breakers, such as outlets not working, lights flickering, or unusual sounds, it’s important to investigate further. Check for loose connections, damaged wires, or any signs of electrical faults. If you’re unable to identify or resolve the issue, seek the assistance of a qualified electrician.
Remember, if you’re unsure about any aspect of the replacement process or troubleshooting electrical issues, it’s always best to consult a professional electrician. They have the expertise and knowledge to identify and resolve complex electrical problems, ensuring the safety and functionality of your electrical system.
By being proactive and addressing any issues that arise during the replacement or troubleshooting process, you can ensure a well-functioning and safe electrical system in your home.
Conclusion
Replacing Pushmatic circuit breakers is a crucial step in upgrading an outdated electrical system and ensuring the safety and functionality of your home’s electrical infrastructure. By following the step-by-step guide outlined in this article, you can successfully replace these older breakers with modern, more reliable alternatives.
Understanding the limitations of Pushmatic circuit breakers, such as their outdated technology, limited capacity, and difficulty in resetting, highlights the importance of replacing them. Upgrading to modern circuit breakers not only improves safety but also provides compatibility with new technologies and increases the value of your property.
Throughout the replacement process, it is essential to prioritize safety by turning off the power, using appropriate safety equipment, and adhering to safety precautions. Additionally, troubleshooting common issues and seeking professional assistance when needed helps to address any potential challenges and ensure an effective replacement.
Testing the new circuit breakers after installation is vital to verify their proper functioning and identify any electrical issues that may require further attention. Regular maintenance and inspection of your electrical system can help identify and resolve any future problems, keeping your system in optimal condition.
Remember to consult local electrical codes and guidelines to ensure compliance and safety throughout the replacement process. When in doubt or encountering complex electrical issues, consulting a professional electrician is highly recommended to ensure the proper installation and functionality of the circuit breakers.
In conclusion, replacing Pushmatic circuit breakers with modern alternatives is a significant improvement for your home’s electrical system. It enhances safety, functionality, and compatibility while providing peace of mind. By following the steps and precautions outlined in this guide, you can successfully replace these breakers and enjoy a safe and reliable electrical system for years to come.
Now that you've mastered replacing Pushmatic circuit breakers, why not check out our guide on top picks for your next upgrade? Our latest article covers a range of options that could fit your needs perfectly. From durability to efficiency, learn which Pushmatic breakers stand out in the upcoming year. Perfect for ensuring your system's reliability and safety, this guide will help you make an informed decision. Don't miss out on this essential read for any savvy homeowner!
Frequently Asked Questions about How To Replace Pushmatic Circuit Breakers
Was this page helpful?
At Storables.com, we guarantee accurate and reliable information. Our content, validated by Expert Board Contributors, is crafted following stringent Editorial Policies. We're committed to providing you with well-researched, expert-backed insights for all your informational needs.


0 thoughts on “How To Replace Pushmatic Circuit Breakers”