Articles
How To Change Circuit Breakers At Home
Modified: May 6, 2024
Learn how to easily change circuit breakers at home with our informative articles. Find step-by-step instructions and expert tips to ensure a safe and successful replacement.
(Many of the links in this article redirect to a specific reviewed product. Your purchase of these products through affiliate links helps to generate commission for Storables.com, at no extra cost. Learn more)
Introduction
Changing circuit breakers at home is an essential skill that every homeowner should possess. Circuit breakers play a crucial role in protecting our homes from electrical overloads and short circuits, ensuring the safety of our electrical systems. Over time, circuit breakers can become worn out or faulty, making it necessary to replace them. While it may seem like a daunting task, with the right knowledge and tools, you can successfully change circuit breakers on your own.
In this article, we will guide you through the process of changing circuit breakers step by step. We will explain the importance of understanding circuit breakers, provide a list of tools and materials you will need, outline safety precautions, and walk you through the actual steps of removing the old circuit breaker and installing a new one. By the end of this article, you’ll be equipped with the knowledge and confidence to tackle this home improvement task.
Understanding circuit breakers is crucial before attempting to change them. Circuit breakers are electrical switches designed to interrupt the flow of electricity when a fault occurs in a circuit. They serve as a safety mechanism to prevent electrical fires and protect electrical equipment. Circuit breakers are typically located in the electrical panel or breaker box, which is usually found in the basement, garage, or utility room of a house.
Before you begin changing a circuit breaker, you need to gather the necessary tools and materials. Here is a list of items you will need:
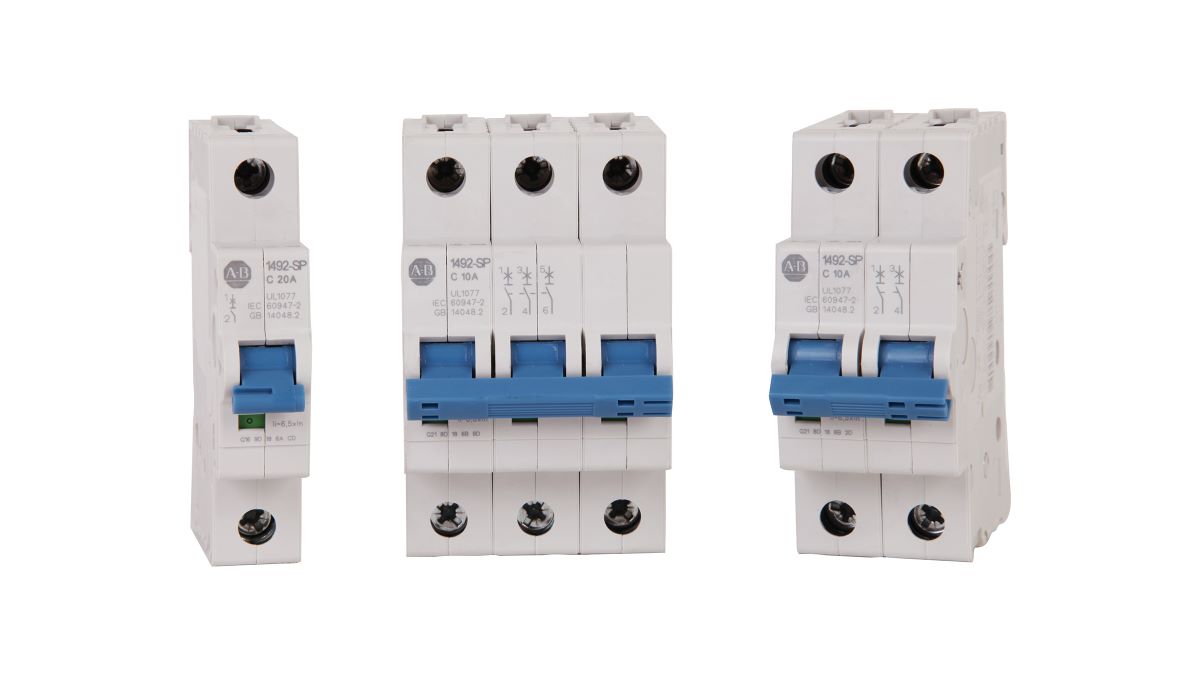
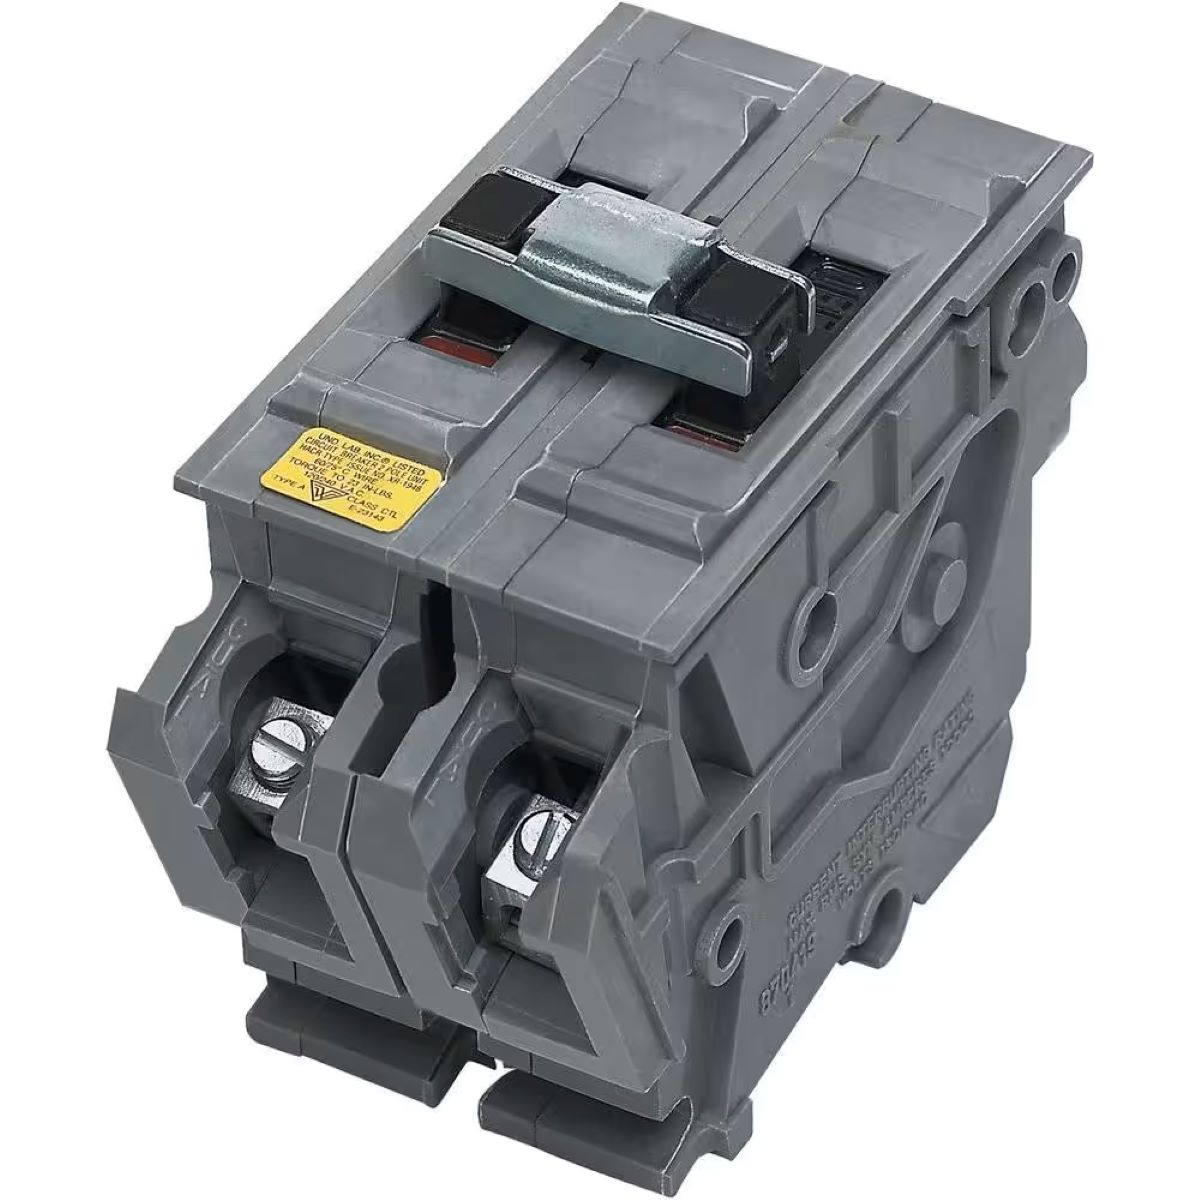
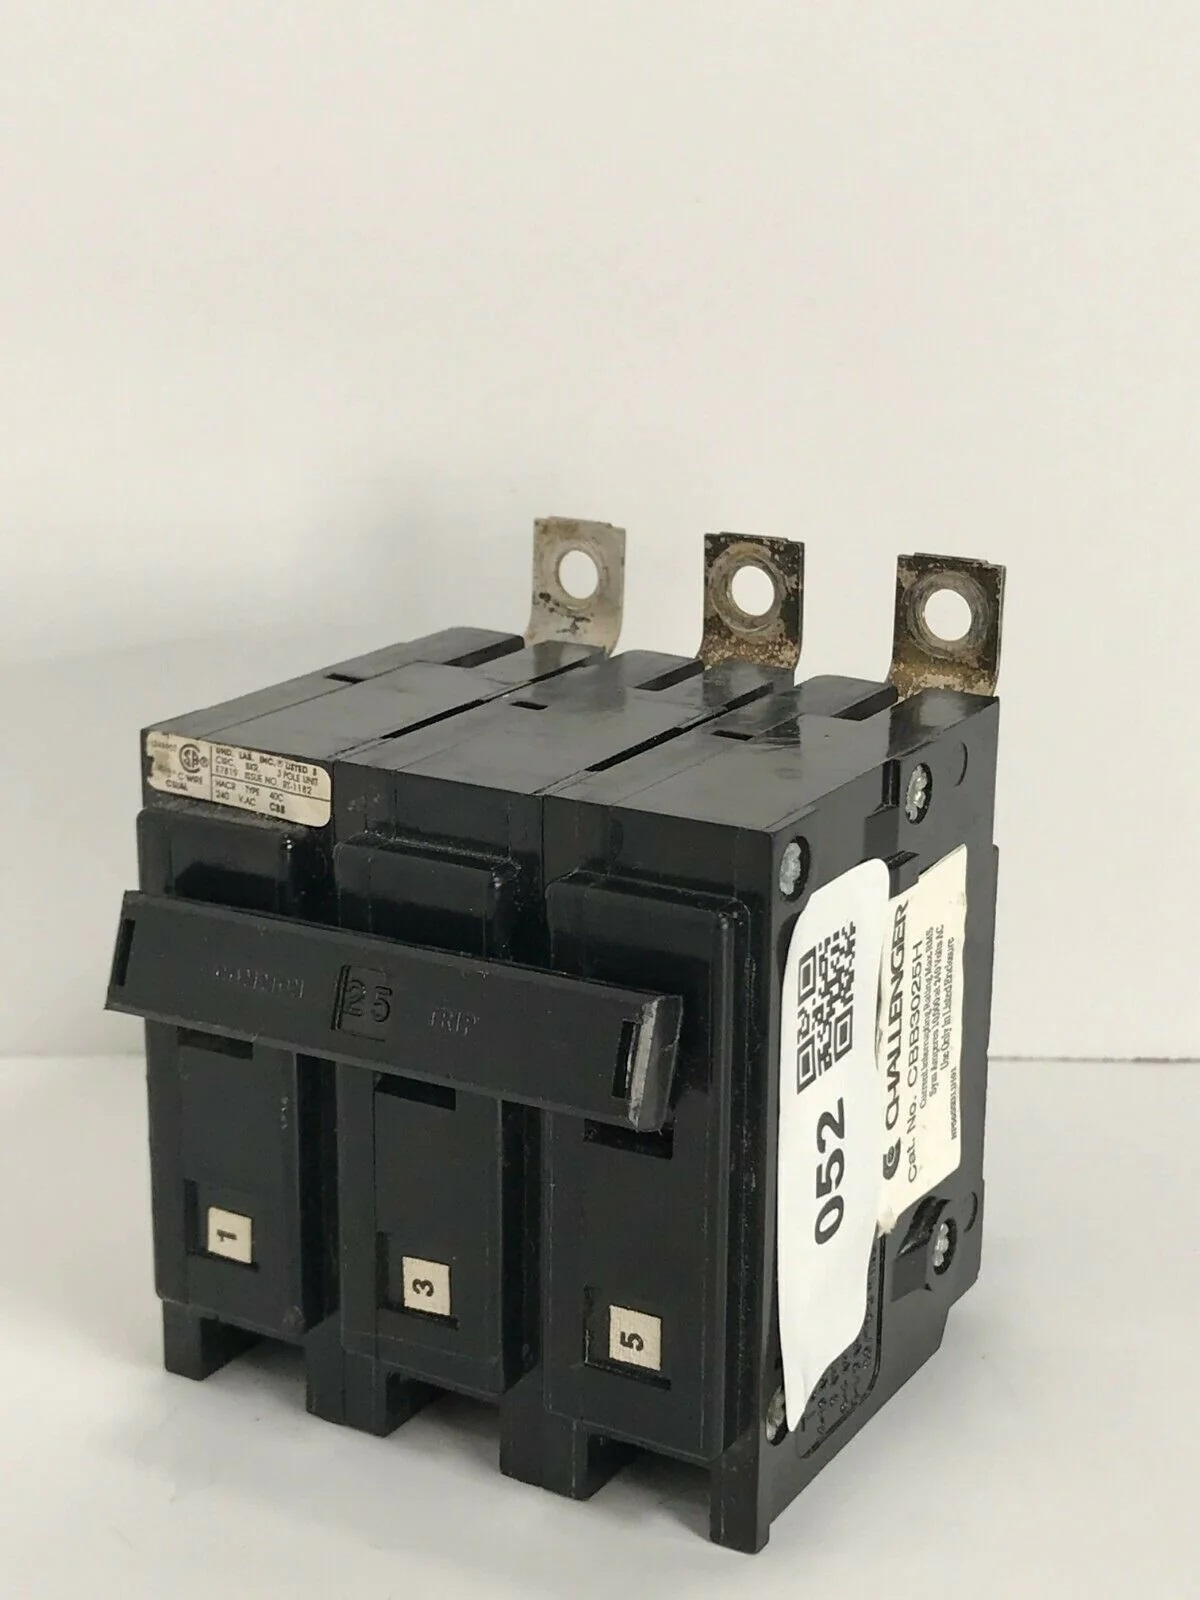
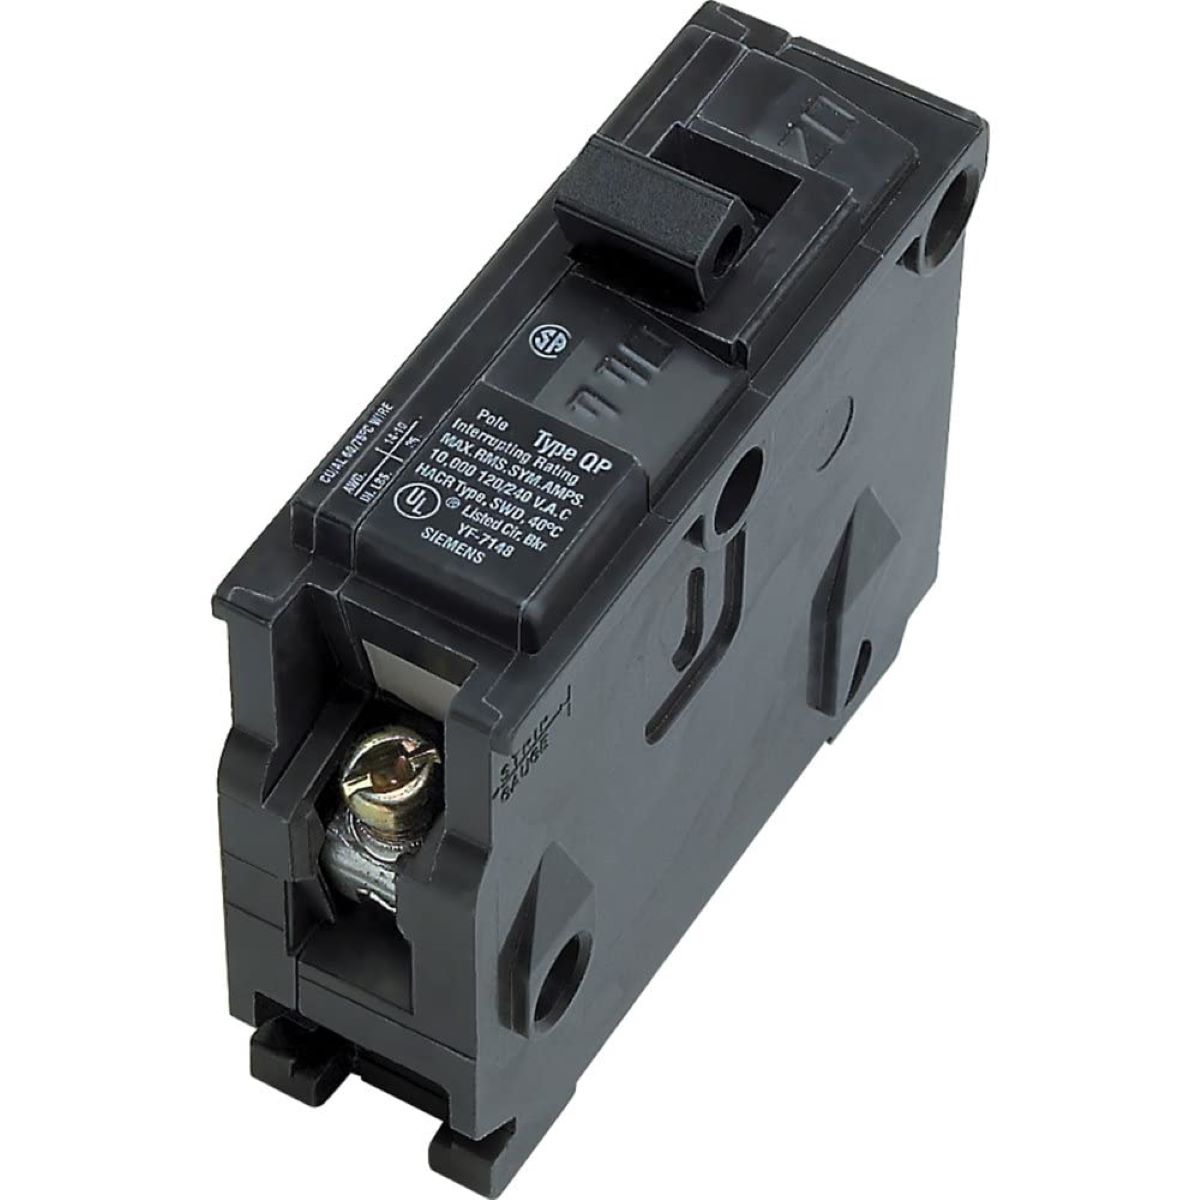
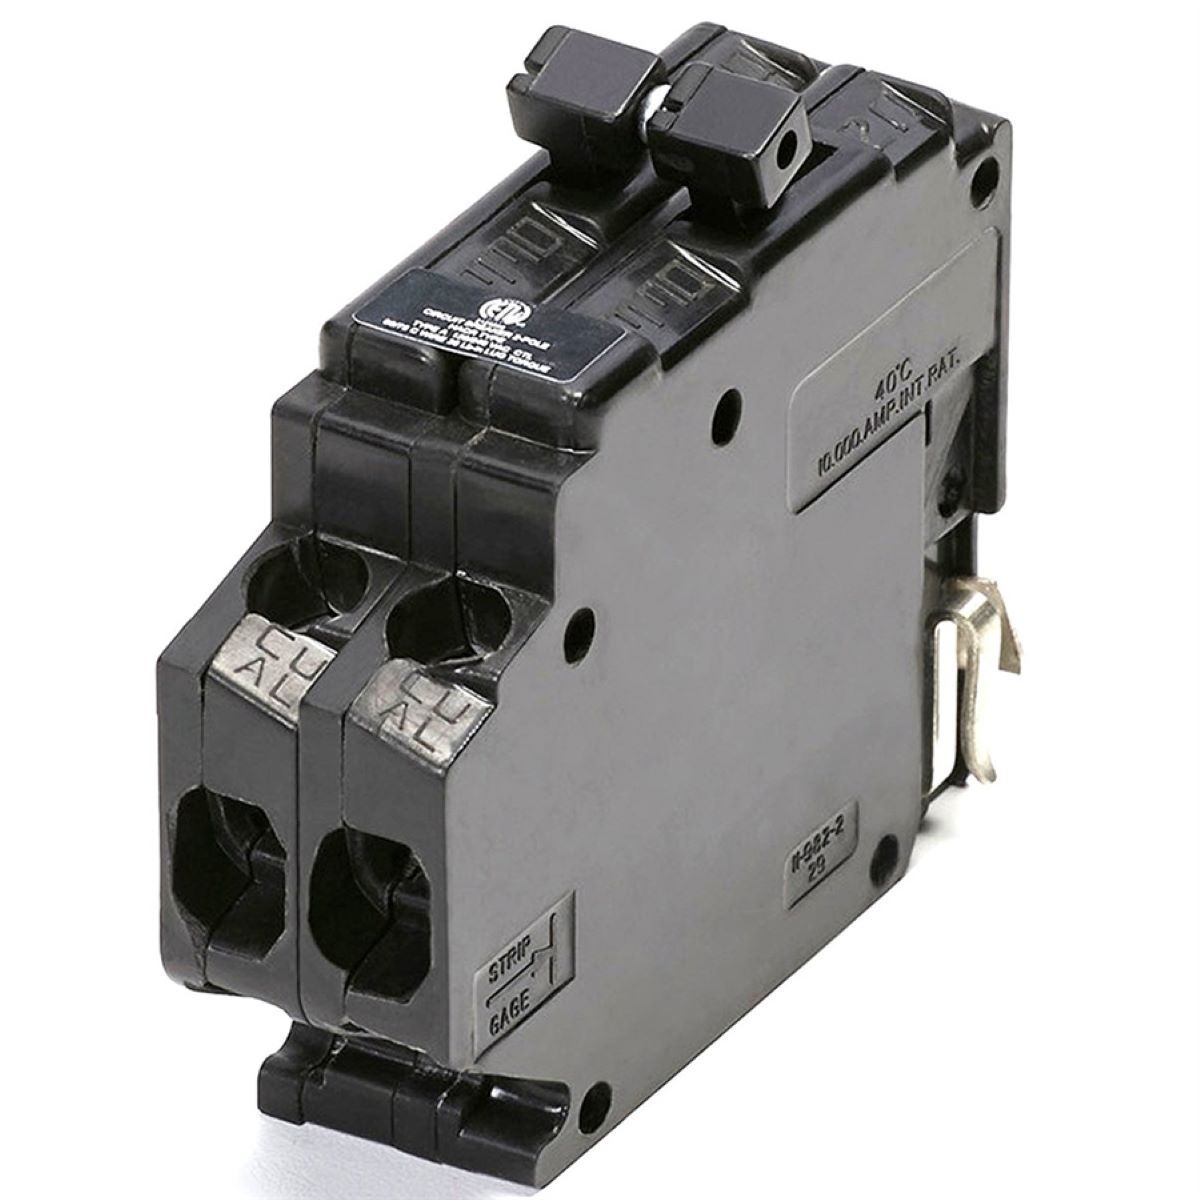
- Circuit breaker of the correct size and type
- Screwdriver (flathead or Phillips, depending on the screws)
- Needle-nose pliers
- Voltage tester or multimeter
- Wire stripper
- Safety goggles
- Gloves
Safety should always be your top priority when working with electrical systems. Here are some important safety precautions to follow:
- Ensure that the power to the circuit breaker panel is completely turned off before starting any work.
- Wear safety goggles to protect your eyes from any sparks or debris.
- Use insulated tools to prevent the risk of electric shock.
- Keep a fire extinguisher nearby in case of emergencies.
Now that you have understood the basics and taken the necessary safety precautions, let’s proceed with the step-by-step process of changing a circuit breaker.
Key Takeaways:
- Changing circuit breakers at home is a crucial skill for homeowners to ensure electrical safety. Understanding the process, gathering the right tools, and following safety precautions are essential for a successful replacement.
- Prioritizing safety and following the step-by-step process of turning off power, identifying, removing, and installing a new circuit breaker is key to maintaining a safe and functional electrical system at home.
Understanding Circuit Breakers
In order to successfully change a circuit breaker, it is important to have a solid understanding of how they function and their role in the electrical system of your home.
Circuit breakers are designed to protect electrical circuits from overloading and short circuits. They are essentially switches that automatically trip or turn off when excessive current flows through the circuit. This helps to prevent damage to the wiring and electrical appliances, as well as reduce the risk of electrical fires.
Circuit breakers work on the principle of electromagnetism. Inside the breaker, there is an electromagnet that is triggered by the flow of current. When the current exceeds a certain predetermined limit, the electromagnet becomes strong enough to pull down a metal lever, which opens the circuit. This interrupts the flow of electricity and prevents any further damage.
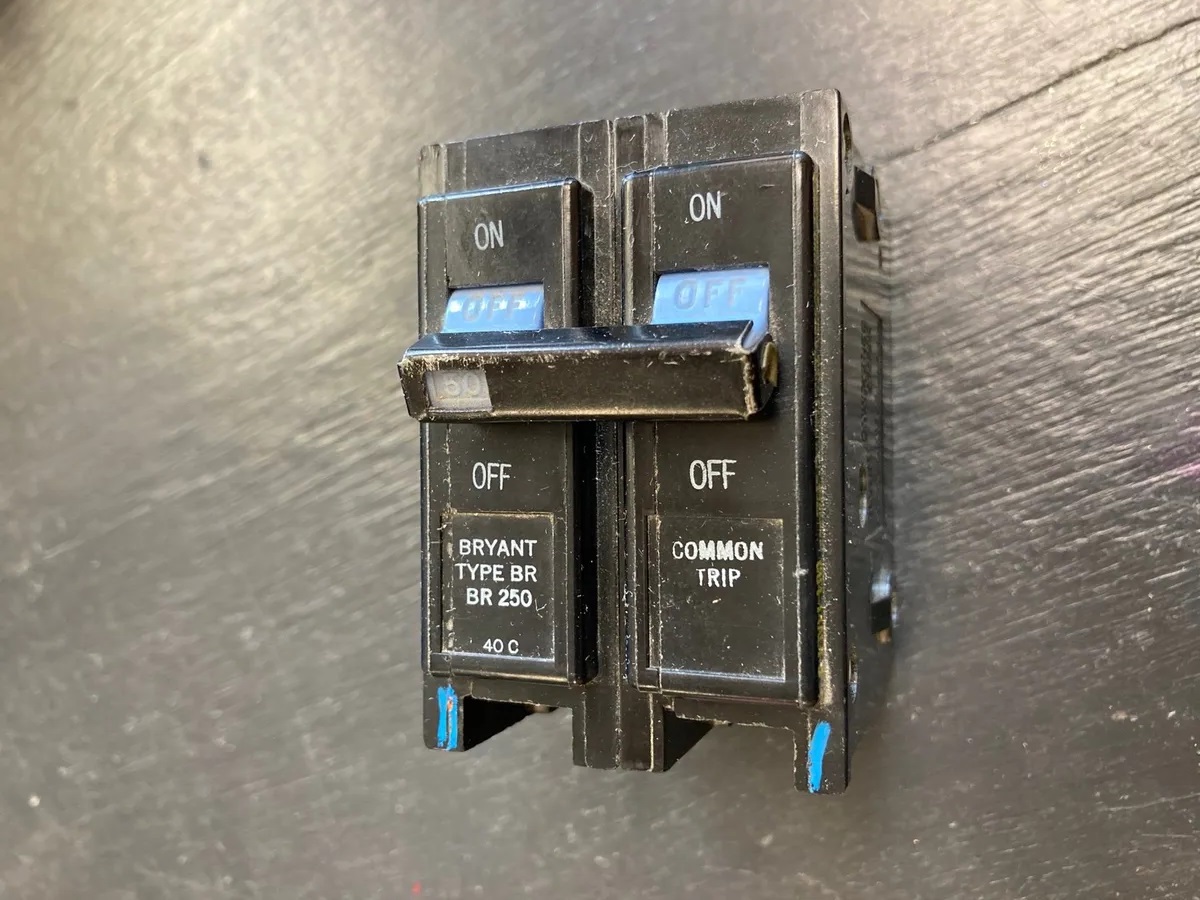
It is important to note that circuit breakers have a specific amperage rating, which indicates the maximum amount of current they can safely handle. This rating is usually labeled on the breaker itself and corresponds to the capacity of the electrical circuit it is protecting.
Circuit breakers are typically located in the electrical panel or breaker box, which houses multiple breakers that control various circuits throughout your home. The electrical panel is usually installed on an exterior wall, in a basement, garage, or utility room, and serves as a central point for distributing electricity.
Each circuit in your home is connected to a specific circuit breaker, which can be identified by its position and labeling in the electrical panel. The breaker will be connected to the wires of the corresponding circuit and can be switched on or off as needed.
When a circuit breaker trips, it is an indication that there is a problem with the electrical circuit it is protecting. This could be due to an overload, where the current exceeds the breaker’s rating, or a short circuit, which occurs when a live wire comes into contact with a neutral or ground wire. In either case, the breaker automatically shuts off to prevent further damage or incidents.
Common signs that a circuit breaker has tripped include sudden loss of power in specific areas of your home, a visible switch in the breaker panel, or a breaker that is in the “off” position. When this happens, it is important to identify the cause of the tripping and take appropriate action, which may include changing the faulty breaker.
Now that you have a better understanding of how circuit breakers work and their function in your electrical system, you are ready to move on to the next step: gathering the necessary tools and materials.
Tools and Materials Needed
Before you embark on changing a circuit breaker, it’s important to gather all the necessary tools and materials. Having the right equipment will make the process easier and ensure a successful replacement. Here is a list of items you will need:
- Circuit breaker of the correct size and type: It’s crucial to have the correct replacement circuit breaker for your electrical panel. Circuit breakers come in different sizes and types, so make sure to match the specifications of the old breaker to the new one. If you’re unsure, consult the manufacturer’s manual or seek the assistance of a qualified electrician.
- Screwdriver (flathead or Phillips, depending on the screws): A screwdriver is essential for removing and securing the screws that hold the circuit breaker in place. Determine the type of screws used before selecting the appropriate screwdriver.
- Needle-nose pliers: Needle-nose pliers will come in handy for making precise wire connections and manipulating small components during the replacement process.
- Voltage tester or multimeter: A voltage tester or multimeter is essential for ensuring that the power supply to the circuit breaker panel is turned off before starting any work. This tool will help you verify that there is no electricity flowing through the circuit you are working on.
- Wire stripper: If necessary, a wire stripper will be required to remove insulation from the wires. This will allow for proper connections to the new circuit breaker.
- Safety goggles: Safety goggles are essential to protect your eyes from any sparks, debris, or other potential hazards that may arise during the replacement process.
- Gloves: Work gloves are highly recommended to protect your hands from potential injuries and to provide insulation in case of accidental contact with live wires.
Having these tools and materials readily available before starting the circuit breaker replacement will save you time and ensure a smoother process. Remember: safety should always be your top priority, so wearing safety goggles and gloves is highly recommended.
Once you have gathered all the necessary tools and materials, you can proceed to the next step: taking the appropriate safety precautions. Keeping yourself and your home safe during the replacement process is of utmost importance.
Safety Precautions
When working with electricity, it is crucial to prioritize safety. The following safety precautions should be observed when changing circuit breakers:
- Turn off the power: Before starting any work, make sure to turn off the power to the circuit breaker panel. This can be done by switching off the main circuit breaker or by shutting off power at the main electrical service panel. Confirm that there is no electricity flowing through the circuit you are about to work on by using a voltage tester or multimeter. It’s important to take these precautions to avoid the risk of electrical shock or other incidents.
- Wear safety goggles: Protecting your eyes is essential when working with electrical components. Wear safety goggles to shield your eyes from any potential sparks, debris, or other hazards that may occur during the circuit breaker replacement process.
- Use insulated tools: Whenever possible, use insulated tools to minimize the risk of electric shock. Insulated tools have handle insulation that provides an additional layer of protection if contact is made with live wires by accident.
- Keep a fire extinguisher nearby: In the event of an electrical fire, it is crucial to have a fire extinguisher readily available. Make sure it is suitable for electrical fires and that you are familiar with its proper use.
- Do not touch live wires: Never touch live wires with your bare hands or any conductive objects. Even if the power appears to be turned off, treat all wires as if they are live until you have verified their status with a voltage tester or multimeter.
- Work in a well-lit area: Ensure that the area where you are changing the circuit breaker is well-lit. Proper lighting will allow you to see clearly and minimize the risk of mistakes or accidents.
- Follow manufacturer’s instructions: Always refer to the manufacturer’s instructions for the specific circuit breaker you are installing. This will ensure that you are following the correct procedures and using the breaker correctly.
These safety precautions are essential for your well-being and the successful completion of the circuit breaker replacement. By following these guidelines, you can minimize the risk of accidents, injuries, or damage to your electrical system.
Now that you have taken all the necessary safety measures, you can proceed with confidence to the next step: turning off the power before removing the old circuit breaker.
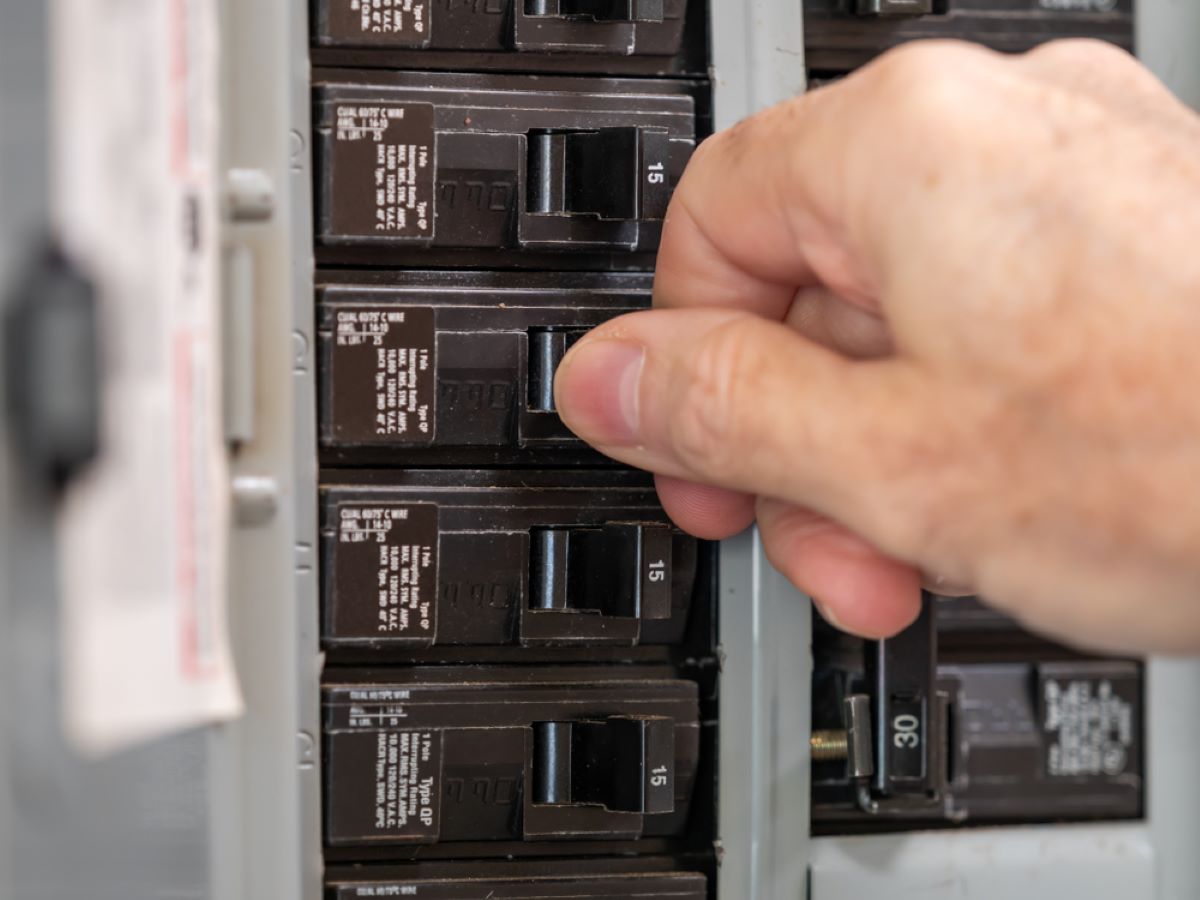
Step 1: Turn off Power
Before you begin working on changing a circuit breaker, it is crucial to turn off the power to the circuit breaker panel. This step is essential to ensure your safety and prevent any accidents or injuries. Follow these steps to turn off the power:
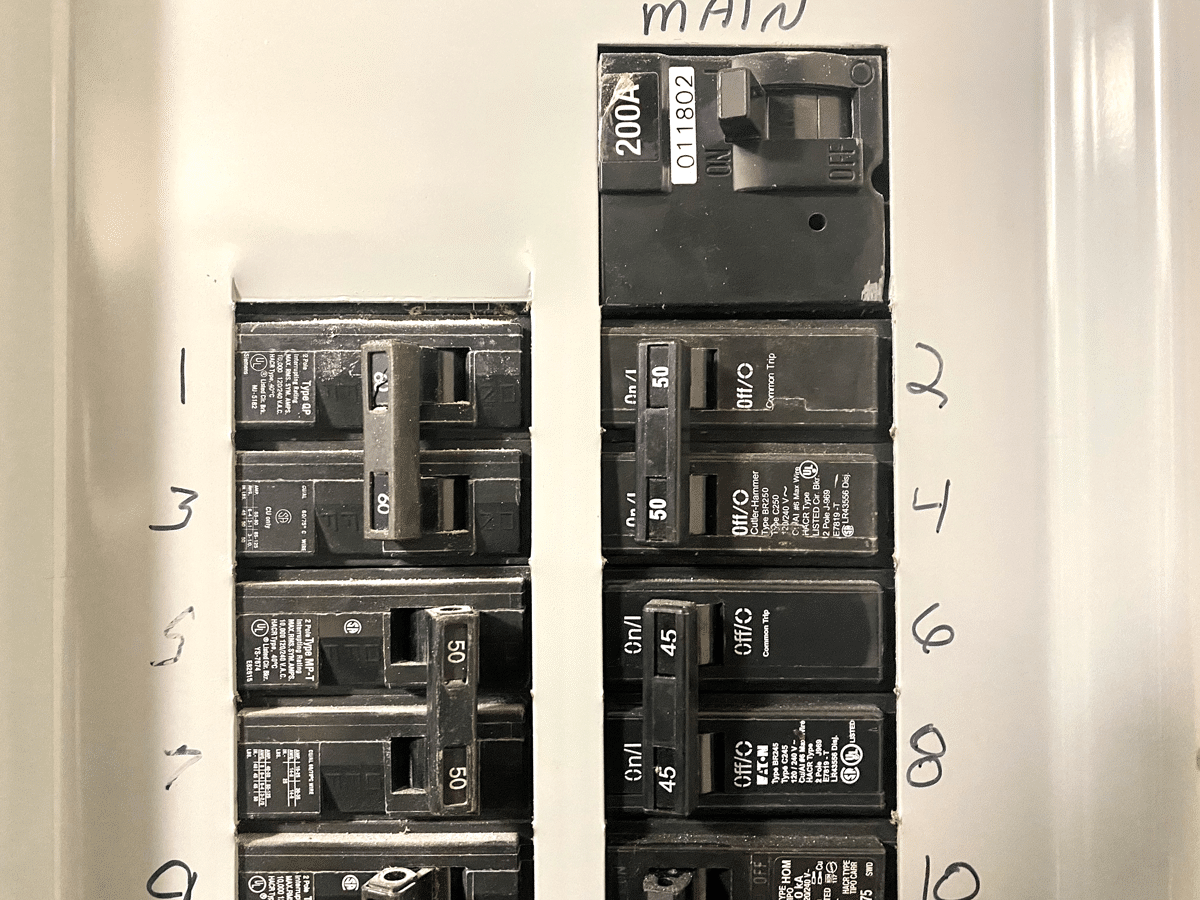
- Locate the main circuit breaker: The main circuit breaker is typically located at the top or bottom of the circuit breaker panel and is usually larger than the other breakers. It controls the power supply to the entire panel and all the circuits in your home.
- Switch off the main circuit breaker: Using either your hand or a suitable tool, switch off the main circuit breaker by flipping it to the “off” position. This will cut off power to the entire panel, ensuring that no electricity is flowing through the circuits.
- Verify power is off: To double-check that the power is indeed turned off, use a voltage tester or multimeter. Test the wires in the circuit you are working on to ensure there is no voltage present. If there is any indication of voltage, stop immediately and reassess. It is crucial to confirm that there is no electricity running through the circuit before proceeding with the next steps.
Turning off the power is a critical step in the process of changing a circuit breaker. It eliminates the risk of electric shock and allows you to work on the circuit safely. Remember to use caution and double-check that the power is indeed off before proceeding.
Once you have ensured that the power is turned off, you can move on to the next step: identifying the faulty circuit breaker you need to replace.
When changing circuit breakers at home, always turn off the main power supply before starting the process to ensure safety.
Read more: How To Test Breakers
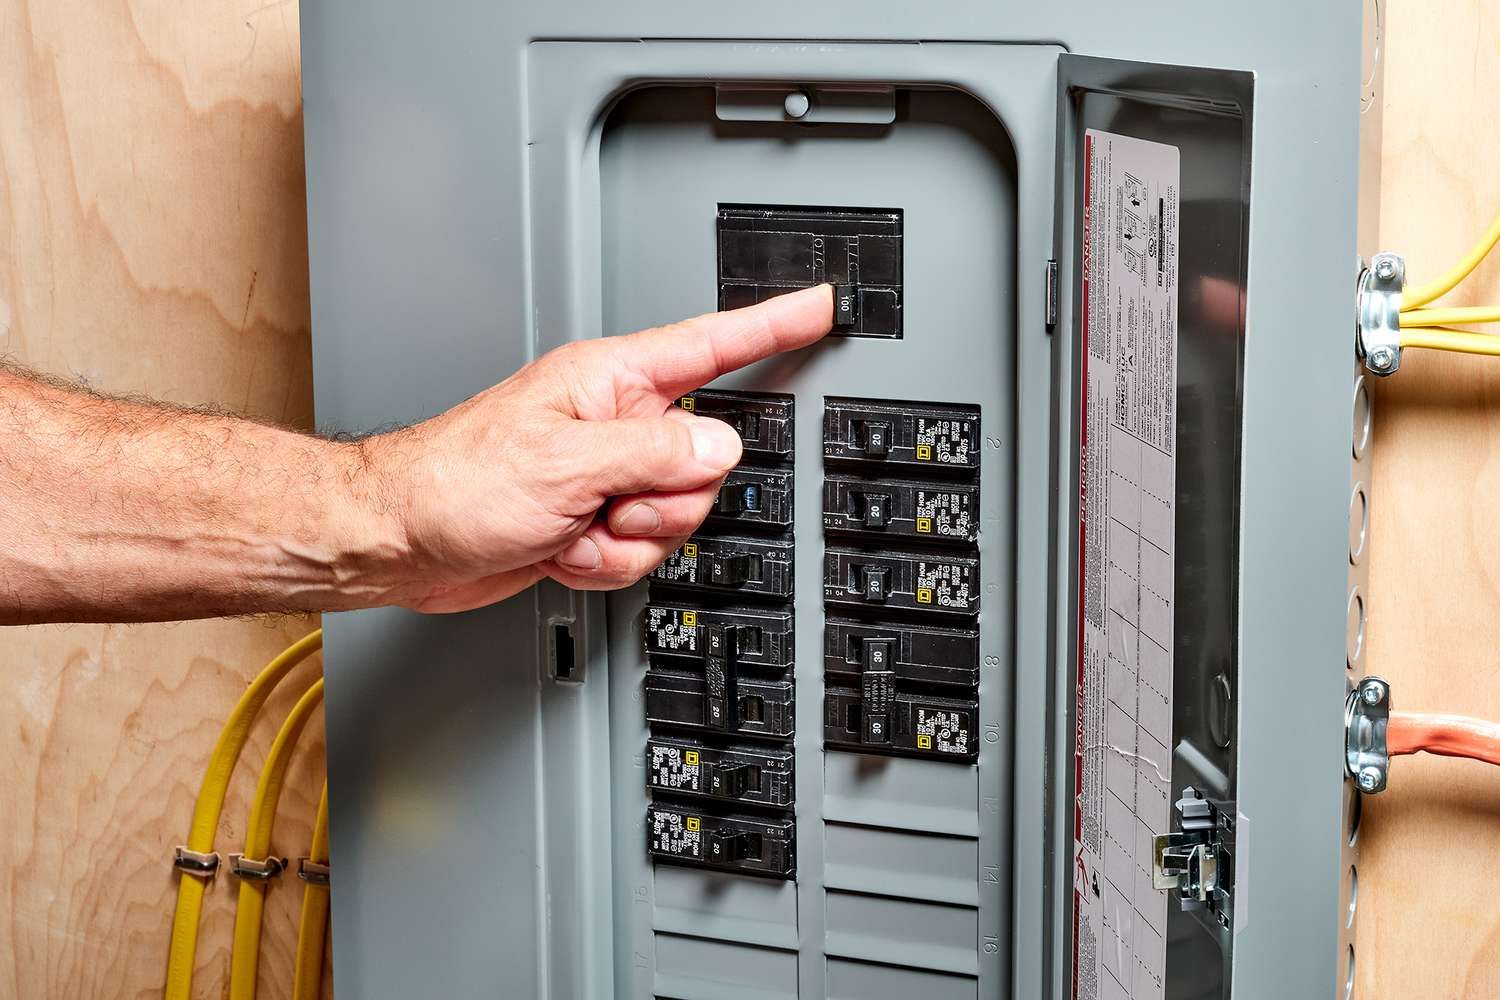
Step 2: Identify the Faulty Circuit Breaker
In order to replace a circuit breaker, you first need to identify the specific one that is causing issues. The following steps will help you accurately identify the faulty circuit breaker:
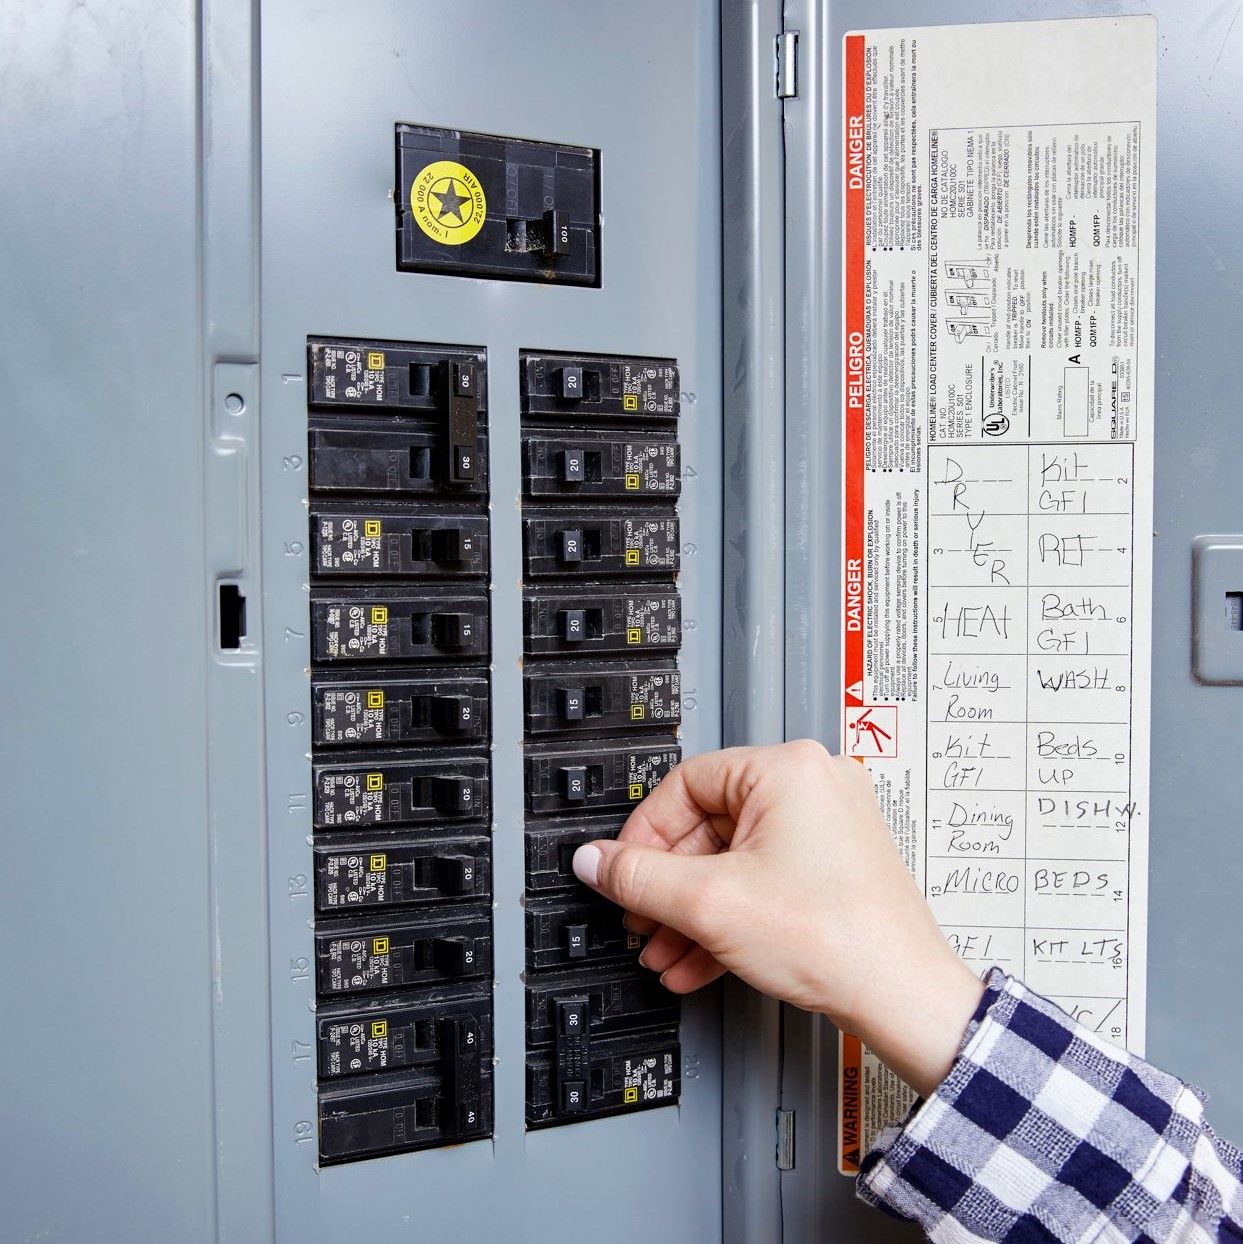
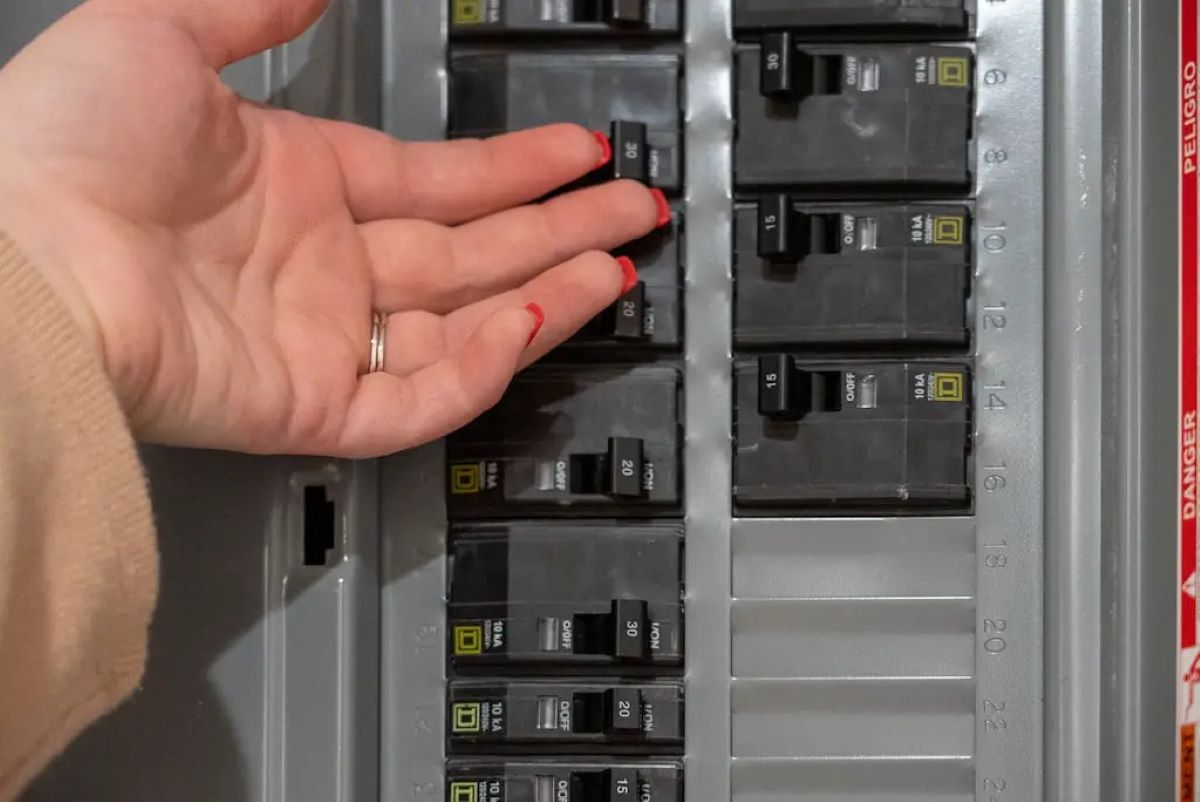
- Examine the electrical panel: Open the electrical panel or breaker box. Take a moment to familiarize yourself with the layout and labeling of the breakers. Each breaker should be labeled with its corresponding circuit or room it controls.
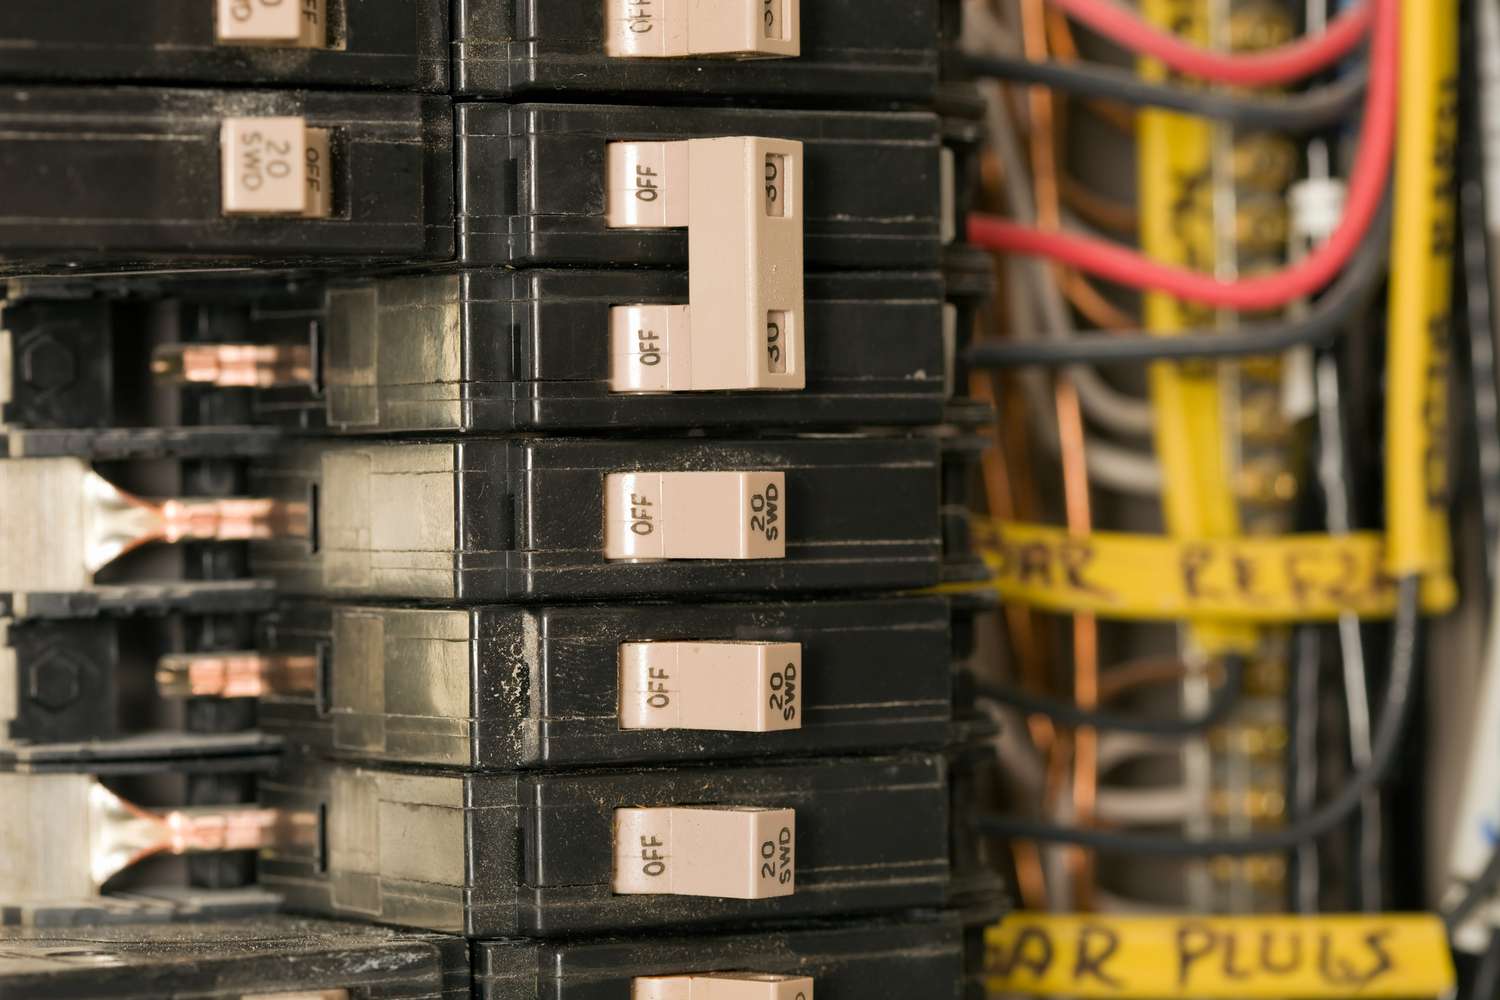
- Observe any tripped breakers: Look for any circuit breakers that have been tripped or are in the “off” position. A tripped breaker is a common indication of a fault in the circuit it protects. The position of the tripped breaker switch will typically be somewhere between the “on” and “off” positions.
- Reset tripped breakers: If you find a tripped breaker, it is worth attempting to reset it first. To do this, firmly and completely switch the breaker to the “off” position, and then back to the “on” position. If the breaker trips again immediately, it indicates a persistent fault that requires further investigation.
- Check for visual indicators: Some circuit breakers have indicators or LEDs that will light up or change color when they trip. Look for any visual indicators or signs of a tripped breaker, such as a red or green light. This can help you quickly identify the faulty circuit.
- Inspect for any abnormalities: Visually inspect the electrical panel for any abnormalities, such as burnt marks, loose wires, or overheating. These signs could indicate a fault in the circuit breaker or wiring that needs to be addressed.
- Use a voltage tester: If you are unsure which circuit breaker is causing the problem, use a voltage tester or multimeter to check the wires in each circuit. With the power off, touch the tester’s probes to the wires connected to each breaker. The tester will indicate whether there is voltage present or not. This will help you pinpoint the faulty circuit.
By following these steps, you will be able to identify the faulty circuit breaker with confidence. Take your time to thoroughly inspect and test each breaker to ensure accuracy. Once you have determined the faulty circuit breaker, you can proceed to the next step: removing the old circuit breaker.
Step 3: Removing the Old Circuit Breaker
Now that you have identified the faulty circuit breaker, it’s time to remove it. Follow these steps to safely remove the old circuit breaker:
- Put on safety gloves and goggles: Before you begin, ensure that you are wearing safety gloves and goggles to protect your hands and eyes from any potential hazards.
- Switch off the main circuit breaker: As a precautionary measure, switch off the main circuit breaker to cut off power to the entire panel and all the circuits in your home. This will ensure that there is no live electricity flowing through the panel.
- Locate the faulty circuit breaker: Identify the faulty circuit breaker that you want to remove. Ensure that you are certain about the breaker you are working on to prevent any accidental damage or disruption to other circuits.
- Remove the breaker’s cover plate: Using a screwdriver, carefully remove the cover plate of the circuit breaker panel. Set it aside in a safe place where it won’t be damaged.
- Loosen the screws connecting the wires: Locate the screws or terminals where the wires are connected to the circuit breaker. Loosen these screws using a screwdriver, allowing the wires to disconnect from the old breaker.
- Remove the old circuit breaker: Grip the old circuit breaker firmly and gently pull it out from its housing. Be cautious not to disturb any other breakers or wiring in the panel.
- Inspect the wires and contacts: Take a close look at the wires and contacts to ensure they are in good condition. Look for any signs of damage, corrosion, or loose connections. If necessary, clean or replace any damaged components before installing the new breaker.
By following these steps, you will be able to safely remove the old circuit breaker. It’s important to handle the breaker with care and pay close attention to the wires and connections to avoid any accidents or damage. Once you have removed the old circuit breaker, you can move on to the next step: installing the new circuit breaker.
Step 4: Installing the New Circuit Breaker
With the old circuit breaker safely removed, it’s time to install the new one. Follow these steps to properly install the new circuit breaker:
- Verify the compatibility: Before installing the new circuit breaker, double-check that it is the correct size and type for your electrical panel. Make sure it matches the specifications of the old breaker to ensure compatibility and safe operation.
- Prepare the new circuit breaker: Inspect the new circuit breaker for any damage or defects. If everything looks good, ensure that the breaker is in the “off” position before proceeding with the installation.
- Position the new circuit breaker: Align the new circuit breaker with the vacant slot in the panel. Gently push the breaker into place, ensuring that it is securely seated and properly aligned with the other breakers.
- Tighten the screws: Once the breaker is in position, use a screwdriver to tighten the screws and secure it to the panel. Be cautious not to overtighten, as it could damage the breaker or the panel.
- Connect the wires: Take the wires that were previously connected to the old breaker and attach them to the appropriate terminals on the new breaker. Tighten the screws to securely fasten the wires, ensuring a solid connection.
- Double-check the connections: Before closing the panel, double-check that all the wires are properly connected and secure. Make sure there are no loose or exposed wires that could cause a safety hazard.
- Replace the cover plate: Carefully slide the cover plate back into position over the circuit breaker panel. Ensure that it fits snugly and aligns properly with the panel. Secure the cover plate with the screws provided.
It’s important to follow these steps precisely to ensure the new circuit breaker is installed correctly. Taking the time to properly install the breaker will help maintain the integrity and safety of your electrical system. Once the new circuit breaker is installed, you’re ready to move on to the final step: testing the new circuit breaker.
Step 5: Testing the New Circuit Breaker
After successfully installing the new circuit breaker, it’s important to test its functionality to ensure it is working properly. Follow these steps to test the new circuit breaker:
- Turn on the main circuit breaker: Switch the main circuit breaker back to the “on” position to restore power to the electrical panel.
- Reset any tripped breakers: Check if any other breakers have tripped during the installation process. If you find a tripped breaker, firmly switch it to the “off” position, and then back to the “on” position to reset it.
- Verify power to the circuit: Test the circuit that the new breaker is connected to by turning on the corresponding switches or outlets. Check if the circuit is functioning properly and if there are any signs of flickering lights or other electrical issues.
- Monitor the circuit breaker: Observe the newly installed circuit breaker for a while to ensure it doesn’t trip or exhibit any abnormal behavior. Listen for any unusual sounds or vibrations that could indicate a problem.
- Use a multimeter or voltage tester: For an extra level of confirmation, you can use a multimeter or voltage tester to measure the voltage and current in the circuit protected by the new breaker. This will help verify that the breaker is operating within the expected range.
By following these steps, you can verify that the new circuit breaker is functioning correctly and providing reliable protection to the circuit. If you encounter any issues or notice any irregularities during the testing process, consult a qualified electrician for further assistance.
With the new circuit breaker successfully installed and tested, you have completed the process of changing a circuit breaker. Congratulations on a job well done! Remember to keep any documentation or labels that may have come with the new breaker for future reference. It’s always a good idea to document any electrical work you have done in case you need to refer back to it or share the information with others.
Ensuring the safety and integrity of your electrical system is of utmost importance, and being able to change circuit breakers at home is a valuable skill. However, if you are ever unsure about any aspect of the process or feel uncomfortable working with electrical components, it’s best to enlist the help of a licensed electrician.
By following these guidelines and taking the necessary safety precautions, you can confidently handle circuit breaker replacements and maintain a safe and functional electrical system in your home.
Remember, if you have any doubts or concerns during the process, don’t hesitate to seek professional assistance. It’s better to be safe than sorry when it comes to electrical work.
Now that you have completed the circuit breaker replacement process, you can enjoy peace of mind knowing that your electrical system is safeguarded against overloads and faults.
Read more: What Are Circuit Breakers
Conclusion
Changing circuit breakers at home is a task that every homeowner should be familiar with. Understanding how circuit breakers function and being able to replace them when needed is crucial for maintaining a safe and reliable electrical system in your home.
In this article, we have covered the step-by-step process of changing circuit breakers. We started by discussing the importance of understanding circuit breakers and the role they play in protecting our electrical systems. We then provided a comprehensive list of tools and materials necessary for the task, along with safety precautions to ensure your well-being throughout the process.
We walked you through each step, from turning off the power and identifying the faulty circuit breaker, to removing the old breaker and installing the new one. We emphasized the importance of testing the new circuit breaker to ensure its proper functionality and the overall integrity of your electrical system.
Remember, safety should always be a priority when working with electricity. Following the guidelines and taking the necessary precautions will help you complete the circuit breaker replacement process safely and efficiently.
If you ever feel unsure or uncomfortable at any point during the process, it’s best to seek the assistance of a licensed electrician. They will have the expertise and experience to handle the task professionally.
By possessing the knowledge and skills to change circuit breakers at home, you have taken an important step towards maintaining the safety and functionality of your electrical system. With proper care and regular maintenance, your home will be protected from electrical faults and potential hazards.
We hope this article has provided you with the necessary information and guidance to successfully change circuit breakers. Remember to always prioritize safety, follow the recommended procedures, and consult professionals when needed. By doing so, you can confidently maintain and improve your electrical system.
Now that you have learned how to change circuit breakers, you are well-equipped to handle this important task and ensure the safety and efficiency of your home’s electrical system for years to come.
Now that you've mastered changing circuit breakers, why not tackle another aspect of home care? Our next guide focuses on essential upkeep tasks that every homeowner should know. From checking for leaks to cleaning gutters, maintaining your home prevents costly repairs and keeps everything running smoothly. Don’t miss out on our comprehensive guide to keeping your house in tip-top shape year-round.
Frequently Asked Questions about How To Change Circuit Breakers At Home
Was this page helpful?
At Storables.com, we guarantee accurate and reliable information. Our content, validated by Expert Board Contributors, is crafted following stringent Editorial Policies. We're committed to providing you with well-researched, expert-backed insights for all your informational needs.

0 thoughts on “How To Change Circuit Breakers At Home”