Home>Articles>How To Fry Chicken In Copper Chef Electric Skillet
Articles
How To Fry Chicken In Copper Chef Electric Skillet
Modified: January 6, 2024
Learn how to fry chicken easily in a Copper Chef electric skillet with our informative articles. Master the art of crispy, golden chicken every time.
(Many of the links in this article redirect to a specific reviewed product. Your purchase of these products through affiliate links helps to generate commission for Storables.com, at no extra cost. Learn more)
Introduction
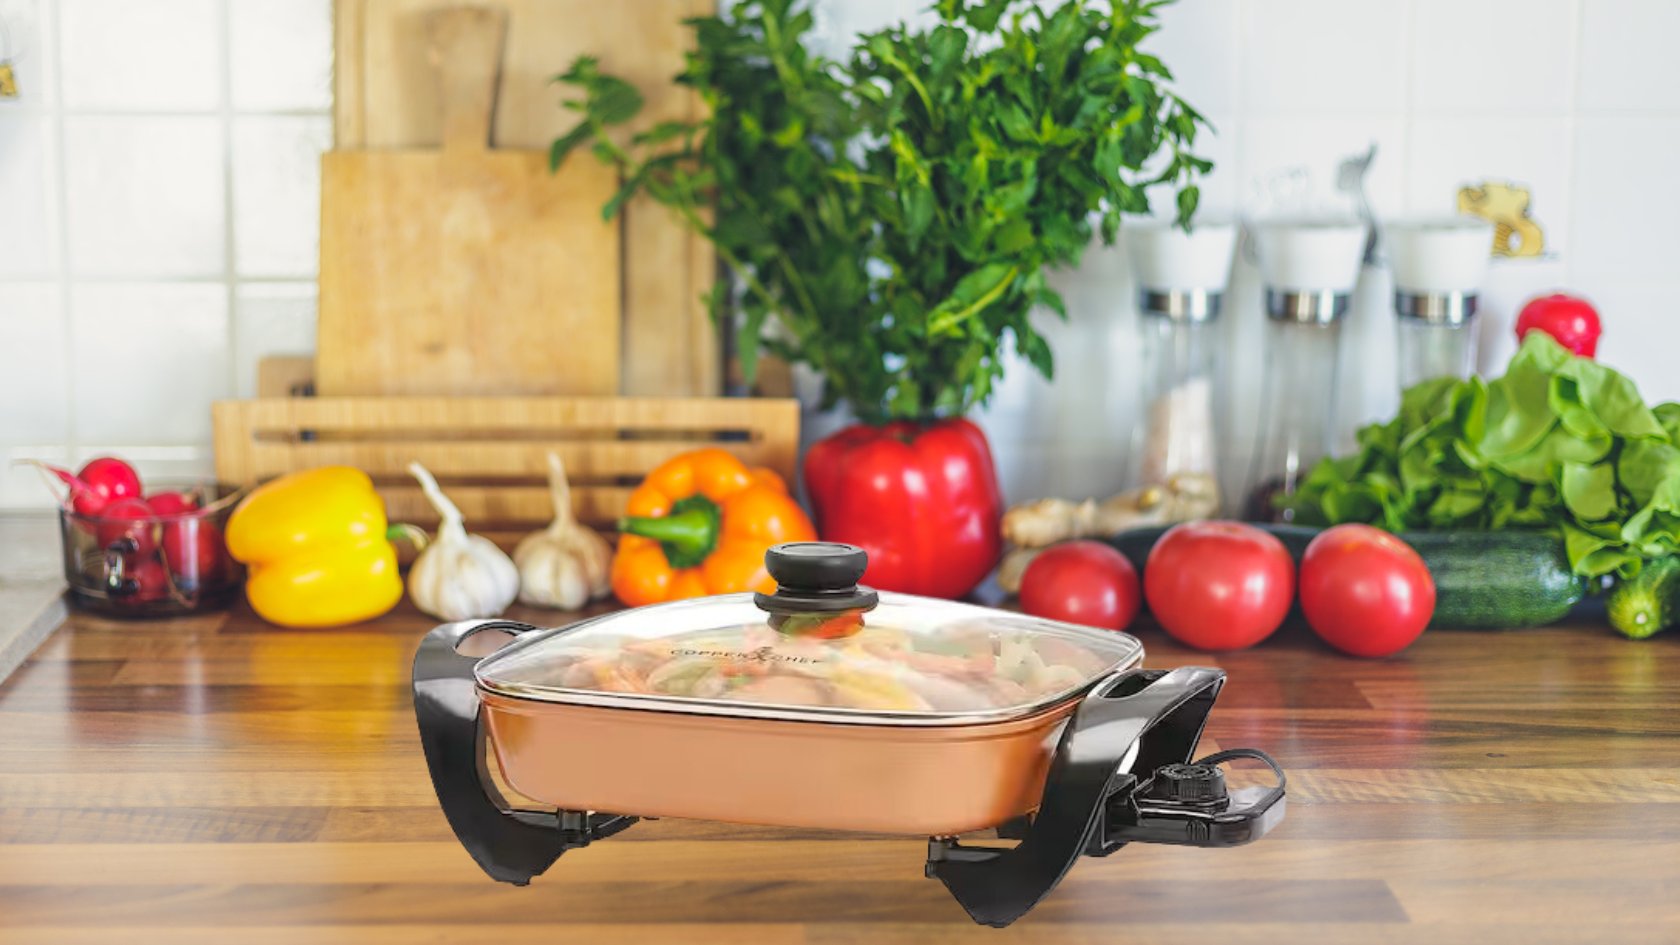
If you’re a fan of crispy, delicious fried chicken, then you’re in for a treat. In this article, we’re going to show you how to fry chicken in a Copper Chef electric skillet. The Copper Chef electric skillet is a versatile and efficient kitchen appliance that can be used for various cooking tasks, including frying.
With its non-stick surface and even heat distribution, the Copper Chef electric skillet ensures that your chicken is cooked to perfection – golden brown on the outside and juicy on the inside. Whether you’re craving some classic southern-style fried chicken or want to try a new recipe, this method will deliver mouth-watering results.
Before we dive into the step-by-step process of frying chicken in a Copper Chef electric skillet, there are a few essential things you need to know. First, make sure you have all the necessary ingredients and equipment on hand. This includes chicken pieces, seasoning, cooking oil, and of course, your Copper Chef electric skillet.
Next, it’s important to practice proper safety measures when working with hot oil. Make sure you have a splatter screen, oven mitts, and a kitchen thermometer to monitor the temperature. Additionally, be mindful of the amount of oil you’re using and avoid overcrowding the skillet to prevent accidents.
Now that we’ve covered the basics, let’s get started on preparing the chicken for frying in the Copper Chef electric skillet.
Key Takeaways:
- Master the art of frying crispy and juicy chicken in a Copper Chef electric skillet by following step-by-step instructions, from preparing and seasoning the chicken to monitoring oil temperature and achieving mouthwatering results.
- Prioritize safety, proper seasoning, and careful monitoring of oil temperature to ensure perfectly cooked and delicious fried chicken. Drain and rest the chicken before serving to maintain its crispy texture and enjoy the delightful flavors.
Read more: How To Fry Chicken In Electric Skillet
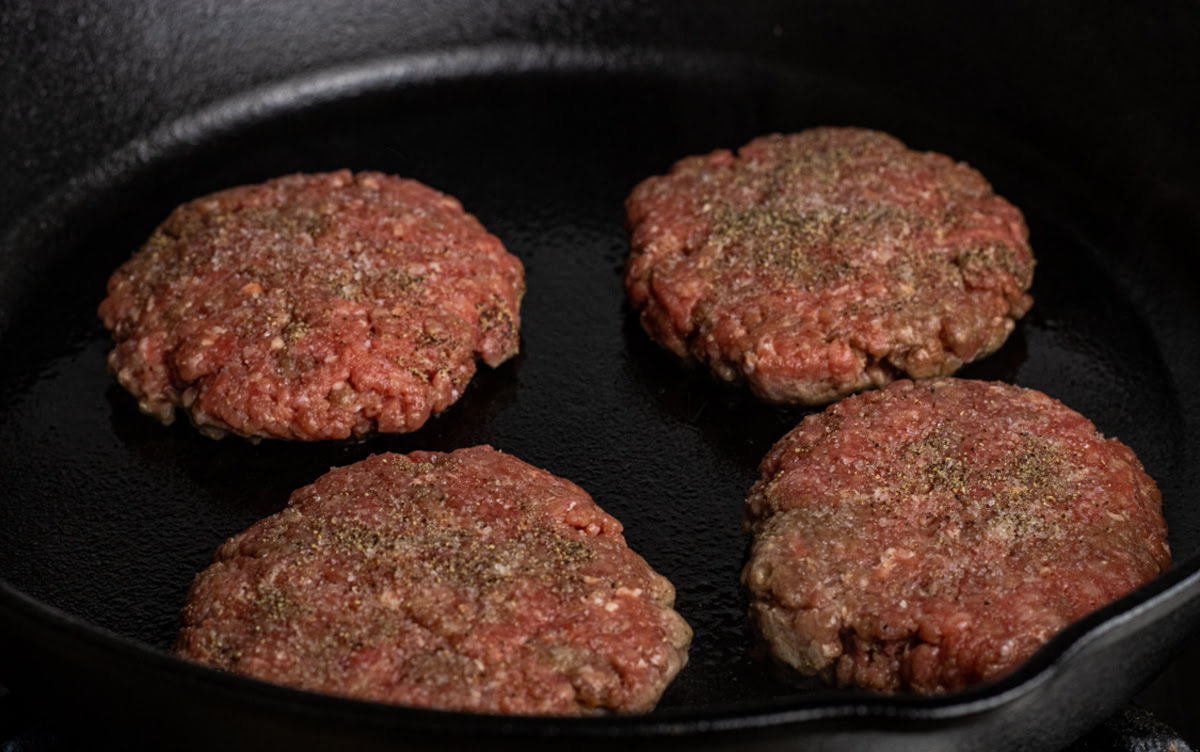
Preparing the Chicken
The first step in frying chicken in a Copper Chef electric skillet is to prepare the chicken pieces. Start by selecting your preferred cuts of chicken, whether it’s drumsticks, thighs, wings, or breast pieces. It’s essential to choose fresh, high-quality chicken for the best results.
Once you have your chicken pieces, give them a thorough rinse under cold water to remove any impurities. Pat them dry using paper towels to ensure that the surface is dry. The drier the chicken, the crispier it will get when fried.
Now, it’s time to trim any excess fat from the chicken pieces. Use a sharp knife to remove any visible fat, as this can contribute to excess greasiness when frying. Trimming the fat not only improves the texture of the chicken but also reduces the risk of flare-ups and splattering during the frying process.
After trimming the fat, you can optionally season the chicken with some salt and pepper. This step helps to enhance the flavor of the chicken, even before it’s coated in the seasoned flour mixture. However, remember that the majority of the seasoning will come from the flour coating, so don’t go overboard with the salt and pepper.
Once the chicken pieces are seasoned to your liking, set them aside and move on to the next step: preparing the seasoned flour mixture. This mixture will provide a crispy and flavorful coating for the chicken when fried.
In a bowl or shallow dish, combine all-purpose flour with your favorite seasonings. This can include garlic powder, onion powder, paprika, dried herbs, or any other spices that you enjoy. Mix well to evenly distribute the seasonings throughout the flour.
Now that the chicken is prepared and the seasoned flour mixture is ready, you’re all set to move on to the next step: preheating the Copper Chef electric skillet.
Seasoning the Chicken
Now that the chicken is prepared, it’s time to season it before frying. Seasoning the chicken not only adds flavor but also helps to enhance the overall taste of the dish. There are various ways to season chicken, depending on your personal preference and the flavor profile you want to achieve.
One simple yet delicious way to season the chicken is to use a combination of salt, pepper, and garlic powder. These three ingredients work together to bring out the natural flavors of the chicken. Begin by generously sprinkling salt and pepper all over the chicken pieces. Then, sprinkle some garlic powder to add a savory depth of flavor.
If you want to experiment with different flavors, you can try using other herbs and spices. For example, if you’re fond of spicy food, you can add cayenne pepper or chili powder to give the chicken a kick. Similarly, if you prefer a more aromatic taste, consider adding herbs like thyme, rosemary, or oregano.
When seasoning the chicken, take care to evenly distribute the seasonings on all sides of the chicken pieces. This ensures that every bite is flavorful and well-balanced. You can use your hands or a dry rub to gently massage the seasonings into the chicken, making sure they adhere well.
After seasoning the chicken, let it sit at room temperature for about 15-30 minutes. This allows the flavors to penetrate the meat and gives the chicken a chance to absorb the seasonings. It also helps to bring the chicken to room temperature, which promotes even cooking and ensures juicy results.
While the chicken is resting, it’s a good time to preheat the Copper Chef electric skillet. Preheating the skillet ahead of time ensures that the chicken cooks evenly and develops a crispy crust. Set the electric skillet to medium-high heat and allow it to heat up for a few minutes.
Once the chicken is seasoned and the skillet is preheated, it’s time to move on to the next step: adding oil to the skillet for frying.
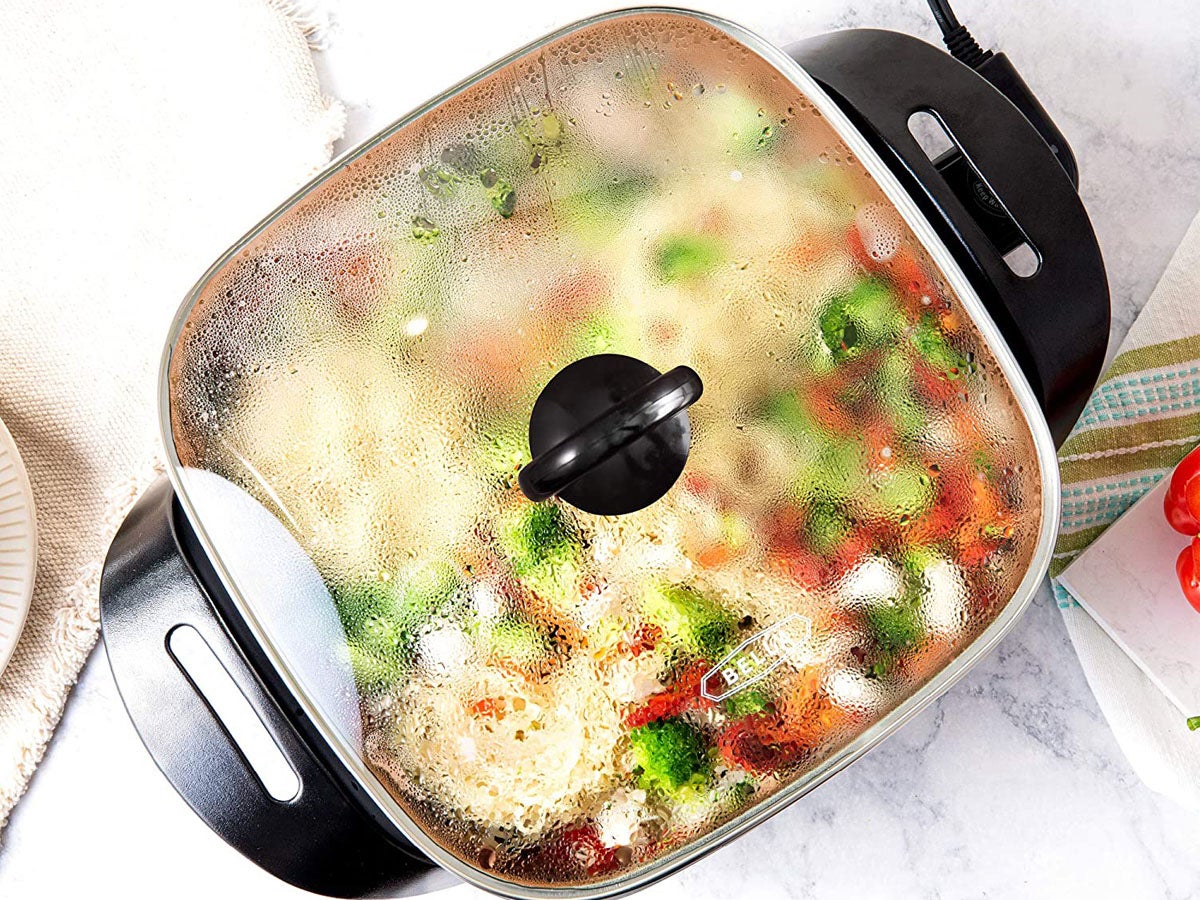
Preheating the Copper Chef Electric Skillet
Preheating the Copper Chef electric skillet is an important step in achieving perfectly fried chicken. The goal is to ensure that the skillet reaches the desired cooking temperature before adding the chicken. This helps to promote even cooking and results in a crispy exterior.
To preheat the Copper Chef electric skillet, plug it into an electrical outlet and set the temperature control to the desired frying temperature. It is recommended to set the skillet to medium-high heat to allow for optimal frying conditions.
Allow the skillet to preheat for about 5-7 minutes. The exact time may vary depending on your specific skillet model and the wattage of your electric skillet. During this time, the skillet will gradually heat up, and you may notice the surface becoming hot to the touch.
To test if the skillet is ready for frying, you can sprinkle a few drops of water onto the surface. If the drops sizzle and evaporate almost immediately, it’s a good indication that the skillet is at the right temperature for frying. If the water droplets simply sit on the surface without sizzling, allow the skillet to preheat for a bit longer.
It’s important to note that preheating the skillet may emit a slight odor or smoke. This is normal and is a result of the heating elements reaching their peak temperature. However, if you notice excessive smoke or a strong burning smell, it’s advisable to check the skillet for any issues or cleanliness before proceeding with frying.
Once the Copper Chef electric skillet is adequately preheated and at the desired temperature, it’s time to move on to the next step: adding oil to the skillet for frying the chicken.
Adding the Oil to the Skillet
Now that the Copper Chef electric skillet is preheated, it’s time to add the oil for frying the chicken. The choice of oil plays a significant role in determining the flavor and texture of the fried chicken. It is recommended to use oils with high smoke points, such as vegetable oil, canola oil, or peanut oil.
To add the oil, carefully pour it into the preheated skillet, ensuring that the bottom of the skillet is evenly coated. The amount of oil you need will depend on the size of your skillet and the quantity of chicken you’re frying. As a general rule, you’ll want enough oil to submerge the chicken pieces halfway.
Once the oil is added, allow it to heat up for a minute or two before proceeding to the next step. This ensures that the oil reaches the appropriate frying temperature and helps to achieve a crispy exterior. You can check the temperature of the oil using a kitchen thermometer, aiming for a range of 350-375°F (175-190°C).
While the oil is heating up, it’s a good practice to place a splatter screen over the skillet. This prevents any hot oil splatters from causing a mess or potential burns. Safety should always be a priority when frying, so make sure to take necessary precautions and use appropriate protective gear like oven mitts.
It’s important to note that when the chicken is added to the hot oil, it will cause the temperature to drop slightly. This is normal and can be managed by adjusting the heat as needed. You want to maintain a steady frying temperature throughout the process for optimal results.
With the oil heated and the skillet ready, it’s time to move on to the exciting part: frying the chicken in the Copper Chef electric skillet.
Frying the Chicken in the Skillet
Now that the oil is hot and the skillet is ready, it’s time to start frying the chicken in the Copper Chef electric skillet. Follow these steps to ensure that each chicken piece cooks evenly and develops a crispy and golden brown exterior.
Take a piece of chicken and dip it into the seasoned flour mixture, ensuring that it is evenly coated on all sides. Gently shake off any excess flour, then carefully place the chicken into the hot oil. Repeat this process for the remaining chicken pieces, being cautious not to overcrowd the skillet.
Frying the chicken in batches is important for maintaining the oil temperature and ensuring consistent results. Overcrowding the skillet can cause the chicken to cook unevenly, resulting in a soggy and less crispy exterior. It’s best to leave some space between the chicken pieces to allow for optimal frying.
As you add the chicken to the skillet, you may notice a gentle sizzle as the chicken comes into contact with the hot oil. This is a good sign and indicates that the chicken is starting to cook. Adjust the heat as needed to maintain a steady frying temperature between 350-375°F (175-190°C).
Allow the chicken to fry undisturbed for about 6-8 minutes per side. This cooking time may vary depending on the size and thickness of the chicken pieces. The goal is to achieve a crisp and golden brown crust on the outside while ensuring that the chicken is cooked through and juicy on the inside.
After the first side has cooked, use a pair of tongs to carefully flip each piece of chicken to the other side. Be cautious when flipping the chicken to avoid any splattering of hot oil. Continue frying the chicken for another 6-8 minutes or until it reaches an internal temperature of 165°F (74°C).
While the chicken is frying, it’s important to monitor the temperature of the oil and the chicken itself. Use a kitchen thermometer to check the oil temperature periodically and adjust the heat as needed. Also, check the internal temperature of the chicken pieces to ensure they are safely cooked before removing from the skillet.
Once the chicken pieces have achieved a crispy, golden brown exterior and an internal temperature of 165°F (74°C), they are ready to be removed from the skillet. Use tongs or a slotted spoon to carefully transfer the chicken to a wire rack or paper towel-lined plate to drain off any excess oil.
Now that the chicken is fried to perfection, it’s time to let it rest and drain before serving. This step allows the excess oil to be absorbed and ensures that the chicken remains crispy on the outside. Let the chicken rest for a few minutes before enjoying the deliciousness that awaits!
When frying chicken in a Copper Chef Electric Skillet, make sure the oil is hot enough before adding the chicken to ensure a crispy outer layer. Use a meat thermometer to ensure the chicken reaches an internal temperature of 165°F.
Monitoring the Temperature
When it comes to frying chicken in a Copper Chef electric skillet, monitoring the temperature is crucial for achieving perfectly cooked and delicious results. Keeping a close eye on both the oil temperature and the internal temperature of the chicken ensures that the frying process is controlled and optimal.
The oil temperature is important because it affects how the chicken cooks and how the crust develops. If the oil is too hot, the chicken may burn on the outside while remaining undercooked on the inside. On the other hand, if the oil is not hot enough, the chicken will absorb more oil and result in a greasy final product.
It is recommended to maintain an oil temperature between 350-375°F (175-190°C) for frying chicken. This range allows for a crisp and golden brown crust while ensuring that the chicken is cooked through to an internal temperature of 165°F (74°C).
To monitor the oil temperature, use a kitchen thermometer designed for deep frying. It’s important to periodically check the oil temperature throughout the frying process, especially after adding new batches of chicken. If the temperature drops significantly, adjust the heat accordingly to bring it back to the desired range.
In addition to monitoring the oil temperature, it’s also crucial to check the internal temperature of the chicken pieces. This ensures that the chicken is cooked through and safe to consume. Insert a kitchen thermometer into the thickest part of the chicken without touching the bone. The chicken should register at least 165°F (74°C) for safe consumption.
Monitoring the temperature not only ensures that the chicken is cooked properly but also helps to prevent under or overcooking. It’s important to be patient and allow the chicken to cook for the specified time, adjusting the heat as necessary to maintain the desired temperature range.
By carefully monitoring the oil temperature and the internal temperature of the chicken, you can ensure consistent and delicious results with every batch of fried chicken in your Copper Chef electric skillet. With this attention to detail, your chicken will come out perfectly cooked and ready to be enjoyed.
Flipping and Cooking the Other Side
Once the first side of the chicken is golden brown and crispy, it’s time to flip the chicken pieces and cook the other side in the Copper Chef electric skillet. This step ensures that both sides of the chicken are evenly cooked and develop a delicious crust.
Using a pair of tongs or a spatula, carefully flip each piece of chicken to the other side. Take caution when flipping to avoid any splattering of hot oil. The chicken should be cooked enough on the first side that it holds its shape and doesn’t fall apart when flipped.
Once the chicken pieces are flipped, allow them to cook for another 6-8 minutes, or until they reach an internal temperature of 165°F (74°C). The exact cooking time may vary depending on the size and thickness of the chicken pieces, so it’s important to keep an eye on them.
During this time, you may notice the second side of the chicken developing a beautiful golden brown color, similar to the first side. The heat from the skillet will continue to cook the chicken, ensuring that it is fully cooked through and juicy on the inside.
To avoid overcrowding the skillet, it’s best to fry the chicken in batches. If you have a large amount of chicken to cook, you can keep the first batch warm in a preheated oven while you fry the remaining batches. This way, you can ensure that all the chicken is cooked to perfection.
While the chicken is cooking on the second side, continue to monitor the oil temperature and adjust the heat as needed to maintain the optimal frying range of 350-375°F (175-190°C). This ensures that the chicken cooks evenly and achieves a crispy exterior without becoming overly greasy.
Once the chicken reaches an internal temperature of 165°F (74°C) on the second side, it is fully cooked and ready to be removed from the skillet. The chicken should have a crispy and golden brown crust on both sides, indicating that it has been cooked to perfection.
Using tongs or a slotted spoon, carefully transfer the cooked chicken pieces to a wire rack or a paper towel-lined plate to drain off any excess oil. Allowing the chicken to rest for a few minutes before serving helps to set the crust and ensures that the chicken remains crispy and delicious.
Now that the chicken is flipped, thoroughly cooked, and drained, it’s time to move on to the next steps: drainage and resting before serving.
Drainage and Resting
After frying the chicken in the Copper Chef electric skillet, the next step is to allow the chicken to drain and rest before serving. This step ensures that excess oil is removed, allowing the chicken to maintain its crispy texture and preventing it from becoming overly greasy.
Draining the fried chicken is essential to remove any excess oil that may have accumulated during the frying process. Excessive oil can make the chicken feel heavy and greasy, detracting from its overall taste and texture. To drain the chicken, you have a couple of options:
One option is to use a wire rack placed over a baking sheet or a plate lined with paper towels. Carefully transfer the fried chicken pieces onto the wire rack, allowing the excess oil to drip down. The elevated position of the wire rack helps to promote airflow and drainage.
Another option is to place the fried chicken directly on a plate lined with paper towels. The paper towels absorb the excess oil, preventing it from pooling around the chicken. Remember to replace the paper towels if they become saturated.
Allow the chicken to drain for a few minutes to ensure most of the excess oil is removed. This quick draining process helps to retain the crispy crust while reducing the greasiness, resulting in a more enjoyable eating experience.
After draining, it’s important to let the fried chicken rest for a few minutes before serving. Allowing the chicken to rest allows the flavors to settle and the crust to set. This resting period ensures that the chicken remains juicy and tender on the inside while preserving its crispiness on the outside.
The resting time also helps to redistribute the juices throughout the chicken, ensuring that every bite is flavorful and succulent. Avoid covering the chicken during this resting period, as it can trap steam and cause the crust to become soggy.
While the chicken is resting, you can prepare any sides or dipping sauces you plan to serve with it. This allows everything to come together seamlessly and ensures that the fried chicken is served at its best.
Now that the chicken has drained and rested, it’s time to plate it up, serve, and enjoy the crispy and delicious results of your frying efforts.
Read also: 14 Best Red Copper Electric Skillet for 2025
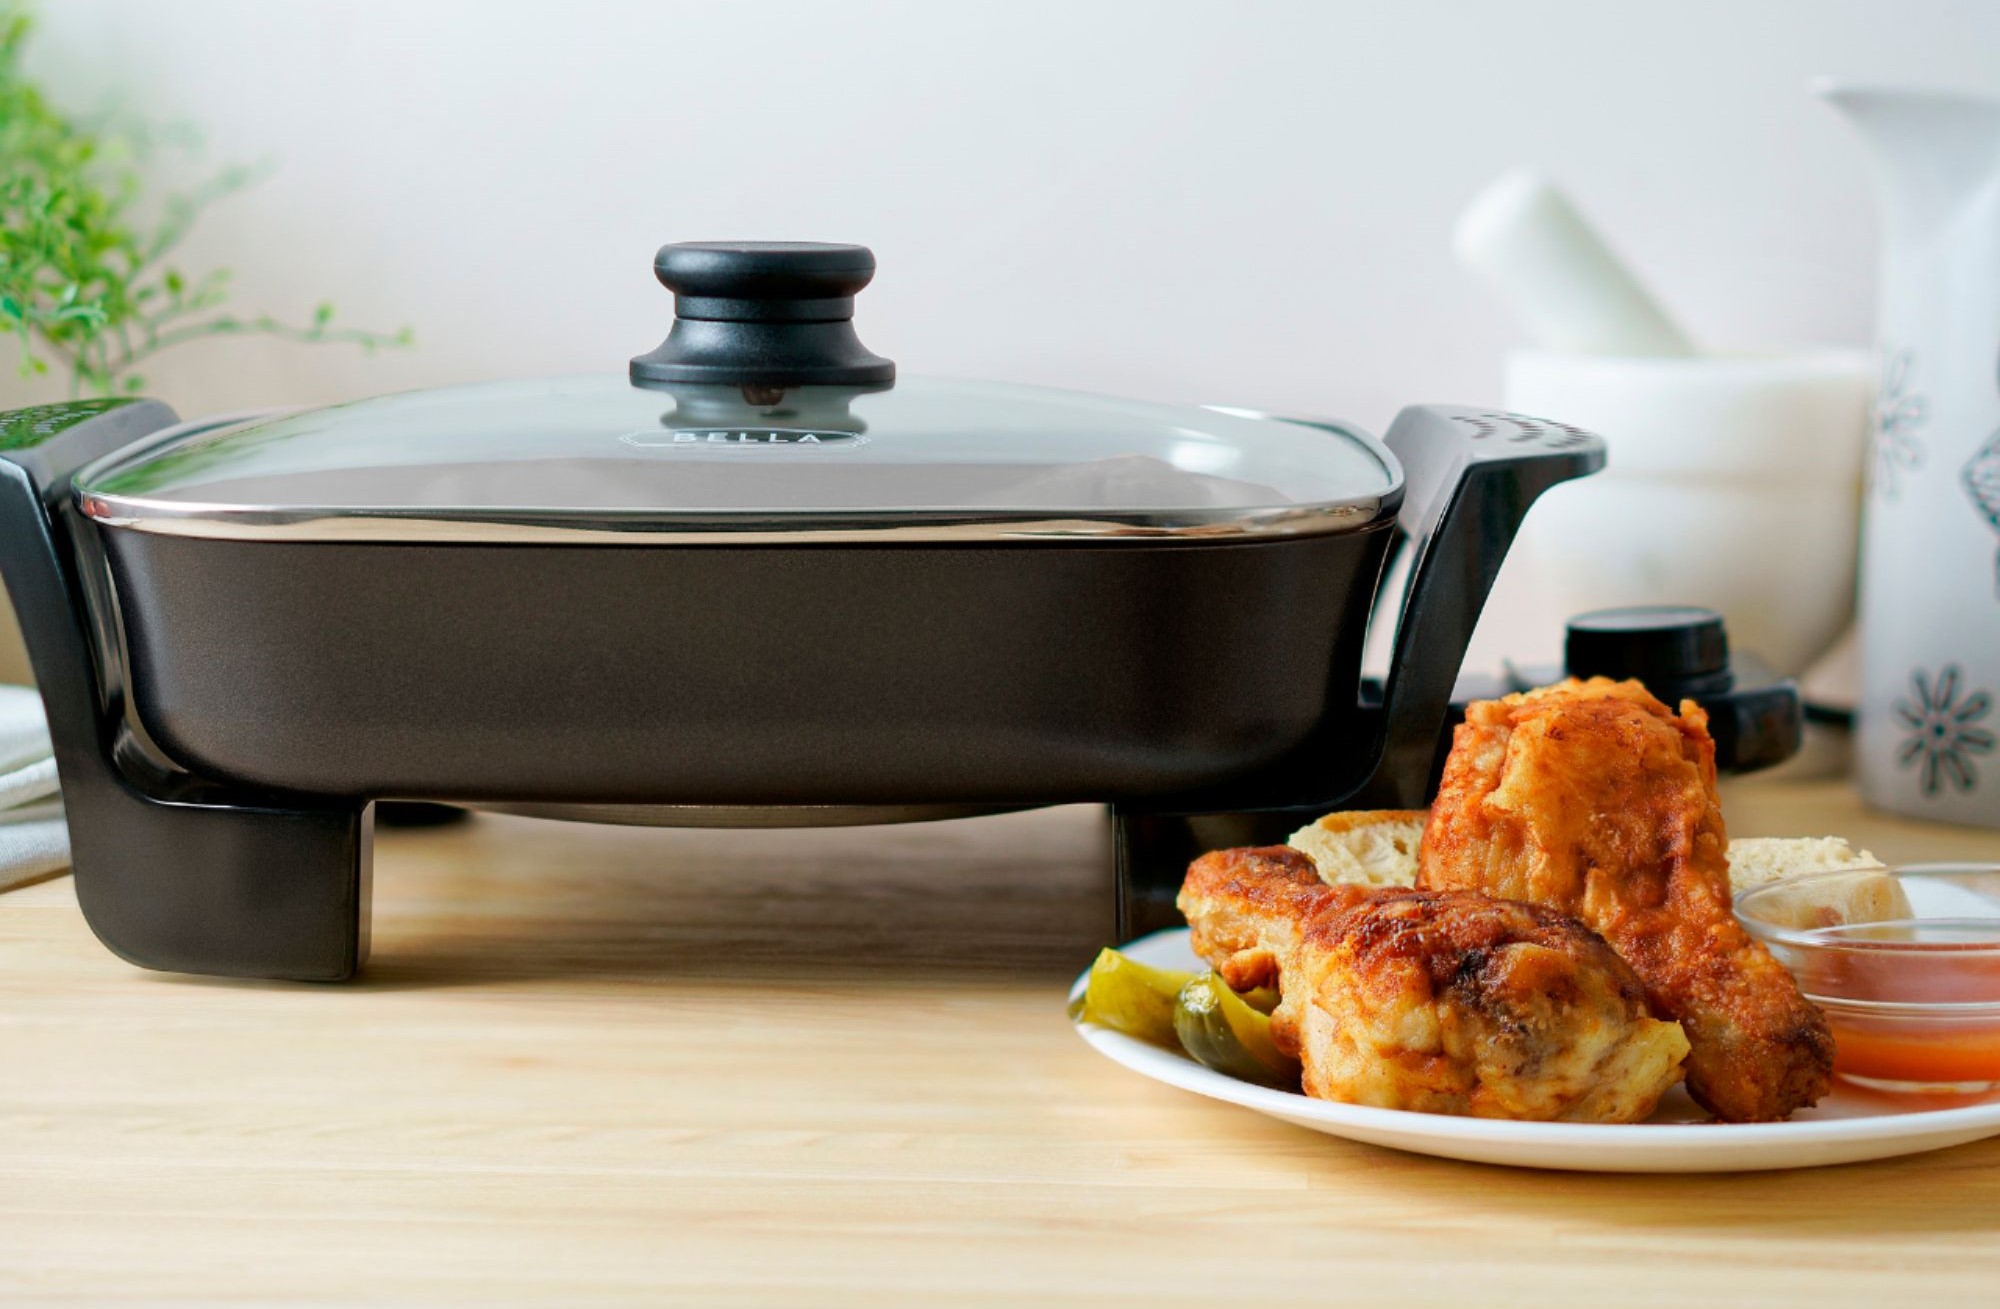
Serving and Enjoying the Crispy Chicken
After all the cooking and preparation, it’s finally time to savor the mouthwatering results of your fried chicken made in the Copper Chef electric skillet. Here are some tips on serving and enjoying your crispy chicken:
1. Presentation: Arrange the fried chicken pieces on a serving platter or individual plates. Take care to arrange them in an appealing and appetizing manner, ensuring that each piece is easily accessible.
2. Garnish: Consider garnishing the fried chicken with some fresh herbs, such as chopped parsley or chives, to add a pop of color and freshness to the dish.
3. Side Dishes: Fried chicken pairs well with a variety of side dishes. Classic options include coleslaw, mashed potatoes, cornbread, or biscuits. You can also add some steamed vegetables or a fresh garden salad for a lighter touch.
4. Dipping Sauces: Provide a selection of dipping sauces to accompany the fried chicken. Popular choices include barbecue sauce, hot sauce, ranch dressing, or honey mustard. Having a range of sauces allows each person to customize the flavor to their liking.
5. Serving Utensils: Make sure to provide appropriate utensils for serving the chicken, such as tongs or a serving fork. This ensures that everyone can easily and safely help themselves to their desired pieces of chicken.
6. Enjoying the Crispy Goodness: Take a moment to appreciate the aroma and texture of the fried chicken before taking your first bite. The crispy outer crust combined with the moist and flavorful meat is a culinary delight.
7. Eating Mindfully: When enjoying fried chicken, take your time to savor each bite. Pay attention to the flavors, the juiciness of the chicken, and the crispy texture. Eating mindfully allows you to fully appreciate the effort and deliciousness of your cooking.
8. Leftovers: If you have any leftover fried chicken, store it in an airtight container in the refrigerator. It can be reheated in the oven to maintain its crispiness or enjoyed cold as a tasty snack.
Remember, fried chicken is a versatile and beloved dish that can be enjoyed on its own or as part of a larger meal. Whether you’re having a casual family dinner or hosting a gathering with friends, serving your homemade crispy chicken is sure to be a crowd-pleaser.
Now, gather your loved ones, sit down at the table, and savor every delicious bite of your homemade fried chicken. Bon appétit!
Conclusion
Cooking crispy and flavorful fried chicken using a Copper Chef electric skillet is a fantastic way to enjoy this beloved classic dish. With its non-stick surface, even heat distribution, and versatility, the Copper Chef electric skillet makes the frying process efficient and enjoyable.
Throughout this article, we’ve covered the step-by-step process of frying chicken in the Copper Chef electric skillet. From preparing and seasoning the chicken to preheating the skillet, adding oil, and monitoring the temperature, each step is crucial in achieving perfectly cooked and delicious fried chicken.
By following these guidelines, you can achieve a crispy, golden brown exterior while ensuring the chicken remains juicy and flavorful on the inside. The combination of proper seasoning, preheating the skillet, and careful monitoring of the frying process leads to mouthwatering results that are sure to satisfy your craving for fried chicken.
Remember to prioritize safety throughout the cooking process, using protective gear, monitoring temperatures closely, and being cautious with hot oil. Additionally, be mindful of the oil you choose and the amount of chicken you fry at once to avoid accidents and uneven cooking.
Once the chicken is fried to perfection, allowing it to drain and rest before serving ensures that excess oil is removed, and the crust remains crispy. Serve the fried chicken with your choice of sides, dipping sauces, and garnishes to create a beautiful and delicious meal that will impress your family and friends.
Whether it’s a special occasion, a family gathering, or simply a weekend treat, frying chicken in a Copper Chef electric skillet is a delightful way to enjoy this classic dish. So, get your skillet ready, gather your ingredients, and embark on a culinary adventure that will result in crispy, flavorful, and absolutely delicious fried chicken.
Happy cooking and happy eating!
Frequently Asked Questions about How To Fry Chicken In Copper Chef Electric Skillet
Was this page helpful?
At Storables.com, we guarantee accurate and reliable information. Our content, validated by Expert Board Contributors, is crafted following stringent Editorial Policies. We're committed to providing you with well-researched, expert-backed insights for all your informational needs.


0 thoughts on “How To Fry Chicken In Copper Chef Electric Skillet”