Home>Articles>How To Cook Chicken Breast On Electric Skillet

Articles
How To Cook Chicken Breast On Electric Skillet
Modified: August 25, 2024
Learn the best way to cook chicken breast on an electric skillet with these expert articles. Discover tips, techniques, and delicious recipes for perfectly juicy and flavorful chicken every time.
(Many of the links in this article redirect to a specific reviewed product. Your purchase of these products through affiliate links helps to generate commission for Storables.com, at no extra cost. Learn more)
Introduction
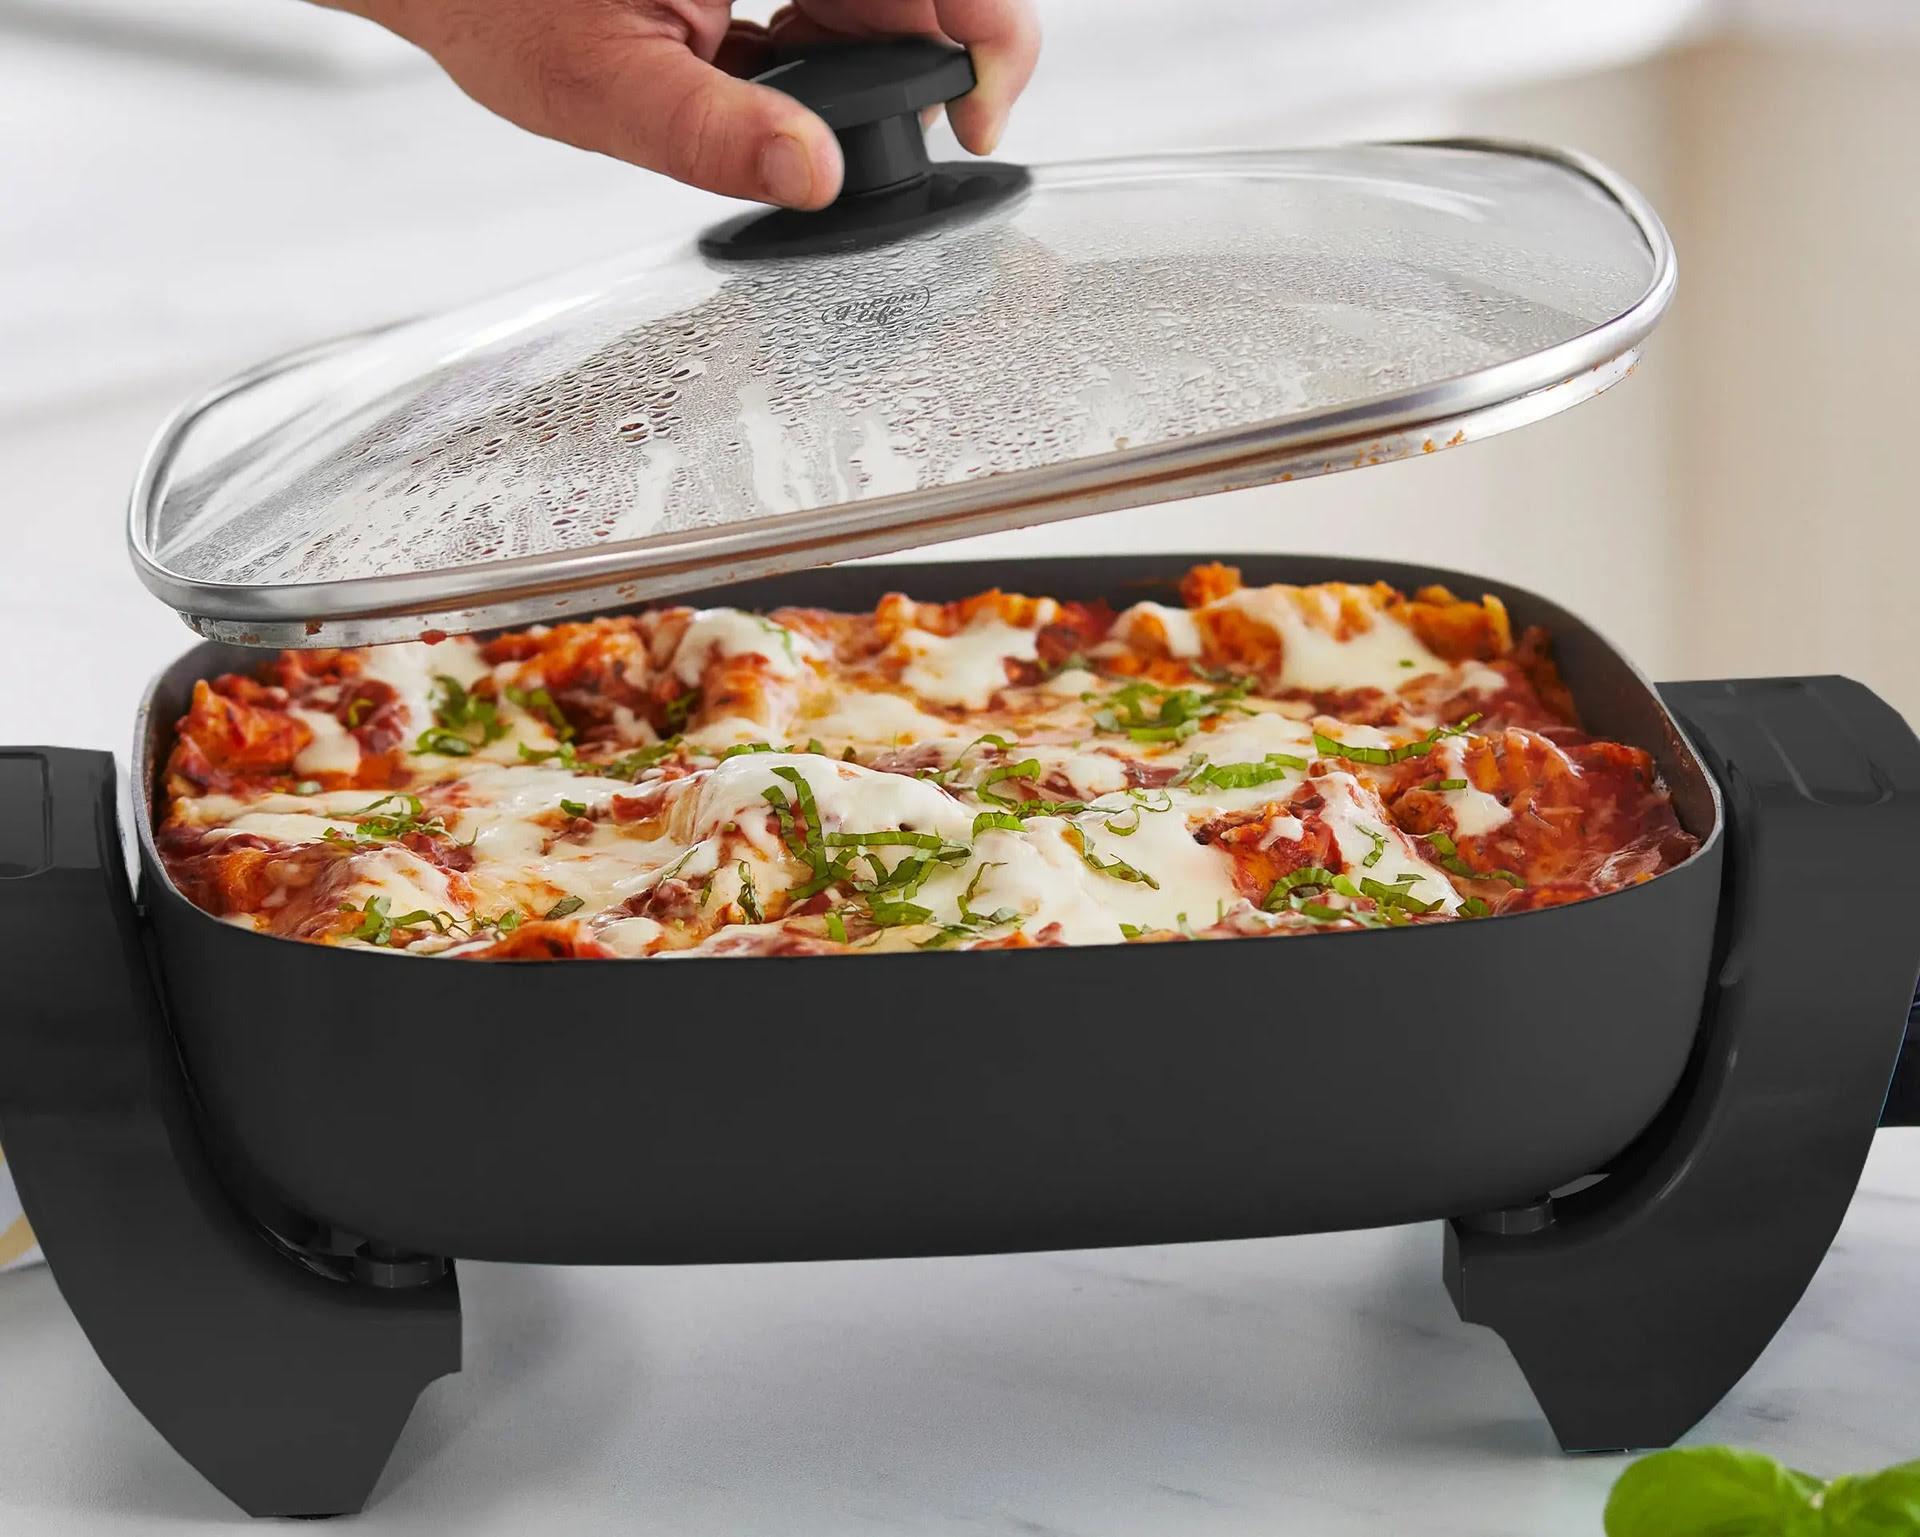
Are you looking for a quick and convenient way to cook chicken breast? Look no further than your trusty electric skillet. With its versatility and ability to maintain even heat distribution, an electric skillet can be a game-changer when it comes to preparing tender and juicy chicken breast.
In this article, we will guide you through the step-by-step process of cooking chicken breast on an electric skillet. Whether you are a beginner in the kitchen or an experienced cook, these tips and techniques will help you achieve perfectly cooked chicken breast every time.
Before we delve into the details, let’s talk about the importance of choosing the right chicken breast.
Key Takeaways:
- Elevate your cooking skills with these tips for perfectly cooked chicken breast on an electric skillet. From choosing the right cut to seasoning and serving, create delicious and juicy chicken every time.
- Ensure a convenient and efficient cooking experience with an electric skillet. Follow proper preparation, seasoning, and cooking techniques to achieve tender, flavorful, and perfectly cooked chicken breast.
Read more: How To Fry Chicken In Electric Skillet
Choosing the Chicken Breast
When it comes to cooking chicken breast, selecting the right cut of meat is crucial. Here are a few things to consider when choosing your chicken breast:
- Freshness: Always opt for fresh chicken breast. Look for meat that is pink in color and does not have a foul smell. Avoid chicken breast that looks pale or has a slimy texture.
- Size: Choose chicken breast pieces that are uniform in size. This will ensure even cooking and prevent some pieces from becoming overcooked while others remain undercooked.
- Boneless or bone-in: Decide whether you want boneless chicken breast or bone-in chicken breast. Boneless chicken breast is a popular choice for easy and quick cooking. On the other hand, bone-in chicken breast offers more flavor and keeps the meat moist during cooking.
- Skin-on or skinless: Consider whether you prefer chicken breast with the skin on or skinless. The skin adds extra flavor and helps to keep the meat moist, but it also adds more fat. Skinless chicken breast is a healthier option.
Once you have chosen the chicken breast, it’s time to prepare it for cooking.
Preparing the Chicken Breast
Before cooking the chicken breast on your electric skillet, it is important to properly prepare the meat. Follow these steps for optimal results:
- Trimming: Start by removing any excess fat or skin from the chicken breast. Trimming the fat will help prevent flare-ups and ensure a healthier meal.
- Pounding: If the chicken breast is thick, you can use a meat mallet or the back of a heavy pan to pound it to an even thickness. This will help the chicken cook more evenly and will reduce the cooking time.
- Brining (optional): Consider brining the chicken breast to enhance its flavor and keep it moist during cooking. Brining involves soaking the chicken in a mixture of water, salt, and other seasonings for a few hours before cooking. This step is optional but highly recommended for juicy and flavorful chicken breast.
- Patting dry: Before seasoning the chicken, make sure to pat it dry with a paper towel. Removing excess moisture will help to achieve a crispy exterior.
Now that the chicken breast is prepared, it’s time to move on to the next step: seasoning.
Seasoning the Chicken Breast
Seasoning the chicken breast is an essential step in adding flavor to your dish. Here are some tips for seasoning the chicken breast:
- Salt and pepper: Start by seasoning the chicken breast with salt and pepper. This simple combination enhances the natural flavors of the meat.
- Herbs and spices: Get creative with your choice of herbs and spices. Add a sprinkle of paprika, garlic powder, onion powder, or a blend of your favorite herbs for added flavor.
- Marinades: Consider marinating the chicken breast for a more intense flavor. You can use a pre-made marinade or create your own by combining ingredients like olive oil, lemon juice, soy sauce, and herbs.
- Oil: Lightly brush or drizzle some oil on the chicken breast to prevent sticking and add a golden brown color to the exterior.
Once the chicken breast is seasoned to your liking, it’s time to preheat your electric skillet.
Preheating the Electric Skillet
Before you start cooking the chicken breast, it’s important to preheat your electric skillet. Here’s how to do it:
- Plug in the skillet: Make sure the electric skillet is plugged into a power outlet and turned on.
- Set the temperature: Adjust the temperature dial or setting on the electric skillet to the desired cooking temperature. For chicken breast, a medium-high heat setting is usually ideal.
- Allow time to preheat: Give the electric skillet some time to preheat. This typically takes around 5-10 minutes, depending on the model and temperature setting.
- Test the heat: To ensure that the skillet is properly heated, you can sprinkle a few drops of water onto the surface. If the water sizzles and evaporates quickly, the skillet is ready for cooking.
Preheating the electric skillet ensures that the chicken breast cooks evenly and prevents it from sticking to the surface. Once the skillet is preheated, it’s time to start cooking the chicken breast.
To ensure even cooking, pound the chicken breast to an even thickness before cooking on the electric skillet. This will help it cook more evenly and prevent dryness.
Read more: How To Broil Chicken In An Electric Skillet
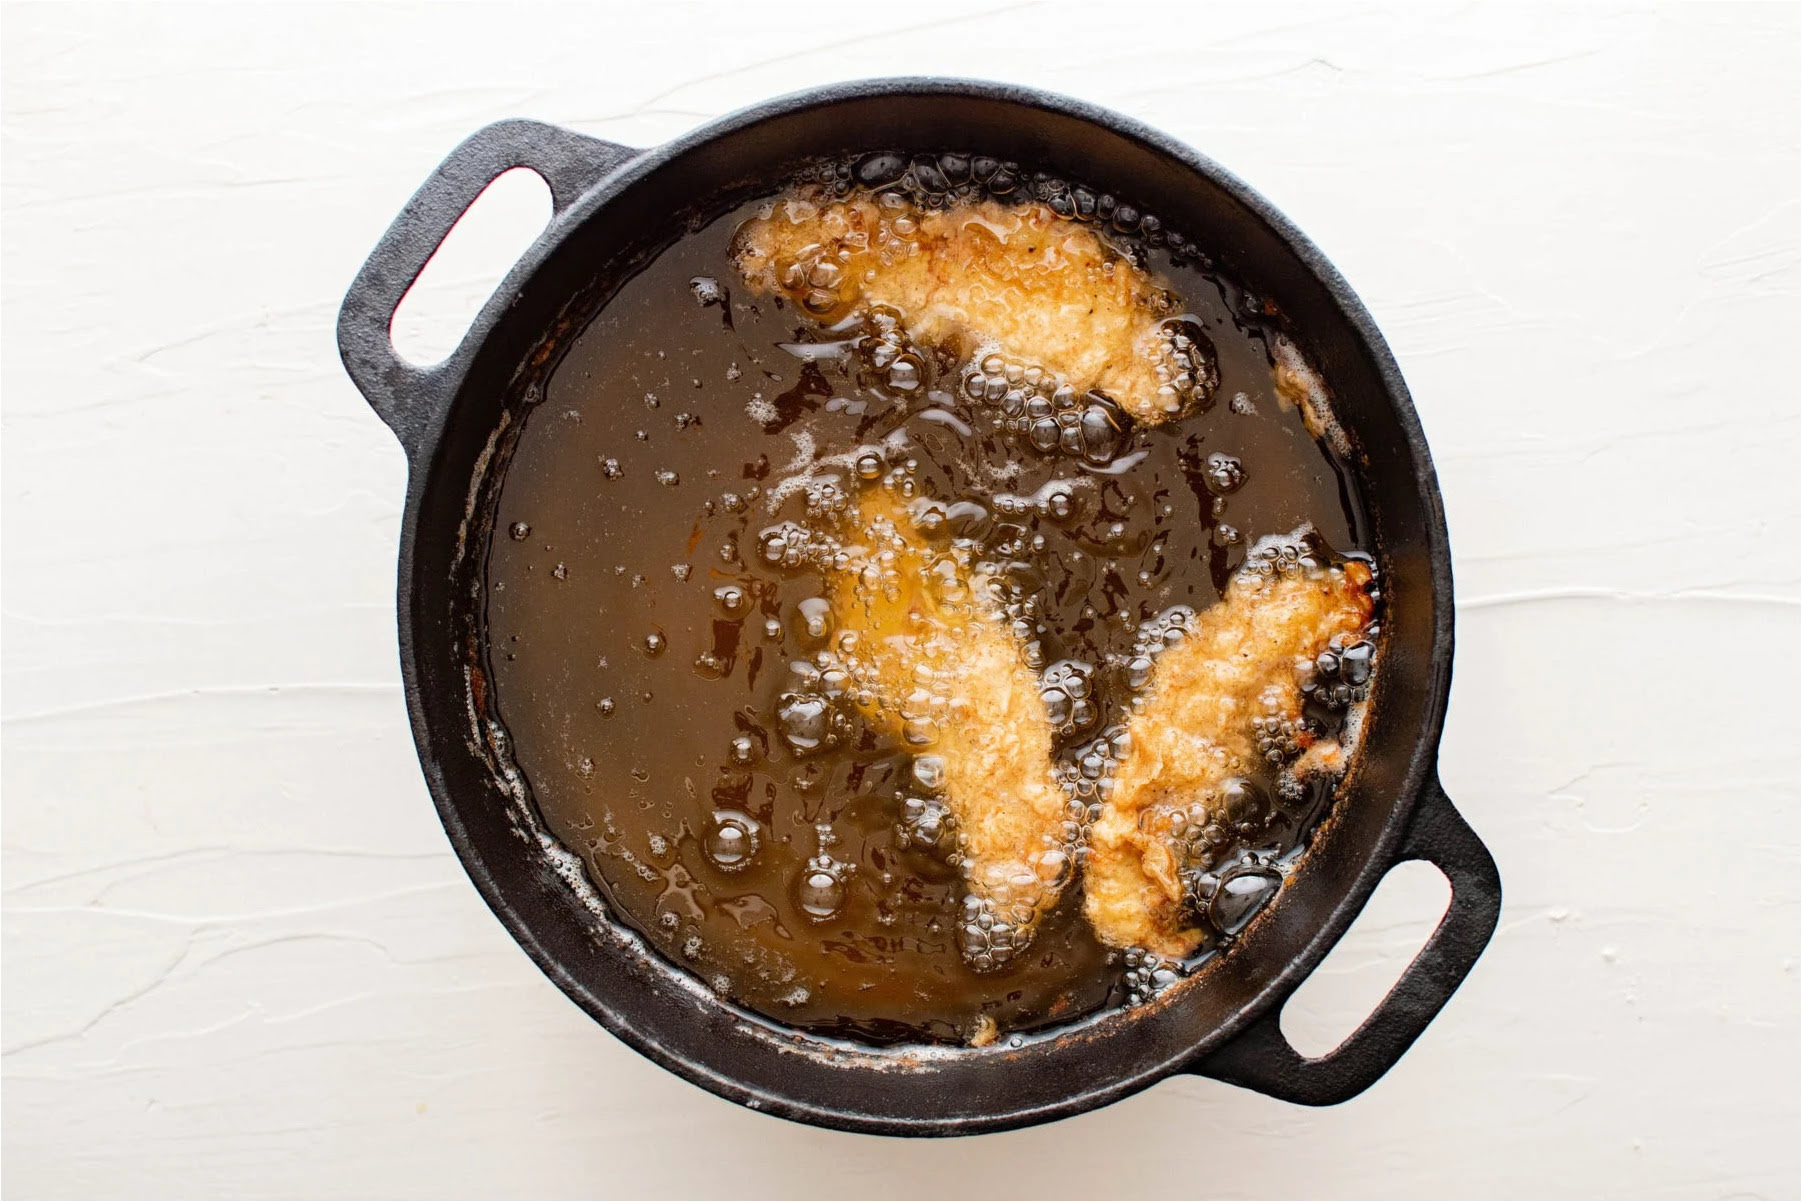
Cooking the Chicken Breast
Now that your electric skillet is preheated and ready to go, it’s time to start cooking the chicken breast. Follow these steps for perfectly cooked chicken breast:
- Add oil: Start by adding a small amount of oil to the preheated electric skillet. Swirl the oil around to coat the surface evenly.
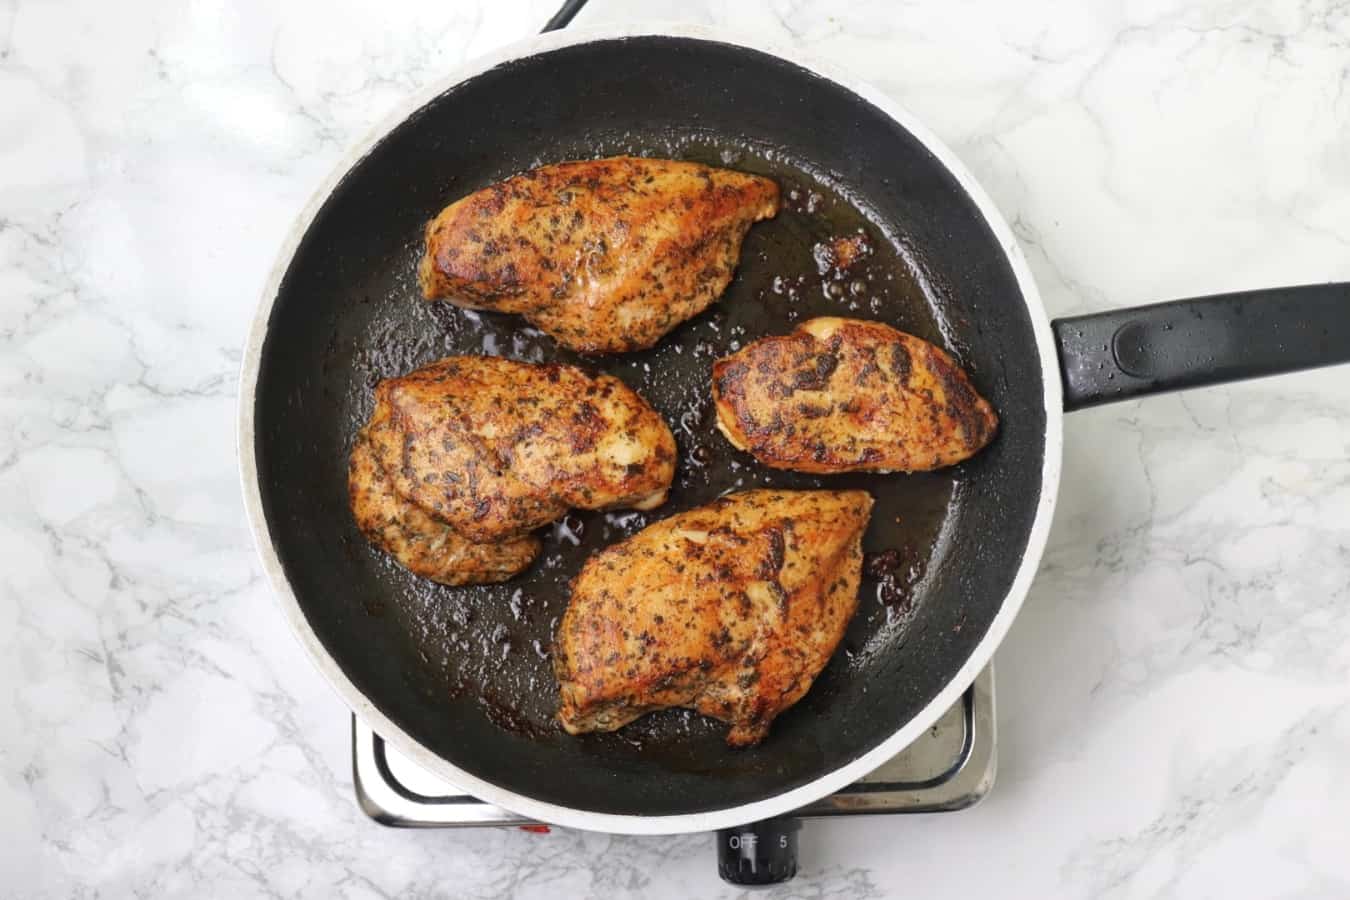
- Place the chicken breast: Carefully place the seasoned chicken breast onto the electric skillet. Make sure to leave enough space between each piece to ensure even cooking.
- Cook on one side: Allow the chicken breast to cook undisturbed for about 5-7 minutes, depending on the thickness of the meat. This will help the chicken develop a golden brown crust.
- Flip the chicken: Using tongs or a spatula, flip the chicken breast over to cook the other side. Continue cooking for another 5-7 minutes.
- Adjust heat if needed: If the chicken breast is browning too quickly, you can reduce the heat slightly to ensure that it cooks evenly and doesn’t burn.
- Cooking time: The cooking time may vary depending on the thickness of the chicken breast. Use a meat thermometer to check the internal temperature. Chicken breast is safe to eat when it reaches an internal temperature of 165°F (75°C).
Once the chicken breast is cooked through, it’s time to check for doneness and serve it up.
Checking the Chicken Breast’s Doneness
Checking the doneness of the chicken breast is crucial to ensure that it is cooked through and safe to eat. Follow these methods to determine if the chicken breast is done:
- Visual cues: One way to check if the chicken breast is cooked is by examining its appearance. The meat should have a golden brown color on the outside, and the juices should run clear. If you notice any pinkness or redness in the meat, continue cooking until it is no longer present.
- Temperature test: The most accurate way to determine the doneness of the chicken breast is by using a meat thermometer. Insert the thermometer into the thickest part of the meat without touching the bone. The internal temperature should reach 165°F (75°C) to ensure that it is fully cooked.
- Texture and touch: Cooked chicken breast should be firm to the touch and spring back slightly when pressed. If it feels soft and mushy, it is likely undercooked and needs more time on the heat.
Once the chicken breast is cooked through and reaches the appropriate temperature, it’s time to remove it from the electric skillet and get ready to serve.
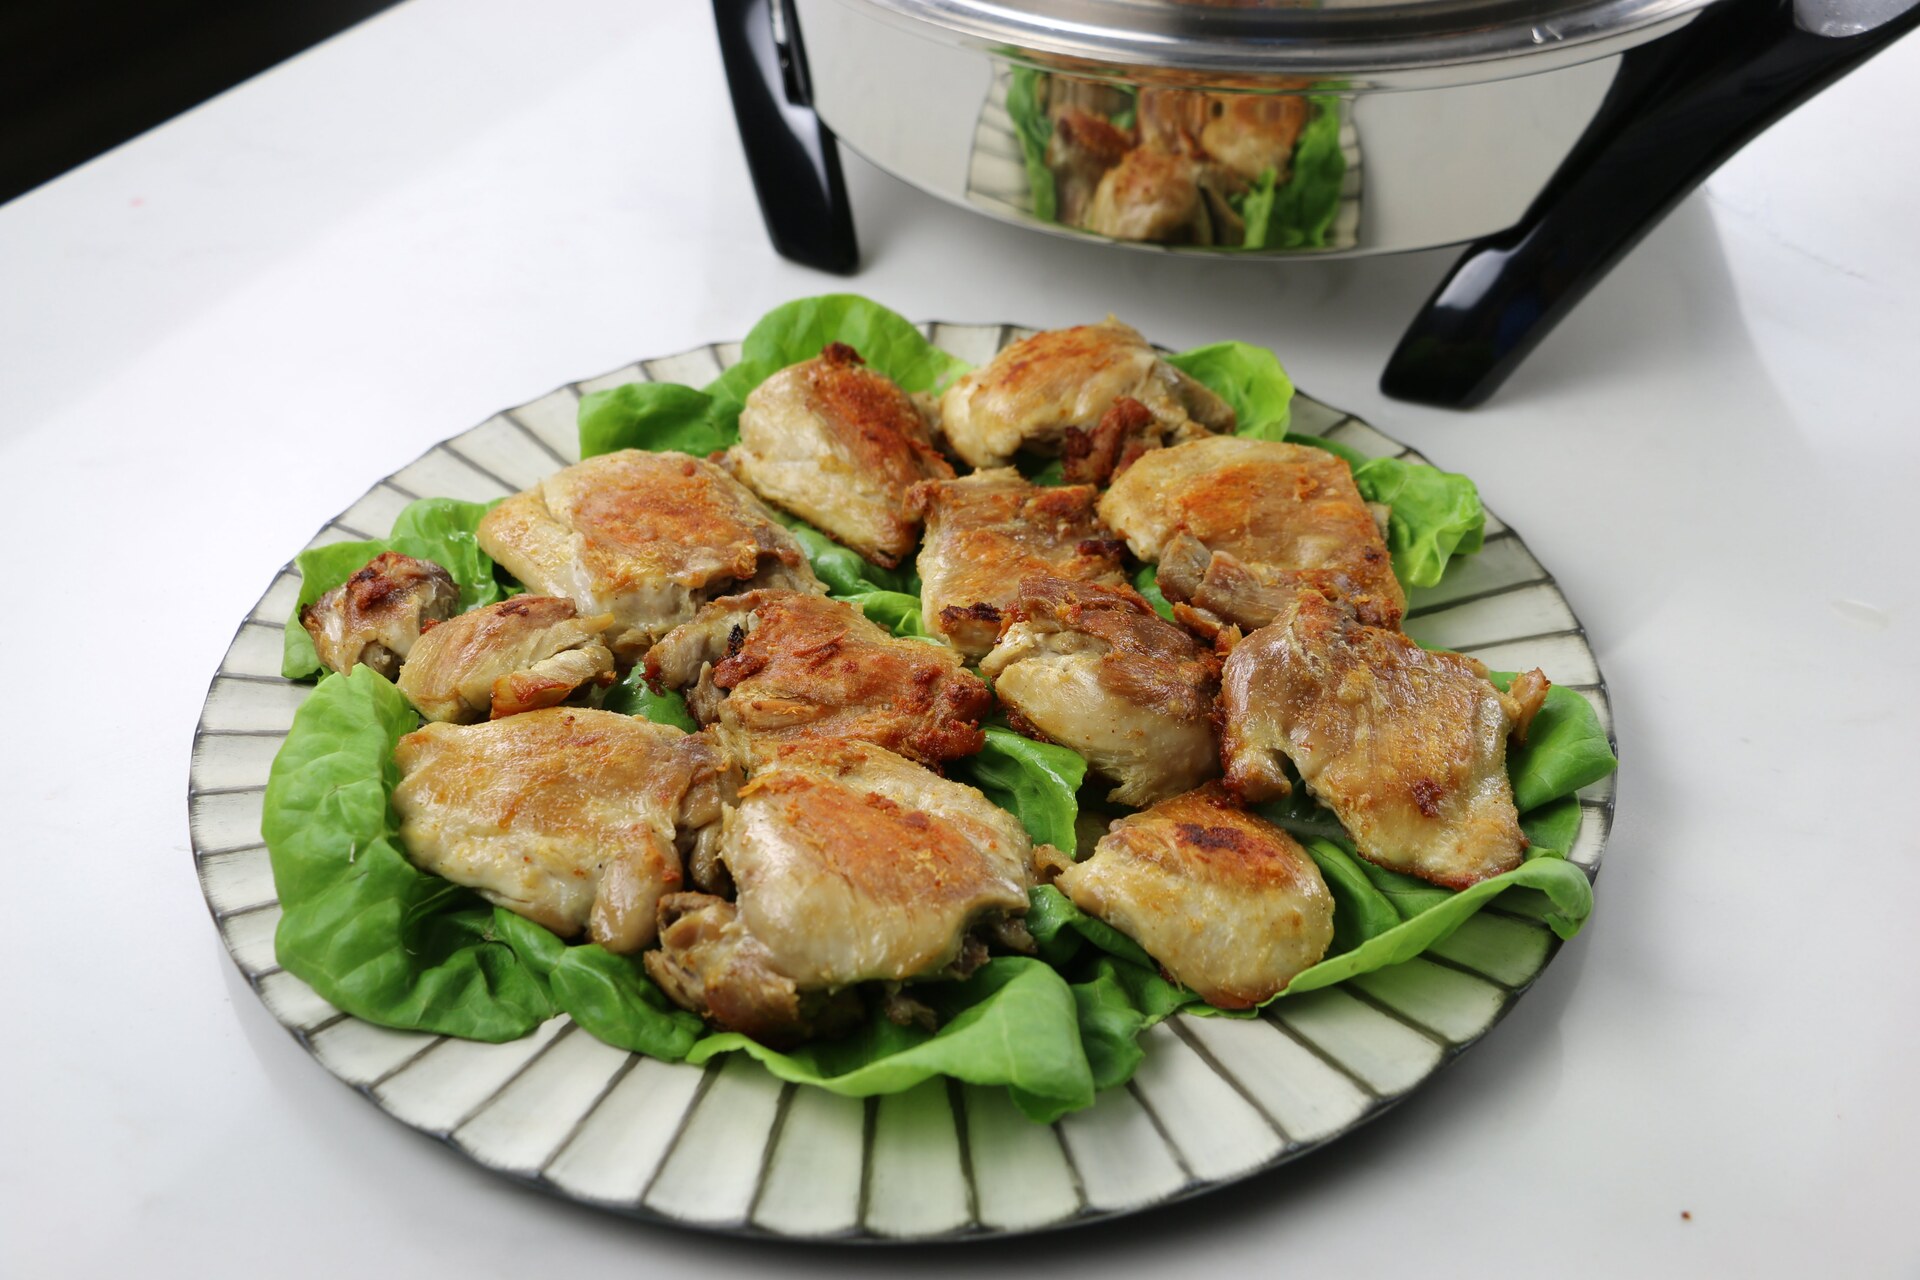
Serving the Cooked Chicken Breast
Now that your chicken breast is cooked to perfection, it’s time to plate it and enjoy a delicious meal. Here are some ideas for serving the cooked chicken breast:
- Slice or chop: Depending on your preference, you can either slice the chicken breast into thin slices or chop it into bite-sized pieces. This will make it easier to serve and enjoy.
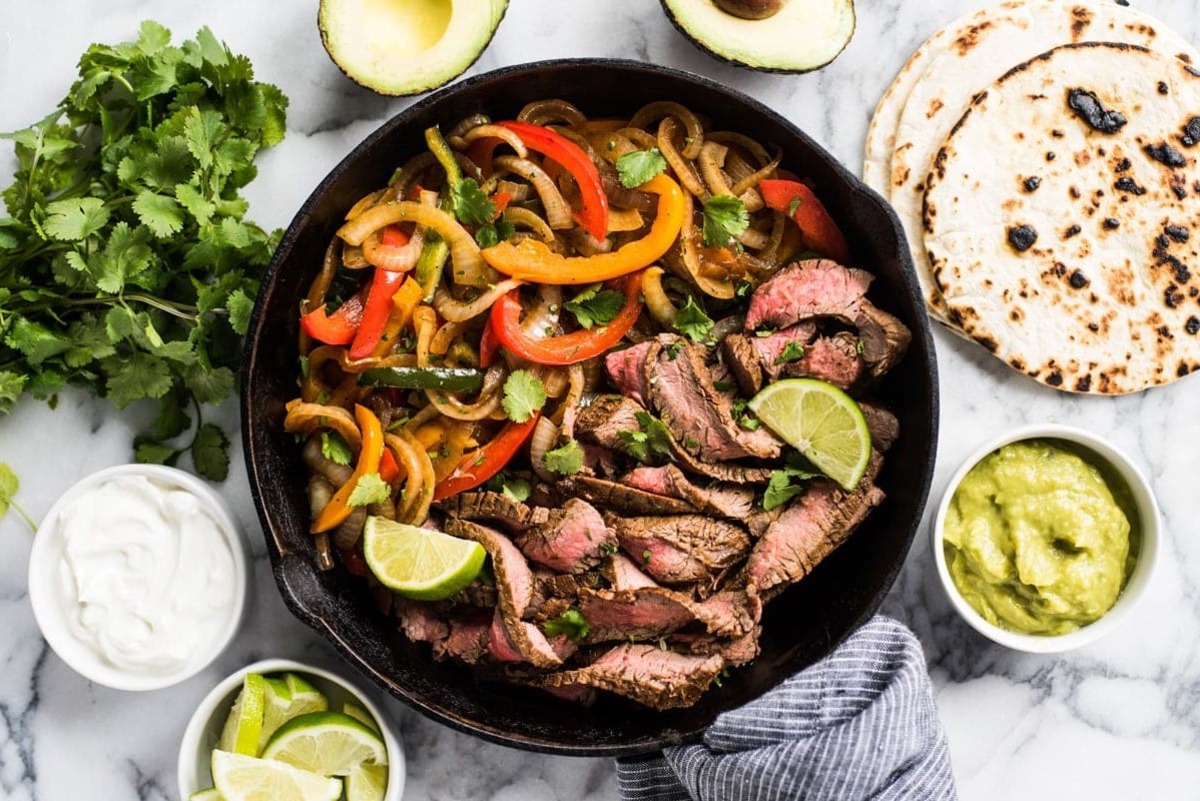
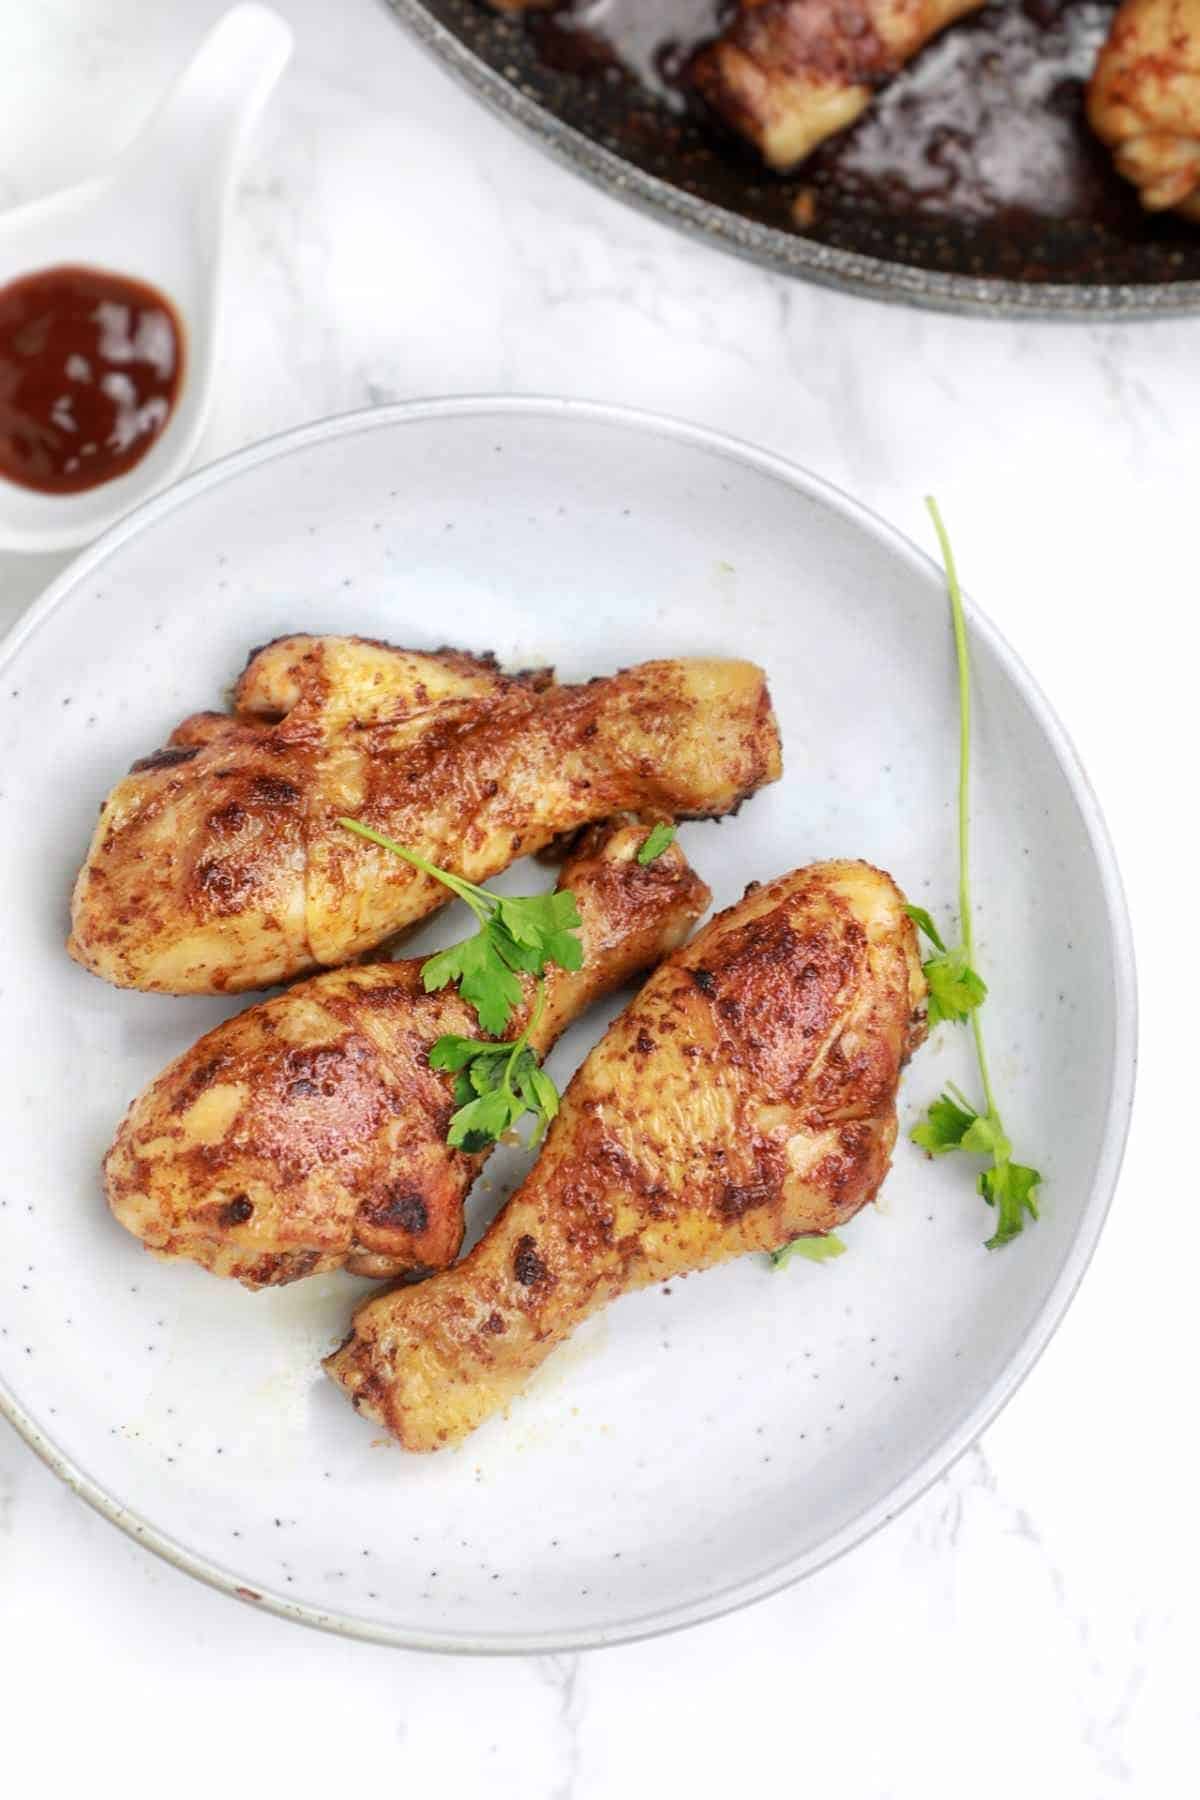
- Sauces and condiments: Enhance the flavor of the chicken breast by serving it with your favorite sauces and condiments. Consider options such as BBQ sauce, teriyaki sauce, gravy, or a squeeze of lemon juice.
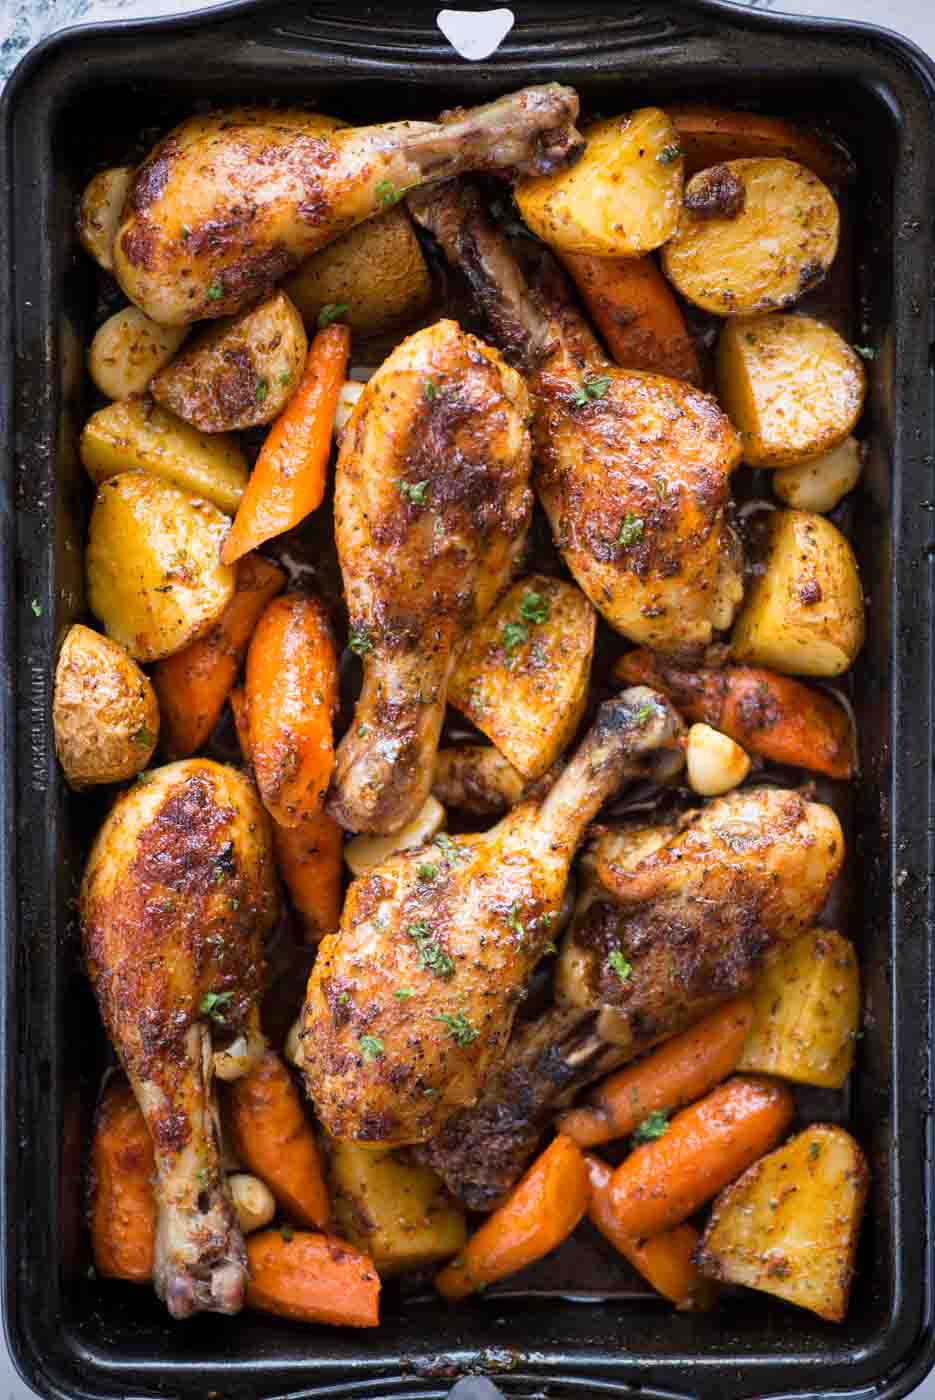
- Accompaniments: Pair the chicken breast with delicious sides like steamed vegetables, roasted potatoes, or a refreshing salad. This will complete the meal and provide a well-rounded dining experience.
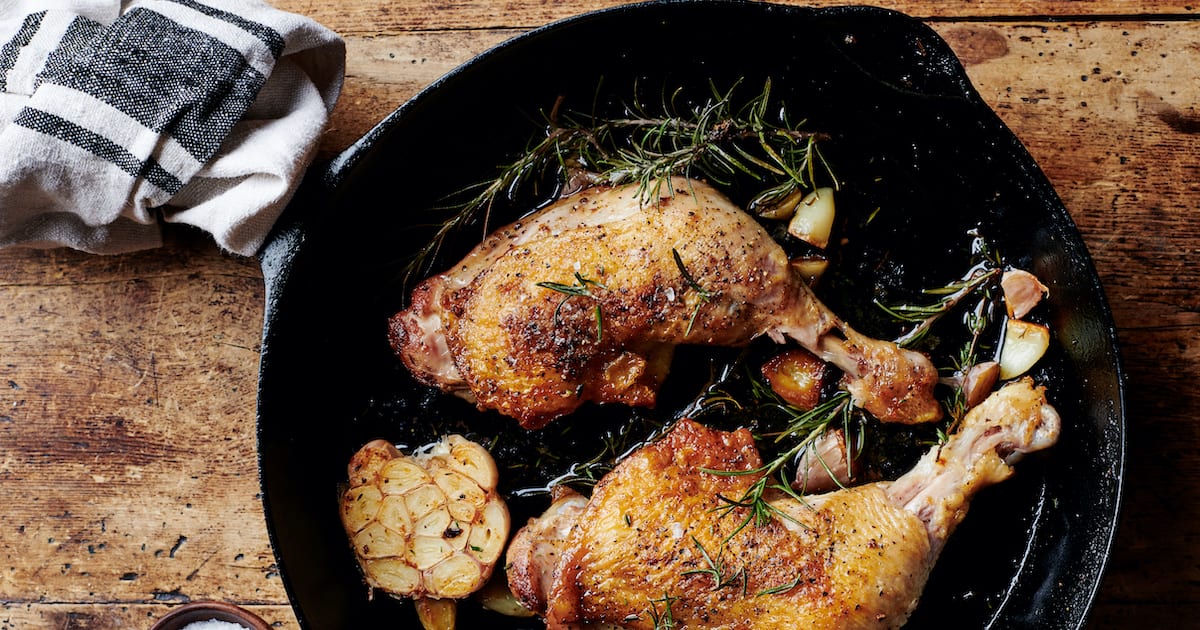
- Garnish: Add a finishing touch to your dish by garnishing the chicken breast with fresh herbs, such as parsley or basil. Not only will this add visual appeal, but it will also add a burst of flavor.
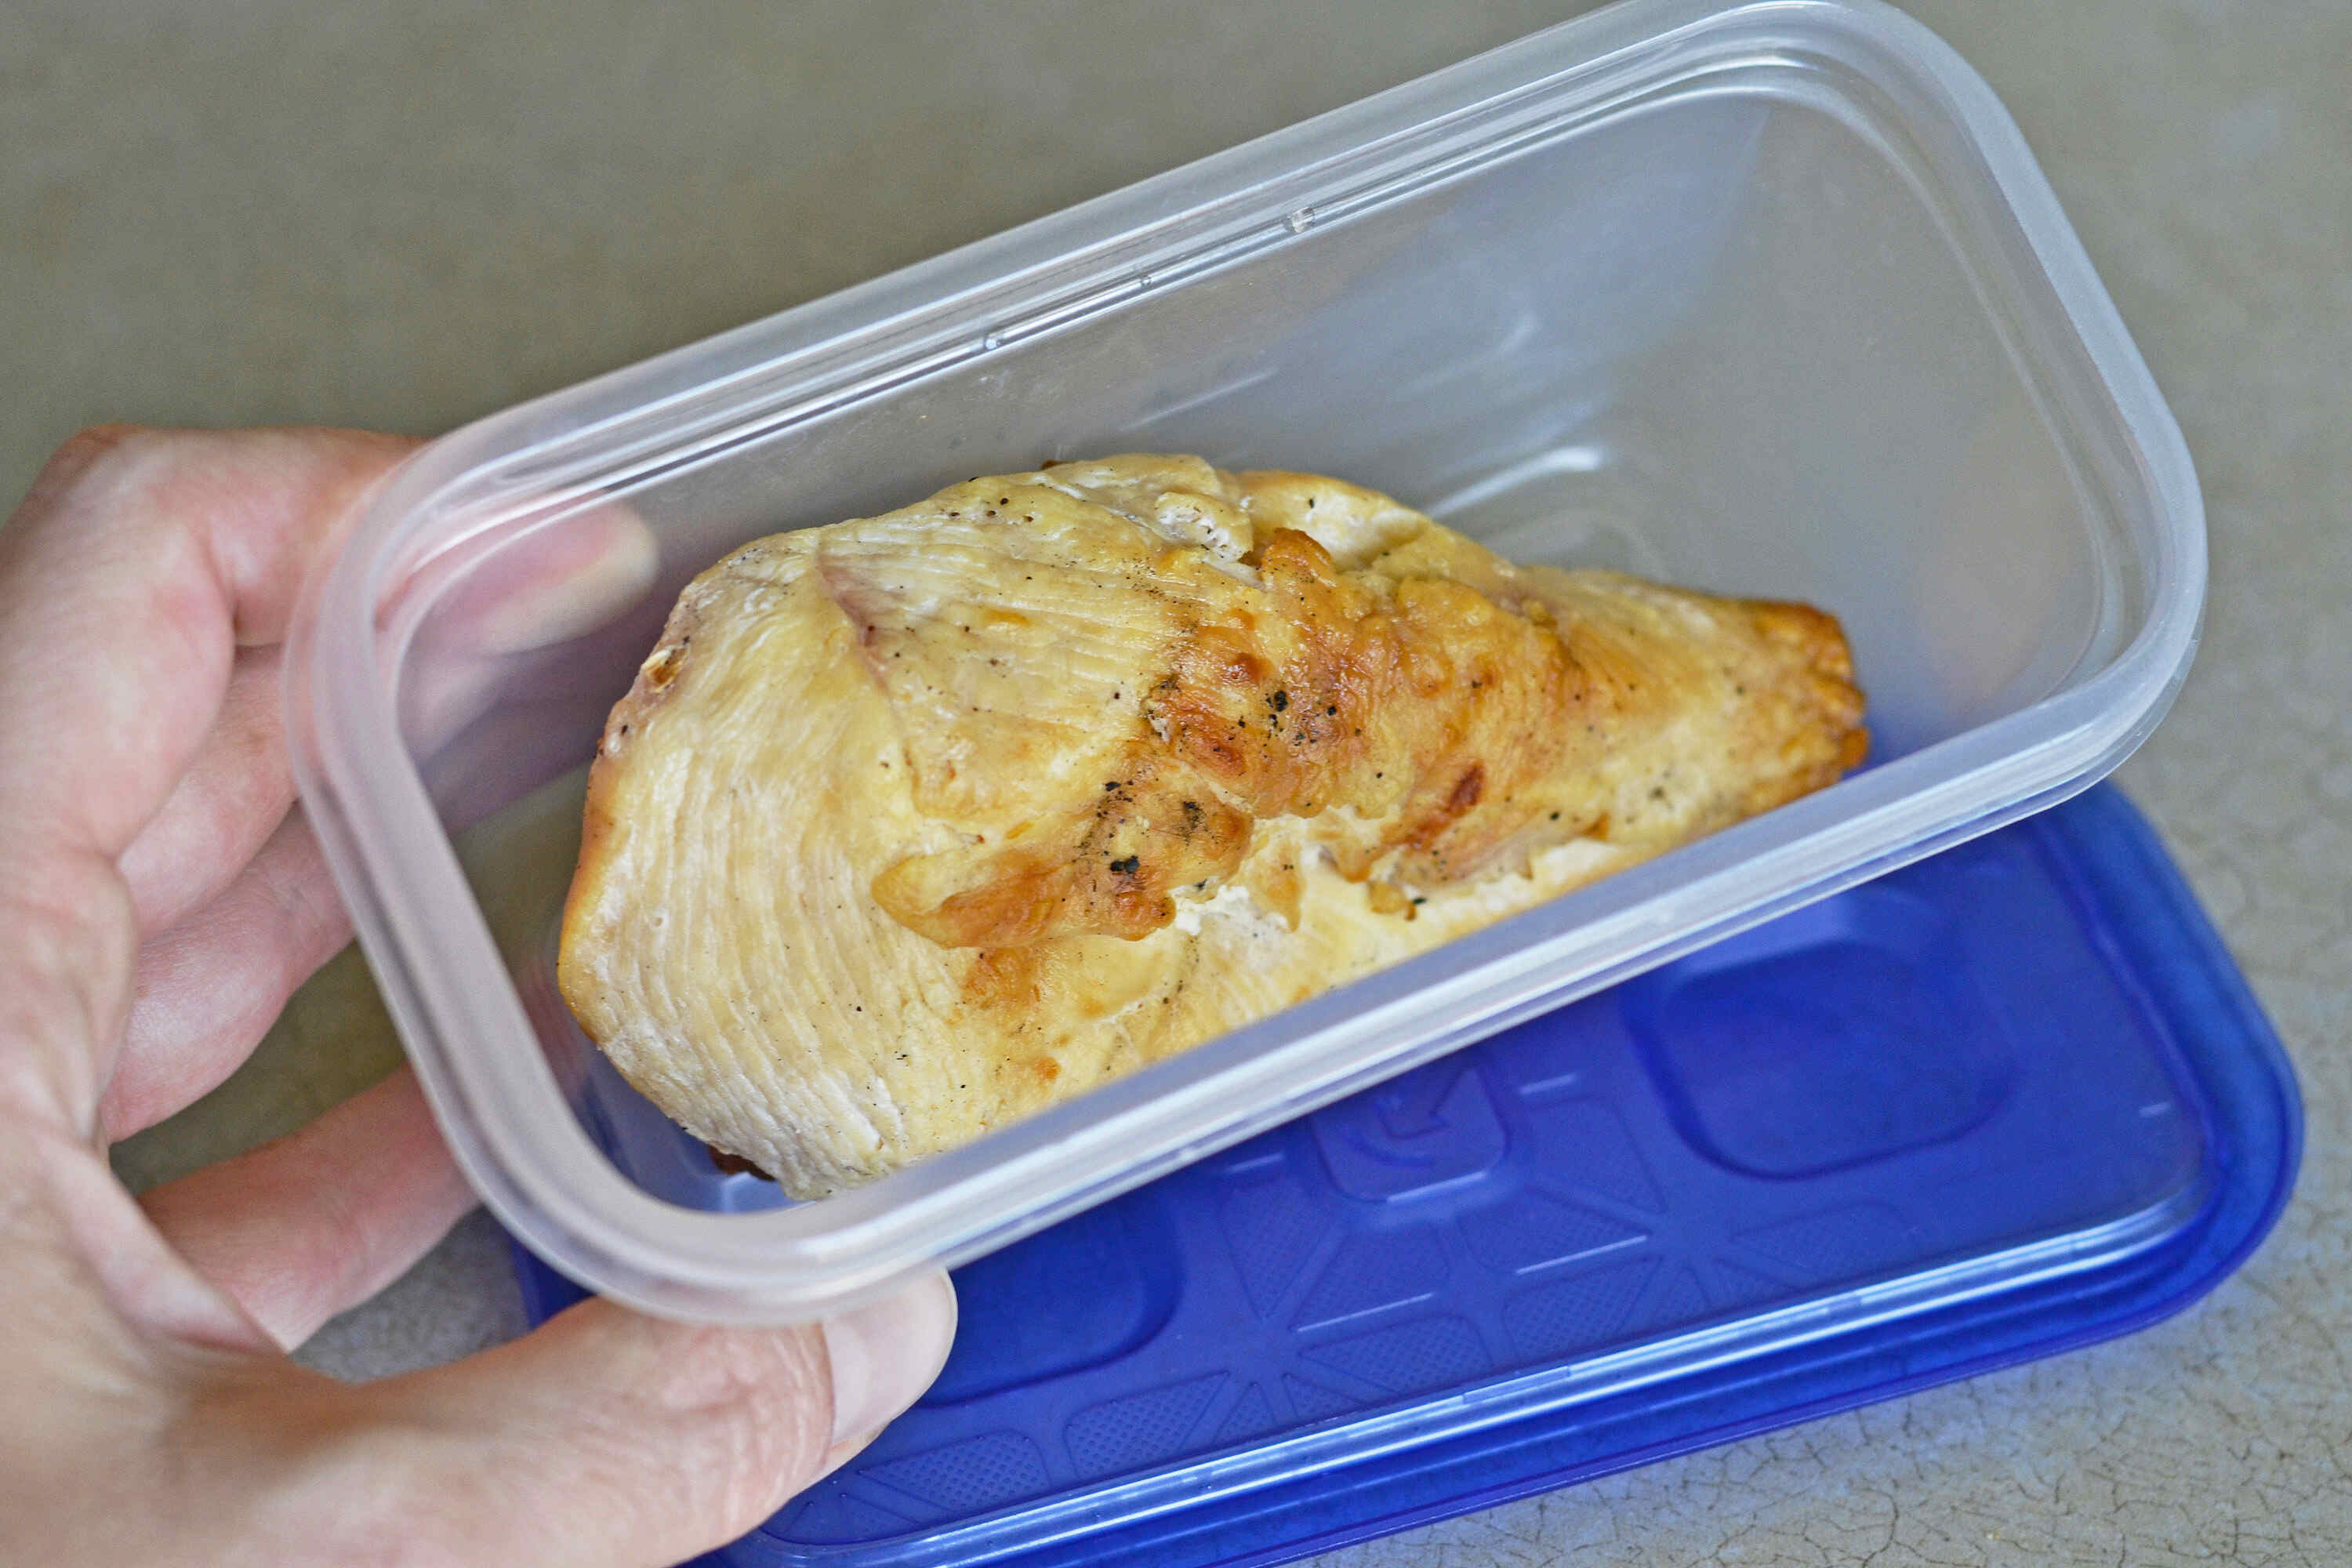
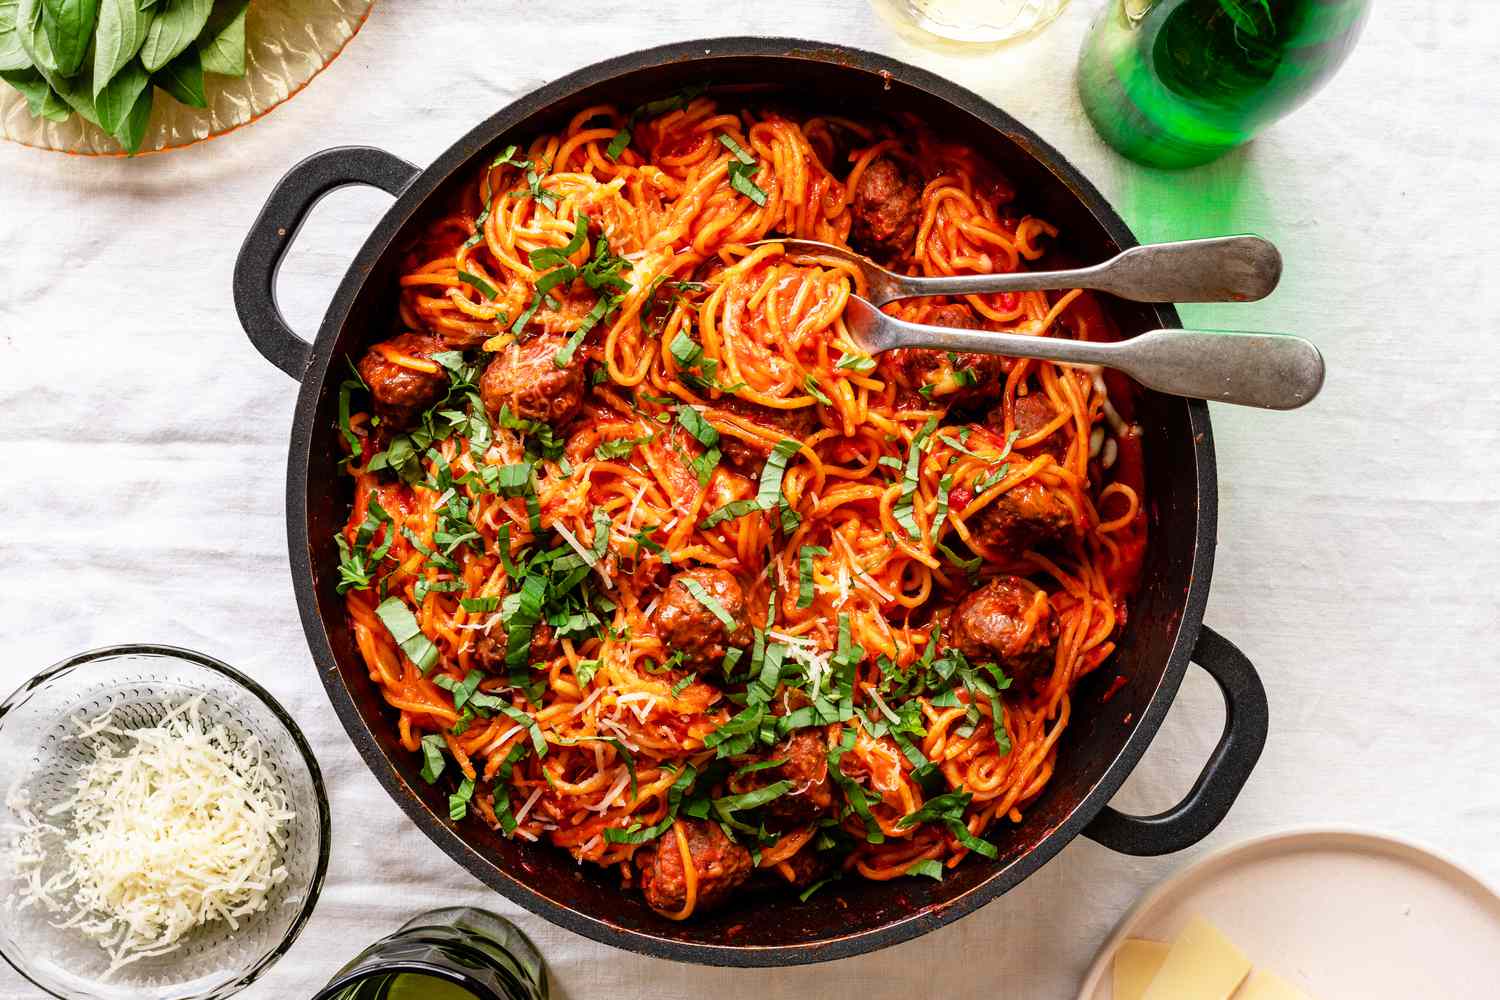
- Leftovers: If you have leftover cooked chicken breast, store it in an airtight container in the refrigerator. It can be used in a variety of dishes like salads, sandwiches, wraps, or diced into a stir-fry the next day.
Remember to use proper food handling and storage practices to ensure food safety when serving and storing your cooked chicken breast. Enjoy your meal!
Tips for Cooking Chicken Breast on an Electric Skillet
Cooking chicken breast on an electric skillet can yield delicious results. To ensure a successful cooking experience, here are some helpful tips to keep in mind:
- Even thickness: Pound the chicken breast to an even thickness, or choose pieces that are of similar size. This will help ensure that the chicken cooks evenly and prevents some parts from drying out while others remain undercooked.
- Proper preheating: Make sure to preheat the electric skillet before adding the chicken breast. This allows the skillet to reach the desired temperature and ensures a good sear on the chicken.
- Avoid overcrowding: It’s important not to overcrowd the electric skillet with too many chicken breast pieces. Give them enough space to cook evenly and allow air circulation, which helps with browning and crisping.
- Don’t flip too early: Allow the chicken breast to cook undisturbed for a few minutes before flipping. This allows it to develop a golden brown crust and prevents it from sticking to the skillet.
- Use a meat thermometer: Invest in a reliable meat thermometer to ensure that the chicken breast is cooked through. This helps avoid undercooking or overcooking, resulting in tender and juicy meat.
- Resting time: After removing the chicken breast from the electric skillet, allow it to rest for a few minutes before slicing or serving. This allows the juices to redistribute, resulting in tender and moist chicken.
- Experiment with flavors: Don’t be afraid to experiment with different seasonings, marinades, and sauces to add flavor to your chicken breast. Try different spice combinations or marinade recipes to create delicious and unique flavors.
- Cleaning and maintenance: Read the manufacturer’s instructions on how to clean and maintain your electric skillet. Proper cleaning and maintenance will ensure its longevity and peak performance.
- Practice food safety: Follow proper food safety guidelines when handling raw chicken to prevent cross-contamination. Always wash your hands, utensils, and cutting boards after handling raw chicken.
By following these tips, you can elevate your cooking skills and achieve tasty and perfectly cooked chicken breast on your electric skillet.
Read more: How To Make Bbq Chicken In Electric Skillet
Conclusion
Cooking chicken breast on an electric skillet can be a convenient and efficient way to prepare a delicious meal. With careful preparation, proper seasoning, and precise cooking techniques, you can achieve tender, juicy, and flavorful chicken breast every time.
Start by choosing high-quality chicken breast that is fresh and appropriately sized for even cooking. Properly trim and prepare the chicken, whether by pounding it to an even thickness or brining it for added flavor and moisture.
Seasoning the chicken breast with a combination of salt, pepper, and other herbs and spices allows you to customize the flavor profile to your liking. Consider marinating the chicken for a deeper infusion of flavors.
Preheating the electric skillet is key to ensuring even cooking and preventing sticking. The electric skillet’s evenly distributed heat helps achieve a golden brown crust on the chicken breast.
While cooking, remember to give each side of the chicken enough time to develop a delicious sear. Use a meat thermometer to guarantee that the chicken breast reaches the safe internal temperature of 165°F (75°C).
Once cooked, allow the chicken breast to rest before slicing or serving. This resting period allows the juices to redistribute, resulting in a moist and tender texture.
Serve the cooked chicken breast with your favorite sauces, condiments, and sides to complete the meal. Leftovers can be refrigerated and used in various dishes the next day for added convenience.
With these tips and techniques in mind, you can confidently cook chicken breast on your electric skillet and create flavorful, wholesome meals for yourself and your loved ones.
Remember to always practice good food safety habits and enjoy the experience of creating delicious and satisfying meals with your electric skillet!
Now that you've mastered cooking chicken breast on an electric skillet, why not expand your culinary skills with more versatile cooking techniques? From sautéing to simmering, our article on varied cooking methods using your electric skillet offers insightful guidance. Each technique ensures flavorful and delightful meals, making every dining experience exceptional. Ready to enhance your cooking repertoire? Dive into our detailed guide and start impressing at your next meal!
Frequently Asked Questions about How To Cook Chicken Breast On Electric Skillet
Was this page helpful?
At Storables.com, we guarantee accurate and reliable information. Our content, validated by Expert Board Contributors, is crafted following stringent Editorial Policies. We're committed to providing you with well-researched, expert-backed insights for all your informational needs.


0 thoughts on “How To Cook Chicken Breast On Electric Skillet”