Home>Articles>How To Get Rid Of Mold From The Bathroom Ceiling

Articles
How To Get Rid Of Mold From The Bathroom Ceiling
Modified: October 20, 2024
Learn effective methods for removing mold from your bathroom ceiling with these informative articles.
(Many of the links in this article redirect to a specific reviewed product. Your purchase of these products through affiliate links helps to generate commission for Storables.com, at no extra cost. Learn more)
Introduction
Mold growth on the bathroom ceiling is a common household problem that can cause unpleasant odors and pose potential health risks. Not only does it make your bathroom look unsightly, but it can also indicate underlying moisture or ventilation issues in your home.
Dealing with mold on the bathroom ceiling requires a proactive approach to ensure a clean and healthy environment. This article will provide you with essential information on understanding mold growth, identifying its causes, and most importantly, the step-by-step process to safely and effectively remove mold from your bathroom ceiling.
Before diving into the details, it’s crucial to understand that mold can be harmful to your health. Mold spores can cause respiratory issues, allergies, and even exacerbate existing respiratory conditions. Therefore, it is essential to take the necessary precautions and safety measures when dealing with mold.
Now, let’s delve into the world of mold on the bathroom ceiling and learn how to eliminate it for good.
Key Takeaways:
- Understanding the causes of mold growth, such as poor ventilation and leaks, is crucial for addressing the root issues. Improving ventilation, repairing leaks promptly, and controlling humidity levels can discourage mold growth.
- To prevent future mold growth, focus on improving ventilation, monitoring humidity levels, and using mold-resistant materials. Regular inspections and prompt action are key to maintaining a clean and mold-free bathroom.
Understanding Mold on the Bathroom Ceiling
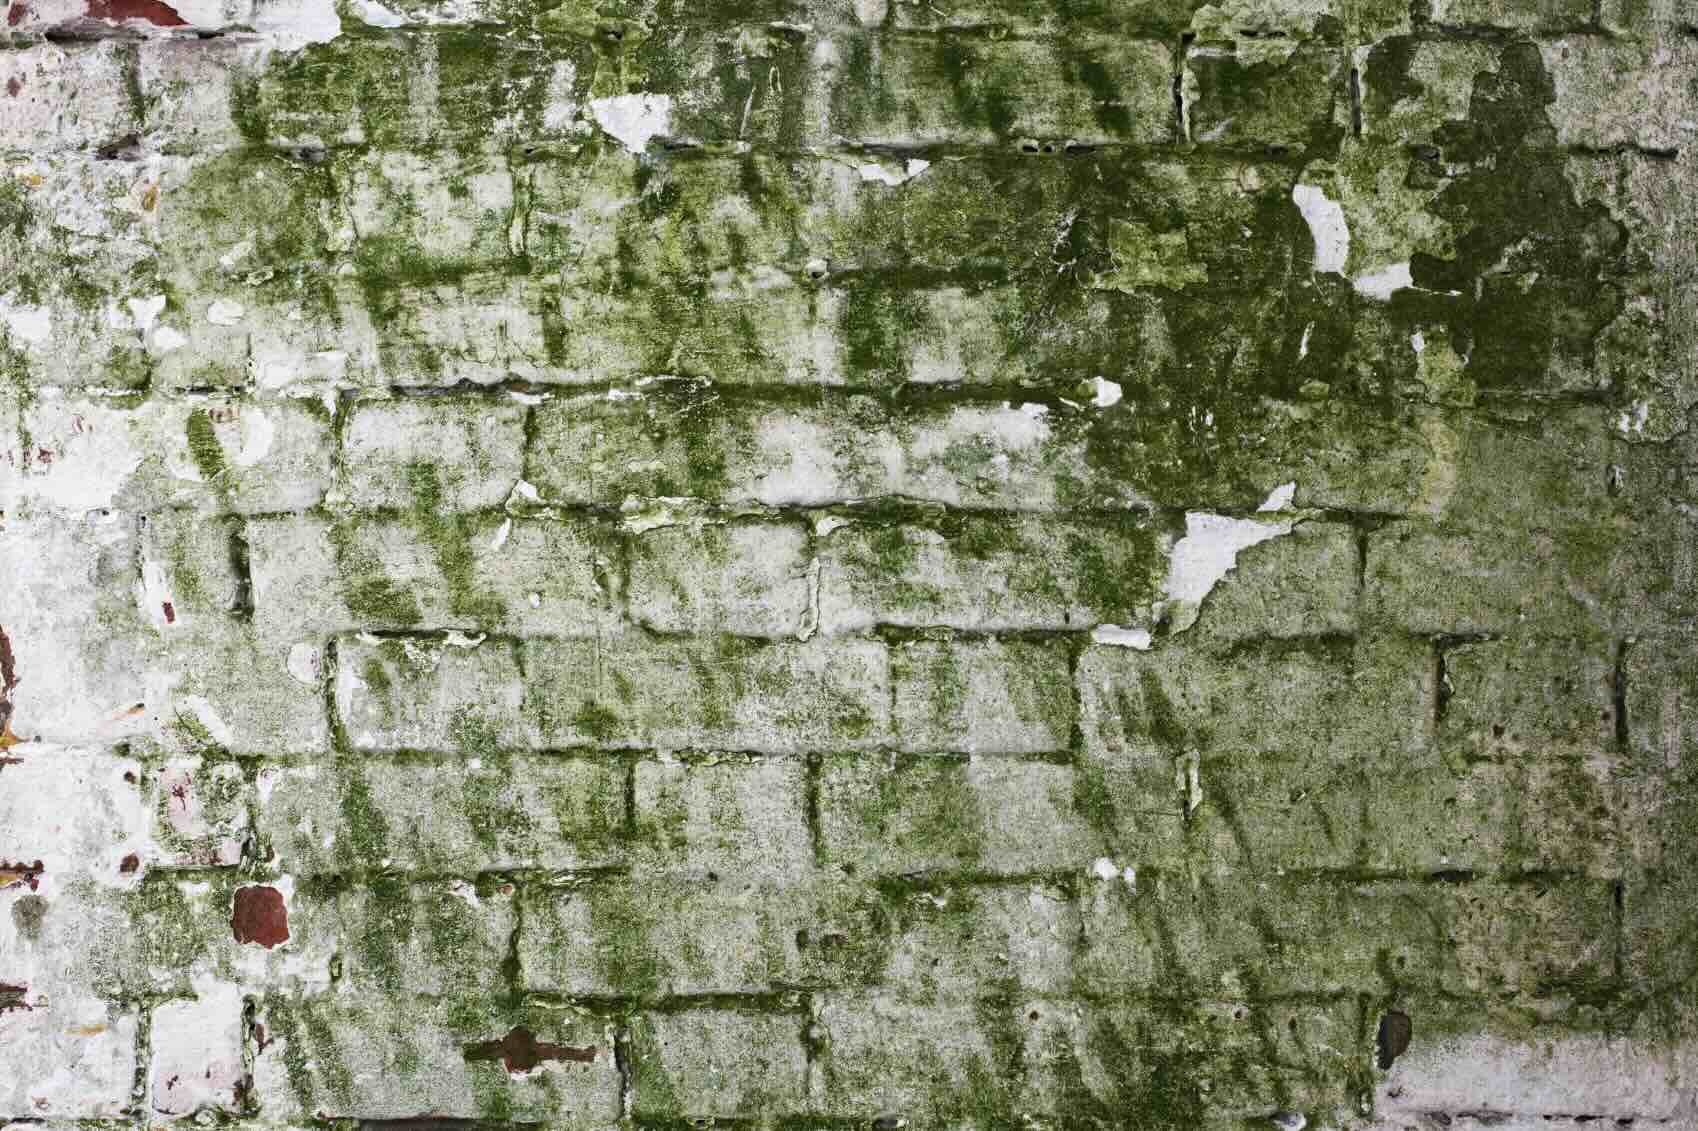
Mold is a type of fungus that thrives in damp and humid environments. The bathroom provides an ideal breeding ground for mold due to the constant presence of moisture from showers, baths, and inadequate ventilation. Mold spores are microscopic and float in the air, waiting for the perfect conditions to settle and grow.
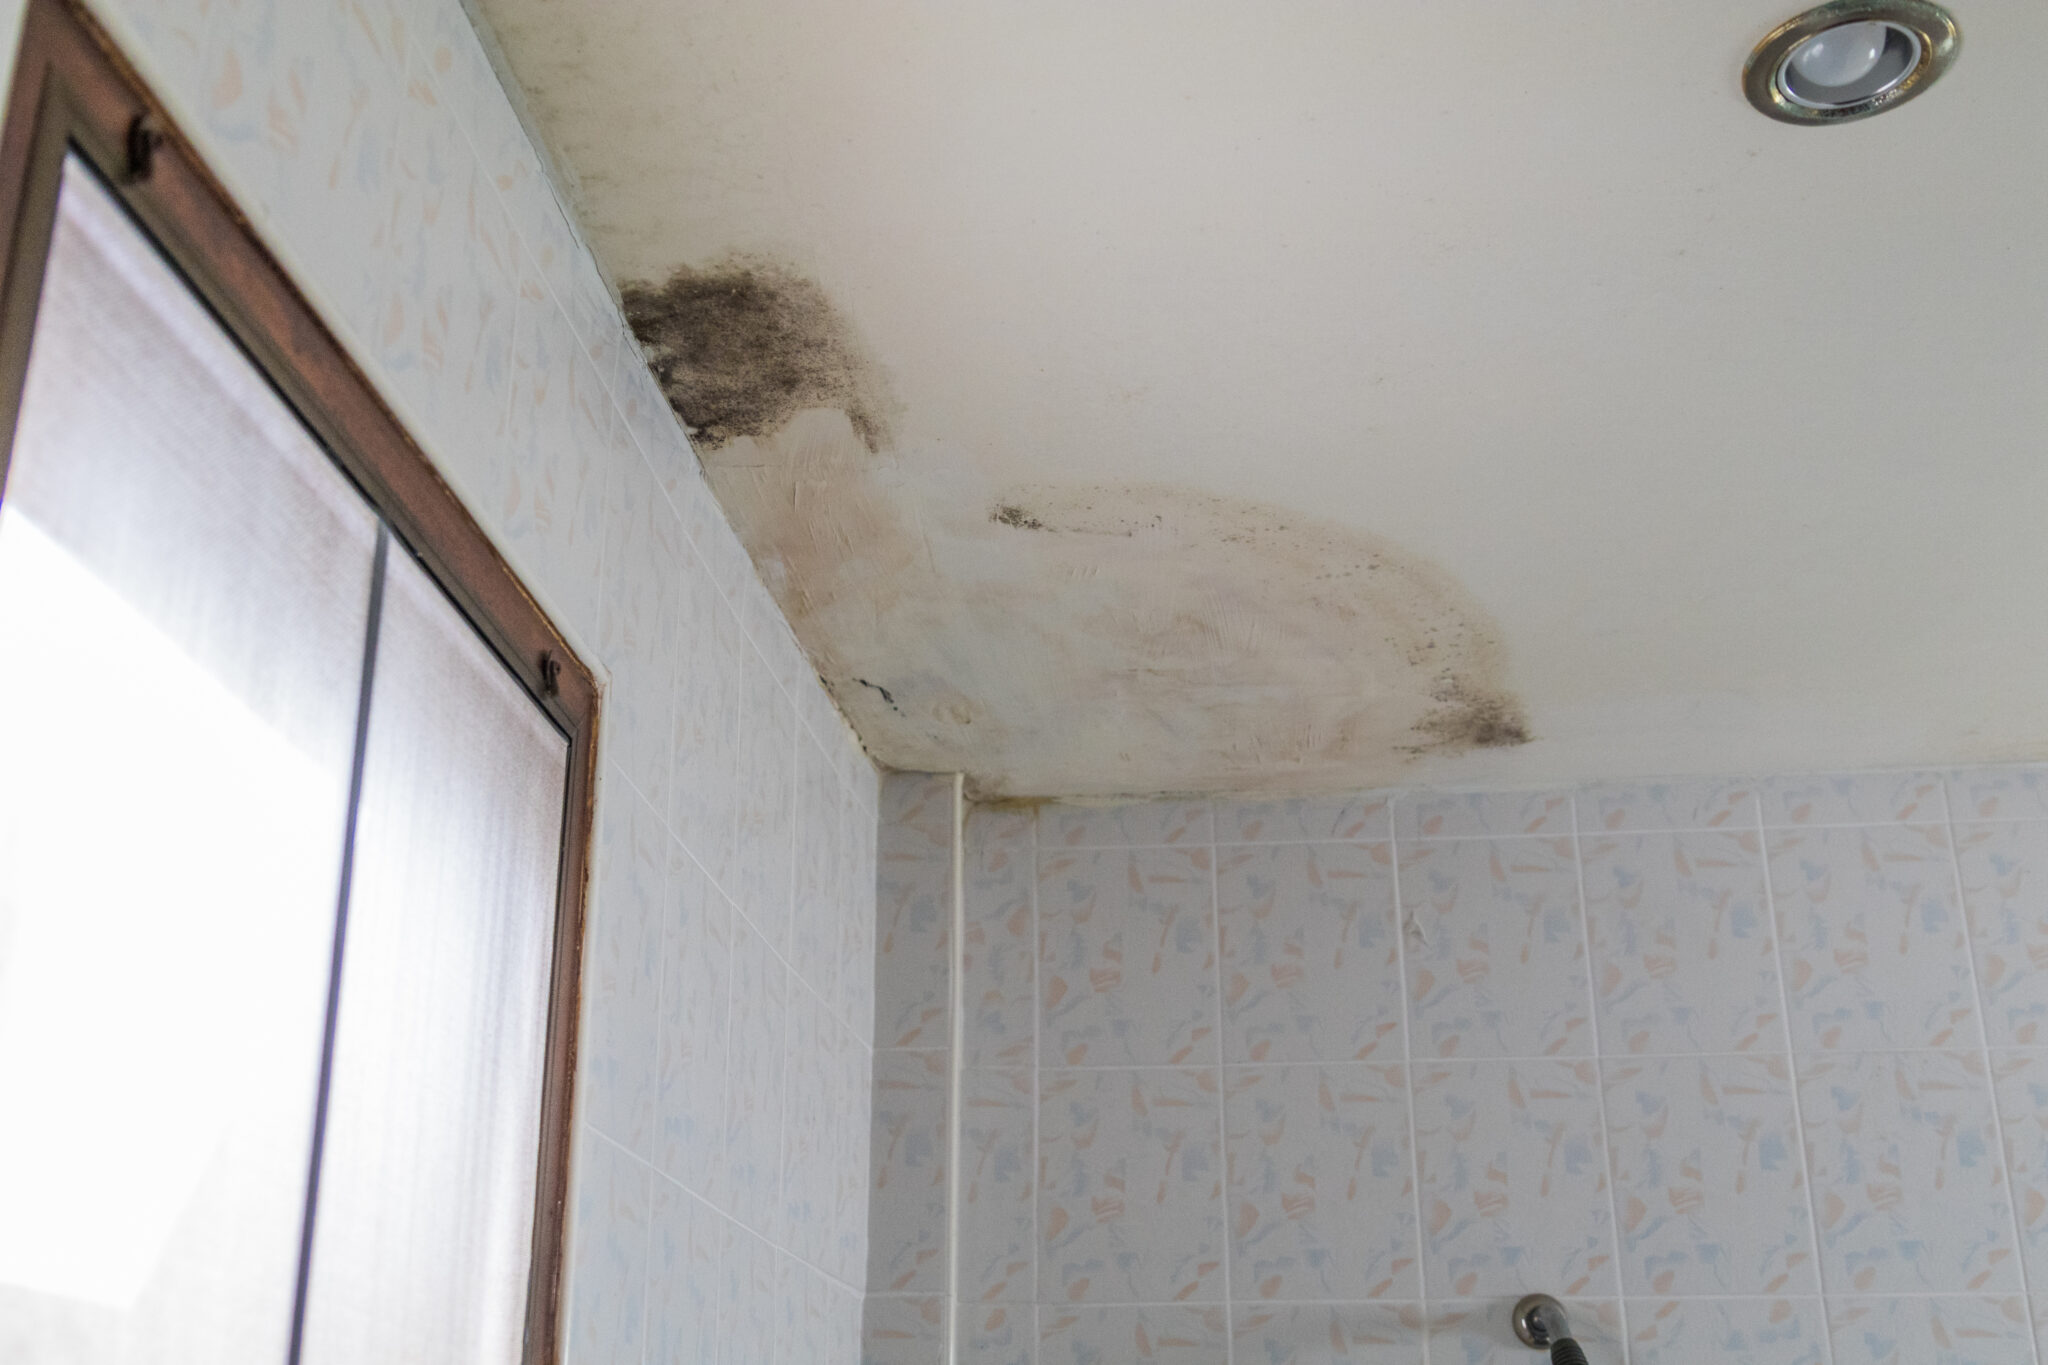
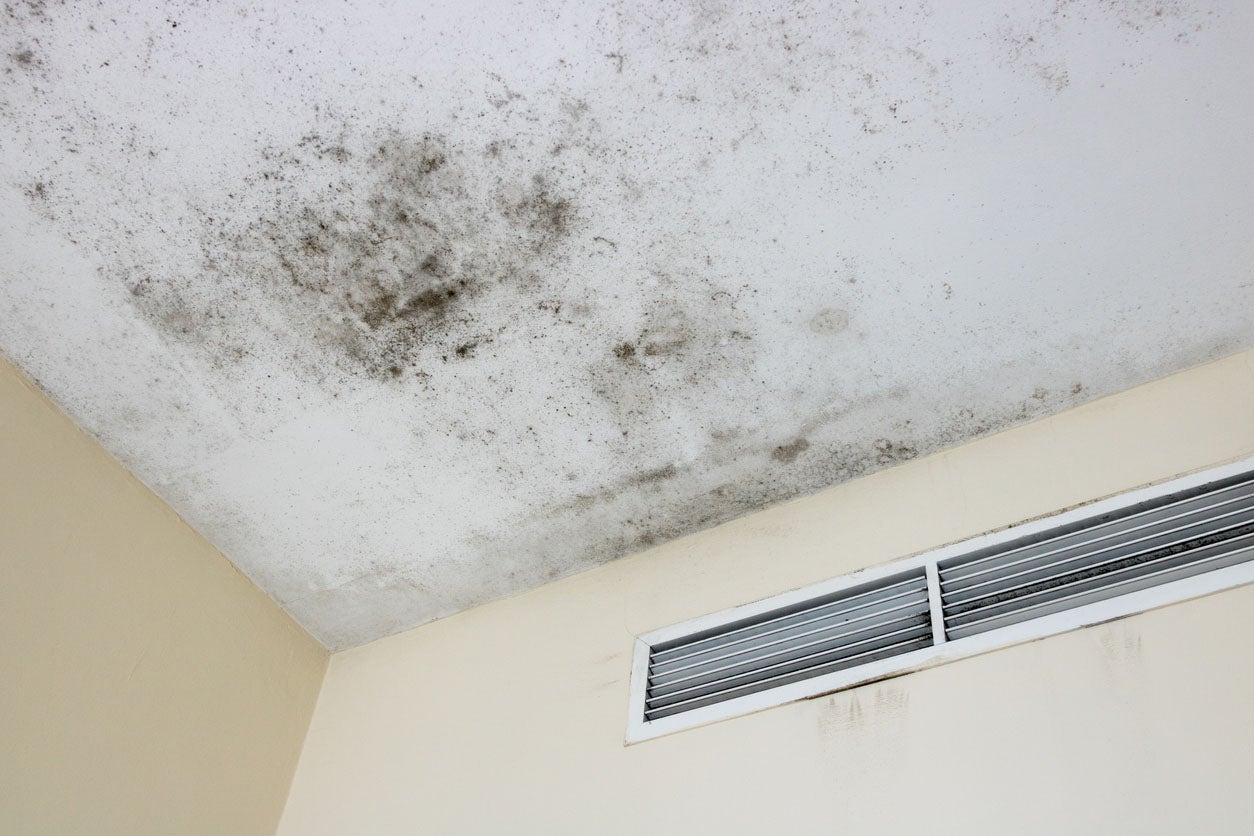
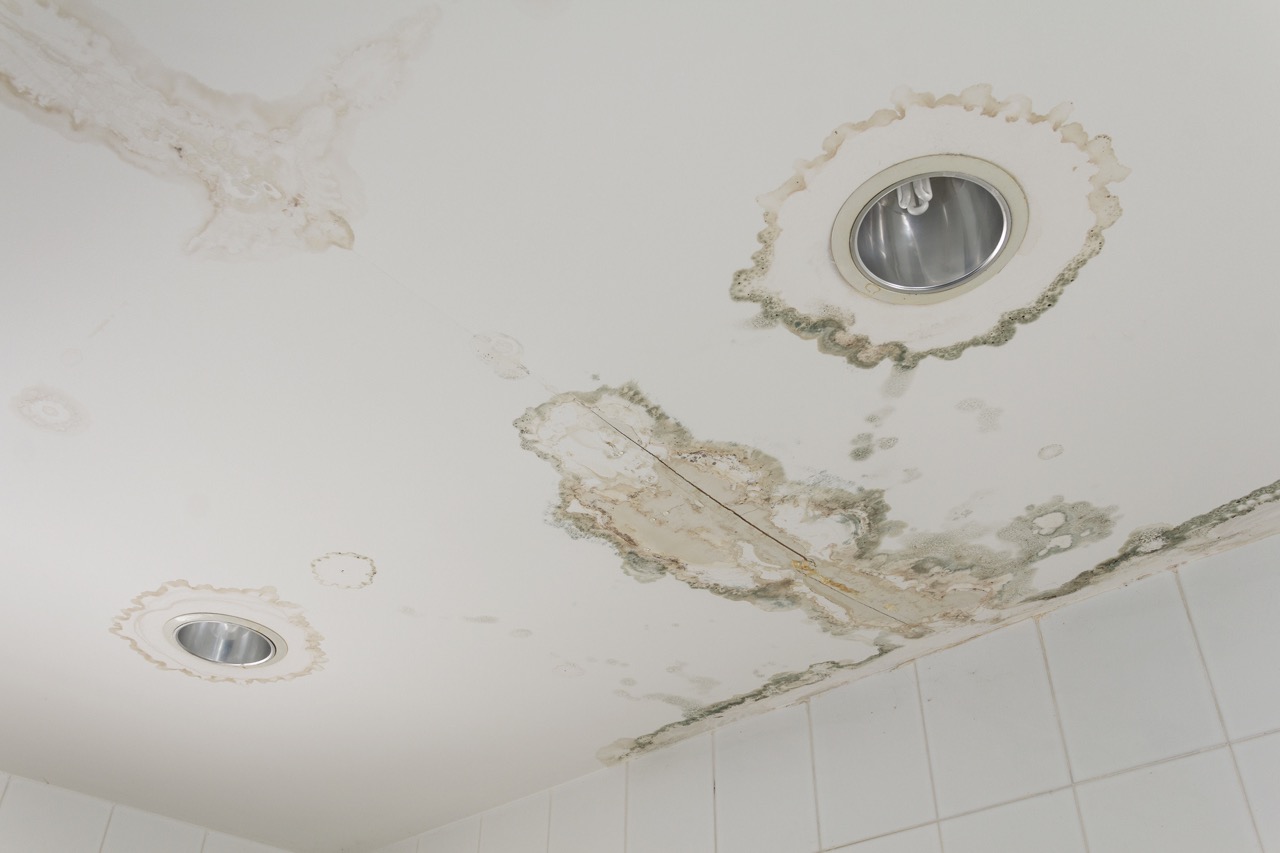
When mold finds its way onto the bathroom ceiling, it usually appears as black, green, or brown patches. These patches can spread and become more extensive if left unattended. Besides being unsightly, mold can release musty odors and compromise the integrity of the ceiling material over time.
Mold growth on the bathroom ceiling is typically caused by excessive moisture and poor ventilation. When moisture accumulates, it creates a suitable environment for mold to multiply and thrive. Common contributing factors to mold growth include:
- Inadequate ventilation: Insufficient airflow in the bathroom prevents moisture from dissipating, leading to damp conditions that favor mold growth.
- Leaking pipes or fixtures: Water leaks provide a constant source of moisture, creating an environment conducive to mold infestation.
- High humidity levels: Humidity levels above 60% create a moisture-rich environment that allows mold to flourish.
- Poor insulation: Inadequate insulation can lead to condensation on the ceiling, providing the moisture necessary for mold growth.
Understanding the causes of mold growth on the bathroom ceiling is essential as it helps address the underlying issues and prevent future occurrences. Now that we have a better grasp of the problem, let’s move on to the next section, which covers identifying the causes of mold growth in more detail.
Identifying the Causes of Mold Growth
In order to effectively tackle mold growth on the bathroom ceiling, it is crucial to identify and address the root causes. Here are some common factors that contribute to mold growth:
- Poor ventilation: Insufficient ventilation in the bathroom traps moisture, creating a breeding ground for mold. This can be due to an absence of windows, a malfunctioning exhaust fan, or inadequate airflow.
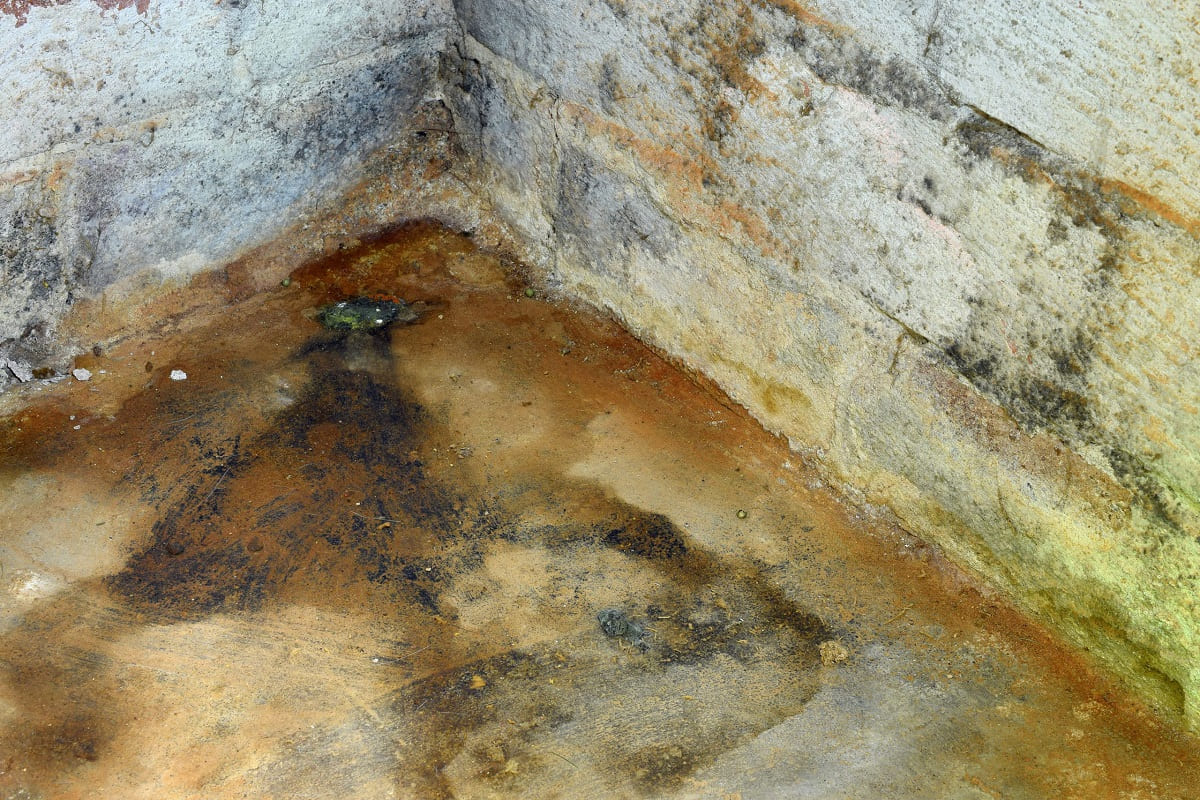
- Leaks and water damage: Any water leaks from pipes, fixtures, or the roof can lead to dampness and promote mold growth. Check for signs of water stains, discoloration, or dripping water to identify potential sources of leaks.
- High humidity: Excessive humidity levels, typically above 60%, can create a moist environment that encourages mold growth. This can occur in bathrooms with poor ventilation or inadequate moisture regulation.
- Lack of insulation: Poor insulation in the bathroom can cause condensation to form on the ceiling, leading to moisture buildup and subsequent mold growth. Inspect the insulation to ensure it is properly installed and functioning.
- Inadequate cleaning: Neglecting regular cleaning and maintenance of the bathroom allows dirt, grime, and moisture to accumulate, creating an inviting environment for mold growth.
By identifying the specific causes of mold growth in your bathroom, you can take targeted measures to address them and prevent future mold infestations. Fixing any ventilation issues, repairing leaks, reducing humidity levels, and maintaining proper cleanliness are essential steps in mold prevention.
Now that we have a clear understanding of the causes of mold growth, let’s move on to the next section, which covers the precautions you should take before removing mold from the bathroom ceiling.
Precautions before Removing Mold
Dealing with mold on the bathroom ceiling requires taking certain precautions to ensure your safety and minimize the risk of spreading mold spores to other areas of your home. Before starting the mold removal process, consider the following precautions:
1. Protective Gear: Wear proper protective gear to prevent direct contact with mold spores. This includes gloves, goggles, and a mask or respirator that is specifically designed to filter out mold spores.
2. Ventilation: Open windows and doors to improve ventilation in the bathroom. This helps to reduce the concentration of mold spores in the air while you work on removing the mold.
3. Containment: Create a containment area around the affected area to prevent mold spores from spreading to other parts of your home. Use plastic sheets or tarps to seal off the area and cover any vents or ducts to prevent the spread of mold spores through the ventilation system.
4. Moisture Control: Before removing mold, address any moisture issues in the bathroom. Fix leaks, improve ventilation, and control humidity levels to prevent the recurrence of mold growth.
5. Proper Disposal: When removing mold from the bathroom ceiling, make sure to properly dispose of any contaminated materials. Seal them in plastic bags and dispose of them in accordance with local regulations for hazardous waste disposal.
6. Test for Mold: If you suspect extensive mold growth or are unsure about the type of mold present, consider hiring a professional mold inspector to conduct a thorough assessment. This will help you understand the extent of the problem and determine the appropriate course of action.
By taking these precautions, you can minimize the risk of exposure to mold spores and ensure a safer and more effective mold removal process. With these measures in mind, let’s proceed to the next section and discuss the safety measures to keep in mind during mold removal.
Use a mixture of 1 part bleach to 3 parts water and spray it onto the affected area. Let it sit for 15 minutes, then scrub with a brush and rinse. Keep the bathroom well-ventilated to prevent mold from returning.
Safety Measures during Mold Removal
When removing mold from the bathroom ceiling, it is important to follow proper safety measures to protect yourself and prevent further contamination. Here are some essential safety precautions to keep in mind:
1. Protective Clothing: Always wear protective clothing, including gloves, goggles, and a mask or respirator, to shield yourself from direct contact with mold spores. This will help reduce the risk of respiratory problems and skin irritation.
2. Proper Ventilation: Ensure that the bathroom is well-ventilated during the mold removal process. Open windows, use fans, or set up air purifiers to improve airflow and minimize the concentration of mold spores in the air.
3. Wet Cleaning: Use wet cleaning methods instead of dry brushing or sweeping to avoid dispersing mold spores into the air. Dampen surfaces with water or a cleaning solution before scrubbing away the mold.
4. Avoid Mixing Cleaning Products: Be cautious when using cleaning products and avoid mixing different chemicals. Some combinations can produce toxic fumes or reactions. Always follow the instructions on the product labels.
5. Dispose of Contaminated Materials: Place mold-infested materials, such as ceiling tiles or drywall, into plastic bags and seal them tightly. Dispose of them as per local regulations for hazardous waste disposal.
6. Clean and Disinfect: Thoroughly clean and disinfect the affected area after removing the mold. Use a mold-specific cleaner or a mixture of water and detergent. Rinse the area well and dry it completely to prevent future mold growth.
7. Monitor Your Health: Monitor your health during and after the mold removal process. If you experience persistent coughing, sneezing, or other respiratory symptoms, seek medical attention. It’s important to address any health concerns promptly.
8. Consult Professionals: If the mold infestation is extensive or you are unsure about handling the removal process yourself, it is recommended to seek professional assistance. Experienced mold remediation specialists can safely and effectively remove the mold from your bathroom ceiling.
Remember, safety should always be a priority when dealing with mold. By following these safety measures, you can minimize your exposure to mold spores and ensure a successful mold removal process. Now, let’s move on to the step-by-step guide for removing mold off the bathroom ceiling.
Step-by-Step Guide to Removing Mold off the Bathroom Ceiling
Removing mold from the bathroom ceiling requires a systematic approach to effectively eliminate the mold and prevent its recurrence. Follow these step-by-step instructions to tackle the problem:
Step 1: Gather Your Materials
Before you begin, gather the necessary materials. This may include gloves, goggles, a mask or respirator, plastic sheets or tarps, a spray bottle with water, a mold-specific cleaner or a mixture of water and detergent, scrub brushes, and garbage bags for disposal.
Step 2: Prepare the Area
Take the necessary precautions to protect the surrounding area. Seal off the area with plastic sheets or tarps to prevent the spread of mold spores. Cover any vents or ducts to avoid contamination of the ventilation system.
Step 3: Wet the Ceiling
Spray the affected area with water to moisten it. This helps prevent the release of mold spores into the air when you start cleaning. Avoid using excessive water that may drip onto the floor or other surfaces.
Step 4: Clean the Mold
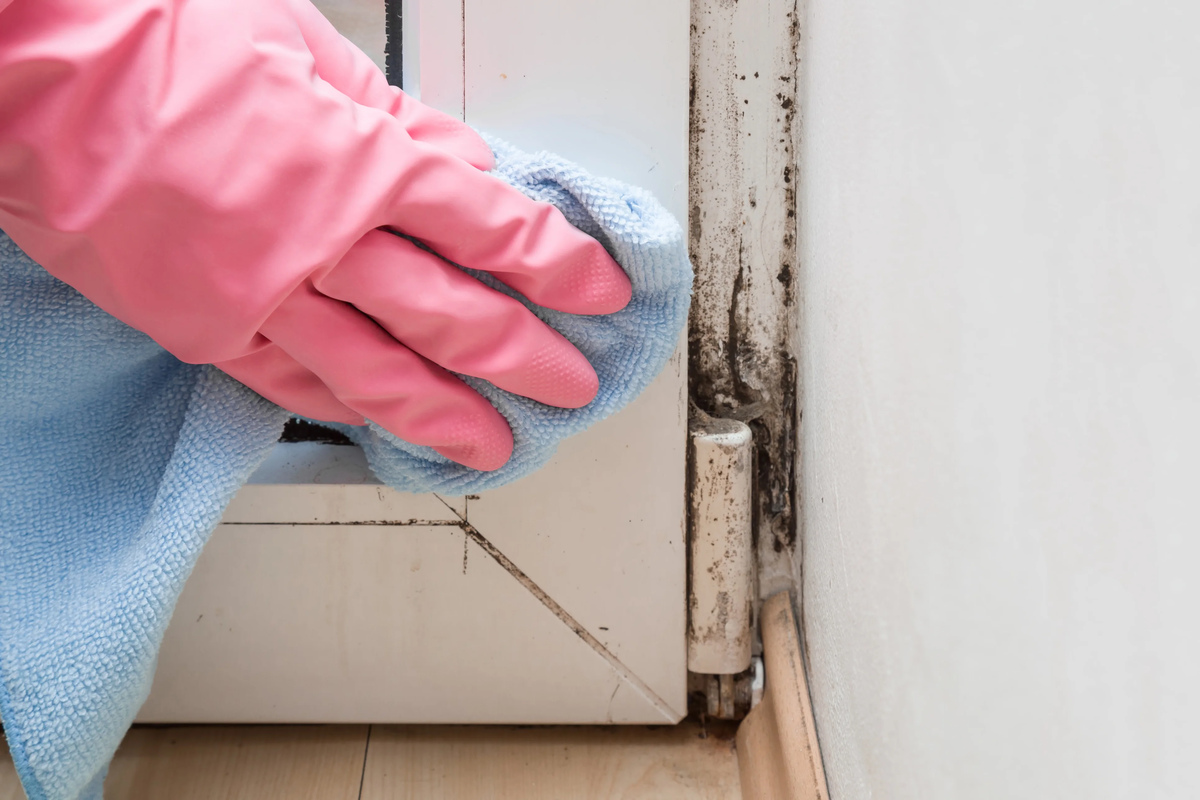
Apply the mold-specific cleaner or the water and detergent mixture to the moldy areas on the ceiling. Use a scrub brush or sponge to gently scrub away the mold. Work in small sections, ensuring thorough cleaning without spreading the mold.
Step 5: Rinse and Dry
Once the mold is removed, rinse the cleaned area with water to remove any residual cleaning solution or mold spores. Wipe down the surface with a clean cloth or sponge. Allow the ceiling to dry completely before proceeding.
Step 6: Dispose of Contaminated Materials
Place any mold-infested materials, such as disposable cleaning cloths or damaged ceiling tiles, into sealed garbage bags. Dispose of them properly following local regulations for hazardous waste disposal.
Step 7: Prevent Future Mold Growth
After the cleaning process, take preventive measures to avoid future mold growth. Improve ventilation in the bathroom, address any moisture issues, and regularly clean and dry the area to minimize the chances of mold returning.
It’s important to note that if the mold infestation is extensive or you are unsure about handling the removal process yourself, it is best to consult with a professional mold remediation specialist for assistance.
By following this step-by-step guide, you can effectively remove mold from your bathroom ceiling and create a clean and healthy environment. Now, let’s move on to the next section, which covers preventive measures to avoid mold growth.
Preventive Measures to Avoid Mold Growth
Preventing mold growth on the bathroom ceiling is essential to maintain a clean and healthy environment. By implementing the following preventive measures, you can minimize the risk of mold recurrence:
1. Improve Ventilation: Ensure proper ventilation in the bathroom by installing and using exhaust fans or opening windows during and after showering to allow moisture to dissipate. Adequate airflow helps prevent moisture buildup, a key factor in mold growth.
2. Monitor Humidity Levels: Use a hygrometer to monitor humidity levels in the bathroom. Ideally, humidity levels should be kept below 60%. If humidity is consistently higher, consider using a dehumidifier to remove excess moisture from the air.
3. Repair Leaks Promptly: Inspect the bathroom regularly for any signs of leaks in pipes, faucets, or fixtures. Repair any leaks promptly to prevent water from accumulating and creating the moist conditions that mold thrives in.
4. Maintain Proper Insulation: Ensure that the bathroom ceiling and walls are properly insulated to prevent condensation. Insulation helps to maintain stable temperatures and reduce moisture buildup on surfaces.
5. Regular Cleaning and Maintenance: Regularly clean and dry the bathroom to remove any accumulated moisture and prevent the growth of mold. Pay attention to areas prone to moisture, such as around the shower, bathtub, and sink.
6. Use Mold-Resistant Materials: When renovating your bathroom or repairing the ceiling, consider using mold-resistant materials. Mold-resistant drywall, paint, and ceiling tiles can help inhibit mold growth and make cleaning easier.
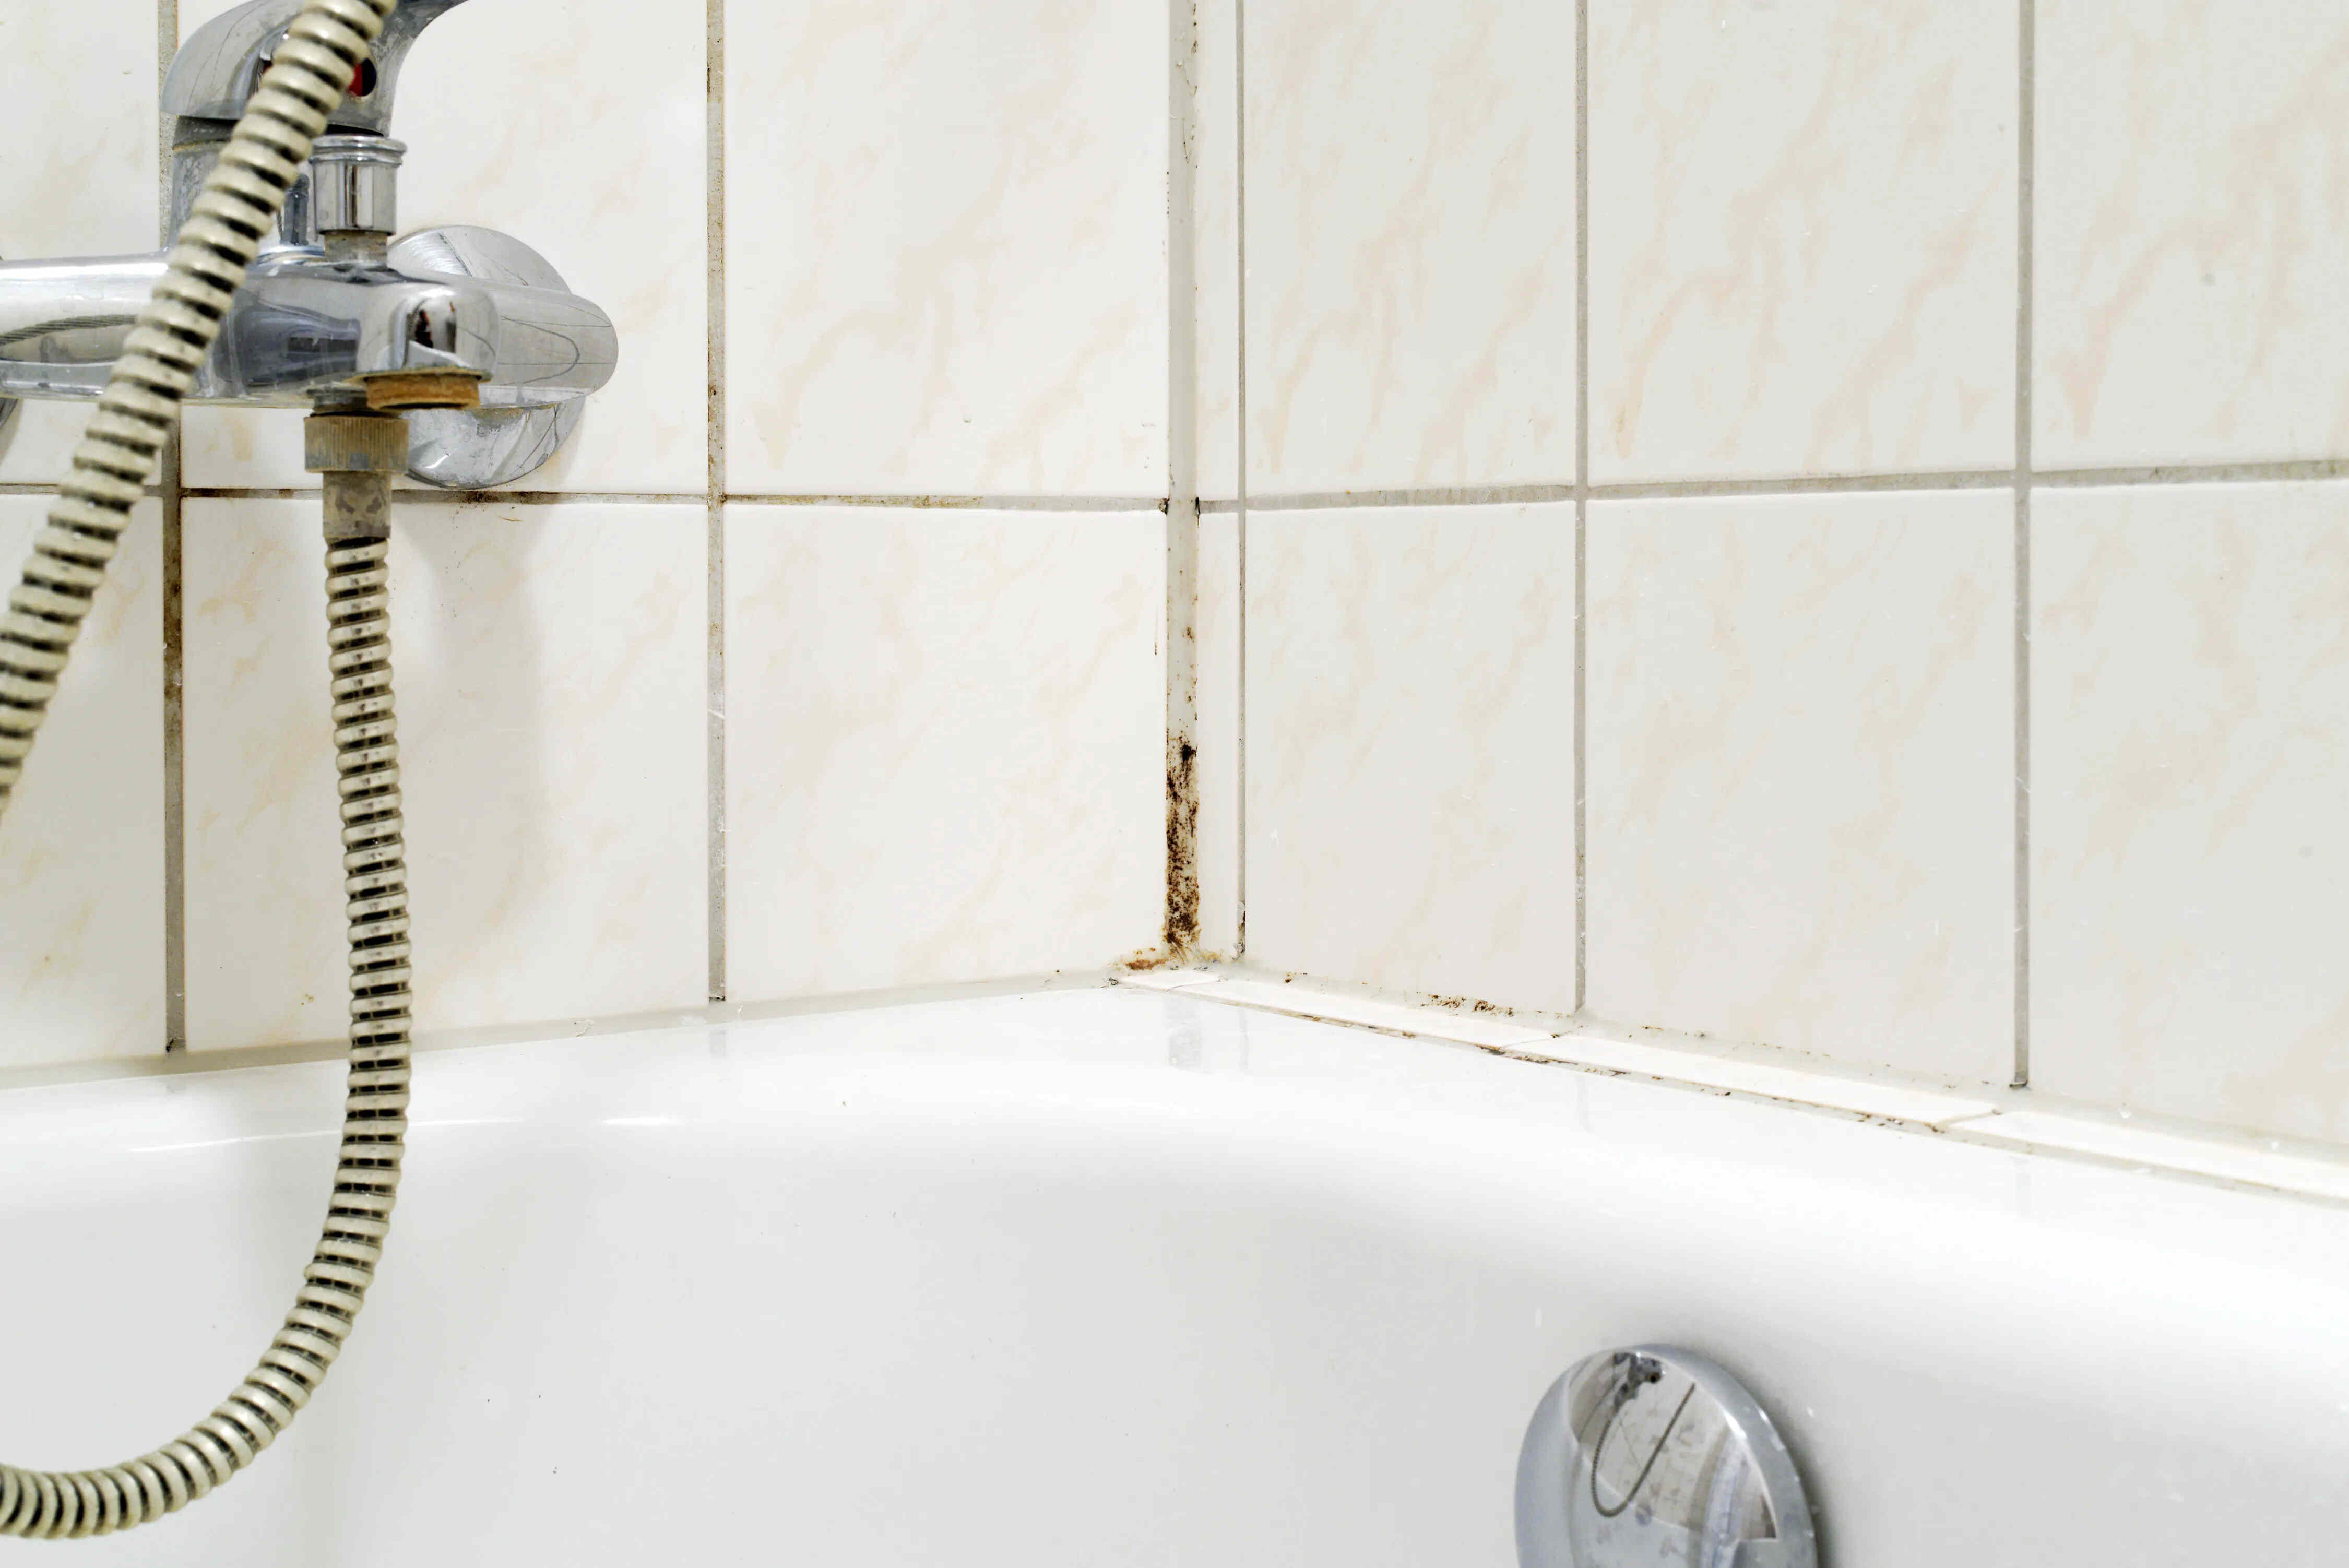
7. Properly Seal Grout and Caulking: Ensure that the grout and caulking around the bathroom tiles are properly sealed to prevent water from seeping in and causing moisture issues. Periodically check for any cracks or gaps and reseal as necessary.
8. Regular Inspections: Conduct regular inspections of the bathroom, paying attention to areas that are susceptible to mold growth. Promptly address any signs of mold, water stains, or musty odors before they escalate into larger problems.
9. Proper Storage: Avoid storing damp towels or clothing in the bathroom. Ensure proper ventilation and allow these items to dry completely before storing them elsewhere. Moisture-laden materials can contribute to mold growth.
By implementing these preventive measures, you can significantly reduce the risk of mold growth on your bathroom ceiling. Remember, early detection and prompt action are key to preventing mold from spreading and causing further damage.
Now that you are equipped with preventive measures, it’s important to put them into practice to maintain a clean and mold-free bathroom. Finally, let’s wrap up with some final thoughts on dealing with mold on the bathroom ceiling.
Final Thoughts
Mold growth on the bathroom ceiling is a common issue that can be unsightly, pose health risks, and indicate underlying moisture or ventilation problems in your home. However, with the right knowledge and precautions, you can effectively remove mold and prevent its recurrence.
Understanding the causes of mold growth, such as poor ventilation, leaks, and high humidity, is crucial to addressing the root issues. By improving ventilation, repairing leaks promptly, and controlling humidity levels, you can create an environment that discourages mold growth.
Before embarking on the mold removal process, it is essential to take necessary precautions. Wear protective gear, create a containment area, and properly dispose of contaminated materials to prevent the spread of mold spores and ensure your safety.
A step-by-step approach to removing mold from the bathroom ceiling involves gathering materials, preparing the area, moistening the ceiling, cleaning the mold, rinsing and drying the area, and properly disposing of contaminated materials. Following proper safety measures and seeking professional assistance when needed can result in a successful mold removal process.
To prevent future mold growth, focus on improving ventilation, monitoring humidity levels, promptly repairing leaks, maintaining proper insulation, regular cleaning and maintenance, and using mold-resistant materials. These preventive measures will help keep your bathroom clean and mold-free.
Dealing with mold on the bathroom ceiling requires vigilance and consistent maintenance. Regular inspections and prompt action are key to addressing mold issues before they become more significant problems.
Remember, if you are unsure about the extent of the mold growth or unable to handle the removal process yourself, it is best to consult with a professional mold remediation specialist. They have the expertise and equipment to safely and effectively handle mold infestations.
By implementing these tips and guidelines, you can successfully remove mold from your bathroom ceiling, prevent its recurrence, and create a clean and healthy environment for you and your family.
Now it’s time to roll up your sleeves and tackle that mold, ensuring your bathroom remains a fresh and welcoming space for years to come.
Frequently Asked Questions about How To Get Rid Of Mold From The Bathroom Ceiling
Was this page helpful?
At Storables.com, we guarantee accurate and reliable information. Our content, validated by Expert Board Contributors, is crafted following stringent Editorial Policies. We're committed to providing you with well-researched, expert-backed insights for all your informational needs.

0 thoughts on “How To Get Rid Of Mold From The Bathroom Ceiling”