Home>Technology>Smart Home Devices>How To Turn On Ricoh Printer
Smart Home Devices
How To Turn On Ricoh Printer
Modified: August 28, 2024
Learn how to easily turn on your Ricoh printer with our step-by-step guide. Get your smart home devices connected and printing in no time! Discover the convenience today.
(Many of the links in this article redirect to a specific reviewed product. Your purchase of these products through affiliate links helps to generate commission for Storables.com, at no extra cost. Learn more)
Introduction
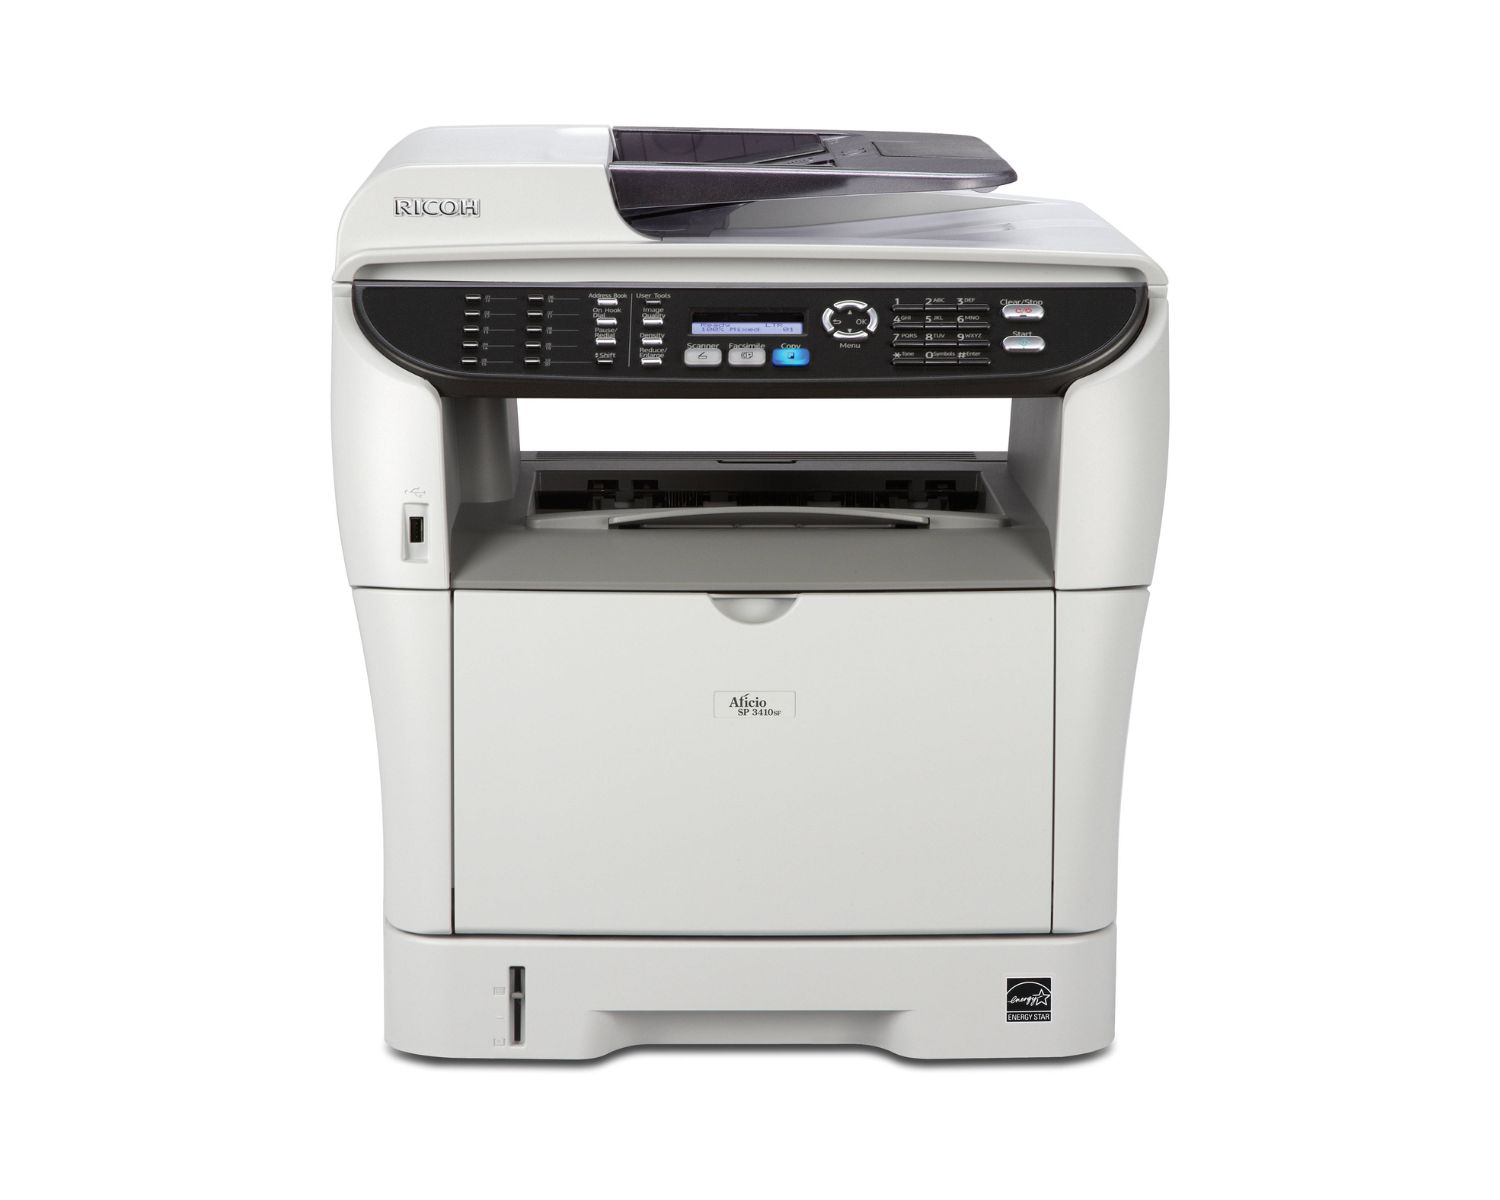
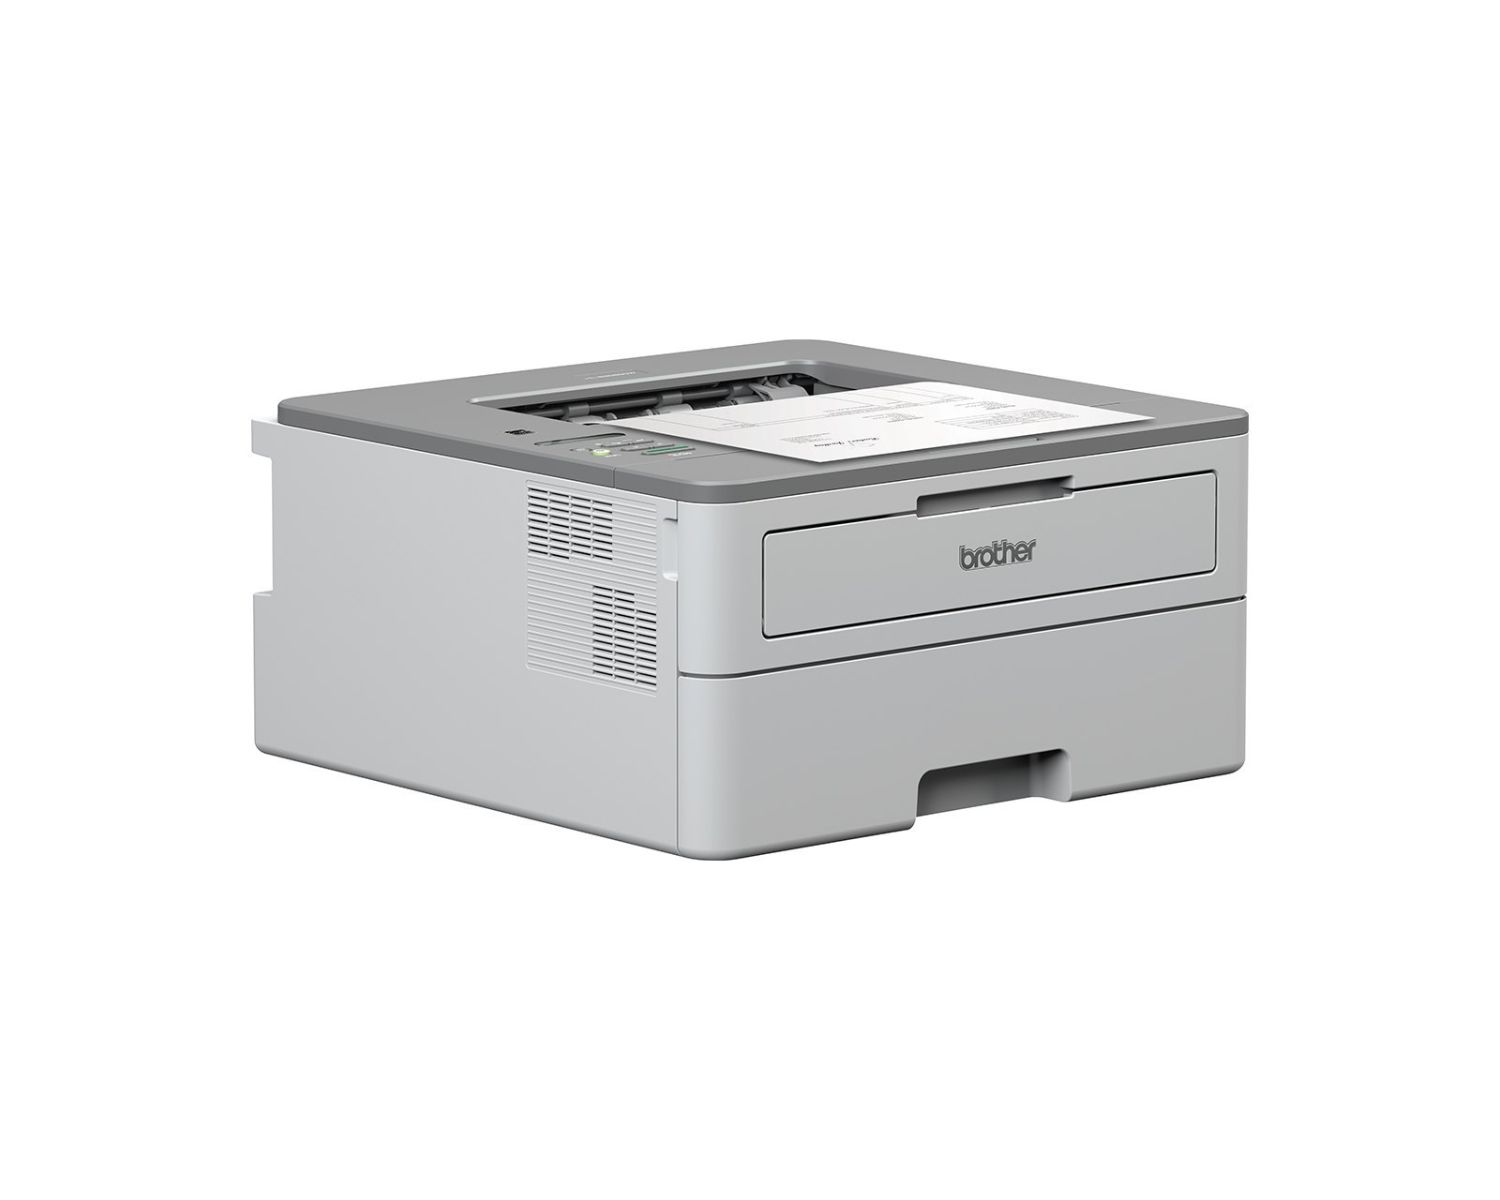
Welcome to the world of smart home devices, where technology seamlessly integrates into our daily lives to simplify tasks and enhance efficiency. In this article, we will explore the process of turning on a Ricoh printer, a versatile and reliable device that is a valuable addition to any home or office setting. Whether you are a seasoned tech enthusiast or a newcomer to the realm of smart devices, understanding how to power on and initialize your Ricoh printer is essential for maximizing its functionality.
Ricoh printers are renowned for their user-friendly interface, high-quality output, and advanced features that cater to diverse printing needs. By following the steps outlined in this guide, you will be able to seamlessly power on your Ricoh printer, initialize its settings, and establish a connection with your computer or network. Whether you are preparing to print important documents, vibrant photographs, or creative projects, your Ricoh printer is poised to deliver exceptional results.
As we delve into the process of turning on a Ricoh printer, we will provide clear and concise instructions, accompanied by valuable insights to ensure a smooth and enjoyable experience. Let's embark on this journey to unlock the full potential of your Ricoh printer and harness the power of modern printing technology. Get ready to elevate your printing experience with the simple yet impactful steps outlined in the following sections.
Key Takeaways:
- Powering on your Ricoh printer is as simple as locating and pressing the power button, then waiting for the initialization process to complete. This sets the stage for seamless printing and exceptional results.
- After powering on, initializing your Ricoh printer involves configuring settings, aligning components, and connecting to your desired devices or network. This ensures optimal performance and expands your printing capabilities.
Read more: How To Enable Finisher On Ricoh Printer
Step 1: Powering on the Ricoh Printer
Before delving into the exciting world of printing possibilities, the first step is to power on your Ricoh printer. This straightforward process sets the stage for seamless printing and ensures that your device is ready to fulfill your printing needs. Here’s a simple guide to power on your Ricoh printer:
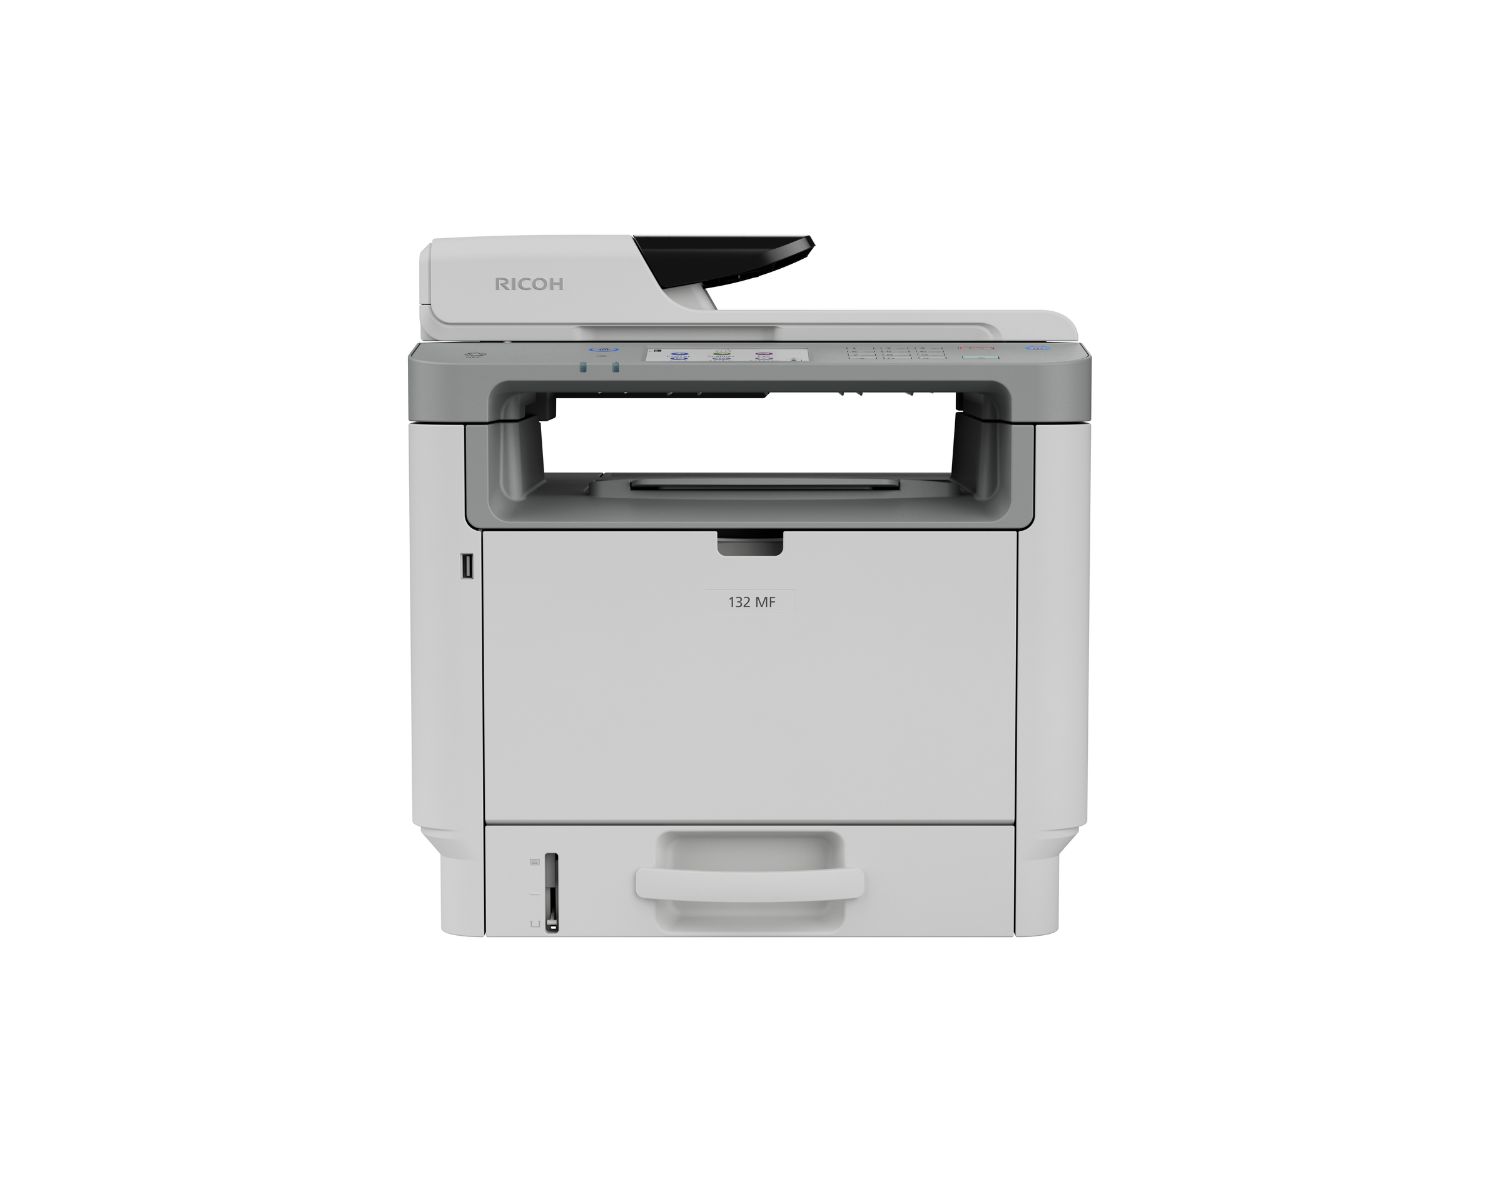
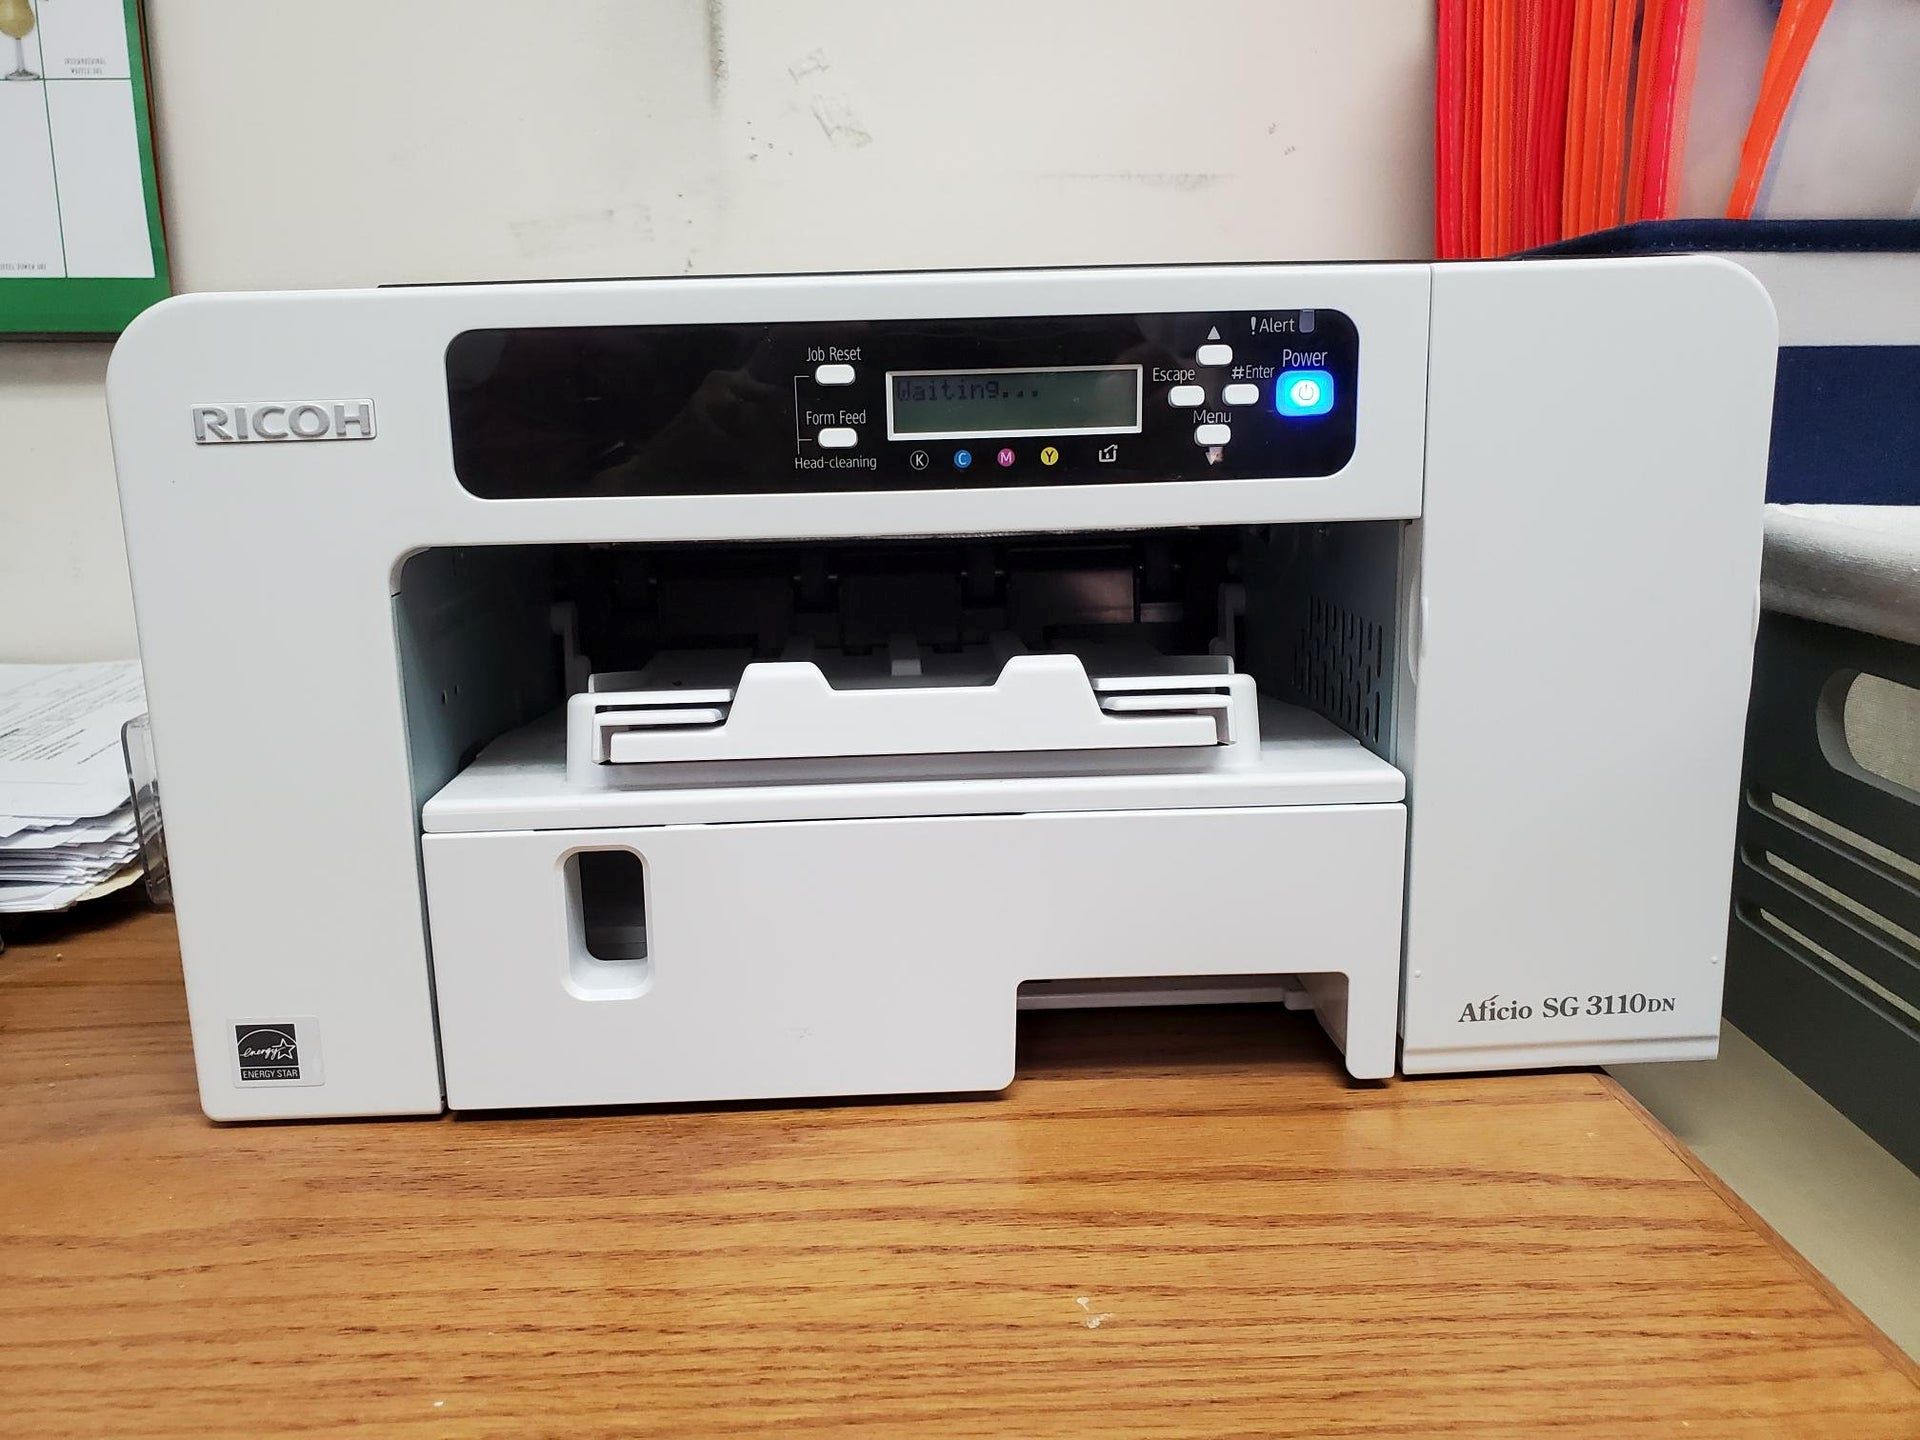
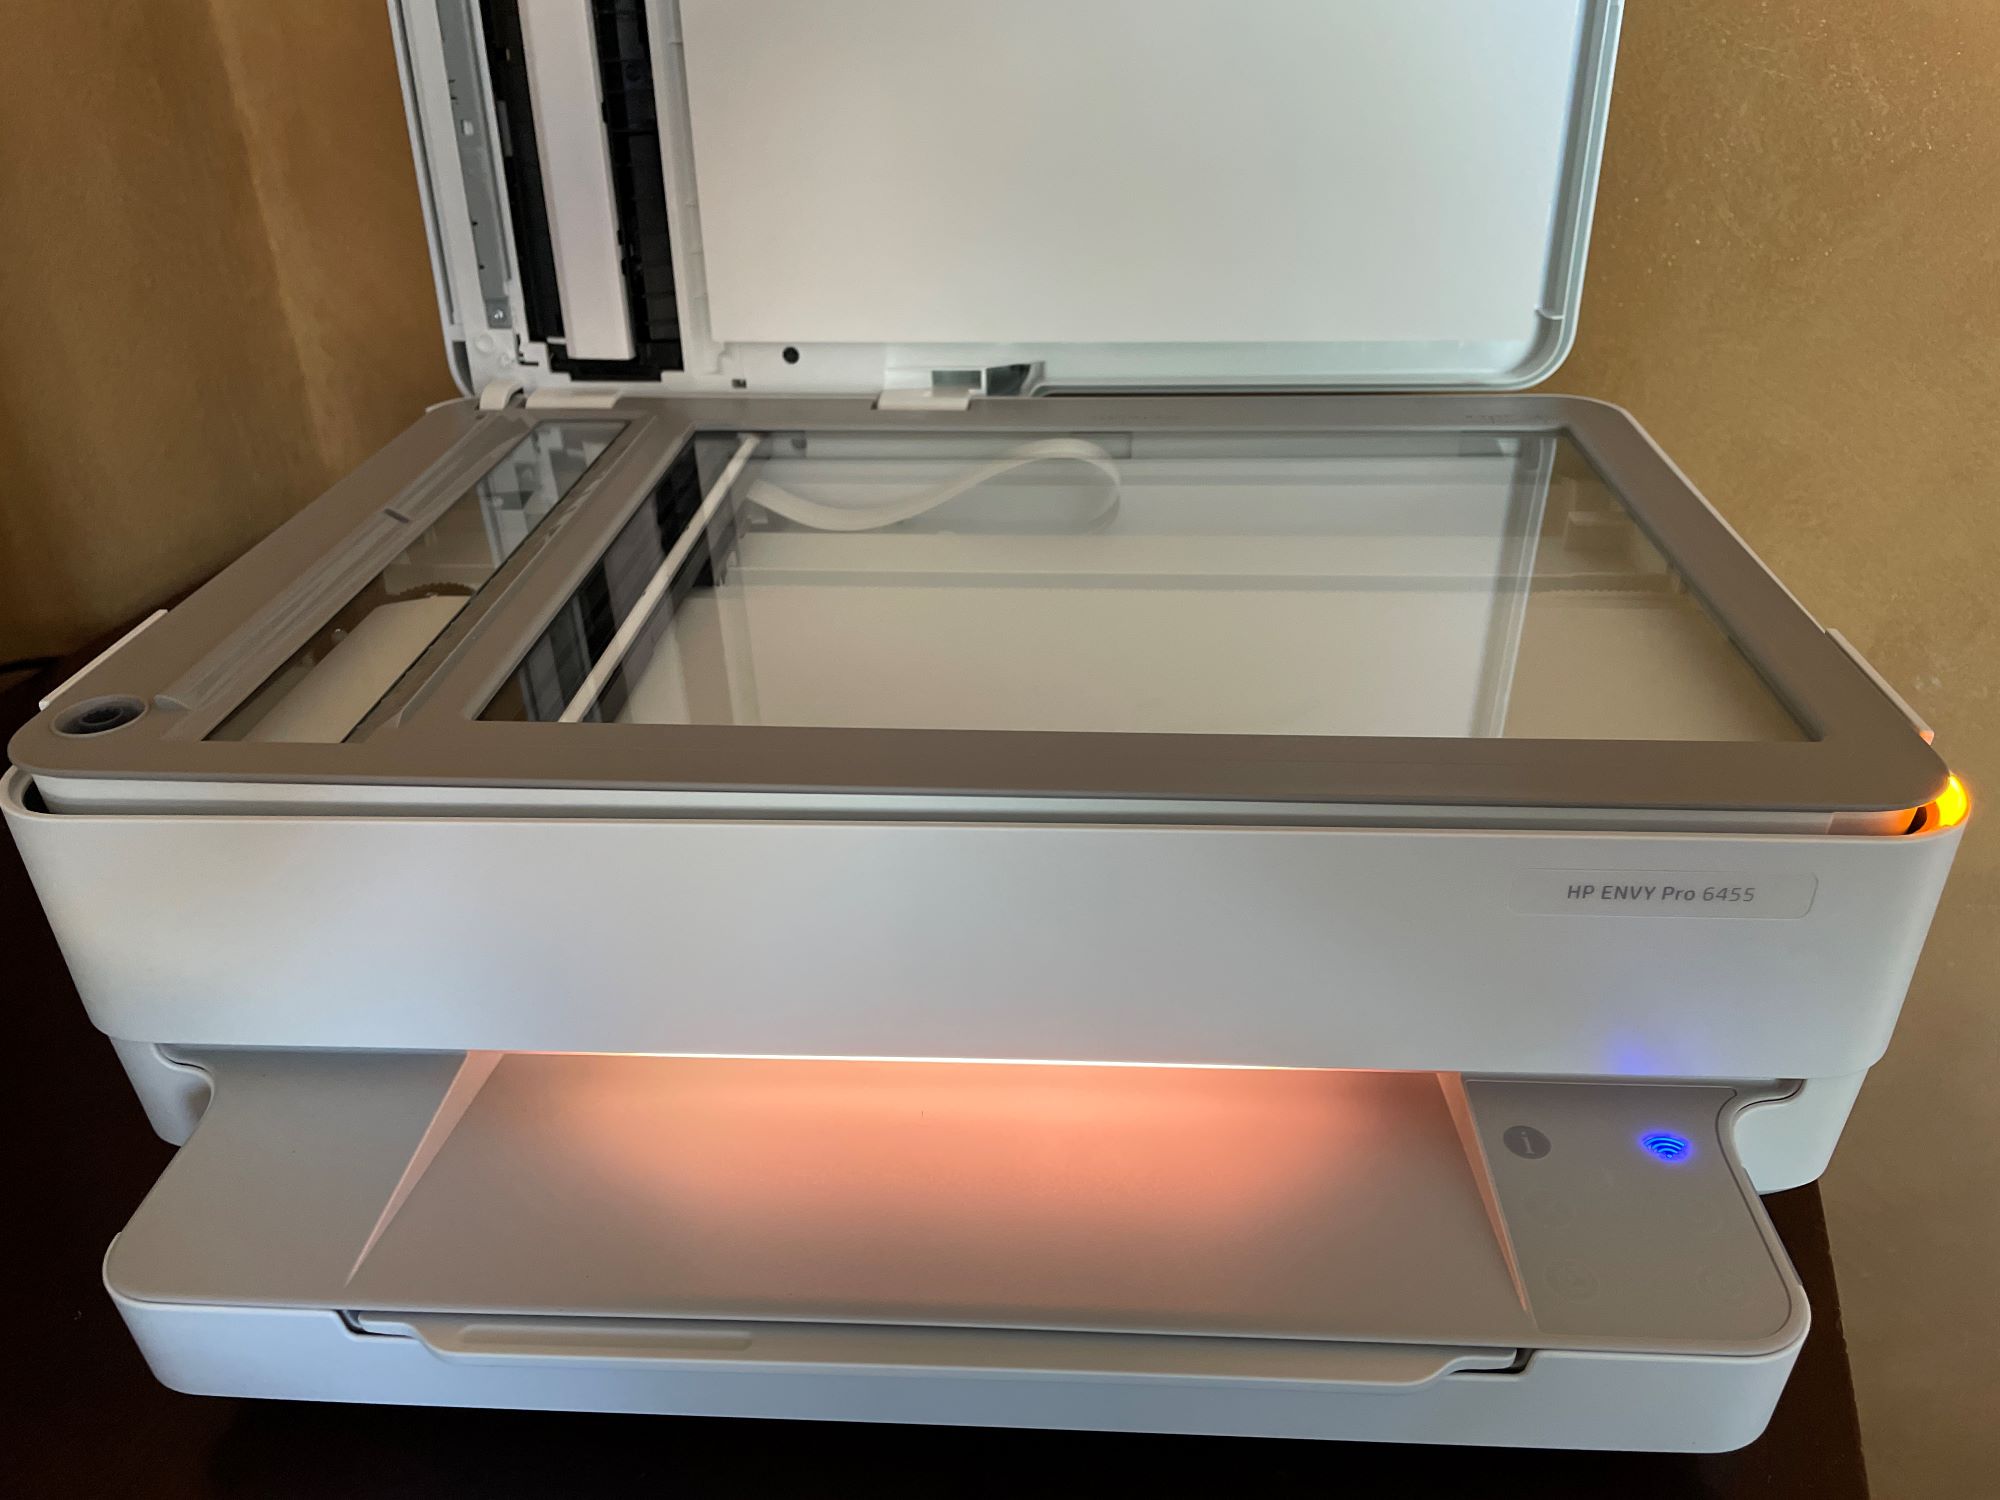
- Locate the Power Button: Begin by identifying the power button on your Ricoh printer. Typically, the power button is located on the front panel or control panel of the printer. It is often marked with the universal power symbol, making it easily recognizable.
- Press the Power Button: With the power button identified, gently press it to initiate the power-up sequence. As you press the power button, you will notice the printer’s display panel illuminating, indicating that the device is powering on.
- Wait for Initialization: Once the power button is activated, the printer will undergo an initialization process, during which it performs internal checks and prepares the various components for operation. This initialization phase ensures that the printer is ready to accept print commands and function optimally.
- Confirmation Lights: As the printer initializes, pay attention to any confirmation lights or indicators on the printer. These lights provide valuable feedback regarding the status of the printer and can alert you to any potential issues that may require attention.
- Ready to Print: After the initialization process is complete, your Ricoh printer is now powered on and ready to fulfill your printing needs. The device is primed to produce high-quality prints, whether you are creating documents, images, or any other print-worthy content.
By following these simple steps, you can power on your Ricoh printer with ease, setting the stage for a seamless printing experience. With the printer powered on, you are now ready to explore the next steps in the printing process, from initializing the device to establishing connections for printing from various sources.
Step 2: Initializing the Printer
After powering on your Ricoh printer, the next crucial step is to initialize the device, ensuring that it is ready to deliver exceptional print results. The initialization process involves configuring essential settings and ensuring that the printer is calibrated for optimal performance. Here’s a comprehensive guide to initializing your Ricoh printer:
- Display Panel Navigation: Upon powering on the printer, the display panel will provide access to a range of settings and options. Use the intuitive controls on the display panel to navigate through the initialization process. This may involve selecting language preferences, setting the date and time, and configuring other basic settings.
- Calibration and Alignment: Some Ricoh printers feature automatic calibration and alignment processes to optimize print quality. Follow any on-screen prompts or access the printer’s settings menu to initiate these processes, ensuring that the printer’s components are precisely aligned for accurate and crisp prints.
- Paper Tray Configuration: If your printing requirements involve various paper sizes or types, ensure that the paper trays are configured to accommodate your specific needs. Adjust the paper guides and settings to match the paper you intend to use, whether it’s standard letter-size paper, envelopes, or specialty media.
- Quality and Resolution Settings: Access the printer’s settings menu to customize print quality and resolution settings based on your preferences. This step allows you to tailor the printing output to suit your specific requirements, whether you prioritize speed, high-resolution graphics, or economical toner usage.
- Network and Connectivity: If your Ricoh printer is part of a network or requires connectivity to external devices, ensure that the network settings are configured appropriately. This may involve connecting to a Wi-Fi network, configuring Ethernet settings, or establishing a direct USB connection, depending on your printing setup.
By following these steps, you can effectively initialize your Ricoh printer, ensuring that it is finely tuned to produce outstanding prints. The initialization process sets the stage for a seamless printing experience, allowing you to harness the full capabilities of your Ricoh printer and achieve professional-grade results for your printing needs.
To turn on a Ricoh printer, locate the power button on the control panel and press it to switch the printer on. Wait for the printer to complete its startup process before using it.
Step 3: Connecting the Printer to a Computer or Network
Once your Ricoh printer is powered on and initialized, the next pivotal step is to establish a connection with a computer or network, enabling seamless printing from your desired devices. The ability to connect your Ricoh printer to a computer or network expands its functionality and allows for convenient printing from various sources. Here’s a comprehensive guide to connecting your Ricoh printer:
- Wired Connection: If you prefer a direct and reliable connection, consider using a USB cable to connect your Ricoh printer to a computer. Simply plug one end of the USB cable into the printer and the other end into a USB port on your computer. Once connected, your computer should automatically detect the printer, allowing for immediate printing access.
- Wireless Connectivity: Many Ricoh printers offer wireless connectivity options, enabling seamless printing from computers, smartphones, and other compatible devices. To set up wireless connectivity, access the printer’s settings menu to configure Wi-Fi or Bluetooth settings. Follow the on-screen prompts to connect the printer to your wireless network, allowing for convenient printing from any connected device within range.
- Network Printing: If your Ricoh printer is part of a network, ensure that it is properly configured to receive print jobs from multiple computers or devices. Network printing allows for centralized access to the printer, streamlining printing workflows in office environments and shared spaces.
- Mobile Printing: Take advantage of mobile printing capabilities by connecting your Ricoh printer to compatible mobile devices. This may involve installing dedicated printing apps or utilizing built-in mobile printing features, empowering you to print documents and images directly from your smartphone or tablet with ease.
- Cloud Printing Integration: Some Ricoh printers offer seamless integration with cloud printing services, allowing you to print documents and files directly from cloud storage platforms such as Google Drive, Dropbox, or Microsoft OneDrive. Configure cloud printing settings to expand your printing capabilities and access files from anywhere.
By following these steps, you can establish a robust connection between your Ricoh printer and your desired devices or network, unlocking the full potential of your printing capabilities. Whether you prefer a wired connection for reliability or wireless convenience for seamless printing from multiple devices, connecting your Ricoh printer ensures that you can effortlessly bring your digital content to life in vibrant and precise prints.
Conclusion
Congratulations! You have successfully navigated the essential steps to power on, initialize, and connect your Ricoh printer, setting the stage for a seamless and productive printing experience. By following the straightforward guidelines outlined in this article, you have empowered your Ricoh printer to deliver exceptional print results while seamlessly integrating into your home or office environment.
As you embark on your printing journey with your Ricoh printer, remember the fundamental importance of proper power-on procedures to ensure that the device is ready to fulfill your printing needs. The initialization process, including calibration, paper tray configuration, and quality settings, plays a pivotal role in optimizing print quality and ensuring consistent performance.
Furthermore, establishing a reliable connection between your Ricoh printer and your desired devices or network expands your printing capabilities, allowing for convenient printing from computers, smartphones, and cloud storage platforms. Whether you prefer a wired connection for direct access or wireless connectivity for flexibility, your Ricoh printer is poised to accommodate your diverse printing requirements.
As you continue to explore the myriad possibilities of your Ricoh printer, consider leveraging its advanced features and intuitive controls to further enhance your printing experience. From duplex printing and advanced paper handling to energy-saving modes and eco-friendly printing options, your Ricoh printer offers a wealth of capabilities to support your printing endeavors.
With the foundational knowledge gained from this guide, you are well-equipped to harness the full potential of your Ricoh printer and elevate your printing experience to new heights. Whether you are producing professional documents, captivating photographs, or creative projects, your Ricoh printer stands ready to bring your digital content to life with precision and vibrancy.
Embrace the seamless integration of technology and printing prowess that your Ricoh printer offers, and embark on a journey of effortless and impactful printing experiences. With each printout, you can witness the convergence of innovation and reliability, all made possible by the simple yet crucial steps of powering on, initializing, and connecting your Ricoh printer.
Frequently Asked Questions about How To Turn On Ricoh Printer
Was this page helpful?
At Storables.com, we guarantee accurate and reliable information. Our content, validated by Expert Board Contributors, is crafted following stringent Editorial Policies. We're committed to providing you with well-researched, expert-backed insights for all your informational needs.


0 thoughts on “How To Turn On Ricoh Printer”