Home>Storage Ideas>Bathroom Storage>How To Fix A Running Toilet
Bathroom Storage
How To Fix A Running Toilet
Modified: August 25, 2024
Learn how to fix a running toilet with these simple steps. Create more space in your bathroom with effective storage solutions.
(Many of the links in this article redirect to a specific reviewed product. Your purchase of these products through affiliate links helps to generate commission for Storables.com, at no extra cost. Learn more)
Introduction
Welcome to our comprehensive guide on fixing a running toilet. A running toilet can be a frustrating and wasteful problem, not to mention the potential increase in your water bill. Fortunately, with a little bit of knowledge and some simple tools, you can easily troubleshoot and fix the issue yourself.
Before we begin, it’s important to understand the common causes of a running toilet. The most common culprit is a faulty flapper valve. This is the rubber or plastic mechanism that controls the flow of water from the tank to the bowl. If the flapper is worn out or not properly sealing, water can continuously leak into the bowl, causing the toilet to run.
Another possible cause is a malfunctioning fill valve or float. The fill valve is responsible for refilling the tank after each flush. If the fill valve is not functioning correctly or the float is not adjusted properly, it can lead to a constant water flow, resulting in a running toilet.
In this article, we will guide you through the step-by-step process of identifying the problem, shutting off the water supply, checking and adjusting the flapper and float, replacing the fill valve if necessary, and finally testing your toilet to ensure it’s running smoothly.
By following these simple steps, you can save money on your water bill, conserve water, and avoid the hassle of a running toilet. So, let’s get started on fixing your running toilet and restoring peace to your bathroom!
Key Takeaways:
- Save money and water by fixing a running toilet yourself. Identify the issue, adjust the flapper and float, and replace the fill valve if needed. Enjoy a properly functioning toilet and a lower water bill!
- Troubleshoot a running toilet with confidence. Shut off the water supply, inspect the flapper and float, and reassemble the toilet. Test it to ensure a successful repair and a peaceful bathroom experience.
Read more: How To Get The Toilet To Stop Running
Step 1: Identify the Problem
The first step in fixing a running toilet is to identify the underlying issue. Before you can apply the appropriate solution, you need to determine what is causing the toilet to run continuously.
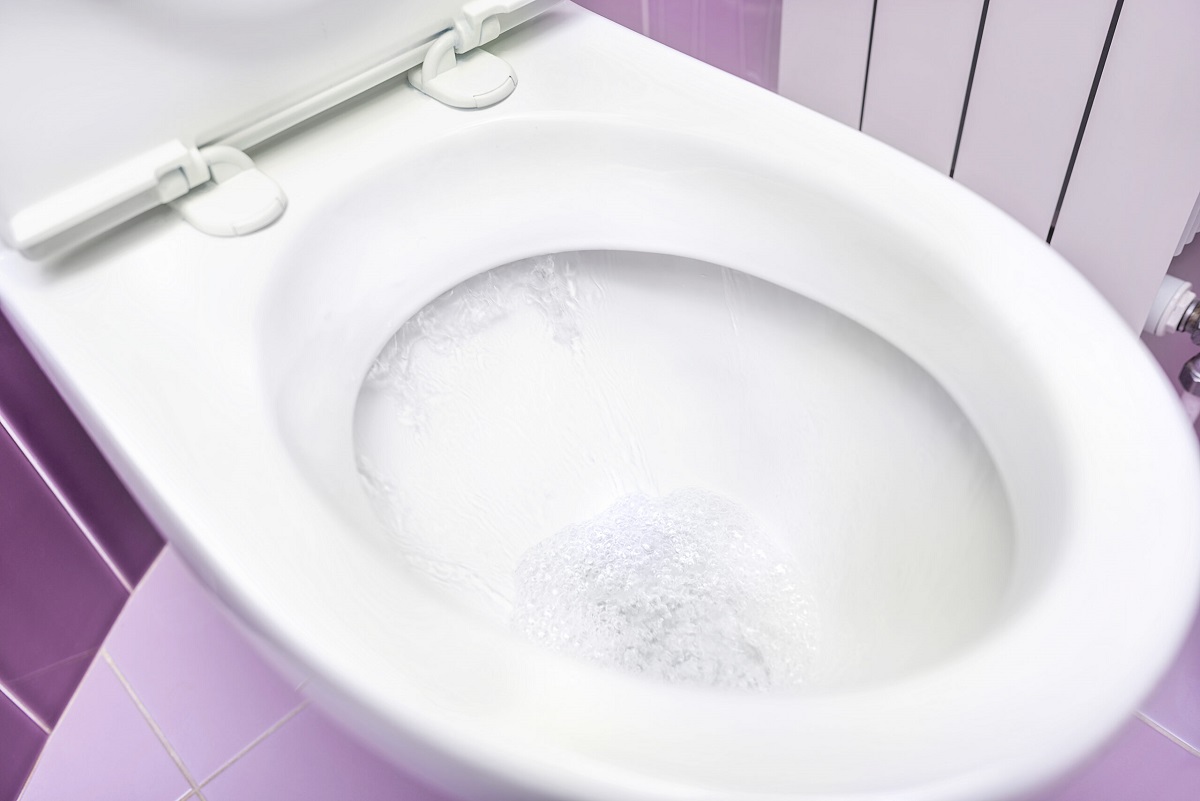
Start by removing the tank lid and observing the components inside. Look for any obvious signs of water leakage or parts that are not functioning properly. If you notice water running into the overflow tube or a constant trickle of water in the bowl, it’s likely that the flapper valve is not sealing properly.
Another common indication of a faulty flapper is a hissing sound coming from the toilet tank. This is caused by water continuously flowing into the bowl due to a worn-out or misaligned flapper.
If the flapper appears to be functioning correctly, the issue may lie with the fill valve or float. Check if the float is stuck in the up position or if the fill valve is not fully closing, allowing water to continuously flow into the tank.
By closely examining the components and listening for any unusual sounds, you can narrow down the problem and determine which specific part needs attention. This will help you move on to the appropriate troubleshooting steps and ultimately fix the running toilet.
Once you have identified the problem, you can proceed to the next steps in our guide to fix your running toilet and restore proper functionality to your bathroom.
Step 2: Shut Off the Water Supply
Before you begin working on your running toilet, it is crucial to shut off the water supply to prevent any potential mess or accidents. Shutting off the water supply will also allow you to work on the toilet without the constant flow of water.
To shut off the water supply, locate the shut-off valve, which is typically located on the wall behind the toilet or on the floor near the base. Turn the valve clockwise until it is fully closed. This will stop the flow of water to the toilet.
If you are unable to locate the shut-off valve near the toilet, you can also shut off the main water supply to your house. Locate the main shut-off valve, which is usually found near the water meter or where the main water line enters your home. Turn it clockwise to close the valve and stop the water flow throughout your house.
It’s important to note that shutting off the water supply may result in temporarily losing water access to other fixtures in your home. Therefore, it’s recommended to inform other members of your household about the temporary water shutdown.
Once you have successfully shut off the water supply, you can proceed with confidence to the next steps in fixing your running toilet.
Note: If you encounter any difficulties in shutting off the water supply or have concerns about handling the process, it is always best to consult a professional plumber for assistance.
Step 3: Remove the Tank Lid
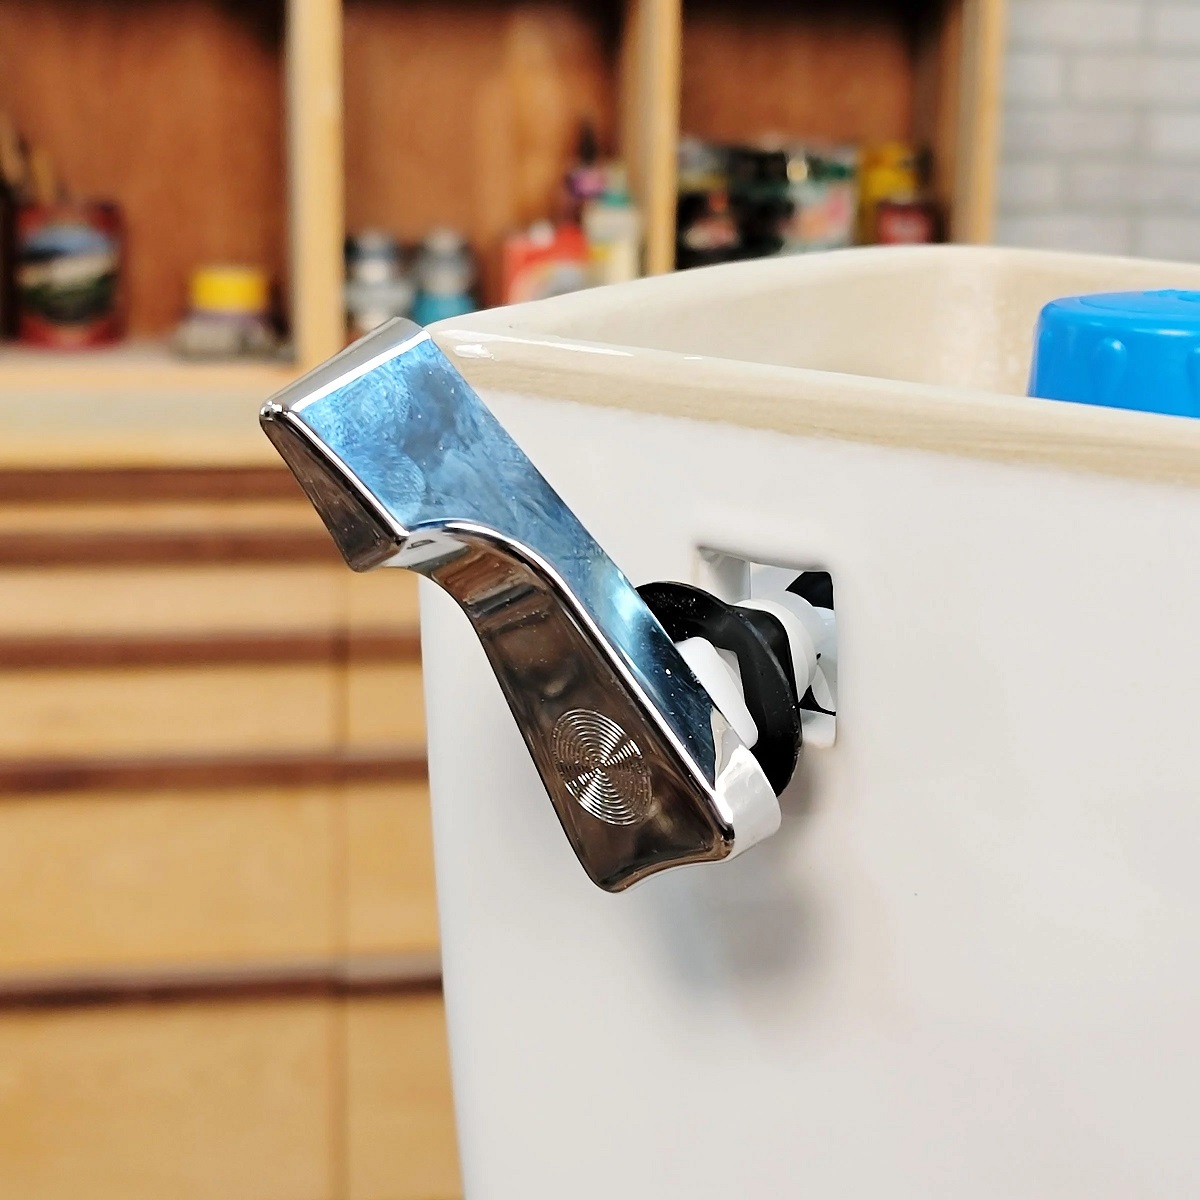
With the water supply shut off, it’s time to remove the tank lid to gain access to the inner workings of your toilet. The tank lid is typically made of ceramic or plastic and sits on top of the toilet tank.
Before you proceed, it’s important to handle the tank lid with care to prevent any damage or injury. If the lid is heavy or too difficult to lift on your own, ask for assistance or use caution to avoid straining yourself.
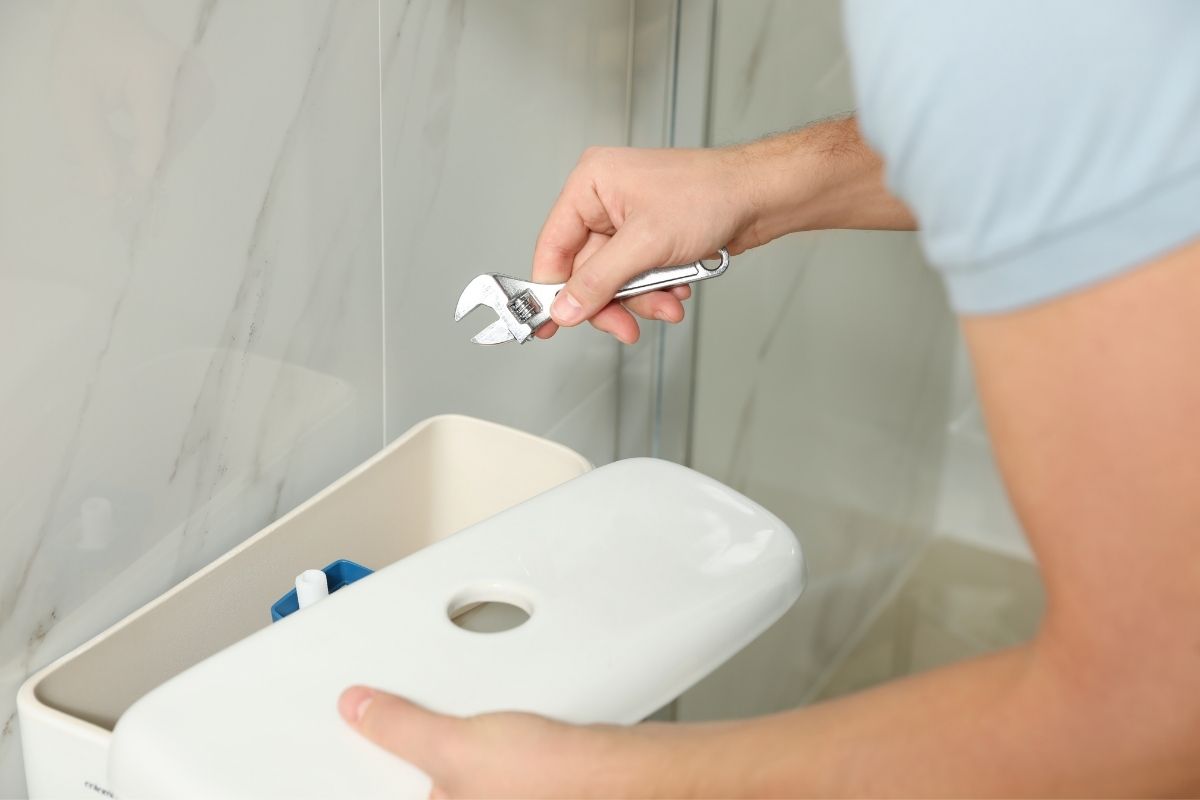
Start by locating the tank bolts or screws that secure the lid to the tank. These are usually positioned at the back of the tank. Use a wrench or screwdriver, depending on the type of fasteners, to loosen and remove them.
Once the bolts or screws are removed, carefully lift the tank lid straight up to remove it. Set the lid aside on a soft surface or towel to avoid any potential scratches or breakage. Take a moment to inspect the lid for any cracks or damage that may require replacement.
By removing the tank lid, you now have a clear view of the components inside the tank. This will allow you to proceed with the necessary checks and adjustments to fix your running toilet.
Remember to handle the tank lid with care and keep it in a safe place to avoid any accidents or further damage. With the tank lid removed, you are now ready to move on to the next steps in troubleshooting your running toilet.
Step 4: Check the Flapper
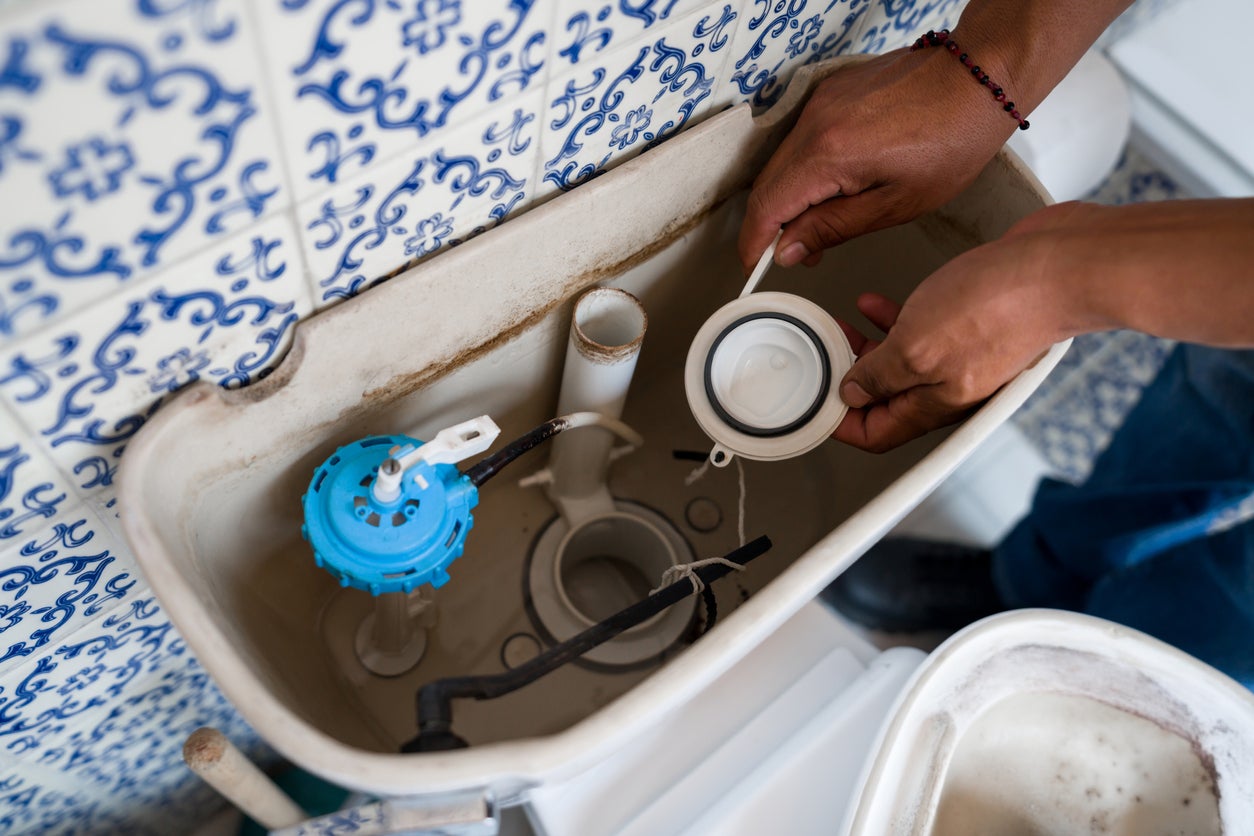
Once you have removed the tank lid, it’s time to inspect the flapper, which is one of the most common causes of a running toilet. The flapper is a rubber or plastic valve that controls the flow of water from the tank to the bowl.
Start by examining the condition of the flapper. Look for any signs of wear, such as cracks, tears, or deterioration. A worn-out flapper may not seal properly, leading to water continuously flowing into the bowl and causing a running toilet.
If the flapper appears to be in good condition, check its positioning. The flapper should be centered over the flush valve opening at the bottom of the tank. Ensure that it is not misaligned or sticking to the sides of the tank, as this can also cause water leakage.
Next, test the flapper’s seal by gently pressing down on it. If the flapper moves easily and does not provide a tight seal, it may need adjustment or replacement. Ideally, the flapper should create a watertight seal when closed, preventing any water from escaping into the bowl.
If adjusting the flapper does not resolve the issue, it may be necessary to replace it. Flappers are inexpensive and readily available at hardware stores or home improvement centers. Follow the manufacturer’s instructions on how to properly install a new flapper.
Checking and maintaining the flapper is an essential step in fixing a running toilet as it is often the main culprit. Take the time to inspect and address any issues with the flapper before moving on to the next troubleshooting steps.
Once you have checked the flapper and made any necessary adjustments or replacements, you can proceed to the next step in resolving the running toilet problem.
Read more: How To Fix A Wall Clock That Runs Fast
Step 5: Adjust the Float
If the flapper is not the source of the running toilet problem, the next component to check is the float. The float is responsible for controlling the water level in the tank and signaling the fill valve to stop when the desired water level is reached.
Start by locating the float inside the toilet tank. It is typically a buoyant device, often made of plastic, that floats on top of the water. The float is attached to a metal or plastic arm that is connected to the fill valve.
Observe the position of the float when the water in the tank is at its normal level. Ideally, the float should be sitting parallel to the water surface. If the float is too high, it can cause the fill valve to continue supplying water into the tank, resulting in a running toilet.
To adjust the float, look for a screw or clip mechanism on the float arm. Loosen the screw or release the clip to adjust the float’s position. Lowering the float should reduce the water level, while raising it should increase the water level.
Make small adjustments to the float and observe the water level in the tank. The goal is to find the optimal position where the water stops filling when it reaches the appropriate level. This will prevent any overflow or continuous flow of water that leads to a running toilet.
Once you have adjusted the float to the desired position, tighten the screw or reattach the clip to secure it in place. Perform a test flush to ensure that the water level is now properly controlled and does not result in a running toilet.
By correctly adjusting the float, you can help restore the normal functioning of your toilet and prevent unnecessary water waste. If the running toilet issue persists, it may be necessary to proceed to the next troubleshooting step.
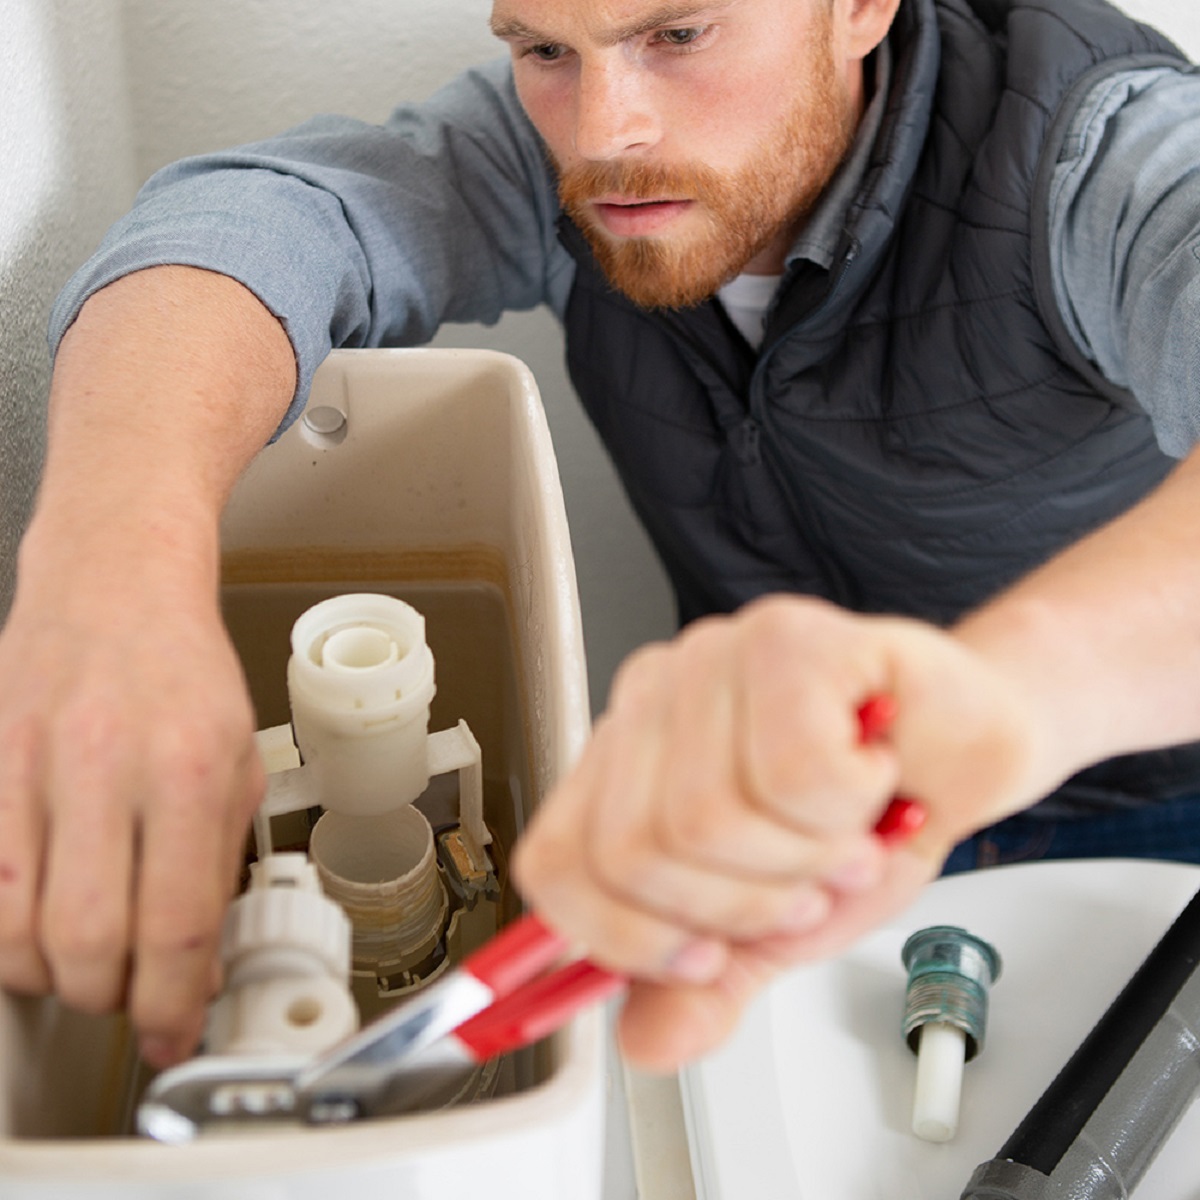
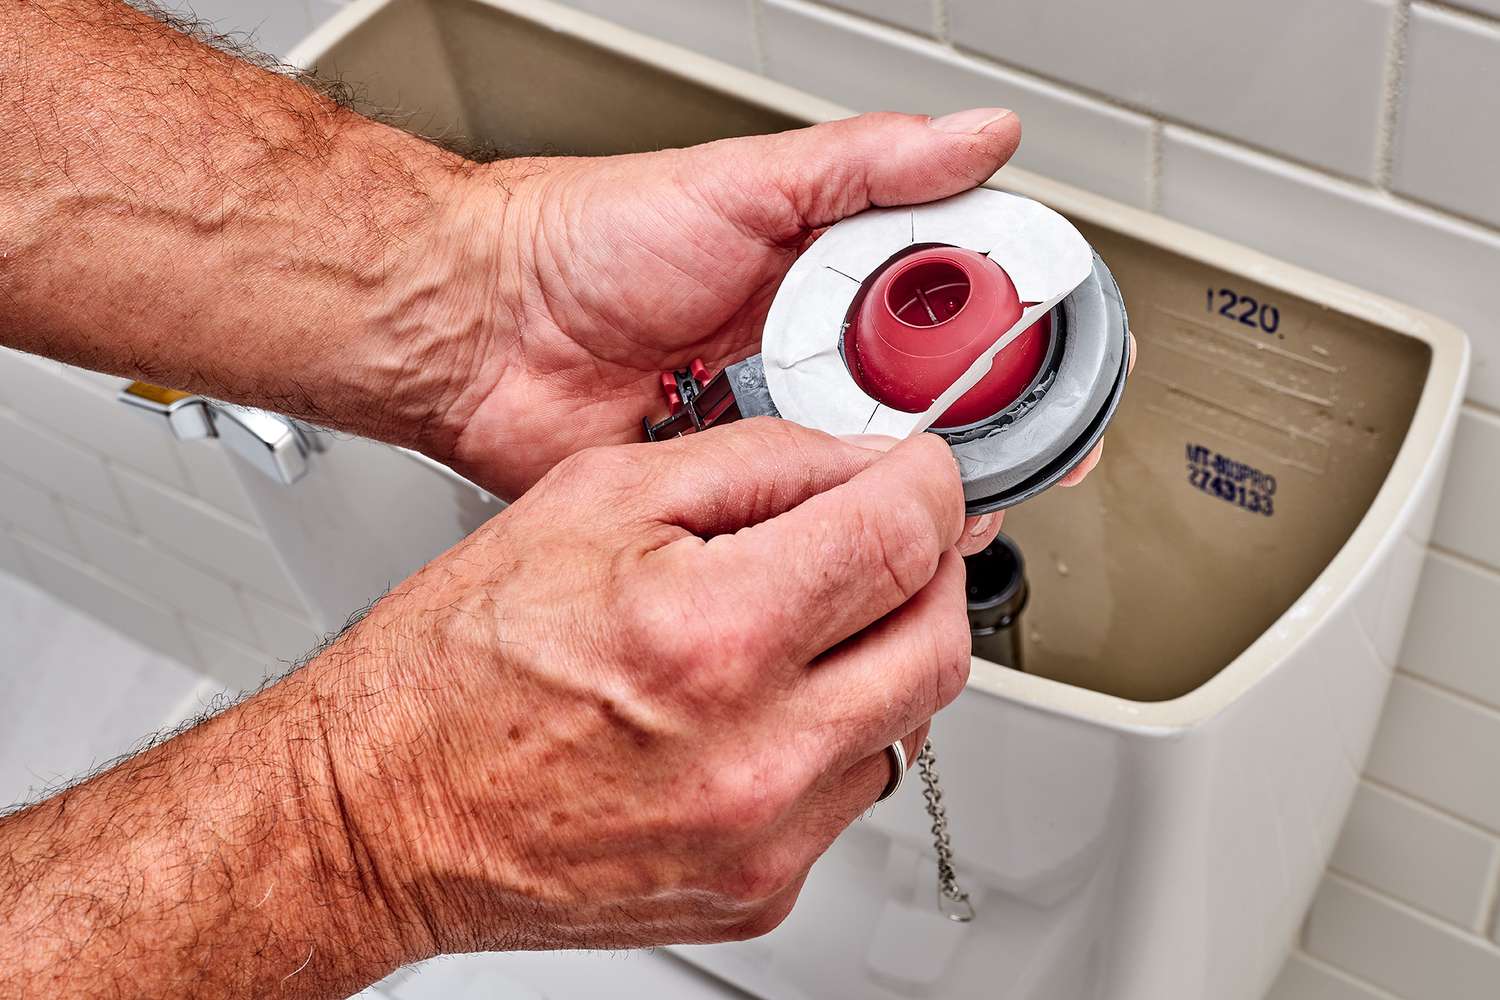
Check the flapper and the fill valve in the toilet tank. If the flapper is worn or the fill valve is not functioning properly, it can cause the toilet to run constantly. Replace any faulty parts to fix the issue.
Step 6: Replace the Fill Valve
If adjusting the float did not resolve the running toilet issue, it may be necessary to replace the fill valve. The fill valve is responsible for refilling the toilet tank after each flush. If the fill valve is malfunctioning or not shutting off properly, it can lead to a continuous flow of water and a running toilet.
Before replacing the fill valve, make sure you have turned off the water supply to the toilet as explained in Step 2. This will prevent water from flowing into the tank while you work on replacing the fill valve.
To replace the fill valve, you will need to drain the water from the tank. Start by flushing the toilet, holding down the handle to allow as much water as possible to drain from the tank and bowl. If necessary, use a sponge or bucket to remove any remaining water.
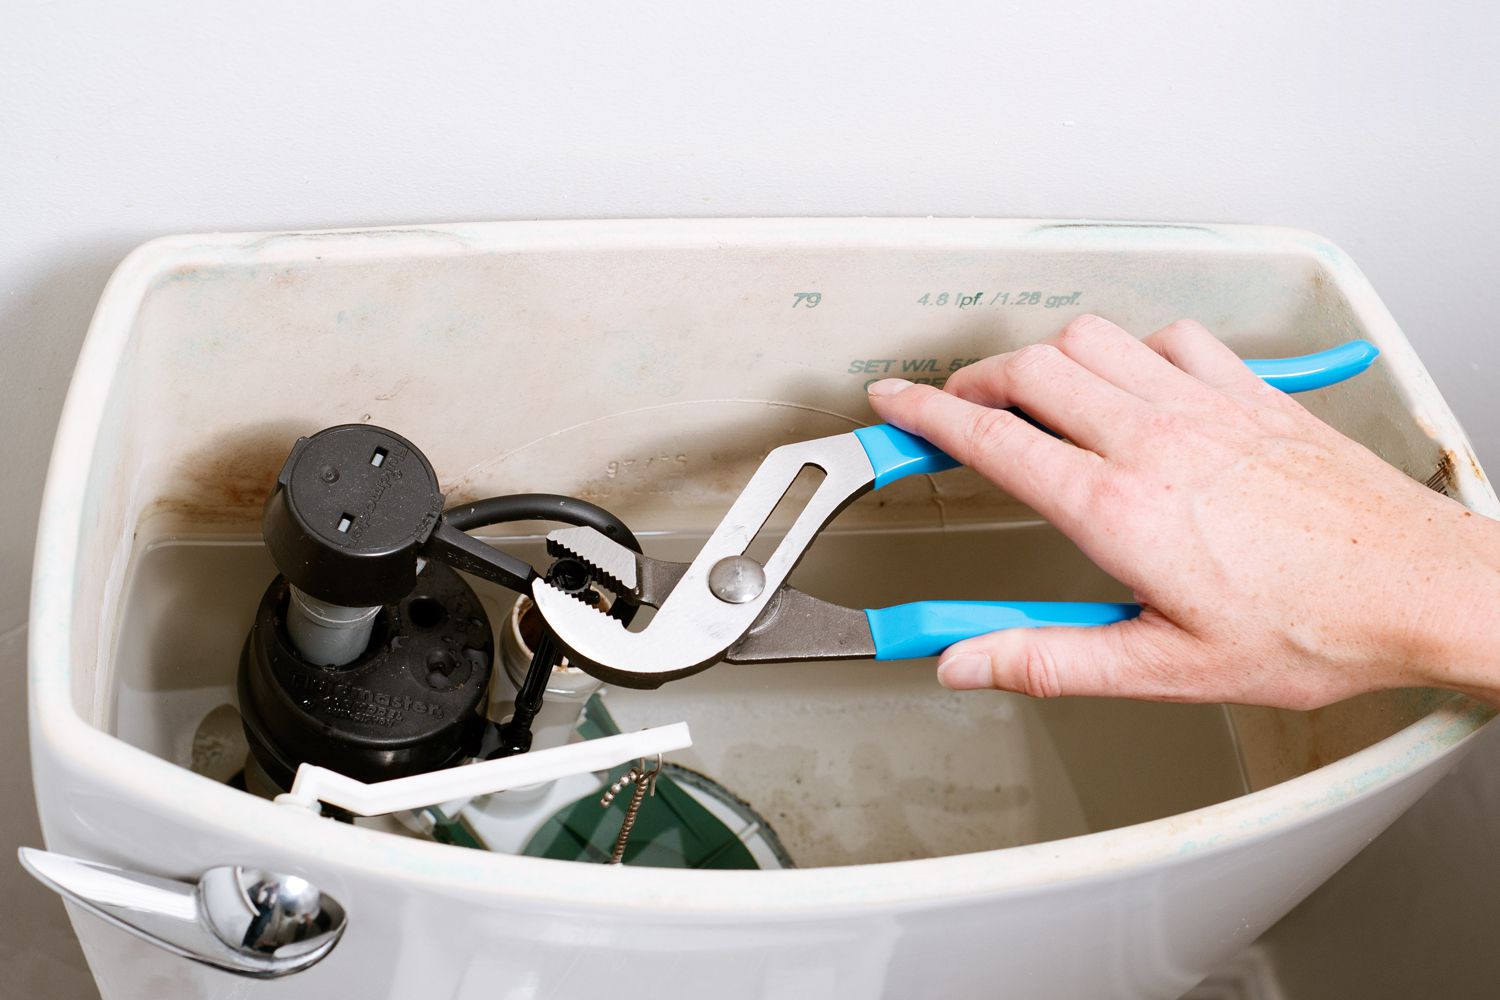
Once the tank is empty, locate the water supply line connected to the bottom of the fill valve. Use an adjustable wrench to loosen the nut connecting the supply line. Once the nut is loose, you can remove the supply line from the fill valve.
Next, locate the locknut securing the fill valve inside the tank. Use your wrench to loosen and remove the locknut. Once the locknut is removed, the old fill valve can be taken out of the tank.
Install the new fill valve according to the manufacturer’s instructions. This typically involves inserting the fill valve into the hole at the bottom of the tank and securing it in place with the locknut. Make sure to tighten the locknut securely, but be careful not to overtighten and risk damaging the tank.
Reattach the water supply line to the new fill valve, using your wrench to tighten the nut securely. Ensure that the connection is watertight to prevent any leaks.
Once the new fill valve is installed, turn on the water supply and allow the tank to fill. Observe the water level and listen for any running water sounds. If the fill valve is functioning correctly, the water should stop filling once it reaches the appropriate level.
Perform a test flush to ensure that the running toilet problem has been resolved. If the toilet flushes properly and there is no continuous flow of water, congratulations! You have successfully replaced the fill valve and fixed your running toilet.
If the running toilet issue still persists after replacing the fill valve, it may be necessary to consult a professional plumber for further assistance.
Step 7: Reassemble the Toilet
Now that you have addressed the underlying issue causing the running toilet, it’s time to reassemble the various components and get your toilet back in working order.
Start by placing the tank lid back onto the toilet tank. Ensure that it is positioned correctly and aligns with the bolt holes or screw openings. Carefully lower the lid onto the tank and secure it in place using the bolts or screws that were removed earlier.
Next, reattach the water supply line to the fill valve. Use an adjustable wrench to tighten the nut, making sure it is snug but not over-tightened to avoid damaging the connection.
Double-check that all the connections are tight and secure. Ensure that the fill valve, flapper, and float are properly aligned and in their correct positions.
If you had to replace any parts, such as the flapper or fill valve, make sure they are installed correctly and according to the manufacturer’s instructions.
Take a moment to inspect the area around the toilet for any water leaks or drips. If you notice any, tighten the connections further or replace any faulty parts as needed.
Once you are confident that everything is properly reassembled and there are no leaks, you can move on to the final steps of restoring functionality to your toilet.
Step 8: Turn On the Water Supply
With the toilet reassembled and all connections checked, it’s time to turn on the water supply and allow the tank to fill. This step is crucial in ensuring that your toilet is ready for use once again.
Locate the shut-off valve that you previously closed during Step 2. Turn the valve counterclockwise to gradually reopen the water supply. Take care not to force the valve open too quickly, as this can cause a surge of water and potential splashing.
As you turn on the water supply, pay close attention to any potential leaks around the connections or pipes. If you notice any water dripping or spraying, quickly shut off the water supply again and tighten the connections or replace any faulty parts.
Allow the water to flow into the tank and observe the fill valve. It should start refilling the tank slowly. Keep an eye on the water level and listen for any abnormal sounds. The fill valve should shut off once the tank is filled to the appropriate level.
As the tank fills, check for any leaks around the base of the toilet or from the water supply line. It’s normal to see a small amount of water trickling into the bowl during the filling process, but it should stop once the tank reaches its desired level.
If everything appears to be functioning properly and no leaks are present, you can proceed to the final step of testing the toilet to ensure it is working as it should.
Remember, if you encounter any difficulties during this step or notice persistent leaks, it’s best to seek the assistance of a professional plumber to avoid any further damage or complications.
Read more: How Much Water Does A Running Toilet Use
Step 9: Test the Toilet
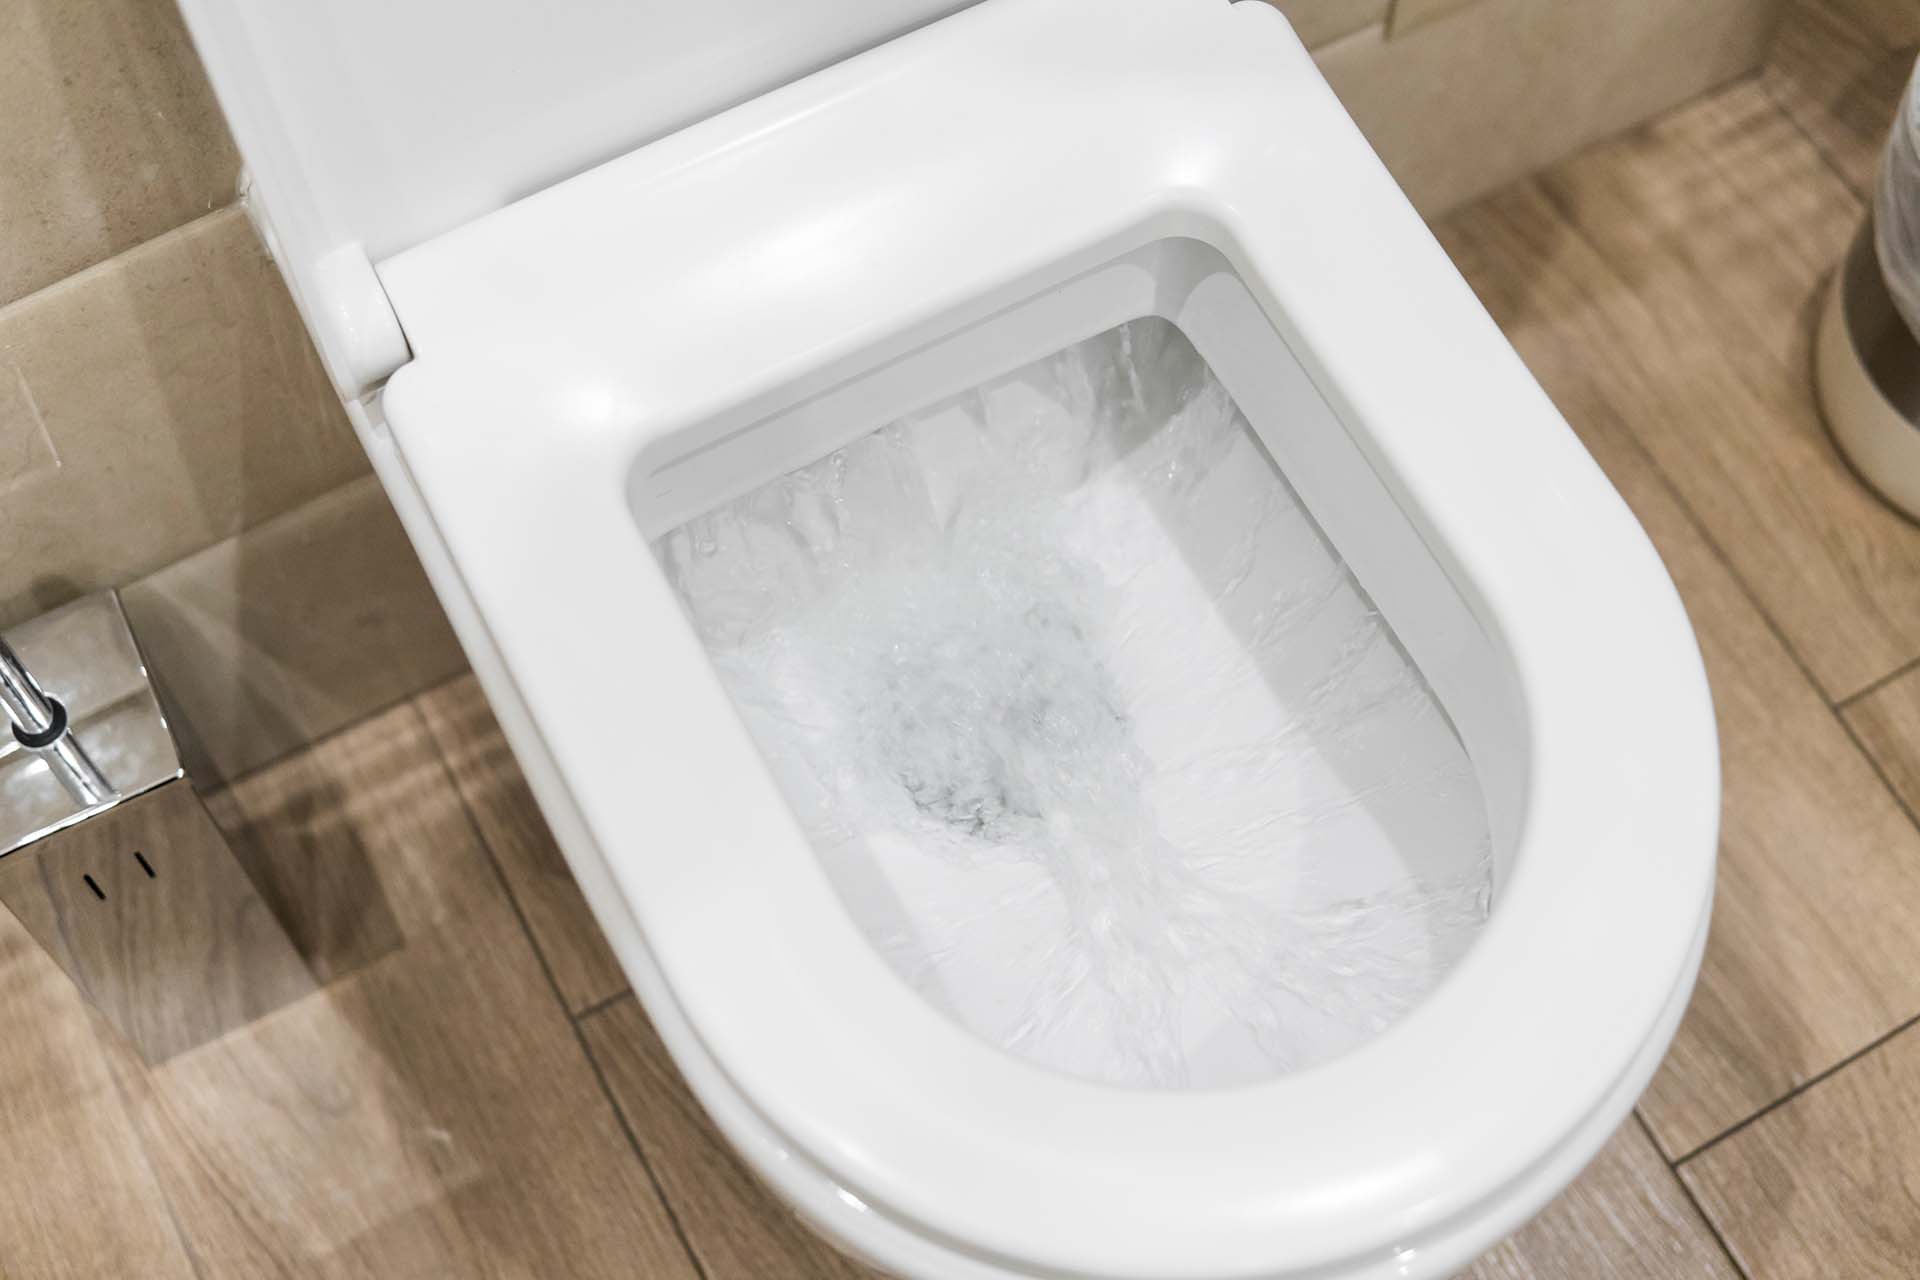
Finally, it’s time to test your toilet and make sure that the running issue has been fully resolved. Testing the toilet will ensure that it flushes properly, refills correctly, and does not exhibit any signs of a running toilet.
Start by flushing the toilet to see if the water flushes down smoothly and efficiently. Observe the flushing action and listen for any unusual sounds that may indicate a problem. If the toilet flushes without any issues, it’s a good sign that your repair efforts have been successful.
Once the toilet is flushed, wait for the tank to refill. Keep an eye on the water level inside the tank to ensure that it stops rising once it reaches the appropriate level. The fill valve should shut off the flow of water precisely, preventing any excess water from entering the tank or causing a running toilet.
After the tank has refilled, check for any leaks around the base of the toilet or from the water supply line. Run your hand or a piece of toilet paper along these areas to detect any moisture. If you notice any leaks, review the connections and tighten them appropriately.
Perform this testing process multiple times to ensure consistent results. By doing so, you can be confident that your toilet is functioning correctly and that the running toilet problem has been successfully resolved.
It’s important to note that in some cases, additional adjustments or repairs may be necessary. If you continue to experience a running toilet, or if you encounter other issues during testing, it may be best to consult a professional plumber for further assistance.
Congratulations on successfully fixing your running toilet! By following these steps and taking the necessary precautions, you have saved money on water bills and restored functionality to your bathroom. Enjoy your now properly functioning toilet!
Conclusion
Fixing a running toilet can be a relatively simple task with the right knowledge and tools. By following the step-by-step guide provided in this article, you can troubleshoot and address the underlying issues that cause a running toilet.
Remember, the most common culprits of a running toilet are a faulty flapper valve, a misadjusted or malfunctioning float, or a defective fill valve. By identifying the problem and applying the appropriate solutions, you can restore your toilet to its normal functionality and prevent water waste.
Throughout the troubleshooting process, it’s important to handle the various components with care and to observe any potential leaks or damage. Take the time to check and adjust the flapper, float, and fill valve if necessary. If you encounter any difficulties or persisting issues, it’s best to seek the assistance of a professional plumber.
By fixing a running toilet, you not only save money on water bills but also contribute to conserving water, which is an essential resource. Additionally, you can eliminate the annoyance and inconvenience of a continuously running toilet, ensuring a peaceful and efficient bathroom experience.
We hope that this comprehensive guide has provided you with the necessary information to address a running toilet in your home. Remember to follow the step-by-step instructions and exercise caution throughout the process. Your efforts will result in a properly functioning toilet and a more sustainable bathroom environment.
Thank you for reading, and we wish you success in fixing your running toilet!
Frequently Asked Questions about How To Fix A Running Toilet
Was this page helpful?
At Storables.com, we guarantee accurate and reliable information. Our content, validated by Expert Board Contributors, is crafted following stringent Editorial Policies. We're committed to providing you with well-researched, expert-backed insights for all your informational needs.

0 thoughts on “How To Fix A Running Toilet”