Home>Furniture & Design>Bathroom Accessories>How To Get A Bathtub To Stop Dripping
Bathroom Accessories
How To Get A Bathtub To Stop Dripping
Published: February 18, 2024
Learn how to fix a dripping bathtub with the right bathroom accessories. Stop leaks and save water with our step-by-step guide.
(Many of the links in this article redirect to a specific reviewed product. Your purchase of these products through affiliate links helps to generate commission for Storables.com, at no extra cost. Learn more)
Introduction
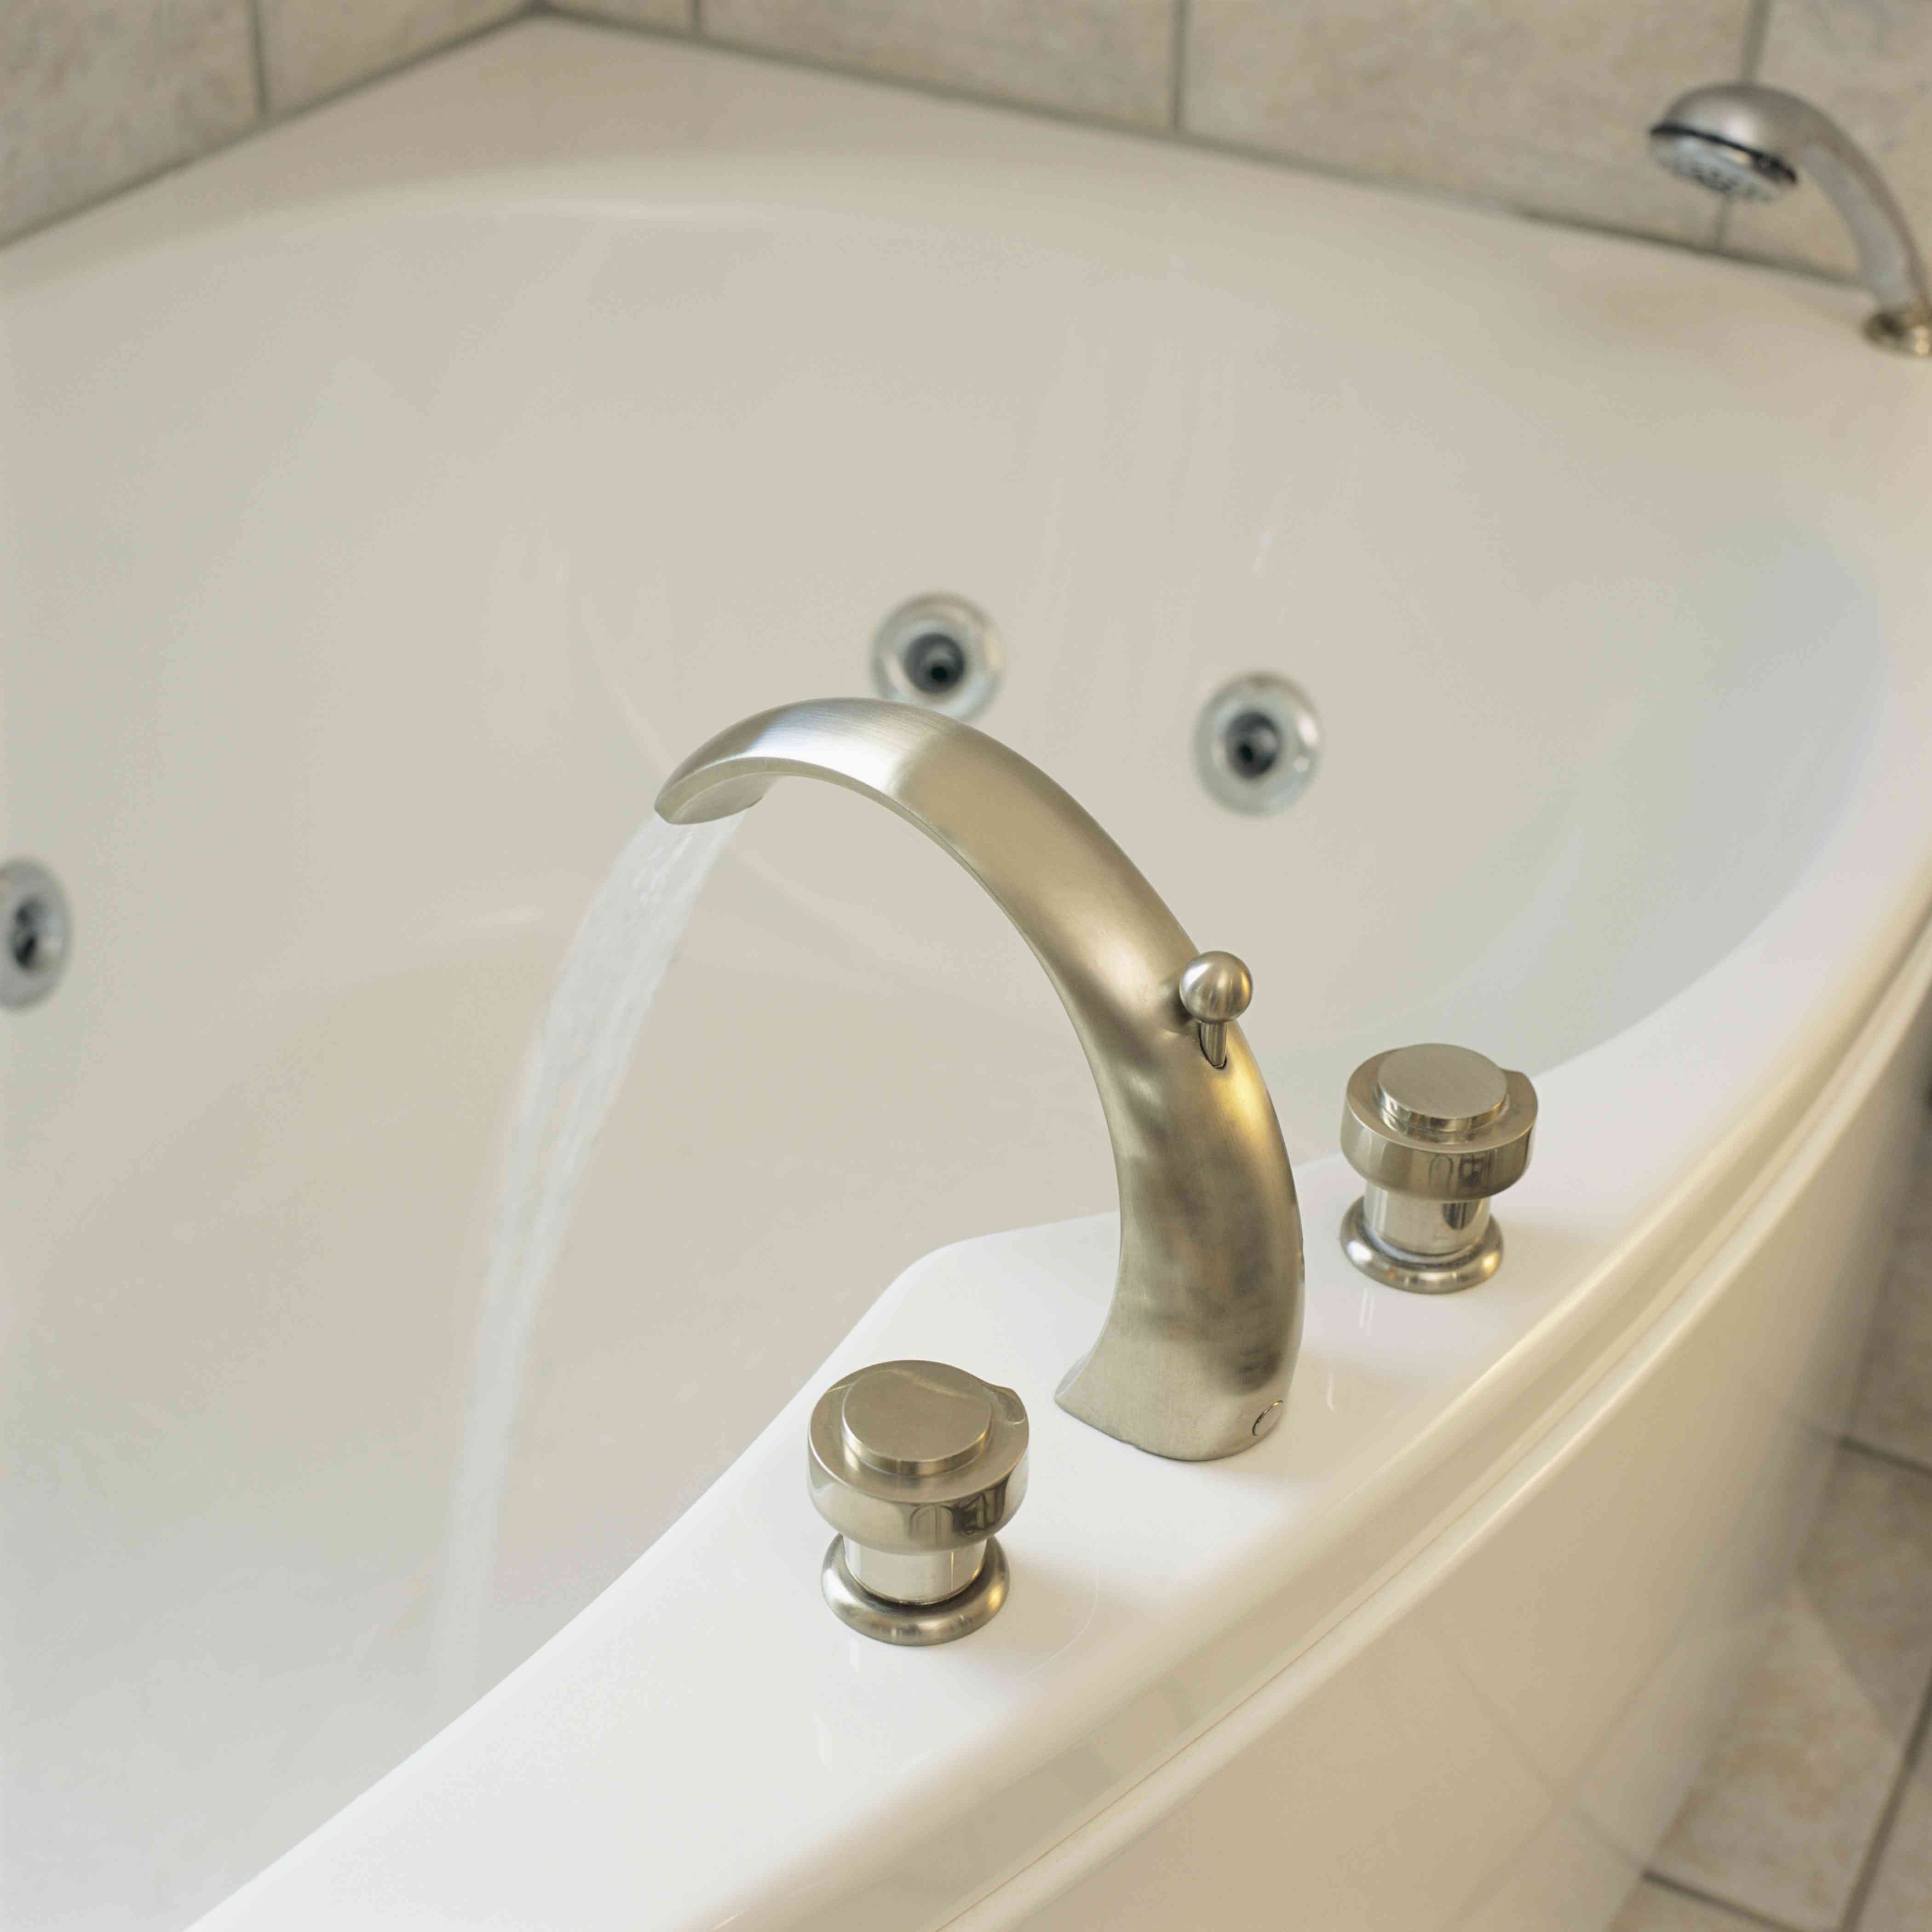
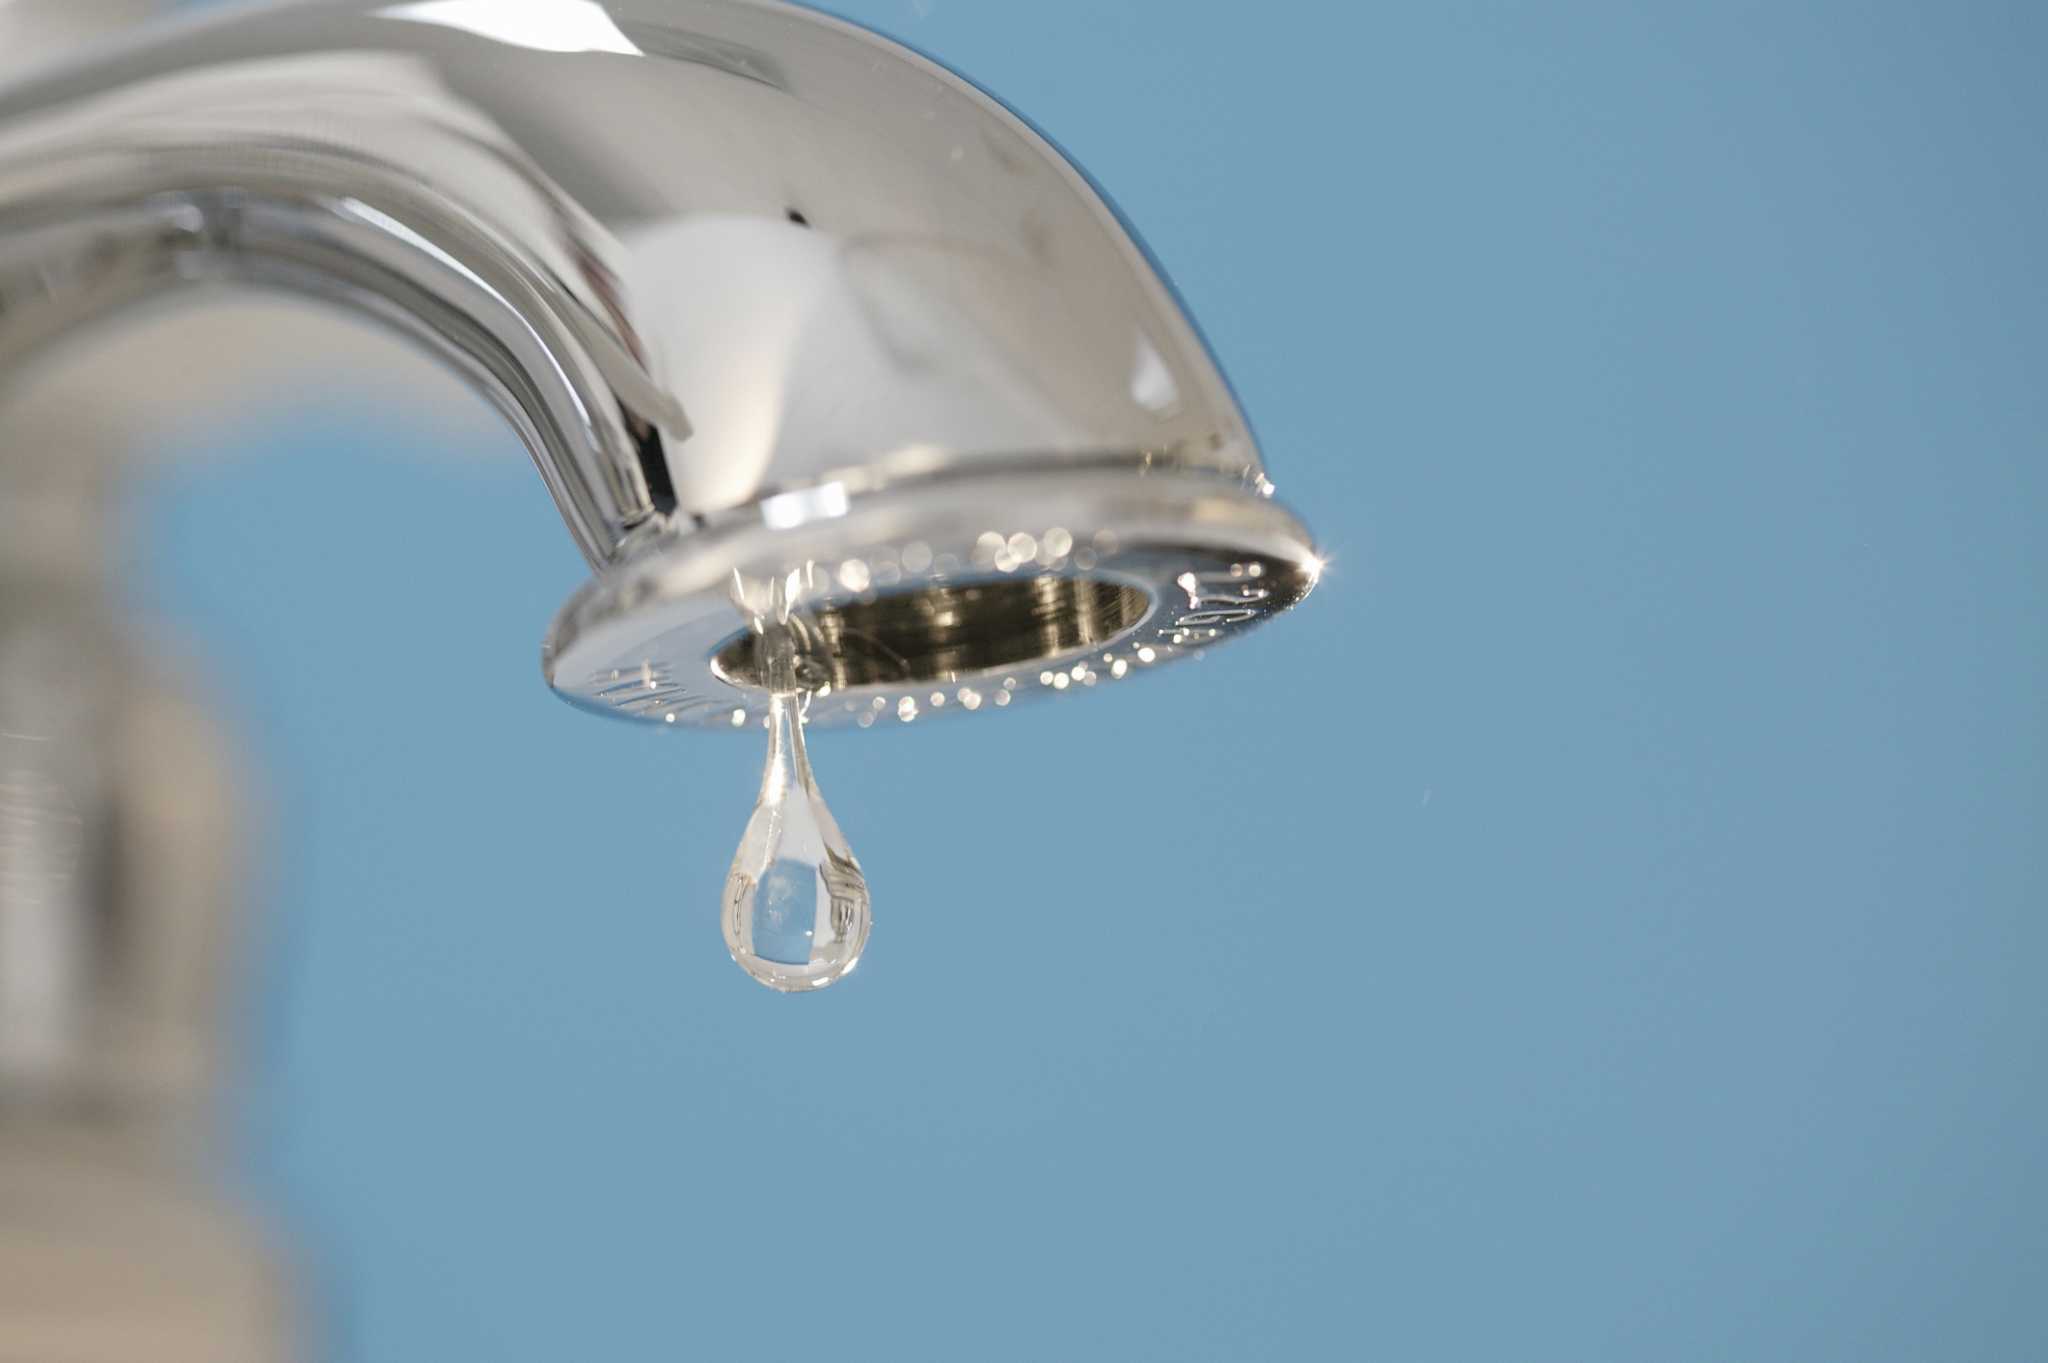
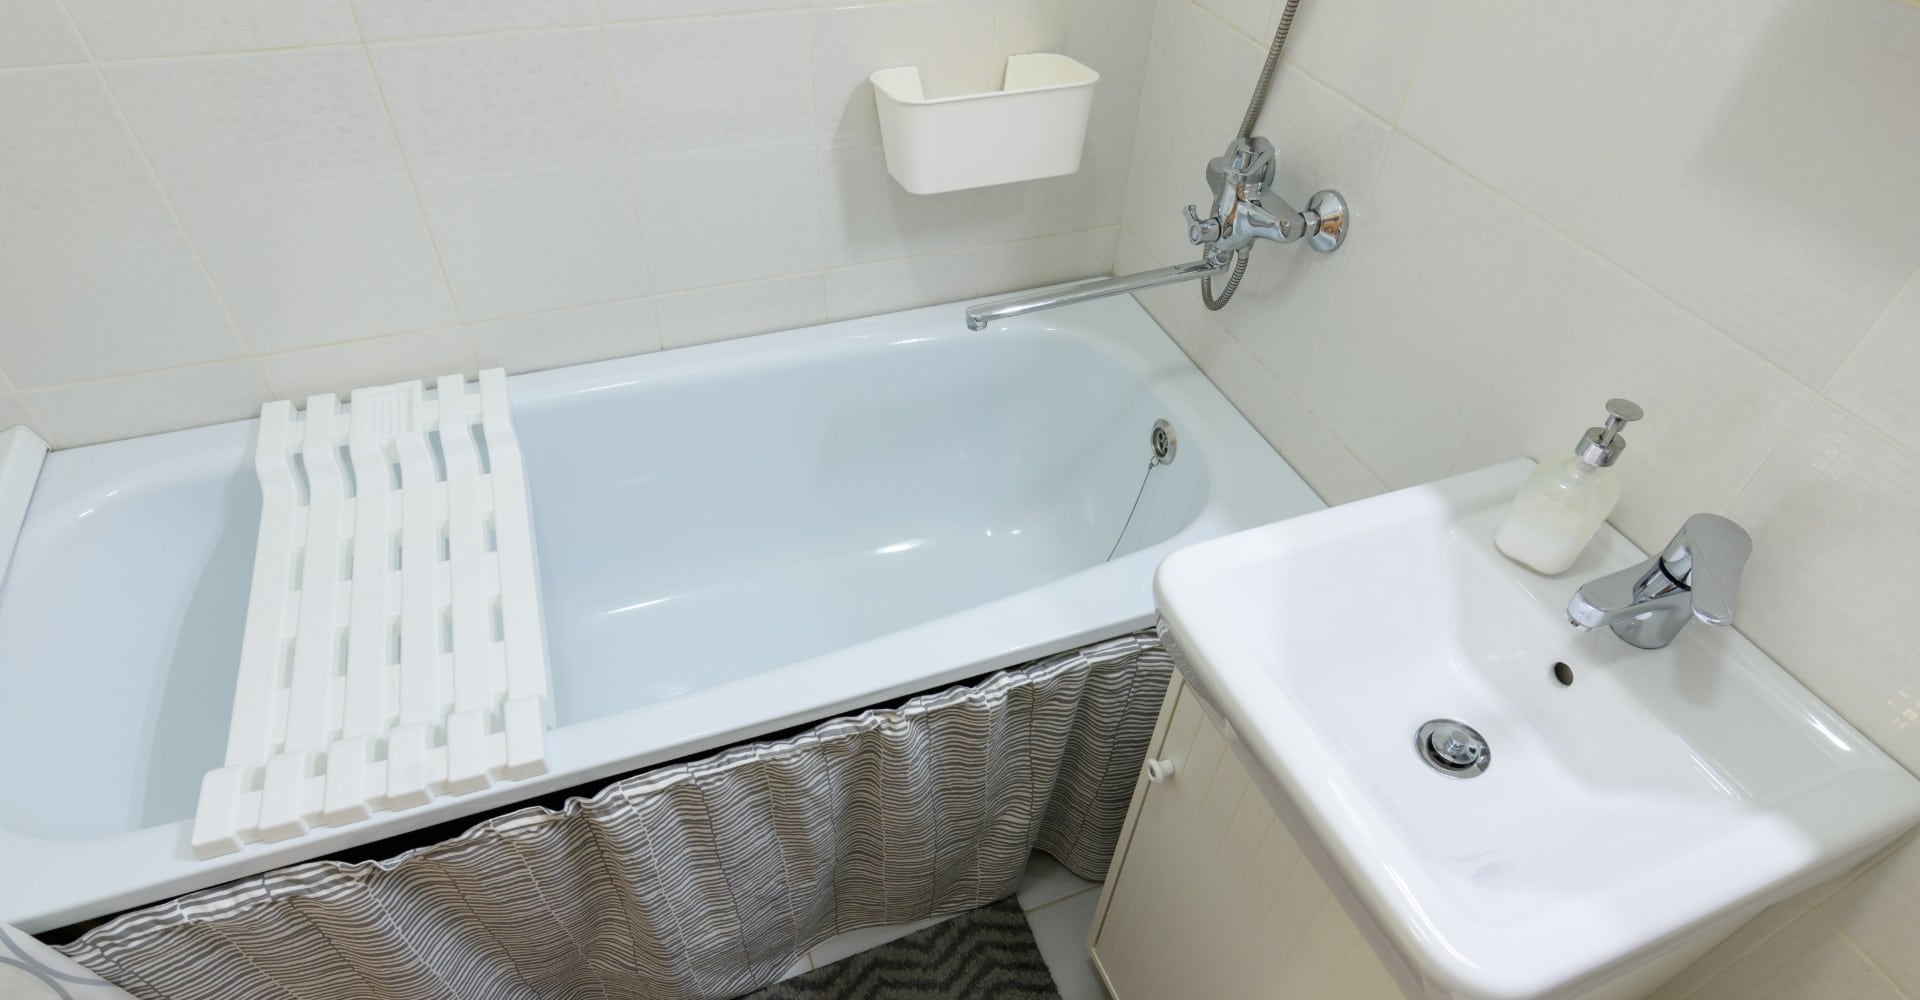
A dripping bathtub faucet can be an annoying and wasteful problem that many homeowners encounter. The incessant drip-drip-drip not only disrupts the tranquility of your bathroom but also leads to unnecessary water wastage and increased utility bills. Fortunately, addressing this issue is not as daunting as it may seem. With a bit of know-how and the right tools, you can tackle this task and restore peace to your bathroom oasis.
In this comprehensive guide, we will walk you through the step-by-step process of fixing a dripping bathtub faucet. Whether you're a seasoned DIY enthusiast or a novice homeowner looking to save on repair costs, this guide will equip you with the knowledge and confidence to tackle this common household annoyance.
By following the detailed instructions and tips provided in this article, you'll be able to identify the source of the drip, gather the necessary tools and materials, and successfully disassemble, inspect, and reassemble the faucet. Additionally, we'll cover the crucial steps of turning off the water supply, replacing damaged parts, and testing the faucet to ensure that the issue has been effectively resolved.
With a clear understanding of the process and a willingness to roll up your sleeves, you'll soon bid farewell to the maddening sound of a dripping bathtub faucet. So, let's dive in and take the first step toward a quieter, more efficient bathroom experience.
Key Takeaways:
- Don’t let a dripping bathtub faucet ruin your bathroom oasis! By identifying the source of the drip, gathering the right tools, and turning off the water supply, you can fix it with confidence and restore peace to your bathroom.
- Fixing a dripping bathtub faucet is manageable with the right approach. By disassembling, inspecting, and reassembling the faucet, you can replace damaged parts and test it to ensure a leak-free and serene bathroom experience.
Read more: How To Stop Water From Dripping In Bathtub
Step 1: Identify the source of the drip
The first and most crucial step in resolving a dripping bathtub faucet is to identify the source of the drip. This may seem like a daunting task, but with a systematic approach, you can pinpoint the exact location of the issue.
Start by observing the faucet closely. Is the drip coming from the spout or the handles? Sometimes, a leaky spout can be mistaken for a dripping handle, so it's essential to accurately determine the origin of the drip. If the drip is coming from the spout, it's likely an issue with the internal components of the faucet. On the other hand, if the handles are leaking, the problem may lie within the valve or stem assemblies.
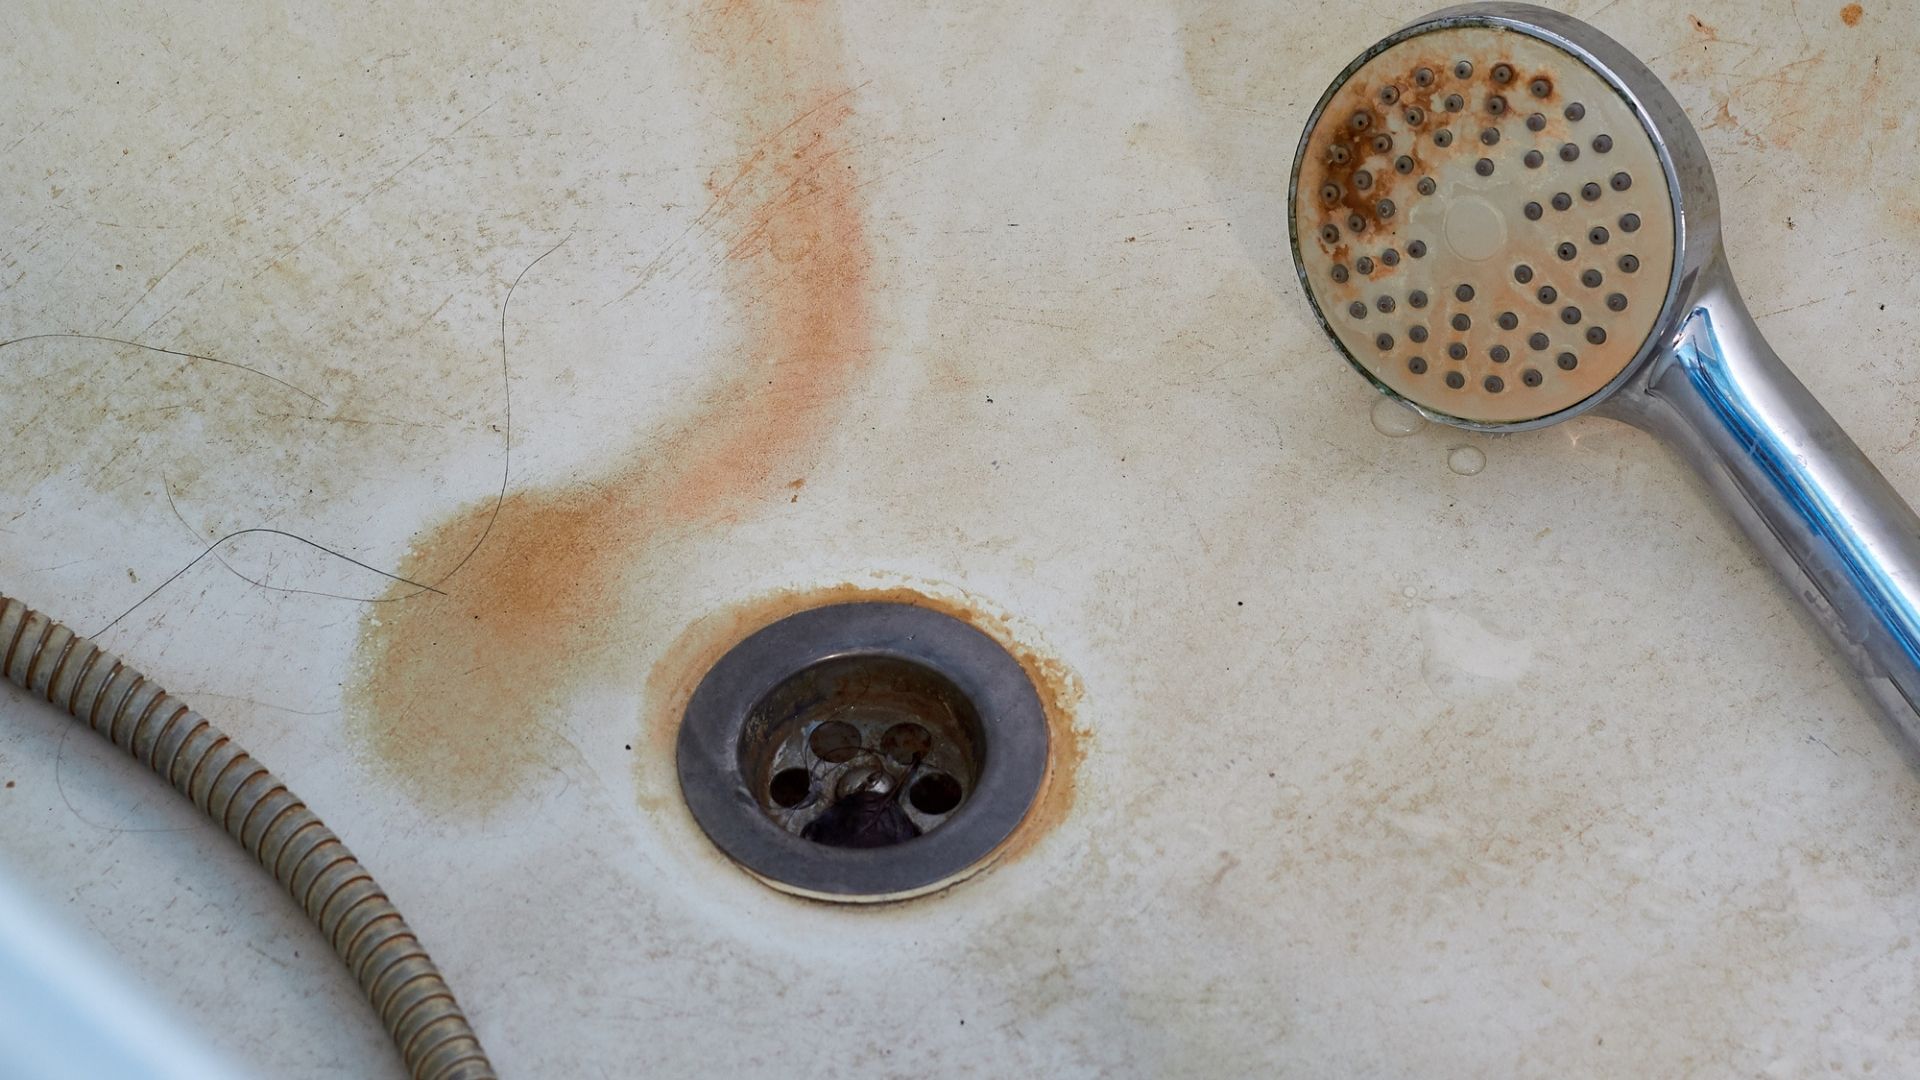
Next, check for any visible signs of corrosion, mineral deposits, or water stains around the faucet. These indicators can provide valuable clues about the source of the drip. Additionally, listen for any unusual sounds, such as hissing or whistling, which could signal a specific issue with the faucet.
If you're unable to detect the source of the drip through visual inspection, it may be necessary to conduct a simple test. Start by drying the faucet thoroughly with a towel to eliminate any existing moisture. Once dry, place a piece of paper towel or tissue under the spout and handles. Leave it in place for a few hours, and then check for any signs of moisture. If the paper towel is damp or wet, it will help narrow down the location of the leak.
In some cases, the source of the drip may be located deeper within the faucet assembly, requiring further disassembly to access the problematic components. However, by carefully examining the visible parts and conducting basic tests, you can often identify the source of the drip and proceed to the next steps of the repair process.
By taking the time to thoroughly investigate the origin of the drip, you'll lay the groundwork for a targeted and effective repair. With a clear understanding of where the issue lies, you can proceed with confidence to address the specific components causing the drip, ultimately restoring your bathtub faucet to its leak-free state.
Step 2: Gather necessary tools and materials
Before embarking on the task of fixing a dripping bathtub faucet, it's essential to gather the necessary tools and materials to ensure a smooth and efficient repair process. Having the right equipment at your disposal will not only streamline the repair but also minimize the need for multiple trips to the hardware store. Here's a comprehensive list of tools and materials you'll need to have on hand:
Tools:
- Adjustable wrench: This versatile tool will be essential for loosening and tightening various components of the faucet.
- Screwdrivers: Both flat-head and Phillips-head screwdrivers will likely be required for removing screws and disassembling the faucet.
- Needle-nose pliers: These will come in handy for reaching and manipulating small parts within the faucet assembly.
- Allen wrench set: If your faucet features hexagonal set screws, an Allen wrench set will be necessary for their removal.
- Plumber's grease: A small amount of plumber's grease will aid in lubricating the faucet components during reassembly, ensuring smooth operation and preventing future leaks.
- Flashlight: A flashlight will assist in illuminating the inner workings of the faucet, especially in dimly lit areas under the sink.
Materials:
- Replacement parts: Depending on the source of the drip and the condition of the existing components, you may need to acquire replacement parts such as O-rings, washers, valve seats, or cartridges. It's advisable to identify the specific model of your faucet beforehand to ensure compatibility with the replacement parts.
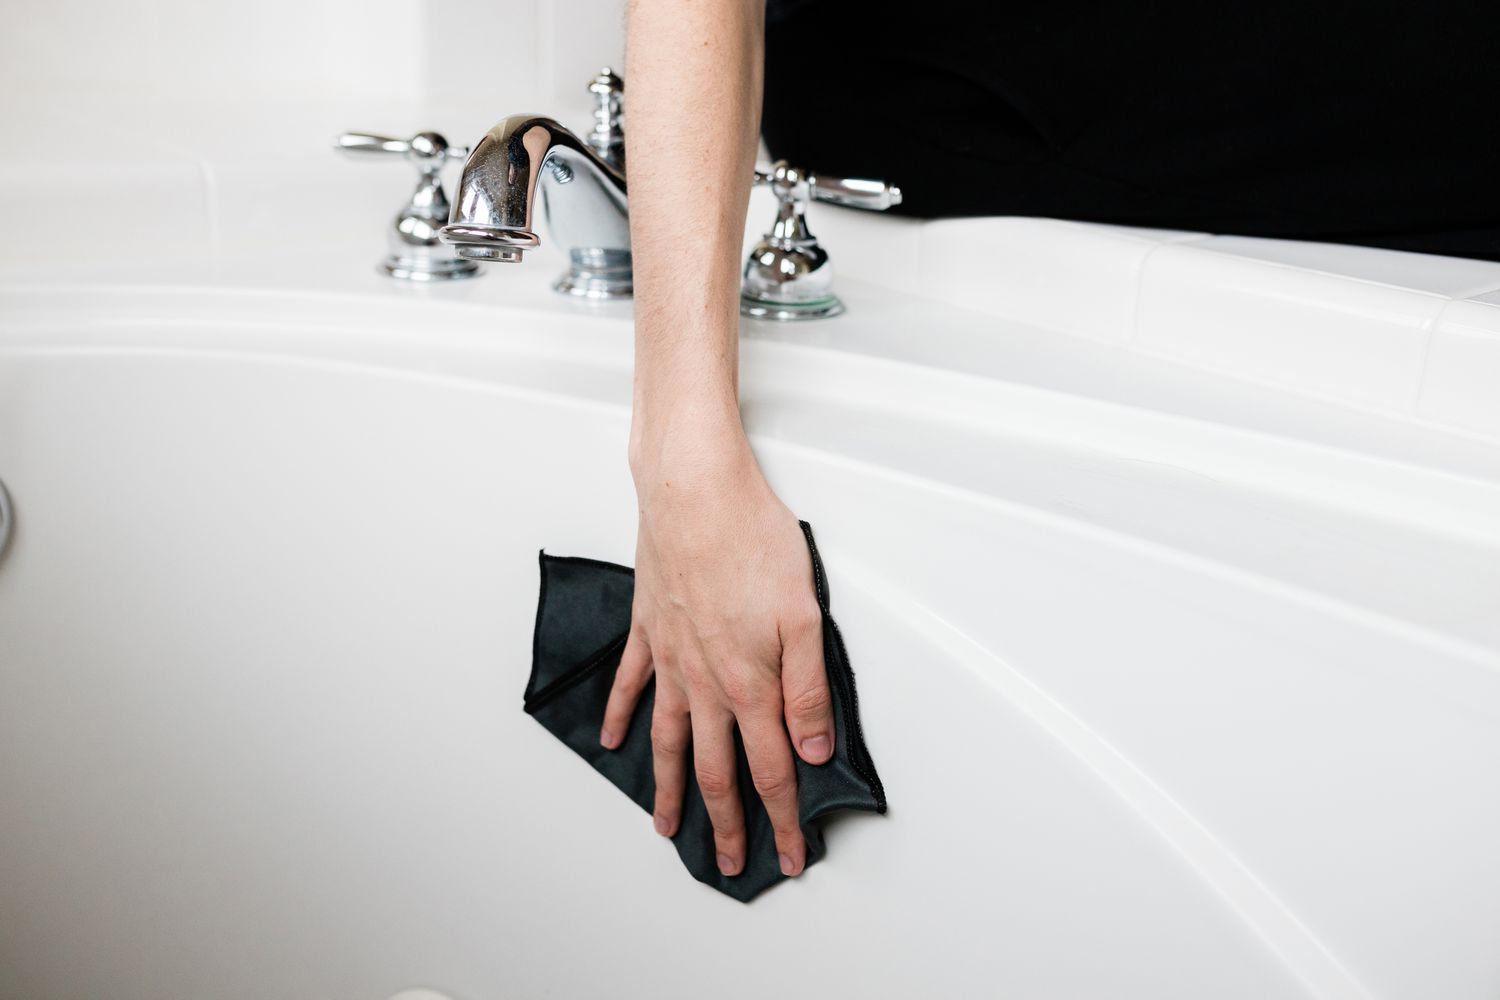
- Clean rags or towels: These will be useful for wiping down the faucet and surrounding areas, as well as for containing any water that may spill during the repair process.
- Bucket or container: Having a bucket or container on hand will allow you to catch any water that may flow out when disassembling the faucet, preventing a mess and minimizing water wastage.
- White vinegar or lime scale remover: If mineral deposits are contributing to the drip, white vinegar or a lime scale remover can be used to dissolve and remove these deposits from the faucet components.
By ensuring that you have all the necessary tools and materials readily available, you'll be well-prepared to tackle the repair with confidence and efficiency. This proactive approach will help minimize interruptions during the repair process, allowing you to focus on resolving the issue and restoring your bathtub faucet to optimal functionality.
Read more: How To Stop A Sink From Dripping
Step 3: Turn off the water supply
Before delving into the intricate task of disassembling and repairing the dripping bathtub faucet, it is imperative to turn off the water supply to the fixture. This crucial step serves multiple purposes, including preventing water wastage, minimizing the risk of accidental flooding, and creating a safe working environment for the repair process.
To begin, locate the shutoff valves that control the water supply to the bathtub faucet. These valves are typically situated beneath the sink or within the wall behind the bathtub. In some cases, the shutoff valves may be individual knobs or levers, while in others, they may be part of a larger manifold system that controls multiple fixtures.
Once you have identified the shutoff valves, proceed to turn them in a clockwise direction to shut off the water supply. It is advisable to verify that the water flow has ceased by attempting to turn on the faucet handles. If no water emerges, the shutoff process has been successful.
In situations where the shutoff valves are inaccessible or non-functional, it may be necessary to shut off the main water supply to the entire house. This can typically be accomplished by locating the main shutoff valve, which is often situated near the water meter or at the point where the main water line enters the house. Turning this valve clockwise will halt the flow of water to all fixtures in the house, including the bathtub faucet.
After the water supply has been effectively turned off, it is prudent to release any remaining water pressure in the faucet. To do this, open the faucet handles and allow any residual water to drain out. This step will minimize the risk of water spillage and reduce the pressure on the internal components of the faucet, making the subsequent disassembly process safer and more manageable.
By diligently adhering to the protocol of turning off the water supply, you will create a controlled and secure environment for the ensuing repair work. This proactive measure not only safeguards against potential water-related mishaps but also sets the stage for a focused and efficient resolution of the dripping bathtub faucet.
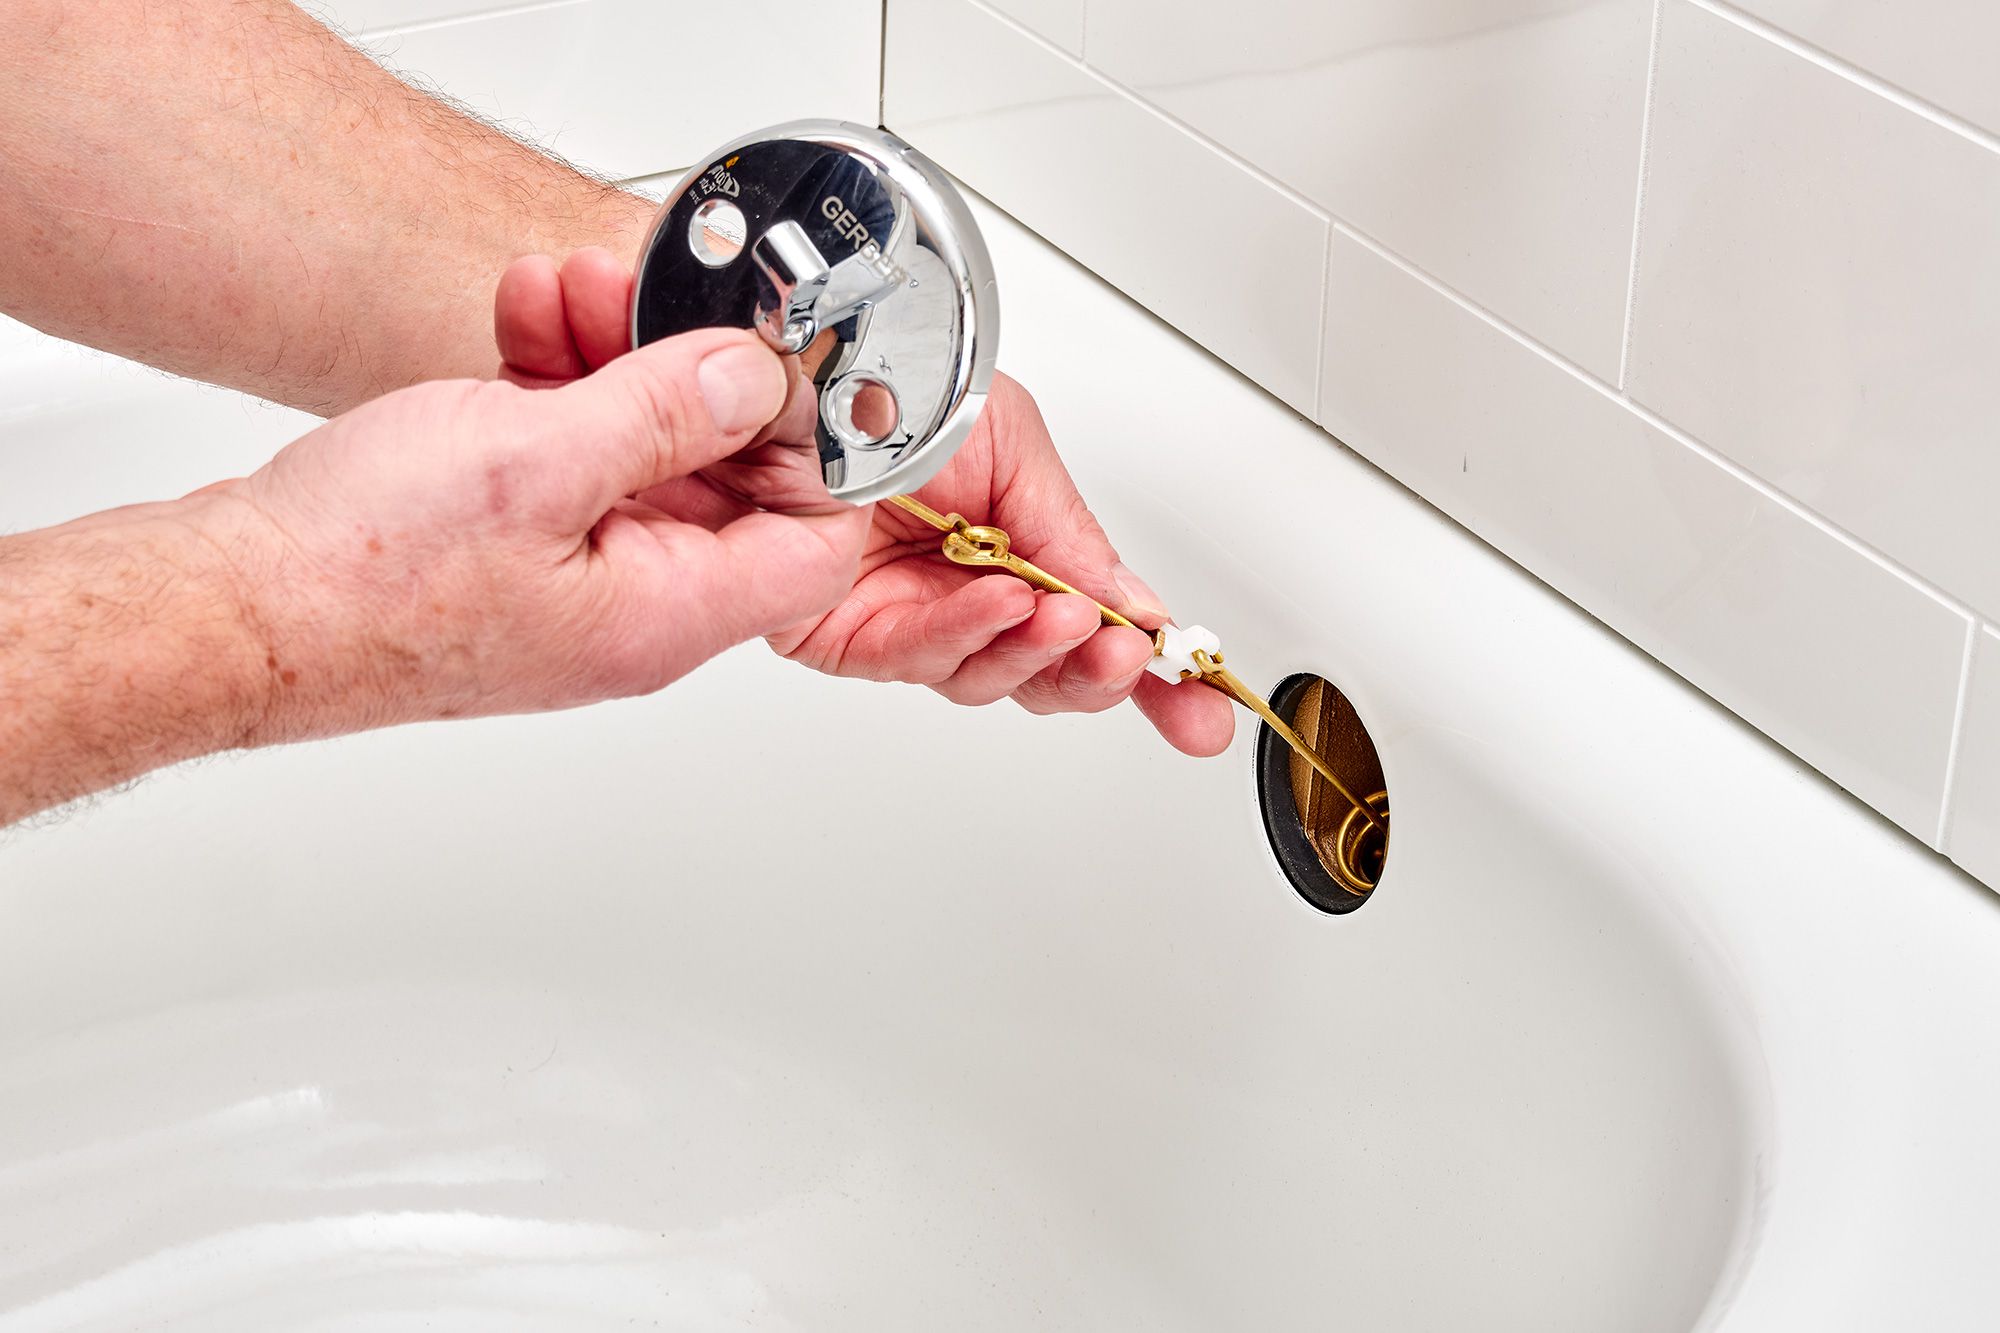
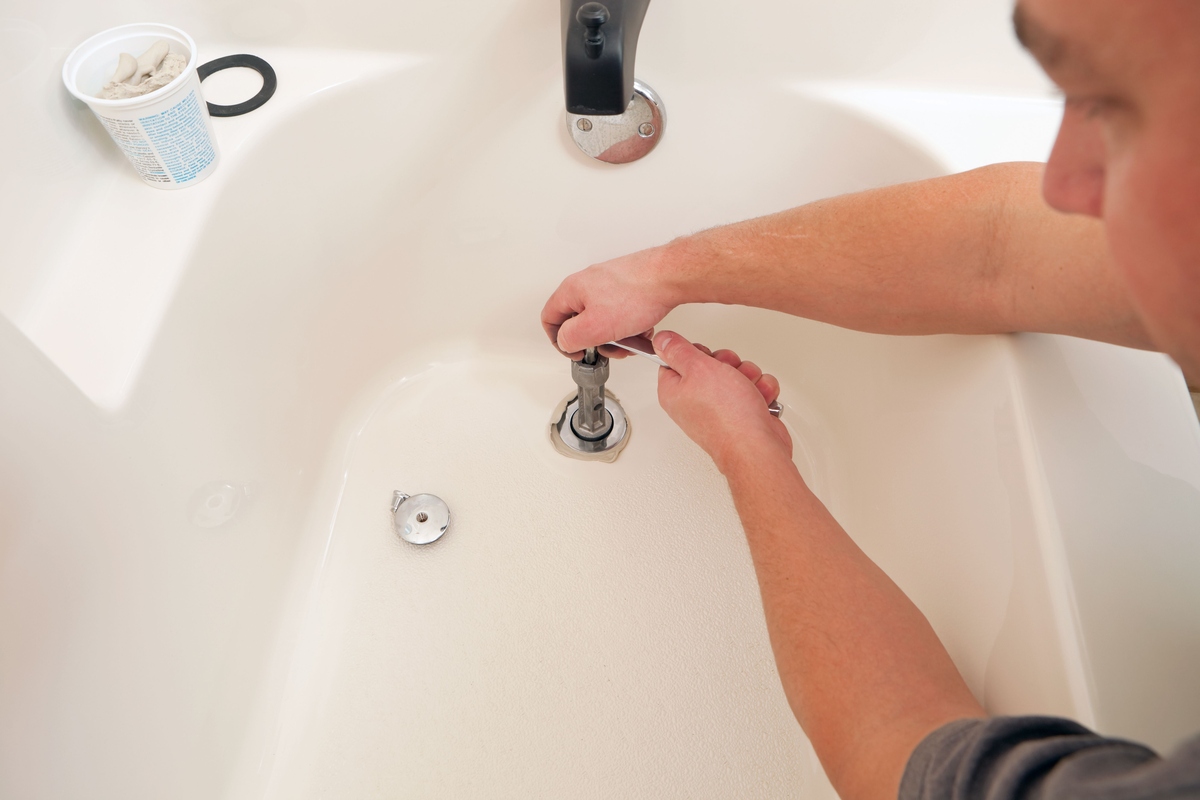
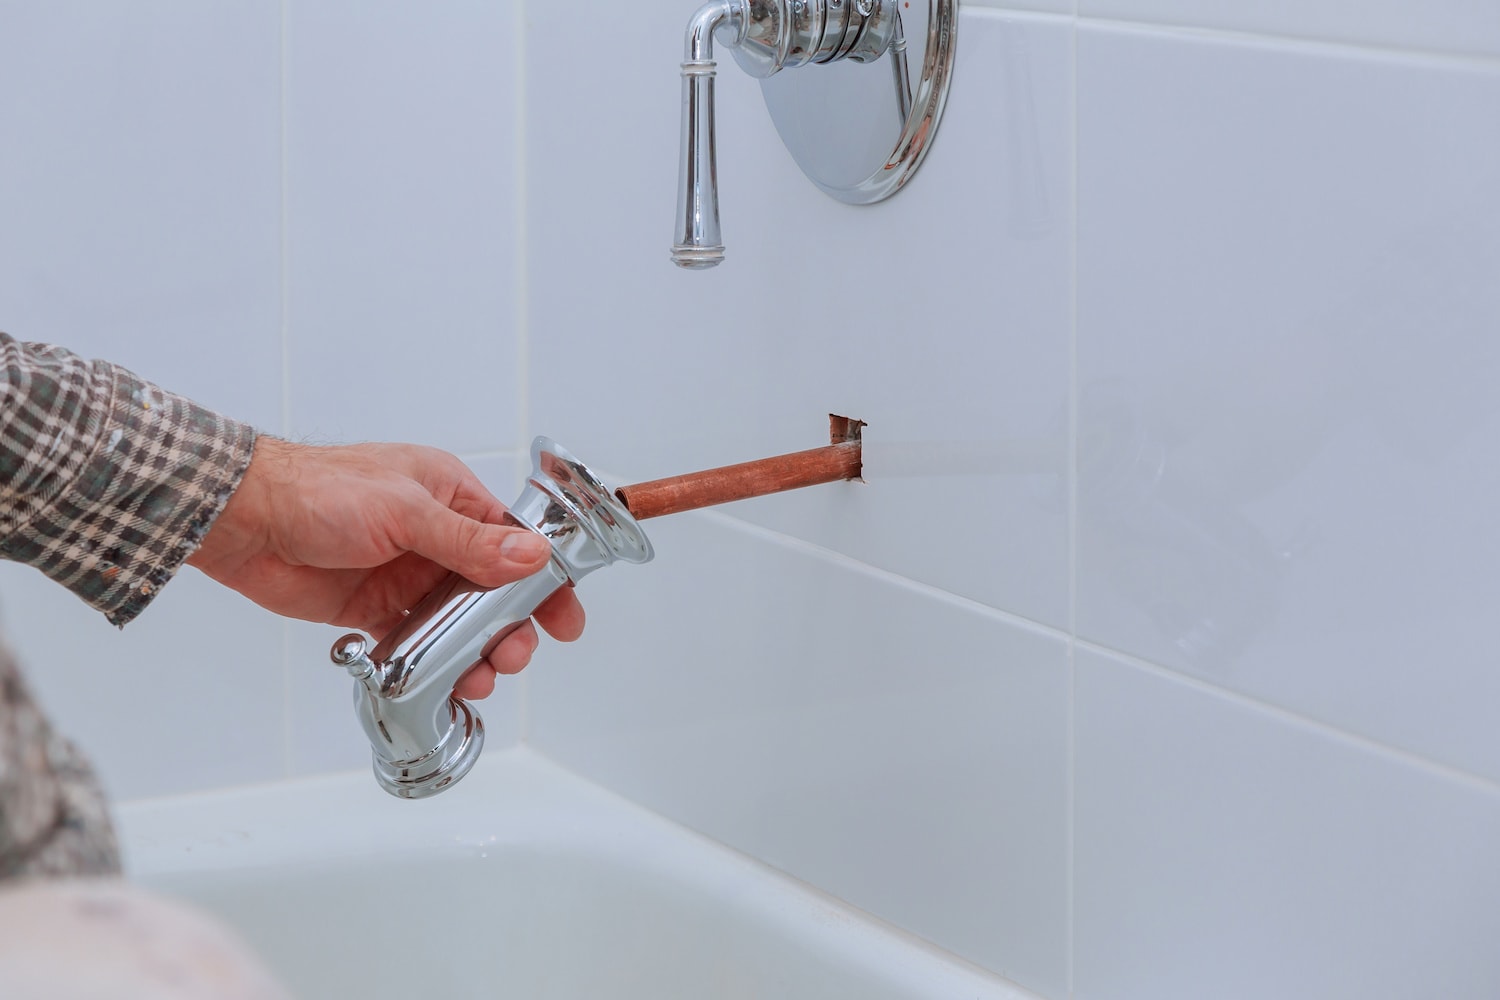
Step 4: Disassemble the faucet
With the water supply successfully turned off and the necessary tools and materials at your disposal, you are now ready to embark on the pivotal step of disassembling the dripping bathtub faucet. This process involves carefully removing the various components of the faucet to access and inspect the internal parts, ultimately addressing the source of the drip.
-
Remove the Handles: Begin by locating the decorative caps or screws covering the handles. These can usually be found at the base of the handles or on top of them, depending on the faucet design. Use a flat-head screwdriver or an appropriate tool to carefully pry off the caps or unscrew them, revealing the fastening screws beneath. Once exposed, proceed to remove the screws using the appropriate screwdriver, allowing you to detach the handles from the faucet assembly.
-
Access the Cartridge or Valve Stem: With the handles removed, you will gain access to the cartridge or valve stem assembly, depending on the type of faucet. Use an adjustable wrench to loosen and remove the retaining nut or collar that secures the cartridge or valve stem in place. Once the nut or collar is removed, carefully extract the cartridge or valve stem from the faucet body, taking note of its orientation and any accompanying components.
-
Inspect the Components: Upon removing the cartridge or valve stem, take a moment to inspect the condition of the components. Look for signs of wear, corrosion, or damage, paying particular attention to O-rings, washers, and valve seats. These are common culprits of faucet leaks and may require cleaning, lubrication, or replacement to rectify the issue.
-
Clean and Lubricate: If mineral deposits or debris are present within the faucet assembly, use a clean rag or brush to gently remove these obstructions. Additionally, apply a small amount of plumber's grease to the O-rings, valve seats, and other relevant components to ensure smooth operation and create a watertight seal upon reassembly.
-
Document the Configuration: Before proceeding further, it is advisable to document the configuration of the disassembled components. This can be done by taking photographs or making simple sketches to aid in reassembly. Pay close attention to the order and orientation of the parts, as well as any specific alignment or positioning requirements.
By meticulously following these steps and exercising patience and precision, you will successfully disassemble the faucet, gaining access to the internal components and setting the stage for the subsequent inspection and repair. This methodical approach will lay the groundwork for a thorough and effective resolution of the dripping bathtub faucet, bringing you one step closer to restoring functionality and tranquility to your bathroom space.
Step 5: Inspect and replace damaged parts
With the faucet disassembled and the internal components exposed, the next critical step in resolving a dripping bathtub faucet is to meticulously inspect the various parts for signs of wear, damage, or deterioration. This thorough examination will enable you to identify the specific components contributing to the leak and determine whether replacement or repair is necessary.
Begin by closely examining the O-rings, washers, valve seats, and cartridges or valve stems for any visible signs of wear, tearing, or deformation. These components are prone to degradation over time, leading to compromised seals and potential leaks. Look for flattened or misshapen O-rings, worn-out washers, pitted valve seats, and damaged cartridges or valve stems. Additionally, check for mineral deposits or debris that may be impeding the proper function of these parts.
If any of the components exhibit signs of damage or wear, it is advisable to proceed with their replacement to ensure a comprehensive and long-lasting repair. Acquire replacement parts that are compatible with the specific make and model of your bathtub faucet, ensuring a proper fit and optimal functionality. O-rings, washers, valve seats, and cartridges or valve stems are readily available at hardware stores or can be obtained from the faucet manufacturer.
Before installing the replacement parts, thoroughly clean the internal components of the faucet to remove any accumulated debris, mineral deposits, or old lubricants. Use a mild cleaning solution or white vinegar to dissolve mineral buildup, and carefully wipe down the components with a clean rag to ensure a pristine surface for the new parts.
Once the internal components are clean and dry, proceed to install the replacement parts in their respective positions, following the documented configuration from the disassembly phase. Ensure that the O-rings are properly seated, the washers are securely in place, and the valve seats are free from any obstructions. When installing the new cartridge or valve stem, align it correctly with the faucet body and secure it with the retaining nut or collar, applying gentle but firm pressure to ensure a snug fit.
By meticulously inspecting and replacing damaged components, you will address the root cause of the dripping bathtub faucet, restoring its integrity and functionality. This proactive approach will not only resolve the immediate issue but also contribute to the long-term reliability and efficiency of your bathtub faucet, ensuring a leak-free and serene bathroom environment.
To stop a bathtub from dripping, first turn off the water supply. Then, replace the worn out washer or O-ring in the faucet. This should stop the leak.
Step 6: Reassemble the faucet
With the damaged components replaced and the internal parts meticulously inspected and cleaned, the reassembly of the faucet marks a pivotal stage in the repair process. This step involves carefully reintegrating the various components of the faucet, ensuring proper alignment, secure fastening, and optimal functionality upon completion.
Begin by referring to the documentation or visual aids created during the disassembly phase, providing a valuable reference for the correct orientation and arrangement of the components. This documentation will guide you in reassembling the faucet in the precise configuration required for seamless operation.
Carefully position the cartridge or valve stem back into the faucet body, aligning it according to the documented configuration. Ensure that the cartridge or valve stem is inserted securely and that any accompanying components, such as retaining nuts or collars, are fastened tightly to create a stable and watertight seal.
Next, reattach the handles to the faucet assembly, aligning them with the designated orientation and securing them in place with the appropriate fastening screws. Take care to tighten the screws evenly and firmly, ensuring that the handles are stable and free from wobbling or play.
As you progress through the reassembly process, periodically test the functionality of the faucet by turning the handles and observing the flow of water. This iterative approach allows you to detect any potential issues or misalignments early on, enabling prompt adjustments and ensuring a smooth and effective reassembly.
Once all components have been reassembled and verified for proper functionality, take a moment to inspect the faucet for any signs of leaks, drips, or irregularities. Turn on the water supply and allow the faucet to run for a brief period, observing the spout and handles for any indications of leakage. If any leaks are detected, promptly address the underlying cause by disassembling and reassembling the relevant components to achieve a secure and watertight seal.
By meticulously reassembling the faucet with precision and attention to detail, you will complete the repair process with confidence, knowing that the internal components are correctly aligned and functioning optimally. This meticulous approach sets the stage for the final step of testing the faucet and verifying the successful resolution of the initial drip, bringing you closer to a fully restored and reliable bathtub faucet.
Read more: How To Stop Dripping Sound In Gutters
Step 7: Turn on the water supply and test the faucet
After meticulously reassembling the faucet and ensuring that all components are securely in place, the final step in the repair process is to turn on the water supply and thoroughly test the faucet. This critical phase serves as the ultimate validation of the repair, allowing you to confirm that the dripping issue has been effectively resolved and that the faucet is operating at optimal functionality.
To begin, return to the shutoff valves that control the water supply to the bathtub faucet. Carefully turn the valves in a counterclockwise direction to restore the flow of water to the fixture. As the water supply is reinstated, listen attentively for any unusual sounds or signs of leakage, which could indicate potential issues with the reassembled components.
With the water supply restored, proceed to test the faucet by turning the handles and allowing water to flow through the spout. Observe the stream of water closely, checking for any irregularities, sputtering, or unexpected drips. Run both hot and cold water through the faucet, ensuring that the handles operate smoothly and that the water flow is consistent and free from any signs of leakage.
As the faucet runs, take note of the surrounding areas for any indications of moisture, particularly around the base of the handles and the spout. A thorough visual inspection will help detect any residual leaks or drips that may have gone unnoticed during the reassembly process.
In addition to visual inspection, it is advisable to place a dry paper towel or tissue under the spout and handles to detect any potential drips. Leave the paper towel in place for a few minutes, allowing sufficient time to capture any stray droplets that may emerge. This simple yet effective test will provide tangible evidence of the faucet's leak-free functionality.
If the faucet operates without any signs of leakage or irregularities, and the paper towel remains dry after the testing period, it signifies the successful resolution of the dripping bathtub faucet. This outcome validates the meticulous repair process and affirms that the internal components have been restored to their optimal condition, ensuring a reliable and efficient performance of the faucet.
By diligently turning on the water supply and thoroughly testing the faucet, you will conclude the repair process with the assurance of a fully functional and leak-free bathtub faucet. This final validation underscores the effectiveness of the repair efforts and marks the successful restoration of tranquility and efficiency to your bathroom space.
Conclusion
In conclusion, addressing a dripping bathtub faucet is a manageable task that can be accomplished with the right knowledge, tools, and a systematic approach. By following the comprehensive steps outlined in this guide, you can effectively identify the source of the drip, gather the necessary tools and materials, and proceed to disassemble, inspect, and reassemble the faucet with confidence.
The process begins with a meticulous examination to pinpoint the origin of the drip, whether it emanates from the spout or the handles. Through visual inspection and simple tests, such as placing a paper towel under the faucet, you can accurately identify the source of the leak, laying the groundwork for targeted repair efforts.
Gathering the essential tools and materials is a proactive step that streamlines the repair process, minimizing interruptions and ensuring that you have everything needed to address the issue efficiently. From adjustable wrenches to replacement parts, being well-prepared sets the stage for a successful repair endeavor.
Turning off the water supply is a critical safety measure that prevents water wastage and creates a secure working environment for the repair process. By locating and shutting off the shutoff valves or the main water supply, you establish control over the water flow, reducing the risk of accidental flooding and creating a safe space for disassembly and repair.
Disassembling the faucet involves a methodical approach to removing the handles and accessing the internal components, allowing for a thorough inspection and identification of damaged parts. By carefully documenting the configuration and inspecting each component, you can proceed to replace damaged parts and clean the internal assembly, setting the stage for a comprehensive repair.
Reassembling the faucet with precision and attention to detail ensures that the internal components are correctly aligned and functioning optimally. This meticulous approach paves the way for the final step of testing the faucet, where you can validate the effectiveness of the repair and confirm the leak-free functionality of the faucet.
In essence, by diligently following the steps outlined in this guide, you can successfully resolve a dripping bathtub faucet, restoring tranquility and efficiency to your bathroom space. With a clear understanding of the repair process and a proactive approach to addressing the issue, you can tackle this common household annoyance with confidence and achieve a fully restored and reliable bathtub faucet.
Frequently Asked Questions about How To Get A Bathtub To Stop Dripping
Was this page helpful?
At Storables.com, we guarantee accurate and reliable information. Our content, validated by Expert Board Contributors, is crafted following stringent Editorial Policies. We're committed to providing you with well-researched, expert-backed insights for all your informational needs.

0 thoughts on “How To Get A Bathtub To Stop Dripping”