Articles
How To Get Water Out Of A Basement
Modified: January 18, 2024
Discover effective articles on how to safely remove water from your basement. Find step-by-step instructions and expert advice to prevent further damage.
(Many of the links in this article redirect to a specific reviewed product. Your purchase of these products through affiliate links helps to generate commission for Storables.com, at no extra cost. Learn more)
Introduction
Having water in your basement can be a frustrating and stressful experience. Whether it’s caused by heavy rain, a leaky pipe, or a malfunctioning sump pump, the presence of water can cause significant damage to your home and belongings. In addition to the immediate concerns of property damage, there’s also the risk of mold and mildew growth, which can lead to health issues.
In this article, we will guide you through the process of getting water out of your basement and preventing future water damage. From assessing the extent of the damage to utilizing various tools and techniques, we’ll provide you with the information you need to effectively remove water from your basement and restore it to its dry state.
Before we dive into the steps, it’s important to note that safety should be your top priority. Water in the basement can pose electrical hazards, so make sure to turn off the power to the affected area before beginning any water removal process. Additionally, wear protective clothing and equipment such as gloves, rubber boots, and goggles to minimize the risk of injury.
Now, let’s move on to the first step: assessing the water damage.
Key Takeaways:
- Don’t let water damage dampen your spirits! Safely remove water, dry out your basement, and prevent future damage with these expert tips. Stay proactive and protect your home from potential headaches.
- From assessing damage to using sump pumps and dehumidifiers, learn how to effectively tackle water in your basement. Prioritize safety, take preventative measures, and keep your living space dry and comfortable.
Read more: How To Get Water Out Of A Flooded Basement
Assessing the Water Damage
Before you start removing the water from your basement, it’s crucial to assess the extent of the damage. This will help you determine the appropriate methods and tools needed for the cleanup process. Here are a few steps to follow:
- Take safety precautions: As mentioned earlier, ensure that the power is turned off in the affected area. If there is standing water, be careful not to slip or get your electrical equipment wet.
- Identify the source of the water: Determine where the water is coming from. It could be due to heavy rainfall, a burst pipe, or a leaking appliance. Knowing the source will help you address the underlying problem and prevent future water damage.
- Measure the level of water: Use a measuring tape or ruler to determine the depth of the water. This will give you an idea of the volume you need to remove.
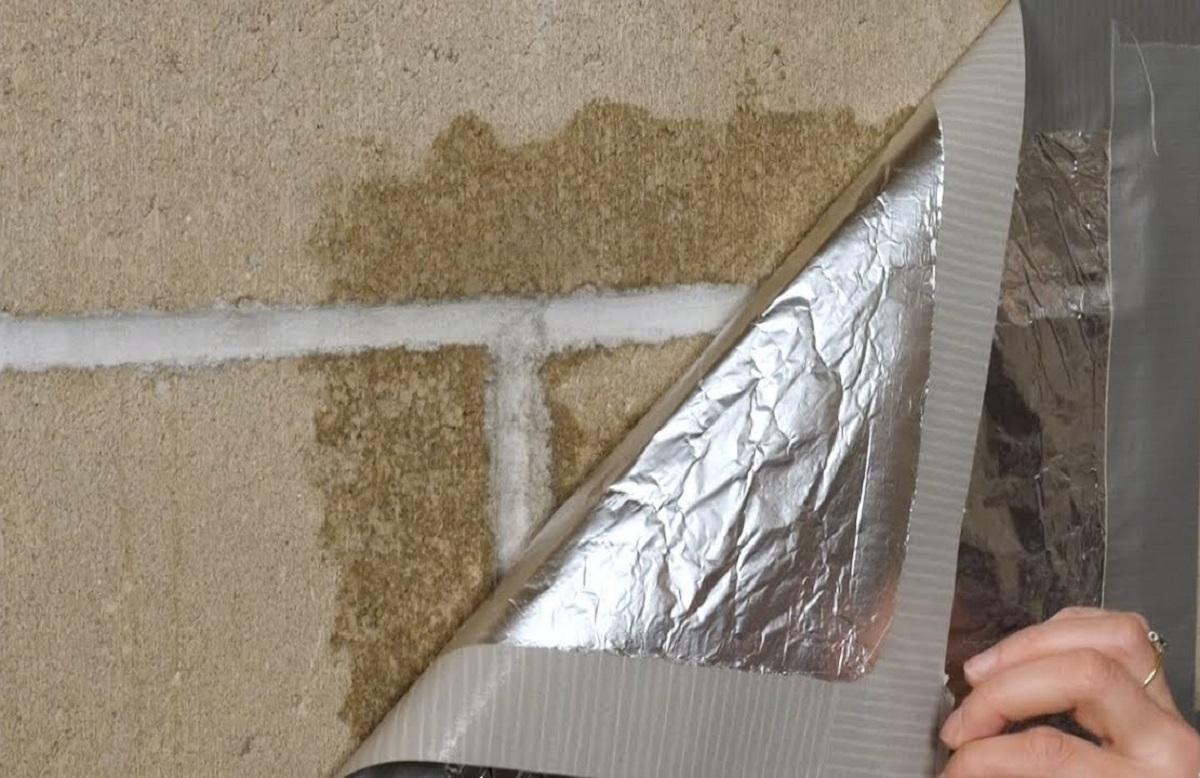
- Inspect the walls and floor: Look for any signs of structural damage, such as cracks or bulging walls. Additionally, check for discoloration or dampness on the walls and floor, as this indicates water seepage.
- Document the damage: Take photos or videos of the affected areas as evidence for insurance claims. Make a detailed list of damaged items, including their approximate value.
By thoroughly assessing the water damage, you’ll be better equipped to tackle the cleanup process effectively.
Safety Precautions
When dealing with water in your basement, it is essential to prioritize safety. Water can pose various hazards, so taking proper precautions is crucial to prevent accidents and injuries. Here are some safety measures to keep in mind:
- Turn off the power: Before entering the basement or working with any electrical equipment, ensure that the power is turned off. Water and electricity do not mix, and coming into contact with live electrical wires can lead to severe injuries or electrocution. If you are unsure how to turn off the power, consult a qualified electrician.
- Wear protective gear: When working with water damage, it is important to wear appropriate protective equipment. This includes rubber boots, gloves, goggles, and a mask. Rubber boots will prevent you from slipping on wet surfaces, while gloves will protect your hands from contaminants in the water. Goggles and a mask will shield your eyes and respiratory system from any airborne particles or mold spores.
- Beware of structural damage: Water can weaken the structure of your basement, causing floors or walls to become unstable. Before entering the affected area, visually inspect the space for any visible damage. If you notice bulging walls, sagging ceilings, or cracks, it’s best to stay out of the area and consult a professional.
- Avoid mixing cleaning agents: If you decide to use cleaning products during the water removal process, be cautious when mixing chemicals. Certain combinations can produce toxic fumes or reactions that may harm your health. Follow the instructions on the products carefully and ensure proper ventilation in the area.
- Work in well-ventilated areas: Proper ventilation is essential during the cleanup process. Open doors and windows, use fans, or set up dehumidifiers to circulate air and minimize the risk of mold growth. If the basement has limited ventilation, consider wearing a respirator to protect yourself from potential airborne contaminants.
By following these safety precautions, you can minimize the risks associated with water damage cleanup and create a safer environment for yourself and others involved.
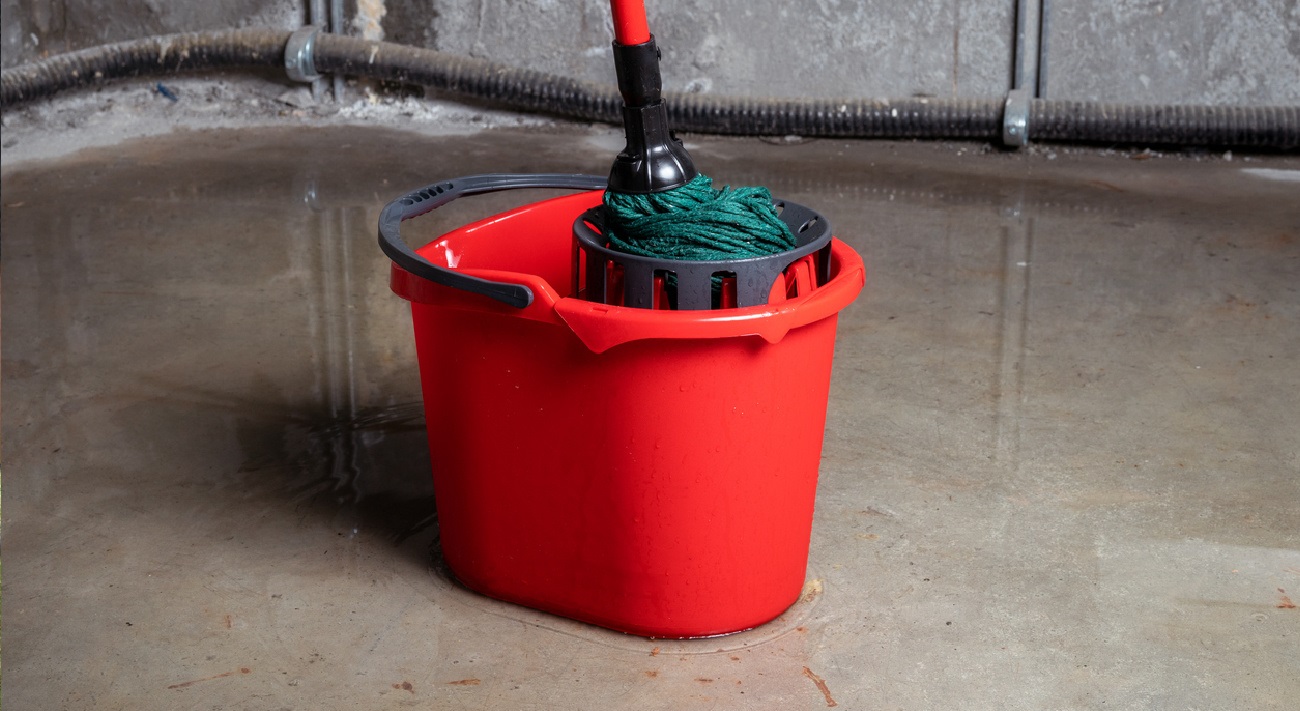
Removing Standing Water
Once you have assessed the water damage and taken the necessary safety precautions, it’s time to start removing the standing water from your basement. Here are two common methods you can use:
Using a Wet Vacuum
A wet vacuum, also known as a shop vac, is designed specifically for removing water. Here’s how to use it:
- Place the vacuum on a stable surface outside of the water-logged area of the basement.
- Attach the appropriate extension wand or hose to the vacuum, ensuring a secure connection.
- Submerge the hose into the water and turn on the vacuum.
- Move the hose around to suction up the water, starting from the lowest point of the basement and working your way towards the exit.
- Empty the collected water into a drain or outside of your home.
- Continue this process until you have removed as much standing water as possible.
Using a wet vacuum is an efficient method for removing standing water, especially in smaller areas.
Read more: How To Get Basement Smell Out Of Basement
Using a Sump Pump
If you have a sump pump installed in your basement, you can utilize it to remove standing water. Here’s what you need to do:
- Locate your sump pump and ensure it is functioning properly.
- If necessary, plug in the pump or connect it to a power source.
- If your sump pump has a float switch, make sure it is in the “on” position.
- The pump will automatically start pumping out the water. It may drain directly outside or into a drainage system, depending on your setup.
- Allow the sump pump to run until it has removed the majority of the standing water.
A sump pump is particularly useful for larger amounts of standing water or in cases where manual removal is not practical.
By using either a wet vacuum or a sump pump, you can effectively remove standing water from your basement and proceed with the drying and cleaning process.
Using a Wet Vacuum
A wet vacuum, also known as a shop vac, is a powerful tool that can help you remove standing water from your basement. Here’s a step-by-step guide on how to use a wet vacuum for water removal:
- Position the wet vacuum: Place the wet vacuum on a stable surface outside of the water-logged area of the basement. Ensure that the power cord is safely away from any water source.
- Prepare the vacuum: Attach the appropriate extension wand or hose to the vacuum, making sure it is securely connected.
- Submerge the hose: Submerge the hose into the water, allowing it to fill with water. Ensure that the hose remains submerged throughout the process to maintain suction.
- Switch on the vacuum: Turn on the wet vacuum, activating the suction power. Most wet vacuums have a switch or button that you can press to start the vacuuming process.
- Start removing the water: Move the hose around to suction up the water, starting from the lowest point of the basement and working your way towards the exit. Use a steady motion to allow the vacuum to effectively remove the water.
- Empty the vacuum: As the wet vacuum collects the water, it will fill up. Once the container is full, switch off the vacuum and empty the collected water into a drain or outside of your home. Be cautious not to spill any water on the way to the drain.
- Continue the process: Repeat the process until you have removed as much standing water as possible from your basement. Move the wet vacuum around the area, ensuring that you cover all the water-logged spots.
Using a wet vacuum is an efficient method for removing standing water, especially in smaller areas. It allows you to quickly extract the water and prevent further damage to your basement and belongings.
Remember to always follow the manufacturer’s instructions and safety guidelines when using a wet vacuum. Be mindful of any electrical hazards and ensure a dry environment before plugging in or operating the vacuum.
Once you have removed the standing water, you can proceed with the remaining steps of drying out the basement, cleaning, and disinfecting to restore your basement to its previous condition.
Using a Sump Pump
If you have a sump pump installed in your basement, it can be a valuable asset in removing standing water quickly and efficiently. Here’s a step-by-step guide on how to effectively use a sump pump:
- Locate your sump pump: The sump pump is typically found in the lowest part of the basement, known as the sump pit. It may be covered with a removable lid or grate.
- Check the pump: Ensure that the sump pump is in working condition. Check for any visible damage, such as frayed cords or a clogged intake valve. If necessary, consult the manufacturer’s instructions for troubleshooting steps.
- Connect the power: If your sump pump is not already connected to a power source, plug it in or connect it to a power outlet. Make sure the outlet is equipped with a ground fault circuit interrupter (GFCI) to prevent electrical hazards.
- Position the discharge hose: Locate the discharge port on the sump pump and attach a properly sized hose. Position the other end of the hose in a suitable drainage area, away from the foundation of your home. Ensure that the water can flow freely and does not pool around the foundation.
- Turn on the pump: Most sump pumps are equipped with a float switch that activates the pump when the water level rises. Ensure that the float switch is in the “on” position. The pump will begin pumping out the water from the sump pit and discharging it through the hose.
- Monitor the pump: Keep an eye on the sump pump while it is running. Ensure that it is operating smoothly and that the water is being effectively pumped out. If you notice any irregularities, such as unusual noises or water not being pumped out, it may require further inspection or maintenance.
- Allow the pump to complete the draining process: Depending on the volume of water and the power of the sump pump, it may take some time to completely remove the standing water from your basement. Allow the sump pump to run until it has drained the majority of the water.
Using a sump pump can be highly effective in removing standing water, especially in cases where the water accumulation is significant. It is important to regularly maintain the sump pump and ensure that it is in good working condition to prevent basement flooding.
Remember to follow the manufacturer’s instructions for installation and operation of the sump pump. If you are unsure about any aspect of using the sump pump, it is always advisable to consult a professional for assistance.
Once you have successfully removed the standing water using a sump pump, you can proceed with the remaining steps of drying out the basement, cleaning, and disinfecting to restore your basement to its previous state.
Utilizing a Dehumidifier
After removing standing water from your basement, it’s important to address the excess moisture that may still be present in the air. Using a dehumidifier can help lower the humidity levels, prevent mold growth, and aid in the drying process. Here’s a step-by-step guide on how to effectively utilize a dehumidifier:
- Select the right dehumidifier: Choose a dehumidifier appropriate for the size of your basement. Look for one with a capacity that matches the square footage of the area to ensure optimal performance.
- Position the dehumidifier: Place the dehumidifier in a central location in your basement, away from walls and obstructions. Ensure that there is enough space around the unit for proper air circulation.
- Connect to power: Plug the dehumidifier into a power outlet and switch it on. Set the desired humidity level based on the instructions provided by the manufacturer. Most dehumidifiers allow you to adjust the humidity level between 30% and 50%, depending on the recommended range for your specific needs.
- Allow the dehumidifier to operate: Let the dehumidifier run continuously until it reaches and maintains the desired humidity level. It will automatically shut off when the set level is reached, and turn back on as needed to maintain the desired humidity.
- Monitor the water collection: Check the water collection container or drain hose regularly and empty or redirect the water as necessary. Some dehumidifiers come with built-in pumps or drainage systems that allow for continuous water removal, minimizing the need for manual emptying.
- Regular maintenance: Follow the manufacturer’s instructions for regular maintenance, such as cleaning the air filters and checking for any blockages. This will ensure that the dehumidifier continues to operate efficiently.
Utilizing a dehumidifier in your basement will help eliminate excess moisture and prevent further damage caused by high humidity levels. By creating a drier environment, you can reduce the chances of mold growth and protect your basement and belongings.
Remember, dehumidifiers are not a substitute for fixing underlying moisture issues. If your basement consistently experiences high humidity even with the use of a dehumidifier, it is important to address the root cause, such as improving ventilation or sealing any leaks.
By incorporating a dehumidifier into your water damage restoration process, you can effectively dry out your basement and maintain a healthier environment.
Make sure to check your sump pump and ensure it is functioning properly. If you don’t have a sump pump, consider using a wet/dry vacuum to remove the water. Additionally, check for any cracks in the foundation and seal them to prevent future water intrusion.
Read more: How To Pump Water Out Of Basement
Drying Out the Basement
Once you have removed the standing water and addressed the excess moisture with a dehumidifier, the next step is to properly dry out your basement. This will help prevent mold growth and further damage to your property. Follow these steps to effectively dry out your basement:
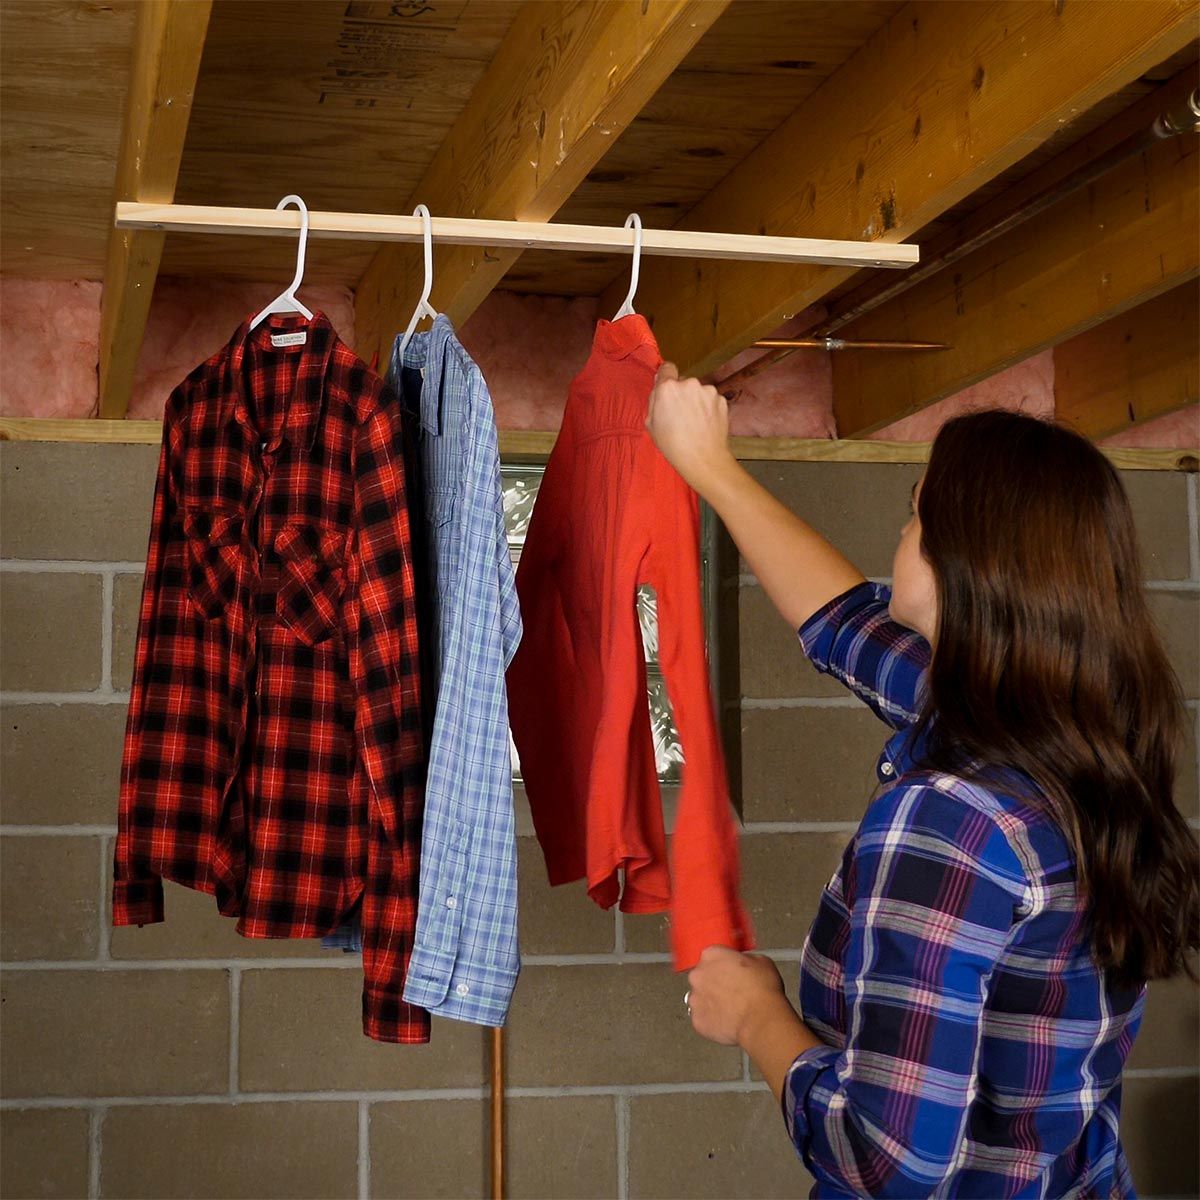
- Open windows and doors: If weather conditions permit, open windows and doors to create cross-ventilation and promote air circulation. This will help dry out the space by allowing moist air to escape and fresh air to enter.
- Use fans: Set up fans around the basement to improve air circulation. Point the fans towards wet areas or damp surfaces to speed up the drying process.
- Remove wet materials: Take out any wet and damaged items from the basement, such as furniture, carpets, or cardboard boxes. Discard any items that cannot be salvaged and place salvageable items in a dry location to facilitate their drying.
- Move air with a dehumidifier: If you have a portable dehumidifier, position it strategically in the basement to help extract excess moisture from the air. Consider placing it in areas with higher humidity or near sources of moisture.
- Monitor the humidity levels: Use a hygrometer, a device that measures humidity levels, to monitor the progress of the drying process. Aim for a relative humidity level between 30% and 50%, which is ideal to prevent mold growth.
- Check for hidden moisture: Inspect hidden areas such as wall cavities or behind furniture for any lingering moisture. Use a moisture meter or carefully feel the surfaces to detect moisture. If necessary, use fans or dehumidifiers in these areas for targeted drying.
- Continue the drying process: Keep fans, dehumidifiers, and natural ventilation running until the basement is completely dry. This may take several days or even weeks, depending on the extent of the water damage and the conditions in the basement.
Remember that drying out the basement is a crucial step in preventing mold growth and further damage. Be patient and thorough in the drying process to ensure that your basement is thoroughly dry before proceeding with the next steps of cleaning and disinfecting.
If you encounter any difficulties or if the water damage is extensive, it is recommended to seek professional assistance to ensure proper drying and restoration of your basement.
Cleaning and Disinfecting
After removing the water and drying out your basement, it’s essential to thoroughly clean and disinfect the affected areas to ensure a safe and healthy environment. Cleaning and disinfecting will help eliminate any remaining contaminants and prevent the growth of mold and bacteria. Here are the steps to effectively clean and disinfect your basement:
- Wear protective gear: Before you begin the cleaning process, put on protective gear such as gloves, goggles, and a mask to protect yourself from any potentially harmful substances.
- Remove debris and dirt: Start by removing any debris, mud, or dirt that may have been left behind by the water. Use a broom, dustpan, and garbage bags to collect and dispose of the waste properly.
- Clean surfaces: Use a mild detergent or a specially formulated cleaner to clean the surfaces in your basement. Scrub the walls, floors, and any other affected areas with a brush or sponge. Pay close attention to corners, crevices, and areas where mold or mildew may have developed.
- Disinfect the area: After cleaning, use an appropriate disinfectant solution to disinfect the surfaces. Follow the instructions on the disinfectant label for proper usage and dilution ratios. Pay extra attention to areas that were heavily affected by water, ensuring thorough coverage.
- Allow surfaces to air dry: After cleaning and disinfecting, allow the surfaces to air dry naturally. Proper ventilation and continuous air circulation will help expedite the drying process.
- Dispose of cleaning materials: Properly dispose of any contaminated cleaning materials, such as sponges or brushes, after use. Follow local regulations for disposal guidelines.
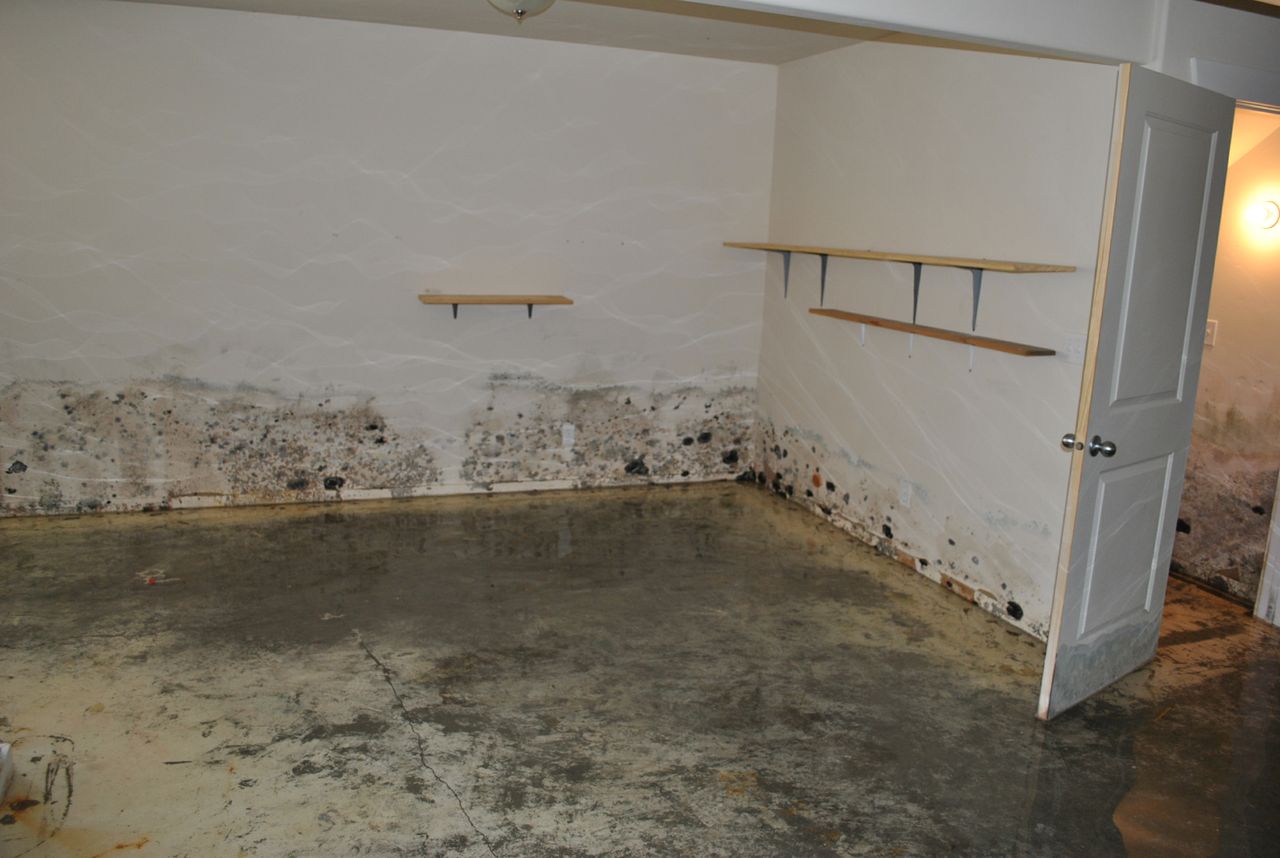
- Inspect for mold growth: After cleaning and disinfecting, carefully inspect the basement for any signs of mold growth. Keep an eye out for visible mold, musty odors, or discoloration on walls, floors, or furniture. If you detect mold, consult a professional mold remediation service for appropriate treatment.
- Monitor and maintain cleanliness: Keep an eye on the basement in the following weeks and months, ensuring that it remains clean and dry. Address any potential water leaks or moisture issues promptly to prevent future water damage and mold growth.
Regular cleaning and maintenance of your basement will help prevent issues such as mold, mildew, and water damage from recurring. By following these steps, you can effectively clean and disinfect your basement, creating a healthy and safe living space.
If you are unsure about the cleaning and disinfecting process or if the water damage is extensive, it is recommended to seek professional assistance to ensure thorough restoration and safety.
Preventing Future Water Damage
Once you have gone through the process of removing water, drying, cleaning, and disinfecting your basement, it’s crucial to take preventative measures to avoid future water damage. By implementing the following steps, you can help protect your basement from potential water-related issues:
- Address any existing issues: Identify and fix any existing sources of water intrusion or leaks in your basement. This may include repairing damaged pipes, sealing cracks in the foundation, or ensuring proper drainage around your home.
- Inspect and maintain your gutters and downspouts: Regularly clean and clear your gutters and downspouts to ensure proper water flow. This will help prevent water from overflowing and seeping into your basement.
- Improve grading and landscaping: Ensure that the ground around your home slopes away from the foundation. This helps divert water away from your basement. Consider regrading or landscaping to achieve proper drainage.
- Install a sump pump and backup system: If you don’t already have one, consider installing a sump pump in your basement. A sump pump collects and drains water away from your home, reducing the risk of flooding. Additionally, installing a backup battery or a second sump pump can provide added protection during power outages or pump failures.
- Invest in proper insulation: Properly insulate your basement walls and pipes to prevent condensation and potential water damage from occurring. Adequate insulation can also help regulate temperature and humidity levels.
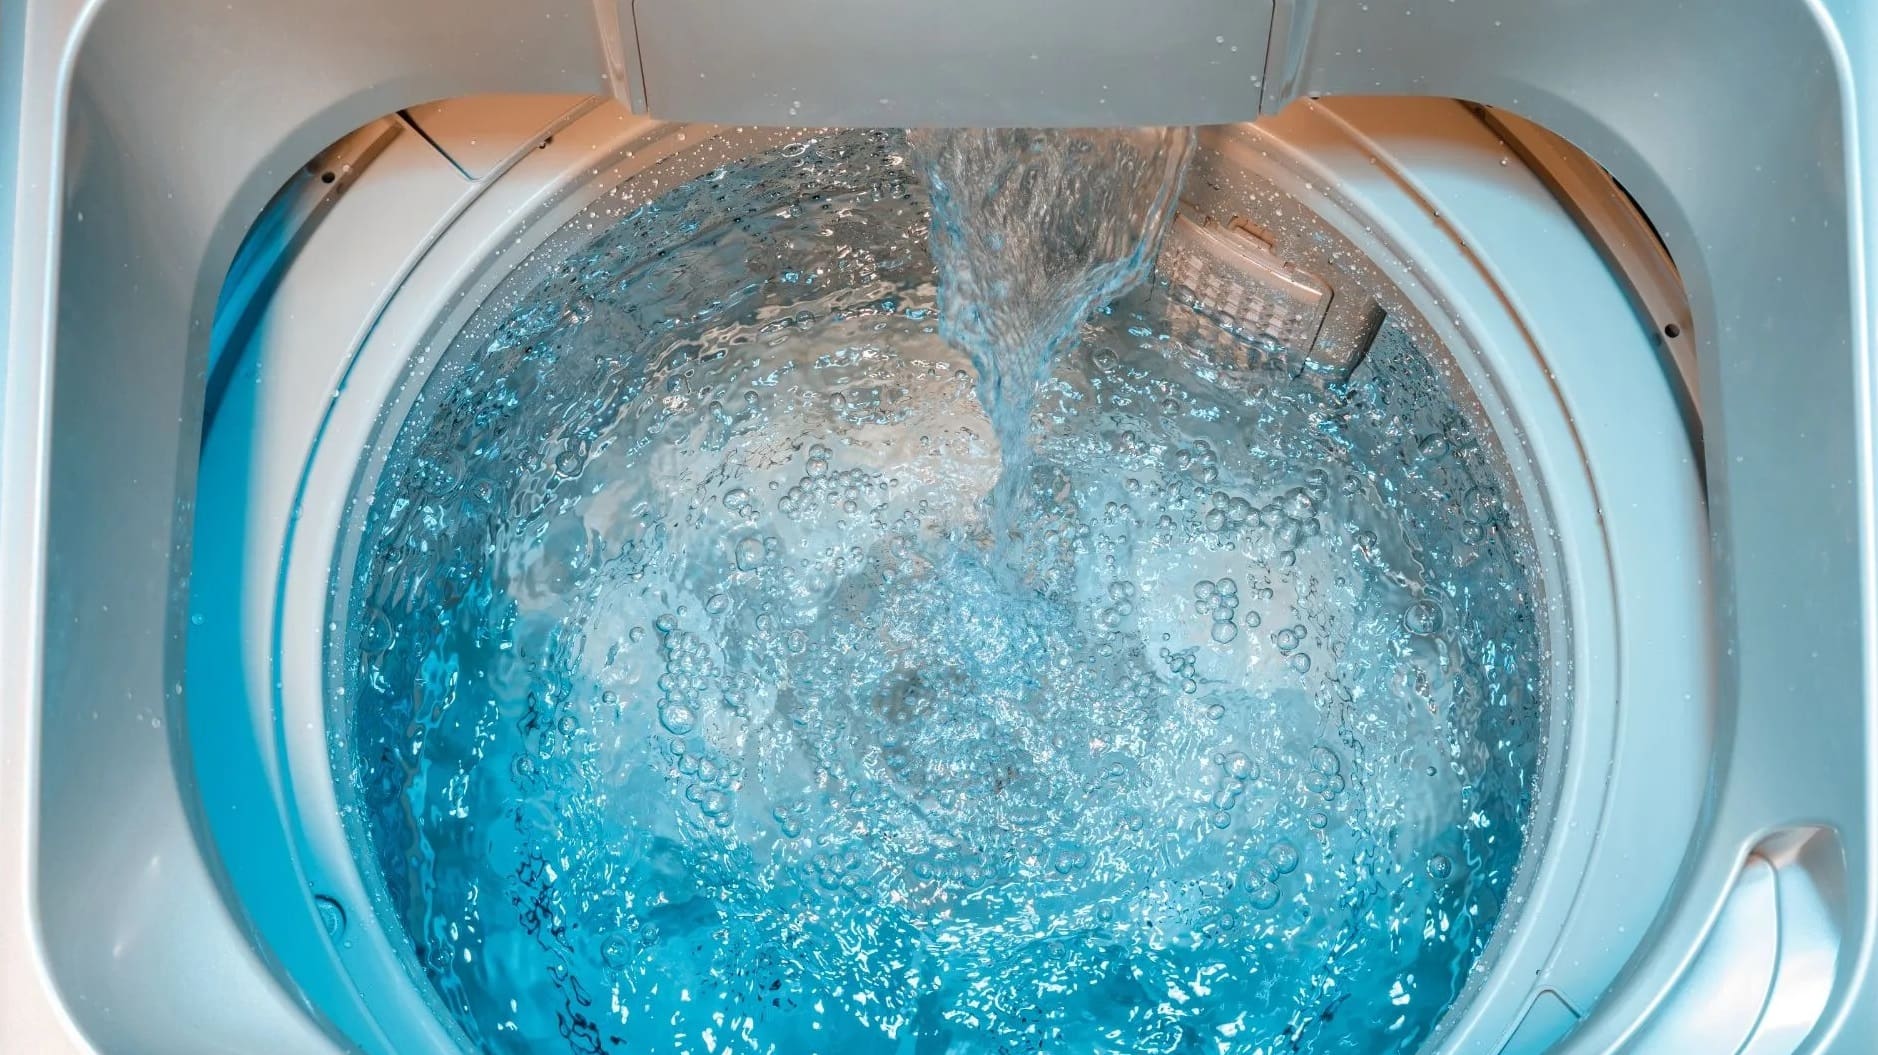
- Regularly check appliances and plumbing: Inspect appliances, such as washing machines, water heaters, and dishwashers, for leaks or malfunctions. Periodically check plumbing pipes for any signs of leakage or damage.
- Monitor and address humidity levels: Use a hygrometer to monitor humidity levels in your basement. If levels consistently rise above 50%, consider using a dehumidifier to maintain appropriate humidity levels and reduce the risk of mold growth.
- Install a waterproofing system: Depending on the severity of your basement’s vulnerability to water damage, you may want to consider professional waterproofing options. These systems can include installing a vapor barrier, applying waterproof coatings, or implementing French drains.
- Regular maintenance and inspections: It’s important to continuously maintain and inspect your basement for any signs of water damage or potential issues. This includes checking for cracks, testing sump pump functionality, and scheduling professional inspections if necessary.
By actively implementing these preventative measures, you can minimize the risk of future water damage to your basement. However, it’s important to remember that no preventative measure is foolproof, and the risk of water damage can never be completely eliminated. Stay vigilant and be prepared to take action if any water-related issues arise.
Remember, in severe cases of water damage or if you require assistance with preventative measures, it’s always advisable to consult with a professional water damage restoration company or a qualified contractor.
Conclusion
Dealing with water in your basement can be a challenging and stressful experience, but by following the appropriate steps and precautions, you can effectively remove the water, restore your basement, and prevent future water damage.
Assessing the water damage and taking safety precautions are the initial steps to address the situation. Utilizing tools like wet vacuums and sump pumps allows for the efficient removal of standing water. A dehumidifier helps reduce excess moisture in the air, aiding in the drying process. Cleaning and disinfecting the basement are crucial to eliminate contaminants and prevent mold growth. Finally, implementing preventative measures such as addressing existing issues, maintaining proper drainage, and investing in a sump pump helps prevent future water damage.
Remember, safety should always be a top priority. Take appropriate precautions when dealing with electrical hazards and wear protective gear to minimize the risk of injury.
Regular maintenance, inspections, and monitoring are essential for keeping your basement dry and preventing any potential water-related issues. By being proactive, you can significantly reduce the risk of water damage and the associated costs and headaches.
In the event of severe water damage or if you are uncertain about handling the situation on your own, do not hesitate to seek professional help. Water damage restoration professionals have the expertise and equipment to efficiently and effectively restore your basement.
While preventing water damage is important, it’s also crucial to stay prepared for unexpected situations. Make sure you have appropriate insurance coverage and consider creating an emergency plan to mitigate damage and protect your family and belongings.
By taking prompt action, adhering to safety precautions, and implementing preventive measures, you can successfully overcome and prevent water damage in your basement, ensuring a dry, safe, and comfortable living environment.
Frequently Asked Questions about How To Get Water Out Of A Basement
Was this page helpful?
At Storables.com, we guarantee accurate and reliable information. Our content, validated by Expert Board Contributors, is crafted following stringent Editorial Policies. We're committed to providing you with well-researched, expert-backed insights for all your informational needs.


0 thoughts on “How To Get Water Out Of A Basement”