Home>Articles>How To Hang A Hammock, Just In Time For Sunny Summer Days


Articles
How To Hang A Hammock, Just In Time For Sunny Summer Days
Modified: September 1, 2024
Learn how to hang a hammock and enjoy the sunny summer days with our helpful articles on setting up the perfect relaxation spot.
(Many of the links in this article redirect to a specific reviewed product. Your purchase of these products through affiliate links helps to generate commission for Storables.com, at no extra cost. Learn more)
Introduction
There’s nothing quite like lounging in a hammock on a sunny summer day, swaying gently in the breeze while enjoying a good book or taking a peaceful nap. If you’re looking to enhance your outdoor space and create a relaxing oasis, hanging a hammock is the perfect solution. However, properly hanging a hammock can be a bit tricky if you’re not sure where to start. But fear not! In this article, we will guide you through the process of how to hang a hammock, just in time for those glorious summer days.
Hanging a hammock involves a few important steps, from selecting the right location to installing the necessary hardware and ensuring proper safety and comfort. By following these steps, you’ll be able to create your own personal oasis and enjoy the many benefits that come with it.
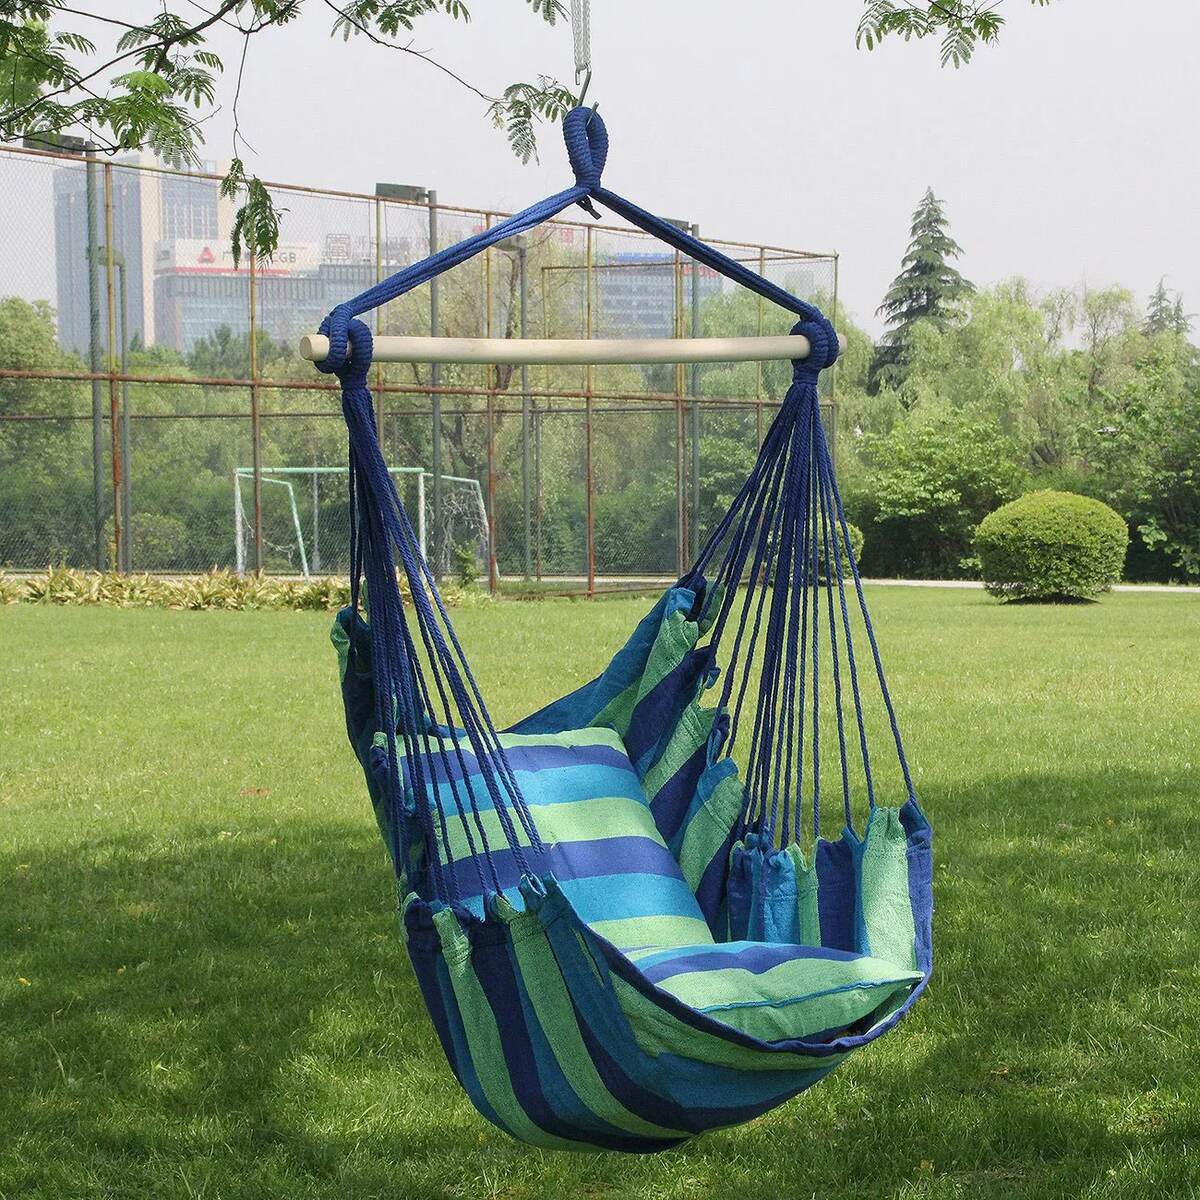
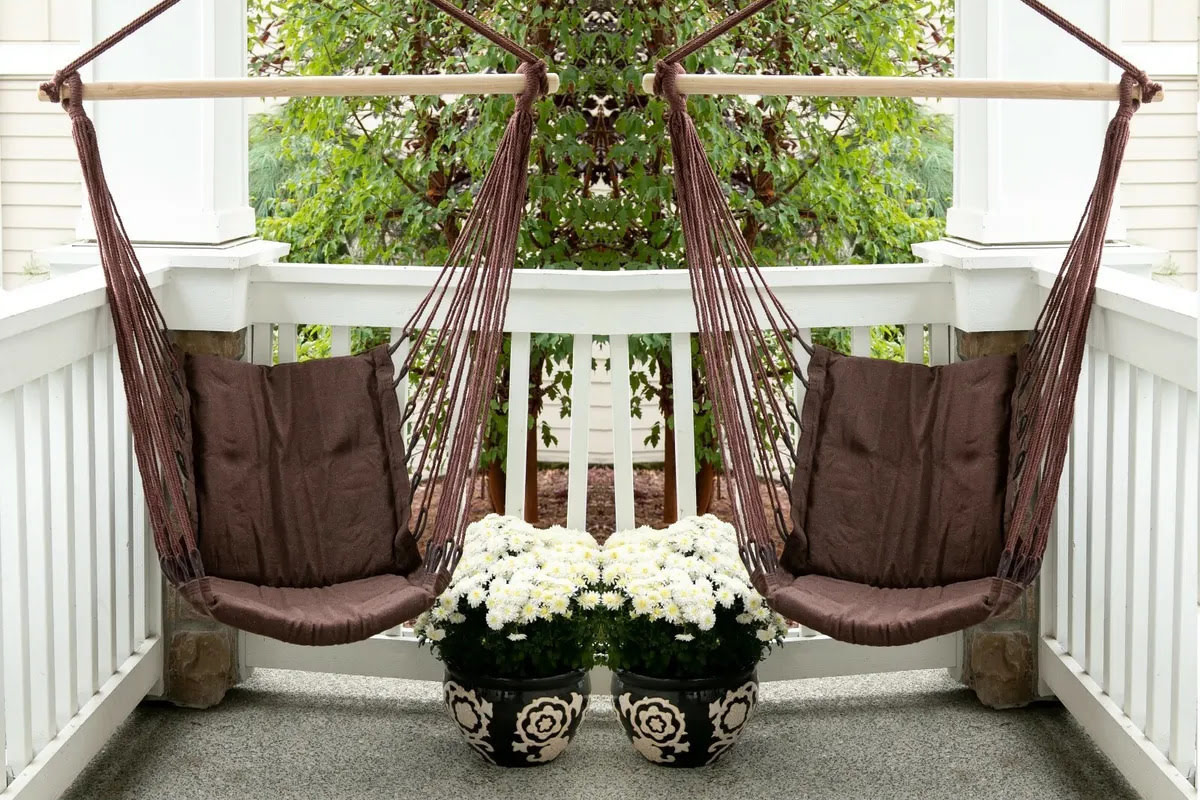
Before we dive into the specifics, it’s important to note that hammocks come in various types and styles, such as rope hammocks, fabric hammocks, and hammock chairs. The steps outlined in this article can be applied to most hammock types, but it’s always a good idea to consult the manufacturer’s instructions for any specific recommendations or considerations.
So, let’s get started on the journey of hanging your hammock and creating a cozy, relaxing space for you to enjoy this summer!
Key Takeaways:
- Find the perfect spot for your hammock by considering space, shade, privacy, and view. Create a tranquil oasis for relaxation and enjoyment in your outdoor space.
- Ensure a safe and comfortable hammock experience by testing weight capacity, adjusting position, and inspecting for wear. Embrace the serenity of your outdoor retreat and cherish hammock time.
Read more: How To Hang A Hammock On Balcony
Step 1: Choosing the Right Location
The first step in hanging a hammock is selecting the right location. The ideal spot for a hammock is an area with ample space and sturdy support. Here are some factors to consider when choosing the perfect location:
- Space: Look for an area that provides enough space for your hammock to swing freely without any obstructions. Consider the length of your hammock and add a few extra feet on each end for optimal swinging.
- Surface: Ensure that the ground or surface where you plan to hang your hammock is level and free of any sharp objects or obstacles that may damage the fabric or ropes.
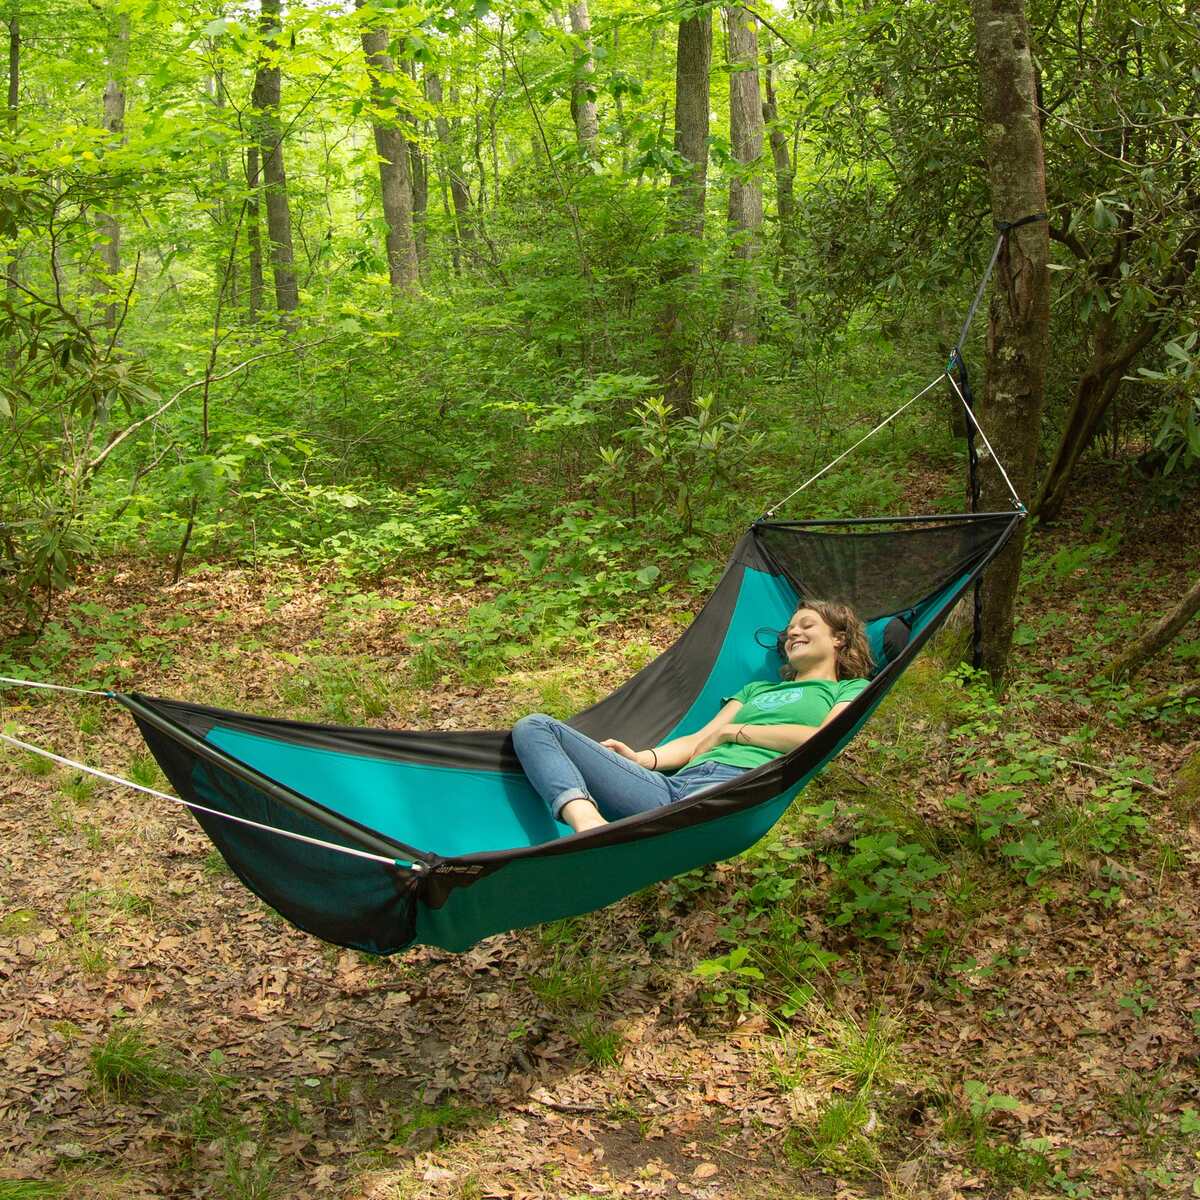
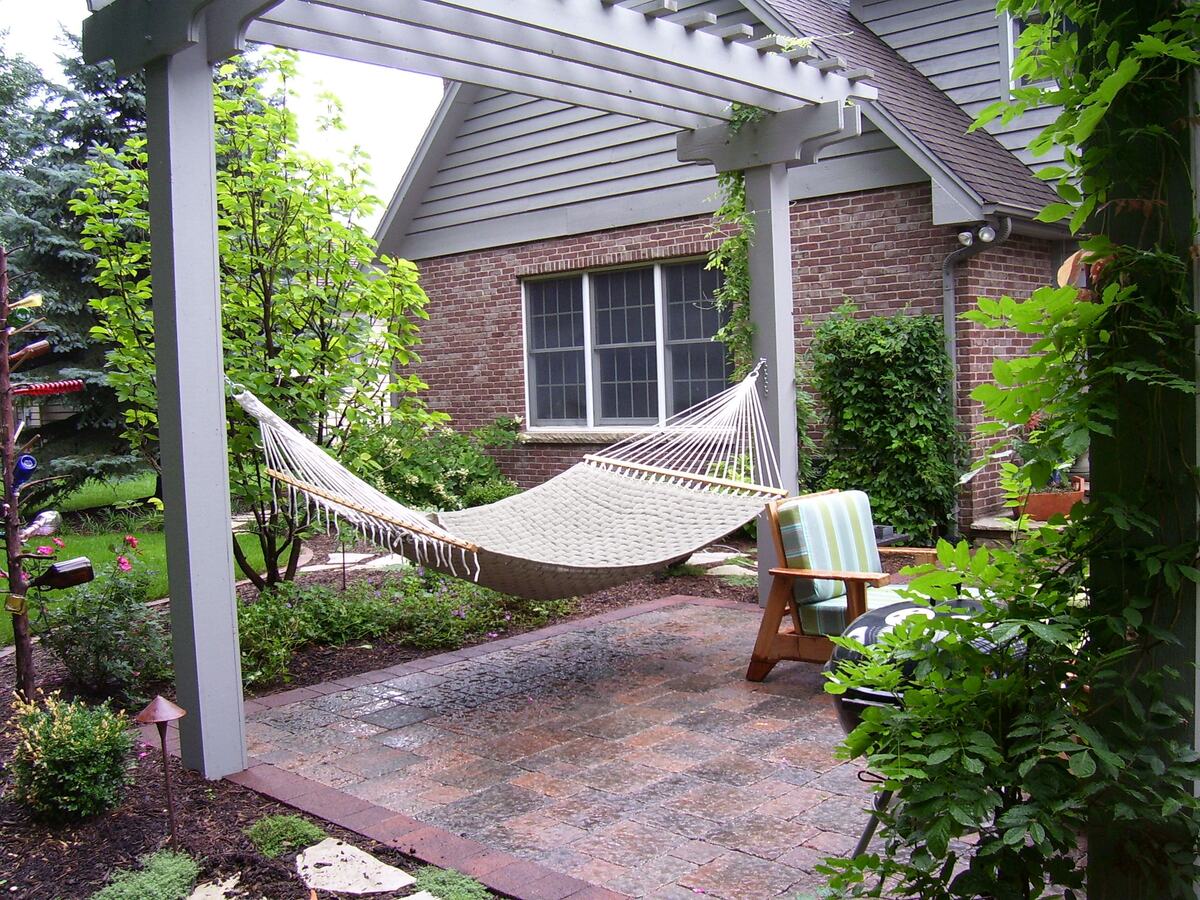
- Shade: If you live in a hot climate, consider locating your hammock in a shaded area, such as under a tree, pergola, or patio cover. This will provide relief from direct sunlight and make your hammock more comfortable to lounge in during peak daylight hours.
- Privacy: Depending on your preferences, choose a location that offers the level of privacy you desire. If you prefer a secluded and tranquil spot, look for an area that is shielded from prying eyes and noise.
- View: Take into account the view you want to enjoy while relaxing in your hammock. Whether it’s a scenic landscape, garden, or backyard, select a spot that provides a visually appealing backdrop.
Once you’ve considered these factors, take some time to envision yourself in different areas of your outdoor space and see where you feel most comfortable and at peace. Keep in mind that the location you choose will greatly impact your overall hammock experience, so take the time to find the perfect spot.
Step 2: Gathering the Necessary Tools and Materials
Before you can hang your hammock, it’s important to gather all the necessary tools and materials. Having everything on hand will make the installation process smoother and more efficient. Here’s a list of the essential items you’ll need:
- Hammock: Of course, you’ll need a hammock of your choice. Ensure it is the appropriate size and style for your needs. Consider factors such as weight capacity, material, and overall design.
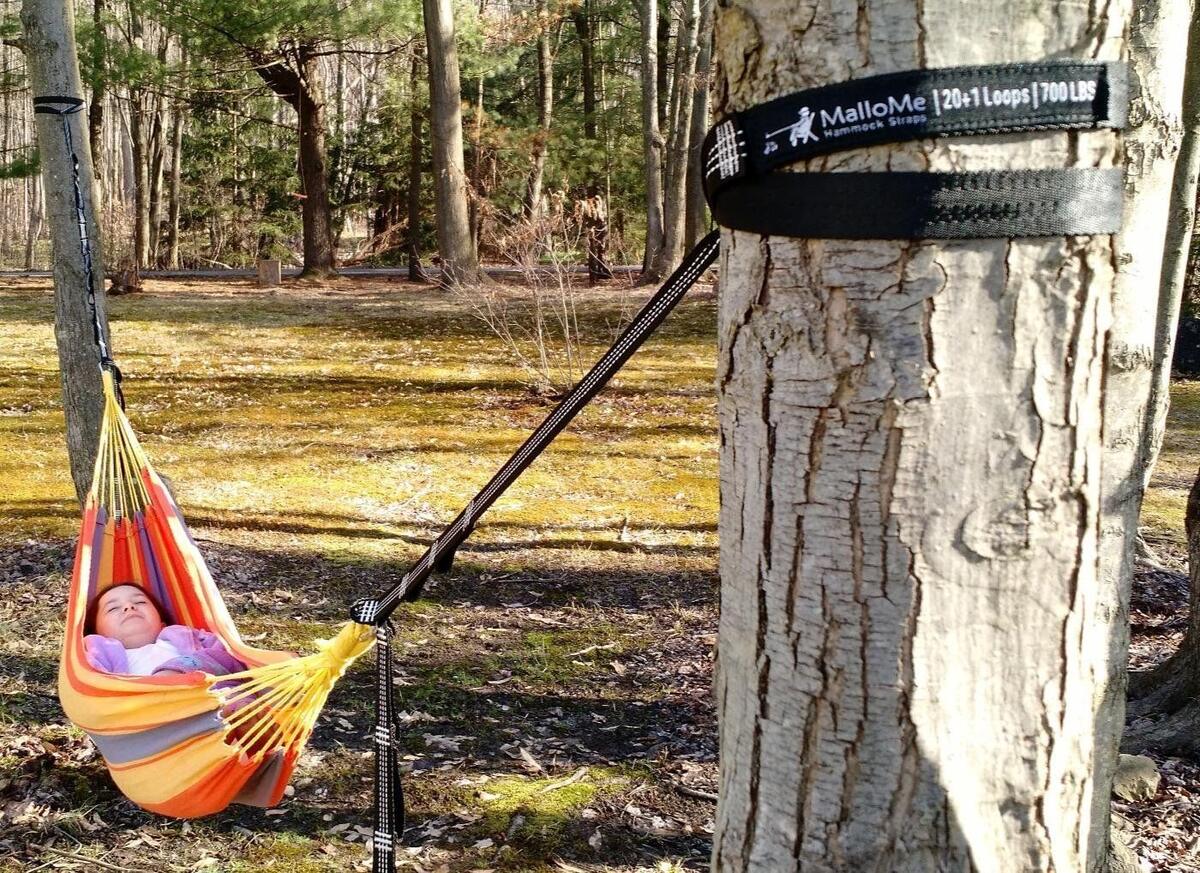
- Tree-friendly straps or rope: If you plan to hang your hammock between trees, make sure to use tree-friendly straps or rope to avoid damaging the tree’s bark. These straps are wide and distribute the weight evenly, reducing the impact on the tree.
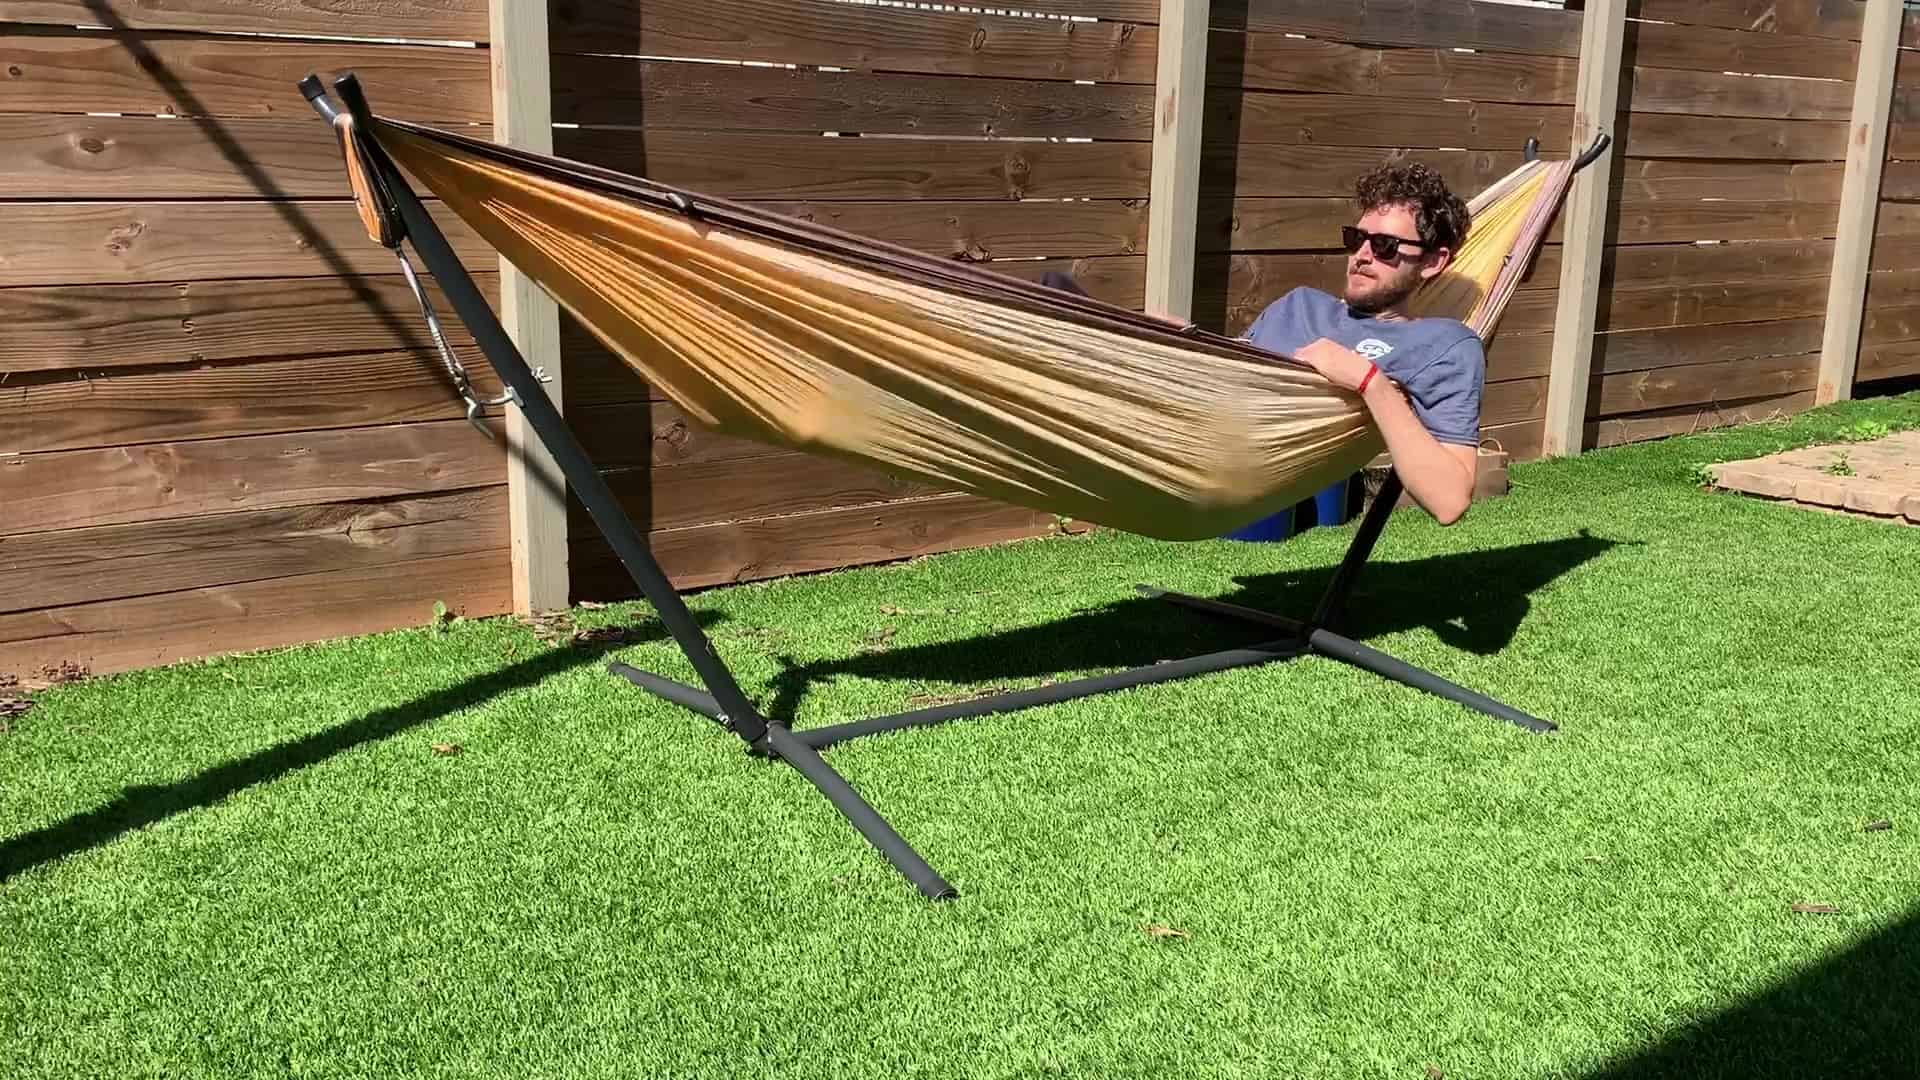
- Hanging hardware: If you don’t have suitable trees or posts to hang your hammock from, you’ll need to invest in hanging hardware. The most common types are hammock stands, wall hooks, or ceiling mounts. Choose hardware that is secure and appropriate for the weight and size of your hammock.
- Measuring tape: A measuring tape will come in handy to ensure accurate distances and heights when installing the hanging hardware.
- Level: A level is essential to ensure that your hammock hangs evenly for maximum comfort.
- Tools: Depending on the type of hanging hardware you choose, you may need tools such as a screwdriver, wrench, or drill to install it properly.
Before starting the installation process, double-check to make sure you have all the necessary tools and materials. This will save you time and prevent any interruptions or delays in your hammock hanging project.
Step 3: Measuring and Installing the Hanging Hardware
Once you have gathered all the necessary tools and materials, it’s time to measure and install the hanging hardware for your hammock. Follow these steps to ensure proper installation:
- Choose the attachment points: Determine where you will attach the hanging hardware. If you’re hanging your hammock between trees, identify sturdy and healthy trees with enough distance between them. If you’re using hammock stands or wall/ceiling mounts, select the appropriate location based on your space and preferences.
- Measure for proper height: Use a measuring tape to measure the distance between the attachment points. Ideally, the height of the attachment points should be around 4-6 feet off the ground for comfortable hammocking. Adjust the height based on personal preference and the length of your hammock.
- Drill or install the hardware: If you’re using wall/ceiling mounts or hammock stands, follow the manufacturer’s instructions for installation. Use a drill or screwdriver to secure the mounts or stands firmly. If you’re hanging your hammock between trees, wrap the tree straps or ropes around the trees and secure them tightly.
- Ensure stability: Once the hardware is installed, check if it’s secure and stable. Give it a gentle pull to make sure it can support the weight of the hammock and the intended occupants. Use a level to ensure that the attachment points are even and aligned properly.
Remember to take into account any weight restrictions or guidelines provided by the manufacturer for your specific hammock and hardware. Safety should always be a top priority when hanging your hammock.
By carefully measuring and installing the hanging hardware, you can ensure a safe and enjoyable hammock experience. Take your time during this step to ensure everything is properly set up for the next steps of attaching the hammock.
When hanging a hammock, make sure to choose sturdy support points, such as trees or posts, and use strong, reliable hardware to secure the hammock in place. Always test the hammock’s stability before fully committing your weight to it.
Step 4: Attaching the Hammock to the Hanging Hardware
Now that you have the hanging hardware properly installed, it’s time to attach your hammock. Follow these steps to securely hang your hammock:
- Unfold your hammock: Lay your hammock flat on the ground, ensuring that it is untangled and ready for hanging.
- Attach one end of the hammock: Starting with one end of the hammock, carefully attach it to the hanging hardware. If you’re using tree-friendly straps or ropes, wrap them around the attachment point and secure them tightly. If you’re using hooks or carabiners, make sure they are securely fastened to the hardware.
- Attach the other end of the hammock: Once the first end is attached, move to the other end of the hammock and repeat the process. Make sure the hammock is evenly balanced and hangs at a comfortable height.
- Tighten and adjust: After attaching both ends, adjust the tension of the hammock. It should be taut but not overly tight. Take a seat in the hammock and make any necessary adjustments to ensure it provides optimal comfort and support.
Take a moment to step back and visually inspect the hammock to ensure it is securely attached and hanging level. Give it a gentle test by applying a bit of weight or giving it a light sway to ensure it feels stable and secure.
Keep in mind that different types of hammocks may require slightly different attachment methods, so always refer to the manufacturer’s instructions for any specific recommendations or guidelines.
Congratulations! Your hammock is now securely attached to the hanging hardware, ready for you to enjoy those blissful moments of relaxation.
Read more: How To Hang A Hammock In An Apartment
Step 5: Testing the Hammock for Safety and Comfort
With your hammock successfully attached to the hanging hardware, it’s important to test it for safety and comfort before fully enjoying it. Follow these steps to ensure a safe and comfortable hammocking experience:
- Test the weight capacity: Check the weight capacity of your hammock to ensure it can safely support the intended occupants. If you’re unsure, refer to the manufacturer’s guidelines. Avoid exceeding the weight limit to prevent damage to the hammock or risk of accidents.
- Lie down and adjust: Carefully lie down in the hammock and adjust your position to find the most comfortable spot. Pay attention to how the hammock feels and supports your body. If needed, make any necessary adjustments to improve comfort.
- Swing gently: Begin gently rocking or swaying in the hammock to test its stability. Ensure that it stays securely in place and doesn’t tip or tilt excessively. If you notice any instability, readjust the hanging hardware or check for any loose connections.
- Check for proper coverage: Make sure the hammock provides enough coverage and support for your body. The fabric should cradle you without sagging too much or feeling overly tight.
- Inspect for any signs of wear: Take a close look at the hammock fabric, ropes, or straps for any signs of wear or damage. Check for frayed edges, tears, or weak spots. If you notice any issues, refrain from using the hammock until the necessary repairs are made.
It’s always a good idea to periodically inspect your hammock for any signs of wear and tear, especially if it is exposed to the elements. Regular maintenance and care will ensure its longevity and continued safety.
Remember, supervision is essential when children or pets use the hammock to prevent accidents. Educate others on proper hammock use and safety guidelines.
By testing your hammock thoroughly, you can ensure both safety and comfort, allowing you to fully relax and enjoy the serenity of your outdoor retreat.
Step 6: Enjoying Your Hammock
Now that you’ve gone through the process of hanging and testing your hammock, it’s time to sit back, relax, and enjoy the fruits of your labor. Here are some tips for maximizing your hammock experience:
- Add comfort accessories: Enhance your hammocking experience by adding pillows, cushions, or a cozy blanket for extra comfort and support.
- Find your perfect spot: Position your hammock in a location that provides the desired level of shade, privacy, and scenery. Consider adding some ambient lighting or playing relaxing music to create a tranquil ambiance.
- Unwind and disconnect: Use your hammock as an opportunity to unwind and disconnect from the busyness of everyday life. Leave your phone and distractions behind, and fully immerse yourself in the present moment.
- Indulge in self-care: Take the time to indulge in self-care activities while in your hammock. Whether it’s reading a book, listening to a podcast, practicing mindfulness or meditation, or simply taking a nap, allow yourself to fully relax and rejuvenate.
- Share the joy: Invite friends, family, or loved ones to join you in your hammock oasis. It’s a great way to bond, have meaningful conversations, or simply enjoy each other’s company while surrounded by nature.
Remember, hammock time is your time. Cherish these moments and embrace the peace and serenity that comes with it.
Additionally, make sure to follow proper care and maintenance guidelines for your specific hammock type. Regularly clean and dry your hammock, and store it properly when not in use to extend its lifespan.
Hanging a hammock and creating a cozy space for relaxation is an investment in your well-being. So, grab your favorite book, a refreshing drink, and allow yourself to fully embrace the joy and tranquility that a hammock brings.
Now that you're set with your hammock, why not take your relaxation space a step further? For those adventurous spirits, crafting your own hammock adds a personal touch to any nook. Our guide on creating a DIY hammock provides easy-to-follow steps and creative ideas to get you swinging in no time. Whether for your backyard or a cozy corner indoors, this guide ensures your new hammock is not only unique but also a perfect fit for your chilling needs. Get ready to sway into comfort with your very own creation.
Frequently Asked Questions about How To Hang A Hammock, Just In Time For Sunny Summer Days
Was this page helpful?
At Storables.com, we guarantee accurate and reliable information. Our content, validated by Expert Board Contributors, is crafted following stringent Editorial Policies. We're committed to providing you with well-researched, expert-backed insights for all your informational needs.







0 thoughts on “How To Hang A Hammock, Just In Time For Sunny Summer Days”