Articles
How To Hang Deck Joists
Modified: May 6, 2024
Learn how to hang deck joists with our articles. Expert tips and step-by-step instructions for a sturdy and secure deck structure.
(Many of the links in this article redirect to a specific reviewed product. Your purchase of these products through affiliate links helps to generate commission for Storables.com, at no extra cost. Learn more)
Introduction
When it comes to building a deck, one of the most important components to consider is the installation of the deck joists. Deck joists provide the framework and support for the deck boards, ensuring a sturdy and long-lasting structure. Properly hanging deck joists is essential to ensure the integrity and stability of your deck.
In this comprehensive guide, we will walk you through the step-by-step process of how to hang deck joists. From preparing the area to attaching the rim joist, we will cover everything you need to know to effectively and efficiently complete this crucial part of deck construction.
Whether you are a seasoned DIY enthusiast or a beginner looking to take on your first deck project, this article will provide you with the knowledge and guidance to successfully hang deck joists.
Key Takeaways:
- Properly preparing the area, measuring and marking joist locations, and accurately installing the ledger board are crucial steps in hanging deck joists to ensure a solid foundation for your deck.
- Carefully cutting and attaching joist hangers, hanging the deck joists with consistent spacing, and checking for levelness are essential for creating a stable and long-lasting deck structure.
Read more: How To Use Joist Hangers On Decking
Step 1: Preparing the Area
Before you begin the process of hanging deck joists, it is important to properly prepare the area where your deck will be constructed. This step is essential to ensure a solid foundation for your deck and to prevent any future issues.
The first step in preparing the area is to clear away any vegetation, debris, or obstacles that may be present. This includes removing any grass, weeds, rocks, or old patio material that may be in the way. Clearing the area will give you a clean slate to work with and allow for proper installation of the deck joists.
Once the area is cleared, it is important to assess the levelness of the ground. Use a level or a string line to check if the ground is even or if there are any significant slopes or dips that need to be addressed. If the ground is uneven, you may need to consider using concrete footings or other leveling techniques to ensure a stable base for your deck.
Next, it is crucial to check for any underground utilities or cables that may be present. Contact your local utility company to have them come out and mark the locations of any underground lines. This will help prevent any accidents or damage to utilities during the construction process.
Once the area is cleared and the ground is level, it is a good idea to lay down a weed barrier or landscape fabric to prevent weed growth and ensure a clean surface for your deck. This step can help extend the lifespan of your deck by preventing unwanted vegetation from growing up through the deck boards.
Finally, ensure that you have all the necessary tools and materials on hand for the installation of the deck joists. This may include a saw, hammer, drill, tape measure, joist hangers, nails, and screws. Having everything readily available will make the installation process smoother and more efficient.
By properly preparing the area before hanging deck joists, you will create a solid foundation for your deck and set the stage for a successful and long-lasting structure.
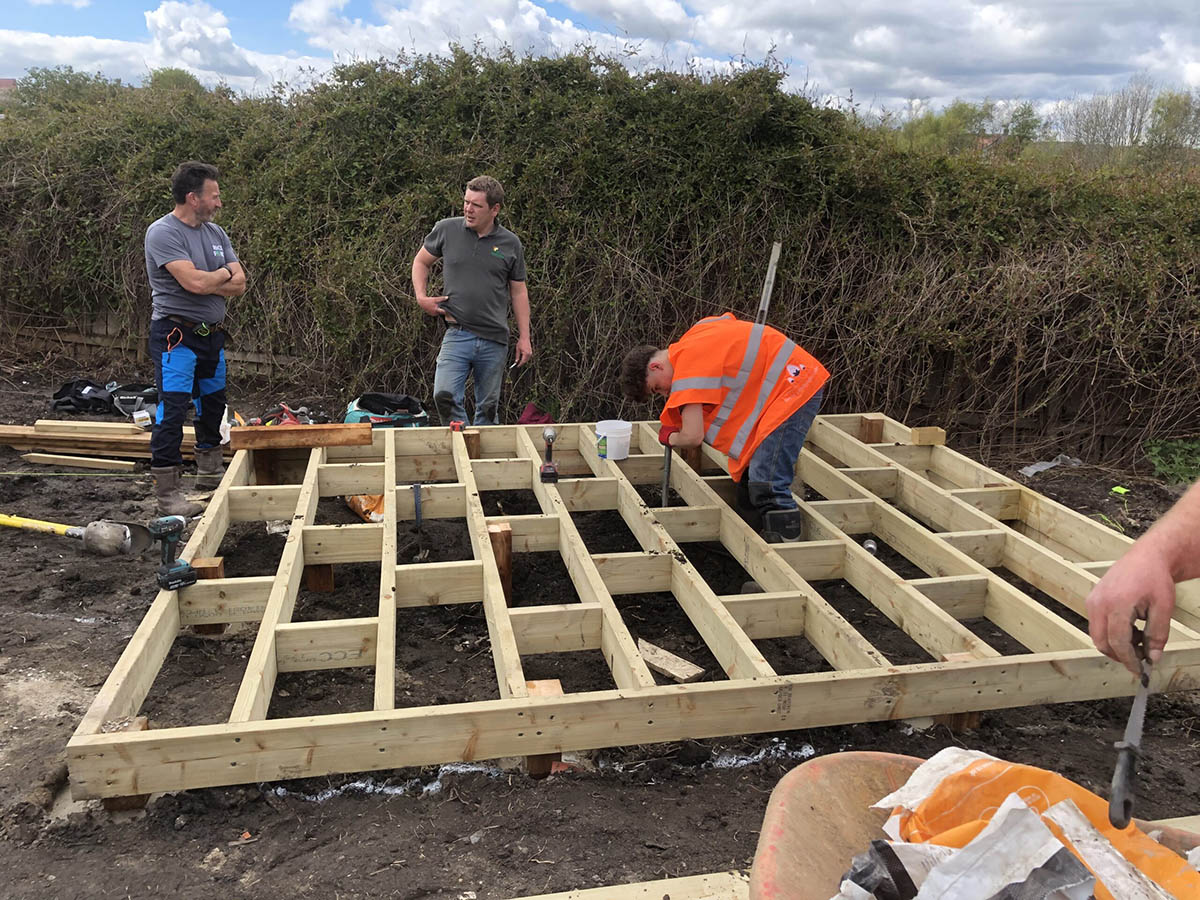
Step 2: Measuring and Marking Joist Locations
Once you have prepared the area for your deck, the next step is to measure and mark the locations where the deck joists will be installed. This step is crucial to ensure that the joists are evenly spaced and properly aligned.
Start by determining the desired spacing between your deck joists. The standard spacing for most decks is 16 inches on center, meaning that the center of each joist will be spaced 16 inches apart. However, for heavier loads or if you are using thicker deck boards, you may need to decrease the spacing to 12 inches on center.
Using a tape measure, measure and mark the first location for the outermost rim joist. This joist will run parallel to the edge of your deck and provide additional support. Measure and mark the location at the desired distance from the edge, taking into account the width of the rim joist.
Next, measure and mark the remaining joist locations by measuring the desired distance between each joist and marking the corresponding spot. Take into consideration any additional spacing that may be required near the ends of the deck boards or around any openings, such as stairs or access points.
Once all the joist locations are marked, take a string line or chalk line and create reference lines for each row of joists. This will give you a visual guide to ensure that the joists are aligned and parallel to each other.
When marking the joist locations, it is important to consider the direction of the wood grain. Ideally, the joists should run perpendicular to the deck boards, as this provides better support and prevents warping or sagging over time.
By taking the time to carefully measure and mark the joist locations, you will ensure that your deck is structurally sound and built to last. The accuracy and precision in this step will contribute to the overall stability and longevity of your deck.
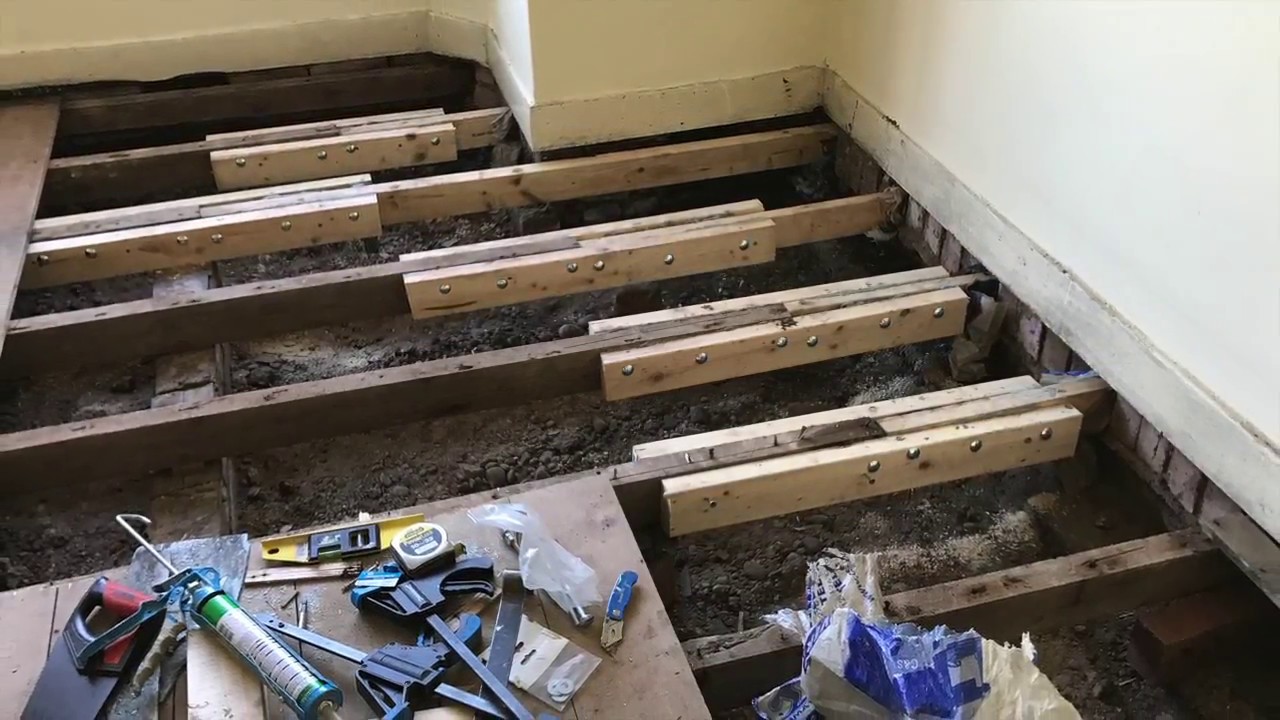
Step 3: Installing Ledger Board
The ledger board is an important component of deck construction as it provides support and stability for the deck joists. It is typically attached to the exterior wall of the house, serving as the starting point for the deck.
To install the ledger board, follow these steps:
- Start by locating the proper height for the ledger board. The bottom of the ledger should be positioned below the door threshold to prevent water from entering the house. Use a level to ensure that the ledger board is perfectly horizontal.
- Mark the location of the ledger board on the wall, making sure to account for the width of the board. Measure and mark the corresponding spots for the lag screws or bolts that will be used to secure the ledger to the wall.
- Drill pilot holes into the wall at the marked locations.
- Position the ledger board against the wall, aligning it with the pilot holes.
- Insert lag screws or bolts through the pilot holes and into the wall, using a wrench or socket set to tighten them securely.
- Check the levelness of the ledger board once again to ensure it is properly aligned.
- Secure the ledger board at regular intervals with additional screws or bolts, ensuring that each attachment point is secure and provides sufficient support.
It is important to note that the type of fasteners used will depend on the material of the house’s exterior wall. For example, if the wall is made of wood, lag screws or bolts may be used. If the wall is made of brick or concrete, specialized anchor bolts may be necessary.
By properly installing the ledger board, you will establish a solid foundation for the deck and ensure the structural integrity of the entire structure. It is crucial to take the time to accurately measure, mark, and secure the ledger board, as it plays a vital role in the overall stability and safety of your deck.
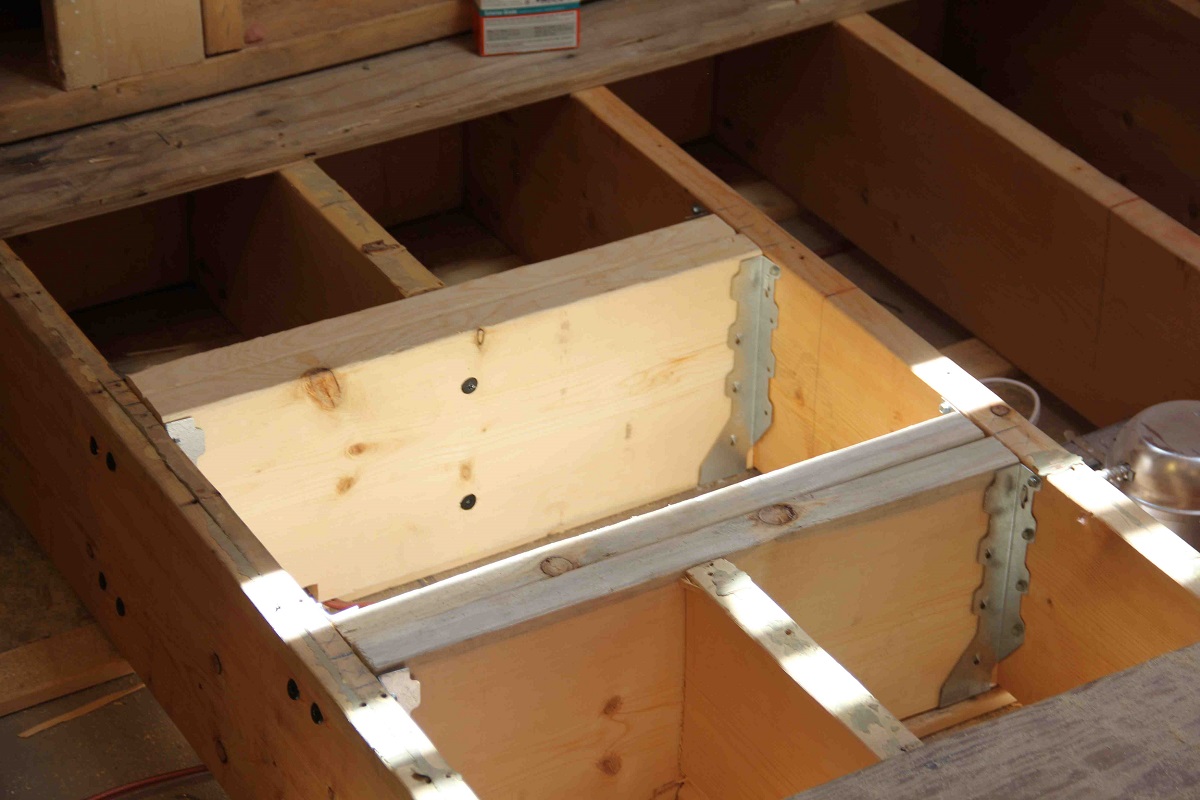
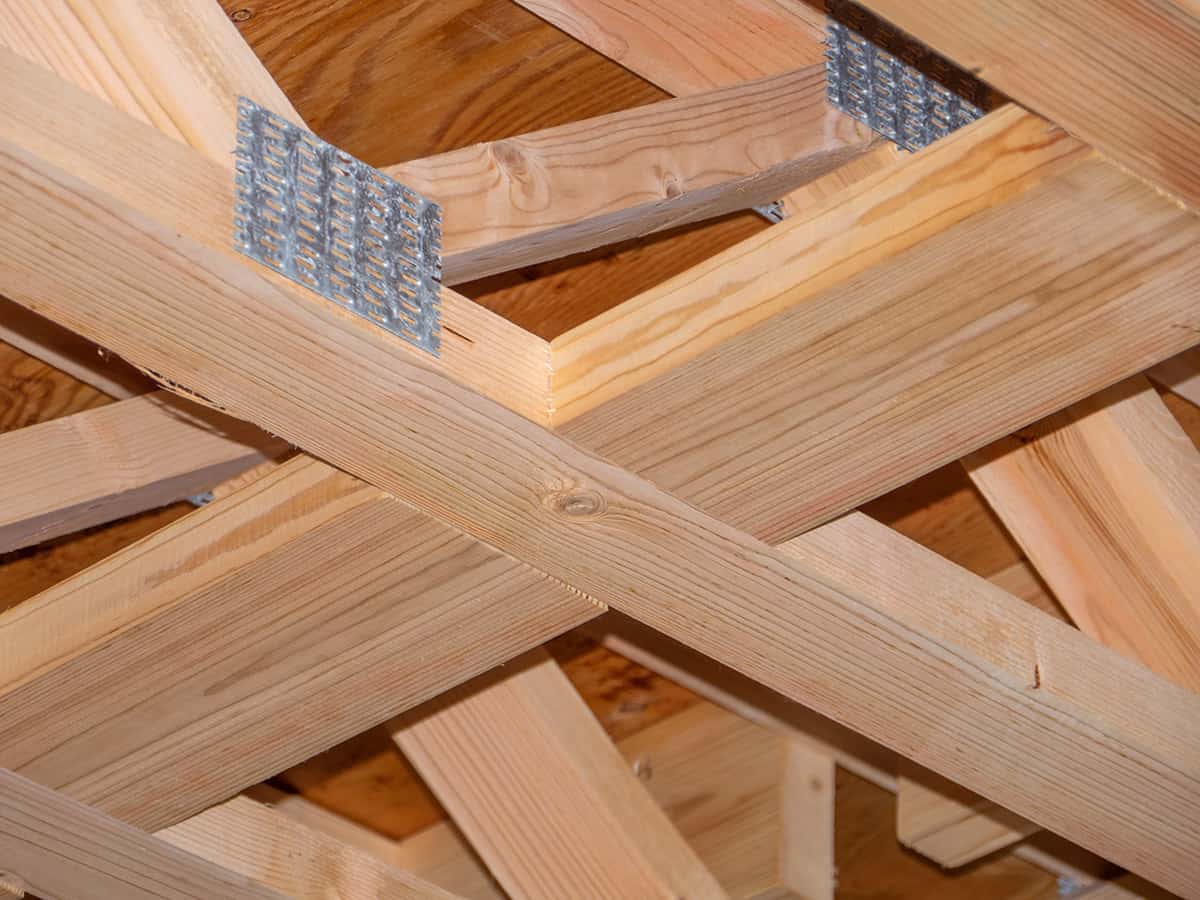
Step 4: Cutting and Attaching Joist Hangers
Joist hangers are metal brackets that are used to support and attach the deck joists to the ledger board. They provide additional strength and stability to the deck structure, ensuring that the joists are securely held in place.
Follow these steps to cut and attach the joist hangers:
- Begin by measuring the depth of the joist hangers. This measurement should correspond to the thickness of the joists you are using for your deck.
- Using a saw, cut a notch in the ledger board that matches the width of the joist hangers. This will create a recessed area where the hangers can be installed.
- Next, position the first joist hanger in the notch on the ledger board, ensuring that it is level and aligned with the marked joist location. Use a pencil to mark the hole locations on the ledger board.
- Drill pilot holes into the marked locations on the ledger board.
- Attach the first joist hanger to the ledger board using appropriately sized screws or nails. Make sure the hanger is securely fastened to the board.
- Repeat the process for the remaining joist hangers, ensuring that each hanger is aligned with the corresponding joist location and securely attached to the ledger board.
- Once all the joist hangers are in place, it is important to double-check the levelness and alignment of each hanger to ensure that the deck joists will be properly supported.
It is worth noting that joist hangers come in various sizes and styles, so it is crucial to choose hangers that are appropriate for the size and load requirements of your deck. Consult local building codes and guidelines to determine the specific hanger requirements for your project.
By properly cutting and attaching joist hangers, you will ensure that your deck joists are securely held in place, providing the necessary support and stability for your deck. This step is crucial in maintaining the structural integrity of your deck and ensuring its longevity.
When hanging deck joists, make sure to use joist hangers to provide proper support and prevent the joists from twisting or warping over time. Additionally, use galvanized or stainless steel hangers to prevent rust and corrosion.
Read more: How Far Apart Are Joists For Trex Decking
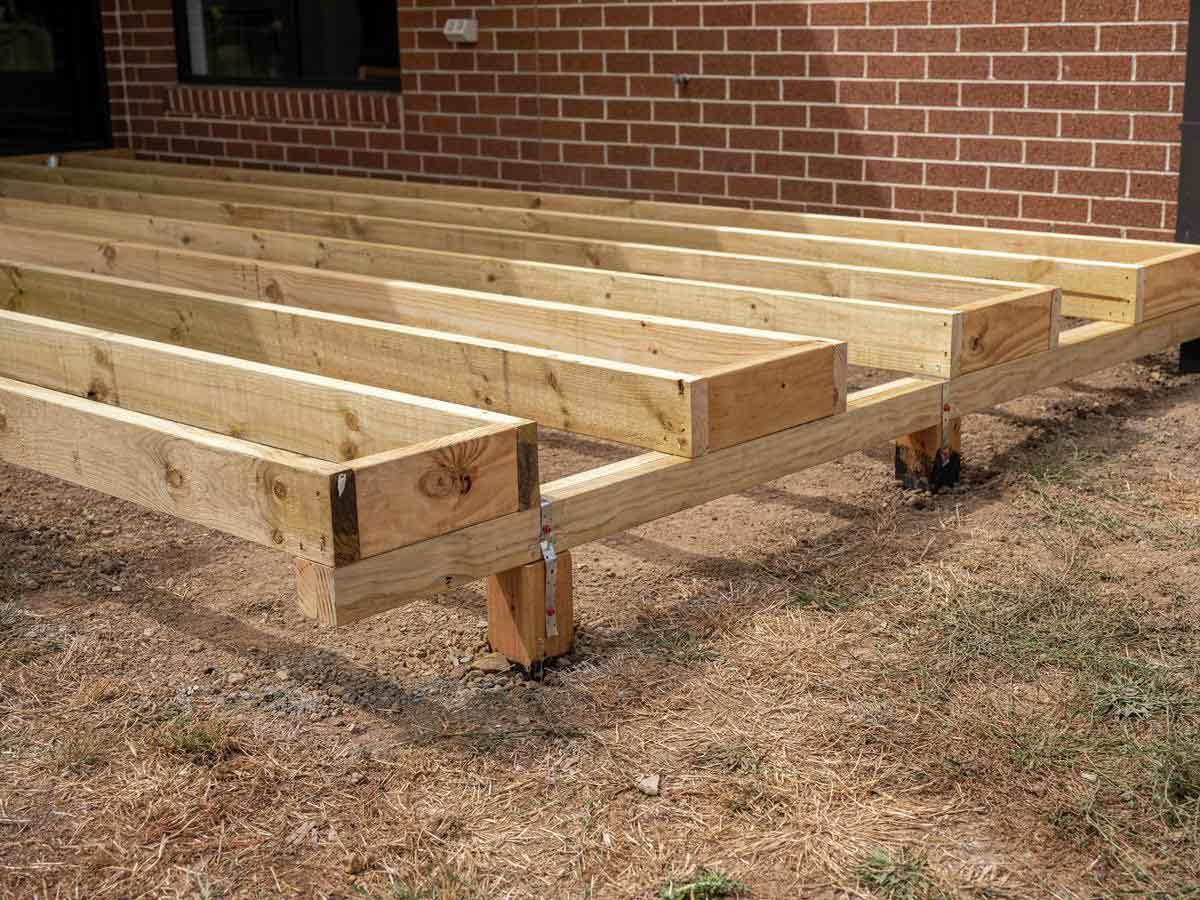
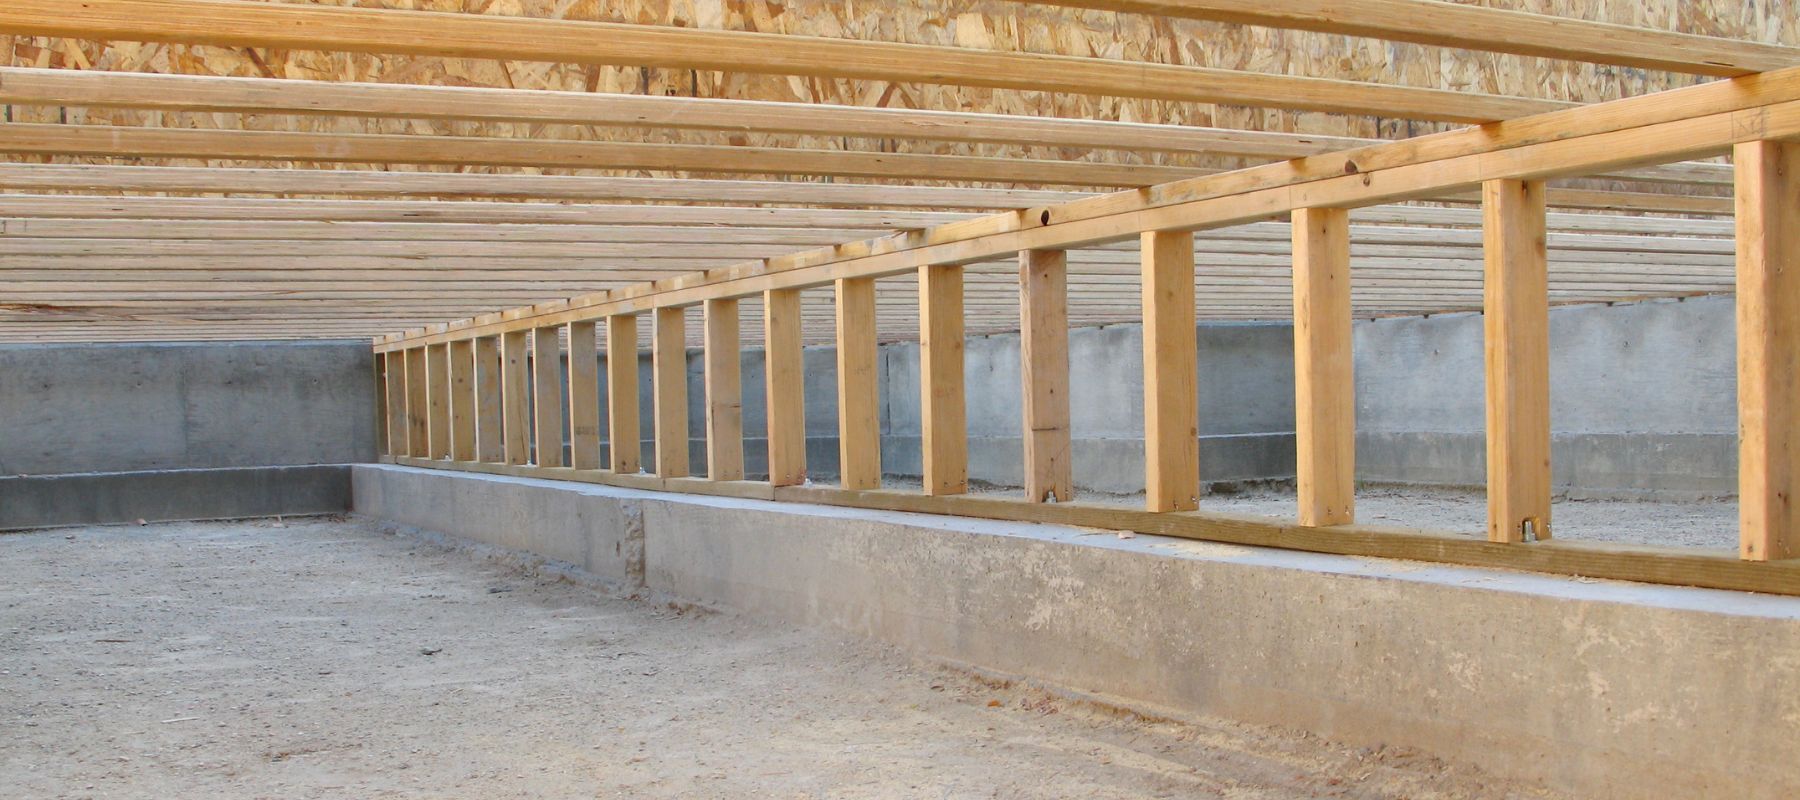
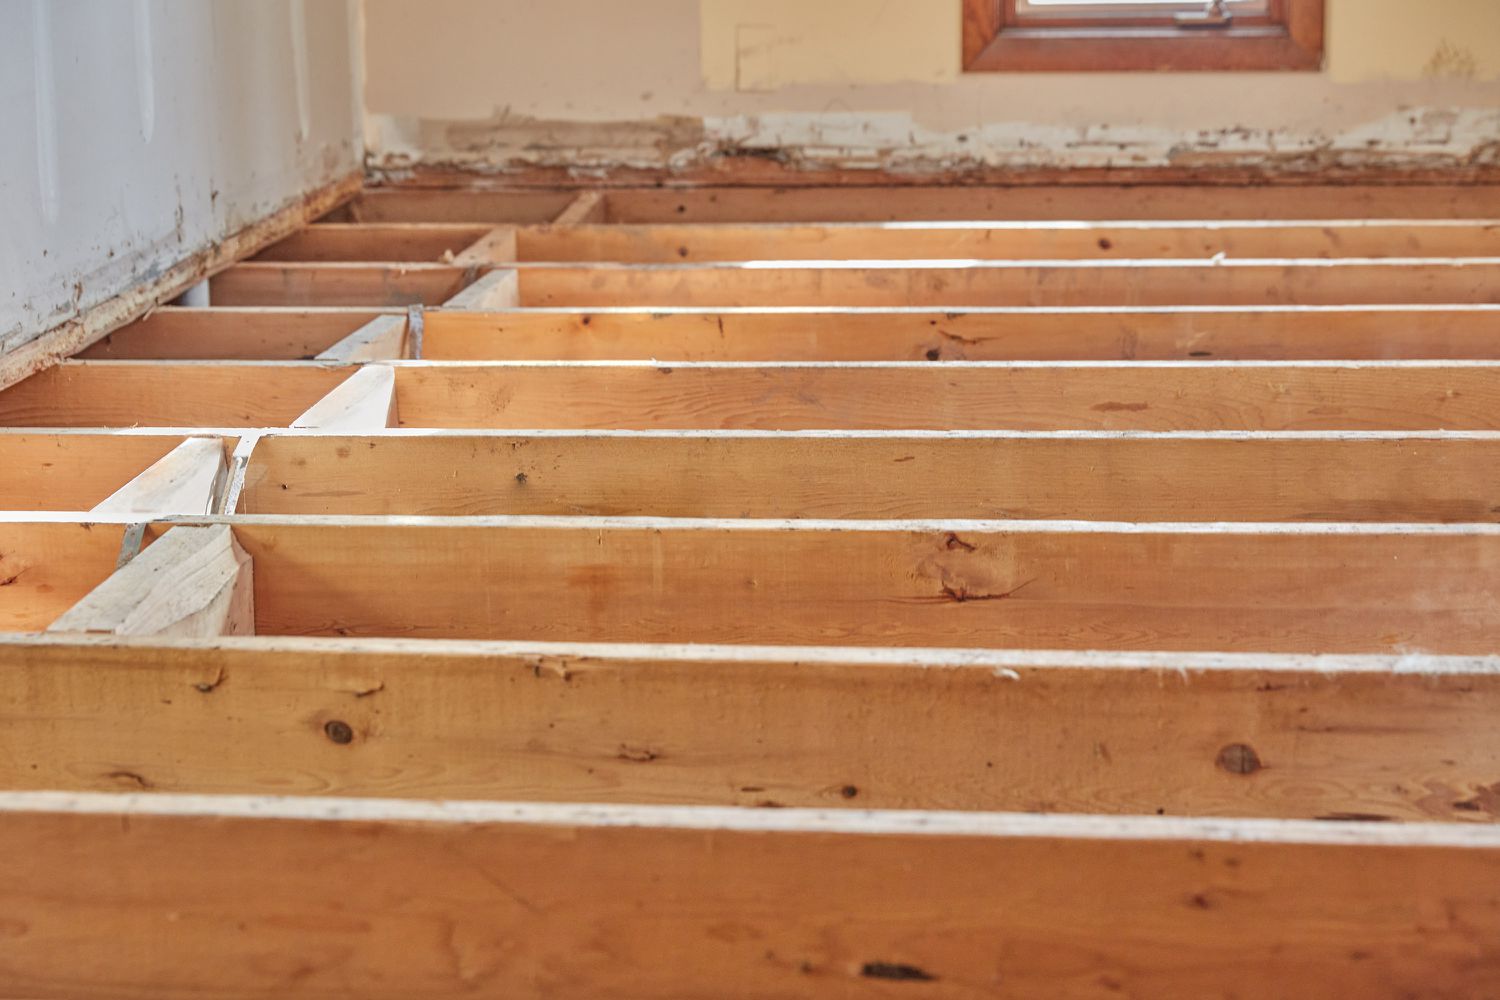
Step 5: Hanging the Deck Joists
With the ledger board in place and the joist hangers attached, it’s time to hang the deck joists. This step involves carefully positioning and securing the joists, creating the framework for your deck.
Follow these steps to hang the deck joists:
- Start by positioning the first joist into the corresponding joist hanger, ensuring that it is level and aligned with the marked joist location. The end of the joist should rest securely in the hanger.
- Use a level to verify that the joist is perfectly horizontal, making any adjustments as necessary.
- Secure the first joist to the joist hanger using appropriately sized screws or nails. Make sure the joist is firmly attached to the hanger.
- Continue the process for each subsequent joist, ensuring that they are evenly spaced and properly aligned.
- If necessary, cut the last joist to fit the desired length, ensuring that it fits securely into the joist hanger and is level with the rest of the joists.
- Once all the deck joists are in place, it is important to double-check that each joist is level and aligned with the reference lines.
During the installation process, it is important to maintain consistent spacing between the deck joists. This can be accomplished by using spacer blocks or a framing square to ensure consistent gaps. Proper spacing between joists will provide adequate support for the deck boards and prevent them from sagging or warping over time.
Additionally, it is crucial to follow local building codes and guidelines for the appropriate size and spacing of your deck joists, as these requirements may vary depending on the size and load capacity of your deck.
By carefully hanging the deck joists, you will establish a solid framework for your deck, ensuring the structural integrity and stability of the entire structure. Taking the time to properly align and secure each joist will contribute to the longevity and safety of your deck.
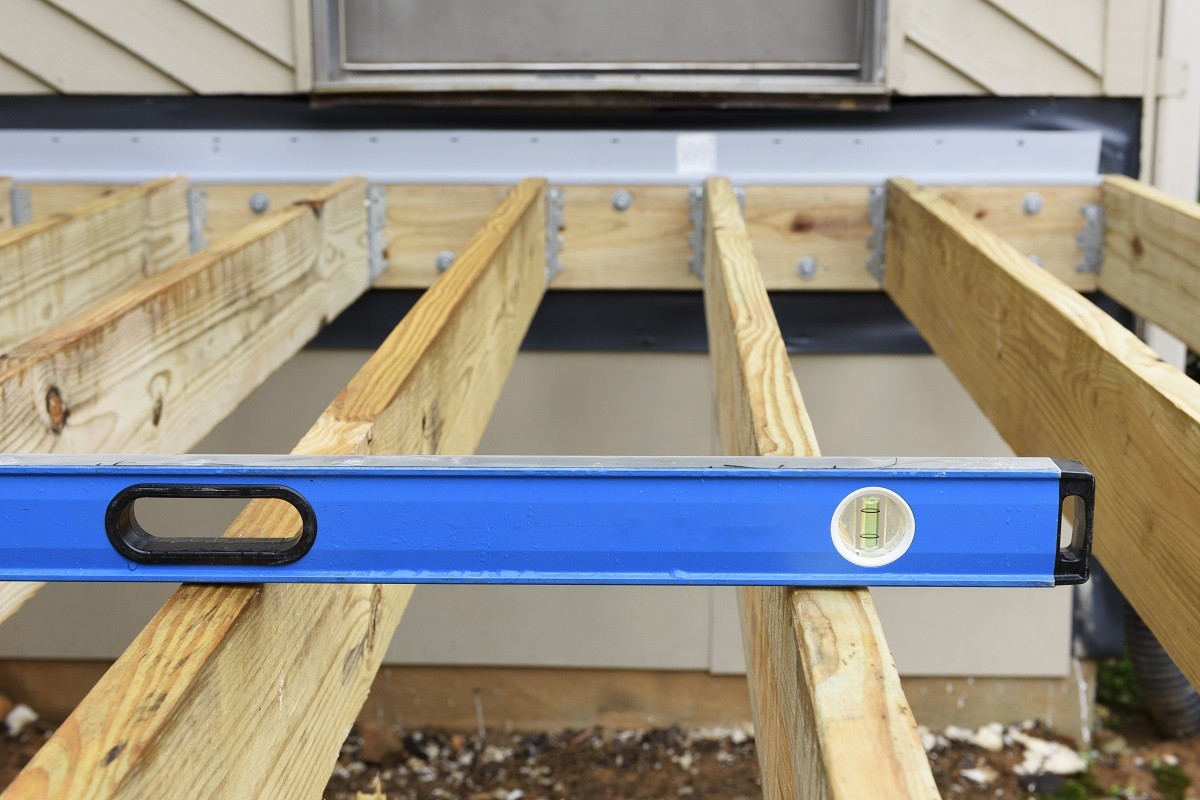
Step 6: Checking for Levelness and Adjustments
Once the deck joists are in place, it is crucial to check for levelness and make any necessary adjustments. This step ensures that your deck will be properly aligned and provide a stable and even surface for your deck boards.
Follow these steps to check for levelness and make adjustments:
- Start by using a level to check the level of each individual joist. Place the level along the top edge of the joist and adjust as needed to achieve a level surface.
- If a joist is not level, use a hammer or mallet to gently tap it up or down until it reaches the desired level. Alternatively, shims can be used to fill any gaps to achieve levelness.
- Continue checking the levelness of each joist and making adjustments as necessary.
- Once all the joists are level, take a step back and visually assess the overall levelness and alignment of the deck structure. Make any final adjustments to ensure that the entire deck framework is level and properly aligned.
It is important to note that achieving levelness is critical for the proper installation of the deck boards. If the joists are not level, it can result in an uneven surface and potential problems with the integrity of the deck.
Additionally, if there are any large discrepancies in levelness between adjacent joists, it may be necessary to add additional support or adjust the positioning of the joists to maintain a consistent and level deck surface.
Take the time to carefully check for levelness and make any necessary adjustments before proceeding to the next steps of deck construction. By ensuring a level and even surface, you will create a more visually appealing and structurally stable deck.
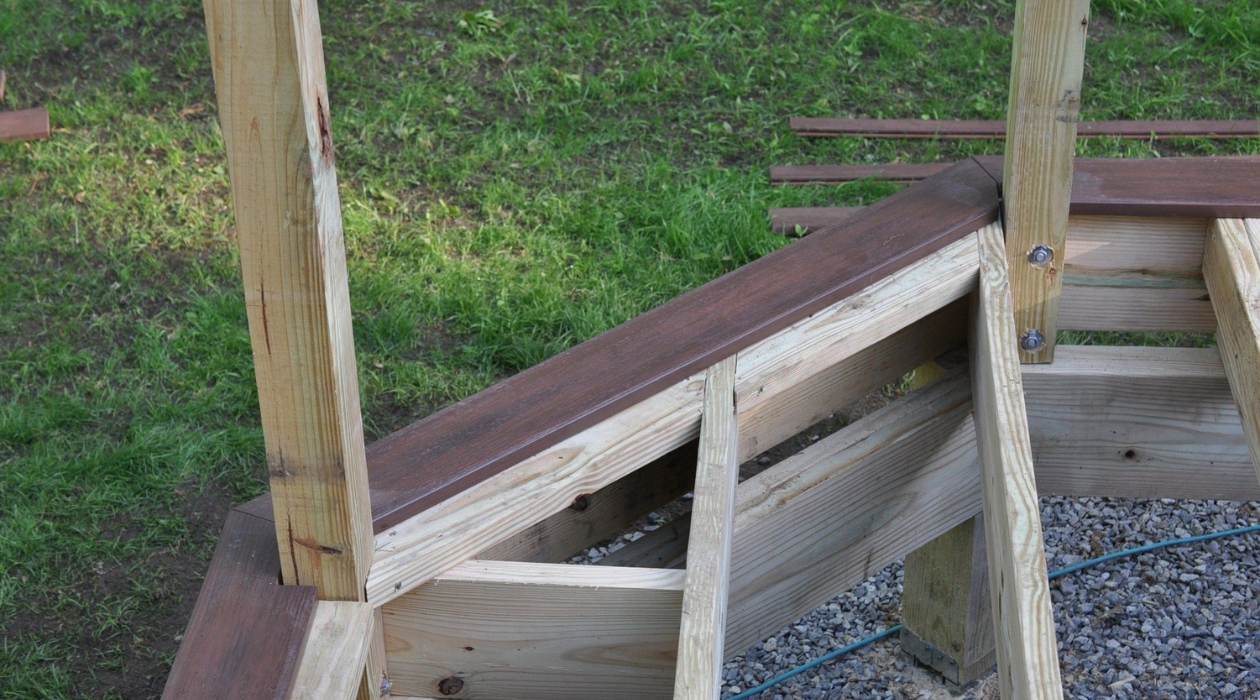
Step 7: Attaching the Rim Joist
Once the deck joists are installed and checked for levelness, it’s time to attach the rim joist. The rim joist is a horizontal board that will provide a finished edge to the deck and help support the deck boards on the ends.
Follow these steps to attach the rim joist:
- Measure and cut the rim joist to the appropriate length, ensuring that it fits snugly between the outermost joists.
- Position the rim joist against the ends of the deck joists and flush with the top edge.
- Using appropriately sized screws or nails, attach the rim joist to each of the deck joists. Place fasteners at regular intervals to ensure a secure and stable connection.
- If necessary, use a saw to trim any excess length of the rim joist, ensuring a clean and finished appearance.
It is important to note that the rim joist should be attached with screws or nails that are long enough to penetrate through the rim joist and into the end grain of the deck joists. This provides a secure connection and helps to prevent any potential movement or separation.
Additionally, the rim joist serves as a critical element in supporting the deck boards on the outer edges. It is important to carefully attach the rim joist to ensure proper load distribution and prevent sagging or instability.
By properly attaching the rim joist, you will complete the framework of your deck and create a finished edge that enhances the appearance and structural integrity of the overall structure.
Step 8: Securing Joists to Ledger Board
The final step in hanging deck joists is securing them to the ledger board. This step ensures that the joists are securely attached to the ledger, providing stability and support for the deck structure.
Follow these steps to secure the joists to the ledger board:
- Start by positioning the joist into the corresponding joist hanger, ensuring that it is level and aligned with the marked joist location.
- Using appropriately sized screws or nails, attach the joist to the ledger board through the joist hanger. Place fasteners at regular intervals, ensuring that each attachment point provides sufficient support.
- Repeat the process for each joist, ensuring that they are evenly spaced and securely attached to the ledger board.
When securing the joists to the ledger board, it is important to use fasteners that are appropriate for your specific deck construction. Consult local building codes and guidelines for the recommended size and type of fasteners to ensure a safe and sturdy connection.
Additionally, it is important to carefully align the joists with the marked locations on the ledger board and ensure that they are level. Taking the time to accurately secure the joists to the ledger board will contribute to the overall stability and longevity of your deck.
After all the joists are securely attached to the ledger board, take a moment to double-check the levelness and alignment of the entire deck framework. Making any necessary adjustments at this stage will help ensure a uniform and structurally sound deck.
By properly securing the joists to the ledger board, you will complete the installation of the deck joists and establish a solid and stable framework for your deck. Taking the time to ensure a secure connection will contribute to the overall safety and durability of your deck structure.
Conclusion
Congratulations! You have successfully learned how to hang deck joists, a crucial step in building a strong and durable deck. By following the step-by-step instructions outlined in this guide, you have gained the knowledge and skills to create a solid foundation for your deck and ensure its stability and longevity.
Throughout the process, you learned how to prepare the area by clearing debris, leveling the ground, and marking joist locations. You also learned how to install a ledger board as the starting point for your deck and secure it to the exterior wall of your house.
You then moved on to cutting and attaching joist hangers, which provide additional support and stability for the deck joists. With the joist hangers in place, you hung the deck joists and checked for levelness, making any necessary adjustments to achieve a level and even surface.
Following that, you attached the rim joist to provide a finished edge to your deck and support the deck boards on the ends. Finally, you secured the joists to the ledger board, ensuring a strong and secure connection.
By following these steps and taking the time to properly hang deck joists, you have built a solid foundation for your deck. This foundation will provide the necessary support for your deck boards, creating a safe and enjoyable outdoor space for years to come.
Remember to always adhere to local building codes and guidelines, as they may have specific requirements for deck construction. Additionally, practice safety precautions throughout the process, using appropriate tools and materials and taking care to work on a stable and secure surface.
Now that you have the knowledge and confidence to hang deck joists, you can proceed with the rest of your deck construction, such as installing deck boards, adding rails, and finishing touches. Enjoy your new deck and the countless memories you will create on it!
Ready to tackle more DIY projects after mastering deck joists? Don't miss our upcoming feature on the best woodworking projects for the new year. Whether you're a seasoned carpenter or just starting, this guide will have something to spark your creativity and enhance your skills. Dive into a selection of projects that promise to be rewarding and fun. Get your tools ready for an exciting crafting journey!
Frequently Asked Questions about How To Hang Deck Joists
Was this page helpful?
At Storables.com, we guarantee accurate and reliable information. Our content, validated by Expert Board Contributors, is crafted following stringent Editorial Policies. We're committed to providing you with well-researched, expert-backed insights for all your informational needs.

0 thoughts on “How To Hang Deck Joists”