Home>Furniture>Outdoor Furniture>How To Hang Aerial Yoga Hammock

Outdoor Furniture
How To Hang Aerial Yoga Hammock
Modified: March 16, 2024
Learn how to hang an aerial yoga hammock outdoors with this comprehensive guide. Find the best outdoor furniture for your aerial yoga practice.
(Many of the links in this article redirect to a specific reviewed product. Your purchase of these products through affiliate links helps to generate commission for Storables.com, at no extra cost. Learn more)
Introduction
Welcome to the exciting world of aerial yoga hammocks! Aerial yoga has gained tremendous popularity in recent years, offering a unique and exhilarating way to improve flexibility, strength, and overall well-being. And one of the key components of this practice is the aerial yoga hammock.
Whether you’re a beginner or an experienced practitioner, learning how to properly hang an aerial yoga hammock is essential for a safe and enjoyable experience. In this article, we’ll guide you through the step-by-step process of installing and setting up your aerial yoga hammock.
Before we dive into the details, it’s important to note that aerial yoga hammocks should only be installed in sturdy and secure locations. Always prioritize safety and consult a professional if you have any concerns about the structural integrity of the installation area.
Now, let’s get started with the first step: choosing the right location for your aerial yoga hammock.
Key Takeaways:
- Choosing a safe and spacious location, installing sturdy anchor points, and adjusting the height and tension are crucial for hanging an aerial yoga hammock securely and enjoying a fulfilling practice.
- Regularly checking for stability, ensuring weight-bearing capacity, and prioritizing safety will help you embrace the joy and freedom of aerial yoga while staying safe and secure.
Read also: 13 Best Aerial Yoga Hammock For 2025
Step 1: Choosing the Right Location
Choosing the right location for your aerial yoga hammock is crucial to ensure safe and optimal practice. Here are a few factors to consider when selecting the perfect spot:
- Space: Find an area with ample space to accommodate the full length and width of your aerial yoga hammock. Ensure there is enough clearance around the hammock to move freely without any obstructions.
- Ceiling Height: Check the height of the ceiling to ensure it is tall enough to hang your aerial hammock comfortably. Ideally, you’ll want a ceiling height of at least 8 to 10 feet, allowing for proper extension and movement during your aerial yoga practice.
- Supporting Structure: Look for a sturdy supporting structure, such as a ceiling beam or sturdy hooks, that can bear the weight of your aerial yoga hammock and your body. Avoid using weak or flimsy structures that may pose a safety risk.
- Flooring: Ensure the flooring beneath your aerial yoga hammock is clean, free of any sharp objects, and provides enough cushioning for comfortable landings and floor-based poses.
- Lighting: Consider the lighting in the area. Natural light or well-placed artificial lighting can enhance your practice and create a pleasant atmosphere.
- Ambiance: Choose a location that inspires and motivates you. It could be a serene spot in nature, a dedicated yoga room, or any area that makes you feel calm and focused.
Once you have identified a suitable location, it’s time to move on to the next step: installing the anchor points.
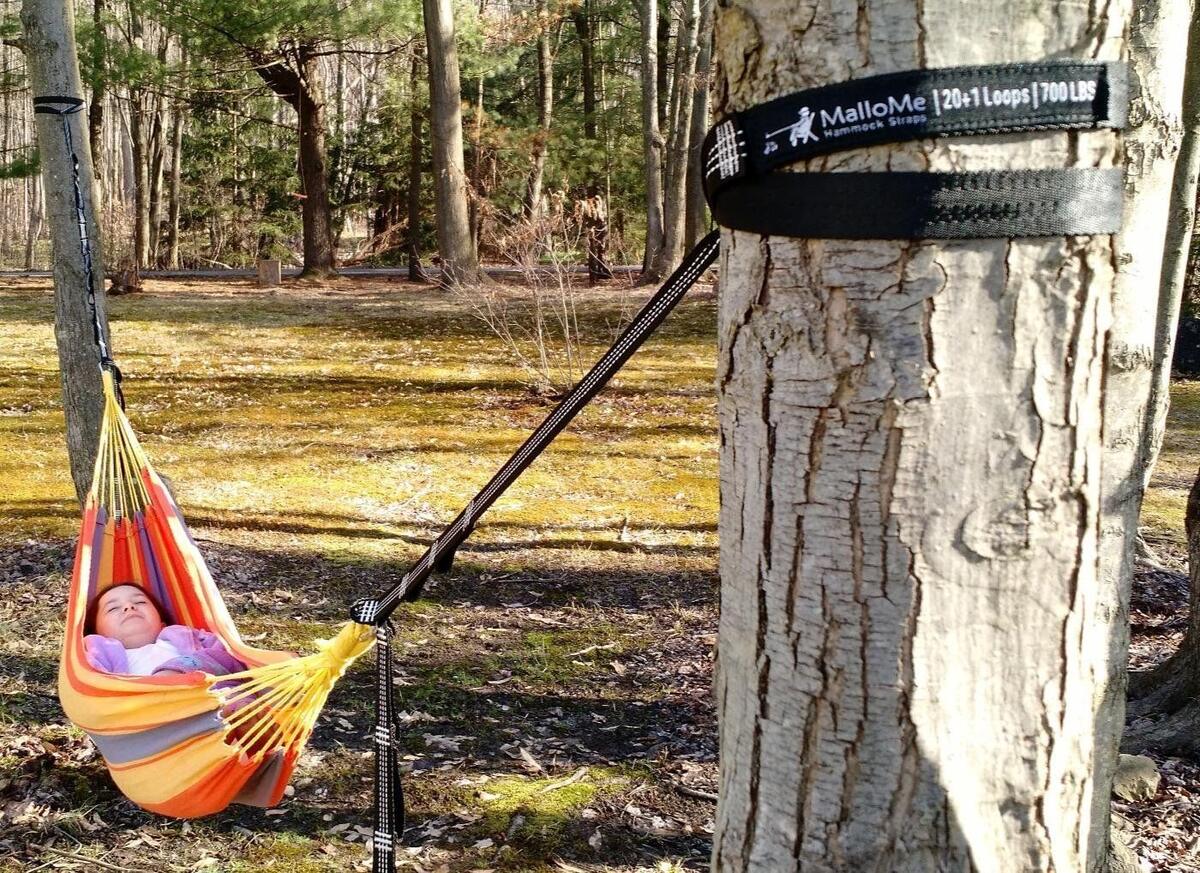
Step 2: Installing the Anchor Points
Installing secure and reliable anchor points is a crucial step in properly hanging your aerial yoga hammock. These anchor points will bear the weight of both the hammock and your body, so it’s essential to ensure their stability. Here’s how you can install anchor points:
- Locate the Studs: Use a stud finder or rap on the ceiling to locate the ceiling studs. These are the strongest points in the ceiling, capable of supporting the weight of the hammock and the practitioner.
- Measure and Mark: Once you’ve located the studs, measure and mark where you want to install the anchor points. Ensure they are equidistant and aligned properly to accommodate the width and length of your hammock.
- Pre-drill Holes: Using the appropriate drill bit, pre-drill holes at the marked locations. This will help prevent the ceiling from splintering or cracking when you install the anchor points.
- Install Eye Bolts or Ceiling Hooks: Screw in eye bolts or ceiling hooks into the pre-drilled holes. Ensure that they are securely tightened and that there is no movement or wiggling.
- Weight-Bearing Capacity: Before proceeding, double-check the weight-bearing capacity of the eye bolts or hooks. They should be able to support the combined weight of the hammock and the practitioner.
- Test for Stability: Give the anchor points a gentle tug to ensure they are firmly secured and can hold your weight. If there is any sign of weakness or instability, reinforce the anchor points or seek professional assistance.
Once the anchor points are securely installed, you are ready to move on to the next step: hanging the main hammock straps.
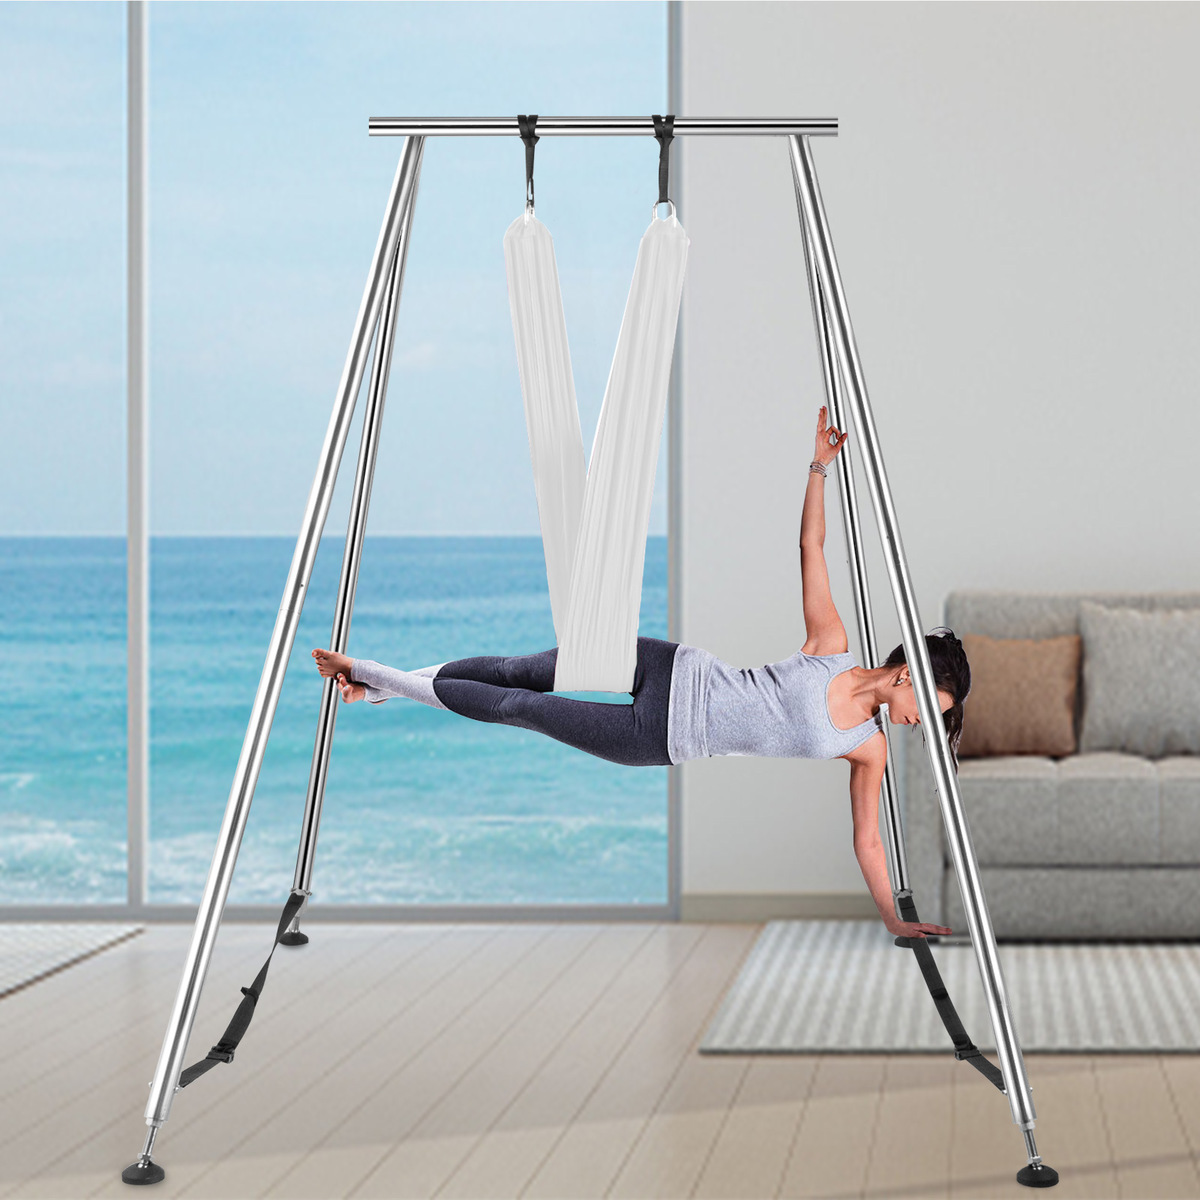
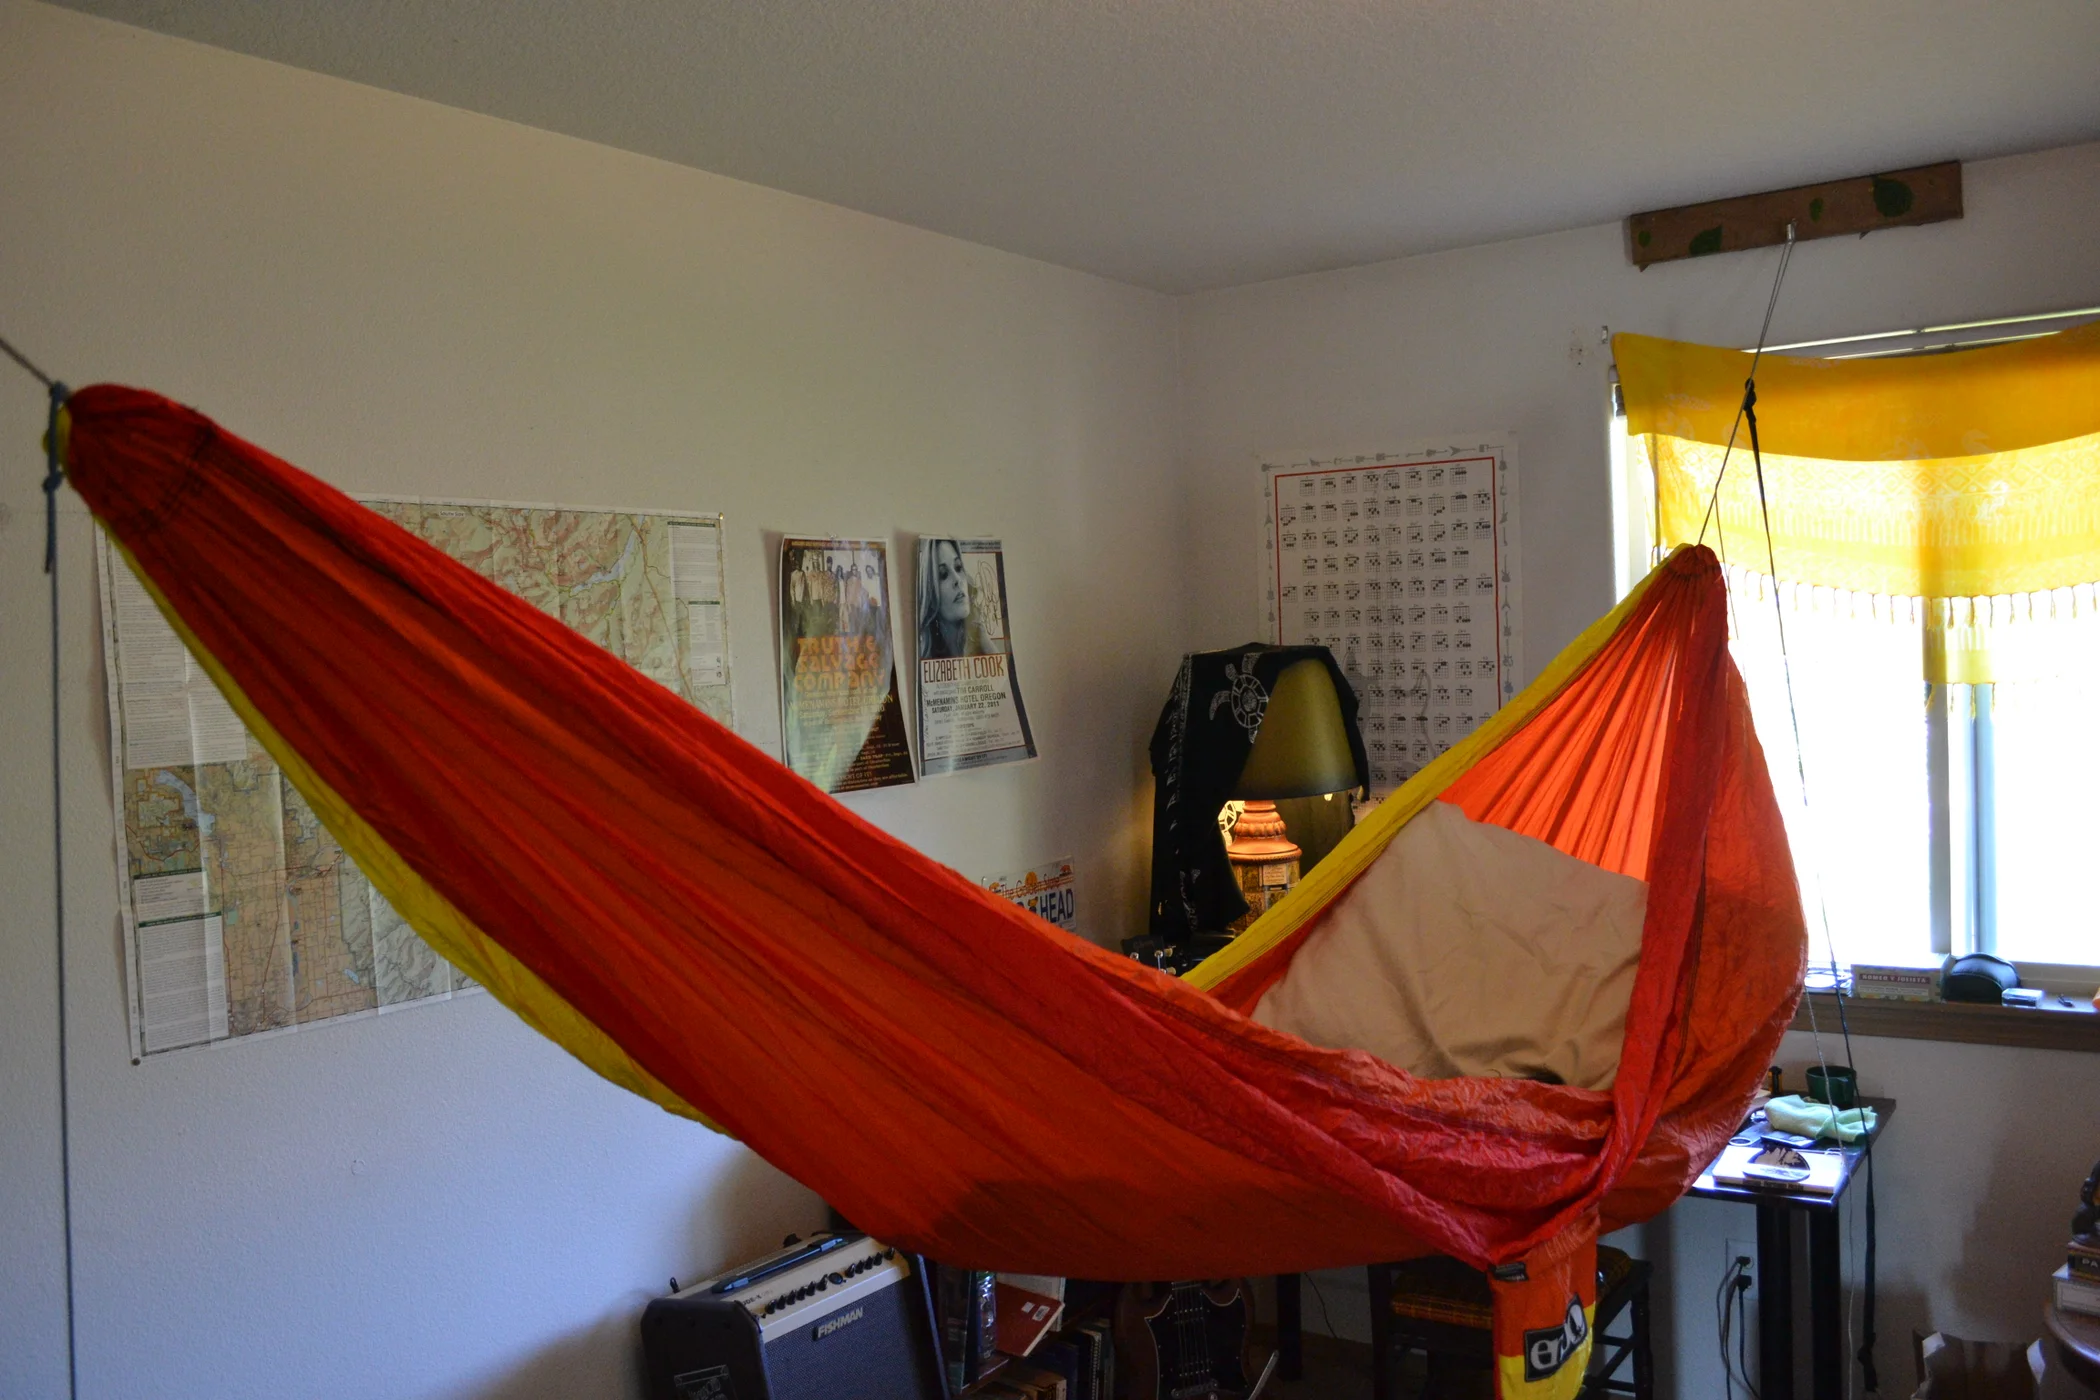
Step 3: Hanging the Main Hammock Straps
Now that you have installed the anchor points, it’s time to hang the main hammock straps. These straps will provide the foundation for your aerial yoga hammock and ensure its stability during your practice. Follow these steps to hang the main hammock straps:
- Attach the Straps to the Anchor Points: Take one end of a hammock strap and thread it through the eye bolt or ceiling hook. Pull the strap through until there is an equal length of strap hanging on both sides of the anchor point. Repeat this process for the second strap.
- Length Adjustment: Assess the height at which you want your hammock to hang. Adjust the length of the straps accordingly, ensuring that both sides are even. This will depend on your preference and the type of poses you plan to practice.
- Tighten the Straps: Once you have determined the desired height, pull the loose ends of the straps downward to tighten them. Ensure that both straps are equally tight to maintain balance and stability.
- Check for Evenness: Step back and observe if the hammock is hanging evenly. Adjust the straps as needed to achieve a level and balanced position.
- Weight-Bearing Capacity: Double-check that the weight-bearing capacity of the hammock straps is sufficient to support your weight. It’s essential to ensure the straps can handle the load without any risk of failure or slippage.
With the main hammock straps securely hung, you are now ready to move on to the next step: adjusting the height and tension of the hammock.
When hanging an aerial yoga hammock, make sure to find a sturdy support beam or ceiling joist to attach the mounting hardware. Use a stud finder to locate a secure anchor point and follow the manufacturer’s instructions for proper installation. Always test the hammock’s stability before using it for aerial yoga.
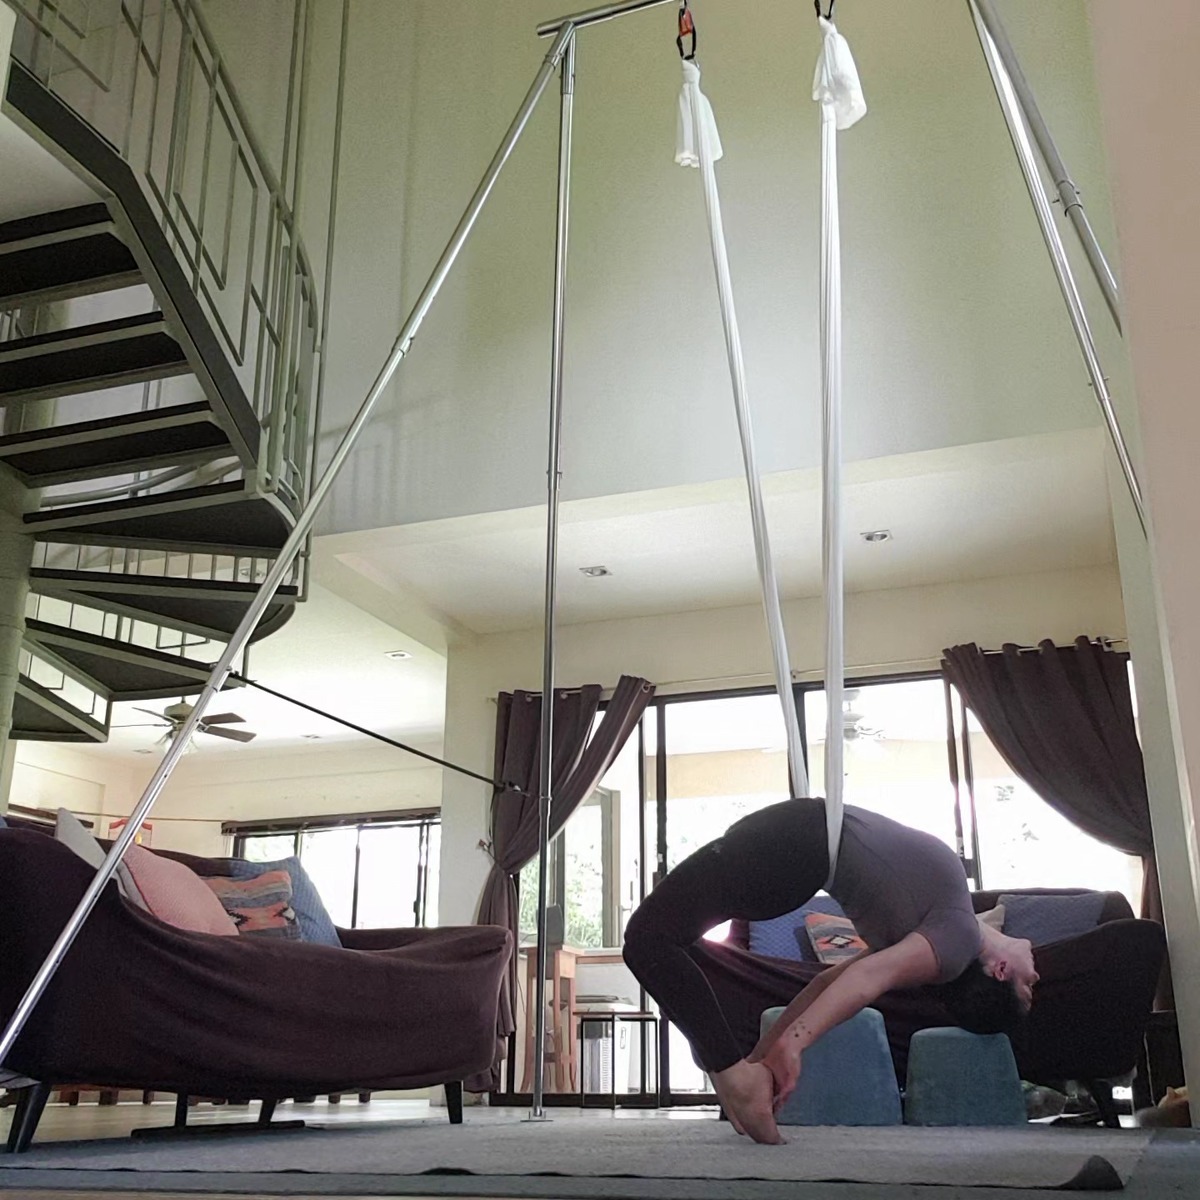
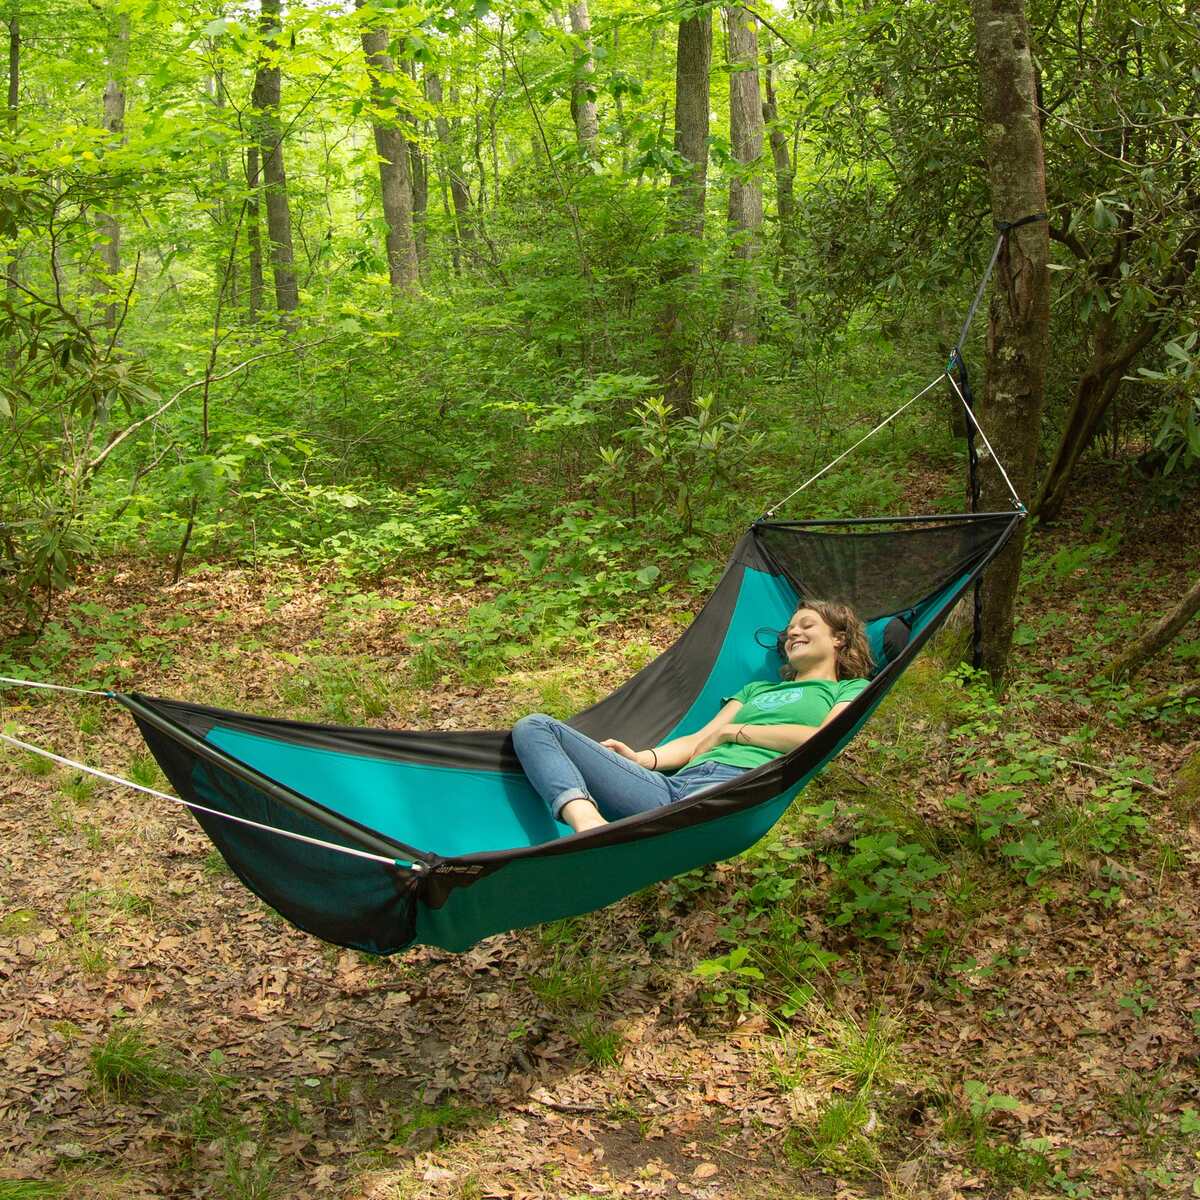
Step 4: Adjusting the Height and Tension
Adjusting the height and tension of your aerial yoga hammock is essential to tailor it to your specific needs and preferences. This step ensures optimal comfort and safety during your practice. Follow these steps to adjust the height and tension:
- Stand Clear: Stand clear of the hammock and ensure there are no obstacles in your way to avoid any accidents while adjusting the height and tension.
- Step Into the Hammock: Step into the hammock by placing one foot in each strap. Slowly shift your weight onto the hammock while holding onto the handles or foot loops for support.
- Assess the Height: While in the hammock, assess its height and make any necessary adjustments. If it feels too low, you can raise the straps slightly. If it feels too high, lower the straps accordingly.
- Consider Alignment: Pay attention to how your body aligns with the hammock. Ideally, your body should be in a neutral and relaxed position with your feet hovering just above the ground.
- Tension Adjustments: If you prefer a slightly tighter or looser hammock, you can make tension adjustments. Gradually tighten or loosen the straps until you find a level of tension that feels comfortable and supportive.
- Test Stability: Shift your weight and move around slightly to test the stability of the hammock. It should feel secure and steady without any excessive swinging or movement.
Remember, everyone’s preferences and body types are different, so take the time to find the right height and tension for your individual needs. Once you are satisfied with the adjustments, you can move on to the next step: attaching the handles or foot loops.
Read more: How To Hang Aerial Hammock From Ceiling
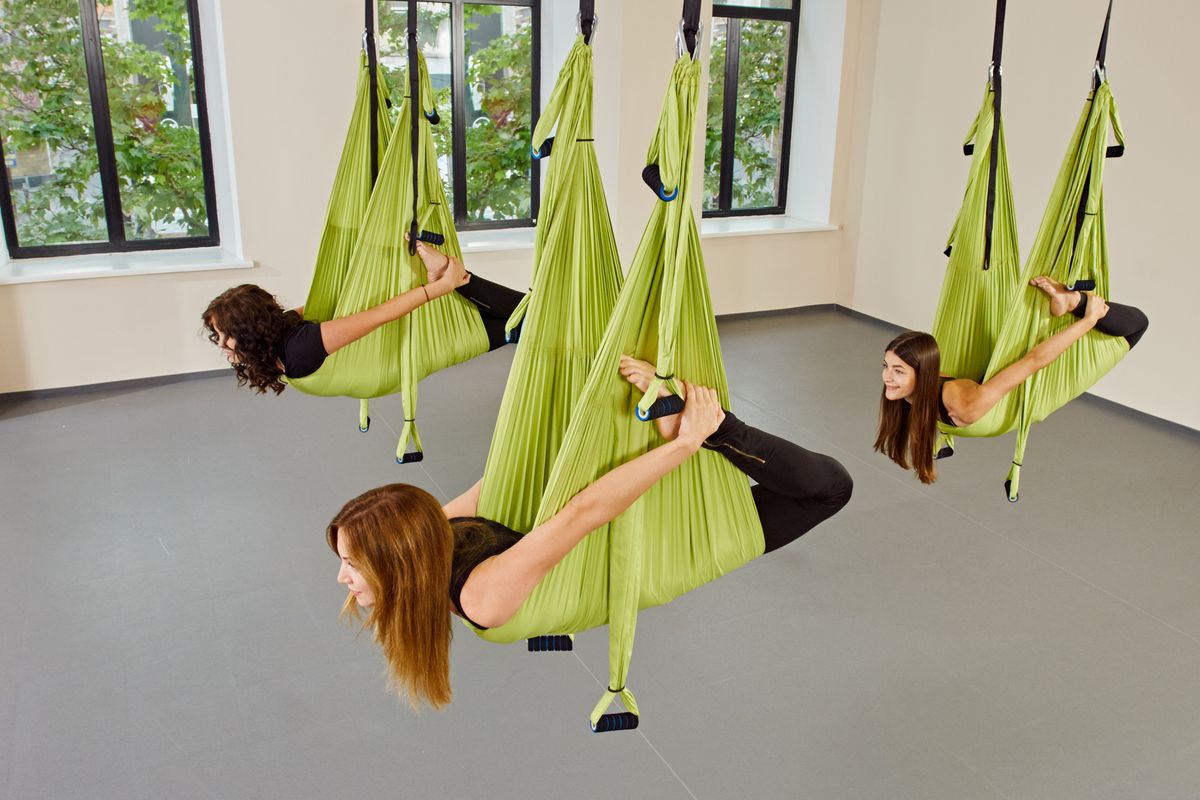
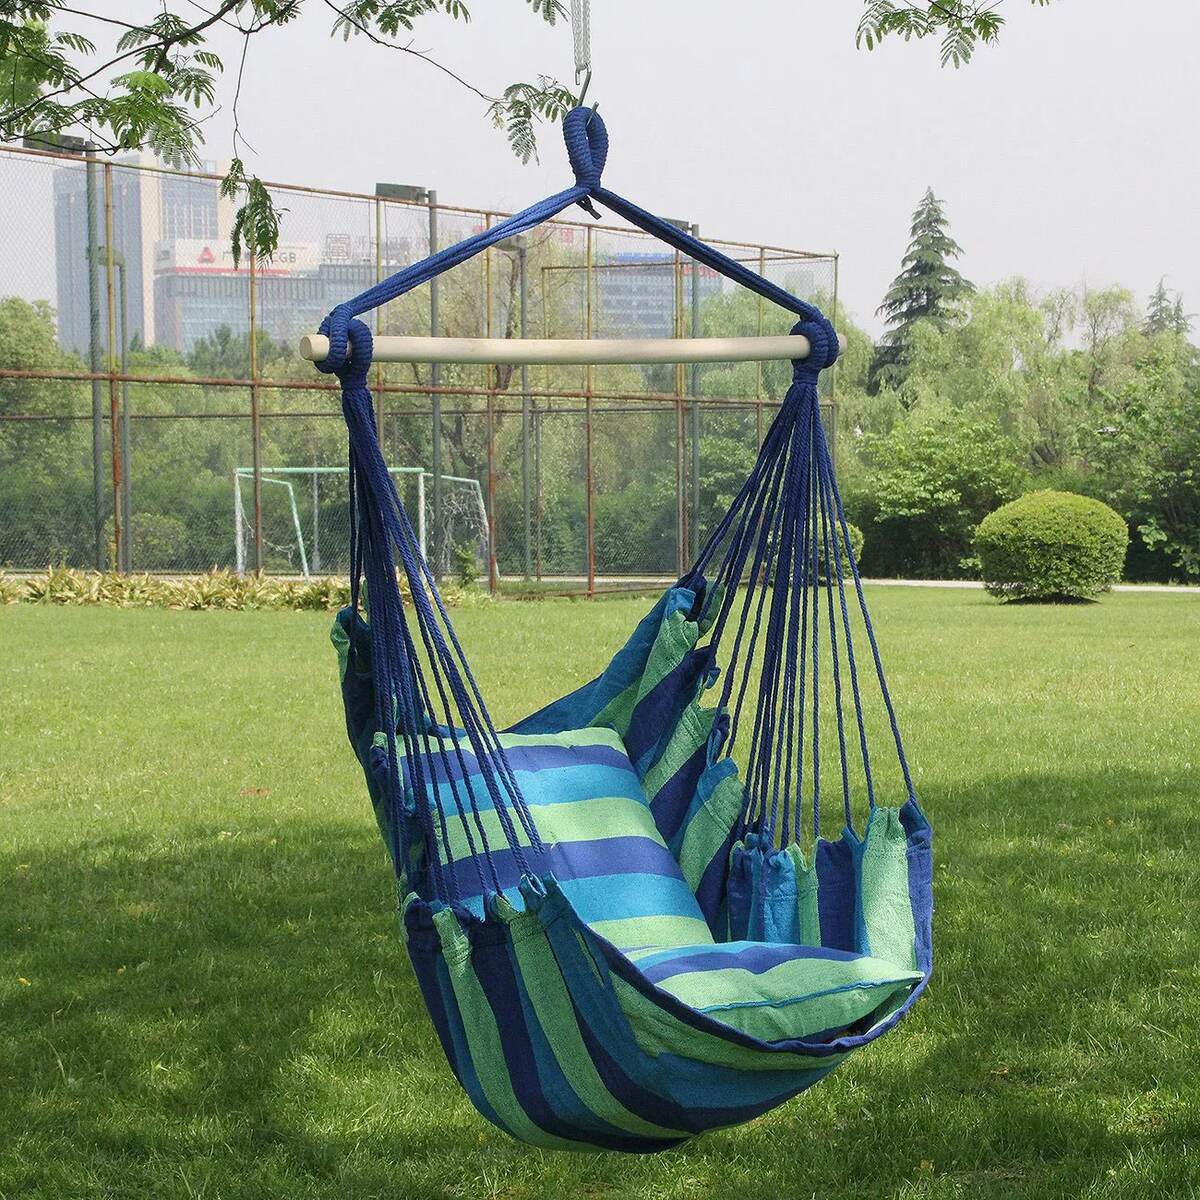
Step 5: Attaching the Handles or Foot Loops
Attaching the handles or foot loops to your aerial yoga hammock adds another dimension to your practice, providing additional support and versatility. Follow these steps to attach the handles or foot loops:
- Determine the Placement: Decide whether you prefer handles or foot loops for your practice. Handles offer a grip for your hands, while foot loops provide support for your feet. You can choose to attach both if you wish.
- Find the Attachment Points: Locate the appropriate attachment points on your hammock. These are typically located near the center of the fabric or near the ends of the main hammock straps.
- Secure the Handles or Foot Loops: Attach the handles or foot loops to the designated attachment points. Follow the manufacturer’s instructions for your specific hammock model to ensure proper and secure installation.
- Check for Stability: Give the handles or foot loops a gentle tug to make sure they are securely attached. They should be able to support your weight without any signs of weakness or slippage.
- Test the Grip: If using handles, test the grip to make sure they provide a sturdy and comfortable hold. If using foot loops, slip your feet into them and ensure they offer a secure and supportive fit.
- Adjust as Needed: If necessary, you can adjust the height or position of the handles or foot loops according to your preference. Experiment with different placements to find what works best for you.
Once the handles or foot loops are securely attached and adjusted to your liking, you are ready to move on to the final step: checking for stability and safety.
Step 6: Checking for Stability and Safety
Before you begin your aerial yoga practice, it’s essential to perform a thorough check for stability and safety. This step ensures that your aerial yoga hammock is secure and ready for use. Follow these guidelines to ensure stability and safety:
- Visual Inspection: Conduct a visual inspection of all the components of your aerial yoga hammock setup. Check for any signs of wear and tear, frayed straps, or damaged attachment points. If you notice any damage, replace the necessary parts before proceeding.
- Weight-Bearing Capacity: Double-check the weight-bearing capacity of all the components, including the anchor points, main straps, handles, and foot loops. They should be rated to support your weight and ensure your safety during your practice.
- Tug Test: Give the hammock a few gentle tugs to ensure it is securely fastened to the anchor points. The straps should not slip or move, and there should be no visible signs of instability.
- Stability Check: Stand in the hammock and shift your weight from side to side to test its stability. It should feel secure and steady without excessive swinging or wobbling.
- Clearance: Ensure there is enough clearance around the hammock for safe movement. Remove any potential obstructions or hazards that may interfere with your practice.
- Safe Landing: If you plan to perform aerial inversions or advanced poses, make sure there is a soft landing area beneath you, such as a thick yoga mat or padded surface, to cushion any unexpected falls.
- Listen to Your Body: As with any physical activity, listen to your body and know your limits. If you experience any pain, discomfort, or dizziness during your aerial yoga practice, stop immediately and seek guidance from a qualified instructor.
- Continuous Maintenance: Regularly inspect and maintain your aerial yoga hammock setup to ensure ongoing stability and safety. Check for any signs of wear and tear, and replace any worn-out or damaged components promptly.
By following these steps and conducting regular checks for stability and safety, you can enjoy a safe and fulfilling aerial yoga practice.
Congratulations! You have successfully learned how to hang an aerial yoga hammock and ensure its stability and safety. Now, it’s time to embrace the joy and freedom of aerial yoga as you explore a whole new world of movement and expression.
Remember to continue learning and practicing under the guidance of a qualified instructor to deepen your aerial yoga journey. Have fun and enjoy the many physical and mental benefits that aerial yoga can bring!
Conclusion
Congratulations on reaching the end of this comprehensive guide on how to hang an aerial yoga hammock! By following these step-by-step instructions, you have learned how to choose the right location, install anchor points, hang the main hammock straps, adjust the height and tension, attach handles or foot loops, and ensure stability and safety.
Remember, aerial yoga is not only a physically exhilarating practice but also a deeply meditative and soul-nurturing experience. As you embark on your aerial yoga journey, always prioritize safety and consult with a professional if you have any concerns or questions.
Before each session, take the time to inspect your hammock and double-check all the components for stability and functionality. Regular maintenance will ensure a safe and enjoyable experience every time you practice.
Embrace the freedom, flexibility, and whole-body engagement that aerial yoga offers. Explore new movements, inversions, and poses, and enjoy the many physical and mental benefits that come with this unique practice.
Remember, aerial yoga takes time and practice to master. Be patient with yourself, listen to your body, and progress at your own pace. Always seek guidance from a qualified instructor to deepen your practice and discover new possibilities.
Now, it’s time to soar, let go of your inhibitions, and experience the transformative power of aerial yoga. Get ready to embark on a journey of strength, flexibility, mindfulness, and joy as you hang your aerial yoga hammock and explore new heights!
Frequently Asked Questions about How To Hang Aerial Yoga Hammock
Was this page helpful?
At Storables.com, we guarantee accurate and reliable information. Our content, validated by Expert Board Contributors, is crafted following stringent Editorial Policies. We're committed to providing you with well-researched, expert-backed insights for all your informational needs.


0 thoughts on “How To Hang Aerial Yoga Hammock”