Home>Articles>How To DIY A Patio Sand-Set Over Gravel In Just A Few Days
Articles
How To DIY A Patio Sand-Set Over Gravel In Just A Few Days
Modified: October 20, 2024
Learn how to easily transform your gravel patio into a beautiful sand-set oasis in just a few days with our comprehensive articles on DIY patio renovations.
(Many of the links in this article redirect to a specific reviewed product. Your purchase of these products through affiliate links helps to generate commission for Storables.com, at no extra cost. Learn more)
Introduction
Creating a beautiful and functional patio for your outdoor space doesn’t have to be a daunting task that requires professional help. With a few tools, materials, and a little know-how, you can easily transform your gravel area into a stunning sand-set patio in just a few days. This DIY project not only adds value to your home but also provides a perfect spot for entertaining, relaxing, and enjoying the outdoors.
Whether you’re an experienced DIY enthusiast or a novice looking to take on a new challenge, this guide will walk you through the step-by-step process of creating a patio over a gravel base. By following these instructions, you’ll be able to achieve a professional-looking patio that will enhance the beauty and functionality of your outdoor living space.
Before we get started, it’s important to gather all the necessary materials and tools. The list includes:
- Patio pavers
- Gravel
- Sand
- Landscape fabric
- Edging material
- Shovel
- Rake
- Hand tamper or plate compactor
- Mallet
- Tape measure
- Level
- String
- Wheelbarrow
Now that you have everything you need, let’s dive into the step-by-step process of creating your patio sand-set over gravel.
Key Takeaways:
- Transform your gravel area into a stunning sand-set patio with just a few tools and materials. Follow the step-by-step guide to achieve a professional-looking patio that enhances your outdoor living space.
- Enjoy your new patio oasis by adding furniture, shade options, greenery, and lighting. Regular maintenance will ensure years of enjoyment and add value to your home.
Step 1: Gather Materials and Tools
The first step in any DIY project is to gather all the necessary materials and tools. For this patio sand-set over gravel project, you will need:
- Patio pavers: Choose the type and style of pavers that suit your personal preference and the overall aesthetic of your outdoor space. Consider factors such as size, color, and texture.
- Gravel: This will serve as the base for your patio. Opt for a gravel size that is compactable and provides good drainage.
- Sand: You will need a layer of sand to level the gravel base and provide a stable surface for the patio pavers.
- Landscape fabric: This will help prevent weeds from growing up through the patio and keep the sand and gravel layers separate.
- Edging material: Choose a sturdy edging material, such as plastic or metal, to keep the pavers in place and prevent shifting.
- Shovel: A shovel will be used for digging, removing gravel, and spreading sand.
- Rake: A rake will help in leveling and smoothing out the gravel and sand layers.
- Hand tamper or plate compactor: This tool is crucial for compacting the gravel and sand layers, ensuring a stable and solid foundation for the patio.
- Mallet: A mallet will be needed for tapping the pavers into place and ensuring they are seated properly.
- Tape measure: Use a tape measure to take accurate measurements for planning the layout and determining the amount of materials needed.
- Level: A level is essential for ensuring that the patio surface is even and properly sloped for water drainage.
- String: Use string to create layout lines and establish straight edges.
- Wheelbarrow: A wheelbarrow will come in handy for transporting materials such as gravel and sand around your outdoor space.
Once you have gathered all the necessary materials and tools, you’ll be ready to move on to the next step: preparing the gravel base for your patio sand-set.
Step 2: Prepare the Gravel Base
Now that you have all your materials and tools ready, it’s time to prepare the gravel base for your patio sand-set. Follow these steps to ensure a solid foundation:
- Start by clearing the area where your patio will be located. Remove any plants, rocks, or debris to create a clean space.
- Using a shovel, dig down about 6 inches to create a space for the gravel base. This depth ensures there is enough room for the layers of gravel and sand.
- Next, measure the area to determine the amount of gravel needed. Multiply the length and width of the patio area to calculate the square footage. This will help you determine how much gravel to purchase.
- Pour the gravel into the area you just dug, ensuring an even distribution. Use a rake to spread the gravel evenly and create a level surface. Aim for a thickness of about 4-5 inches of compacted gravel.
- With the gravel spread out, use a hand tamper or plate compactor to compact the gravel. This step is crucial to create a solid and stable base for your patio. Compact the gravel in layers, moving across the entire area to ensure even compression.
- Periodically check the level of the gravel with a level and adjust as needed. It’s important to have a slight slope away from your house to allow for proper water drainage. Aim for a slope of about 1/8 inch per foot.
- After compacting and leveling the gravel, double-check that the surface is smooth and even. Any uneven spots can lead to problems when laying the pavers.
Once you have prepared and leveled the gravel base, you are ready to move on to the next step: laying landscape fabric to prevent weed growth and maintain the stability of the layers.
Step 3: Level and Compact the Gravel
After preparing the gravel base, the next step is to ensure that it is properly leveled and compacted. This step is crucial for creating a stable and solid foundation for your patio sand-set. Here’s how to level and compact the gravel:
- Start by using a rake to smooth out any uneven areas in the gravel. This will help create a level surface for the sand and patio pavers.
- Next, use a hand tamper or plate compactor to compact the gravel. Begin at one corner of the patio area and work your way across, applying even pressure as you go. This will help remove any air gaps and ensure a firm base.
- Pay close attention to the edges of the patio, as they tend to be more susceptible to shifting and unevenness. Use a mallet or hand tamper to compact the gravel along the edges.
- Periodically check the level of the gravel with a level and adjust as necessary. Aim for a slight slope away from your house to allow for proper water drainage. A slope of about 1/8 inch per foot is recommended.
- Continue to rake and compact the gravel until you achieve a smooth and even surface. Take your time with this step to ensure a solid foundation for your patio.
Once you have leveled and compacted the gravel, it’s important to double-check that the surface is smooth and even. Any uneven spots can affect the stability and appearance of the patio pavers. Take the time to make any necessary adjustments before moving on to the next step.
With the gravel properly leveled and compacted, you are now ready to move on to the next step: laying landscape fabric to prevent weed growth and maintain the stability of the layers.
Step 4: Lay Landscape Fabric
Laying landscape fabric is an essential step in building a patio sand-set over gravel. This fabric acts as a barrier, preventing weed growth and helping to maintain the stability of the sand and gravel layers. Follow these steps to lay the landscape fabric:
- Measure the area of your patio and cut the landscape fabric to fit. Leave an extra few inches on each side to ensure complete coverage.
- Starting at one end of the patio area, unroll the landscape fabric and position it over the compacted gravel. Make sure it covers the entire area, with enough excess fabric to fold over the edges.
- Smooth out any wrinkles or folds in the landscape fabric, ensuring it lies flat on the gravel. This will help provide a smooth surface for the sand and pavers.
- Overlap the edges of the landscape fabric by about 6 inches. This overlap helps maintain the integrity of the barrier and prevents weed growth between the seams.
- Secure the landscape fabric in place using landscaping staples or heavy-duty garden pins. Place the staples or pins around the edges and along the seam where the fabric overlaps.
- Walk over the entire area to ensure the landscape fabric is firmly in place and lies flat on the gravel. This will help prevent any movement or shifting during the next steps of the patio installation.
Laying landscape fabric provides several benefits for your patio project. It acts as a weed barrier, reducing the risk of unwanted vegetation growing through the sand layer. Additionally, the fabric helps to separate the layers of gravel and sand, preventing them from mixing and creating an unstable base for the patio pavers.
With the landscape fabric securely in place, you can now proceed to the next step: installing the edging material to define the boundary of your patio.
Read more: How To Store Morels For A Few Days
Step 5: Install Edging
Installing edging along the perimeter of your patio is an important step to define the boundary and ensure the stability of your sand-set project. The edging material acts as a barrier, keeping the patio pavers in place and preventing shifting or spreading of the sand layer. Follow these steps to install the edging:
- Choose a sturdy edging material that suits your style and preference. Popular options include plastic, metal, or concrete paver edging.
- Measure the length of each side of your patio and cut the edging material to fit. Make sure to account for any corners or curves in the layout.
- Position the edging material along the edge of the patio, ensuring it sits flush with the gravel and landscape fabric. Use a mallet or rubber mallet to tap the edging into place.
- Place a level on top of the edging material, adjusting as necessary to ensure it is straight and level. This will help create a professional and visually appealing patio.
- Secure the edging material to the ground using landscape spikes or stakes. Drive the spikes or stakes through the pre-drilled holes in the edging into the ground below.
- Continue installing the edging material along all sides of the patio, making sure to maintain a consistent height and alignment.
- If your patio has curves or angles, you may need to cut the edging material to fit. Use a saw or snips designed for the specific material you are working with.
Installing edging not only enhances the aesthetics of your patio but also provides structural support. It prevents the sand layer from spreading and helps keep the patio pavers in place, ensuring a durable and long-lasting patio installation.
With the edging material securely installed, you can now move on to the next step: adding a layer of sand to create a stable surface for the patio pavers.
Step 6: Add Sand Layer
Adding a layer of sand is a crucial step in creating a stable and level surface for your patio pavers. The sand acts as a cushion and helps to lock the pavers in place. Follow these steps to add the sand layer:
- Before adding the sand, ensure that the gravel base and landscape fabric are properly prepared and in place.
- Calculate the amount of sand you will need based on the size of your patio and the recommended depth. Aim for a depth of about 1 inch of sand.
- Spread the sand evenly over the entire patio area using a shovel or rake. Take your time to ensure an even distribution and avoid any piles or uneven spots.
- Use a long piece of lumber or a screed board to level the sand. Place the board across the top of the edging and drag it back and forth in a sawing motion. This helps to smooth out the sand and create a consistent level surface.
- Check the level of the sand with a level or straight edge. Make any necessary adjustments to ensure the sand is even across the entire patio area.
- When leveling the sand, be sure to maintain the desired slope away from your house for proper water drainage. Aim for a slope of about 1/8 inch per foot.
- Continue to rake and level the sand until you have achieved a smooth and even surface. Pay extra attention to the edges and corners of the patio to ensure uniformity.
The sand layer not only provides stability for the patio pavers but also allows for minor adjustments during the installation process. It helps to create a level surface and allows for proper drainage, preventing water from pooling on your patio.
With the sand layer evenly distributed and leveled, you are now ready to move on to the next step: compacting the sand to further stabilize the patio surface.
Before starting the project, make sure to properly prepare the gravel base by leveling and compacting it to ensure a stable foundation for the patio pavers.
Step 7: Level and Compact the Sand
Leveling and compacting the sand layer is a crucial step in ensuring a stable and secure patio surface. This step helps to eliminate any uneven spots and create a solid foundation for the patio pavers. Follow these steps to level and compact the sand:
- Begin by using a rake to smooth out any bumps or high spots in the sand. This will help create a level surface for the patio pavers.
- Next, use a hand tamper or plate compactor to compact the sand. Starting at one corner of the patio, apply even pressure as you move across the entire area. This step helps to remove air gaps and create a firm foundation.
- During the compacting process, periodically check the level of the sand using a straight edge or level. Adjust as necessary to ensure a consistent and level surface.
- Pay extra attention to the edges and corners of the patio, as these areas are more prone to shifting and unevenness. Use a mallet or hand tamper to compact the sand firmly along the edges.
- Continue to rake and compact the sand until you have achieved a smooth and even surface. Take your time during this step to ensure a solid foundation for your patio pavers.
Leveling and compacting the sand layer is crucial for creating a stable surface that will prevent movement or shifting of the patio pavers over time. It ensures that the pavers are properly seated and provides a durable foundation that can withstand foot traffic.
With the sand leveled and compacted, you are now ready to move on to the exciting step of laying the patio pavers and bringing your patio vision to life.
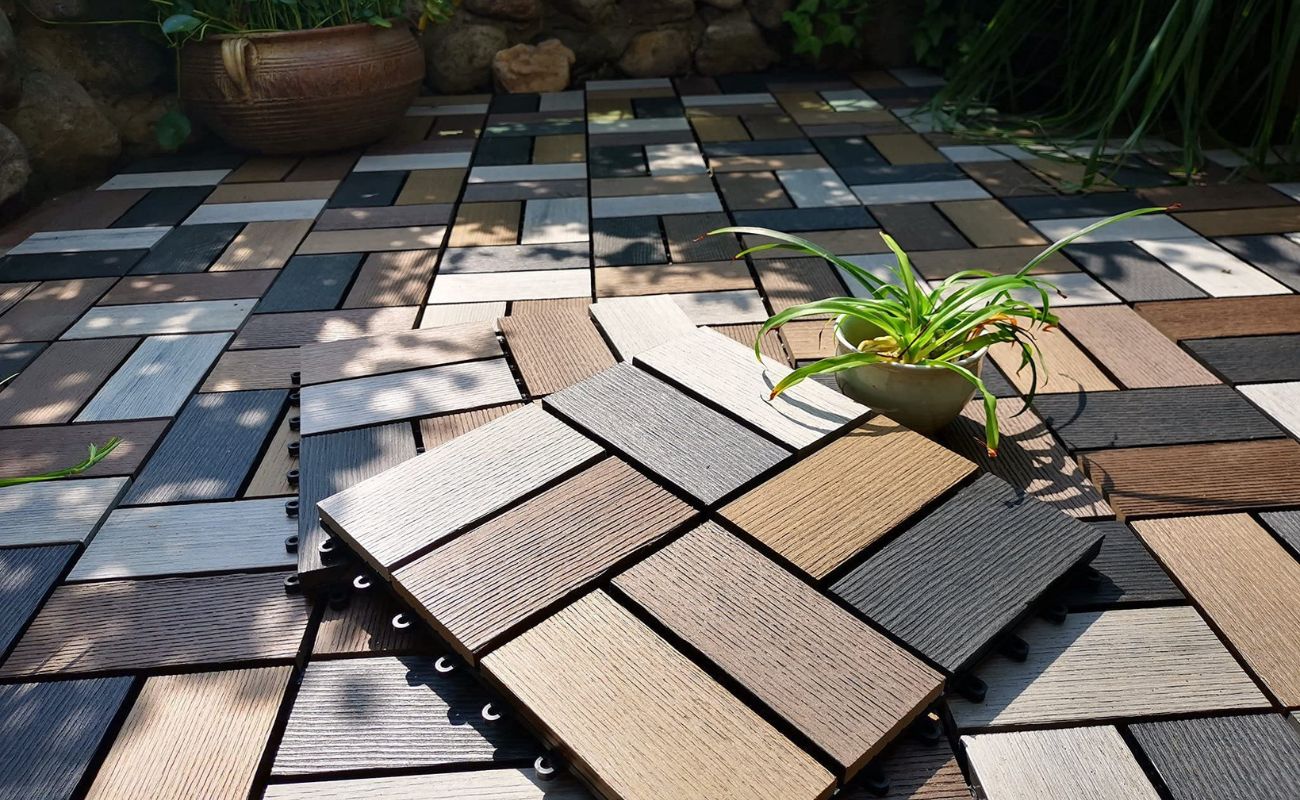
Step 8: Lay the Patio Pavers
Now comes the exciting part – laying the patio pavers! This step brings your patio project one step closer to completion and allows you to see your vision come to life. Follow these steps to properly lay the patio pavers:
- Start by planning the layout of your patio. Take into consideration the shape and size of the pavers, as well as any desired patterns or designs.
- Begin in one corner of the patio and lay the first paver. Use a rubber mallet or a piece of wood and a regular hammer to gently tap the paver into place. Make sure it sits level with the surrounding area.
- Continue placing the pavers, working in a pattern or design that you have planned. Leave a small gap, about 1/8 to 1/4 inch, between each paver for jointing sand.
- Periodically check your work with a level or straightedge to ensure the pavers are level and aligned.
- If you encounter any uneven areas, you can adjust the sand underneath the pavers to level them out. Use a trowel or small shovel to add or remove sand as needed.
- If necessary, use a wet saw or masonry chisel to cut pavers to fit along the edges or around obstacles.
- As you lay the pavers, periodically step back to assess the overall look and make any adjustments as needed.
- Take your time and be patient as you lay each paver. This step is crucial for achieving a professional and visually appealing patio.
Once all the pavers are in place, take a final look and make any necessary adjustments to ensure that they are all level and aligned. This will ensure a smooth and visually pleasing patio surface.
Congratulations! You have successfully laid the patio pavers and are one step closer to completing your patio sand-set project. The next step is to fill the joints between the pavers with sand, which will provide stability and prevent weed growth.
Read more: 16 Gorgeous Gravel Patio Ideas
Step 9: Fill the Joints with Sand
Once the patio pavers are in place, it’s time to fill the joints with sand. This step is essential for stabilizing the pavers and preventing them from shifting or shifting over time. Follow these steps to fill the joints with sand:
- Choose a dry, fine-grained sand specifically designed for filling paver joints. Polymeric sand is a popular choice as it hardens when activated with water, providing a more durable and weed-resistant joint.
- Starting from one corner of the patio, pour the sand onto the paver surface.
- Use a broom or brush to sweep the sand into the joints between the pavers. Ensure that the sand fills the joints completely, leaving no gaps or voids.
- Work in small sections and sweep the sand diagonally across the joints, allowing it to settle evenly.
- Continue adding sand and sweeping until all the joints are filled. Take your time with this step to ensure the joints are properly packed.
- Once the joints are filled, use a leaf blower or a gentle spray of water to remove any excess sand from the paver surface.
- Allow the sand to settle for a day or two. If using polymeric sand, follow the manufacturer’s instructions for activating and sealing the sand with water.
Filling the joints with sand helps to secure the pavers in place and prevents them from shifting or moving. It also helps to improve the overall stability and longevity of your patio.
Once the sand has settled and hardened, you can move on to the final step of compacting the pavers to ensure a solid and level surface.
Step 10: Compact the Pavers
After filling the joints with sand, the next step is to compact the patio pavers. This final step ensures that the pavers are securely in place, providing a stable and level surface for your patio. Follow these steps to properly compact the pavers:
- Begin by inspecting the entire patio to ensure all joints are properly filled with sand. Use a broom or brush to sweep off any excess sand from the paver surface.
- Using a plate compactor or a rubber mallet, gently tap each paver to ensure it is set firmly in place. This process helps to settle the sand and locks the pavers in position.
- Start at one corner of the patio and work your way across, applying even pressure to each paver. If using a plate compactor, follow the manufacturer’s instructions for proper operation and technique.
- Move the plate compactor or mallet in a back-and-forth motion over the entire patio area, paying special attention to the edges and corners to ensure they are properly compacted.
- Repeat the process of compacting the pavers at least two to three times, going over the entire area from different directions. This helps to ensure that all pavers are evenly compacted.
- After compacting, inspect the patio to ensure no pavers are loose or uneven. If you find any areas that need adjustment, remove the pavers and re-level them before compacting again.
- Once you are satisfied that all pavers are properly compacted and in place, give the entire patio a final sweep to remove any debris or excess sand.
Compacting the patio pavers is essential for creating a stable, secure, and level surface. This step helps to further ensure that the pavers will not move or shift over time, providing a long-lasting and visually appealing patio for your outdoor space.
Congratulations! You have completed the process of compacting the patio pavers. The final step now is to step back, admire your beautiful patio, and get ready to enjoy your new outdoor oasis.
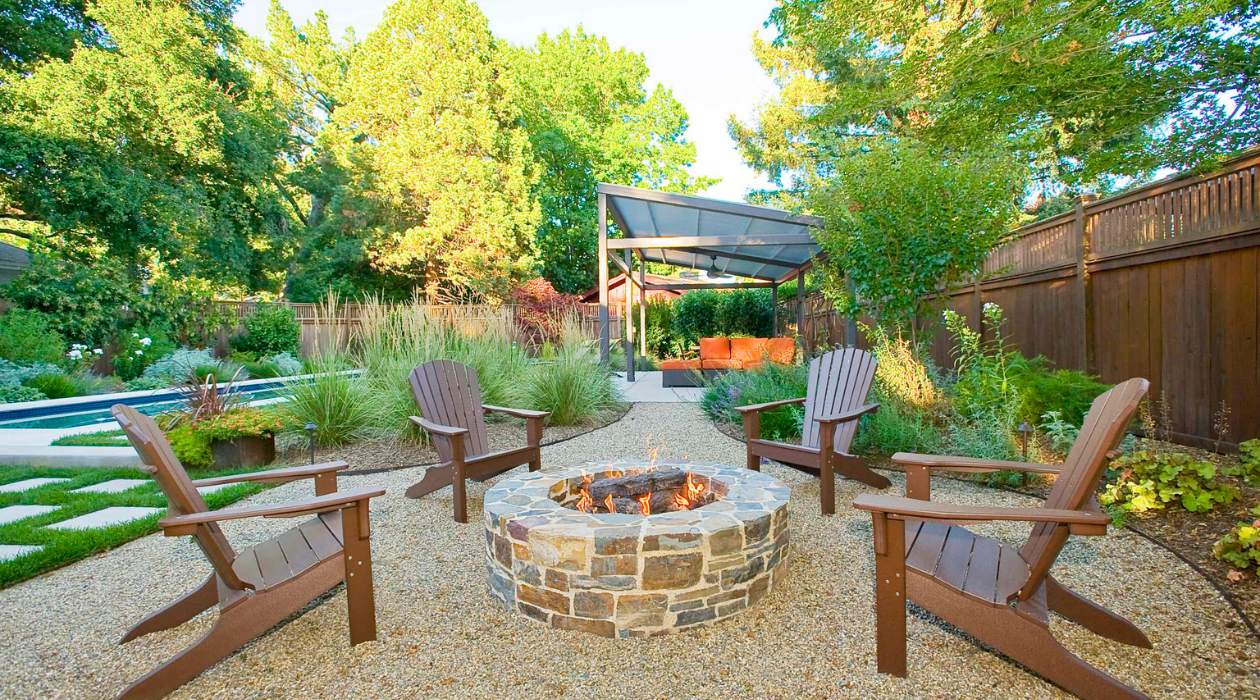
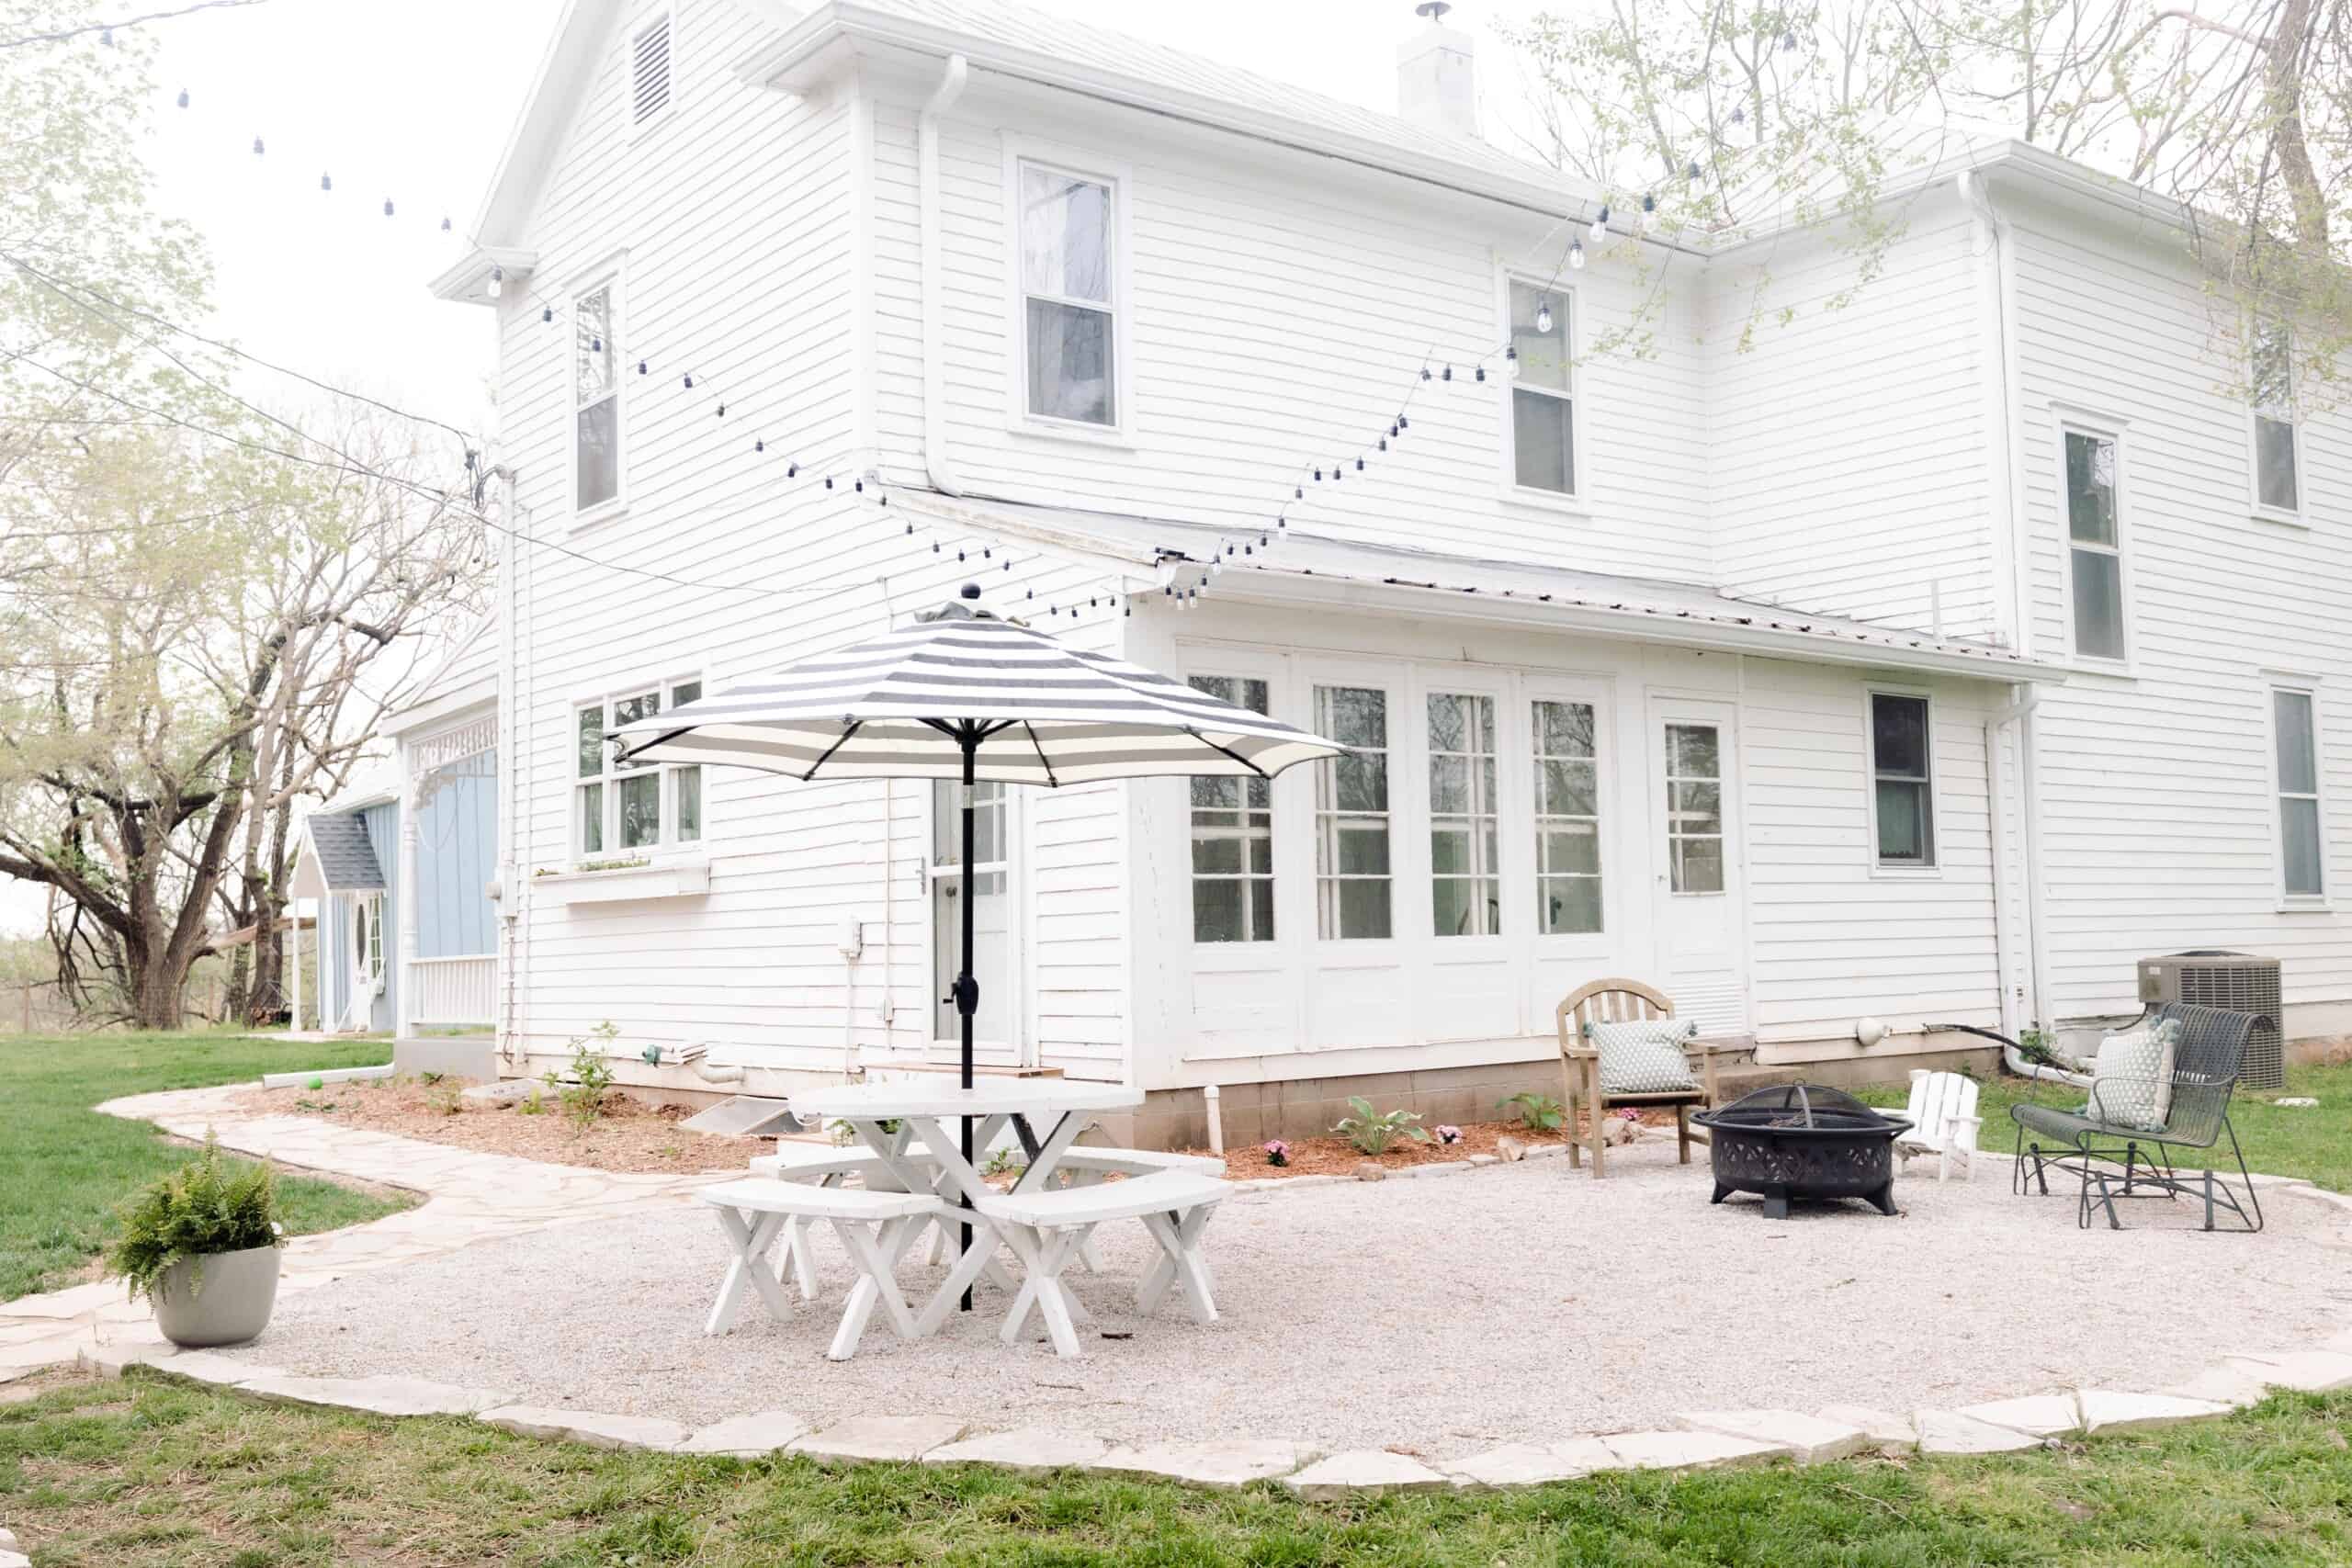
Step 11: Enjoy Your New Patio
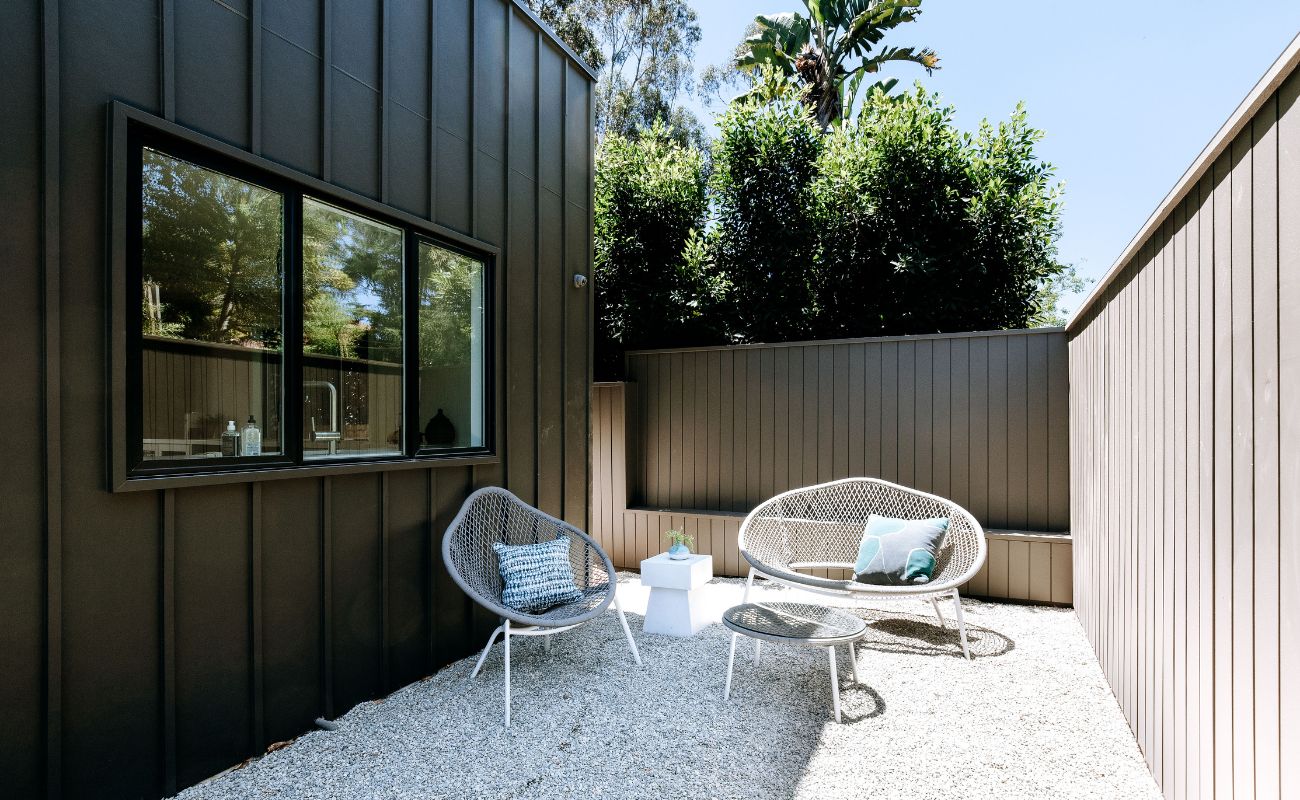
Congratulations! You have successfully completed all the necessary steps to create a stunning sand-set patio over gravel. Now it’s time to sit back, relax, and enjoy your new outdoor space. Here are some final tips to make the most of your new patio:
- Arrange your outdoor furniture and decor to create a welcoming and comfortable atmosphere. Consider adding seating areas, a dining table, or even a cozy fire pit for those cooler evenings.
- Invite friends and family over for gatherings and celebrations. Your new patio provides the perfect space for entertaining and enjoying quality time with loved ones.
- Take time to maintain your patio regularly. Sweep away debris and leaves, and periodically rinse the surface to keep it clean and fresh.
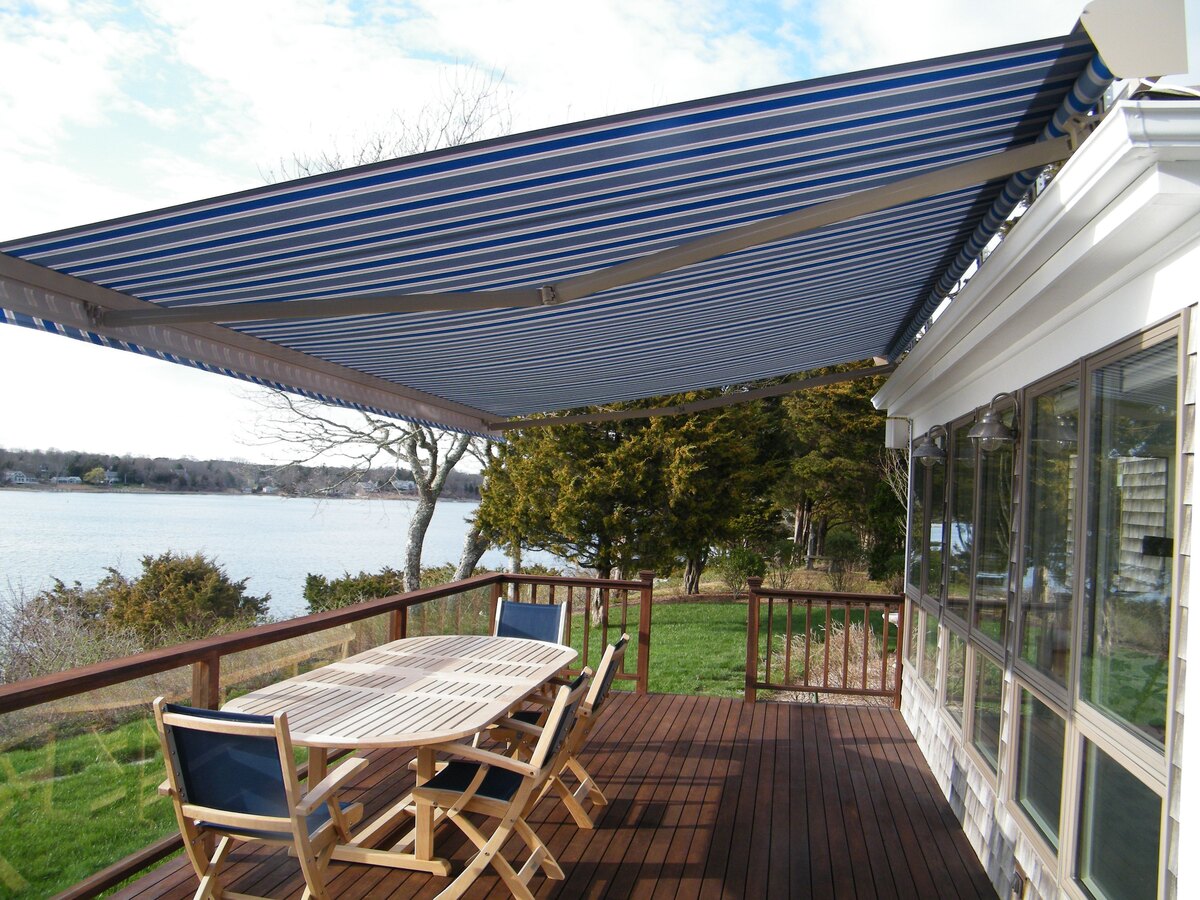
- Consider adding shade options such as umbrellas, pergolas, or retractable awnings to provide relief from the sun’s rays during hot summer days.
- Add some greenery and plants to enhance the ambiance and create a peaceful and inviting atmosphere. Consider potted plants, hanging baskets, or a small garden bed nearby.
- Customize your patio with outdoor lighting options. String lights, lanterns, or spotlights can create a magical ambiance and allow you to enjoy your patio even after the sun sets.
- Regularly inspect and maintain the joints between the pavers. Over time, sand may settle or wash away. Simply add more sand and compact it to ensure a secure and stable patio surface.
- Lastly, take the time to relax and enjoy your outdoor oasis. Whether it’s reading a book, hosting a barbecue, or simply enjoying a cup of coffee in the fresh air, your new patio is sure to become your favorite spot at home.
Remember, the process of creating a patio sand-set over gravel takes time and effort, but the end result is well worth it. With proper maintenance and care, your patio will provide years of enjoyment and add value to your home.
So go ahead, sit back, and revel in the satisfaction of your DIY accomplishment. Enjoy your new patio and all the wonderful experiences it will bring.
Conclusion
Creating a patio sand-set over gravel may seem like a daunting task, but with the right materials, tools, and guidance, it can be a rewarding and achievable DIY project. By following the step-by-step process outlined in this guide, you can transform your gravel area into a stunning and functional outdoor space.
From gathering the necessary materials and preparing the gravel base to laying the patio pavers and compacting them, each step plays a crucial role in ensuring the stability and longevity of your patio. Taking the time to properly level and compact the layers, as well as fill the joints with sand, will result in a patio that is not only visually appealing but also durable and secure.
Once your patio is complete, it’s time to sit back, relax, and enjoy the fruits of your labor. Whether you’re hosting gatherings, spending quality time with loved ones, or simply basking in the serenity of your outdoor oasis, your new patio will become a favorite spot for outdoor living.
Remember to maintain your patio regularly, keeping it clean and inspecting the joints for any necessary touch-ups. With proper care, your patio will provide years of enjoyment and enhance the value of your home.
So, grab your favorite beverage, unwind in the comfort of your new patio, and savor the satisfaction of a job well done. The possibilities for creating long-lasting memories and enjoying the great outdoors are now right at your fingertips.
Ready for more outdoor magic? If transforming your gravel pad was fun, imagine creating a whole new leisure spot with our guide on enhancing backyards. Want variety? Dive into numerous outdoor projects, perfect for any weekend warrior looking to spruce up their outdoor living space. And don't forget about adding some charm with unique garden fence ideas, turning simple boundaries into statements of style. Each step brings more beauty and enjoyment to your home.
Frequently Asked Questions about How To DIY A Patio Sand-Set Over Gravel In Just A Few Days
Was this page helpful?
At Storables.com, we guarantee accurate and reliable information. Our content, validated by Expert Board Contributors, is crafted following stringent Editorial Policies. We're committed to providing you with well-researched, expert-backed insights for all your informational needs.


0 thoughts on “How To DIY A Patio Sand-Set Over Gravel In Just A Few Days”