Articles
How To Sew Sheer Curtains
Modified: January 5, 2024
Learn how to sew sheer curtains with our comprehensive articles on techniques, tips, and designs. Enhance your interior with elegant and light-filtering window treatments.
(Many of the links in this article redirect to a specific reviewed product. Your purchase of these products through affiliate links helps to generate commission for Storables.com, at no extra cost. Learn more)
Introduction
Welcome to our comprehensive guide on how to sew sheer curtains. Sheer curtains are a beautiful and versatile option for adding elegance and lightness to any room. They provide privacy while still allowing natural light to filter through, creating a soft and inviting ambiance. By making your own sheer curtains, you have the opportunity to customize the fabric, dimensions, and design, ensuring that they perfectly complement your space.
In this article, we will walk you through the step-by-step process of sewing sheer curtains. From choosing the right fabric to adding finishing touches, we will cover all the essential techniques and tips to help you create stunning curtains that will transform your windows.
Before we dive into the sewing process, let’s take a quick look at the materials and tools you’ll need to complete this project.
Key Takeaways:
- Create personalized sheer curtains by choosing the right fabric, precise measurements, and elegant embellishments. Enjoy the soft, ethereal ambiance and showcase your unique style with handmade curtains.
- Master the art of sewing sheer curtains to add elegance and lightness to any room. From fabric selection to hanging the finished curtains, embrace creativity and craftsmanship for a personalized touch.
Read more: What Are Sheer Curtains
Materials and Tools Needed
Before you begin sewing your sheer curtains, gather the following materials and tools:
- Sheer fabric of your choice
- Thread in a color that matches your fabric
- Measuring tape
- Fabric scissors
- Sewing machine
- Straight pins
- Ruler
- Iron and ironing board
- Seam ripper (in case of any mistakes)
- Optional: Decorative trim or embellishments
Having all these items on hand will ensure a smooth and efficient sewing process, allowing you to create beautifully crafted sheer curtains with ease.
Choosing the Right Fabric
When it comes to sewing sheer curtains, selecting the right fabric is crucial. The fabric you choose will determine the overall look and functionality of your curtains. Here are a few factors to consider when choosing the perfect fabric:
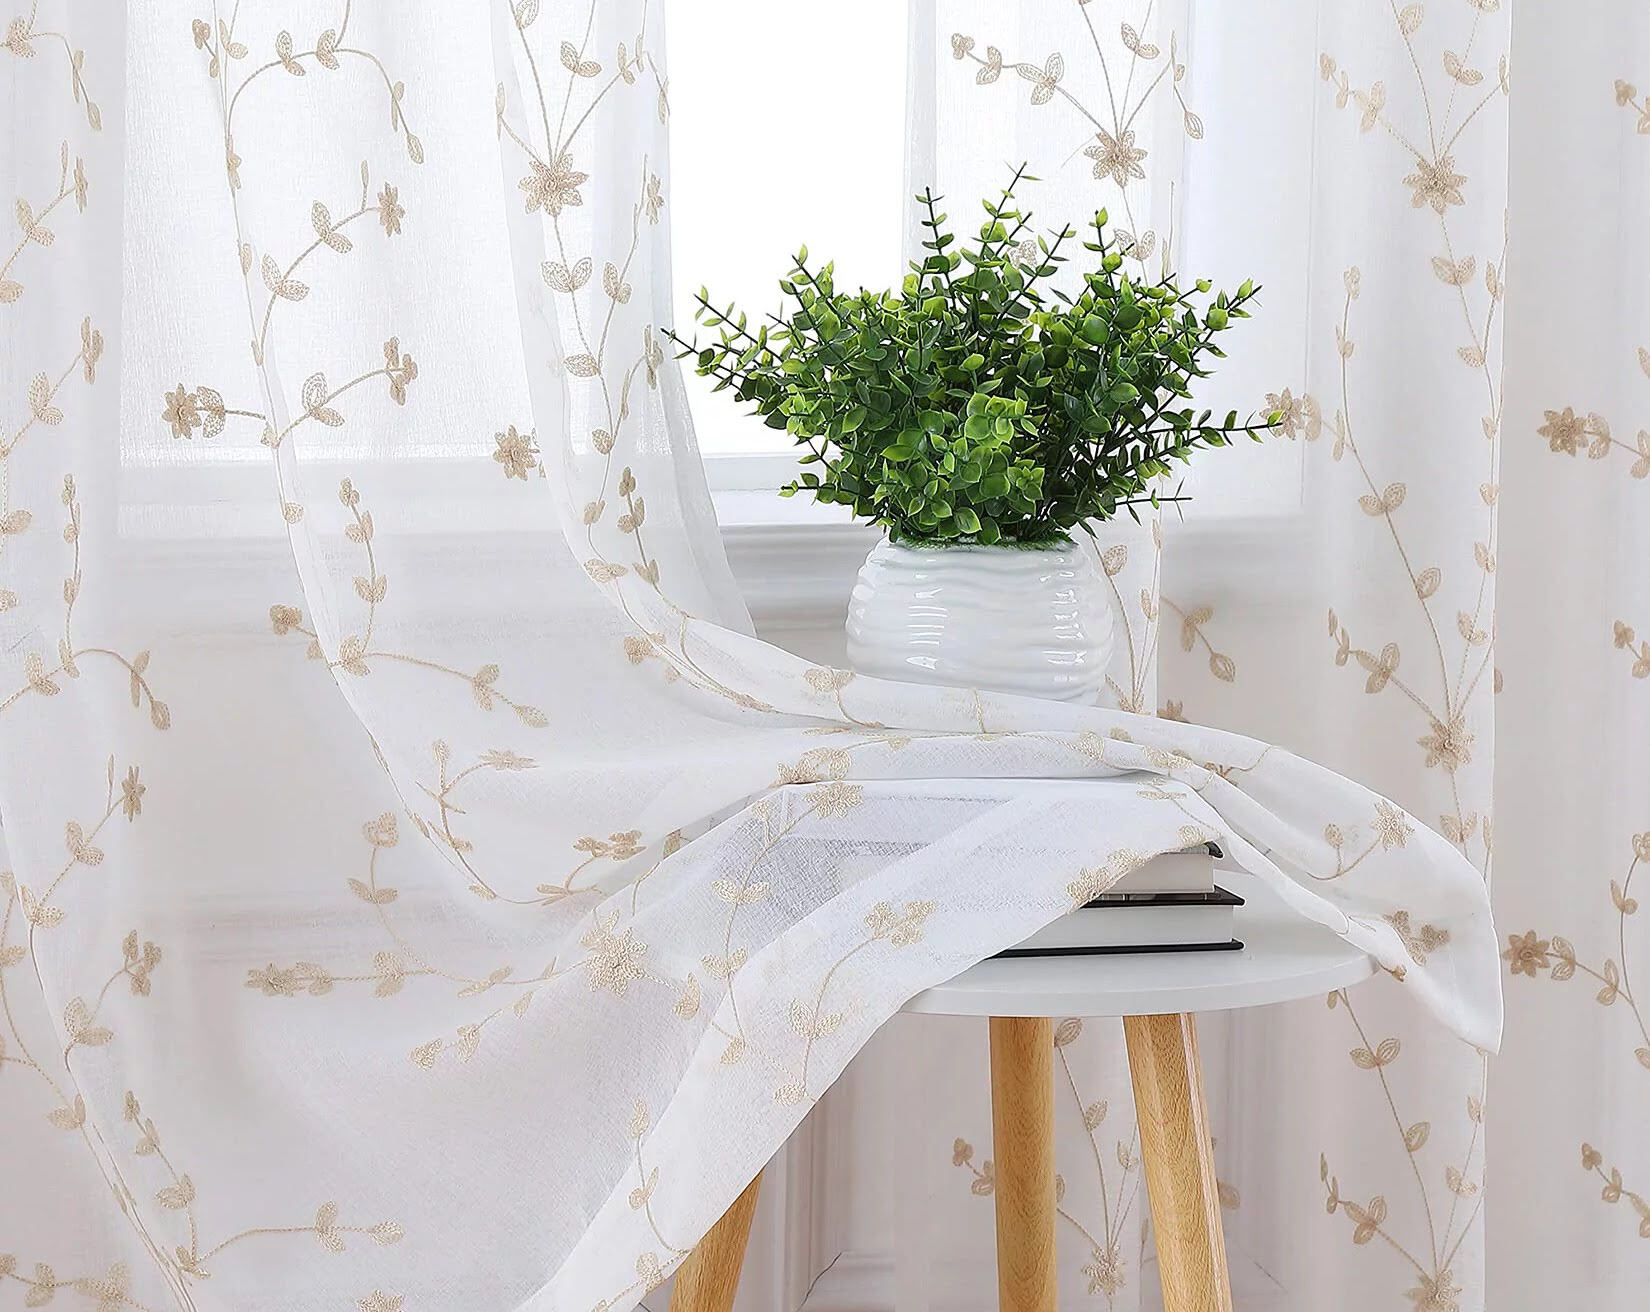
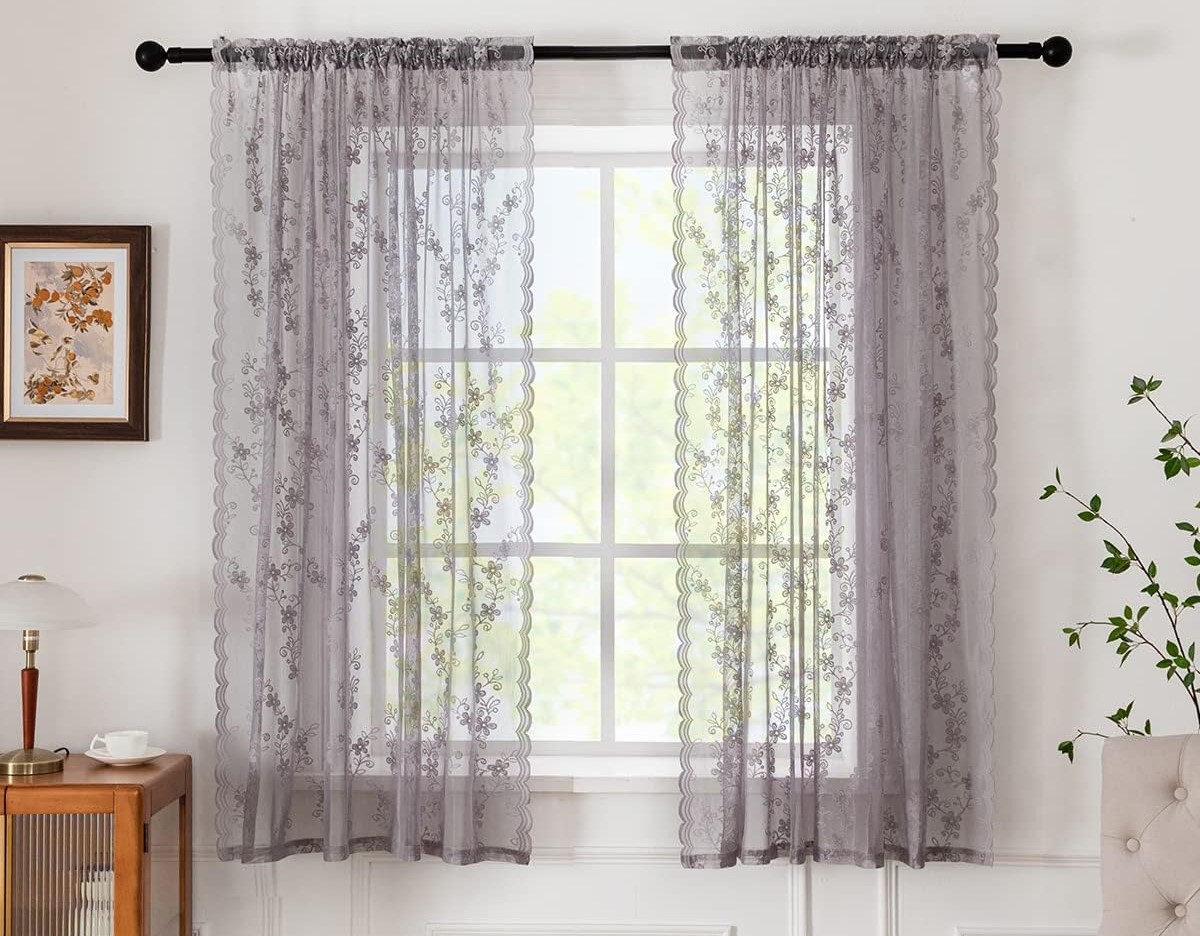
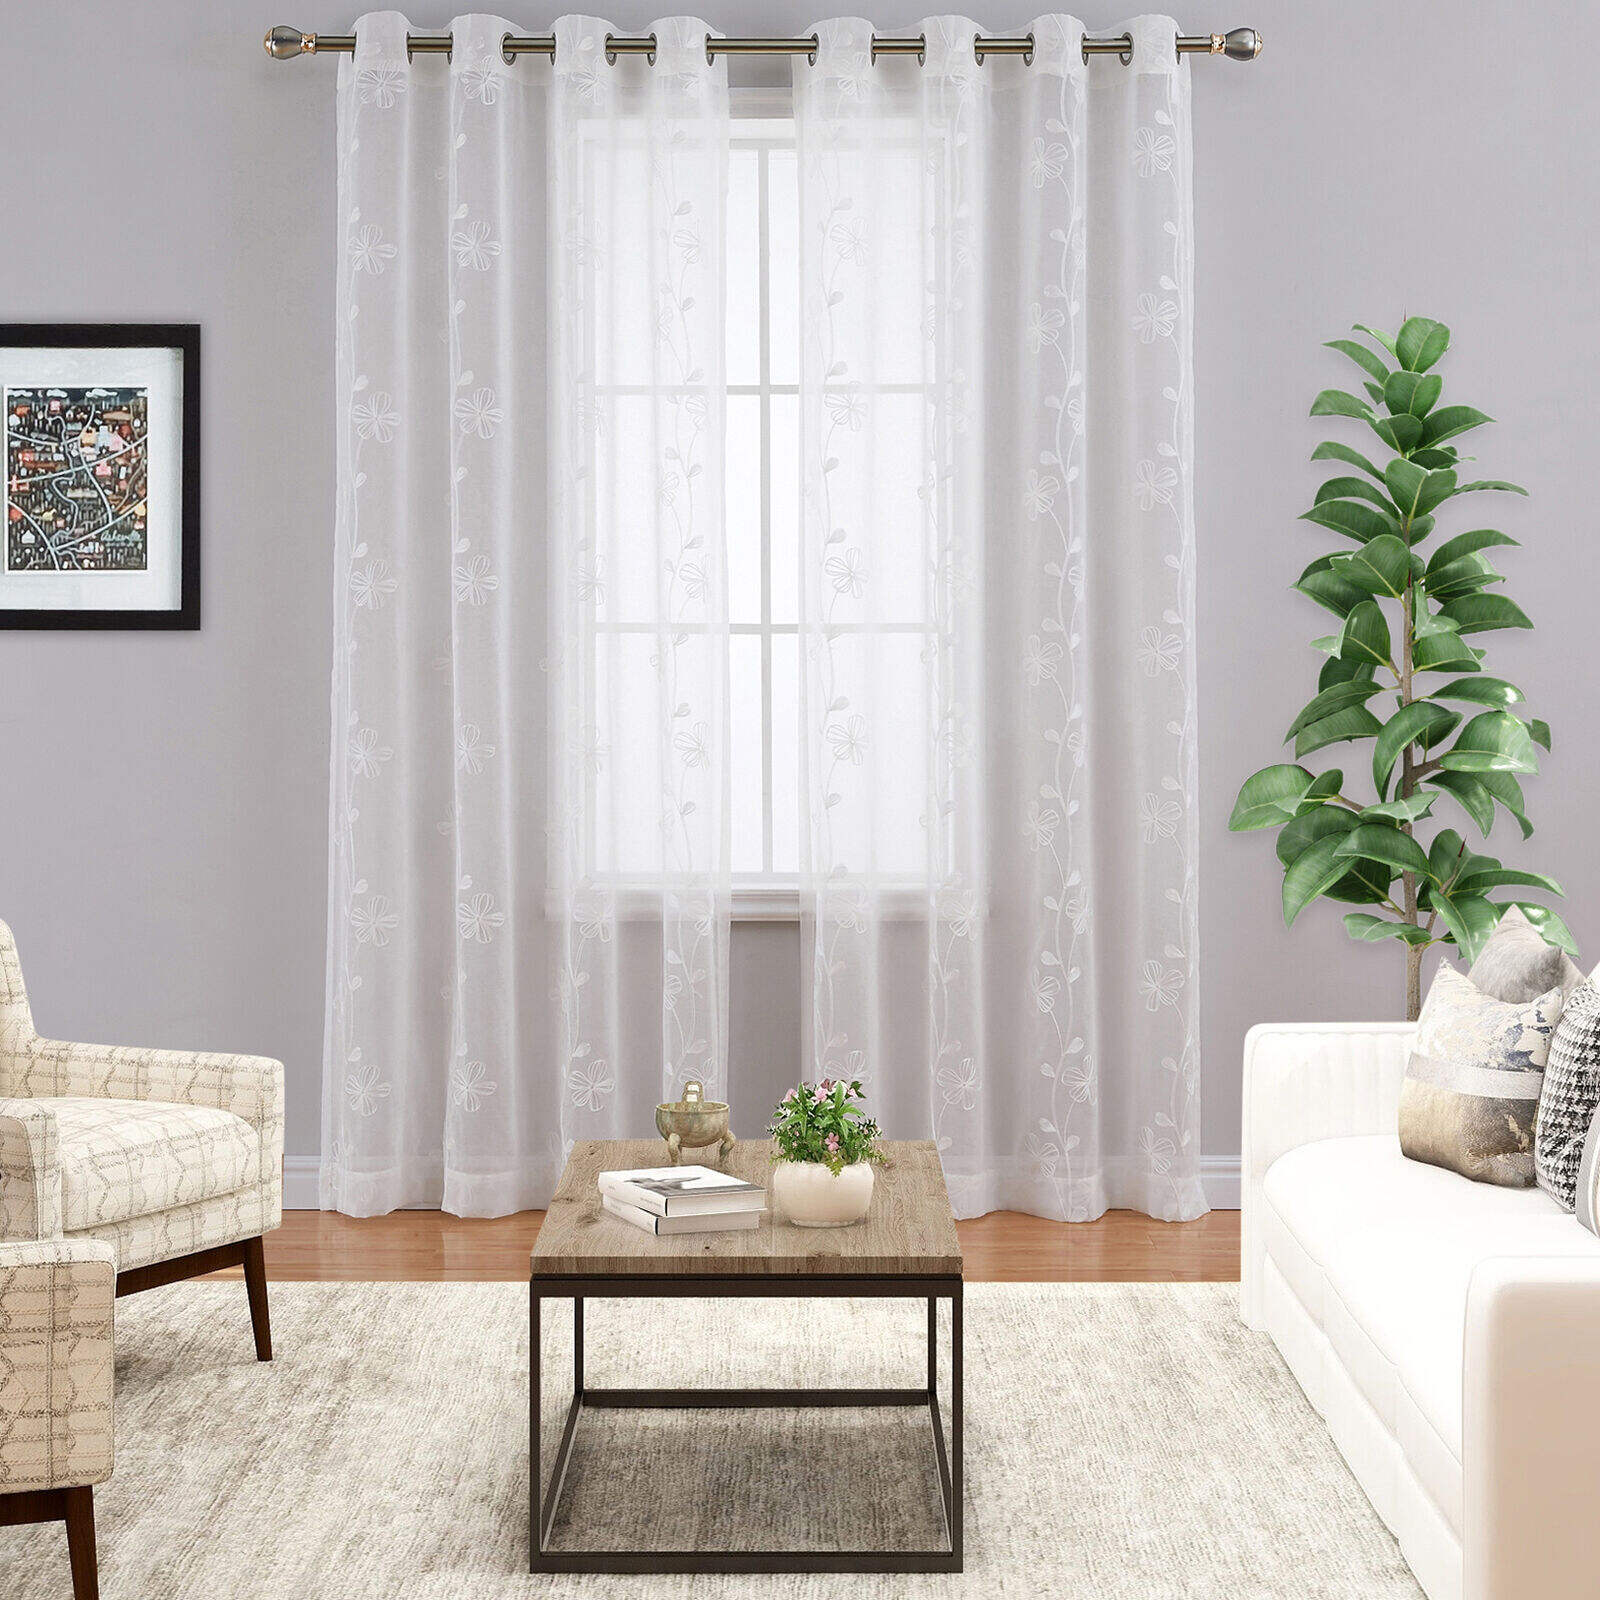
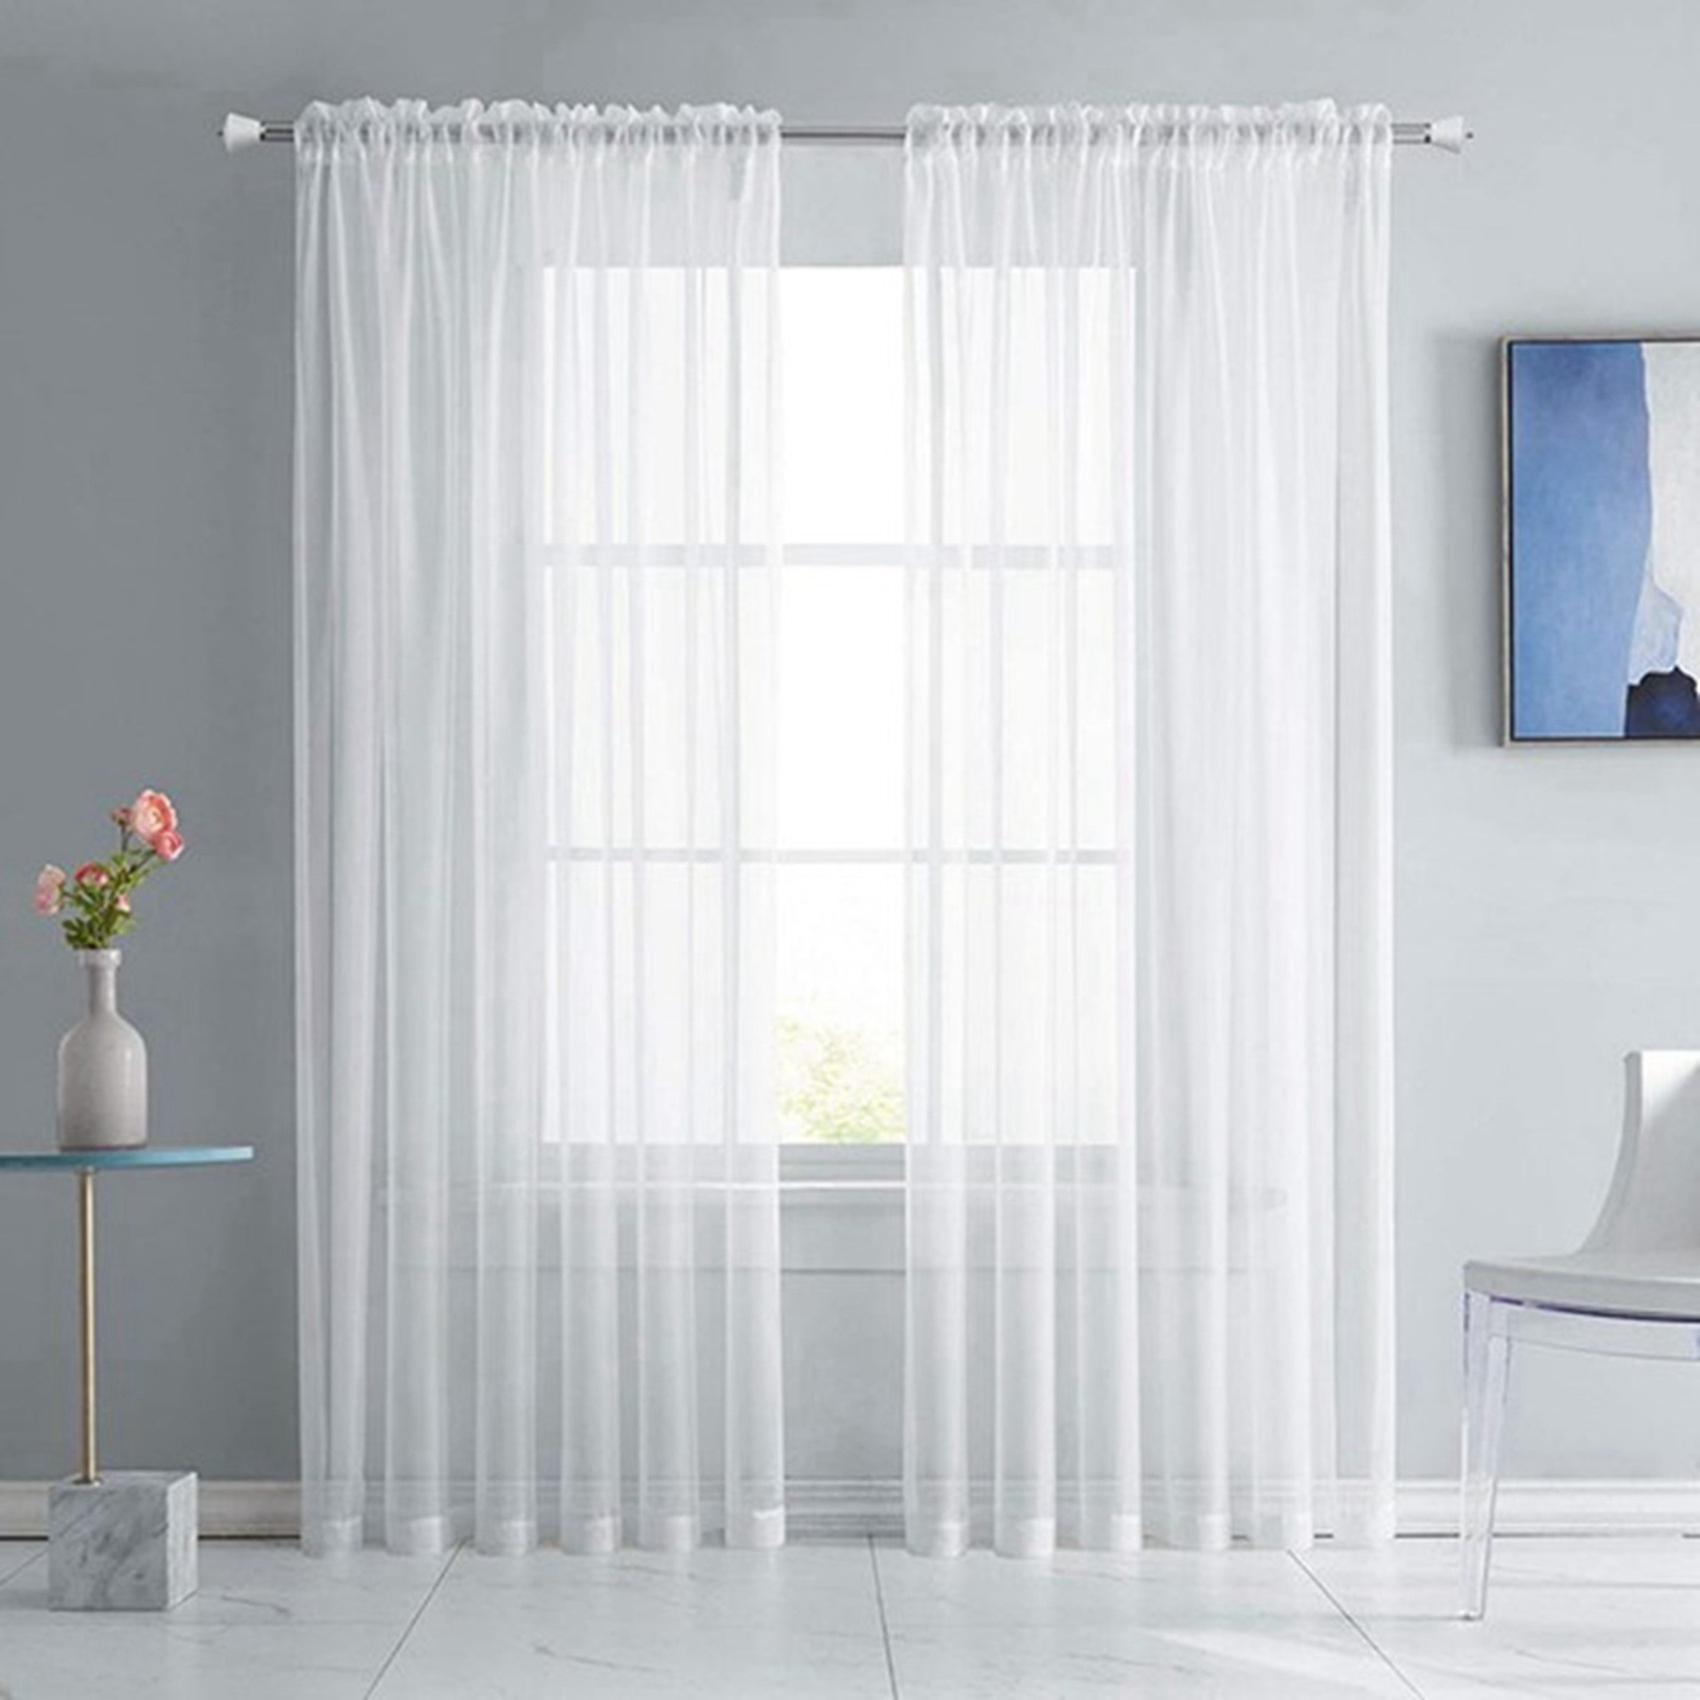
Transparency: Sheer curtains are known for their translucent and airy appearance. Look for fabrics that are lightweight and allow light to pass through easily. Organza, voile, chiffon, and lace are popular choices for sheer curtains.
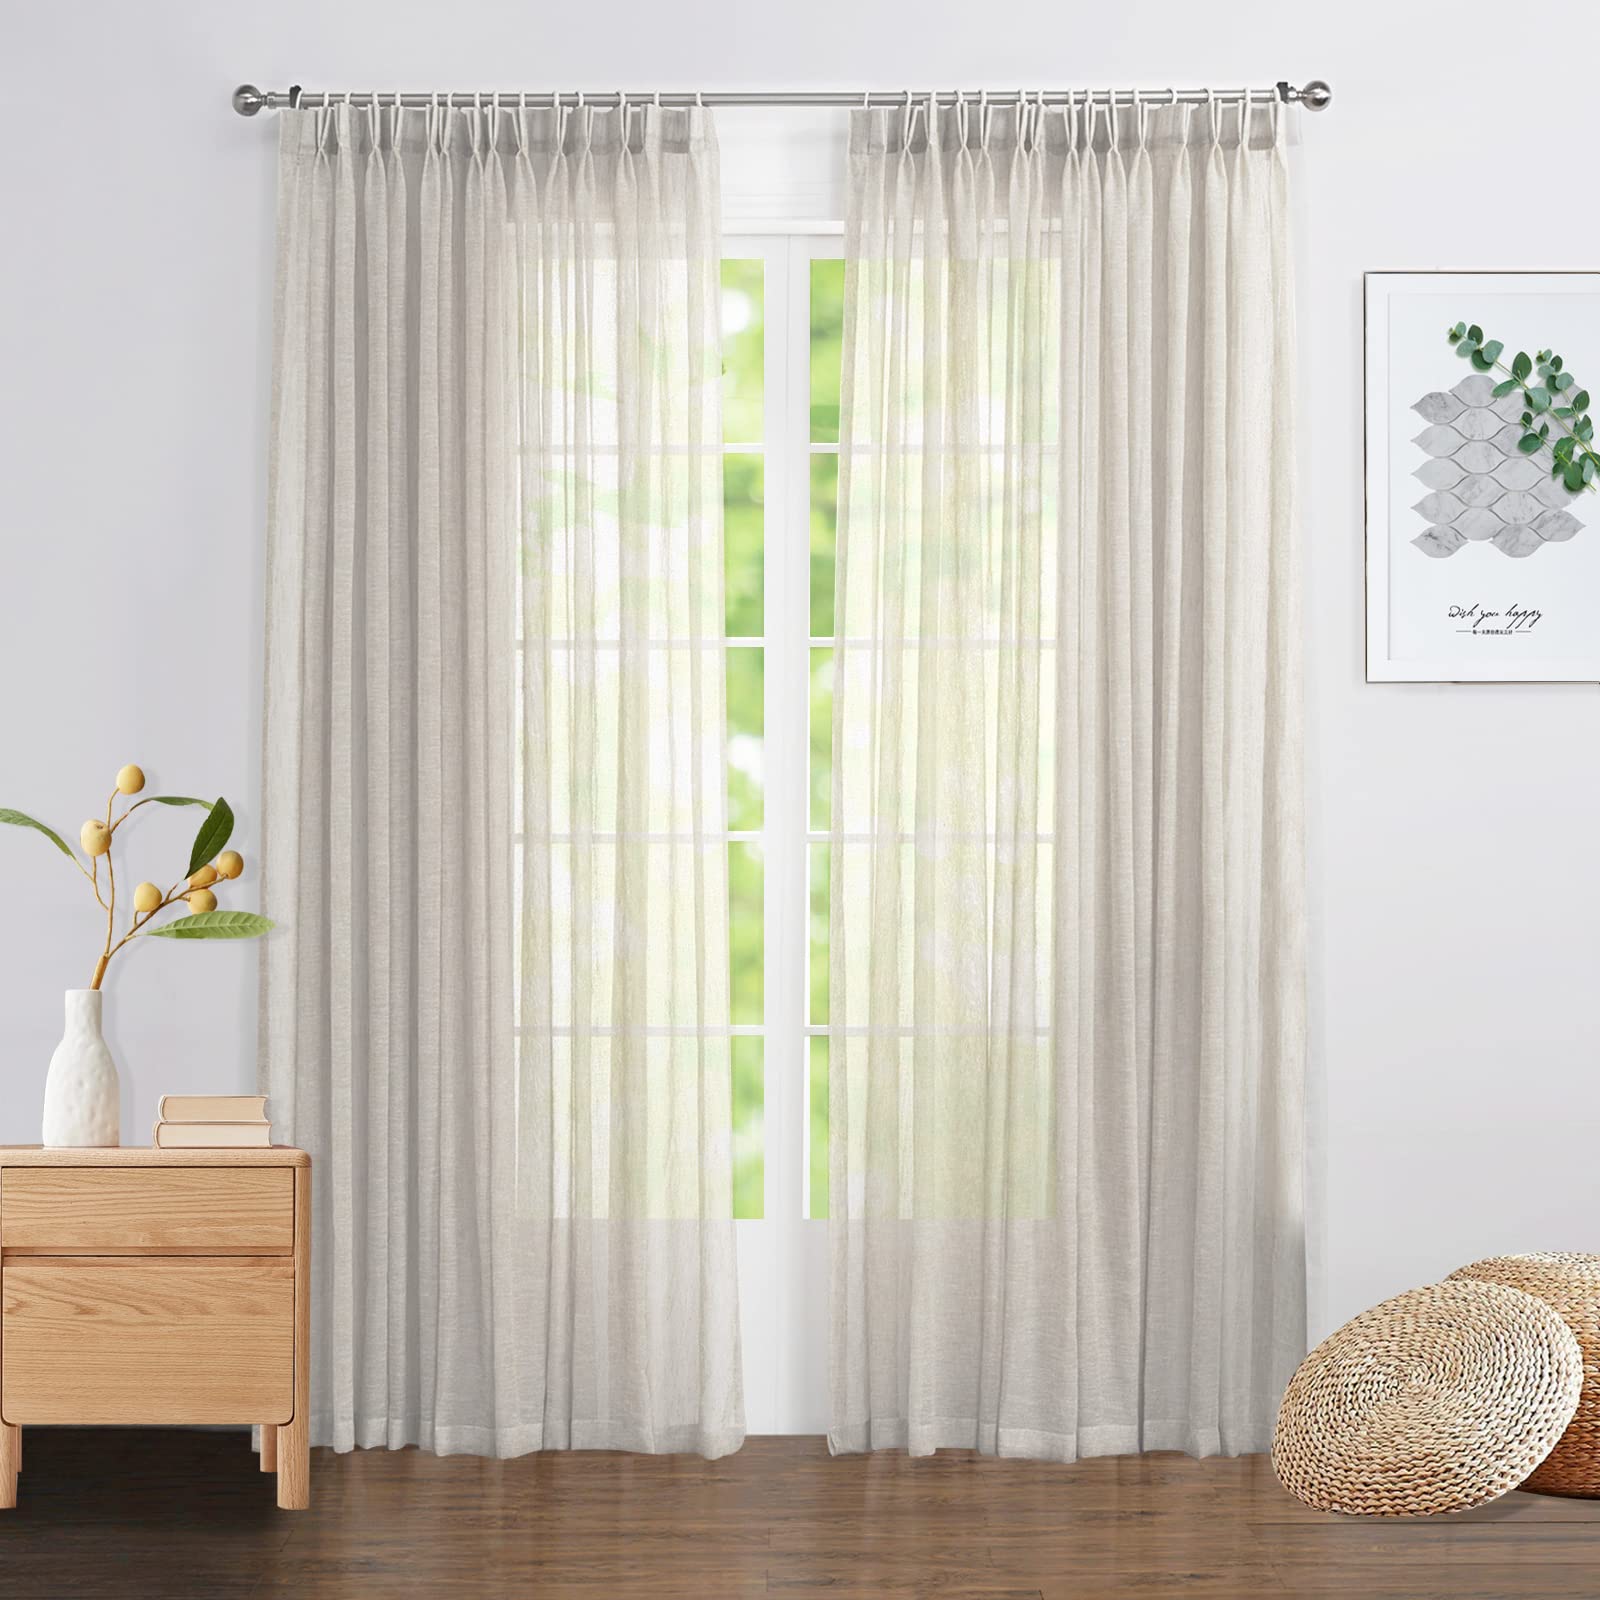
Color and Pattern: Consider the color scheme and style of your room when selecting the fabric color and pattern. Solid colors in light hues such as white, ivory, or pastels will create a soft and elegant look. If you prefer a patterned fabric, choose delicate motifs or subtle designs that won’t overpower the space.
Texture: The texture of the fabric can add visual interest and depth to your curtains. Experiment with different textures like crinkled chiffon, embroidered organza, or textured voile to create a unique look for your sheer curtains.
Drapability: Sheer curtains should have a fluid and graceful drape. Test the fabric’s drapability by holding it up and observing how it falls. Opt for fabrics that have a natural flow and movement when hung.
Care Instructions: Consider the care requirements of the fabric. Some sheer fabrics may be machine washable, while others may require delicate handwashing or dry cleaning. Choose a fabric that aligns with your preferred maintenance routine.
Remember to purchase an adequate amount of fabric based on your window dimensions, allowing for any necessary hemming and fullness. Once you have chosen your fabric, it’s time to move on to the next step: measuring and cutting the fabric.
Measuring and Cutting the Fabric
Accurate measurements and precise cutting are essential for creating seamless and well-fitted sheer curtains. Follow these steps to ensure your curtains fit perfectly:
- Start by measuring the width of your window. Measure from the outside edge of the window frame or the desired width for the curtains if you want them to extend beyond the frame. Add a few extra inches for fullness and to allow for the side hems.
- Next, measure the length of the curtains. Decide whether you want your curtains to graze the floor or hang slightly above it. Measure from the top of the curtain rod to the desired length, adding a few inches for hems.
- Once you have your measurements, lay out your sheer fabric on a flat surface. Use a ruler or measuring tape to mark the width and length according to your measurements.
- Carefully cut along the marked lines using fabric scissors. Take your time to ensure clean and straight edges.
- After cutting the main curtain panels, if you wish to add tiebacks or valances, measure and cut the fabric accordingly.
Remember, it’s always better to start with larger pieces of fabric and gradually trim them down if needed. You can always make adjustments, but it’s difficult to add fabric back once it’s been cut. Keep the remaining fabric aside for any additional projects or future repairs.
Now that you have your fabric pieces cut to the correct size, it’s time to move on to the next step: hemming the edges.
Hemming the Edges
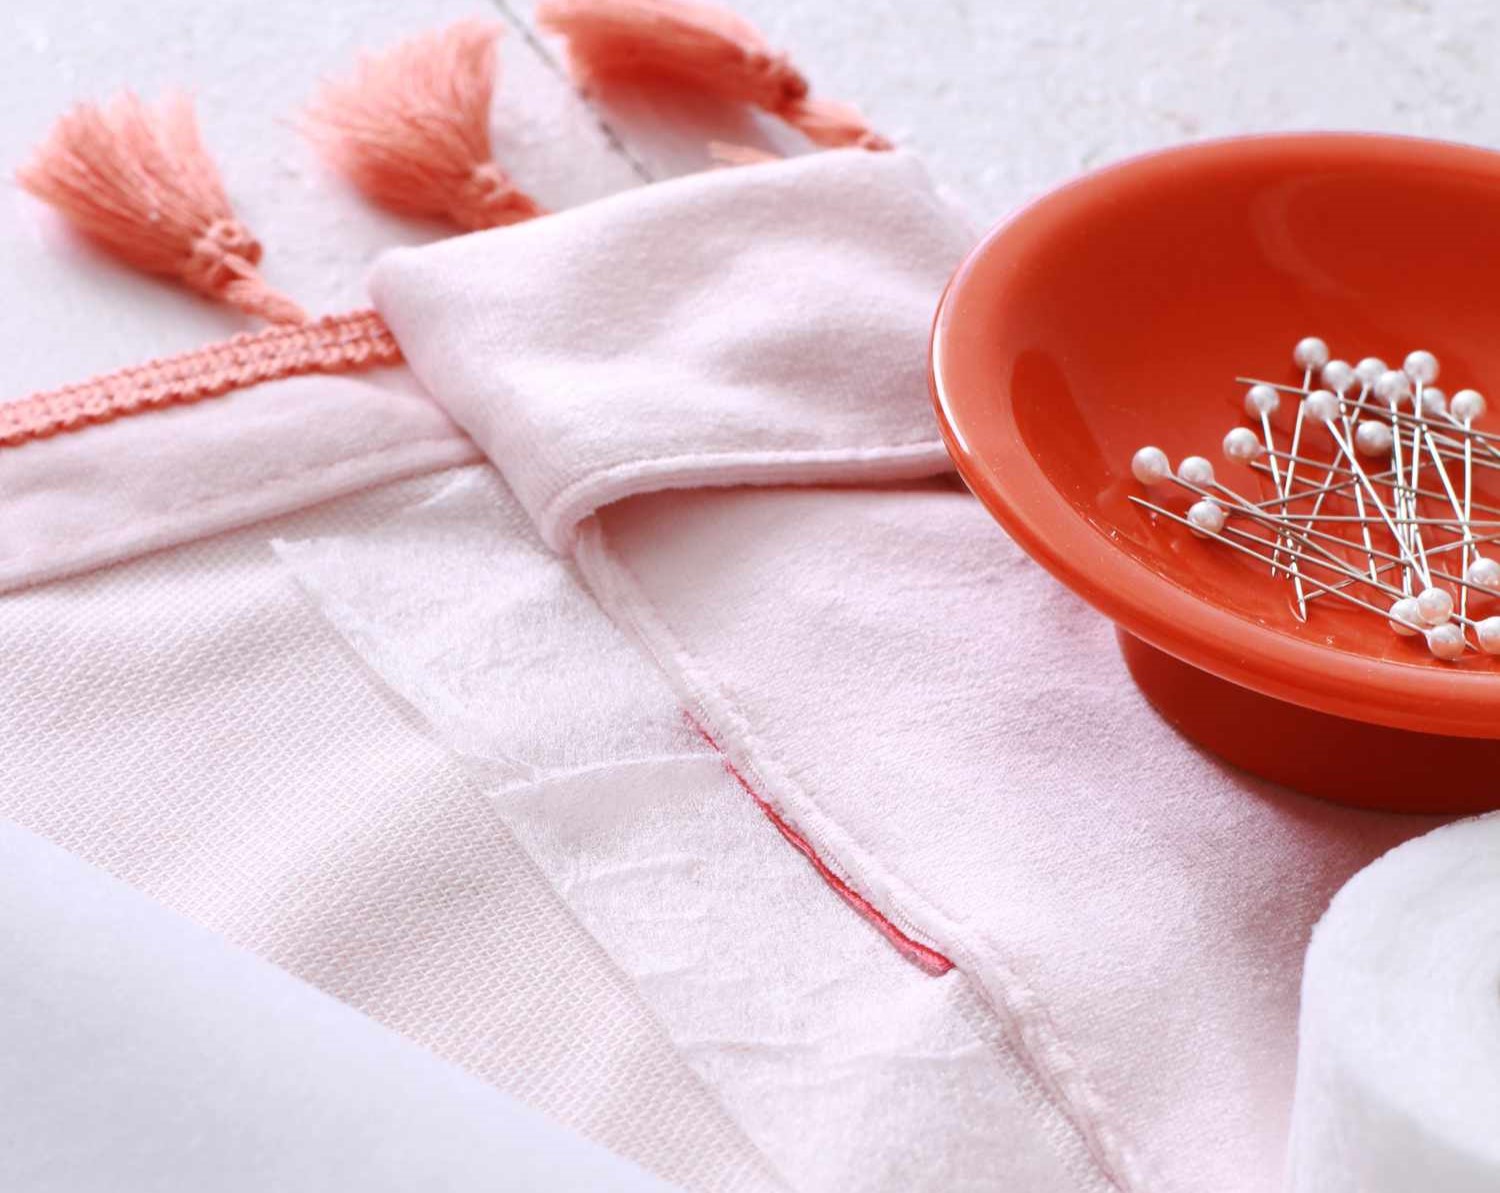
Hemming the edges of your sheer curtains not only adds a polished and professional finish but also helps prevent fraying. Follow these steps to hem the edges:
- Start with the bottom edge of the curtain panel. Fold the raw edge up about 1/2 inch (or as desired) towards the wrong side of the fabric.
- Press the fold with an iron to create a crisp crease, then unfold the fabric.
- Next, fold the raw edge up again along the crease line, this time folding it up 1 inch (or as desired). Make sure the raw edge is fully enclosed within the fold.
- Press the fold again and use straight pins to secure the hem in place. Space the pins evenly along the width of the fabric to ensure the hem stays in place during sewing.
- Repeat the same hemming process for the side edges of the curtain panel.
- For the top edge of the curtain panel, add an extra step to create a rod pocket. Fold the top edge down about 4 inches (or as needed) towards the wrong side of the fabric. Press and pin the fold in place.
- Sew along the folded edges of the hems using a straight stitch or a zigzag stitch. Sew as close to the folded edge as possible, removing the pins as you go.
- Once all the edges are hemmed, give the curtains a final press with the iron to ensure a smooth and polished look.
By hemming the edges, you not only create a neat appearance but also ensure the longevity of your sheer curtains. Now that the edges are hemmed, it’s time to move on to creating the rod pocket.
Read more: How To Hang Curtains With Sheers
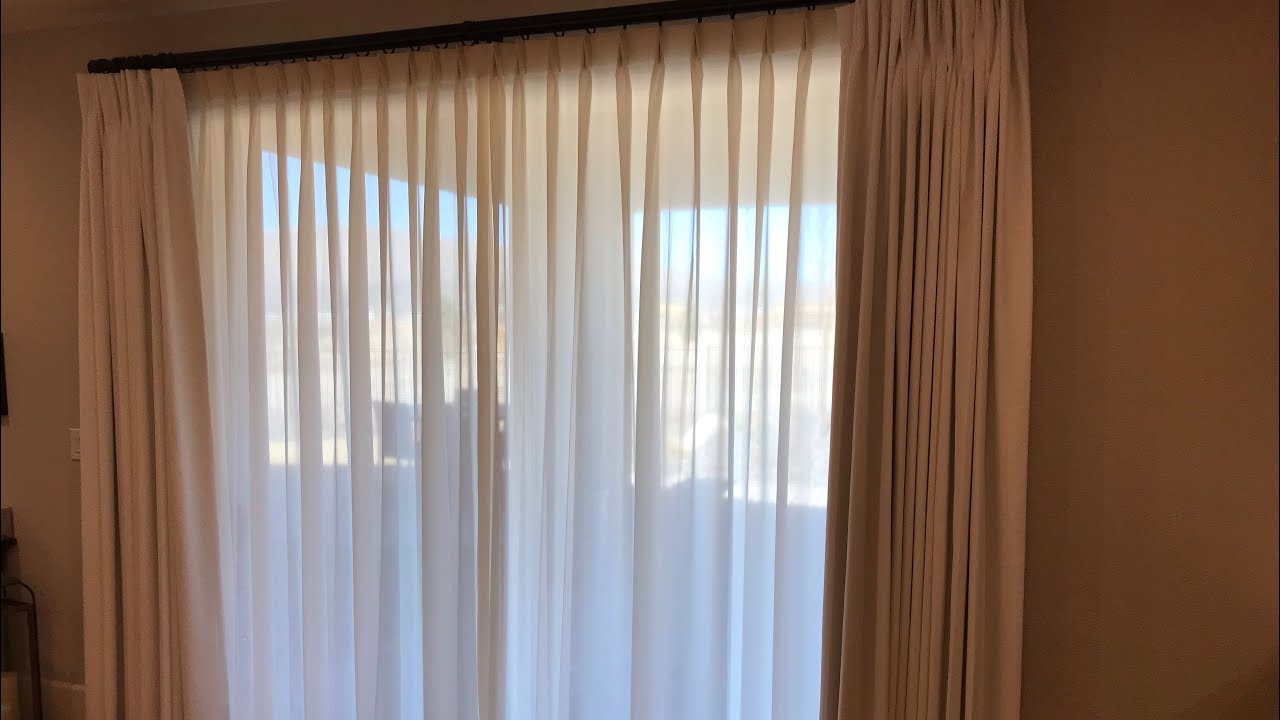
Creating the Rod Pocket
The rod pocket is an essential element of sheer curtains as it allows for easy installation on a curtain rod. Follow these steps to create the rod pocket:
- Start by folding the top edge of the curtain panel down towards the wrong side of the fabric. The width of the fold should be slightly wider than the diameter of your curtain rod.
- Press the fold with an iron to create a crisp crease, then unfold the fabric.
- Measure and mark the desired distance from the top edge of the curtain panel, which will determine the size of the rod pocket. Typically, a rod pocket depth of 1.5 to 2 inches works well.
- Fold the top edge of the fabric down again along the marked line, encasing the raw edges. Press the fold and use straight pins to secure it in place.
- Double-check that the rod pocket is wide enough to accommodate your curtain rod. If needed, make adjustments by unfolding the fabric slightly and re-folding it to the desired size.
- Sew along the folded edge of the rod pocket, about 1/8 inch from the edge, using a straight stitch. Start sewing from one end of the curtain panel and continue to the other end.
- For extra reinforcement, sew a second row of stitching about 1/4 inch below the first row.
- Remove any straight pins, and your rod pocket is now ready to hold your curtain rod.
Creating the rod pocket allows you to easily slide the curtain panel onto a rod, and it gives your curtains a clean and tailored look. Once the rod pocket is sewn, it’s time to move on to sewing the side seams.
When sewing sheer curtains, use a fine needle (size 9-11) and a lightweight thread to prevent puckering and ensure a smooth, professional finish.
Sewing the Side Seams
The side seams are an important step in sewing sheer curtains to create clean and finished edges. Follow these steps to sew the side seams:
- Start by folding the sheer curtain panel in half lengthwise, matching the side edges together.
- Pin the side edges together to secure them in place. Place the pins perpendicular to the edge to prevent them from interfering with the sewing machine needle.
- Using a straight stitch, sew along the pinned edge, starting at the top and sewing all the way down to the bottom. Use a seam allowance of about 1/2 inch or as desired.
- Backstitch at the beginning and end of the seam to secure the stitching.
- Remove the pins as you sew, ensuring that the fabric edges stay aligned.
- Give the sewn side seam a final press with an iron to create a clean and crisp finish.
- Repeat this process for the other side seam of the curtain panel.
Sewing the side seams ensures that your sheer curtains have straight and professional-looking edges. It also helps to strengthen the overall structure of the curtains, ensuring they withstand regular use and handling. With the side seams completed, it’s time to move on to attaching the rod pocket.
Attaching the Rod Pocket
Attaching the rod pocket to the curtain panel is a crucial step in ensuring that your sheer curtains hang beautifully. Follow these steps to attach the rod pocket:
- Start by turning the curtain panel right side out.
- Fold the top edge of the curtain panel down towards the wrong side to reveal the rod pocket.
- Slip the curtain rod into the rod pocket, adjusting the fabric to distribute it evenly along the rod.
- Once the rod is in place, use straight pins to secure the fabric of the rod pocket to the curtain panel on each end of the rod.
- Carefully remove the rod from the rod pocket, keeping the fabric pinned in place.
- Using a needle and thread or a sewing machine, sew along the top edge of the rod pocket to attach it to the curtain panel. You can use a straight stitch, a decorative stitch, or even a blind hem stitch for added flair.
- Make sure to stitch securely, ensuring that the rod pocket is firmly attached to the curtain panel.
- Remove the straight pins, and your rod pocket is now securely attached to the sheer curtain panel.
Attaching the rod pocket allows you to easily slide the curtain panel onto the curtain rod, ensuring a smooth and effortless hanging process. With the rod pocket attached, you now have the option of adding any additional embellishments to further customize and enhance your sheer curtains.
Adding any Additional Embellishments
Adding embellishments to your sheer curtains can elevate their overall appearance and make them truly unique. Here are some options for adding extra flair:
- Decorative Trim: Consider adding a decorative trim to the bottom edge of the curtains for a touch of elegance. Choose a trim that complements the style and color of your curtains. Secure the trim using fabric glue or by stitching it along the edge.
- Embroidery: Personalize your sheer curtains by adding embroidered designs. Use embroidery thread in colors that match or contrast with the fabric. You can create intricate patterns or simple monograms to make a statement.
- Appliques: Appliques are fabric cutouts that can be stitched or glued onto your sheer curtains. They come in various designs, such as flowers, leaves, or geometric shapes. Play around with their placement to achieve a visually appealing arrangement.
- Tiebacks: Enhance the functionality and style of your curtains by adding decorative tiebacks. Use matching fabric or coordinating ribbons to create loops or bows that hold the curtains to the sides when open.
- Beaded Accents: Create a beautiful shimmer effect by attaching small beads or crystals to your sheer curtains. You can sew them individually or string them together to form a cascading strand along the edges.
- Pom-Pom Trim: Add a playful touch to your sheer curtains with a pom-pom trim. This fun and whimsical embellishment can be sewn or glued along the edge of the curtains for a charming detail.
Remember to take your time and plan your embellishments carefully to ensure a cohesive and balanced look. Adding embellishments is an opportunity to showcase your creativity and make your sheer curtains truly one-of-a-kind.
Once you’ve completed the embellishments, it’s time to hang your beautiful sheer curtains and add the finishing touches.
Read more: How To Sew Curtains With Lining
Hanging and Finishing Touches
With your sheer curtains complete, it’s time to hang them and add those final details that will truly bring the whole look together. Follow these steps for hanging and adding finishing touches to your curtains:
- Hanging the Curtains: Install the curtain rod according to the manufacturer’s instructions. Slide the rod with the attached curtains into the rod pocket, ensuring that the curtains are evenly distributed along the rod. Adjust the curtains as needed, and secure the rod in place.
- Adjusting the Length: Depending on your preference and the desired look, you may need to adjust the length of your curtains. Use fabric scissors to trim the bottom edges if necessary, making sure to leave enough fabric for a proper hem.
- Ironing: Give your curtains a final press with an iron to remove any wrinkles and ensure they hang beautifully. Ironing will also help the curtains maintain their shape and crisp appearance.
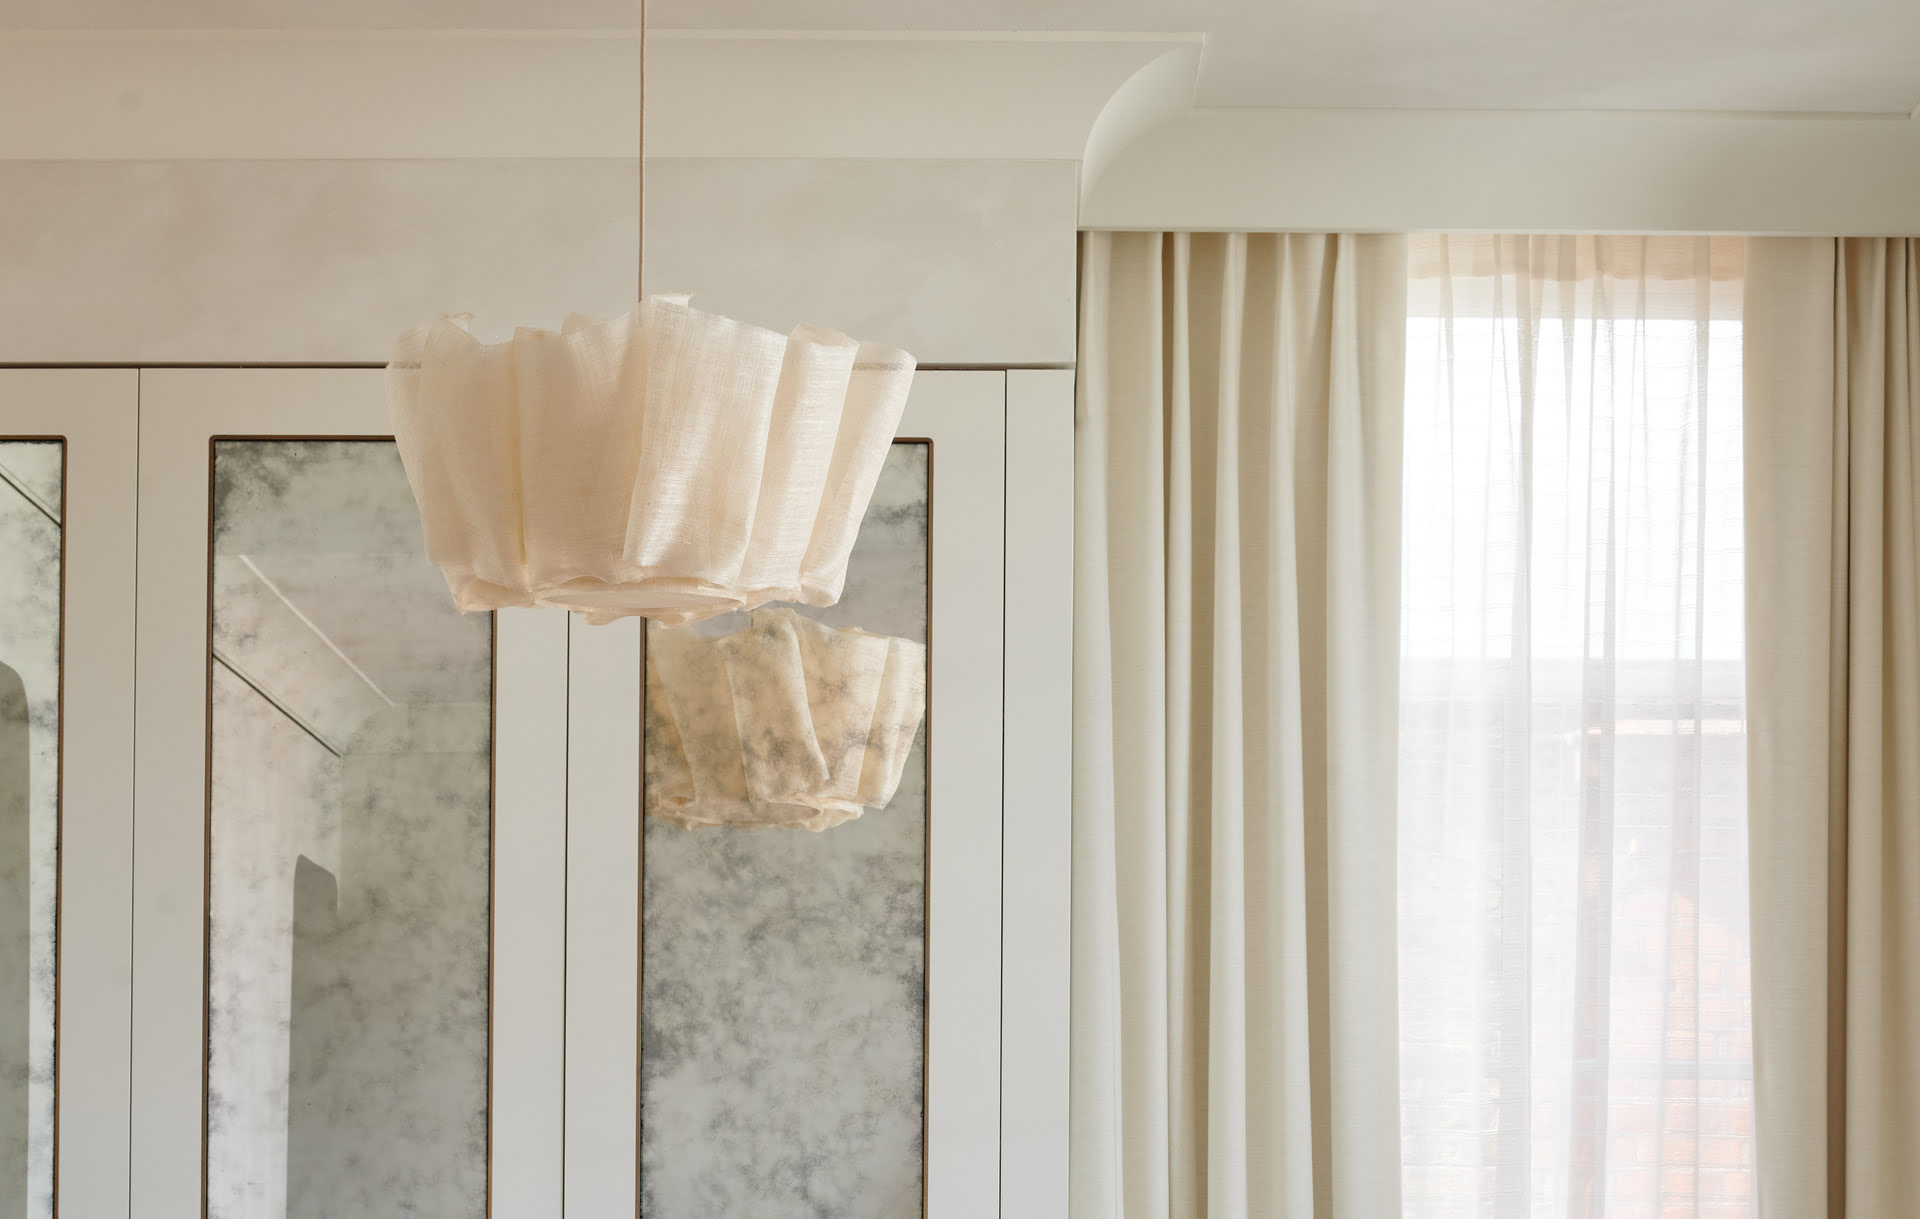
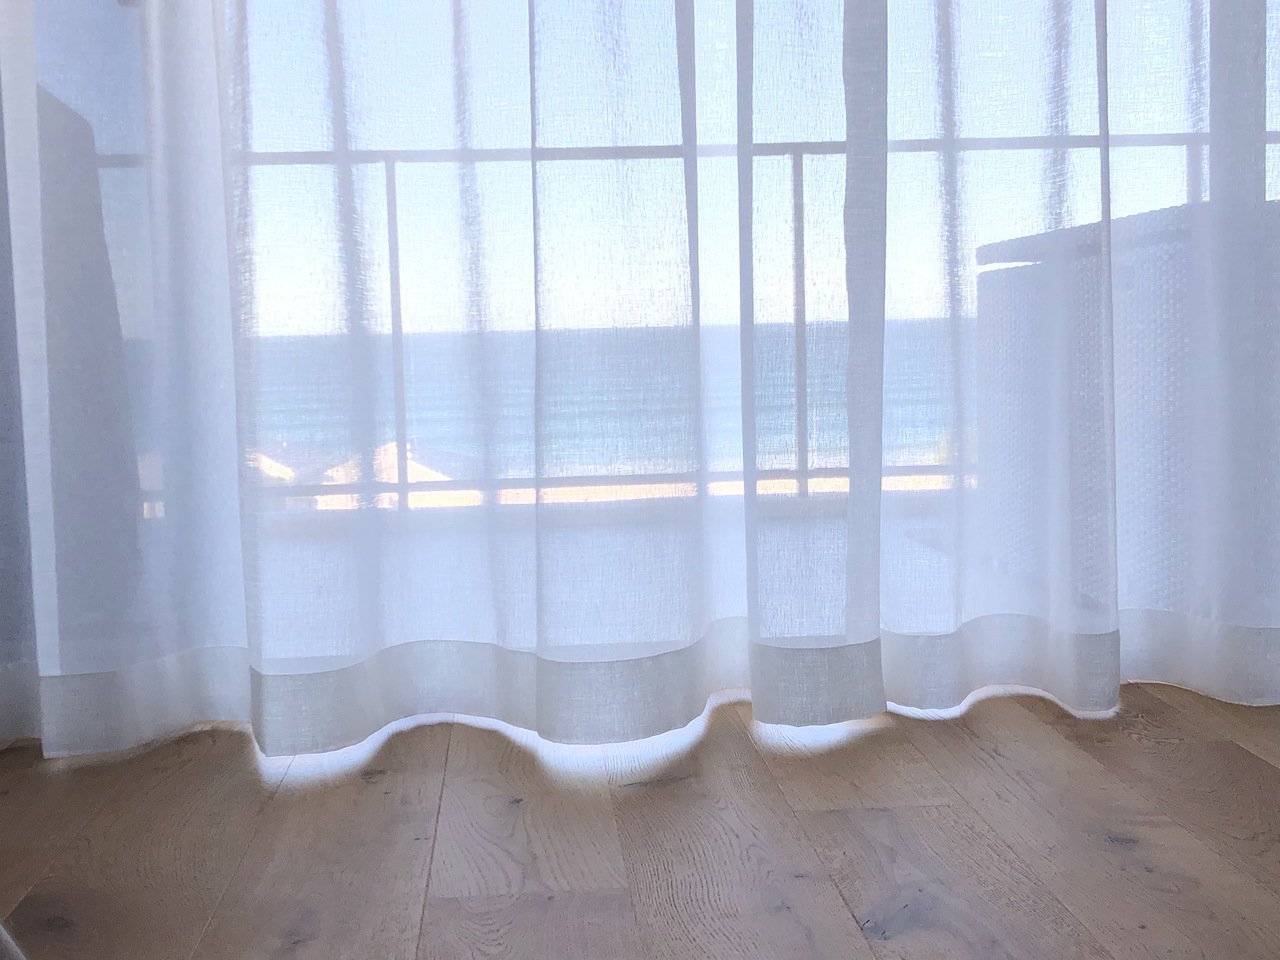
- Styling: Experiment with different ways to style your sheer curtains. You can let them hang naturally for a relaxed and casual look, or use tiebacks to create elegant draping. Play around with different options to find the style that best suits your space.
- Final Touches: Step back and assess your sheer curtains to see if any final touches are needed. Check for loose threads or any areas that may require additional stitching or trimming. Once you’re satisfied, make any necessary adjustments to ensure your curtains look perfect.
Congratulations! You have successfully sewn, embellished, and hung your beautiful sheer curtains. Enjoy the soft and ethereal atmosphere they bring to your space, and appreciate the craftsmanship of your own handmade curtains!
By following this comprehensive guide, you have acquired the skills to sew sheer curtains and given them a personal touch with added embellishments. Whether it’s for a bedroom, living room, or any other space in your home, these custom-made sheer curtains will add a touch of elegance and style.
Remember, don’t be afraid to get creative and experiment with different fabrics, trims, and decorations. Let your sheer curtains reflect your unique style and personality. Happy sewing!
Conclusion
Congratulations on completing your journey to sew sheer curtains! You have learned all the essential steps, from choosing the right fabric to hanging the finished curtains. By making your own sheer curtains, you have the opportunity to bring a personalized touch to your home decor and create a space that truly reflects your style.
Throughout this guide, we have emphasized the importance of careful measurement, precise cutting, and seamless sewing techniques. These steps ensure that your sheer curtains have a professional finish and hang beautifully in your space.
Additionally, we explored the various options for embellishing your curtains, such as decorative trims, embroidery, and other creative touches. Adding these embellishments allows you to customize your curtains and showcase your unique style and creativity.
Remember to follow the instructions specific to your chosen fabric and take your time to complete each step with care. Attention to detail and patience will result in curtains that you can be proud of.
Now that you’ve mastered the art of sewing sheer curtains, you can apply these skills to other window treatments or DIY projects. With your newfound expertise, the possibilities are endless!
Thank you for joining us on this sewing adventure. We hope you enjoyed the process and that your new sheer curtains bring beauty and functionality to your home. Happy sewing!
Frequently Asked Questions about How To Sew Sheer Curtains
Was this page helpful?
At Storables.com, we guarantee accurate and reliable information. Our content, validated by Expert Board Contributors, is crafted following stringent Editorial Policies. We're committed to providing you with well-researched, expert-backed insights for all your informational needs.


0 thoughts on “How To Sew Sheer Curtains”