
Articles
How To Hem Sheer Curtains
Modified: May 6, 2024
Learn how to hem sheer curtains with our step-by-step articles. Expert tips and tricks to achieve a professional finish. Perfect for DIY home decorators.
(Many of the links in this article redirect to a specific reviewed product. Your purchase of these products through affiliate links helps to generate commission for Storables.com, at no extra cost. Learn more)
Introduction
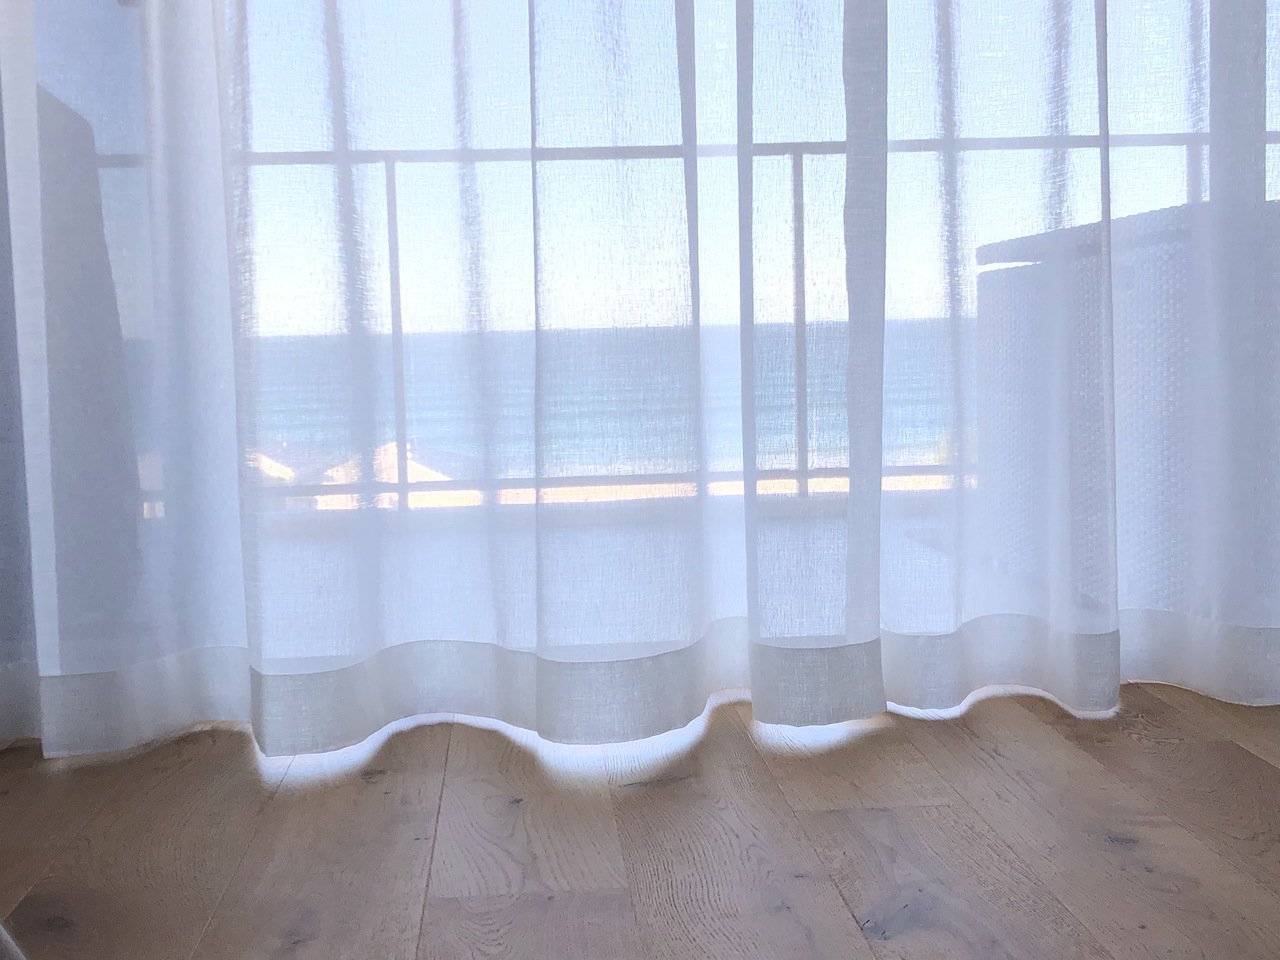
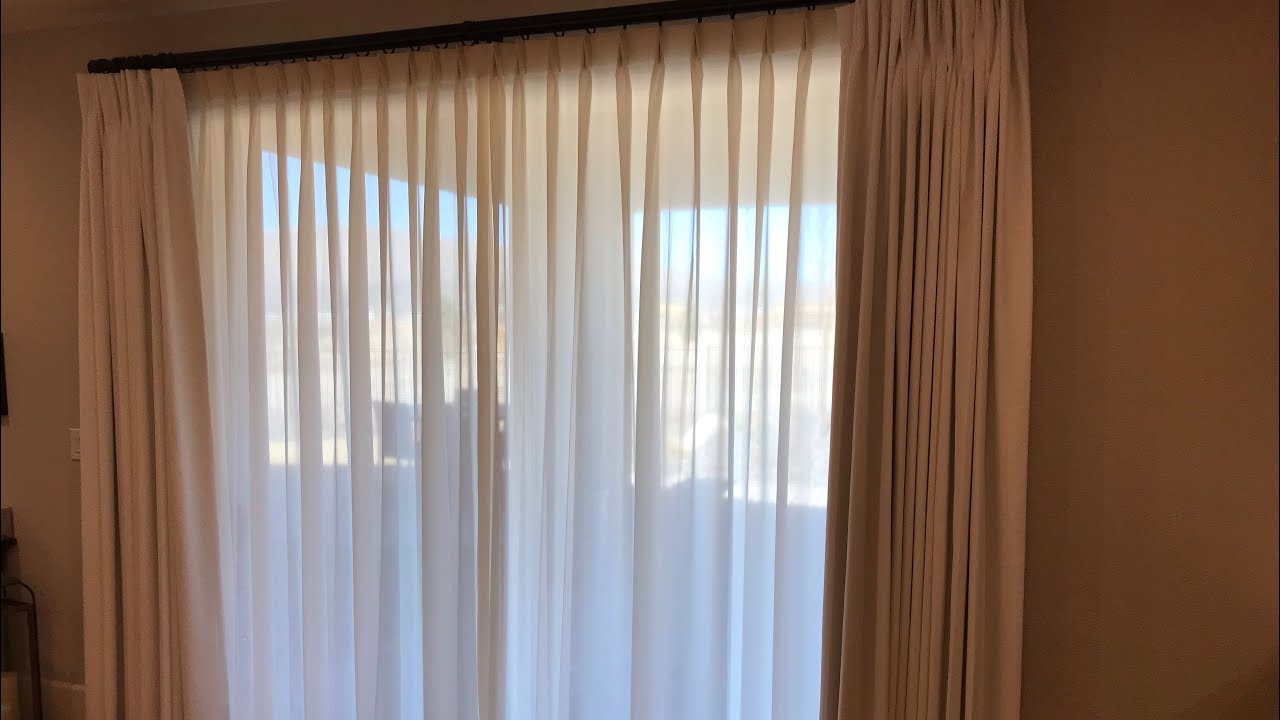
Sheer curtains add a touch of elegance and sophistication to any room. Their delicate and translucent appearance allows natural light to filter through while still providing privacy. However, when it comes to hemming sheer curtains, it can be a bit tricky due to their lightweight and delicate nature. In this article, we will guide you through the process of hemming sheer curtains, providing you with different techniques and tools to achieve a professional-looking finish.
Before you begin, it is essential to gather the necessary tools and materials for the task. This ensures a smoother and more efficient process. Let’s take a look at what you will need:
Key Takeaways:
- Achieve a professional finish by hemming sheer curtains with precision and care, using hand-sewing, a sewing machine, or Heat-N-Bond tape for a polished look.
- Prepare, measure, and hem your sheer curtains with the right tools and techniques, adding finishing touches for elegant window treatments that elevate your space.
Read more: How To Sew Sheer Curtains
Tools and Materials Needed
- Sheer curtains
- Tape measure
- Pins
- Sewing machine (optional)
- Thread
- Needle
- Iron
- Heat-n-Bond hemming tape
- Scissors
Now that you have gathered all the necessary tools and materials, it’s time to prepare the sheer curtains for hemming. Follow the steps below:
Preparing the Sheer Curtains
- Start by washing and ironing the sheer curtains to remove any wrinkles or dirt. This ensures that you have a clean and smooth surface to work with.
- Lay the curtains on a flat surface and measure the desired length for the finished curtains. Take into account any additional fabric you might need for hemming.
- Once you have determined the desired length, use pins to mark the hemline. This will serve as a guide during the hemming process.
With the sheer curtains prepped, it’s time to move on to the next step of measuring and marking for hemming.
(continue writing)
Key Takeaways:
- Achieve a professional finish by hemming sheer curtains with precision and care, using hand-sewing, a sewing machine, or Heat-N-Bond tape for a polished look.
- Prepare, measure, and hem your sheer curtains with the right tools and techniques, adding finishing touches for elegant window treatments that elevate your space.
Read more: How To Sew Sheer Curtains
Tools and Materials Needed
Before you embark on hemming your sheer curtains, it’s important to gather all the necessary tools and materials. Having everything prepared beforehand will make the process smoother and more efficient. Here’s a list of what you’ll need:
- Sheer curtains: Make sure you have the curtains you want to hem. Choose a high-quality sheer fabric that complements your room’s aesthetic.
- Tape measure: A tape measure is essential for accurate measurements. Get a flexible tape measure that can extend to the length of your curtains.
- Pins: Pins are indispensable when marking the hemline and keeping the fabric in place during the hemming process. Opt for thin, sharp pins that won’t damage the delicate fabric.
- Sewing machine (optional): If you prefer using a sewing machine for quicker and more precise stitching, have one ready. Ensure it has the necessary attachments and settings to handle sheer fabrics.
- Thread: Choose a thread color that matches or blends well with your sheer curtains. It’s best to use lightweight and fine thread to prevent any noticeable stitching lines.
- Needle: If you decide to hand-sew the hem, make sure you have a fine needle that can easily go through the sheer fabric without leaving large puncture marks.
- Iron: An iron is essential for pressing and creating crisp folds in the fabric. Set it to a low heat setting to avoid damaging the delicate sheer fabric.
- Heat-n-Bond hemming tape: This type of hemming tape is a convenient alternative to sewing. It allows you to create a hem by using heat to adhere the fabric together. Make sure you have enough hemming tape for the project.
- Scissors: Choose a pair of sharp fabric scissors to cut the fabric cleanly and accurately. Avoid using dull scissors that may snag or fray the sheer fabric.
By gathering all of these tools and materials before you begin, you will be fully equipped to tackle the task of hemming your sheer curtains with ease and precision. With everything ready, it’s time to move on to the next steps of preparing the curtains and measuring and marking for hemming.
(continue writing)
Preparing the Sheer Curtains
Before you start hemming your sheer curtains, it’s essential to prepare them properly. This involves washing and ironing them to ensure they are clean, smooth, and ready for hemming. Follow these steps to prepare your sheer curtains:
- Washing: Check the care instructions on the curtains and wash them accordingly. Most sheer curtains can be gently washed in cold water using a mild detergent. If possible, use the delicate or hand wash cycle to prevent any damage to the fabric. Once washed, allow the curtains to air dry or hang them up to dry.
- Ironing: After the curtains are dry, it’s time to iron them. Set your iron to a low heat setting suitable for delicate fabrics. Iron the sheer curtains carefully, making sure to remove any wrinkles or creases. Take your time and iron each section thoroughly to achieve a smooth and polished look.
- Laying the curtains: Lay the prepared sheer curtains on a flat surface, such as a clean table or the floor. Smooth out any remaining wrinkles or folds, ensuring that the fabric is flat and even.
Once you have completed the preparation steps, your sheer curtains are now ready to be hemmed. Hemming is the process of creating a finished edge at the bottom of the curtains to give them a tailored and polished appearance. The next steps involve measuring and marking the desired length for the finished curtains, so you can confidently proceed with the hemming process.
(continue writing)
Read more: What Are Sheer Curtains
Measuring and Marking
Accurate measurements are crucial when hemming sheer curtains to ensure a precise and even finished length. Follow these steps to measure and mark your sheer curtains:
- Tape measure: Begin by using a tape measure to determine the desired length for your curtains. Measure from the top of the rod or track down to where you want the curtains to end. Take into account any additional fabric you might need for the hem, as well as any desired pooling or break at the bottom.
- Marking: Once you have determined the desired length, use pins to mark the hemline. Start at one corner of the curtain and insert a pin at the intended hem length. Move along the curtain, placing pins at regular intervals to create a straight and even line. Take your time and ensure that the pins go through both layers of fabric.
- Measuring again: After marking the pins, it’s a good idea to double-check the measurements to ensure accuracy. Use the tape measure to confirm that the distance from the top of the rod or track to the marked hemline is consistent across the entire width of the curtain.
Measuring and marking the desired length for your sheer curtains will provide a clear guide for the hemming process. It will also help you maintain consistency throughout the curtains, ensuring a professional-looking finish. With the measurements in place, you are now ready to proceed with the actual hemming techniques.
(continue writing)
Hemming Techniques
When it comes to hemming sheer curtains, there are several techniques you can choose from depending on your sewing skills, available tools, and personal preference. Here are three common methods for hemming sheer curtains:
Option 1: Hand-sewing the Hem
If you enjoy hand-sewing and prefer a more traditional approach, this technique is for you. Follow these steps to hand-sew the hem on your sheer curtains:
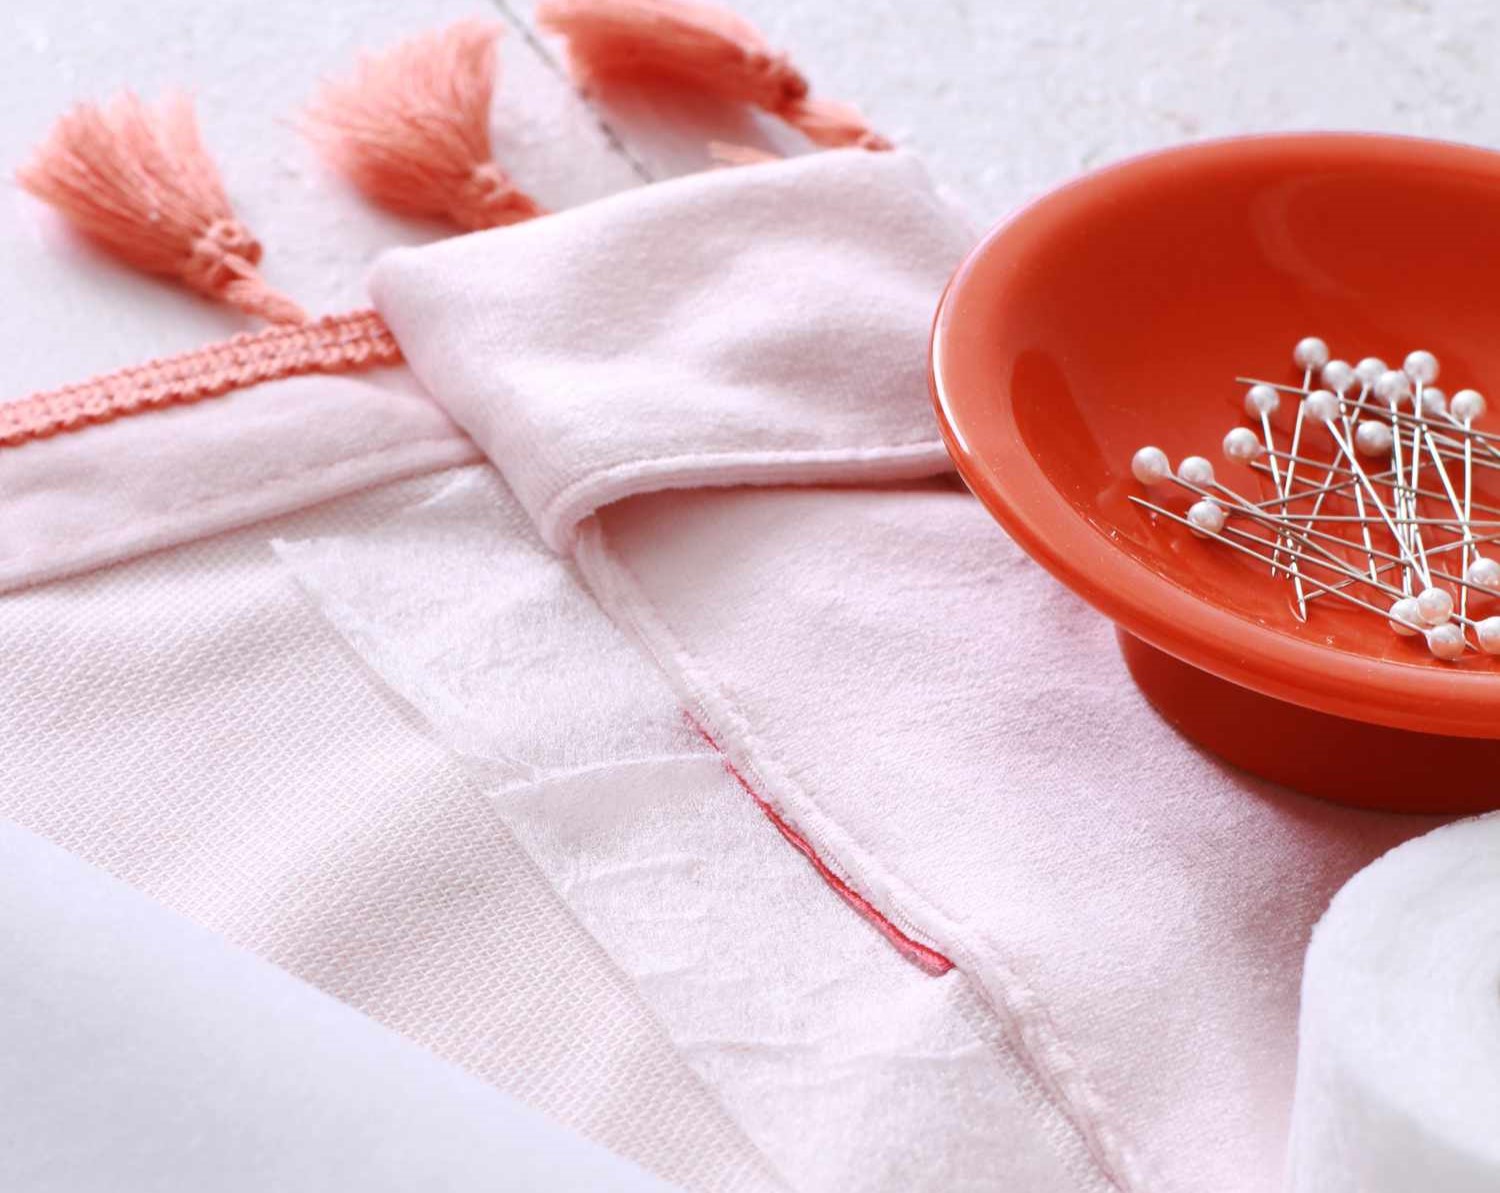
- Fold and pin: Start by folding the fabric up along the marked hemline. Pin the folded fabric in place, ensuring that the pins go through both layers of fabric. Space the pins evenly along the entire width of the curtain.
- Thread the needle: Thread a fine needle with thread that matches the color of your sheer curtains.
- Sewing: Employ a basic hemming stitch, such as a slip stitch or a blind hem stitch. Bring the needle through the fold at the bottom of the curtain, catching a small amount of fabric. Take the needle across to the opposite side and insert it back through the fold, creating small, invisible stitches. Repeat this process along the entire hemline until the hem is securely stitched.
- Knotting and securing: Once you have reached the end of the hem, create a small knot to secure the thread. Trim any excess thread.
Option 2: Using a Sewing Machine
If you have access to a sewing machine and prefer a quicker and more precise method, machine-sewing the hem might be the right choice for you. Follow these steps to use a sewing machine for hemming your sheer curtains:
- Fold and pin: Fold the fabric up along the marked hemline and use pins to secure the folded fabric in place. Make sure the pins go through both layers of fabric, and space them evenly along the entire width of the curtain.
- Setting up the machine: Set up your sewing machine with a fine needle suitable for sheer fabrics and thread that matches the color of your curtains.
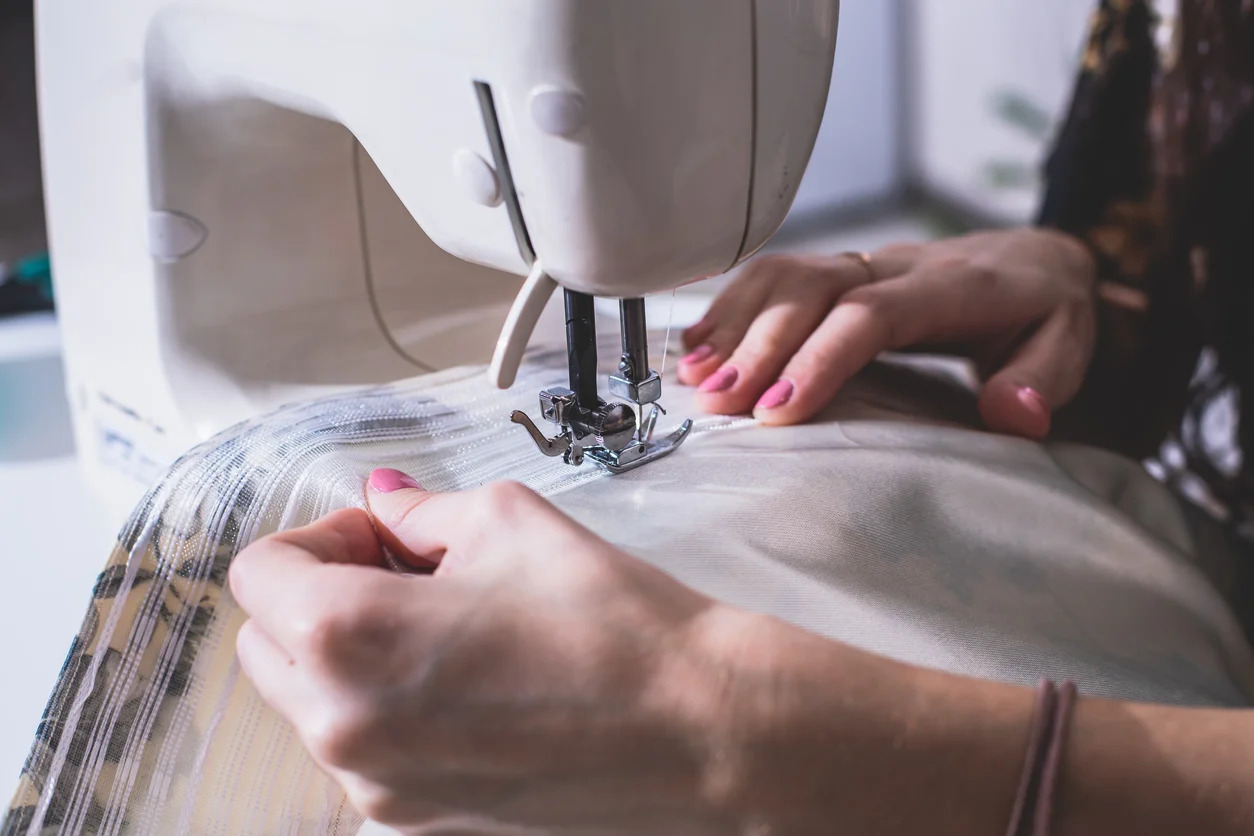
- Sewing: Sew a straight stitch along the folded edge of the hem, removing the pins as you go. Take your time to maintain an even stitch and keep the fabric flat and smooth. Backstitch at the beginning and end to secure the stitches.
- Trimming: Trim any excess fabric and loose threads from the hem. Press the hem with a warm iron, using a pressing cloth to protect the sheer fabric.
Read more: How To Hang Curtains With Sheers
Option 3: Heat-N-Bond Hemming
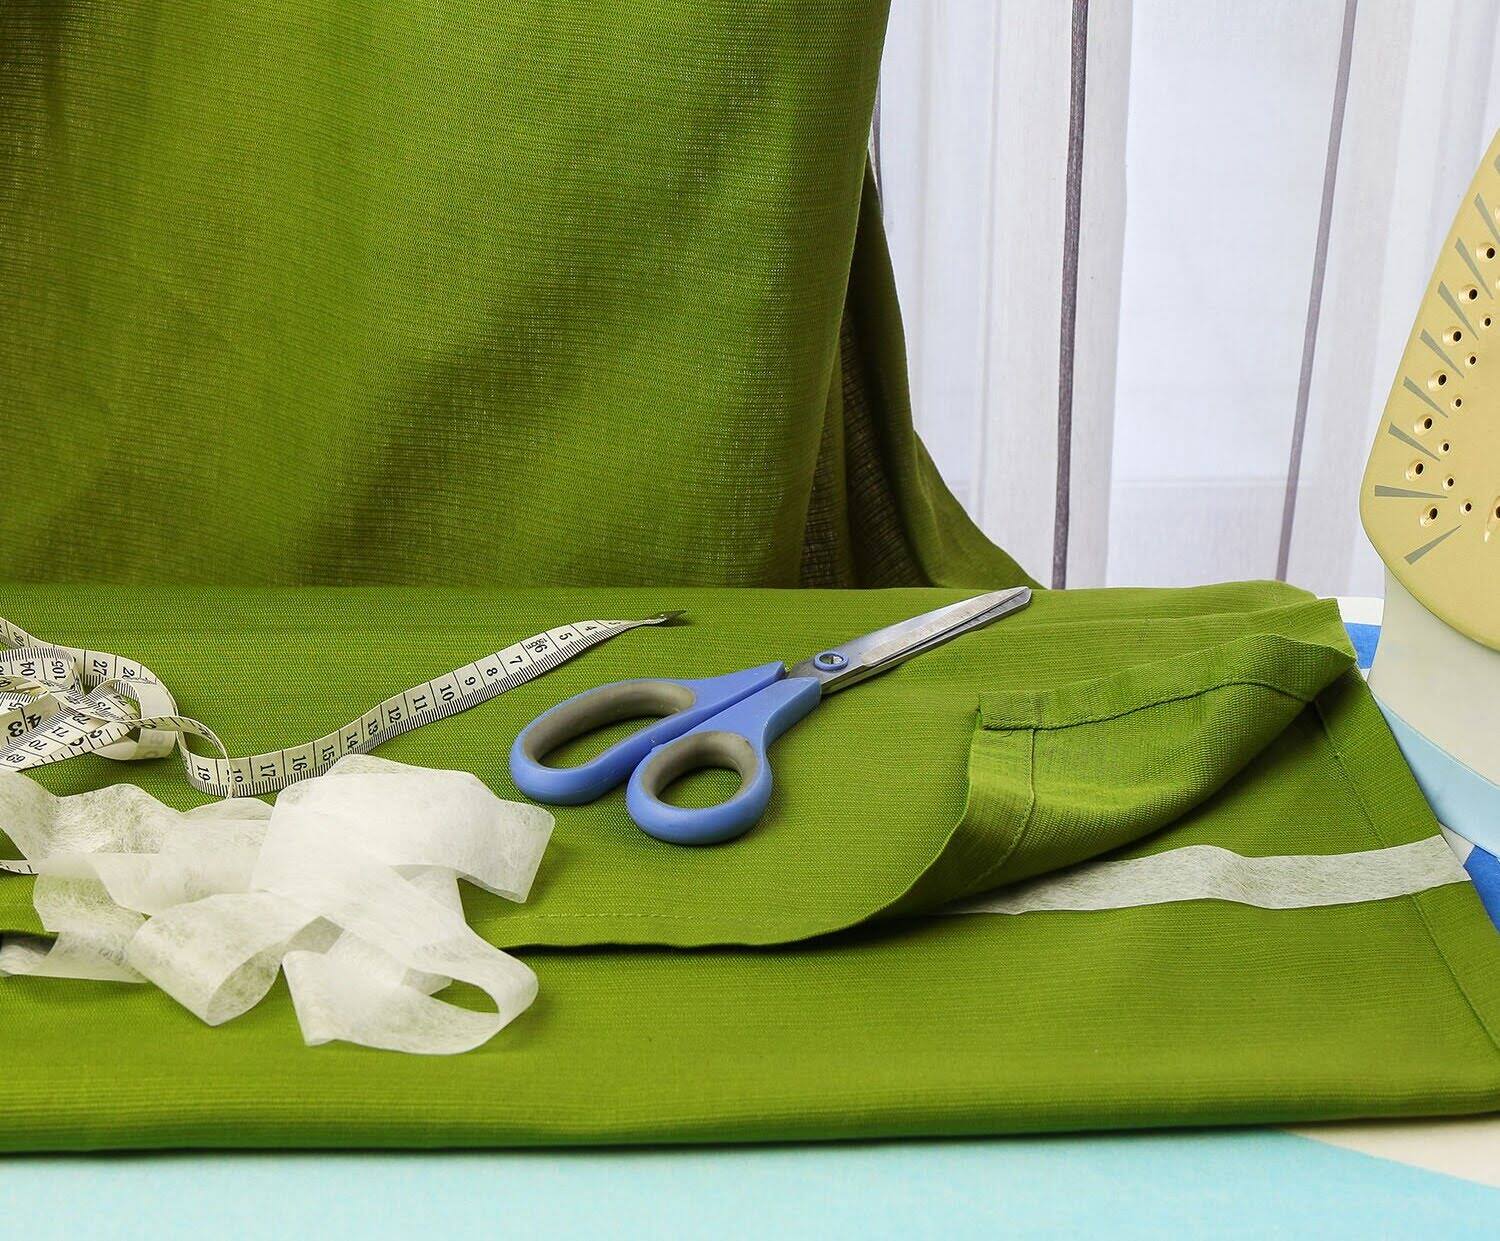
If you prefer a no-sew option or want a temporary hemming solution, using heat-n-bond hemming tape is a great choice. Follow these steps to achieve a quick and easy hem using heat-n-bond hemming:
- Cut the tape: Measure and cut the heat-n-bond hemming tape to match the width of the marked hemline.
- Ironing the tape: Place the heat-n-bond hemming tape between the folded fabric and the sheer curtain, ensuring that the tape is centered along the hemline. Use a low heat setting and press the iron over the fabric for a few seconds, melting the adhesive and fusing the fabric layers together.
- Completing the hem: Allow the fabric to cool before gently folding and pressing the hem with your hand. This will ensure a secure bond between the layers of fabric.
Choose the hemming technique that suits your preferences and available resources. All three methods will provide professional-looking results and ensure that your sheer curtains have a clean and finished appearance.
(continue writing)
Option 1: Hand-sewing the Hem
If you enjoy the art of hand-sewing and want to achieve a delicate and precise hem on your sheer curtains, this technique is for you. Follow these steps to hand-sew the hem:
- Fold and pin: Start by folding the fabric up along the marked hemline. Use small, sharp pins to secure the folded fabric in place, ensuring that the pins go through both layers of fabric. Space the pins evenly along the entire width of the curtain.
- Thread the needle: Thread a fine needle with thread that matches the color of your sheer curtains. Knot the end of the thread to secure it in place.
- Sewing: Begin sewing by inserting the needle into the folded fabric from the backside of the curtain. Take small stitches, catching only a few threads of fabric each time, to create a nearly invisible stitch. Pull the needle and thread through, leaving a small loop on top of the fabric.
- Securing the stitch: Insert the needle back into the fold of the fabric, passing it through the loop created in the previous step. Pull the thread gently to tighten the stitch. Continue sewing, repeating this process along the entire hemline.
- Knotting and securing: Once you have reached the end of the hem, create a small knot by making a loop and passing the needle through it. Pull the thread tightly to secure the knot. Trim any excess thread.
Hand-sewing the hem allows for precision and control, ensuring that the stitches remain invisible and the fabric is not damaged. Take your time and sew with care to achieve a beautifully finished hem on your sheer curtains.
Once you have completed the hand-sewing process, it’s important to make some final adjustments and give your curtains a polished look.
(continue writing)
When hemming sheer curtains, use a small, fine needle and lightweight thread to create a nearly invisible hem. Iron the hem before sewing to ensure a clean, straight edge.
Option 2: Using a Sewing Machine
If you prefer a faster and more efficient method of hemming your sheer curtains, using a sewing machine is an excellent option. Follow these steps to achieve a clean and professional-looking hem with a sewing machine:
- Fold and pin: Begin by folding the fabric up along the marked hemline. Use thin, sharp pins to secure the folded fabric in place, ensuring that the pins go through both layers of fabric. Space the pins evenly along the entire width of the curtain.
- Set up the sewing machine: Prepare your sewing machine by selecting a fine needle suitable for sheer fabrics and a thread color that blends with your curtains. Thread the machine and wind the bobbin with matching thread.
- Test stitch: Before starting the actual hemming, it’s a good idea to test the stitch on a scrap piece of fabric to ensure the tension and stitch length are correct for the sheer fabric.
- Sewing the hem: Position the curtain under the sewing machine foot, aligning the folded edge with the edge of the presser foot. Lower the foot and adjust the stitch length to a medium or small setting. Starting at one end of the curtain, slowly guide the fabric through the machine, removing the pins as you go. Use a straight stitch to sew along the folded edge, making sure to maintain an even seam allowance.
- Backstitch and finish: Backstitch at the beginning and end of the hem to secure the stitches. Once the hem is complete, trim any excess fabric and loose threads. Press the hem with a warm iron, using a pressing cloth to protect the delicate sheer fabric.
Using a sewing machine provides speed and precision, making it an ideal choice for hemming sheer curtains. Take your time to ensure that the stitch is straight and even, and adjust the settings as needed to achieve the best results for your particular fabric.
With the hem sewn by machine, the next step is to give your curtains a final touch-up and complete the finishing touches.
(continue writing)
Option 3: Heat-N-Bond Hemming
If you’re looking for a quick and easy no-sew option for hemming your sheer curtains, using Heat-N-Bond hemming tape is a fantastic choice. Follow these steps to achieve a fuss-free and reliable hem using Heat-N-Bond hemming tape:
- Cut the tape: Start by measuring and cutting the Heat-N-Bond hemming tape to match the width of the marked hemline.
- Position the tape: Place the Heat-N-Bond hemming tape between the folded fabric and the sheer curtain, ensuring that the tape is centered along the hemline.
- Ironing: Set your iron to a low heat setting suitable for the sheer fabric. Gently press the iron over the fabric, applying heat to the area where the tape is placed. Move the iron along the hemline, adhering the tape and creating a bond between the layers of fabric.
- Completing the hem: Allow the fabric to cool before gently folding and pressing the hem with your hand. This will ensure a secure bond between the layers of fabric.
Using Heat-N-Bond hemming tape eliminates the need for sewing, making it a convenient option for those who don’t have access to a sewing machine or prefer not to sew. The tape provides a strong bond that holds the hem in place, creating a clean and polished edge.
However, it’s important to note that Heat-N-Bond hemming tape isn’t as permanent as sewing. If you want to remove or adjust the hem in the future, simply reapply heat to the tape and carefully peel it off.
With the hem securely bonded using Heat-N-Bond hemming tape, your sheer curtains are almost complete. The final step is to make any necessary finishing touches and ensure that your curtains look impeccable.
(continue writing)
Read more: How To Layer Curtains With Sheers
Finishing Touches
Now that you’ve successfully hemmed your sheer curtains using your chosen technique, it’s time to add some finishing touches to ensure they look polished and ready to adorn your windows. Here are a few steps you can take to give your curtains that final touch:
- Trim any loose threads: Carefully inspect the hem and trim any loose threads with sharp fabric scissors. This helps to achieve a clean and neat finish.
- Press the hem: Use a warm iron on a low heat setting to gently press the hem. Lay a pressing cloth over the fabric to protect it from direct heat. Pressing helps to set the stitches and create a crisp look.
- Hang the curtains: Hang your sheer curtains on the rod or track and adjust them to your desired length. Step back and admire your beautiful handiwork!
- Style and accessorize: Consider adding curtain rings, clips, or decorative tiebacks to enhance the look of your sheer curtains. Experiment with different styles and accessories to find the perfect complement to your room’s decor.
- Curtain care: Remember to follow the care instructions for your sheer curtains. Some may be machine washable, while others require professional cleaning. Take care when laundering and ironing to preserve the delicate fabric.
By paying attention to these finishing touches, you can ensure that your sheer curtains not only look professionally hemmed but also beautifully complement your space.
With your sheer curtains now hemmed and styled to perfection, you can enjoy the stunning elegance they bring to your room. Whether they gently filter sunlight, provide a touch of privacy, or serve as a decorative element, your hemmed sheer curtains will add a refined and sophisticated ambiance to any space.
Remember, hemming sheer curtains may require some practice and patience, but the end result is well worth the effort. So take your time, enjoy the process, and revel in the satisfaction of creating custom, perfectly hemmed sheer curtains for your home.
(continue writing)
Conclusion
Hemming sheer curtains may seem like a daunting task, but with the right tools, techniques, and a little patience, you can achieve stunning results. Whether you choose to hand-sew the hem, use a sewing machine, or opt for the convenience of Heat-N-Bond hemming tape, each method offers its own advantages.
By following the steps outlined in this article, you’ll be able to prepare your sheer curtains, measure and mark for hemming, and select the hemming technique that suits your preferences and skills. The finishing touches, such as trimming loose threads and pressing the hem, add the final polish to your curtains.
Remember that hemming sheer curtains requires precision and care due to the delicate nature of the fabric. Take your time, practice on scrap fabric if needed, and always double-check your measurements to ensure a professional-looking finished product.
Once your sheer curtains are beautifully hemmed and hung in your space, you’ll enjoy the elegance, privacy, and light diffusion they provide. Whether they grace your living room, bedroom, or any other room in your home, your hemmed sheer curtains will add a sophisticated touch to your decor.
Don’t be afraid to get creative and experiment with different styles and accessories to personalize your curtains and make them truly your own. And remember to follow the care instructions for your sheer curtains to ensure they stay in excellent condition for years to come.
Now that you have the knowledge and confidence to hem sheer curtains, it’s time to put your skills into practice. Enjoy the process, embrace your creativity, and transform your sheer curtains into stunning window treatments that will enhance the beauty of your home.
Happy hemming!
Now that you've mastered hemming sheer curtains, why not delve deeper into the world of window dressings? Discover sheer curtains that can transform any room in 2024, or learn about light filtering curtains and their ability to subtly enhance natural light. For those eager to redesign multiple spaces, don't miss our compilation of curtain styles, offering creative ideas and practical tips for every room. Each guide provides valuable insights, ensuring your home not only looks great but feels perfectly personalized.
Frequently Asked Questions about How To Hem Sheer Curtains
Was this page helpful?
At Storables.com, we guarantee accurate and reliable information. Our content, validated by Expert Board Contributors, is crafted following stringent Editorial Policies. We're committed to providing you with well-researched, expert-backed insights for all your informational needs.






0 thoughts on “How To Hem Sheer Curtains”