Home>Technology>Smart Home Devices>How To Mount A Wi-Fi Router On A Wall

Smart Home Devices
How To Mount A Wi-Fi Router On A Wall
Modified: February 29, 2024
Learn how to securely mount your Wi-Fi router on a wall for optimal performance and aesthetics in your smart home setup. Explore the best techniques and tips for installing smart home devices.
(Many of the links in this article redirect to a specific reviewed product. Your purchase of these products through affiliate links helps to generate commission for Storables.com, at no extra cost. Learn more)
Introduction
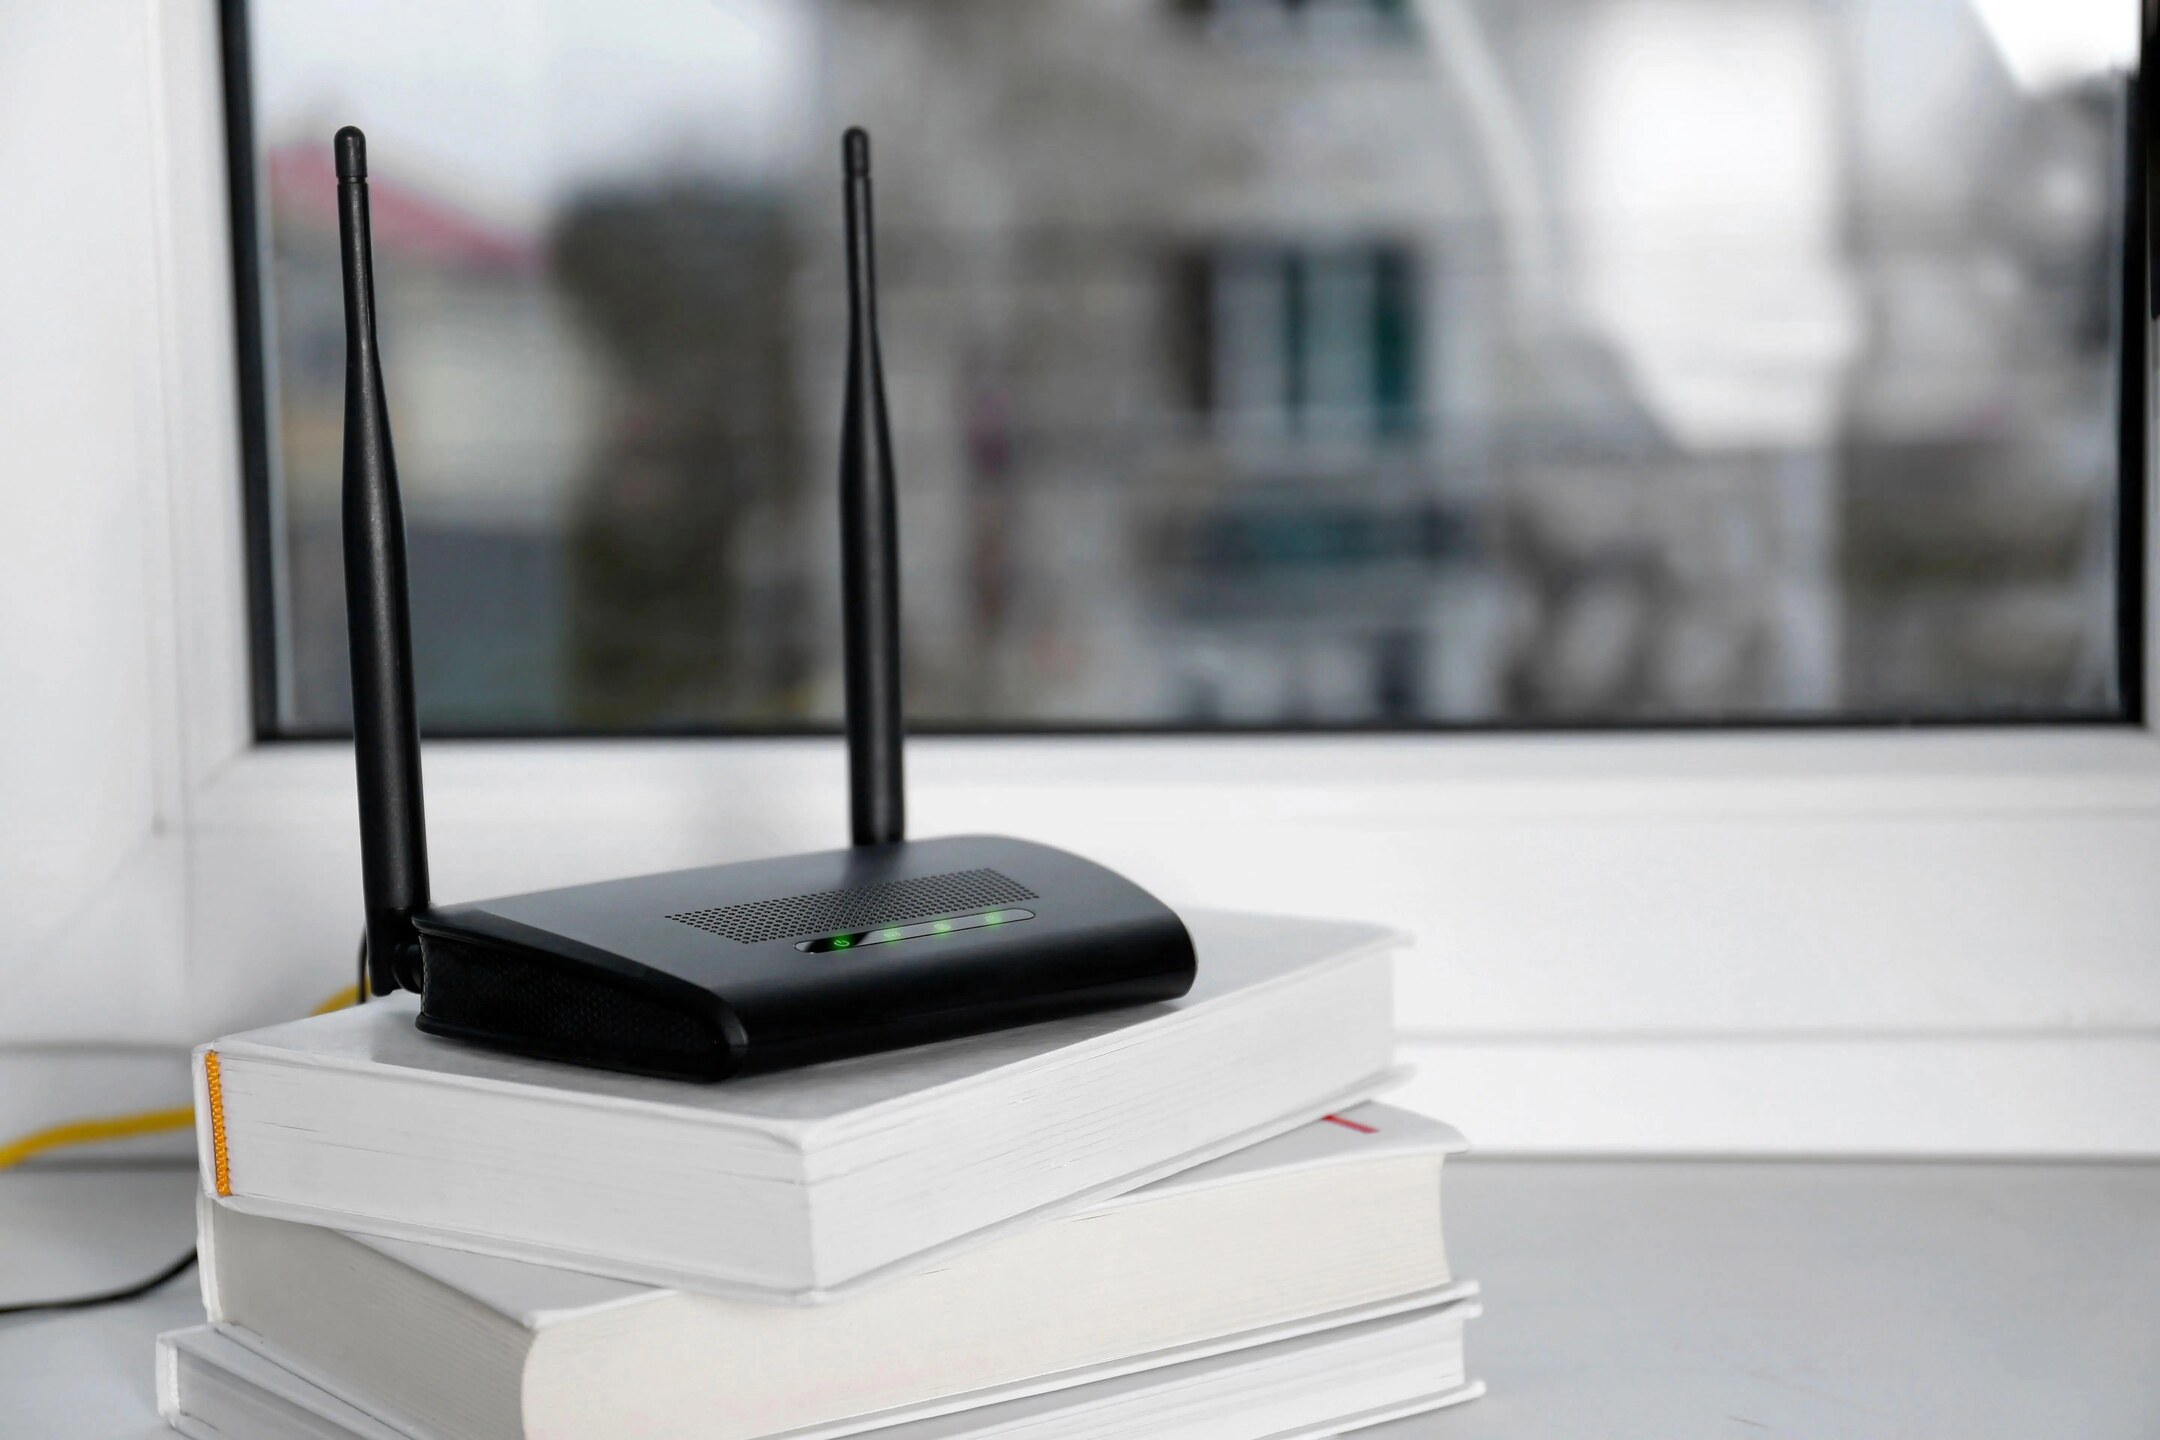
In the age of seamless connectivity, a Wi-Fi router is the cornerstone of a smart home. It's the hub that enables us to stream our favorite shows, work from home, and stay connected with friends and family. However, to ensure optimal performance, it's crucial to mount the router in an ideal location. This not only enhances the signal strength but also minimizes interference, resulting in a smoother and more reliable internet experience.
In this guide, we will delve into the process of mounting a Wi-Fi router on a wall, providing step-by-step instructions and valuable insights to help you optimize your home network. By the end of this article, you will be equipped with the knowledge and confidence to elevate your Wi-Fi experience through proper router placement. So, let's roll up our sleeves and embark on this journey to enhance our digital connectivity!
Key Takeaways:
- Mounting your Wi-Fi router on a wall in a centralized, unobstructed location can enhance signal strength and coverage, leading to a more reliable and seamless wireless network experience at home.
- After mounting the router, connecting the necessary cables and conducting thorough testing ensures a stable and efficient network setup, empowering you to enjoy robust and dependable wireless connectivity for various digital activities.
Read more: What Is The Wi-Fi Router
Tools and Materials Needed
Before diving into the process of mounting your Wi-Fi router, it’s essential to gather the necessary tools and materials. Here’s a comprehensive list to ensure you have everything at your disposal:
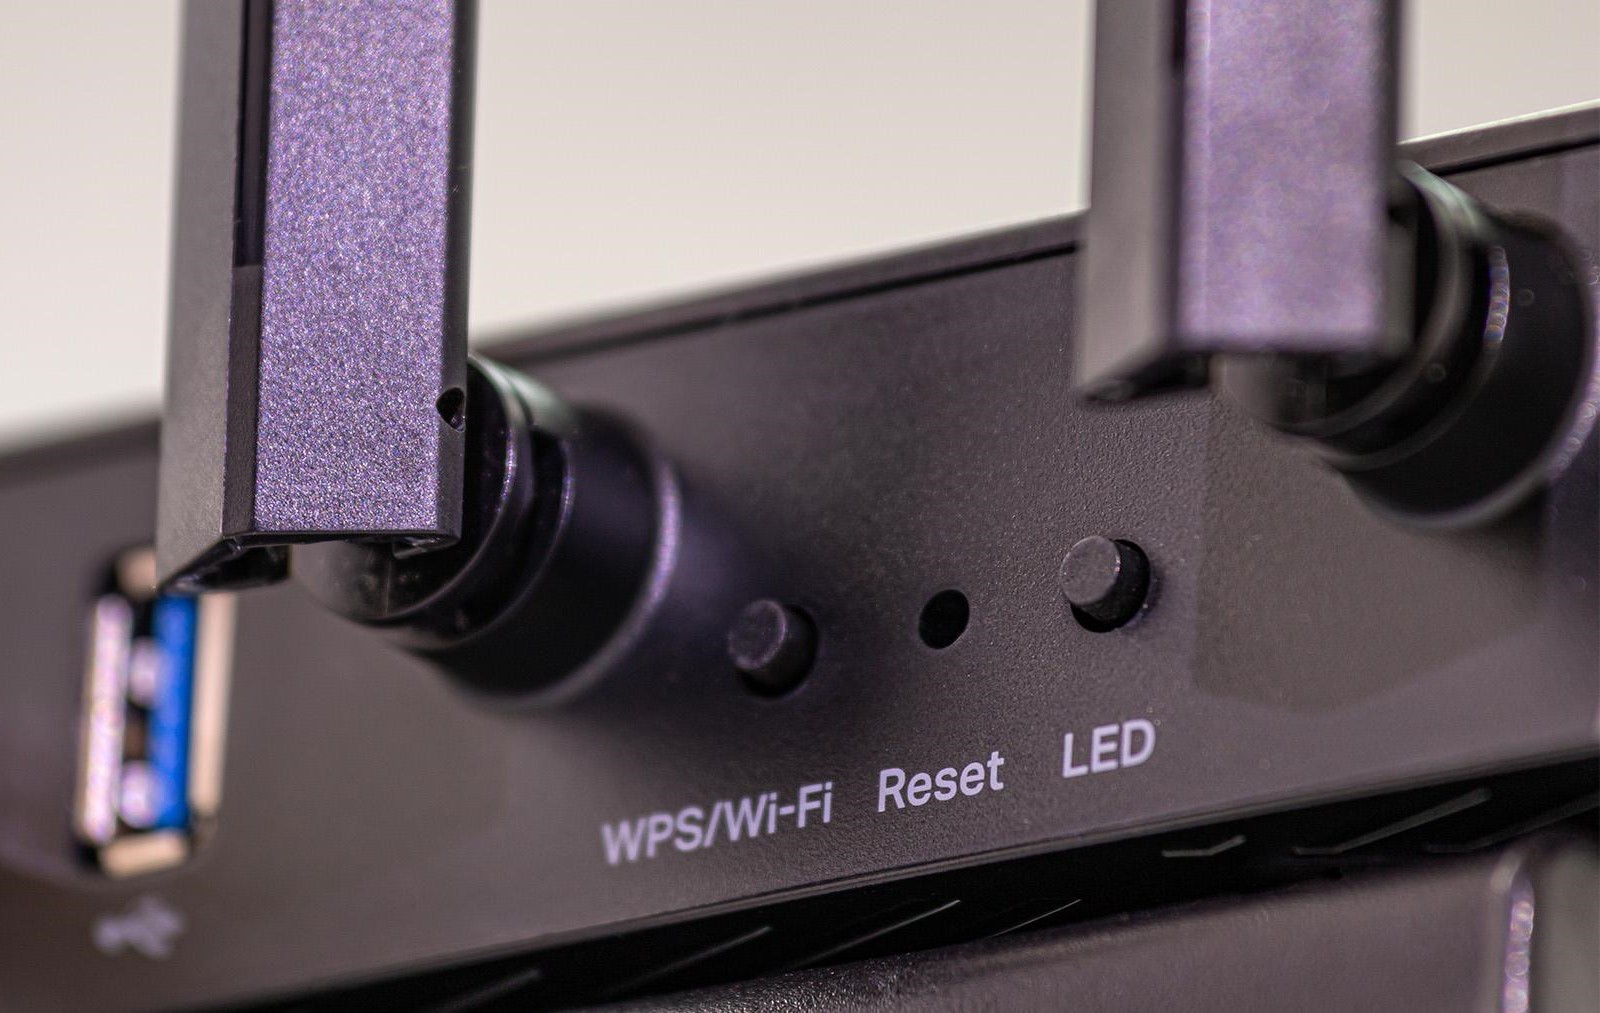
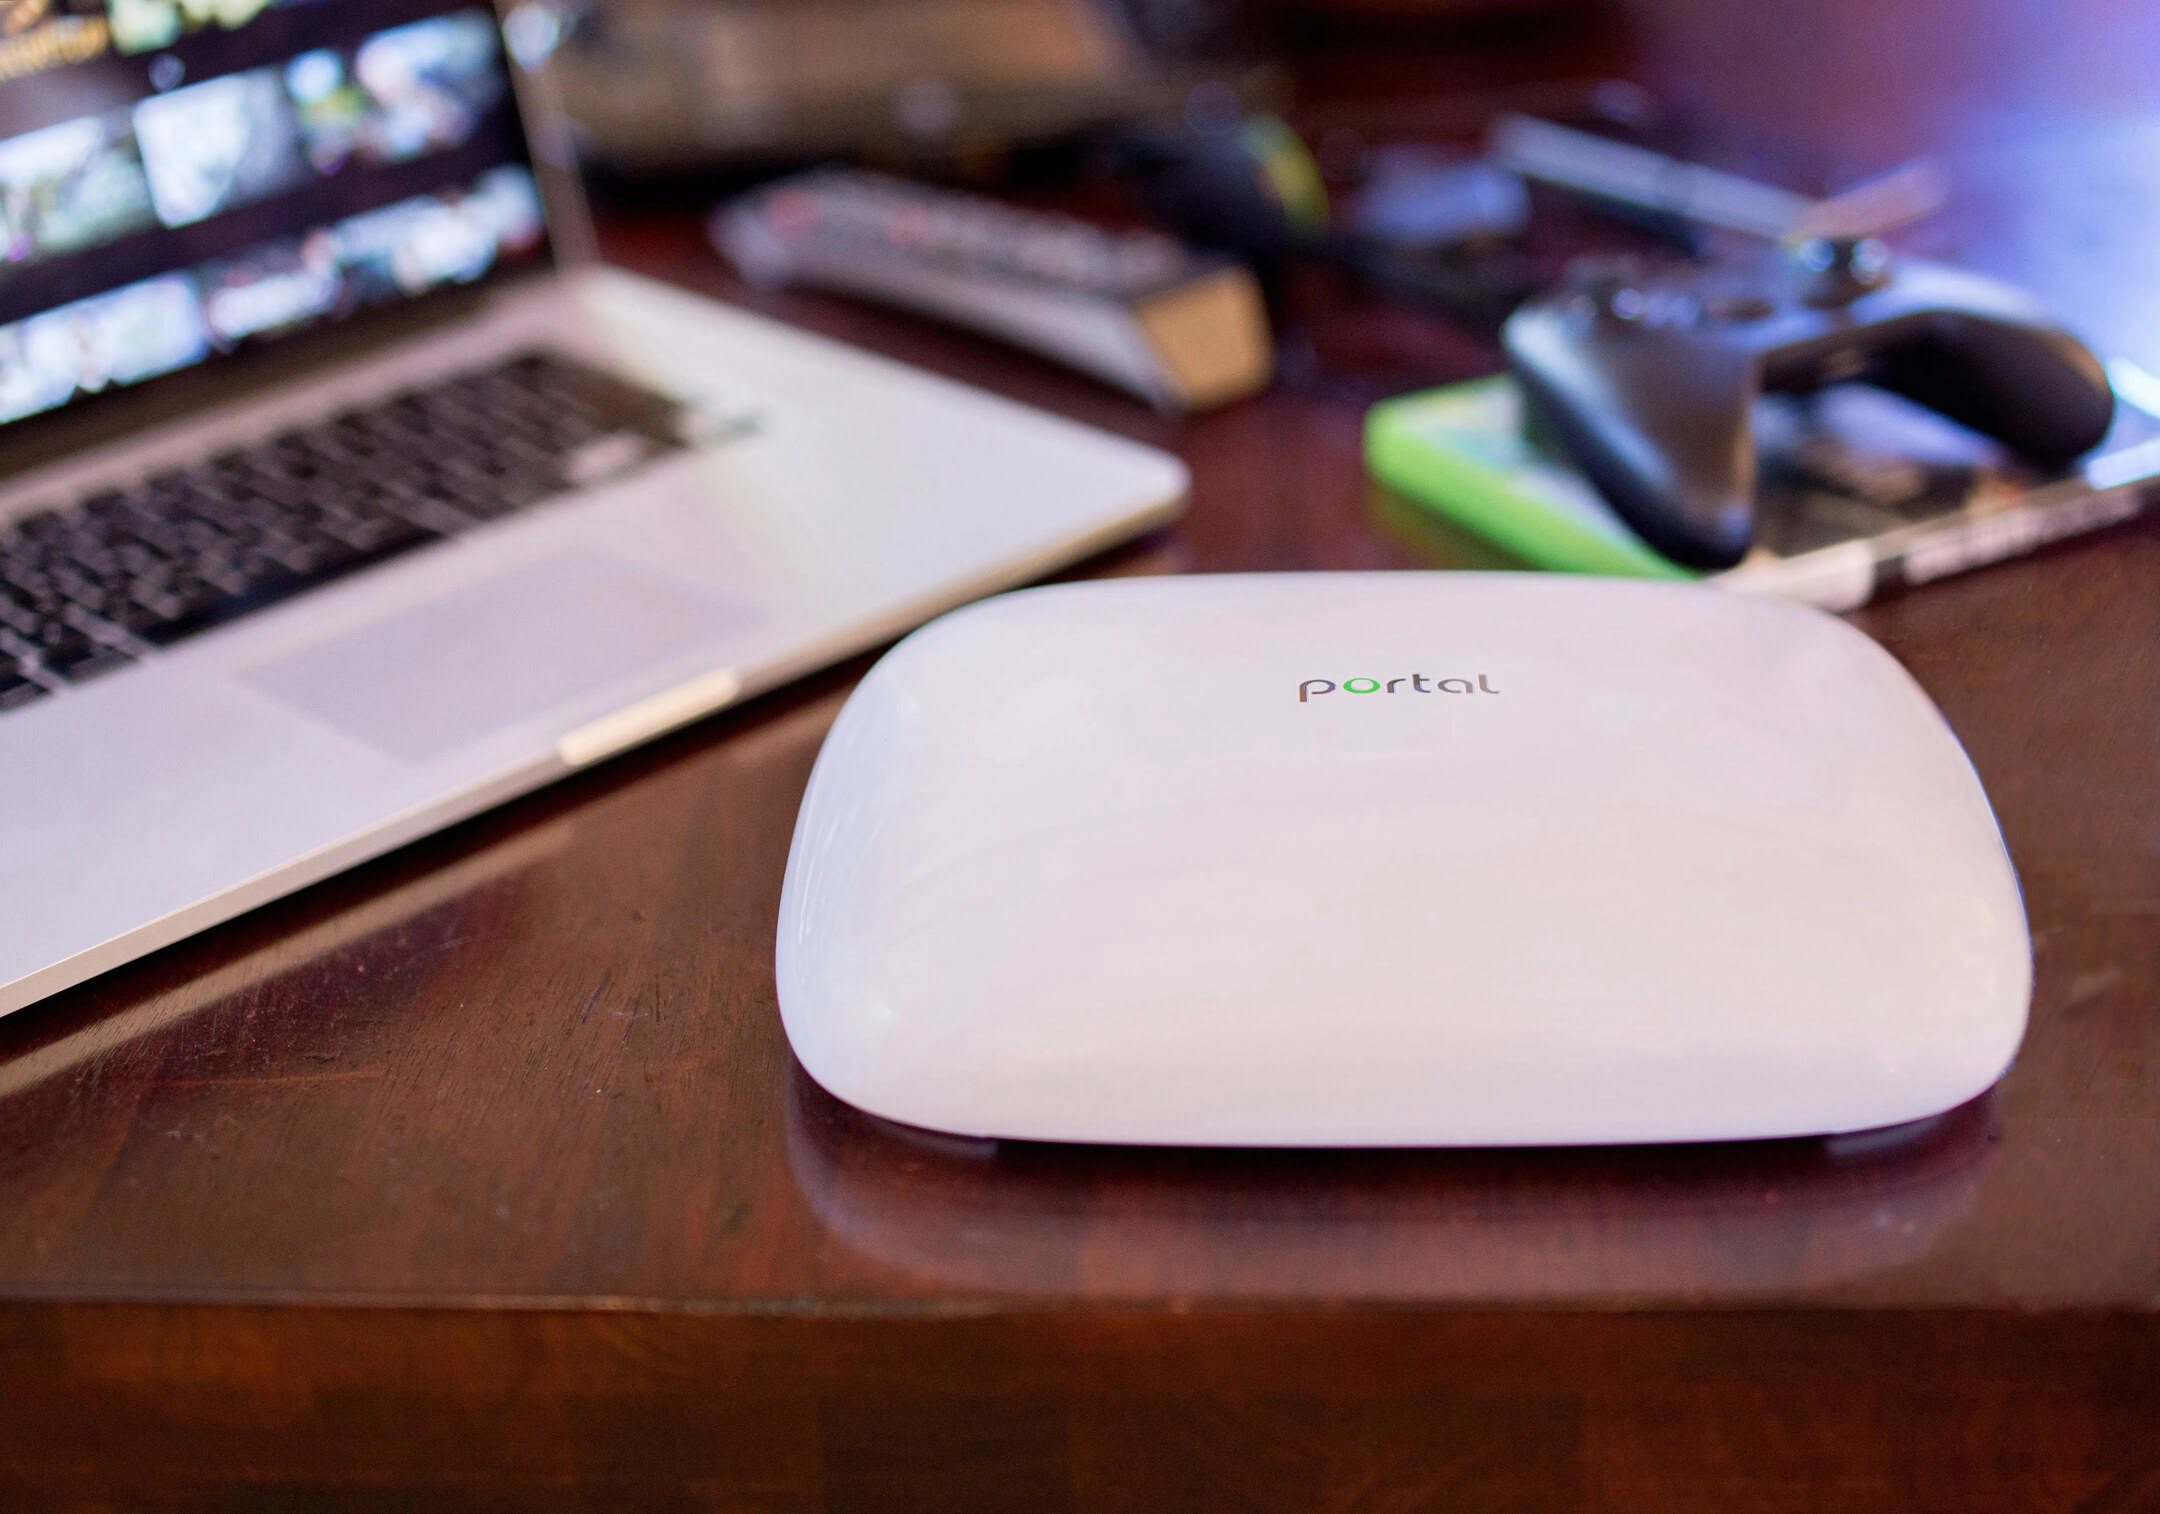
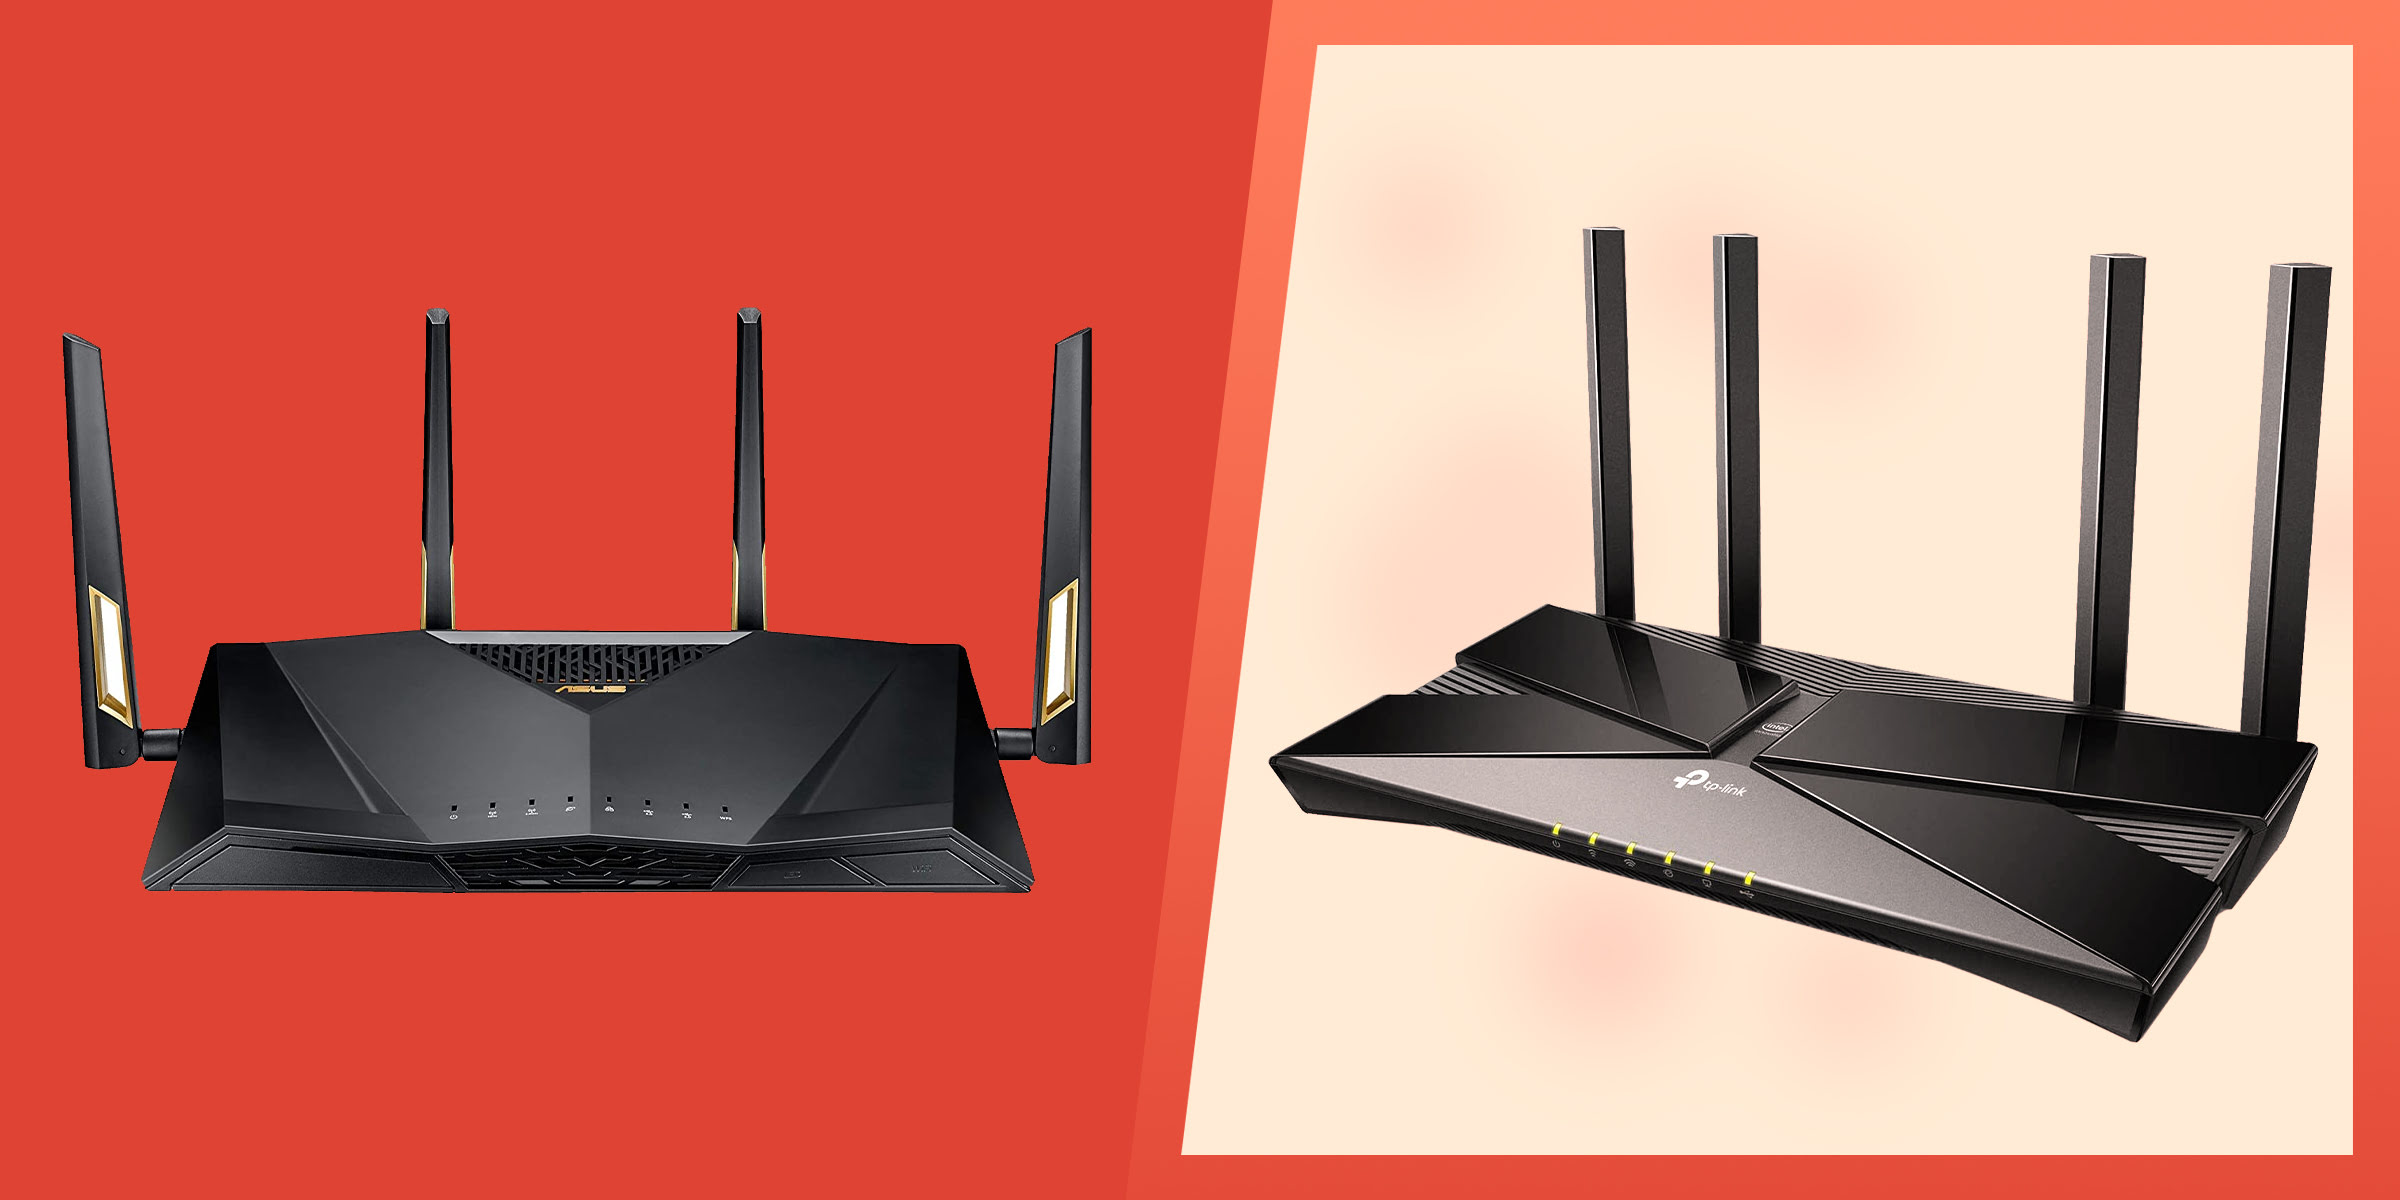
- Wi-Fi Router: The central component of your home network, ensure it’s ready for mounting and has the necessary mounting brackets or slots.
- Mounting Bracket or Shelf: Depending on your router’s design, you may need a mounting bracket or shelf specifically designed for routers.
- Power Drill: To create pilot holes and secure the mounting hardware to the wall.
- Screwdriver: Choose the appropriate type based on the screws included with the mounting hardware.
- Screws and Wall Anchors: Ensure you have suitable screws and wall anchors for the specific wall type (drywall, concrete, etc.) where the router will be mounted.
- Level: To ensure the router is mounted perfectly straight, promoting optimal signal distribution.
- Stud Finder: If you plan to mount the router on a stud, a stud finder is essential for locating the wooden beams behind the wall.
- Measuring Tape: To accurately measure and mark the mounting points, ensuring precision during the installation process.
- Marker or Pencil: For marking the precise spots where the mounting hardware will be installed.
- Extension Cord: If the router’s power cable is not long enough to reach the nearest power outlet after mounting.
By ensuring you have all these tools and materials on hand, you’ll be well-prepared to tackle the task of mounting your Wi-Fi router with confidence and precision.
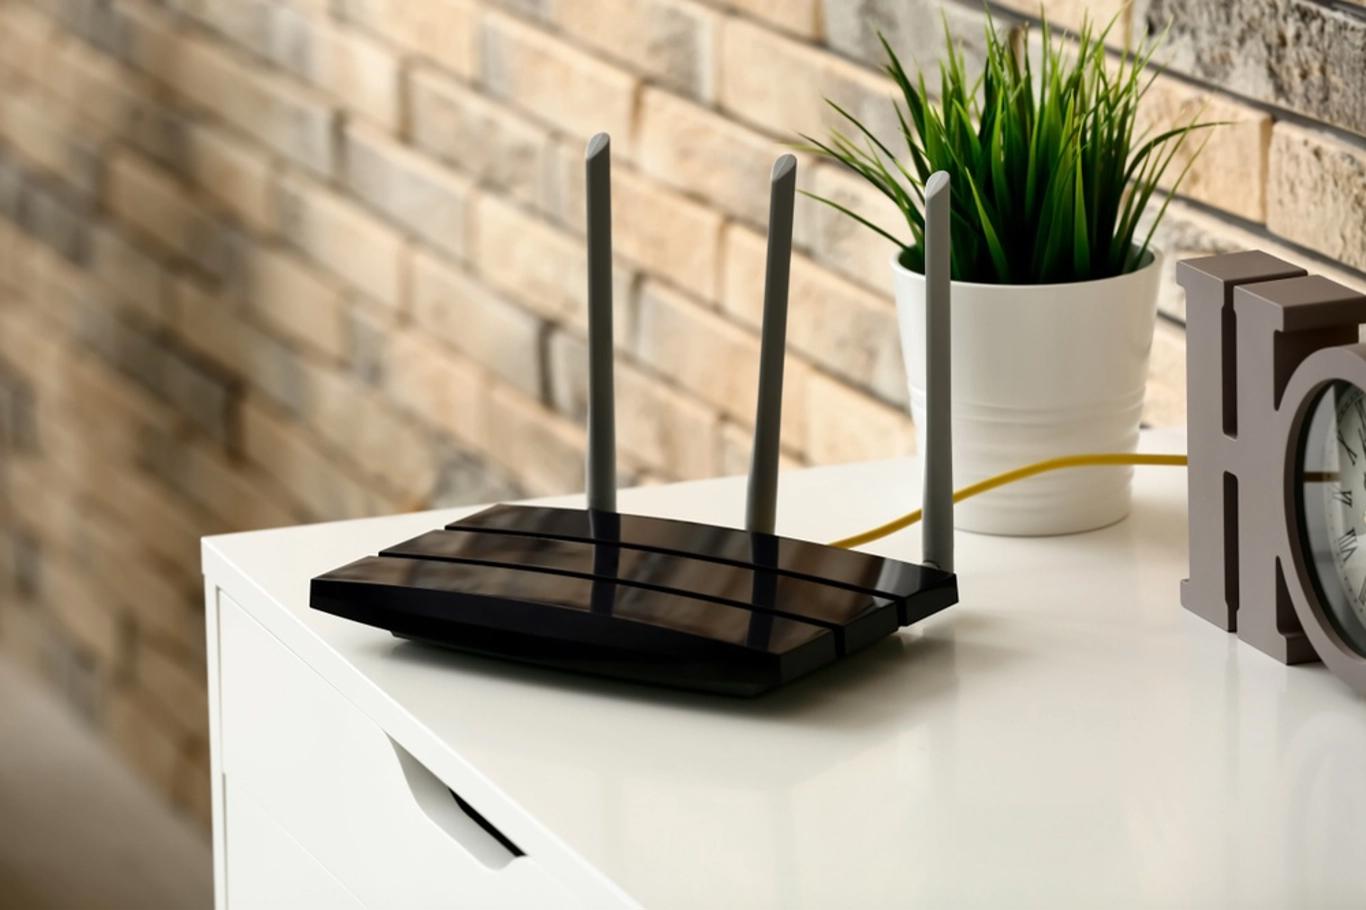
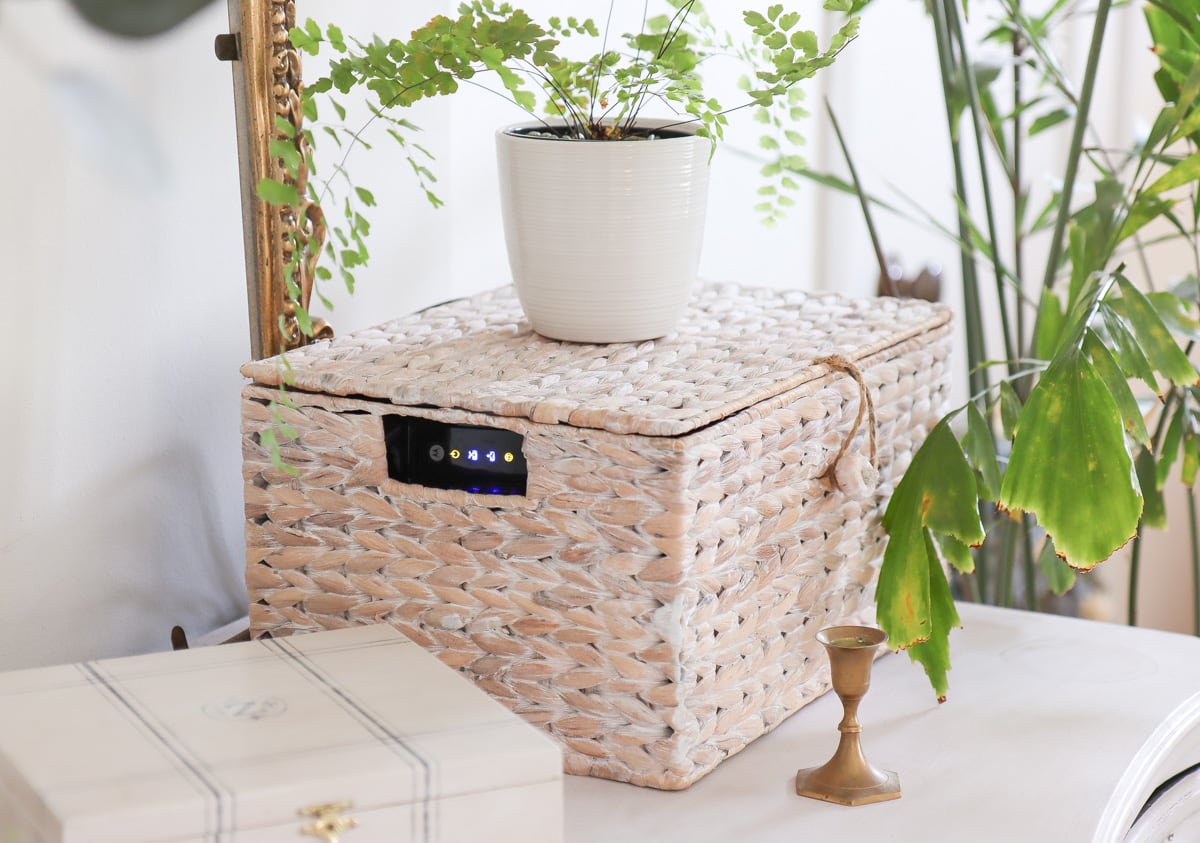
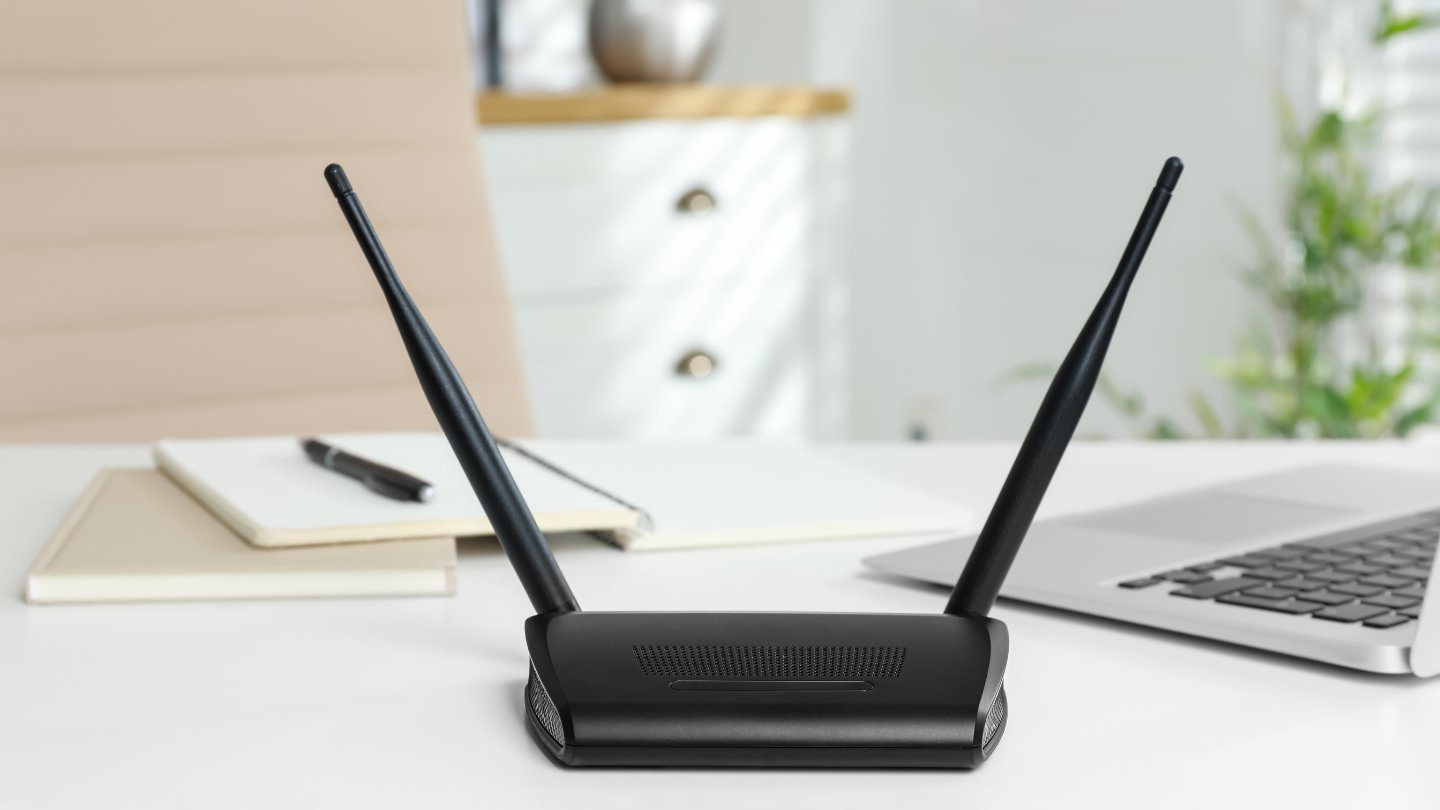
Choosing the Right Location
When it comes to mounting a Wi-Fi router, selecting the optimal location is paramount to its performance and the overall connectivity of your home network. Here are some key considerations to keep in mind:
- Centralized Placement: Aim to position the router in a central location within your home. This helps ensure that the Wi-Fi signal can reach all areas with minimal obstruction, providing consistent coverage throughout your living space.
- Away from Obstructions: Avoid placing the router near large obstructions such as metal cabinets, thick walls, or other electronic devices that may interfere with the signal’s reach. Ideally, the router should be elevated and placed away from dense obstacles to maximize its coverage area.
- Elevation: Mounting the router at a higher elevation, such as on a wall, can significantly enhance its signal propagation. This can help mitigate interference from ground-level obstructions and improve the overall reach of the Wi-Fi network.
- Avoiding Interference: Steer clear of locations near microwave ovens, cordless phones, and other devices that operate on the same frequency as Wi-Fi signals. Interference from these appliances can disrupt the router’s performance, leading to connectivity issues.
- Accessibility: While considering the ideal placement, ensure that the router remains easily accessible for maintenance and troubleshooting. Mounting it at a convenient height and location can simplify future adjustments or repairs.
By carefully evaluating these factors, you can identify the prime location for mounting your Wi-Fi router. This strategic placement will not only optimize signal strength and coverage but also contribute to a more seamless and reliable wireless networking experience within your home.
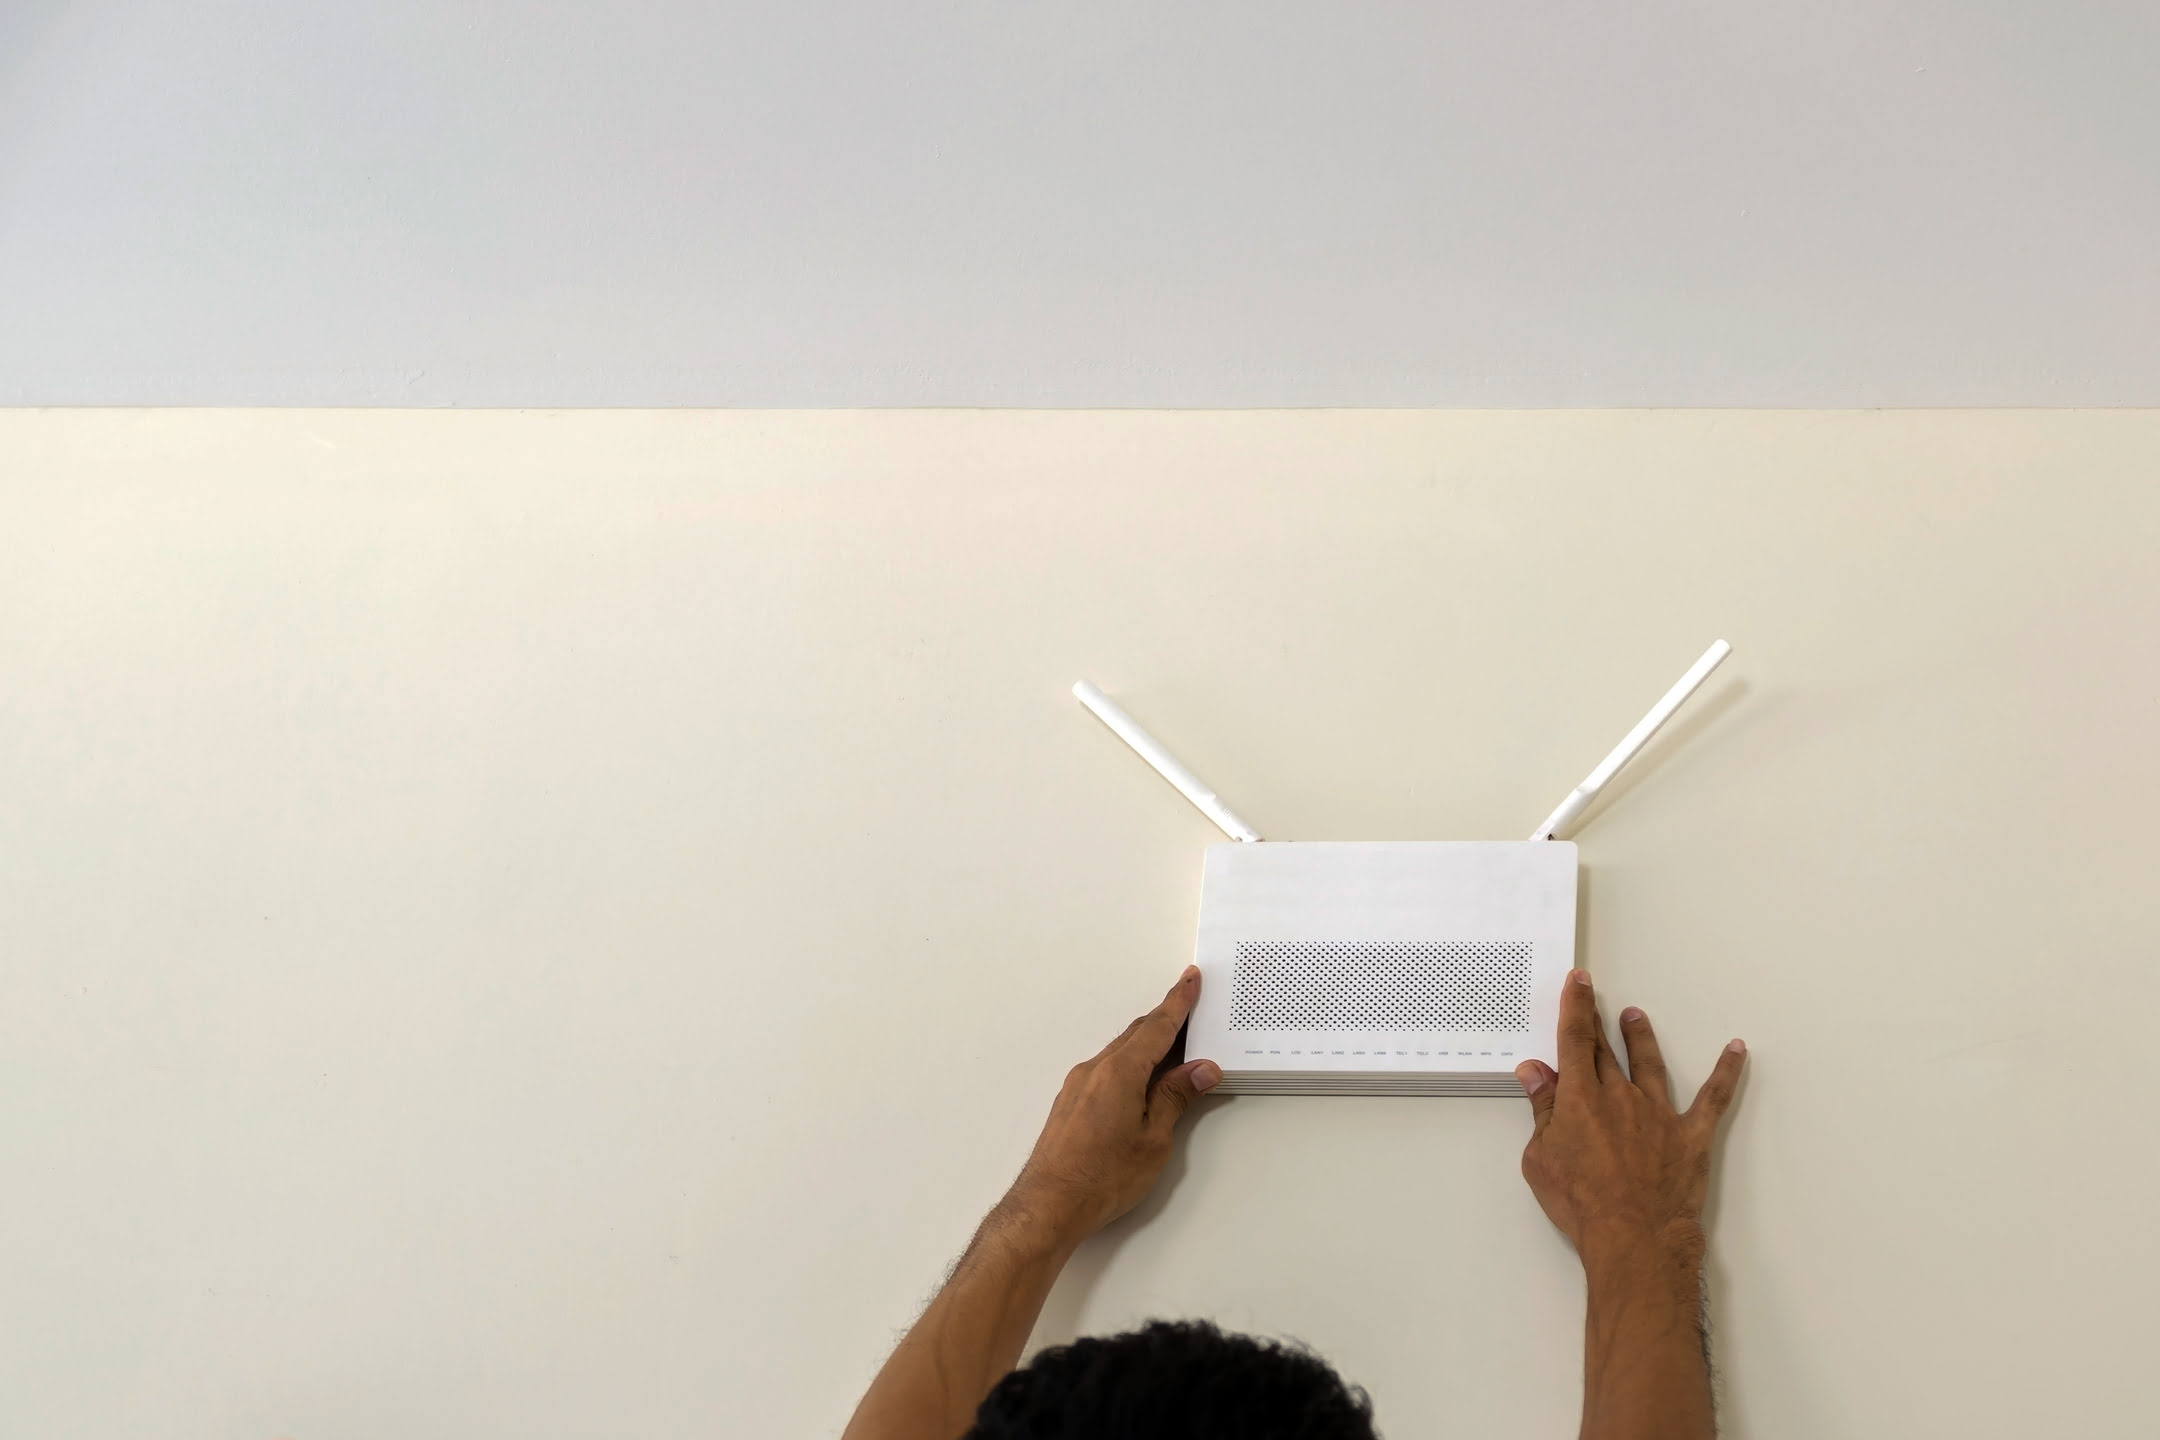
Mounting the Router
Now that you’ve identified the ideal location for your Wi-Fi router, it’s time to proceed with the mounting process. Follow these steps to securely affix the router to the chosen wall:
- Prepare the Mounting Area: Clear the designated wall space and ensure it’s free from any obstructions. Use a stud finder to locate the wooden beams behind the wall, as mounting the router on a stud can provide added stability.
- Mark the Mounting Points: Using a measuring tape and a pencil, mark the precise spots where the mounting hardware will be installed. Ensure the marks align with the router’s mounting slots or brackets.
- Drill Pilot Holes: If necessary, use a power drill to create pilot holes at the marked points. This will facilitate the insertion of screws and anchors, ensuring a secure attachment to the wall.
- Secure the Mounting Hardware: Depending on the router’s design, affix the mounting bracket or shelf to the wall using the appropriate screws and anchors. Ensure the hardware is firmly attached and level to maintain stability.
- Mount the Router: Carefully position the router onto the installed mounting hardware, aligning it with the designated slots or brackets. Secure the router in place by fastening it to the mounting hardware using the provided screws or locking mechanisms.
- Verify Stability: Once the router is mounted, gently test its stability to ensure it’s securely affixed to the wall. Make any necessary adjustments to the mounting hardware or screws to achieve a firm and stable installation.
By following these steps, you can effectively mount your Wi-Fi router on the wall, optimizing its position for enhanced signal propagation and network coverage.
When mounting a Wi-Fi router on a wall, make sure to place it at a central location for better coverage. Use a stud finder to locate a sturdy wall stud for secure mounting. Keep the router away from metal objects and other electronic devices to avoid interference.
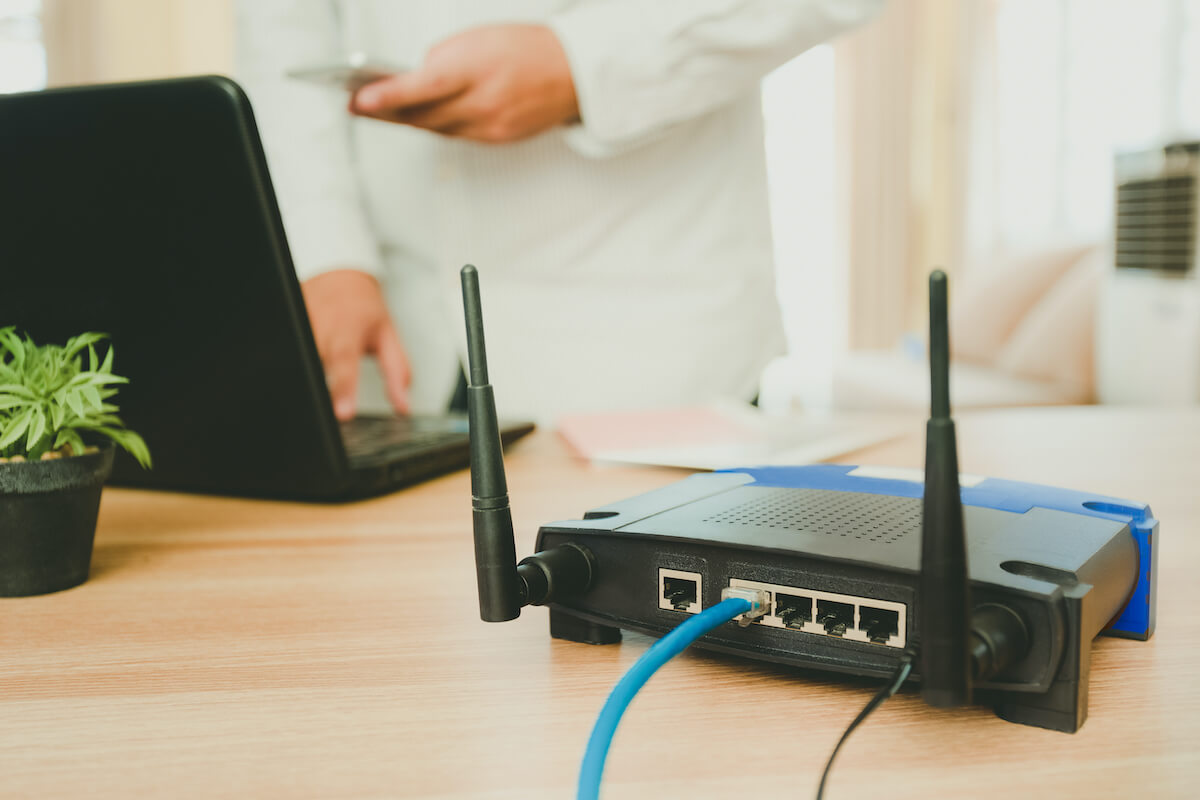
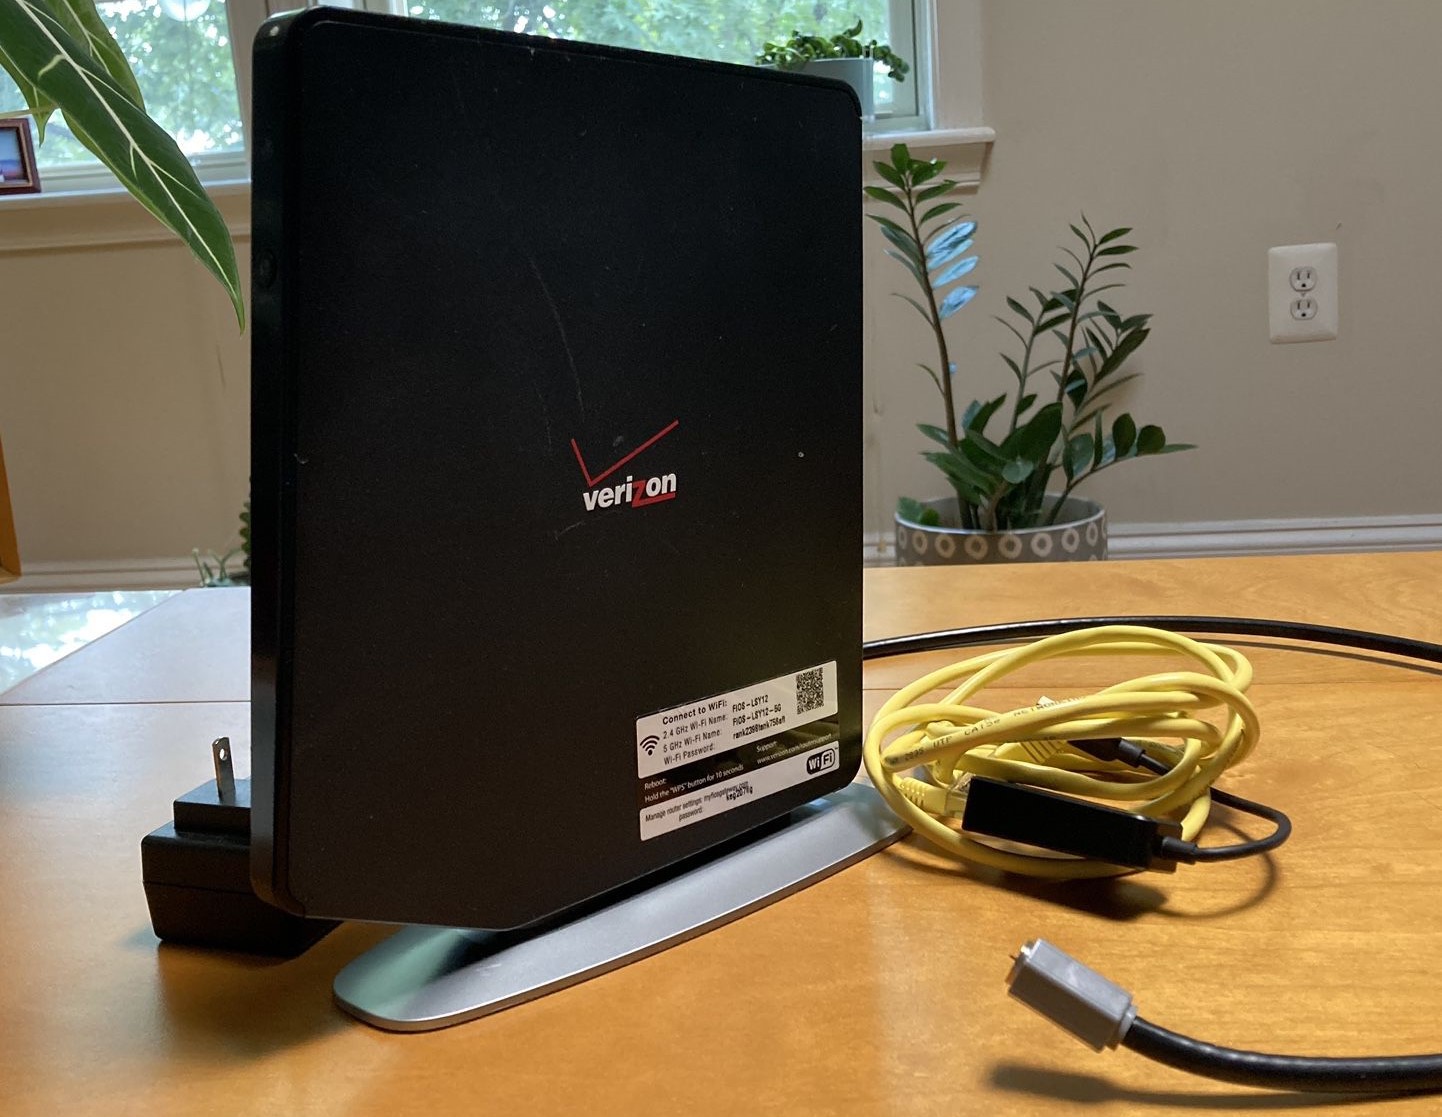
Connecting the Cables
With the router securely mounted on the wall, the next crucial step is to connect the necessary cables to ensure seamless functionality. Here’s a guide to help you complete this essential phase of the installation process:
- Power Connection: Plug the router’s power adapter into a nearby electrical outlet. Ensure the power source is easily accessible and provides a stable supply to the router.
- Ethernet Cable (If Applicable): If your router requires a direct wired connection to a modem or network device, use an Ethernet cable to establish the connection. Connect one end of the cable to the router’s designated Ethernet port and the other end to the corresponding port on the modem or device.
- Internet Connection: If your router supports a built-in modem or requires a separate modem for internet connectivity, ensure that the modem is properly connected to the router. This typically involves using an Ethernet cable to link the modem to the router’s WAN (Wide Area Network) port.
- Additional Devices: If you plan to connect other devices, such as computers, smart TVs, or gaming consoles to the router, use Ethernet or Wi-Fi connections as per your specific requirements. Ensure that each device is configured to connect to the router’s network for seamless access.
After connecting the necessary cables, take a moment to verify the integrity of each connection and ensure that all cables are securely plugged in. Once the connections are in place, proceed to power on the router and any associated devices to initiate the network setup process.
By meticulously establishing these cable connections, you can ensure that your mounted Wi-Fi router is fully operational and ready to deliver reliable wireless connectivity throughout your home.
Read more: How To Hack Wi-Fi Router
Testing the Connection
After completing the installation and cable connections, it’s imperative to conduct thorough testing to validate the functionality and performance of your newly mounted Wi-Fi router. Here’s a systematic approach to testing the connection and ensuring optimal network operation:
- Power On the Router: Ensure the router is powered on and operational. Verify that the indicator lights on the router display the appropriate status, indicating a successful power-up sequence.
- Network Accessibility: Using a Wi-Fi-enabled device such as a smartphone, tablet, or laptop, search for and connect to the Wi-Fi network broadcasted by your router. Confirm that the network is discoverable and accessible from various areas within your home.
- Signal Strength: Test the signal strength and stability by moving around different rooms and levels of your home while connected to the Wi-Fi network. Assess the signal’s consistency and strength in various locations to identify potential coverage issues.
- Internet Connectivity: Ensure that the router successfully establishes an internet connection by accessing websites, streaming content, or performing speed tests on connected devices. Verify that the internet connection is stable and capable of supporting your intended online activities.
- Device Connectivity: If you’ve connected additional devices to the router, confirm that each device can seamlessly access the network and communicate with other connected devices. Test file transfers, streaming, and other network-dependent tasks to validate device connectivity.
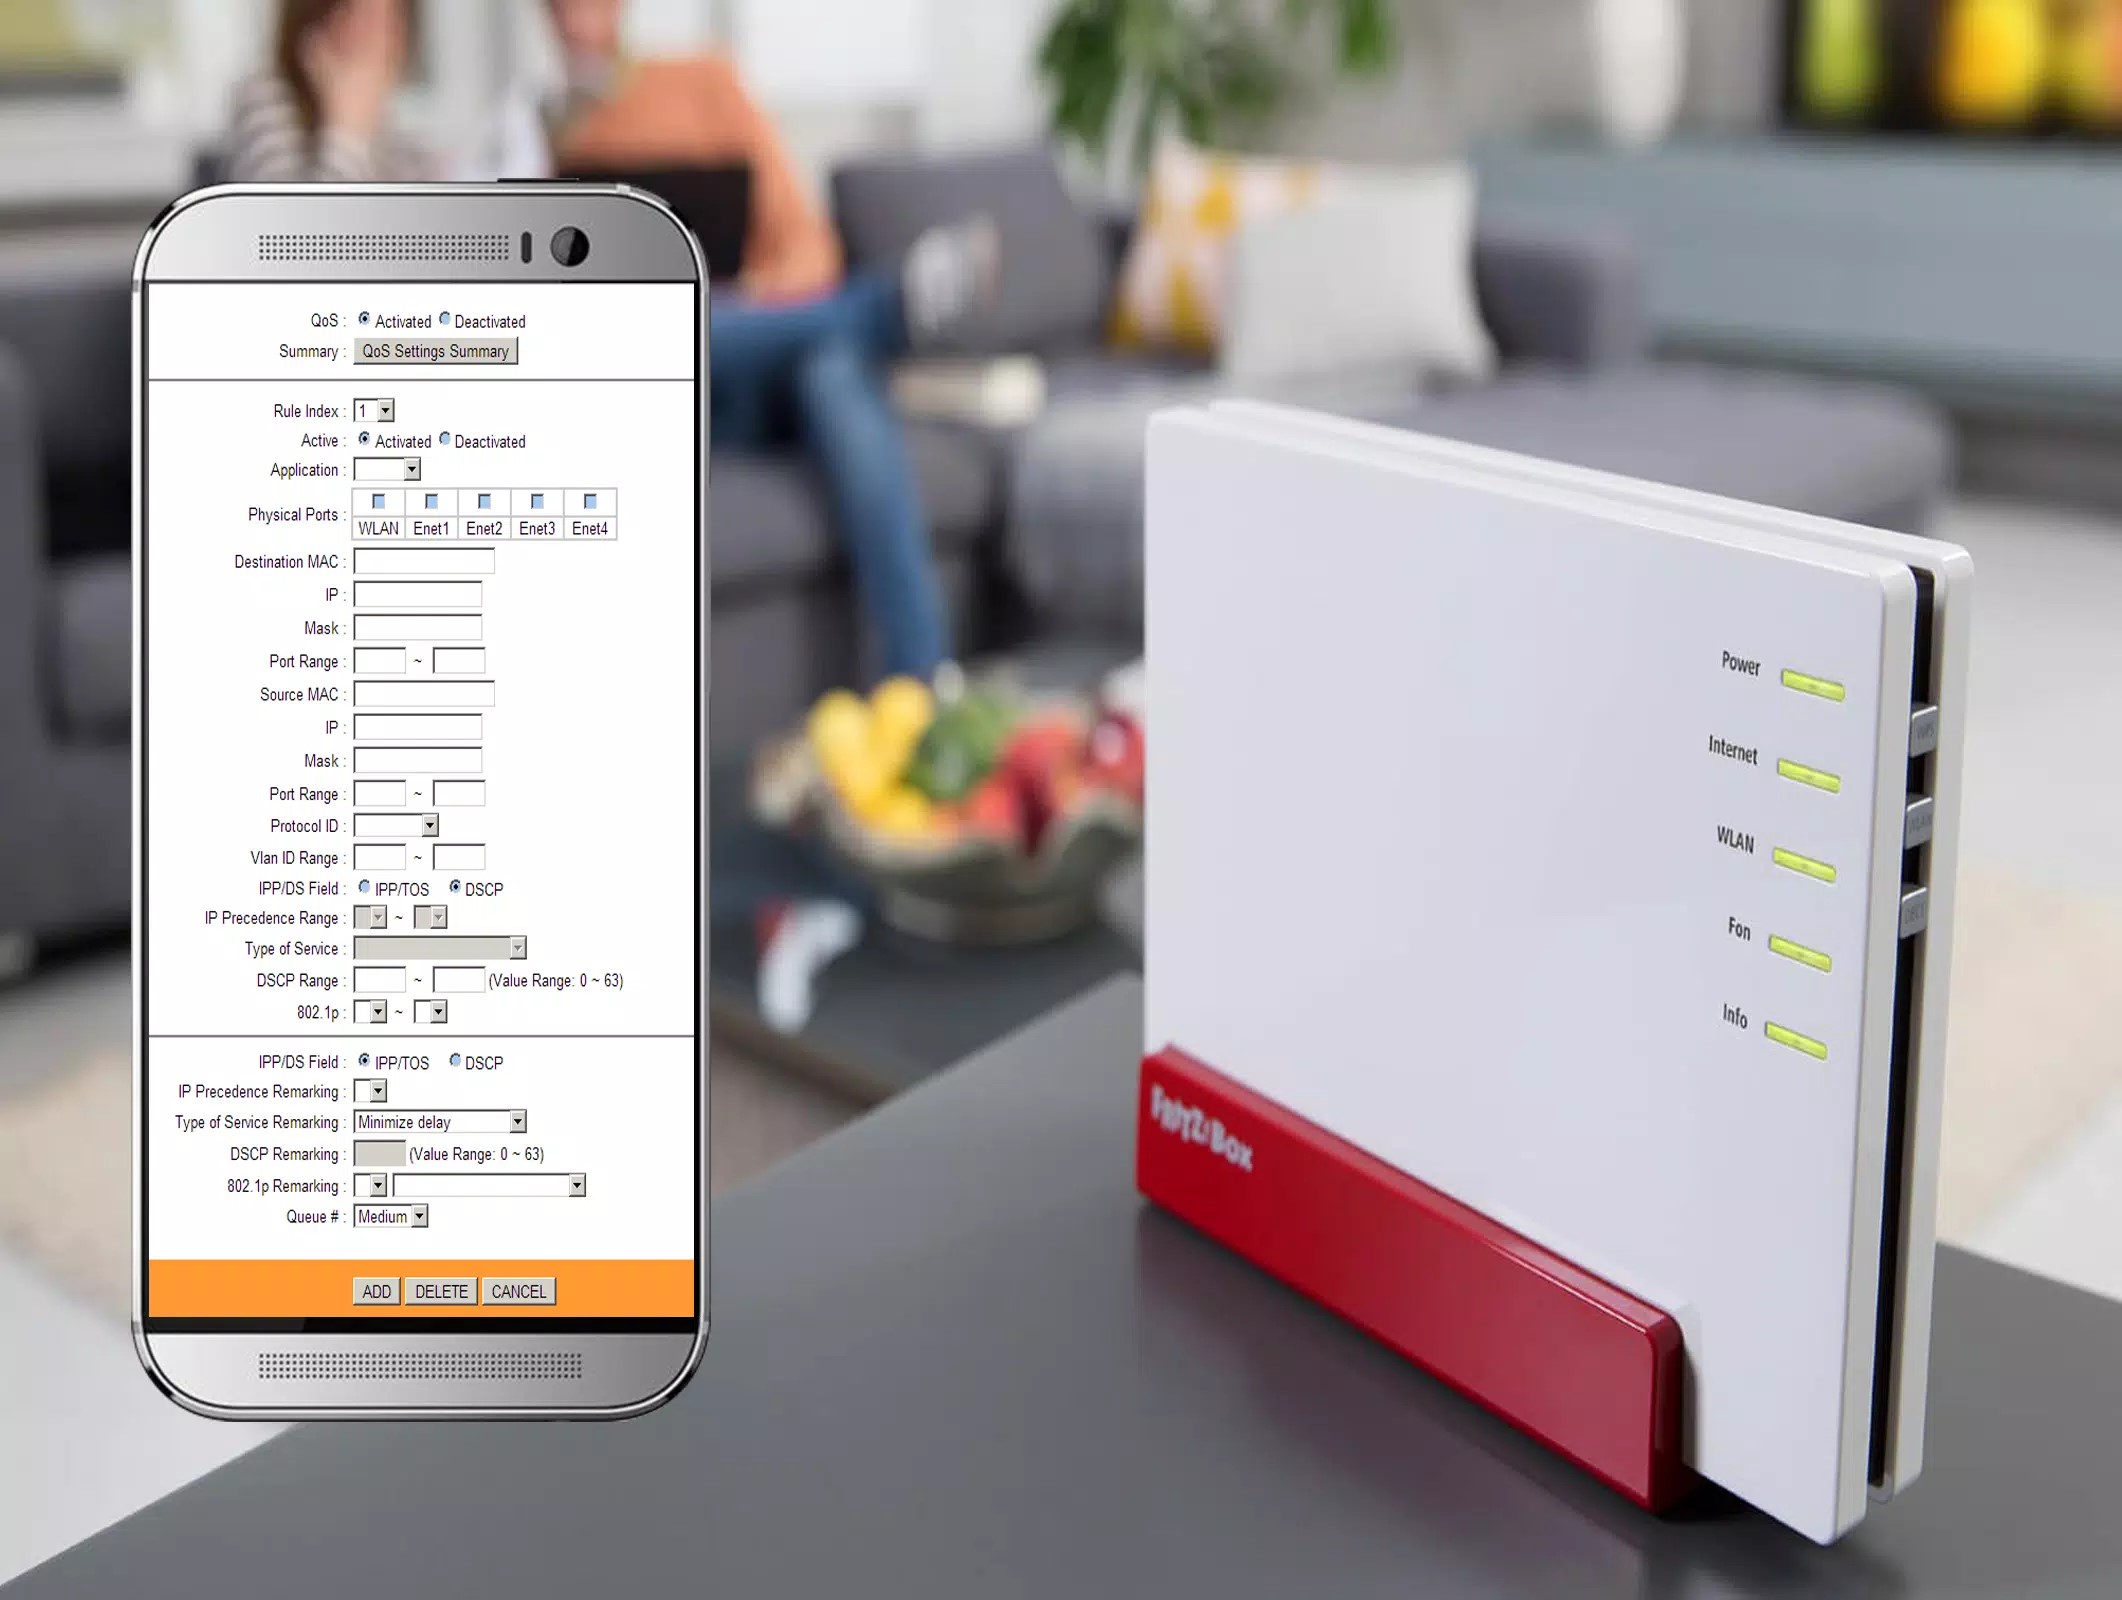
- Security Configuration: Review the router’s security settings and ensure that the network is protected with a strong password and encryption. Verify that the security measures are effectively safeguarding your network from unauthorized access.
By meticulously testing the connection and performance of your newly mounted Wi-Fi router, you can identify and address any potential issues while ensuring that your home network delivers reliable and efficient wireless connectivity.
Conclusion
Mounting a Wi-Fi router on a wall is a pivotal step in optimizing your home network’s performance and coverage. By strategically placing the router and ensuring a secure installation, you can significantly enhance the reach and reliability of your wireless connectivity. Through the comprehensive process outlined in this guide, you’ve gained valuable insights into the essential steps involved in mounting a Wi-Fi router, from selecting the ideal location to testing the network’s functionality.
By carefully choosing a centralized and unobstructed location for your router, you can mitigate signal interference and maximize coverage throughout your home. The meticulous process of mounting the router and connecting the necessary cables ensures a stable and efficient network setup. Thorough testing of the connection empowers you to validate the router’s performance and address any potential issues, ultimately leading to a seamless and reliable wireless network.
As you embark on this journey to elevate your Wi-Fi experience, remember that the successful installation of a mounted router is just the beginning. Regular maintenance, periodic performance assessments, and staying informed about the latest advancements in networking technology will further enhance your home network’s capabilities.
With your newly mounted Wi-Fi router in place, you’re poised to enjoy a robust and dependable wireless network that supports your diverse digital activities, from streaming entertainment to remote work and beyond. Embrace the power of a well-mounted router, and revel in the seamless connectivity it brings to your smart home.
Frequently Asked Questions about How To Mount A Wi-Fi Router On A Wall
Was this page helpful?
At Storables.com, we guarantee accurate and reliable information. Our content, validated by Expert Board Contributors, is crafted following stringent Editorial Policies. We're committed to providing you with well-researched, expert-backed insights for all your informational needs.

0 thoughts on “How To Mount A Wi-Fi Router On A Wall”