Articles
How To Hem A Fleece Blanket
Modified: August 17, 2024
Learn how to hem a fleece blanket with this helpful article. Step-by-step instructions and tips for achieving a professional finish.
(Many of the links in this article redirect to a specific reviewed product. Your purchase of these products through affiliate links helps to generate commission for Storables.com, at no extra cost. Learn more)
Introduction
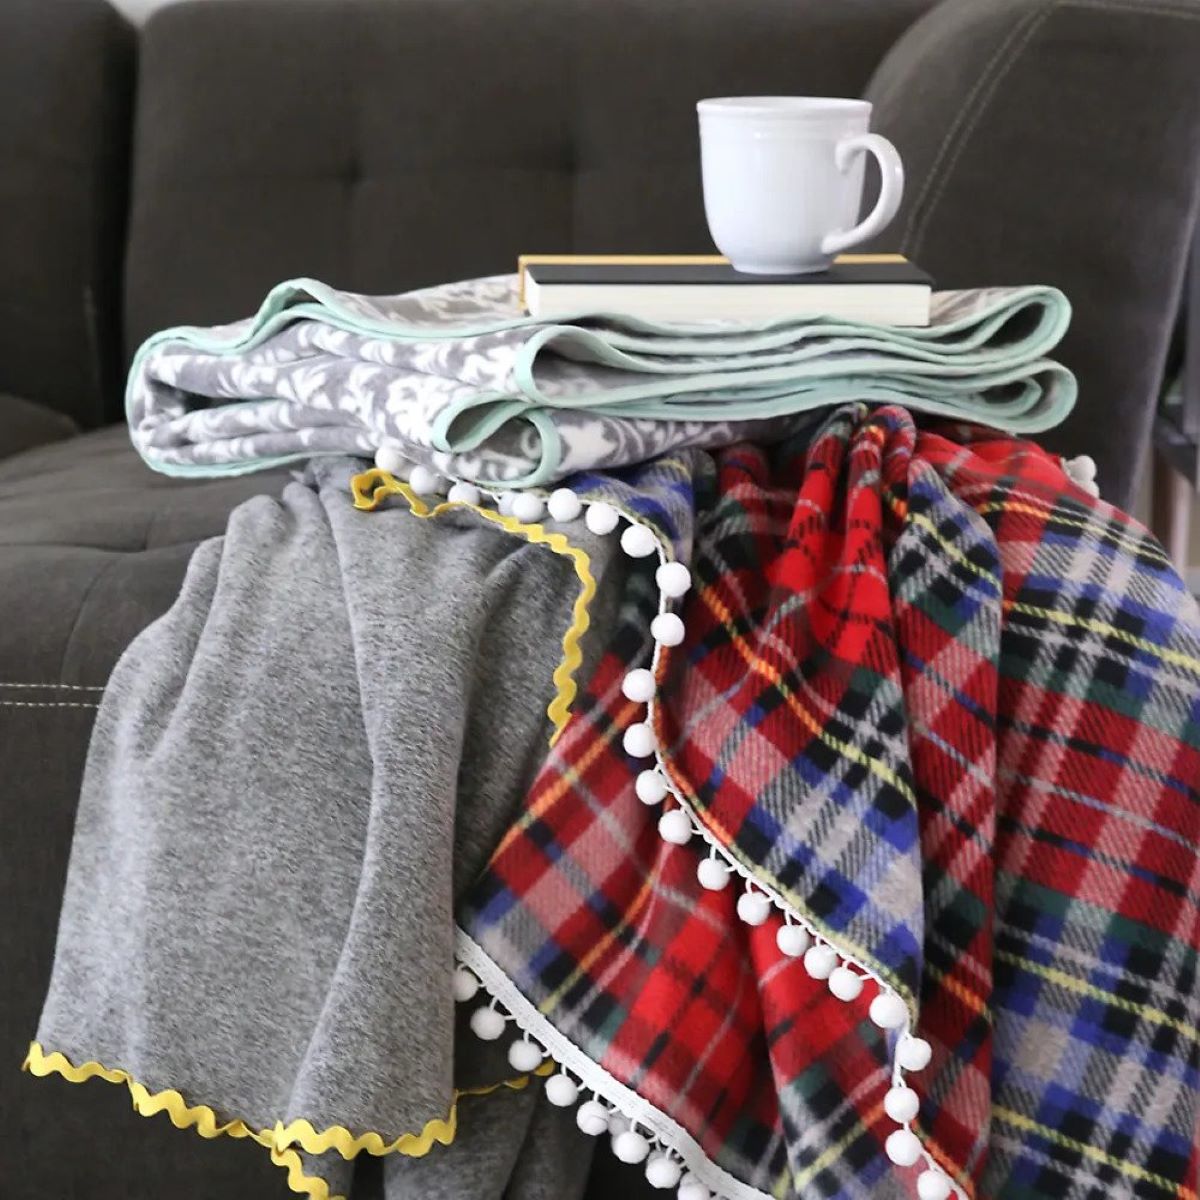
When it comes to staying warm and cozy during chilly winter nights, nothing beats a soft and comfortable fleece blanket. Fleece blankets are not only warm, but they also make great gifts and can add a touch of personalization to your home decor.
However, many store-bought fleece blankets come with unfinished edges, which can easily fray and unravel over time. To prevent this, hemming your fleece blanket is essential. Hemming not only provides a clean and polished look but also helps to reinforce the edges, making your blanket more durable.
In this article, we will guide you through the step-by-step process of hemming a fleece blanket. Whether you’re a beginner or an experienced sewist, these simple instructions will ensure that your blanket looks professional and lasts for years to come.
Key Takeaways:
- Hemming a fleece blanket is a simple yet essential step to ensure its longevity and give it a polished look. With the right materials and a few easy steps, you can transform a basic fleece blanket into a cozy and professional piece.
- By measuring and marking, cutting, preparing the hem, pinning, sewing, and adding finishing touches, you can create a hem that will prevent fraying and add durability to the edges of your blanket. Enjoy the warmth and comfort of your newly hemmed fleece blanket!
Read more: What Is A Fleece Blanket
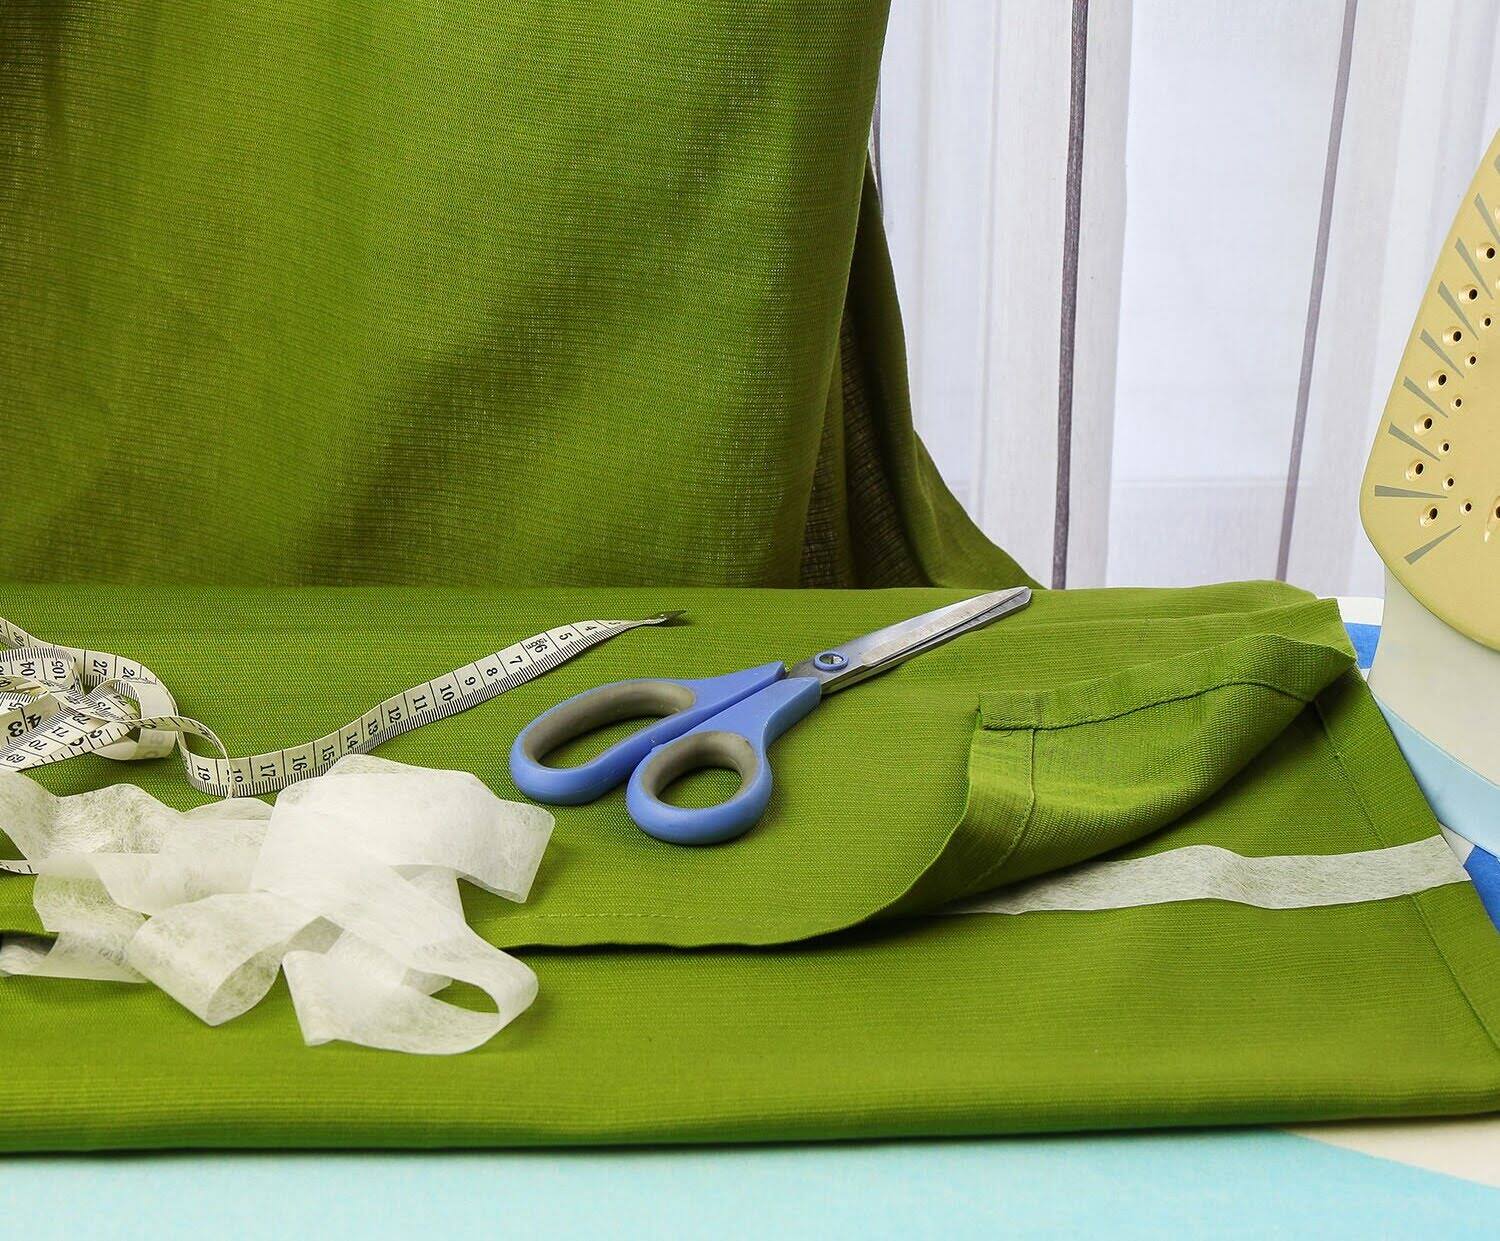
Materials Needed
Before you begin hemming your fleece blanket, gather the following materials:
- 1. Fleece blanket: Choose a fleece fabric of your choice. You can either buy pre-cut fleece fabric or use a large piece of fleece and cut it to your desired size.
- 2. Sewing machine: A sewing machine will make the hemming process quicker and more efficient. However, if you don’t have access to a sewing machine, you can also hand sew the hem using a needle and thread.
- 3. Thread: Select a thread color that matches or complements the color of your fleece fabric.
- 4. Scissors: Sharp fabric scissors will make cutting the fleece easier and ensure clean edges.
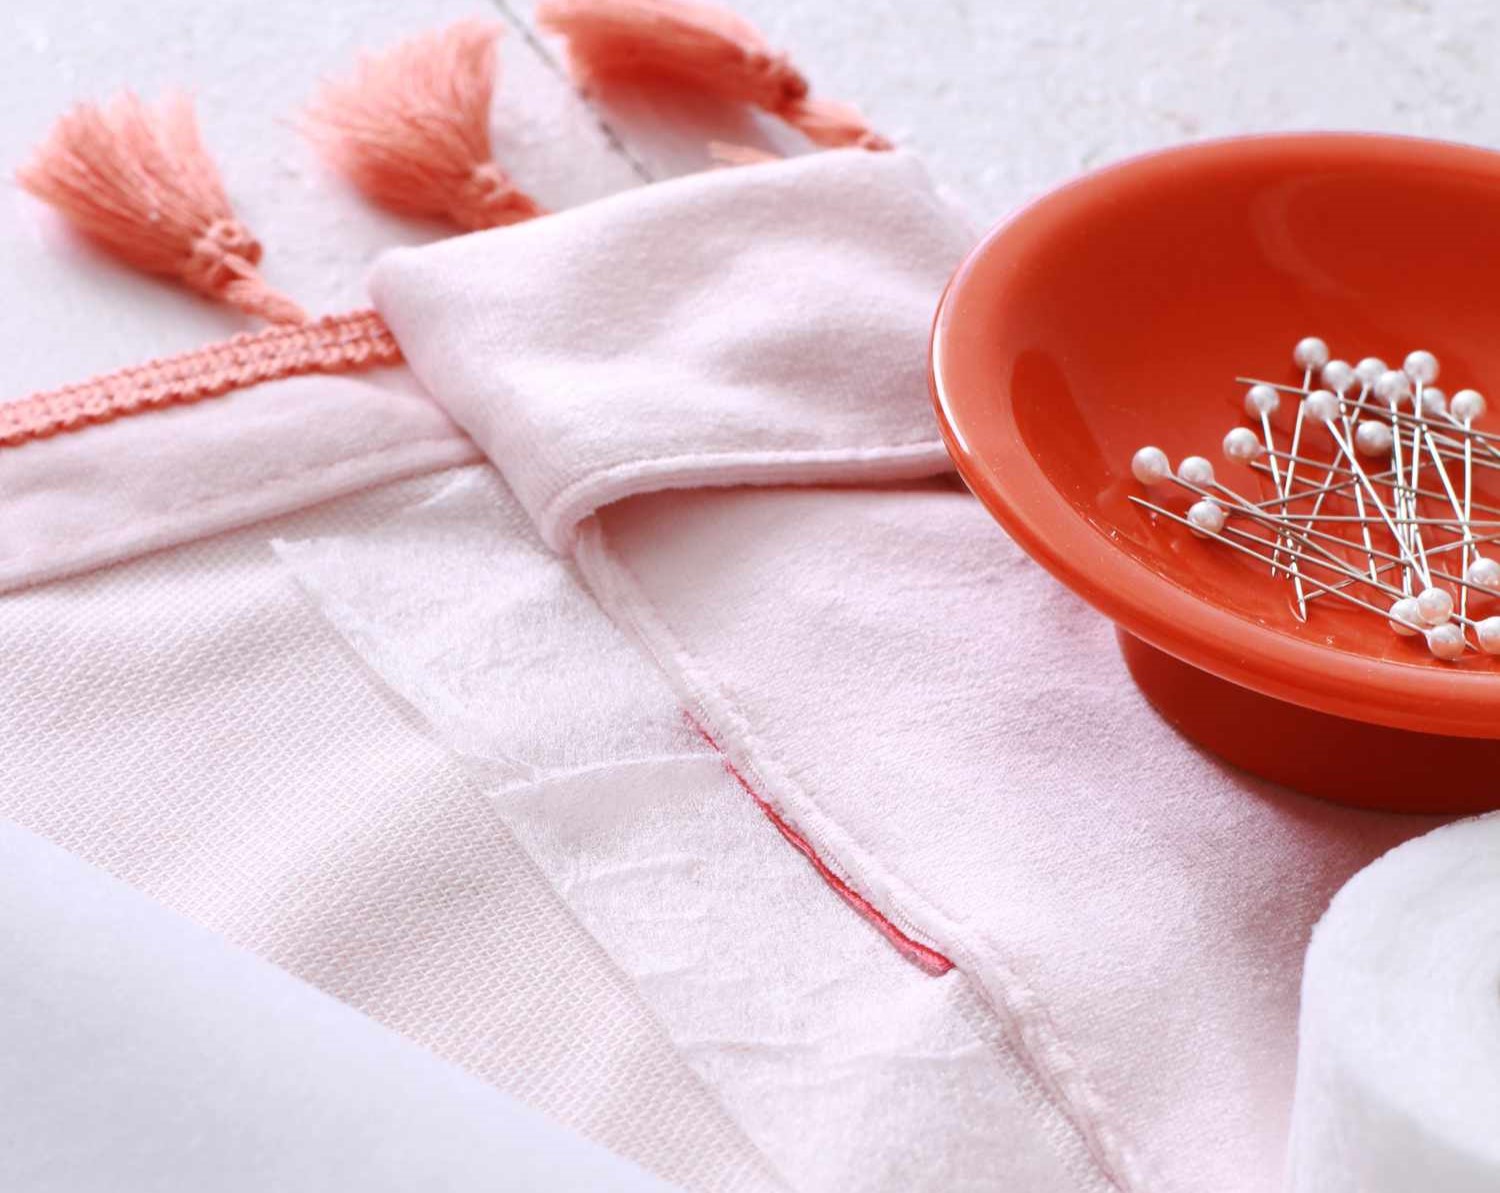
- 5. Pins: Pins will help you hold the fabric together while sewing.
- 6. Measuring tape or ruler: To measure and mark the dimensions of your hem.
- 7. Iron: An iron will be useful for pressing and setting the hem.
Having these materials on hand will ensure that you have everything you need to successfully hem your fleece blanket.
Step 1: Measuring and Marking
The first step in hemming your fleece blanket is to measure and mark the desired width of your hem. This will determine how wide the finished hem will be.
Using a measuring tape or ruler, measure the distance from the edge of the blanket to where you want the hem to start. It’s recommended to leave a minimum of 1 inch for the hem, but you can adjust the width according to your preference.
Once you have determined the width, mark the measurement along the entire edge of the fleece. You can use fabric chalk, a washable marker, or pins to make these markings. Ensure that the marks are evenly spaced and straight.
Step 2: Cutting
After measuring and marking, it is time to cut the fleece fabric to prepare for the hemming process.
Using a pair of sharp fabric scissors, carefully cut along the marked line. Make sure to cut straight and avoid jagged edges. Take your time to ensure a clean and even cut.
If you are working with a large piece of fleece fabric, you may need to trim it to your desired blanket size before cutting the hem. Measure and mark the dimensions of your blanket using a ruler or measuring tape. Then, cut along the marked lines to create your desired blanket size.
It is important to note that when cutting fleece fabric, the edges may curl or fray. To prevent this, it can be helpful to place heavy objects or weights on the corners and sides of the fabric as you cut. This will help hold the fabric down and minimize curling.
Once you have cut the fleece fabric to your desired dimensions, you are ready to move on to the next step: preparing the hem.
Step 3: Preparing the Hem
Preparing the hem is an important step in ensuring a clean and professional-looking finish to your fleece blanket.
To prepare the hem, fold the raw edge of the fabric inward, towards the wrong side of the blanket. The width of the fold should match the width you measured and marked in Step 1.
Use your fingers or an iron to press the folded edge down firmly. If using an iron, set it to a low heat or the appropriate heat setting for your fabric to avoid scorching or melting the fleece.
Continue folding and pressing the edge along the entire length of the blanket. Take your time to ensure that the folded edge is even and straight.
Once the entire edge is folded and pressed, you can proceed to the next step: pinning the hem in place.
When hemming a fleece blanket, use a ballpoint needle and a longer stitch length to prevent the fabric from stretching and puckering.
Read more: How To Wash A Fleece Blanket
Step 4: Pinning the Hem
Pinning the hem in place will help keep it secure and prevent the fabric from shifting while you sew.
Starting at one end of the blanket, insert pins vertically along the folded edge, about 2-3 inches apart. Make sure to catch both layers of fabric to hold the hem securely.
As you pin, check that the folded edge is aligned and straight. Adjust it if necessary to maintain an even hemline.
Continue pinning along the entire length of the blanket, ensuring that the hem remains folded and secured in place with the pins.
Once you have pinned the hem, double-check that it is straight and evenly aligned. This will ensure a neat and professional finish when sewing.
With the hem securely pinned, you are ready to move on to the next step: sewing the hem.
Step 5: Sewing the Hem
Now it’s time to sew the hem and give your fleece blanket a finished look.
If you have a sewing machine, set it to a straight stitch and select a thread color that matches or complements your fleece fabric.
Starting at one end of the blanket, position the hem under the sewing machine’s presser foot. Lower the presser foot to secure the fabric in place.
Begin sewing along the edge of the hem, removing the pins as you go. Sew a straight line, about 1/4 inch from the folded edge.
As you sew, guide the fabric gently, ensuring that the stitches are even and straight. Take your time to avoid any fabric puckering or bunching.
Continue sewing along the entire length of the blanket, keeping the stitches parallel to the folded edge.
Once you reach the end, sew a few backstitches to secure the thread and prevent it from unraveling.
If you are hand-sewing the hem, use a needle and thread to create a running stitch along the folded edge. Make sure to secure the thread at the beginning and end to prevent it from coming loose.
After sewing the hem, remove any loose threads and give your blanket a final inspection. Ensure that the hem is securely sewn and the stitches are even.
Now that you have successfully sewn the hem, you’re almost done. All that’s left is to add some finishing touches to your fleece blanket.
Step 6: Finishing Touches
Now that you have completed the hemming process, it’s time to add some finishing touches to your fleece blanket.
First, remove any remaining pins from the hemmed edge. Be careful not to snag the fabric as you remove the pins.
If there are any loose threads or stray fibers along the hem, carefully trim them with a pair of scissors. This will give your blanket a clean and polished appearance.
Next, examine the entire blanket for any other imperfections or loose threads. Trim them as needed to ensure a flawless finish.
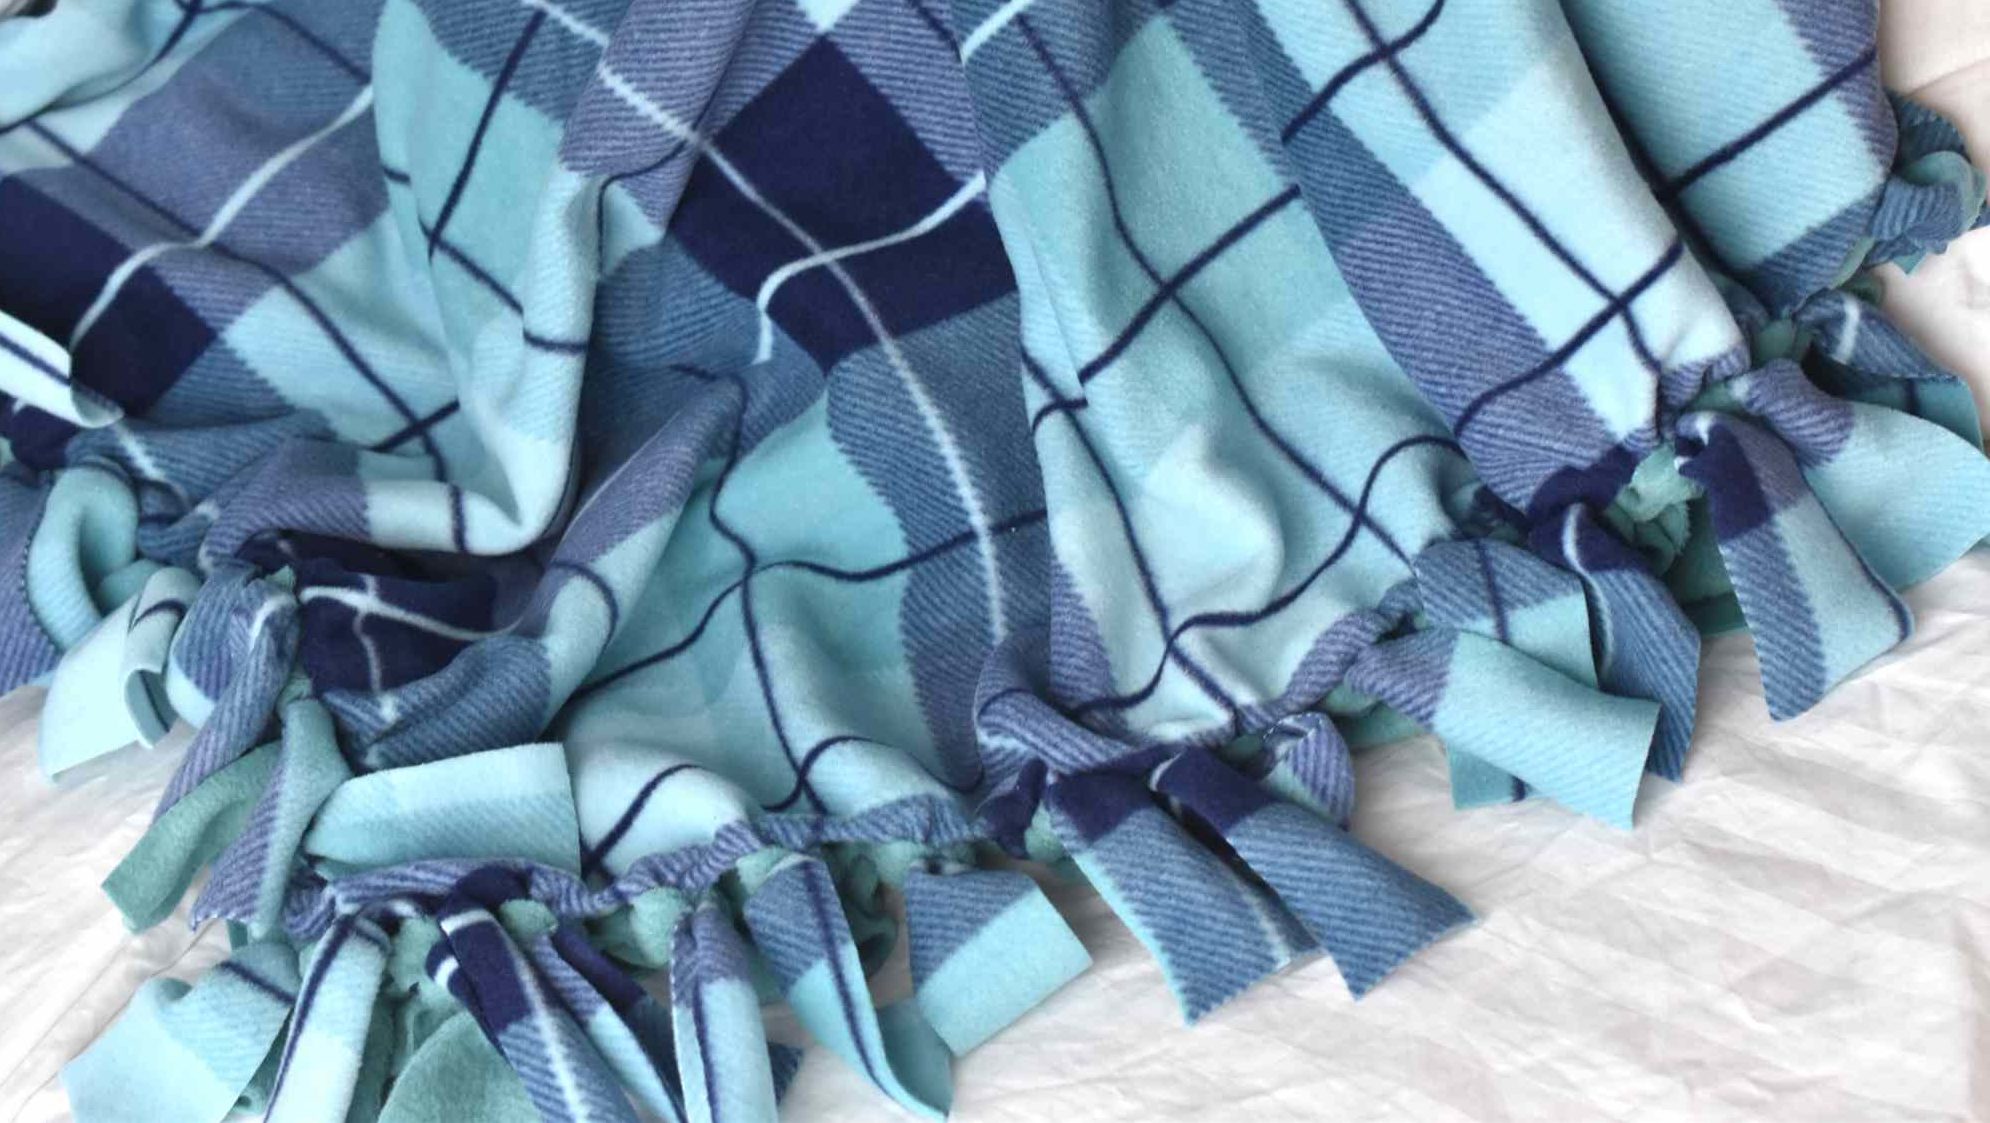
Some people like to personalize their fleece blankets by adding decorative touches such as appliques, embroidery, or fabric trim. If desired, you can incorporate these elements to further enhance the aesthetic appeal of your blanket.
Finally, give your fleece blanket a good shake or gentle fluff to remove any wrinkles or folds that may have occurred during the sewing process. This will help the fabric relax and settle into its new shape.
Congratulations! You have successfully hemmed your fleece blanket, creating a professional-looking finish and ensuring its durability for years to come.
Now you can wrap yourself in the cozy warmth of your finished blanket or present it as a heartfelt gift to someone special.
Conclusion
Hemming a fleece blanket is a simple yet essential step to ensure its longevity and give it a polished look. With the right materials and a few easy steps, you can transform a basic fleece blanket into a cozy and professional piece.
By measuring and marking, cutting, preparing the hem, pinning, sewing, and adding finishing touches, you can create a hem that will prevent fraying and add durability to the edges of your blanket.
Remember to take your time and pay attention to details, such as aligning the edges and sewing straight stitches. This will result in a finished product that is both visually appealing and securely hemmed.
Whether you are making a fleece blanket for yourself or as a gift, the hemming process is an important component of the overall construction. It not only adds a level of professionalism but also ensures that your fleece blanket will withstand regular use and washing.
So, grab your materials and get started on hemming your fleece blanket today. With a little bit of effort and creativity, you can transform a simple fleece fabric into a cozy and personalized masterpiece.
Enjoy the warmth and comfort of your newly hemmed fleece blanket, knowing that you have created a durable and stylish addition to your home or a meaningful gift for someone special.
Happy hemming!
Frequently Asked Questions about How To Hem A Fleece Blanket
Was this page helpful?
At Storables.com, we guarantee accurate and reliable information. Our content, validated by Expert Board Contributors, is crafted following stringent Editorial Policies. We're committed to providing you with well-researched, expert-backed insights for all your informational needs.


0 thoughts on “How To Hem A Fleece Blanket”