Home>Articles>How To Install A Whirlpool Tub For A Luxurious Soaking Spot
Articles
How To Install A Whirlpool Tub For A Luxurious Soaking Spot
Modified: August 31, 2024
Learn how to install a luxurious whirlpool tub for the ultimate soaking experience with our informative articles. Transform your bathroom into a spa-like retreat with easy-to-follow instructions and expert tips.
(Many of the links in this article redirect to a specific reviewed product. Your purchase of these products through affiliate links helps to generate commission for Storables.com, at no extra cost. Learn more)
Introduction
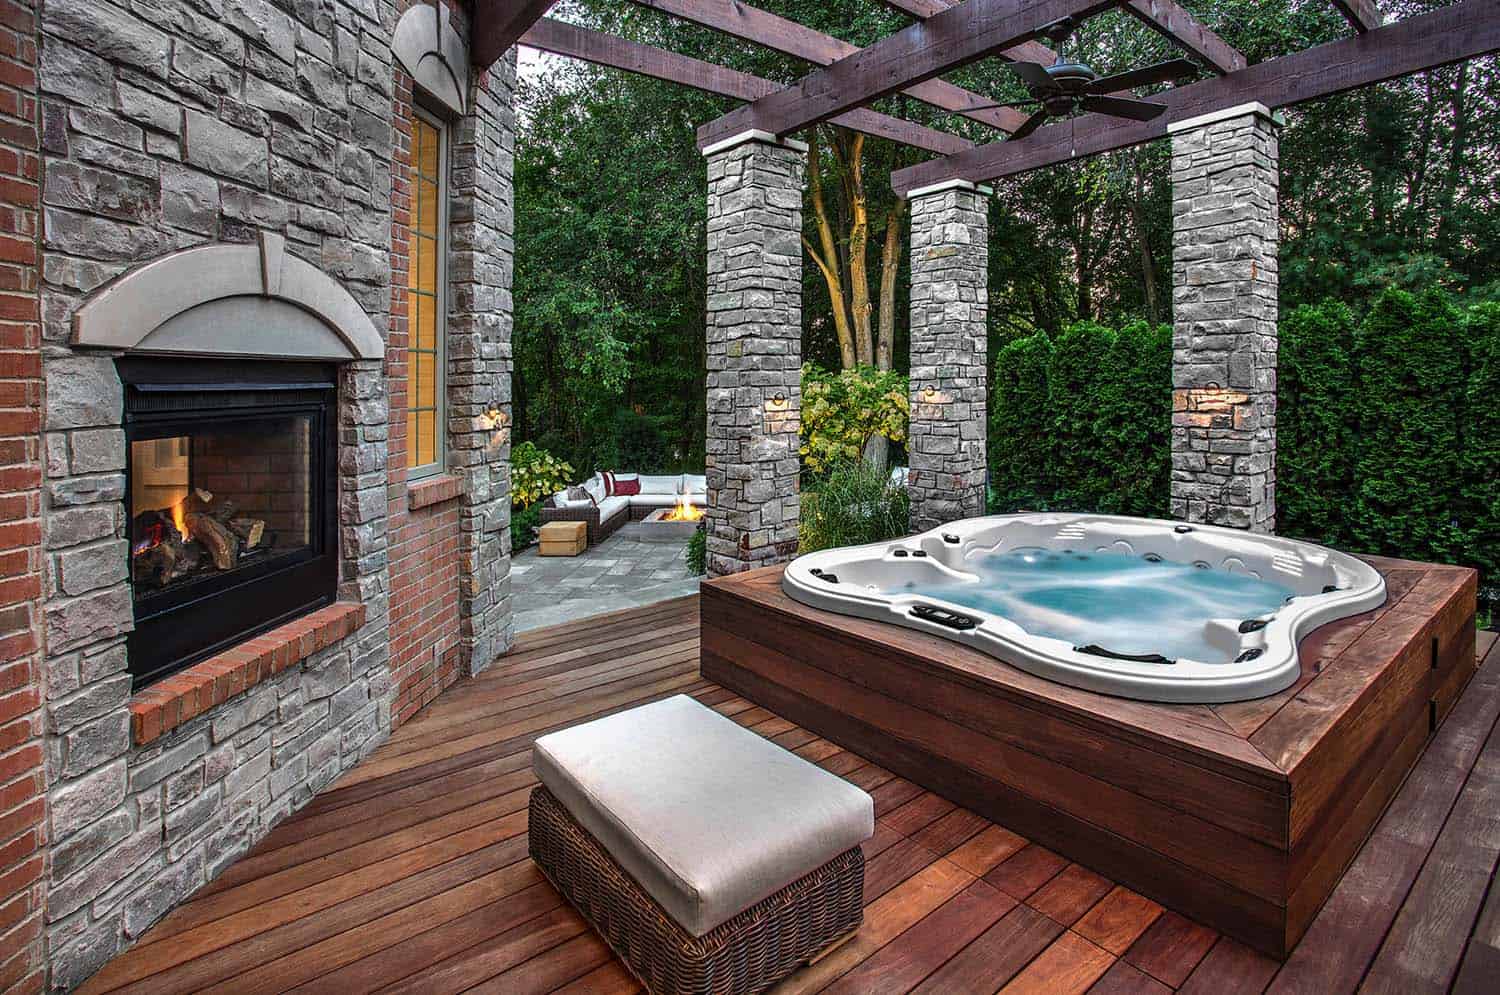
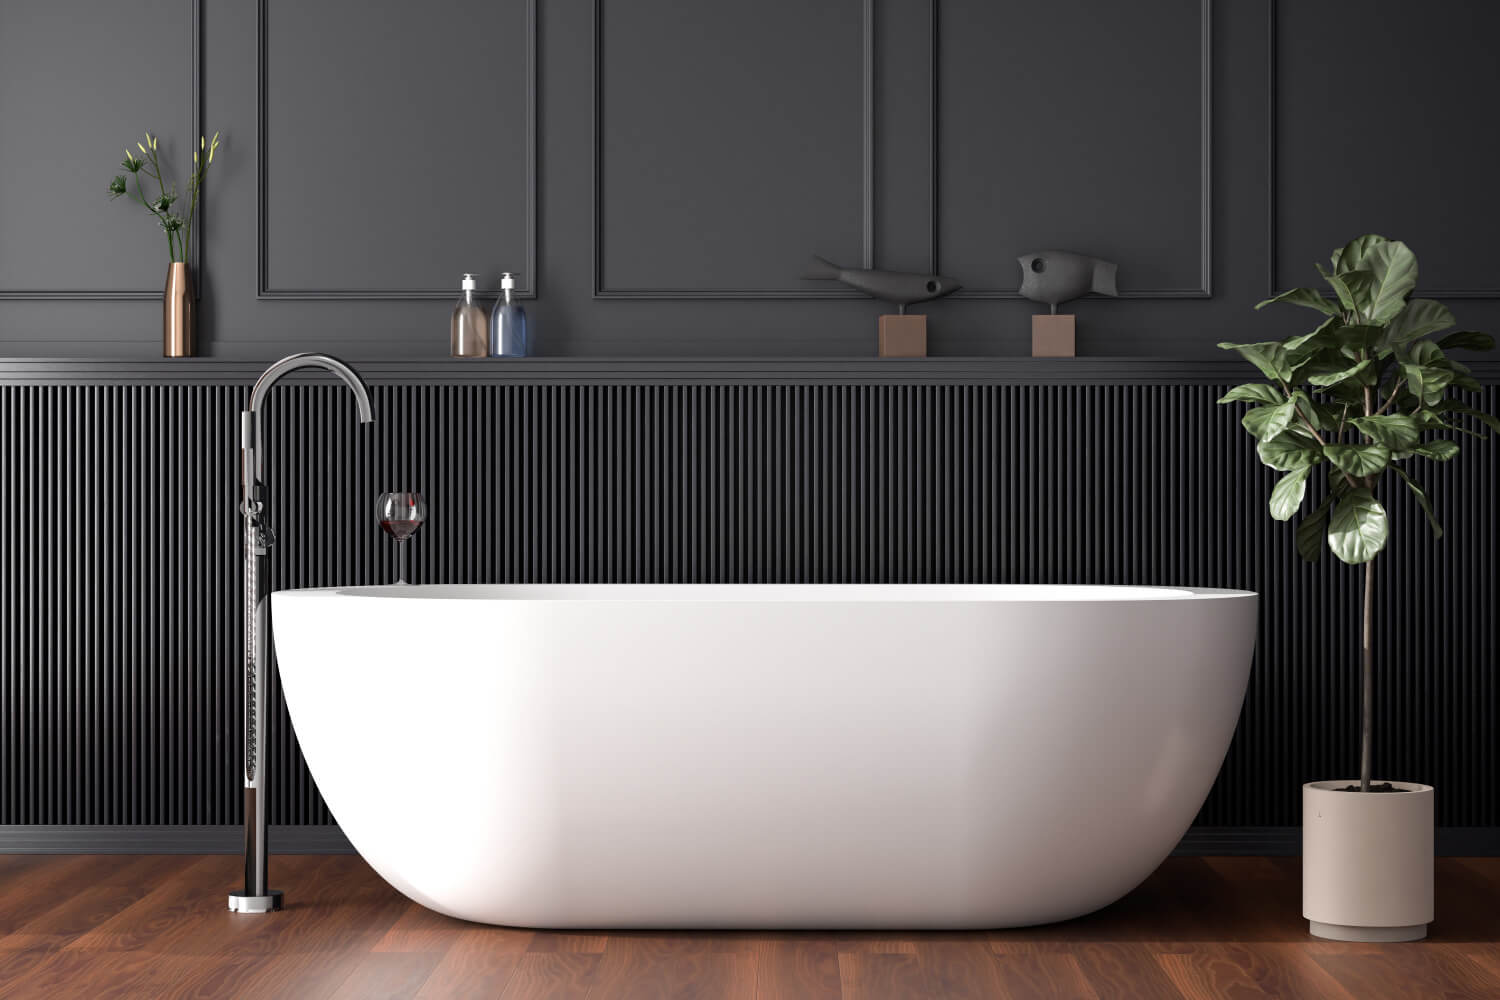
Transforming your bathroom into a luxurious oasis is a dream for many homeowners. One way to achieve this is by installing a whirlpool tub, which provides a soothing and relaxing bathing experience. Whether you’re looking to unwind after a long day or add value to your home, a whirlpool tub can be the perfect addition to your bathroom.
In this article, we will guide you through the step-by-step process of installing a whirlpool tub. From gathering the necessary tools and materials to connecting the plumbing system and installing the fixtures, we’ll cover everything you need to know to create your very own luxurious soaking spot.
Before we begin, it’s important to note that installing a whirlpool tub requires some level of DIY skills and knowledge of plumbing. If you feel unsure about any of the steps or don’t have experience in this area, it’s always recommended to consult a professional plumber to ensure a safe and successful installation.
Now that we have that covered, let’s dive into the first step of the installation process: gathering the necessary tools and materials.
Key Takeaways:
- Transform your bathroom into a luxurious oasis by installing a whirlpool tub for a soothing and relaxing bathing experience. Follow the step-by-step guide for a successful DIY installation.
- Ensure a safe and efficient whirlpool tub installation by gathering the necessary tools, measuring and preparing the bathroom, connecting the plumbing system, and testing the installation for optimal functionality.
Read more: What To Soak Hot Tub Filter In
Step 1: Gather the Necessary Tools and Materials
Before you can begin the installation process, it’s essential to gather all the tools and materials you’ll need. Having everything prepared in advance will make the installation process smoother and more efficient. Here’s a list of the tools and materials you’ll need:
- Whirlpool Tub: Choose a whirlpool tub that fits your bathroom dimensions and personal preferences. Consider factors like size, shape, and features such as adjustable jets and built-in lighting.
- Level: A level will ensure that your whirlpool tub is installed correctly and is fully balanced for optimal performance.
- Tape Measure: Accurate measurements are crucial for a seamless installation. A tape measure will help you measure your bathroom dimensions and position the whirlpool tub properly.
- Pipe Wrench: You’ll need a pipe wrench to tighten and loosen the connections when installing the plumbing system and connecting the water supply.
- Screwdriver: A set of screwdrivers, both flathead and Phillips head, will be handy for various tasks, including removing panels, securing fixtures, and connecting electrical components if required.
- Flexible Tubing: Flexible tubing or pipes are necessary for connecting the water supply to the whirlpool tub. Ensure that the tubing is compatible with both the tub and your plumbing system.
- Plumber’s Putty: Plumber’s putty is a sealing material used to create watertight connections. It’s commonly used when installing faucets, drains, and other fixtures.
- Teflon Tape: Teflon tape, also known as plumber’s tape, is used to create a watertight seal on threaded pipe connections. It helps prevent leaks and ensures a secure fit.
- Electrical Wiring: If your whirlpool tub requires electrical connections, make sure you have the appropriate wiring, connectors, and electrical tools, such as wire strippers and voltage testers.
Additionally, it’s essential to read the installation instructions provided with your whirlpool tub. These instructions may specify additional tools or materials required and provide specific guidelines for installation unique to your tub model.
Once you have all the necessary tools and materials gathered, you can proceed to the next step: measuring and preparing the bathroom.
Step 2: Measure and Prepare the Bathroom
Before installing the whirlpool tub, it’s crucial to measure your bathroom space accurately and prepare it accordingly. This step ensures that the tub fits properly and that you have the necessary clearances for installation. Follow these steps to measure and prepare your bathroom:
- Measure the Space: Use a tape measure to measure the length, width, and height of the area where the tub will be installed. Take note of any obstacles such as plumbing pipes, electrical outlets, or windows that may affect the placement of the tub.
- Check Clearances: Refer to the manufacturer’s guidelines for the required clearances around the tub. This includes leaving enough space for access panels, electrical connections, and maintenance. Ensure that there is enough room for the tub to fit comfortably within the designated area.
- Prepare the Floor: Check the floor for proper support and stability. If necessary, reinforce the floor beneath the tub area to ensure it can support the weight of the tub and the water. Consult a professional if you’re unsure about the structural integrity of your floor.
- Mark the Tub Placement: Use painter’s tape or a pencil to mark the outline of the tub’s placement on the floor. This will act as a reference point during the installation process.
- Clear the Area: Remove any furniture, rugs, or obstacles from the installation area to provide ample space for maneuvering and working. This will make the installation process easier and prevent any potential damages.
By taking accurate measurements and preparing your bathroom beforehand, you’ll avoid any unnecessary delays or complications during the installation process. It’s crucial to ensure that the space is suitable and ready for the whirlpool tub installation.
With the bathroom properly measured and prepared, you can now move on to the next step: installing the plumbing system.
Step 3: Install the Plumbing System
Installing the plumbing system is a crucial step in the whirlpool tub installation process. This step involves connecting the water supply and drain lines to ensure proper functionality. Follow these steps to install the plumbing system for your whirlpool tub:
- Shut Off the Water: Before starting any plumbing work, shut off the water supply to your bathroom. This can usually be done by turning off the main water valve or the specific valve for your bathroom.
- Locate the Water Supply and Drain: Identify the existing water supply and drain lines. If you’re installing the whirlpool tub in a new location, you may need to extend the plumbing lines to reach the tub.
- Connect the Water Supply: Attach the flexible tubing to the water supply valve using a pipe wrench. Ensure that the connections are tight to prevent any leaks. If necessary, use plumber’s putty or Teflon tape to create a watertight seal.
- Connect the Drain: Connect the drain pipe to the existing or extended drain line using a pipe wrench. Again, ensure that the connections are secure and leak-free. Apply plumber’s putty or Teflon tape as needed.
- Test for Leaks: Turn on the water supply to test the connections for leaks. Inspect all connections and joints for any signs of water seepage. If you notice any leaks, tighten the connections or reapply sealing materials.
- Install Shut-off Valves: Consider installing shut-off valves near the tub for added convenience. These valves allow you to control the water flow specifically to the whirlpool tub without affecting the rest of the bathroom’s plumbing.
It’s important to consult the manufacturer’s instructions for any specific plumbing requirements for your whirlpool tub model. Additionally, if you’re unsure about the plumbing aspects or encounter any difficulties during the installation, it’s recommended to seek the assistance of a professional plumber.
With the plumbing system properly installed, you can now move on to the next step: securing the tub in place.
Step 4: Secure the Tub in Place
Once the plumbing system is installed, it’s time to secure the whirlpool tub in place. Properly securing the tub ensures stability and prevents any potential movement or accidents. Follow these steps to securely install your whirlpool tub:
- Refer to the Manufacturer’s Instructions: Every whirlpool tub model may have specific instructions for securing the tub in place. Refer to the manufacturer’s instructions and follow their guidelines for the best results.
- Position the Tub: Carefully lift the tub and position it within the marked outline on the floor. Make sure the tub aligns properly with the drain and water supply connections.
- Level the Tub: Place a level across the rim of the tub in different directions to ensure that it is perfectly level. Adjust the tub’s position if necessary to achieve a balanced installation.
- Secure the Tub Supports: Check the manufacturer’s instructions to determine if your tub requires supports. If needed, use wooden or metal supports to reinforce the bottom of the tub and ensure stability. Attach the supports to the tub frame or floor using appropriate screws or brackets.
- Secure the Tub Rim: Use screws or clips provided by the manufacturer to secure the tub rim to the surrounding framework or wall. Follow the specified guidelines to ensure a secure and tight fit.
- Check for Stability: Once the tub is secured, gently push and test its stability. Ensure that it doesn’t move or wobble. If you notice any instability, adjust the supports or fastenings to eliminate any movement.
It’s crucial to precisely follow the manufacturer’s instructions during the securing process. This will ensure that the tub is properly installed and reduce the risk of any issues in the future.
With the whirlpool tub securely in place, you can now move on to the next step: connecting the drain and overflow.
When installing a whirlpool tub, make sure to properly level the tub and secure it to the floor to prevent any movement or shifting during use. This will ensure a safe and luxurious soaking experience.
Step 5: Connect the Drain and Overflow
Connecting the drain and overflow is an important step in the whirlpool tub installation process. This step ensures that water can be drained properly and prevents overflow during use. Follow these steps to connect the drain and overflow for your whirlpool tub:
- Attach the Overflow Cover: Begin by attaching the overflow cover to the designated opening on the side of the tub. Follow the manufacturer’s instructions for the specific attachment method for your tub model.
- Connect the Overflow Pipe: Connect the overflow pipe to the overflow opening on the tub. Secure it in place using a pipe wrench, making sure the connection is tight and leak-free. Apply plumber’s putty or Teflon tape as needed for a watertight seal.
- Connect the Drain Pipe: Attach the drain pipe to the drain opening on the tub. Again, ensure that the connection is tight using a pipe wrench. Use plumber’s putty or Teflon tape to create a secure seal and prevent leaks.
- Connect the Drain to the Existing Plumbing: Connect the other end of the drain pipe to the existing drain line in your bathroom. Use a pipe wrench to tighten the connections and ensure they are secure.
- Test the Drain: Before using the whirlpool tub, test the drain to ensure proper functionality. Fill the tub with water and let it drain completely. Check for any leaks around the drain and overflow connections. Tighten or adjust the connections as needed to eliminate any leaks.
It’s essential to follow the manufacturer’s instructions when connecting the drain and overflow. Each tub model may have specific guidelines for these connections, so be sure to reference the provided documentation.
With the drain and overflow connected, you can now move on to the next step: installing the faucet and fixtures.
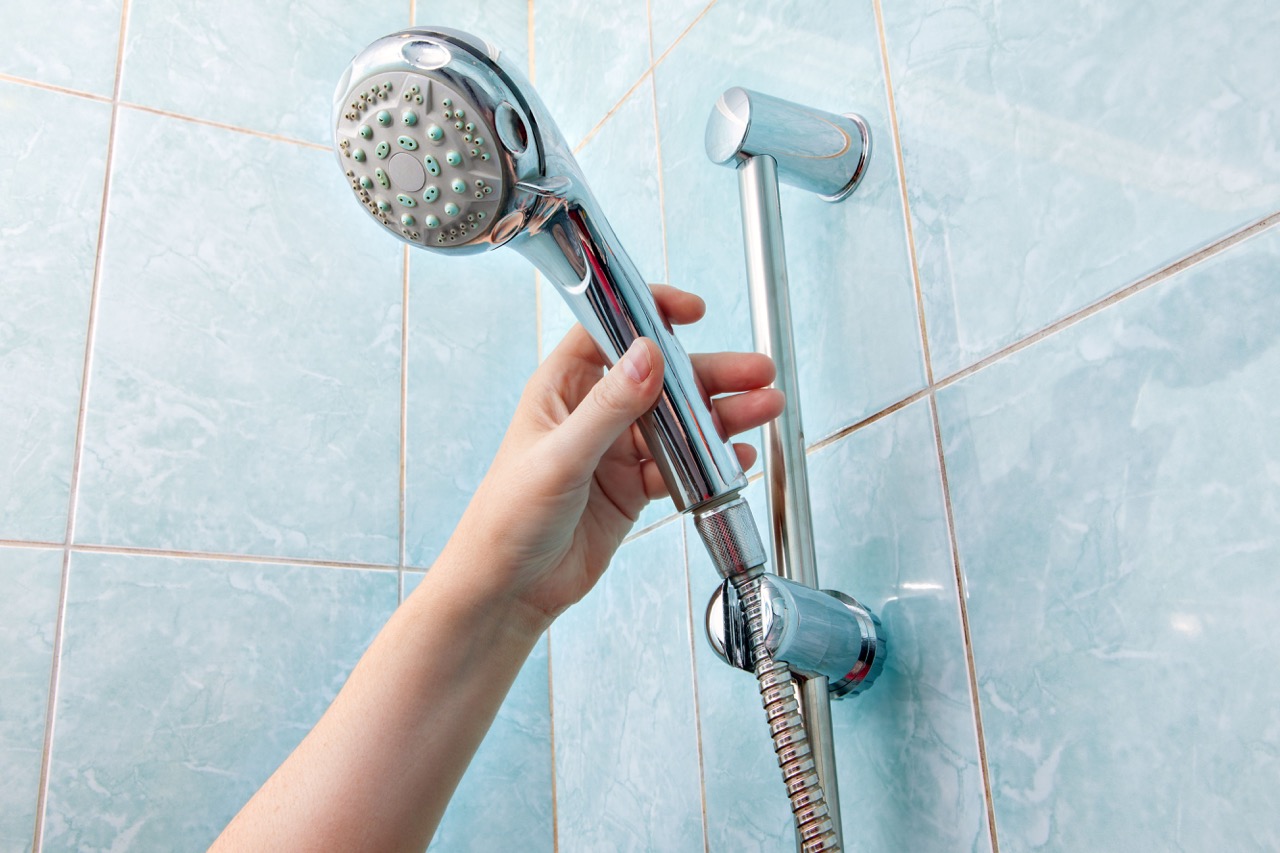
Step 6: Install the Faucet and Fixtures
Installing the faucet and fixtures is the next step in completing the installation of your whirlpool tub. This step allows for the control of water flow and temperature during your bathing experience. Follow these steps to properly install the faucet and fixtures:
- Prep the Faucet Openings: If your whirlpool tub has pre-drilled faucet openings, ensure they are clean and free from any debris. If the tub doesn’t have pre-drilled openings, follow the manufacturer’s instructions for drilling the necessary holes in the tub.
- Apply Sealant: Apply a thin layer of plumber’s putty or silicone sealant around the base of the faucet and fixtures. This helps create a watertight seal and prevents any leaks from occurring.
- Insert the Faucet: Insert the faucet into the designated openings on the tub. Align it properly and press it firmly to ensure a snug fit. Follow the manufacturer’s instructions for any additional steps or requirements specific to your faucet model.
- Secure the Faucet: Underneath the tub, use a wrench or pliers to tighten the nuts or mounting hardware that secure the faucet in place. Make sure the faucet is stable and doesn’t move when pulled or pushed.
- Install the Handles and Fixtures: Attach the handles and fixtures to their respective openings on the faucet. Use the provided screws or clips to secure them in place. Follow the manufacturer’s instructions for the proper installation technique.
- Connect the Water Supply Lines: Connect the water supply lines to the appropriate valves on the faucet. If necessary, use a wrench to tighten the connections and ensure they are leak-free. Follow the manufacturer’s instructions for any specific guidelines regarding water supply connections.
- Test the Faucet: Before using the whirlpool tub, turn on the water supply and test the faucet. Check for any leaks or issues with water flow. Make any necessary adjustments or repairs to ensure proper functionality.
When installing the faucet and fixtures, it’s important to follow the manufacturer’s instructions and guidelines for your specific model. This will ensure a secure installation and prevent any problems in the future.
With the faucet and fixtures in place, you’re almost done with the installation process. The final step is to test and inspect the installation, which we’ll cover in the next step.
Step 7: Test and Inspect the Installation
The last step in the whirlpool tub installation process is to test and inspect your work to ensure everything is functioning properly and meets your expectations. Follow these steps to test and inspect the installation:
- Fill the Tub: Fill the whirlpool tub with water to the desired level. Check for any leaks or drips around the drain, faucet, and fixtures. If you notice any leaks, tighten the connections or reapply sealant as needed.
- Test the Jets: Turn on the whirlpool tub’s jets and ensure they’re functioning correctly. Check for any irregular or weak water flow from the jets. Adjust any controls or settings according to the manufacturer’s instructions.
- Check the Drain: Once you’re finished using the tub, let the water drain completely. Observe if the water drains without any issues or obstructions. If you notice any problems, investigate and resolve them to ensure proper drainage.
- Inspect for Stability: While the tub is filled with water, check for any movement or instability. Gently apply pressure to different areas of the tub to ensure it remains secure and in place. If you notice any loose or unstable parts, make the necessary adjustments or repairs.
- Evaluate Water Temperature: Test the water temperature controls to ensure they’re functioning correctly. Adjust the controls and observe if the water temperature changes accordingly. If there are any issues, troubleshoot or seek professional assistance to rectify them.
- Inspect Overall Appearance: Take a step back and evaluate the overall appearance of the installation. Check for any cosmetic issues, such as scratches, dents, or visible gaps. Touch up or address any aesthetic concerns as necessary.
- Take a Test Soak: The final step is to enjoy a relaxing soak in your newly installed whirlpool tub. While you enjoy your experience, pay attention to any discomfort or issues that may have been overlooked. Make note of any adjustments or improvements needed for future use.
By thoroughly testing and inspecting the installation, you ensure that your whirlpool tub is functioning properly and ready for regular use. Address any issues promptly to avoid further complications and to maximize your enjoyment of this luxurious addition to your bathroom.
With the installation complete and everything in working order, you can now sit back, relax, and indulge in the luxurious experience of your whirlpool tub.
Congratulations on successfully installing a whirlpool tub and creating a luxurious soaking spot in your bathroom!
Conclusion
Installing a whirlpool tub is a fantastic way to add luxury and relaxation to your bathroom. By following the step-by-step guide outlined in this article, you can successfully install a whirlpool tub and create your own personal oasis.
From gathering the necessary tools and materials to measuring and preparing the bathroom, connecting the plumbing system, securing the tub in place, connecting the drain and overflow, installing the faucet and fixtures, and finally testing and inspecting the installation, each step is crucial for a successful outcome.
Remember to refer to the manufacturer’s instructions specific to your whirlpool tub model throughout the installation process. If you feel unsure or lack experience in any particular step, it’s always best to consult a professional plumber to ensure a safe and efficient installation.
Once your whirlpool tub is installed, take the time to properly care for and maintain it. Follow the manufacturer’s guidelines for cleaning, draining, and any necessary upkeep to ensure the longevity of your tub and its components.
Now, enjoy the luxurious experience of your own whirlpool tub and unwind in the soothing bubbles and relaxation it provides. Whether it’s to relieve stress, rejuvenate your body, or simply indulge in some self-care, your whirlpool tub will be a cherished addition to your bathroom.
Congratulations on completing the installation of your whirlpool tub, and may you create many wonderful memories and moments of relaxation in your luxurious soaking spot!
Frequently Asked Questions about How To Install A Whirlpool Tub For A Luxurious Soaking Spot
Was this page helpful?
At Storables.com, we guarantee accurate and reliable information. Our content, validated by Expert Board Contributors, is crafted following stringent Editorial Policies. We're committed to providing you with well-researched, expert-backed insights for all your informational needs.


0 thoughts on “How To Install A Whirlpool Tub For A Luxurious Soaking Spot”